
Volcano Roll
intro
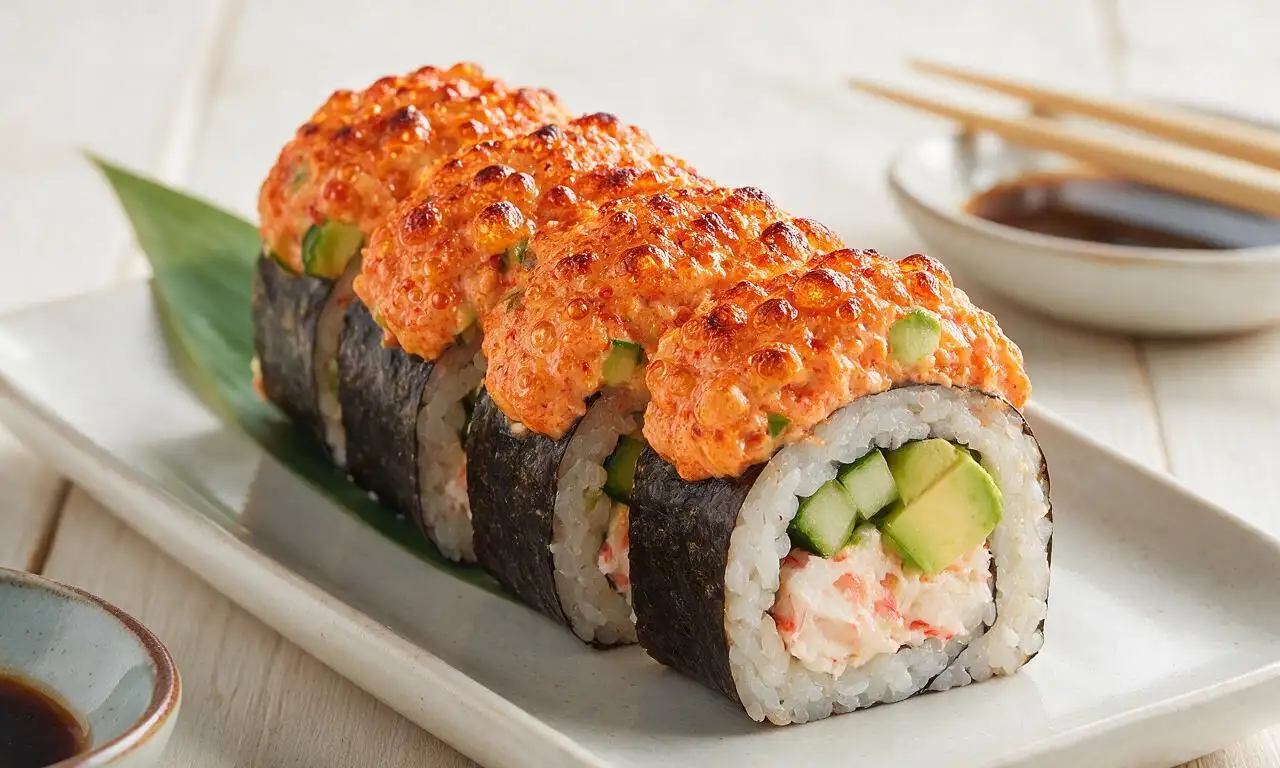
Creamy, spicy baked seafood-topped sushi roll with a crisp cucumber, avocado, and crab core, finished with a bubbly lava-like topping for dramatic restaurant-style flavor.
Ingredients
Steps
Cook and season rice
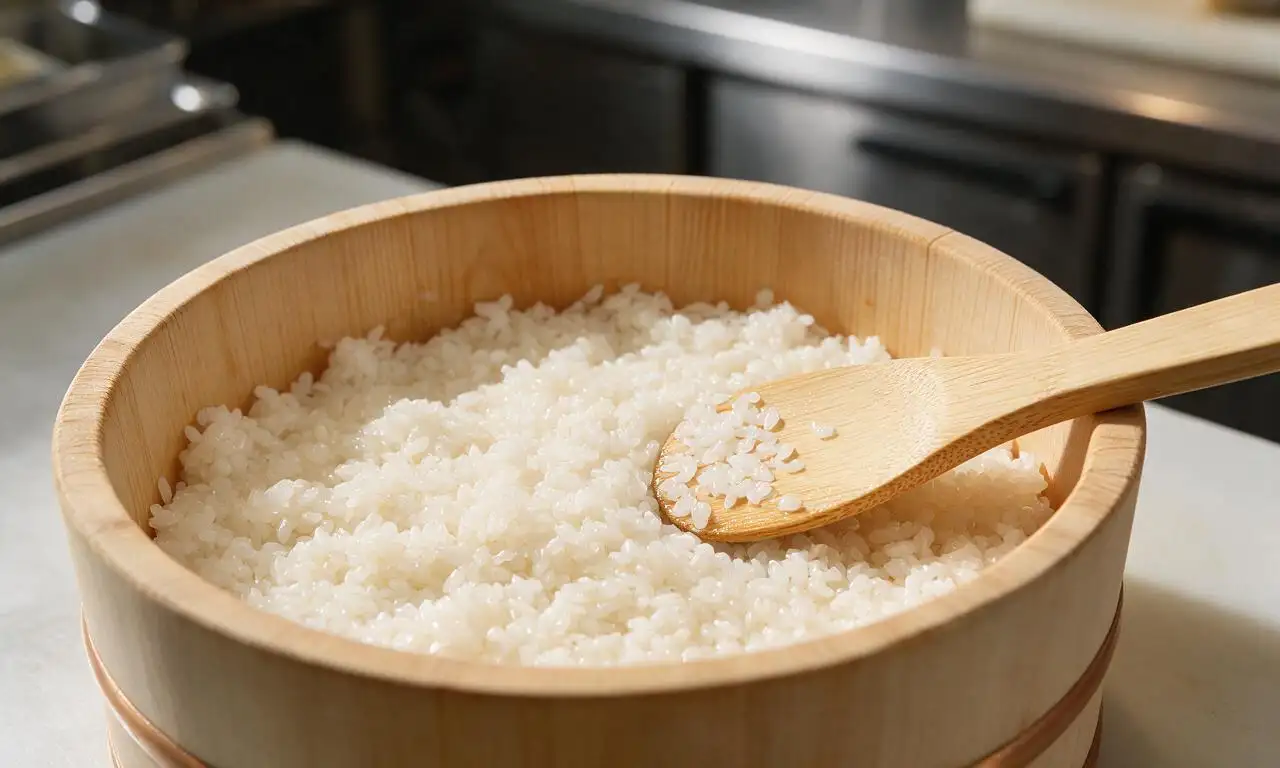
Rinse 360g short-grain sushi rice under cold running water for 3 minutes until the runoff water is nearly clear. Combine rinsed rice with 480ml (2 cups) cold water in a rice cooker, run the standard white rice cycle, then let the rice steam, covered, for 15 minutes after the cycle completes. While the rice is still warm, gently fold in a heated mixture of 60ml rice vinegar, 25g granulated sugar, and 5g fine sea salt (microwaved for 30 seconds to fully dissolve solids). Spread the seasoned rice across a wooden tray to cool to room temperature (21C/70F); do not refrigerate, as this will make the rice hard and grainy.
Prep roll fillings
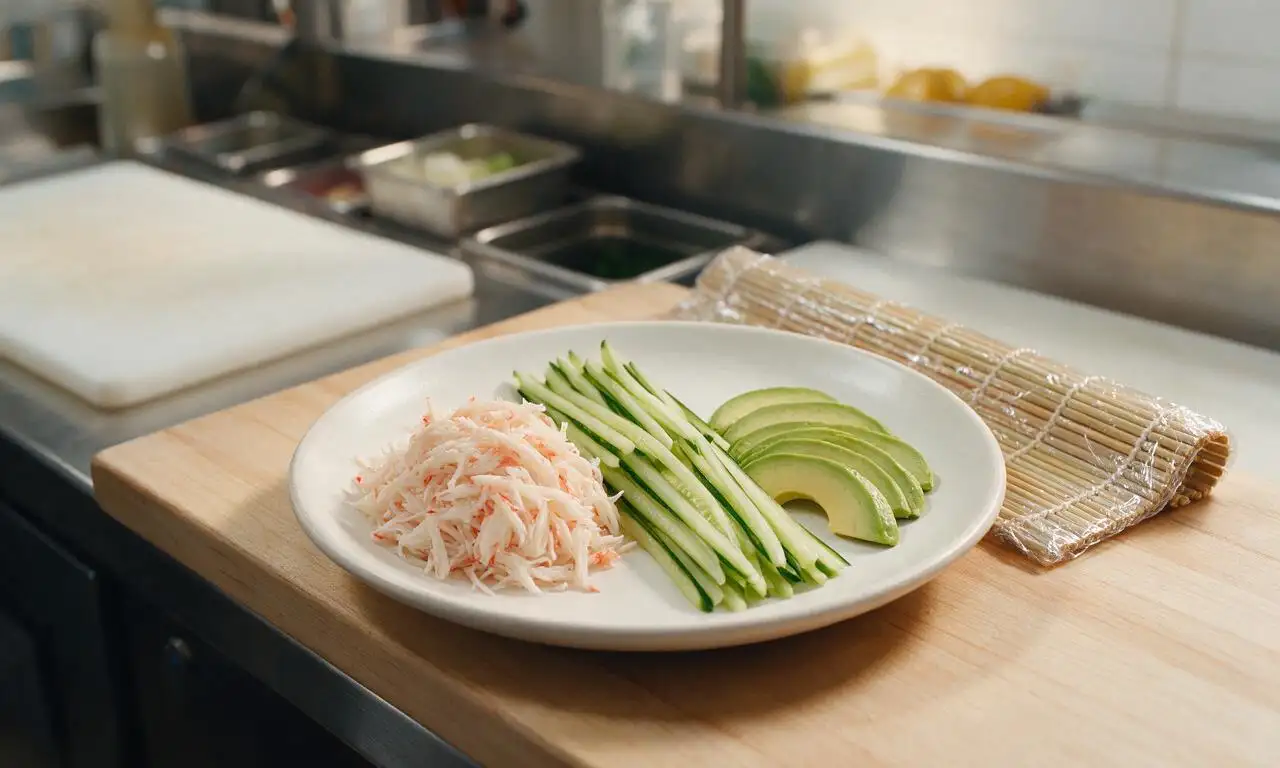
Shred 170g crab meat into loose, even strands, then pat completely dry with paper towels to remove excess moisture. Cut the seeded 150g English cucumber into 6mm (1/4-inch) thick strips that match the length of a nori sheet. Slice 150g ripe avocado into matching 6mm strips, toss gently with 5ml fresh lemon juice to prevent browning, and take care not to mash the soft flesh. Arrange all prepped fillings within arm’s reach of a bamboo rolling mat tightly wrapped in plastic wrap.
Assemble base rolls
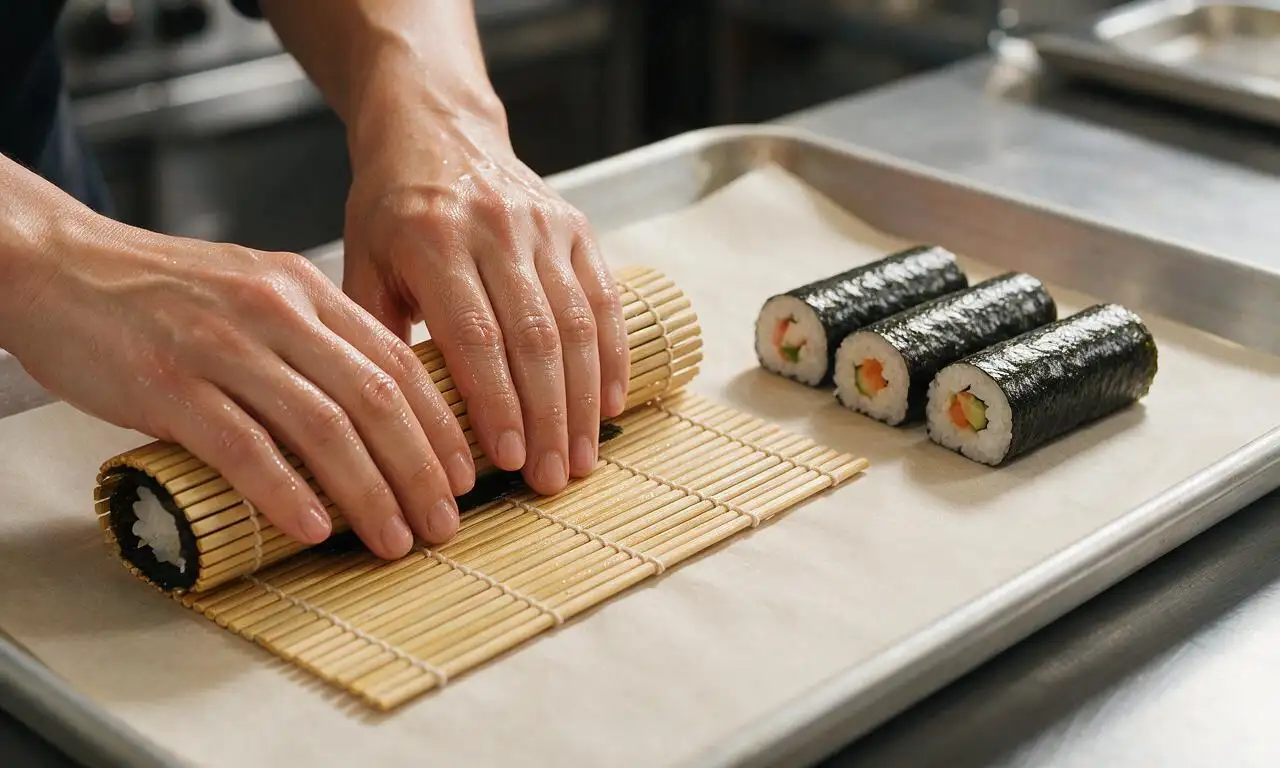
Lay one full nori sheet shiny-side down on the prepared bamboo mat. Dip your hands in vinegared water (remaining 15ml rice vinegar mixed with 240ml/1 cup cold water) to prevent sticking, then spread 1/4 of the cooled seasoned rice (approx 150g) in an even 5mm (1/5-inch) thick layer across the nori, leaving a 2cm (3/4-inch) bare strip at the top edge to seal the roll. Sprinkle 1/4 of the toasted sesame seeds over the rice, then flip the nori so the rice side faces down against the mat. Arrange 1/4 of the crab, cucumber, and avocado in a straight, tight line across the center of the nori. Roll the mat firmly from the bottom edge upward, squeezing gently to form a tight, uniform log, sealing with the bare nori edge moistened with a dab of water. Repeat to make 4 total rolls, placing them seam-side down on a parchment-lined baking sheet.
Mix volcano topping
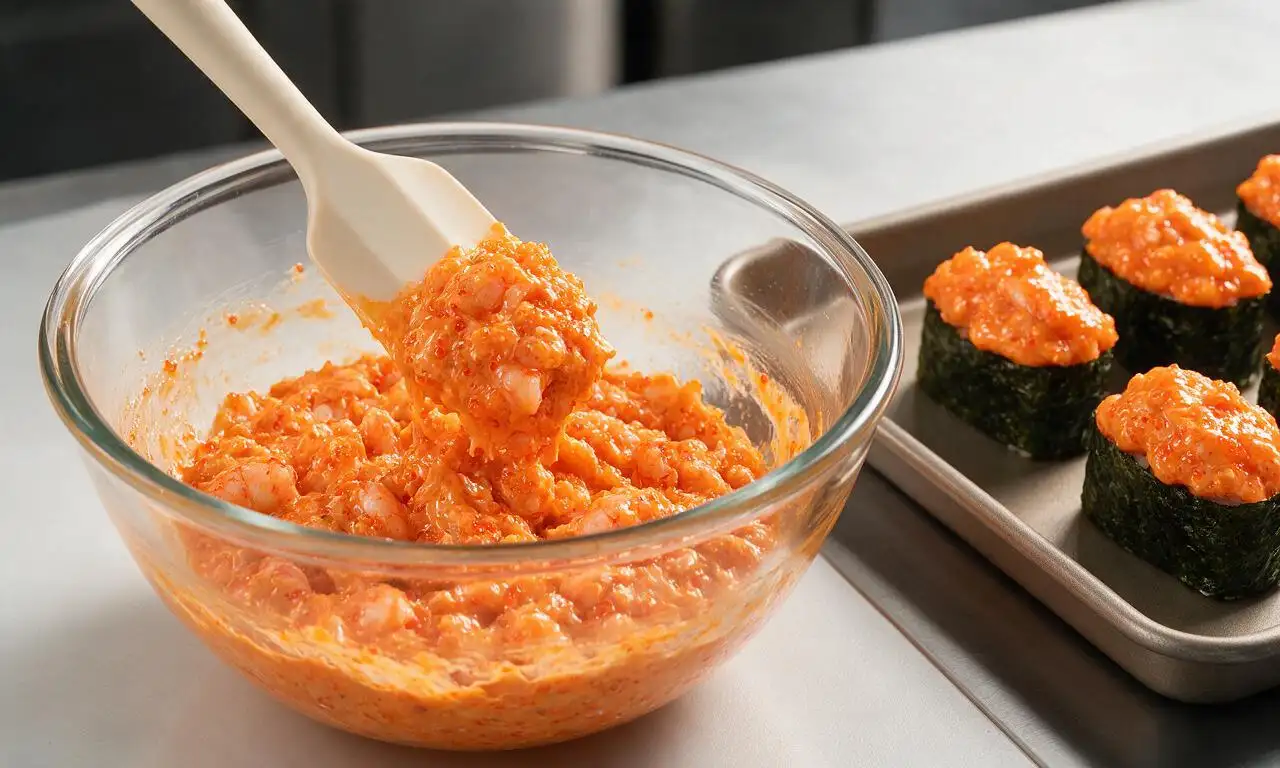
In a medium glass mixing bowl, combine 225g finely diced raw shrimp, 80ml Kewpie mayonnaise, 45ml Sriracha, and 30g masago, stirring until every piece of shrimp is evenly coated in the creamy, bright orange-pink sauce. Taste and adjust spice level if desired, adding 5ml (1 tsp) extra Sriracha for more heat. Spoon 1/4 of the topping mixture in a thick, mounded line directly down the center of each rolled sushi log, spreading it slightly to cover the top 2/3 of each roll to mimic the sloped shape of a volcano. Sprinkle 7.5g (1 tbsp) of shredded mozzarella evenly over the topping on each roll.
Bake until bubbly
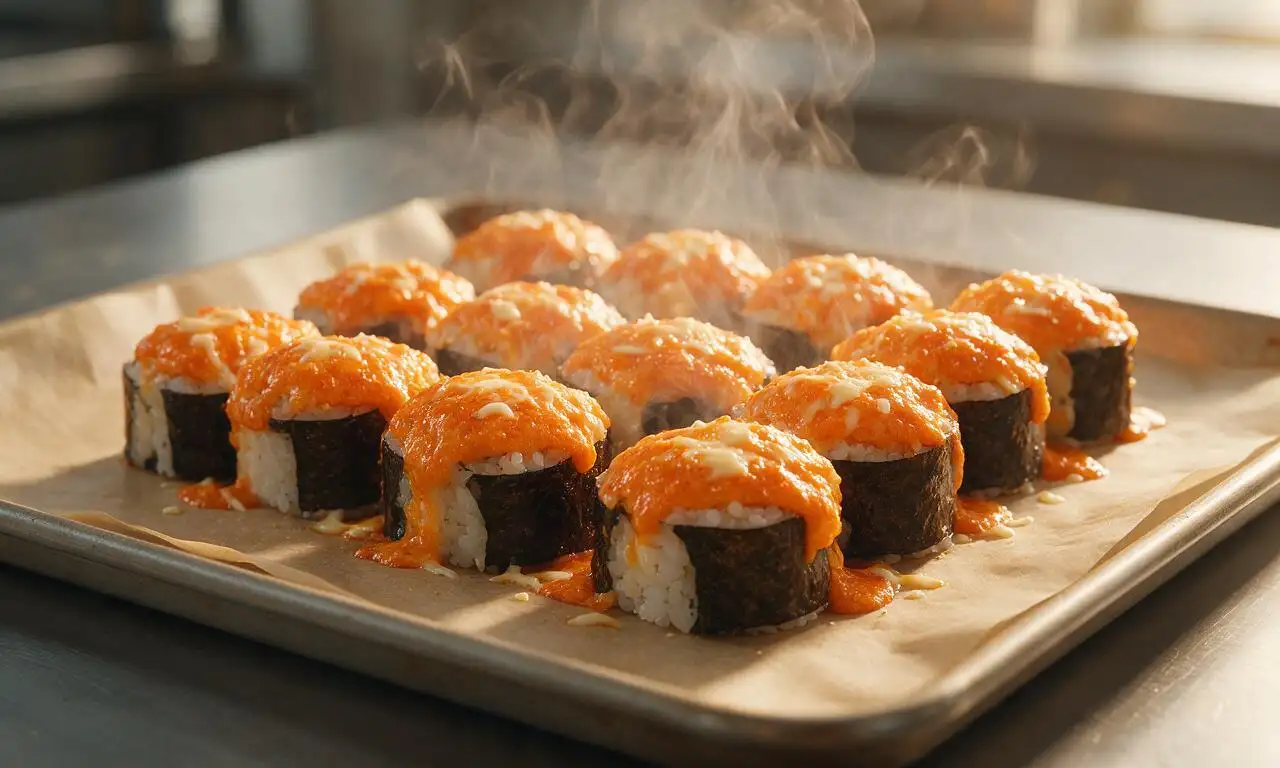
Preheat oven to 220C/425F. Place the baking sheet with topped rolls on the middle oven rack, and bake for 8-10 minutes, until the shrimp is fully opaque and cooked through, the topping is bubbling around the edges, and the corners of the nori are slightly crisp. Do not overbake, as this will make the rice tough and the avocado bitter. Remove the baking sheet from the oven and let the rolls rest for 2 minutes at room temperature before slicing.
Slice and plate rolls
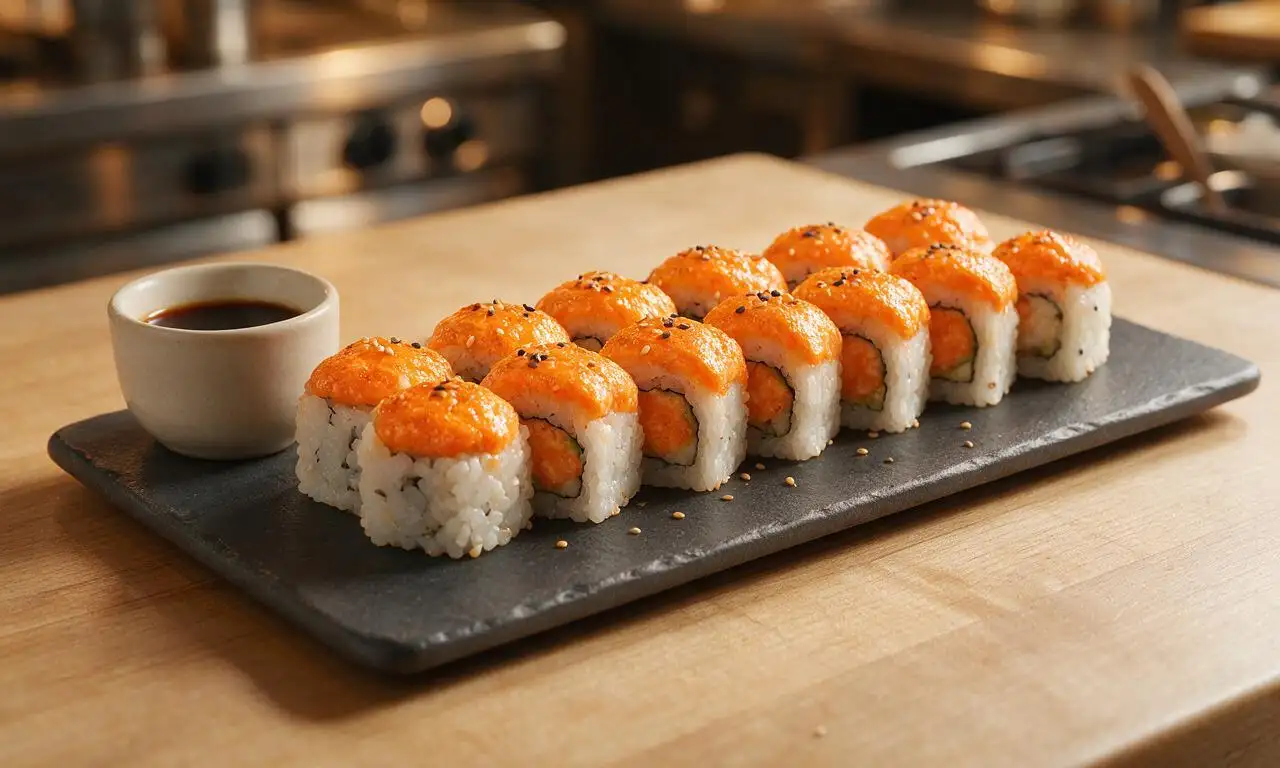
Dip a sharp, thin-bladed knife in cold vinegared water between cuts to prevent sticking, then slice each roll into 6 even 2.5cm (1-inch) thick pieces. Arrange slices on a serving platter with the baked topping facing upward to show the dramatic 'lava' effect, drizzle with extra Sriracha-mayo mix if desired, and serve alongside 60ml low-sodium soy sauce for dipping.
Tips
2.Pat all moist filling ingredients (crab, cucumber) completely dry with paper towels before rolling; excess moisture will make nori soggy and cause rolls to fall apart when sliced or baked.
3.Avoid overbaking the rolls: 8-10 minutes at 220C/425F is enough to cook the shrimp through, and longer baking will turn sushi rice tough and make the avocado taste bitter.






OMG this baked volcano roll was a total game changer for our weekly family dinner! I was nervous making sushi at home since I usually just get takeout, but the steps were super clear even for medium difficulty. The creamy spicy topping got all bubbly in the oven and my kids devoured two rolls worth before I even sat down. 10/10 will make for our next potluck too!
I was skeptical about baking sushi, y’all — I’m a raw purist usually! But I had a bunch of leftover sushi grade salmon and avocado from a weekend cookout so I gave this a shot. SO good. The crispy baked topping with the eel sauce drizzle? Unreal. Don’t sleep on adding the little fried onion bits on top like the recipe says, that crunch makes it.
Added this to my Sunday meal prep rotation! I pre-made the rice and filling on Sunday, then assembled and baked the rolls right before dinner each night for three days and it held up so well. Way cheaper than ordering sushi takeout every week, and the portion size is perfect for lunch leftovers too. Only note: I added a little extra cream cheese to the topping because I’m obsessed with that creamy texture.
Made this for my roommate’s house party last night and people were literally crowding the kitchen to get seconds. I will say, I messed up rolling the first two rolls because I didn’t wet my bamboo mat enough, but once I got the hang of it it was smooth sailing. The cook time is pretty spot on at 50 minutes total, even with my messy first attempts!
So happy I found this recipe! I swapped the regular soy sauce for tamari to make it gluten free for my sister who has celiac, and it turned out perfect. The spicy lava topping didn’t taste like a compromise at all — even my non-gluten-free dad said it was better than the volcano roll we get at our local sushi spot. Only wish I’d made a double batch because it was gone in 10 minutes.
Took me a little longer than 50 minutes because I had to run to the store for tobiko at the last minute, but wow was it worth it. My teen who turns their nose up at almost everything I cook asked if we could have this every Friday night. That’s the highest possible praise in my book. The medium difficulty rating is fair too — nothing too crazy, just a few more steps than your basic weeknight pasta.
Brought this to our neighborhood potluck last weekend and I kid you not, three people asked me for the recipe before they even finished their first bite. I added a little extra sriracha to the topping because we love heat in our house, and it had the perfect kick. Will absolutely be making this again for our next block party.
This was my first time ever making any kind of sushi roll, so I was intimidated by the medium difficulty rating. It turned out pretty good! My only issue was that my topping got a little too browned on top because I left it in the oven 2 minutes too long, so keep an eye on it during the bake time. Flavor was 10/10 even with the slightly crispy top though.
Made this in my tiny dorm oven with my roommate and it slapped so hard. We didn’t have a bamboo mat so we used parchment paper to roll, and it worked just fine. We did imitation crab instead of real crab to save money and it still tasted like restaurant quality. 10/10 for broke college students trying to make a fancy date night meal without dropping $50 on takeout.
Made this for my anniversary dinner with my boyfriend and he thought I ordered it from our favorite fancy sushi spot until I told him I made it from scratch. The presentation looks so impressive even if your rolls are a little lumpy (mine definitely were). The eel sauce recipe included is better than any bottled one I’ve ever bought, don’t skip making it homemade.
Wait has anyone tried making this in the air fryer instead of the oven? I don’t want to heat up my whole kitchen in this Florida heat, but I’ve been craving this roll for weeks. The recipe looks so good I’m tempted to just crank the oven anyway if the air fryer doesn’t work.