
waffle flour
intro
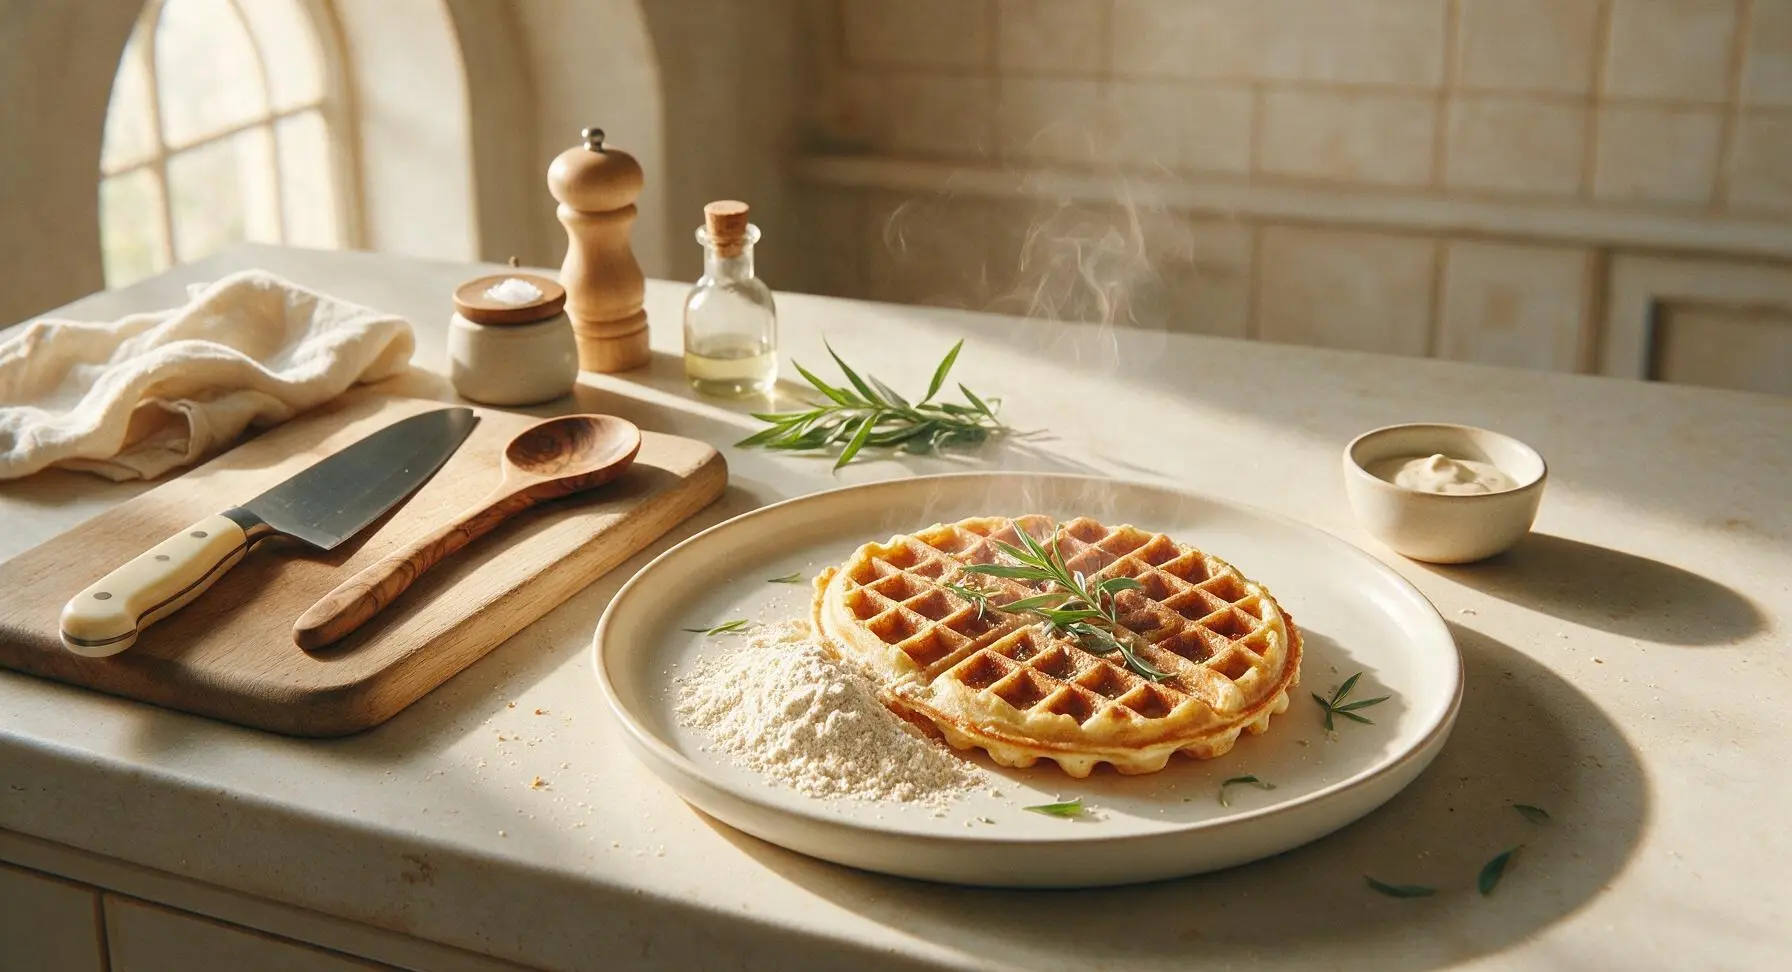
This expertly balanced homemade waffle flour blend creates crisp, fluffy diner-style waffles every time, cutting down on messy measuring for busy cold-weather breakfasts.
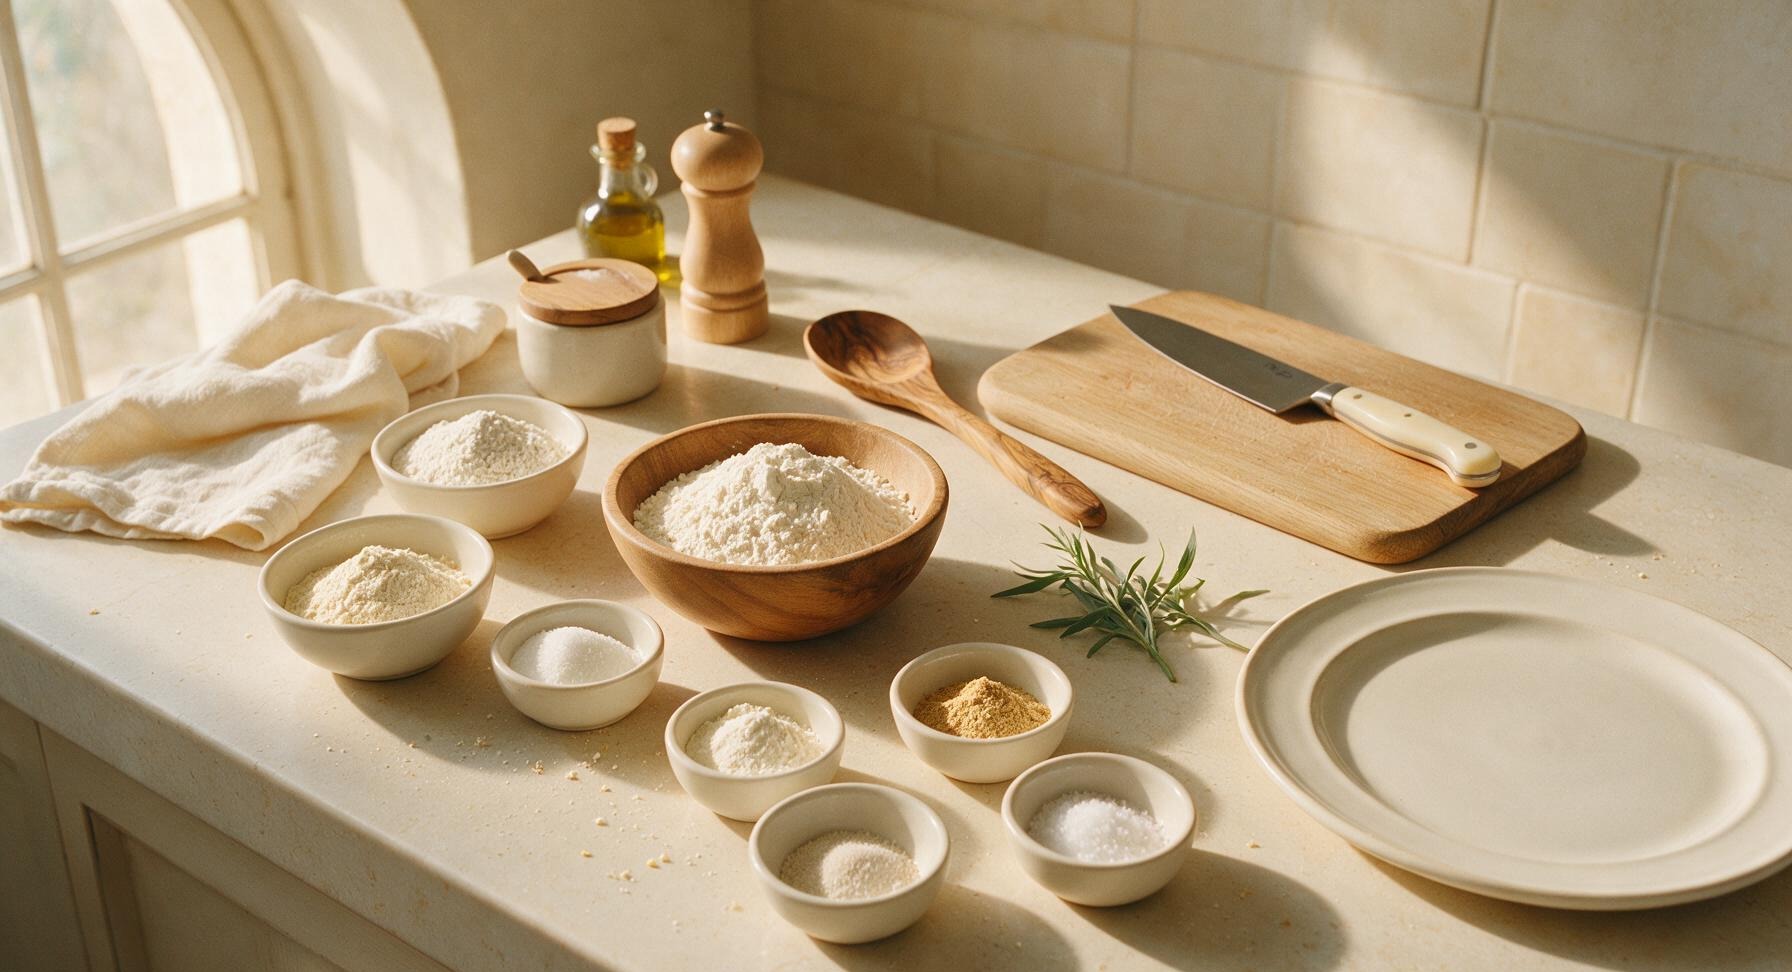
Ingredients
Steps
Measure Base Flours
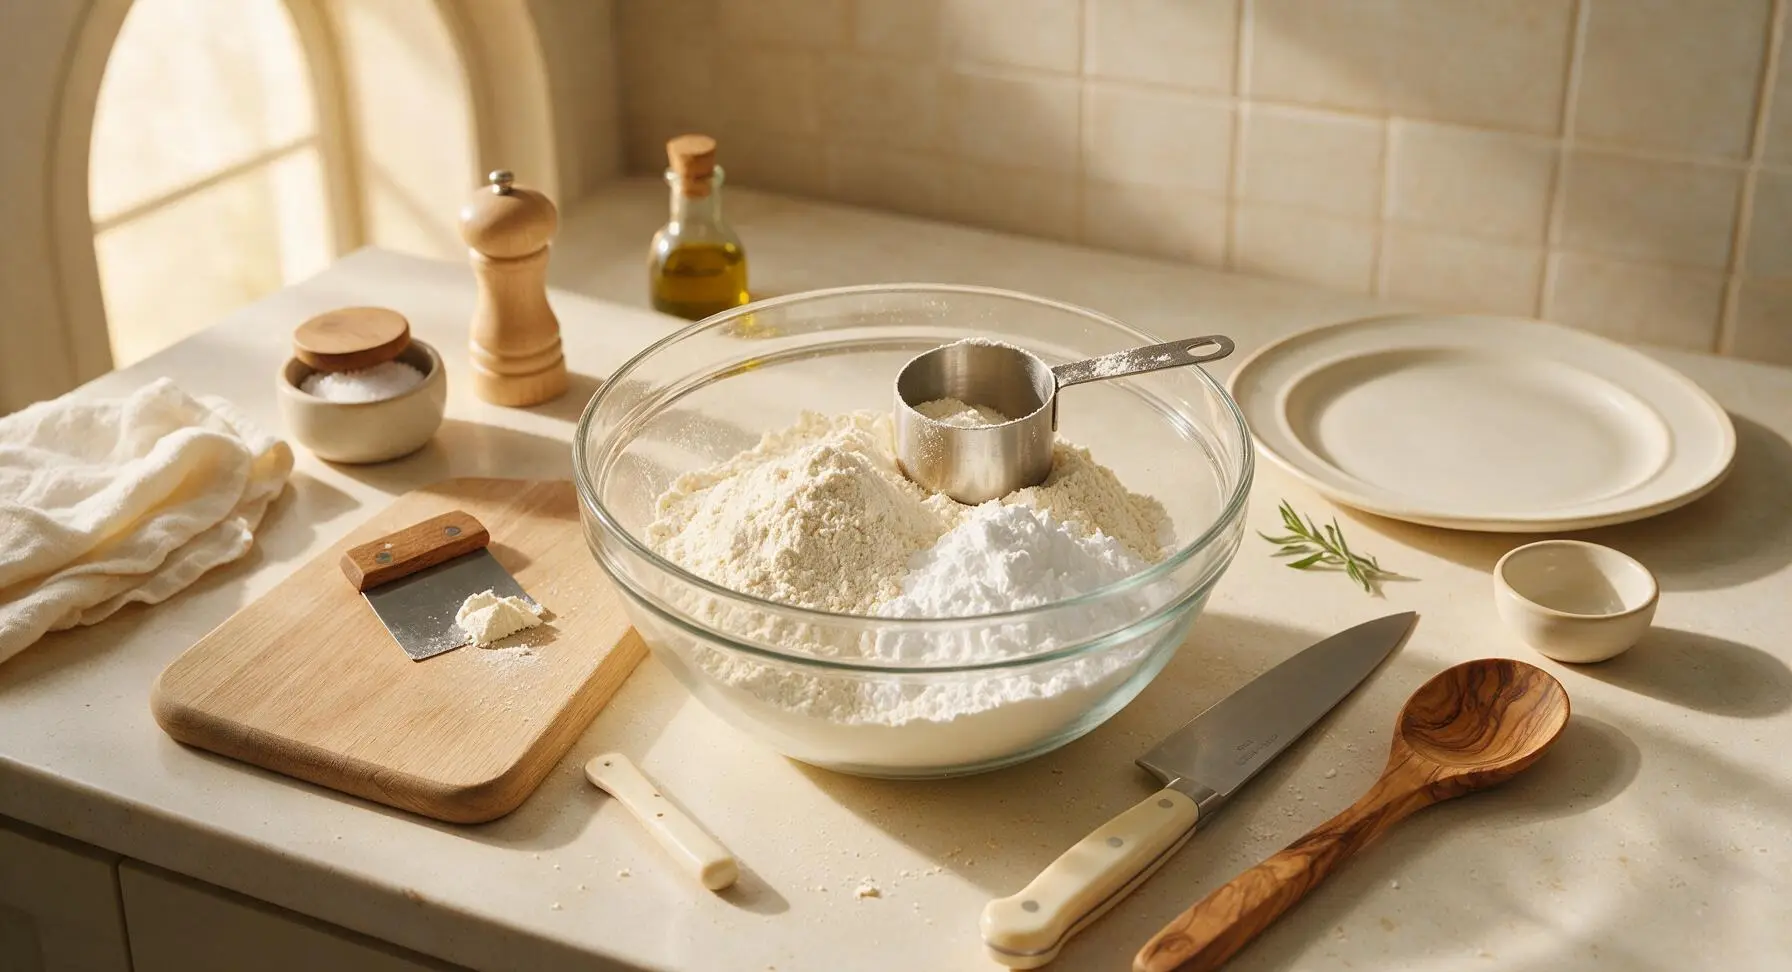
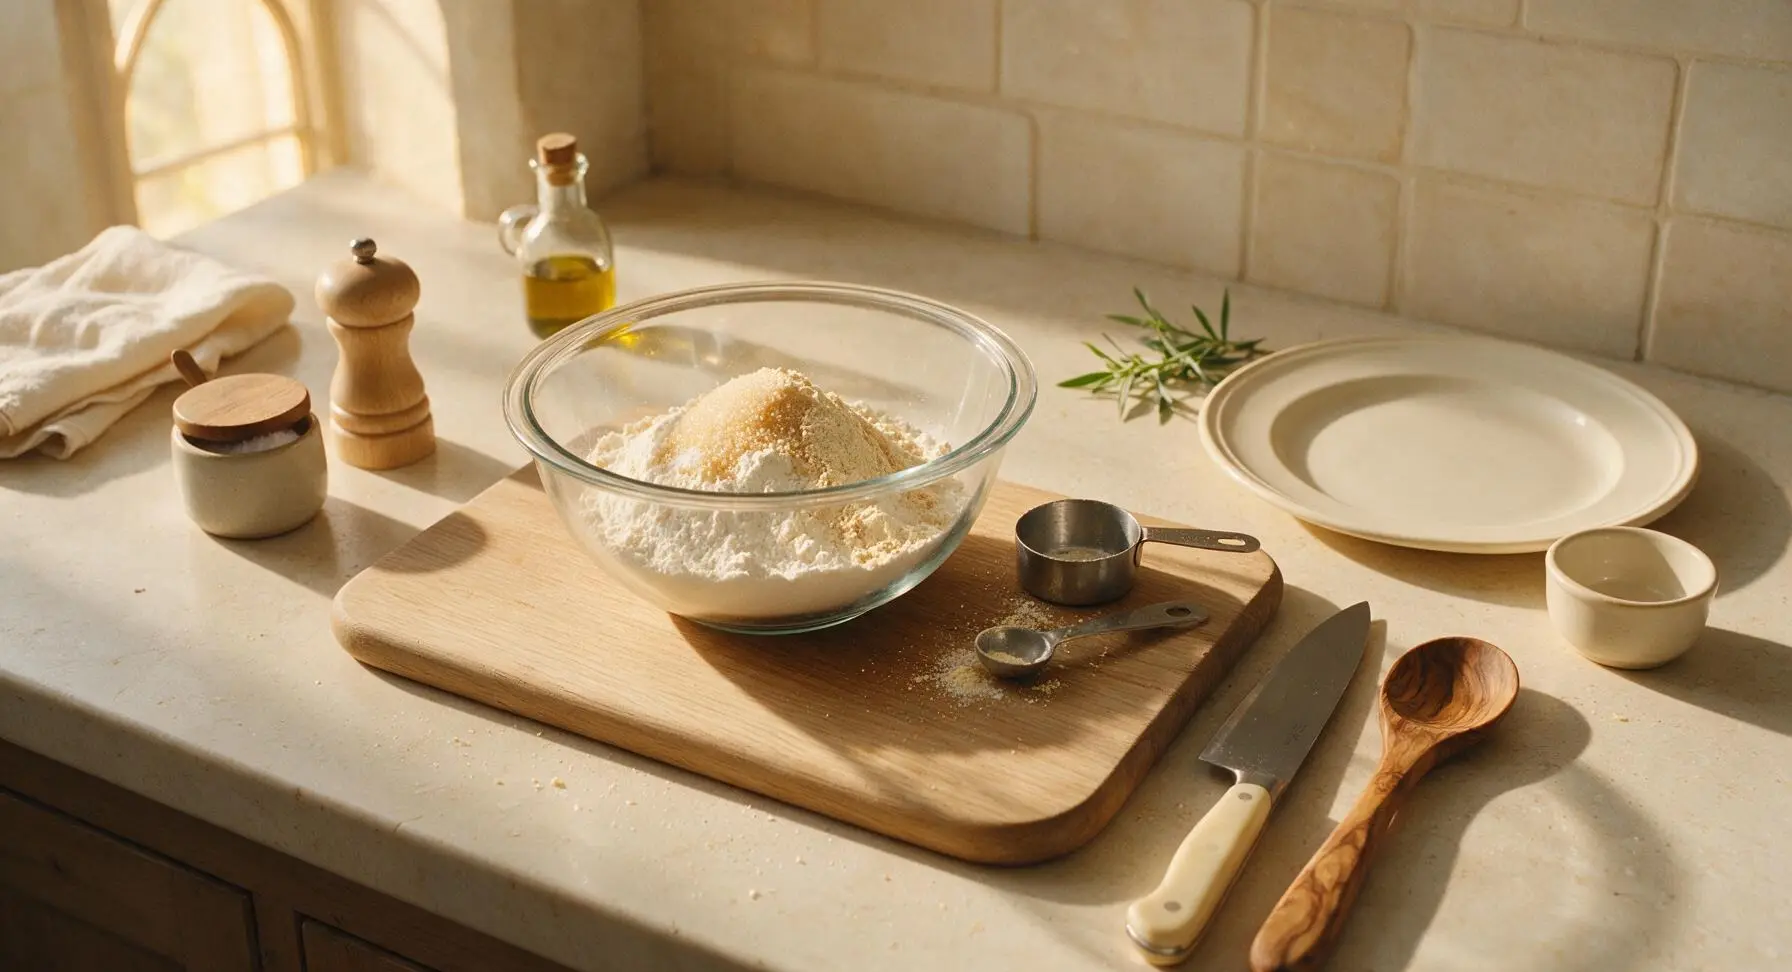
Set the large glass mixing bowl on the center of the work area. Use the 1-cup dry measuring cup to scoop and level 4 1/3 cups of all-purpose flour and 1 cup of cornstarch, adding both directly to the bowl. Hold the measuring cup at eye level to ensure exact measurements, scraping excess flour off the top with the bench scraper for accuracy; over-measuring flour will result in dense, tough waffles.
Add Leavening and Salt
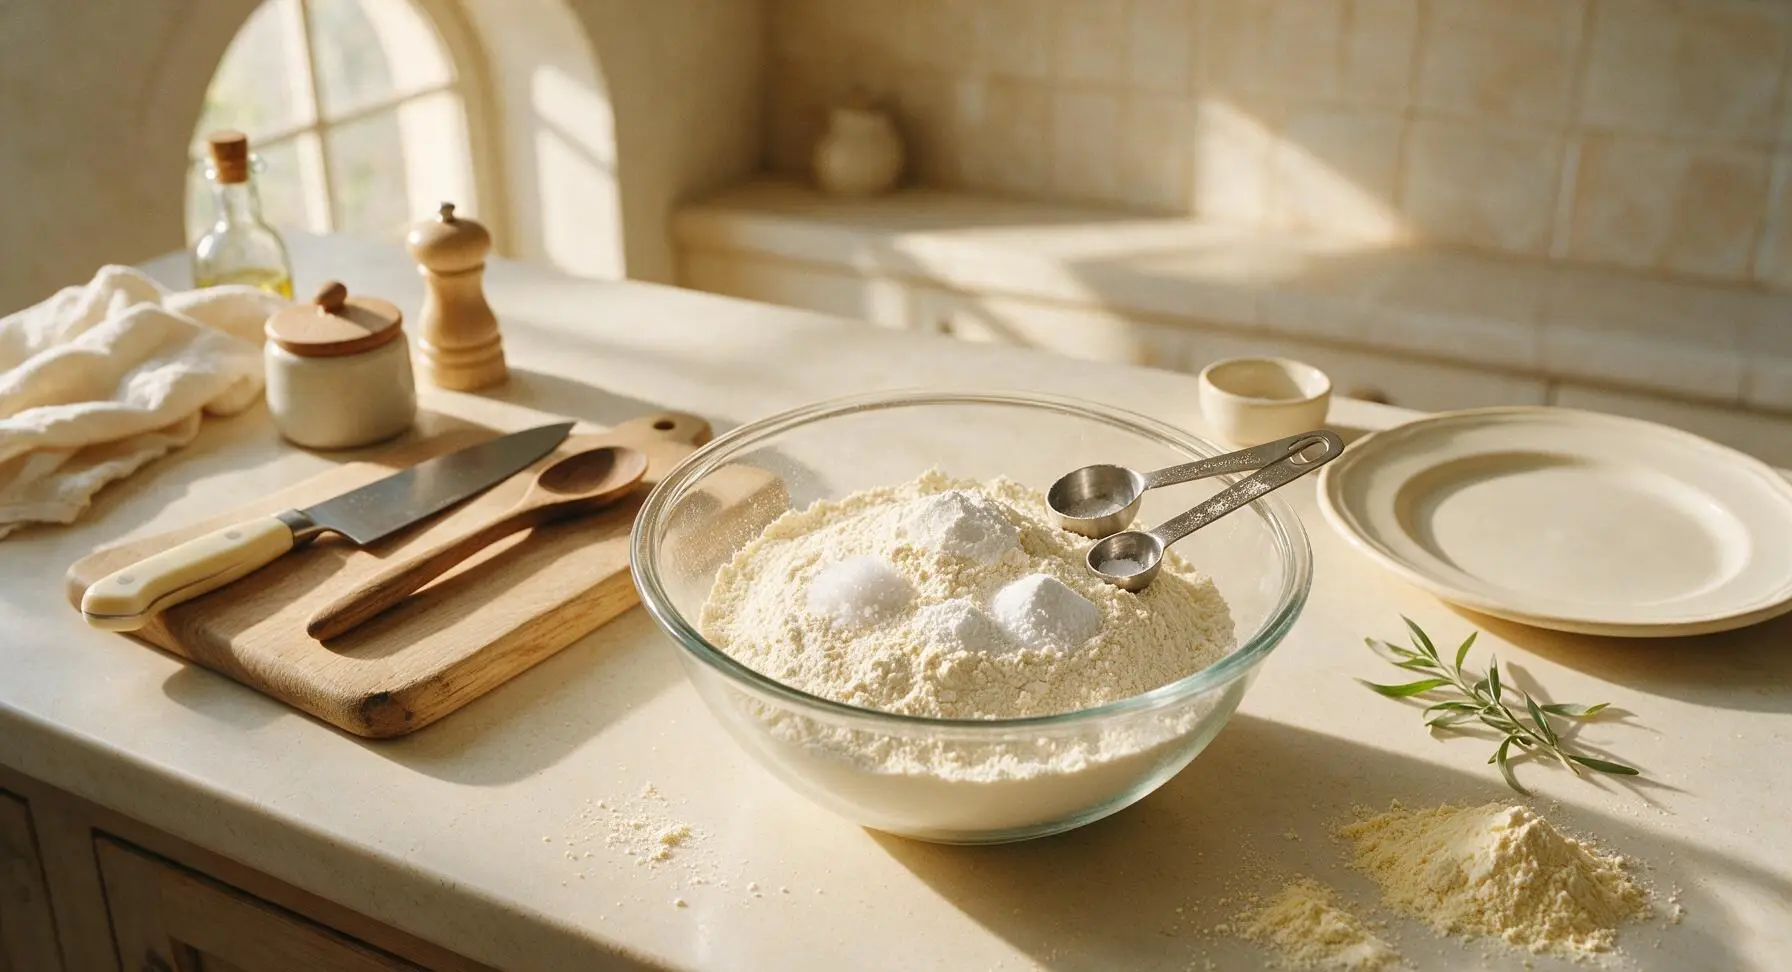
Use the appropriate measuring spoons to add 2 tablespoons of baking powder, 3/4 teaspoon of fine sea salt, and 1/2 teaspoon of baking soda to the flour mixture in the bowl. Do not pack the leavening into the spoons; level each spoonful with the edge of the bench scraper to avoid over-measuring, which can create a soapy, bitter aftertaste in finished waffles.
Mix in Sugar and Malt
Measure 1/4 cup of granulated sugar and 2 tablespoons of malted milk powder, adding both to the mixing bowl. The malted milk powder adds a subtle toasty, nostalgic diner-style waffle flavor and encourages golden, crisp browning when the waffles cook.
Sift for Even Texture
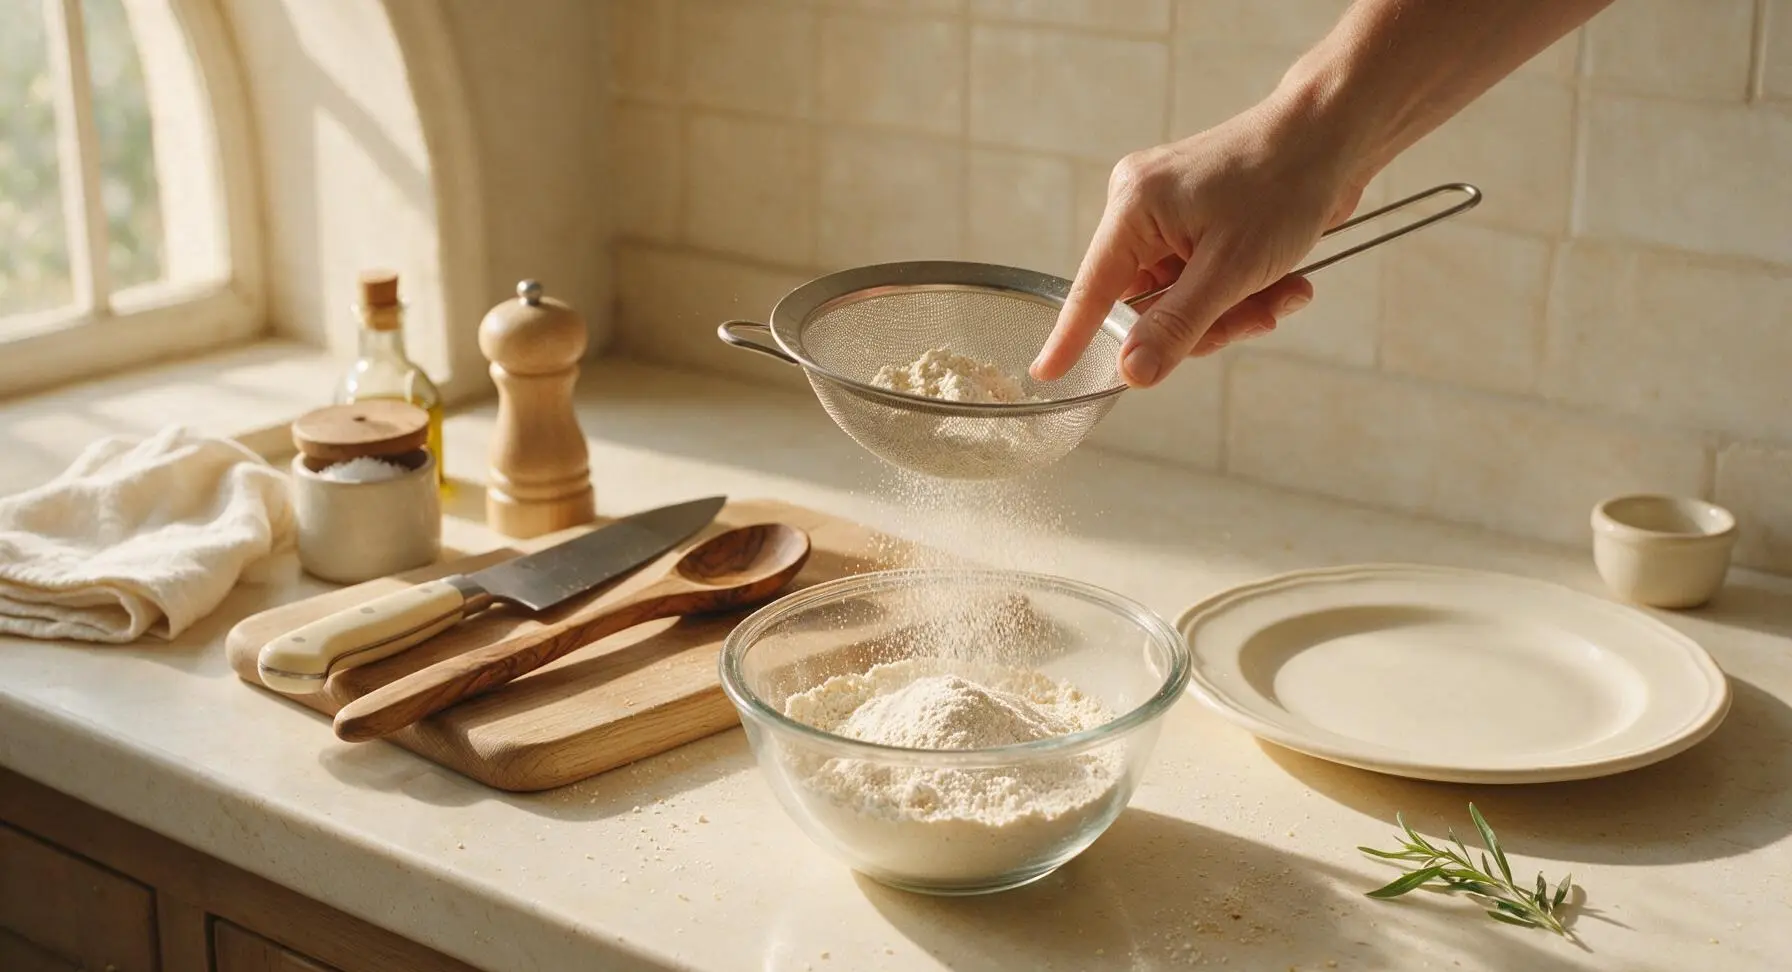
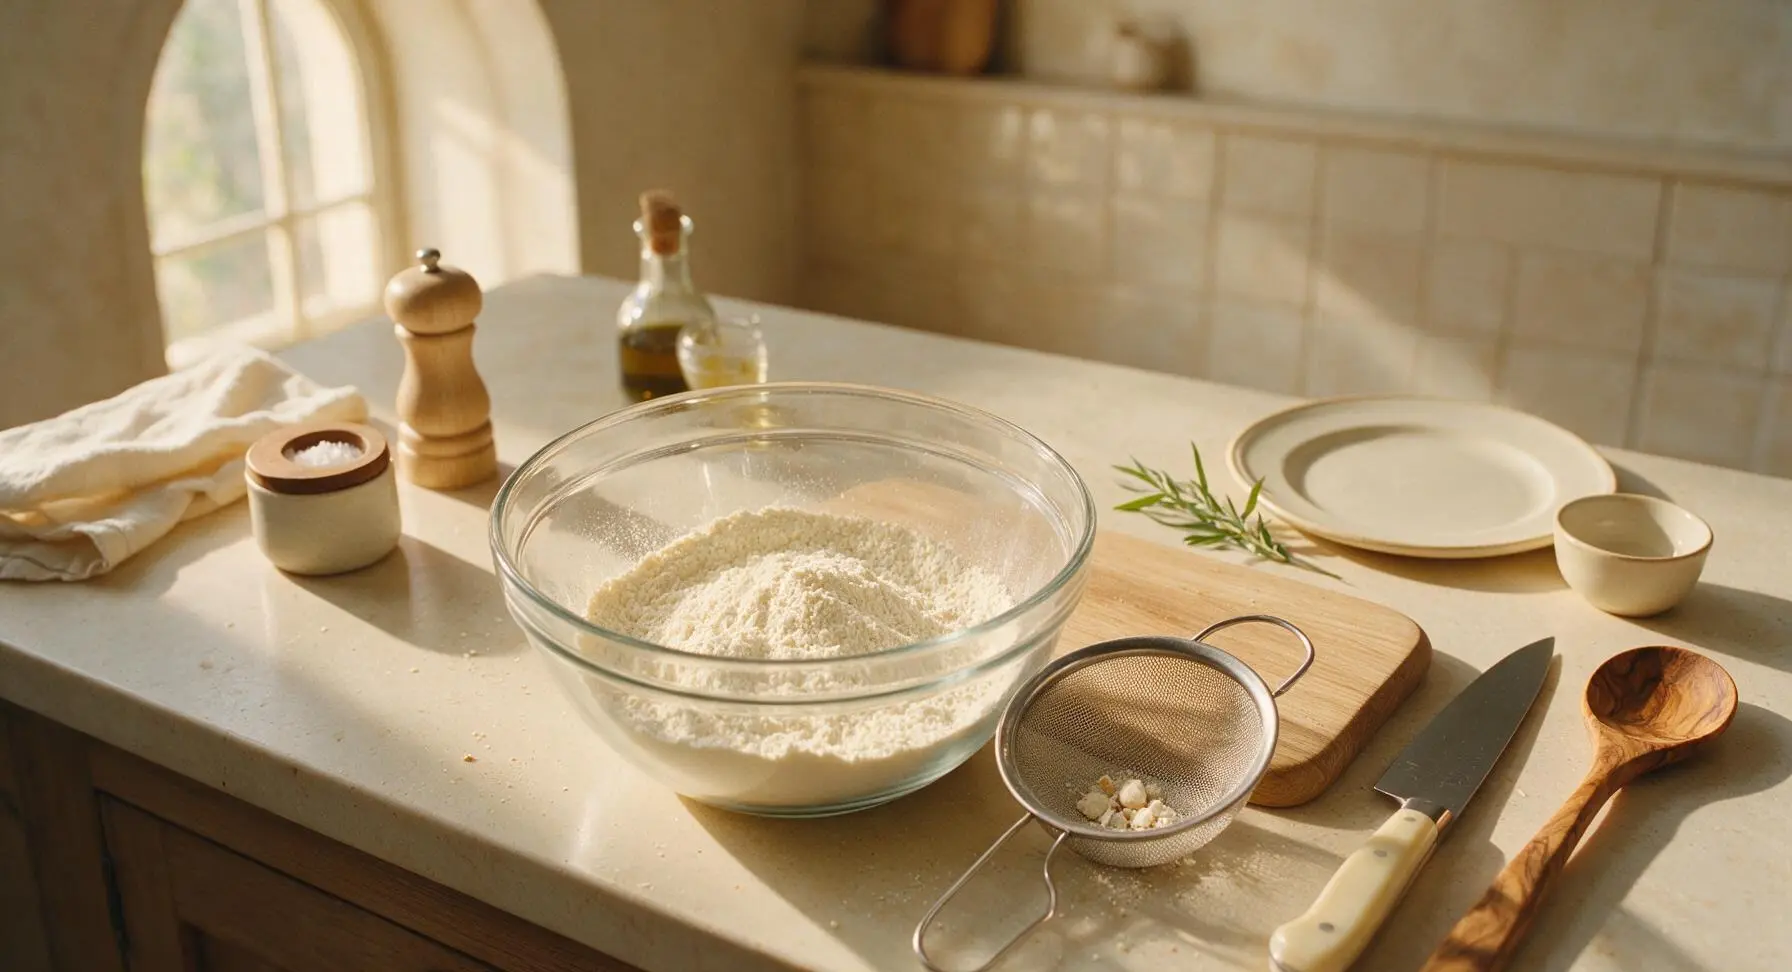
Set the fine-mesh stainless steel sieve over the top of the mixing bowl. Pour the combined dry ingredients into the sieve in small batches, tapping the side of the sieve gently to work all ingredients through into the bowl below. Discard any small hard lumps of baking powder or malt powder that remain in the sieve to ensure a perfectly uniform blend with no clumps.
Whisk to Uniform Blend
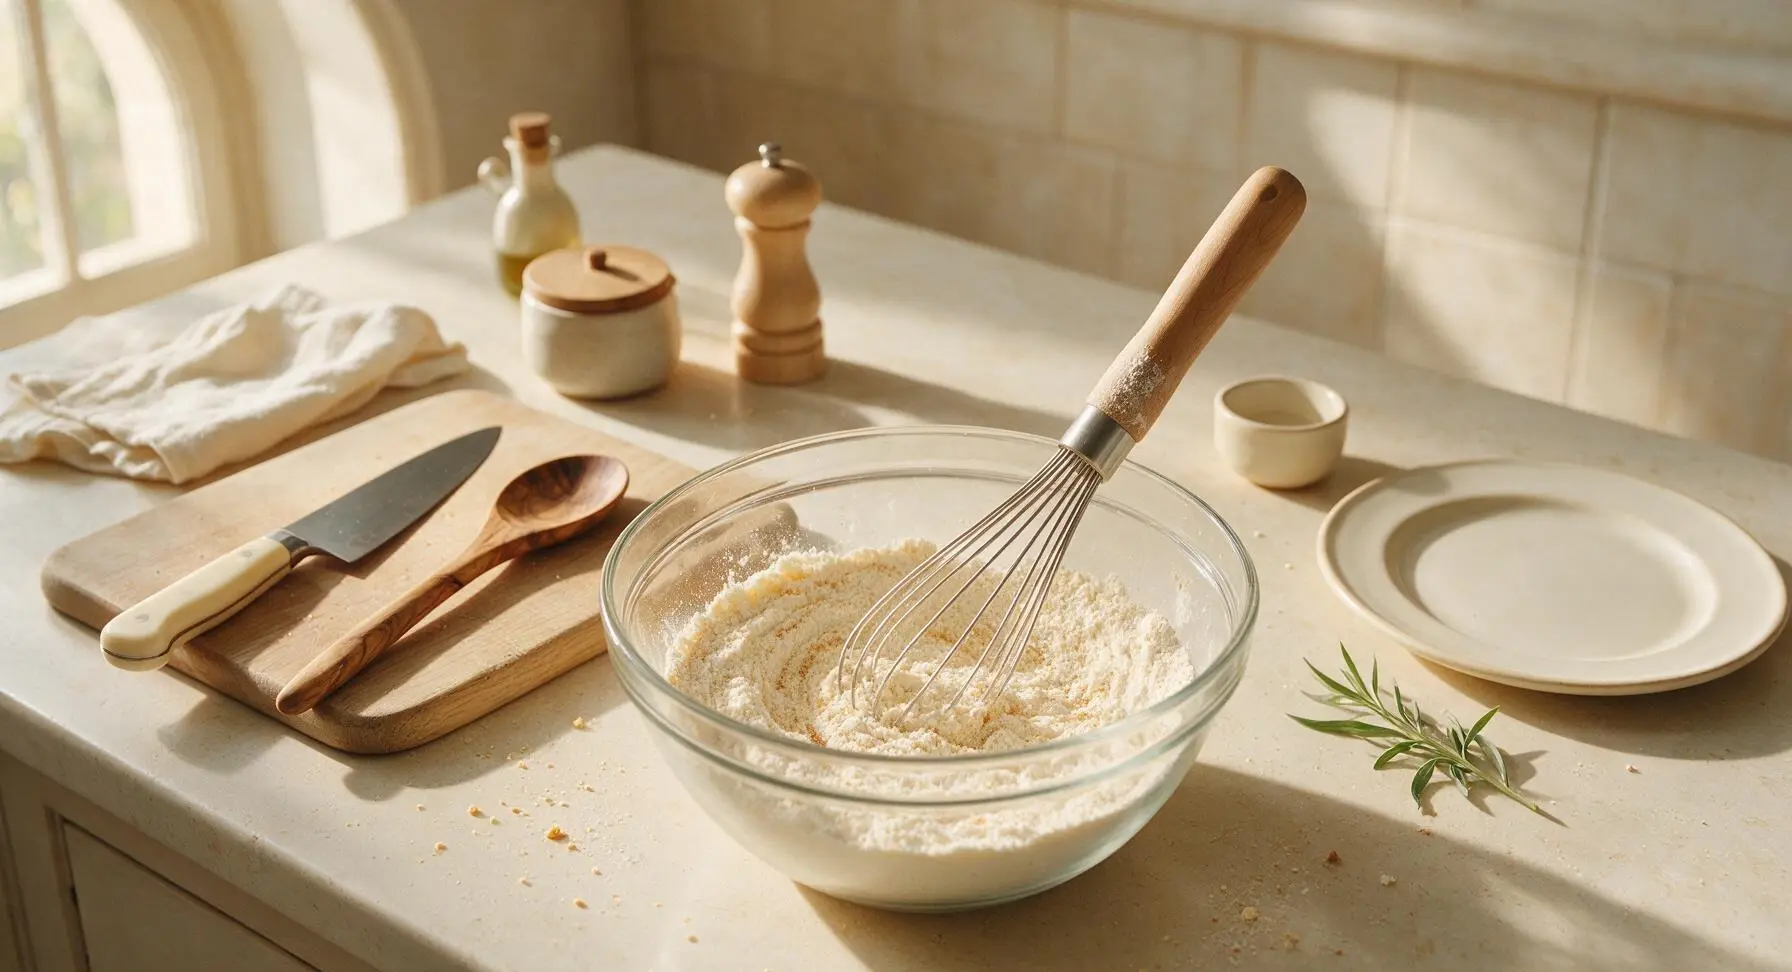
Remove the sieve from the bowl. Use the stainless steel whisk with the maple wood handle to stir the sifted dry ingredients for 45-60 seconds, moving the whisk in wide circular motions to fully distribute the leavening, salt, sugar, and malt powder evenly throughout the flour. Stop when the blend is a consistent pale creamy color, with no darker streaks of malt or baking powder visible.
Transfer to Storage Jar
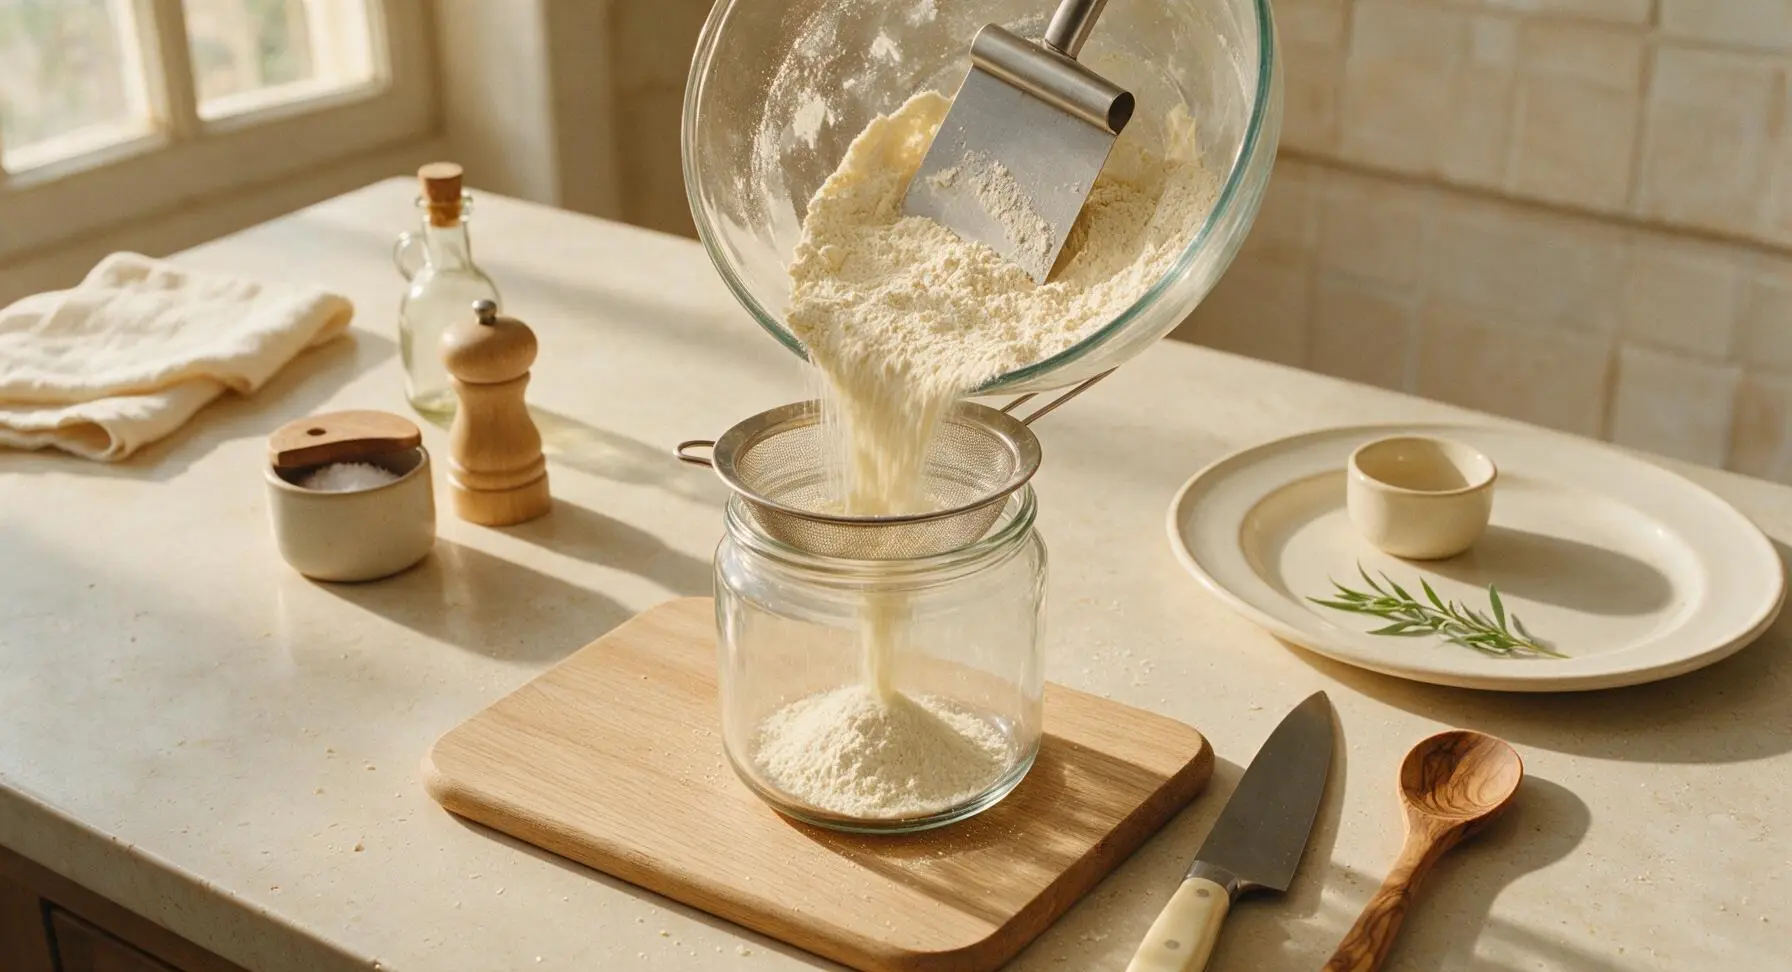
Set the clean, dry 1.9L glass storage jar beside the mixing bowl. Hold the fine-mesh sieve over the jar opening to catch any last small lumps, then pour the fully whisked waffle flour into the jar in slow, steady streams. Use the stainless steel bench scraper to sweep all remaining flour from the sides and bottom of the mixing bowl into the sieve, tapping gently to push it through into the jar to avoid waste.
Seal for Long Storage
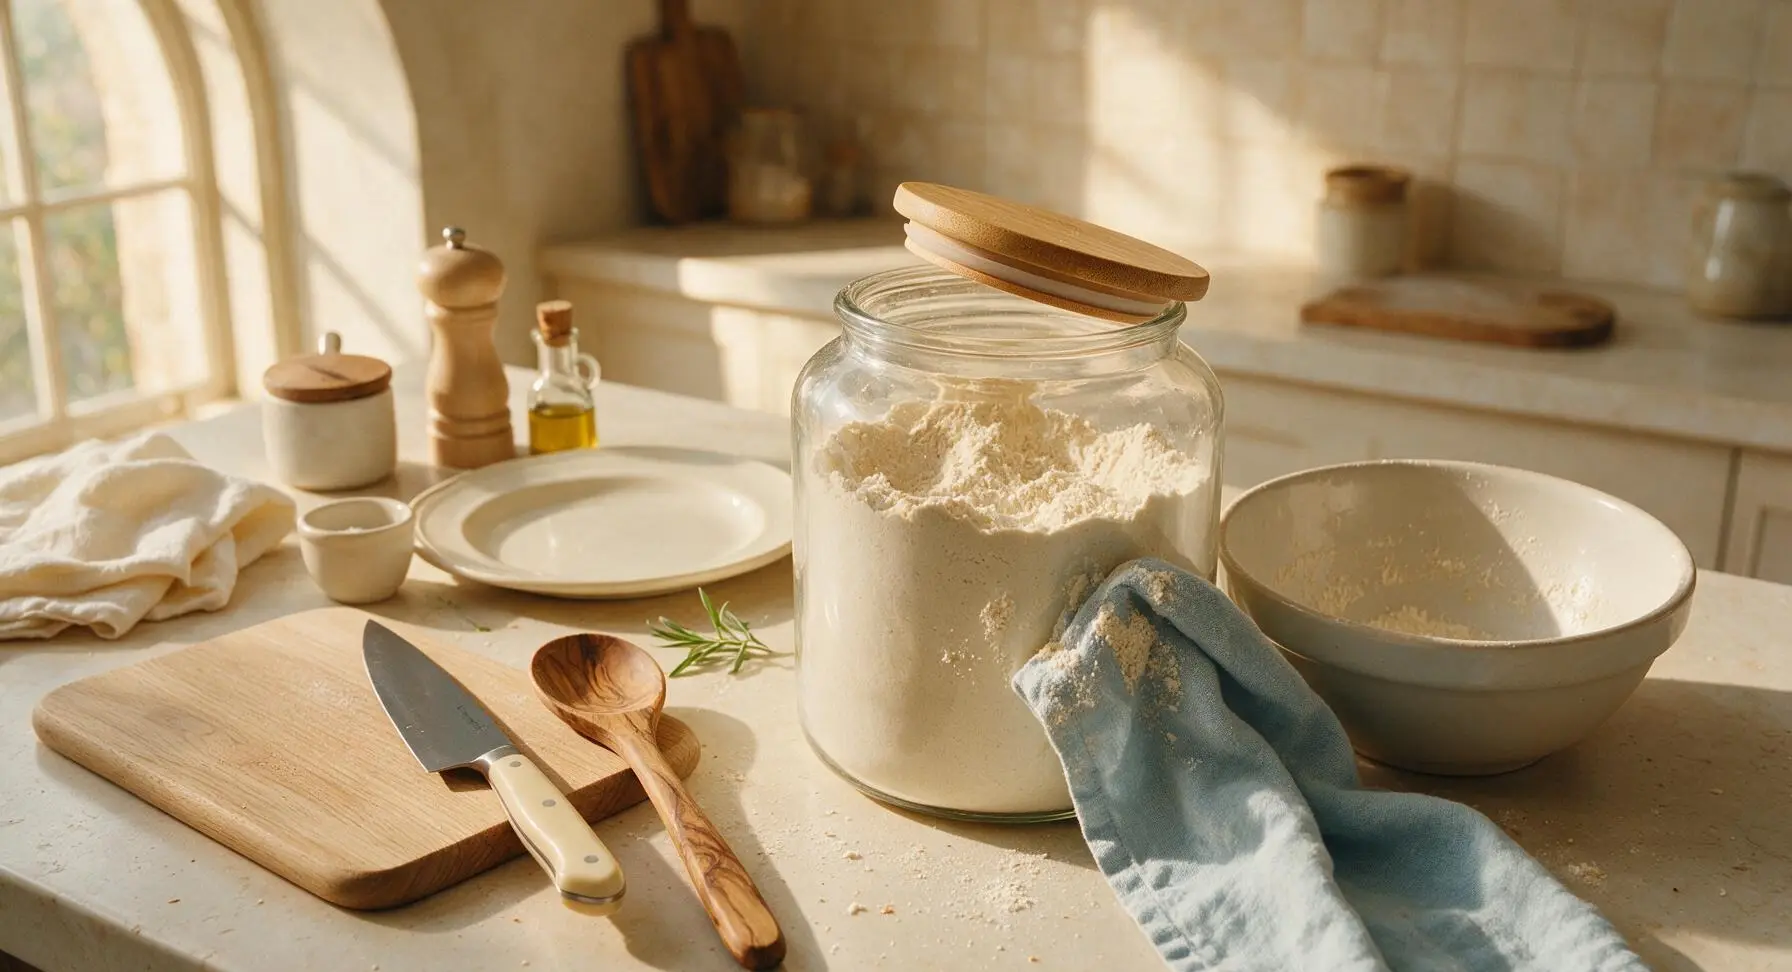
Once all flour is transferred to the jar, wipe any stray flour from the jar rim and outer surface with a clean corner of the light blue linen towel, then fasten the bamboo screw-top lid tightly. Store the sealed jar in a cool, dark pantry for up to 3 months; do not refrigerate, as moisture will cause the leavening to clump and lose rising power.
Tips
2.Never skip sifting the dry ingredients: Baking powder, baking soda, and malted milk powder often form hard, compact lumps during pantry storage, and sifting ensures leavening is evenly distributed so waffles rise uniformly without dense flat spots or bitter, soapy-tasting clumps.
3.Wait to mix wet ingredients into the flour until your waffle iron is fully preheated to 400°F (200°C): The leavening in this blend activates as soon as it touches liquid, so letting batter sit for more than 2 minutes before cooking will result in less fluffy, dense waffles.






OMG this flour blend is a total game changer for Sunday brunch! I’ve been chasing that perfect crispy-on-the-outside, fluffy-on-the-inside waffle texture for years, and every store-bought mix leaves them soggy 10 minutes after cooking. I mixed up a big jar of this last weekend for my kid’s soccer team sleepover and every single kid asked for seconds. SO good, I already wrote the recipe on a card for my neighbor who brings waffles to every block potluck!
No cook, shelf stable? Sign me up! I do big meal prep sessions once a month and have been looking for a homemade waffle mix I can jar up and grab on busy school mornings. Tossed this together last night, made a test waffle this morning, and it crisped up way better than the expensive name brand mix I was buying before. My picky 7 year old didn’t even drown it in syrup to make it taste good, that’s how you know it’s a win.
Just mixed up a double batch of this to stash in my pantry! I added a little pinch of cinnamon to the blend for extra warmth, and it smelled amazing when I stirred it all together. Can’t wait to test it out for our family waffle night this Friday, will report back if my husband gives it his official “crispy enough” stamp of approval.
Brought waffles made with this blend to our church potluck last week and people were hounding me for the recipe! I set up a little waffle bar with fruit, whipped cream, and chocolate chips, and not a single waffle was left by the end of the hour. The best part? The waffles stayed crispy even sitting in the warm chafing dish for 45 minutes, which has never happened with any other recipe I’ve used.
Bro this is so much cheaper than buying the fancy waffle mix from the grocery store. I live in a tiny dorm with a mini waffle maker, and I jarred up this blend to keep on my shelf so I don’t have to eat sad dining hall breakfasts every morning. 10/10, crispier than any waffle I’ve gotten at the campus diner too. My roommate is already begging me to make him a batch every Sunday. Only knocked a star because I accidentally added too much salt the first time I made it, oops, that was my bad though.
Wait this is perfect for backcountry camping trips! I’m always looking for lightweight, no-fuss dry mixes I can pack in bear canisters to make hot breakfasts on the trail. I tested a batch of waffles (well, camp waffles on my tiny cast iron waffle iron over the camp stove) last weekend and they crisped up so nice even at 8,000 feet. Game changer for my upcoming fall backpacking trip!
I’ve been making waffles for my grandkids for 50 years, and I’ll be honest, I was skeptical a “new” flour blend could beat my old recipe. Let me tell you, this one gives my classic recipe a run for its money! The crust is so shatteringly crisp, just like the waffles my own mom used to make on her old cast iron waffle iron back in the 60s. I already passed the recipe along to my granddaughter who just got her first apartment.
Wait has anyone tried using this blend for things besides waffles? I made a batch last weekend and have a ton left over, and I’m wondering if it works for fried chicken breading or crispy pancakes? The cornstarch in it makes me think it would make the crunchiest fried chicken crust ever, but I don’t want to waste a bunch of chicken testing it if it’s a flop lol.