
waffle ingredients list
intro
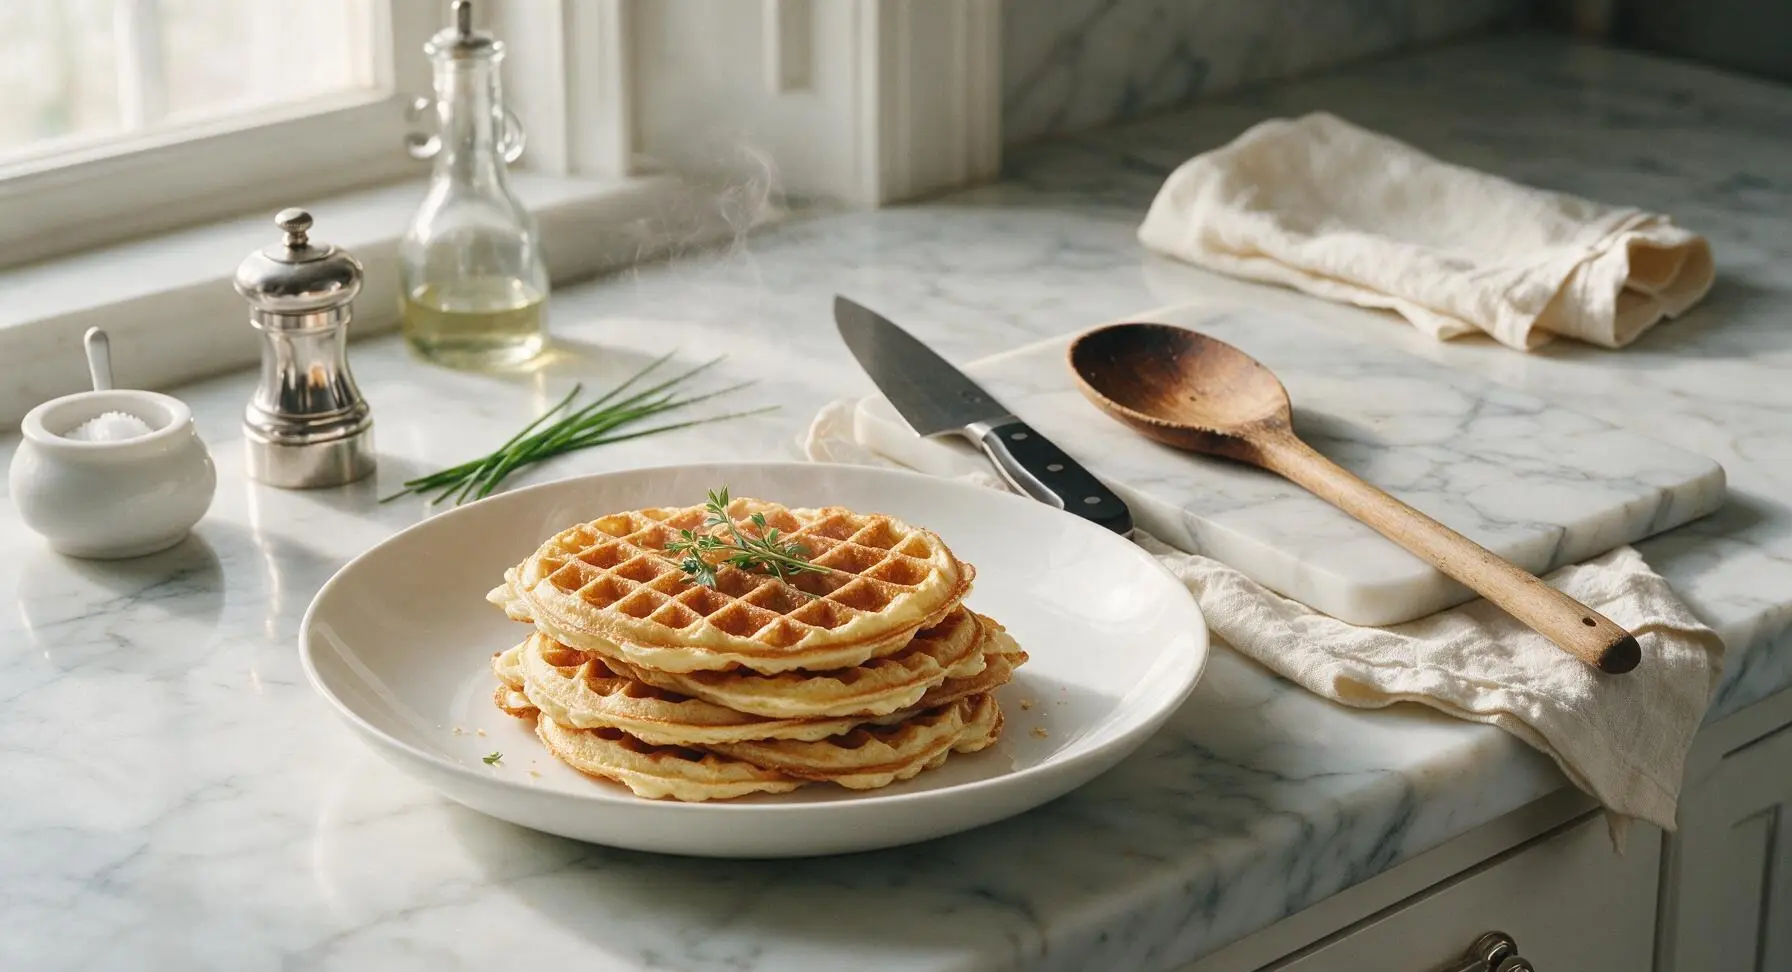
Crisp, golden-edged buttermilk waffles with fluffy, tender centers come together in 25 minutes for a cozy, customizable meal perfect for busy mornings or quick weeknight dinners.
Ingredients
Steps
Preheat Waffle Iron
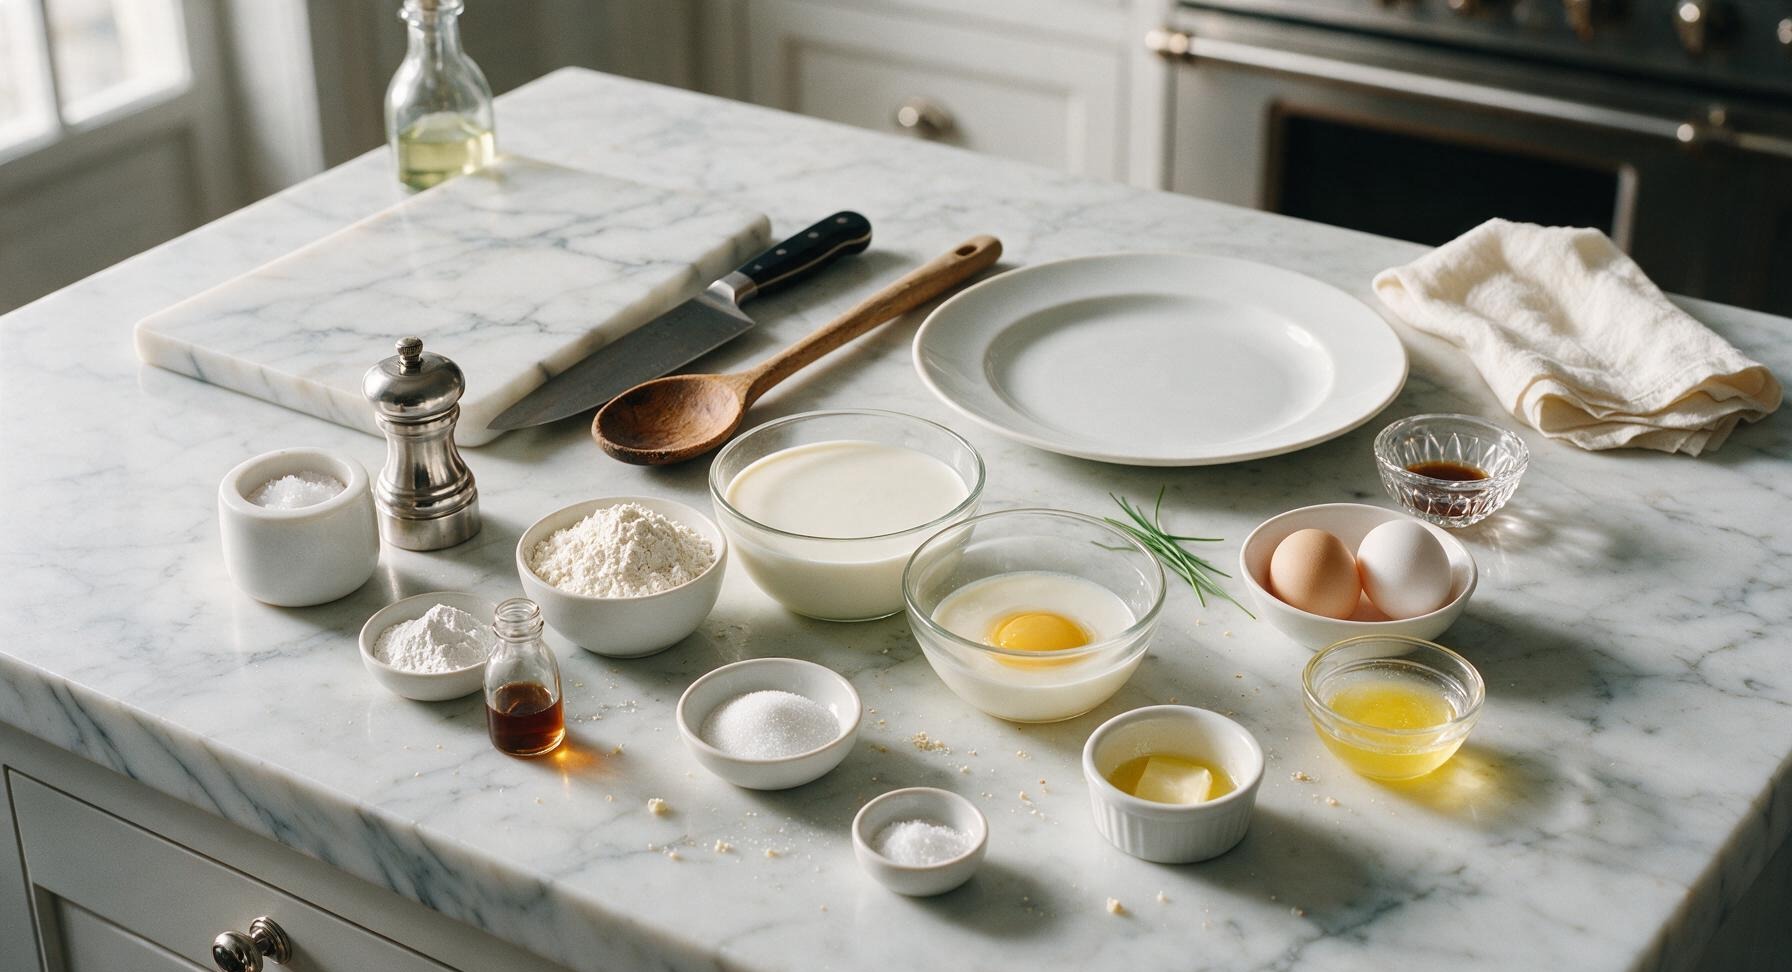
Plug in the matte black waffle iron and set it to medium-high heat (375°F/190°C). Let it preheat fully for 5 minutes; the red indicator light will illuminate while heating, then turn off when it reaches cooking temperature. While it heats, arrange all pre-measured ingredients within easy reach of the mixing bowls to streamline prep.
Whisk Dry Ingredients
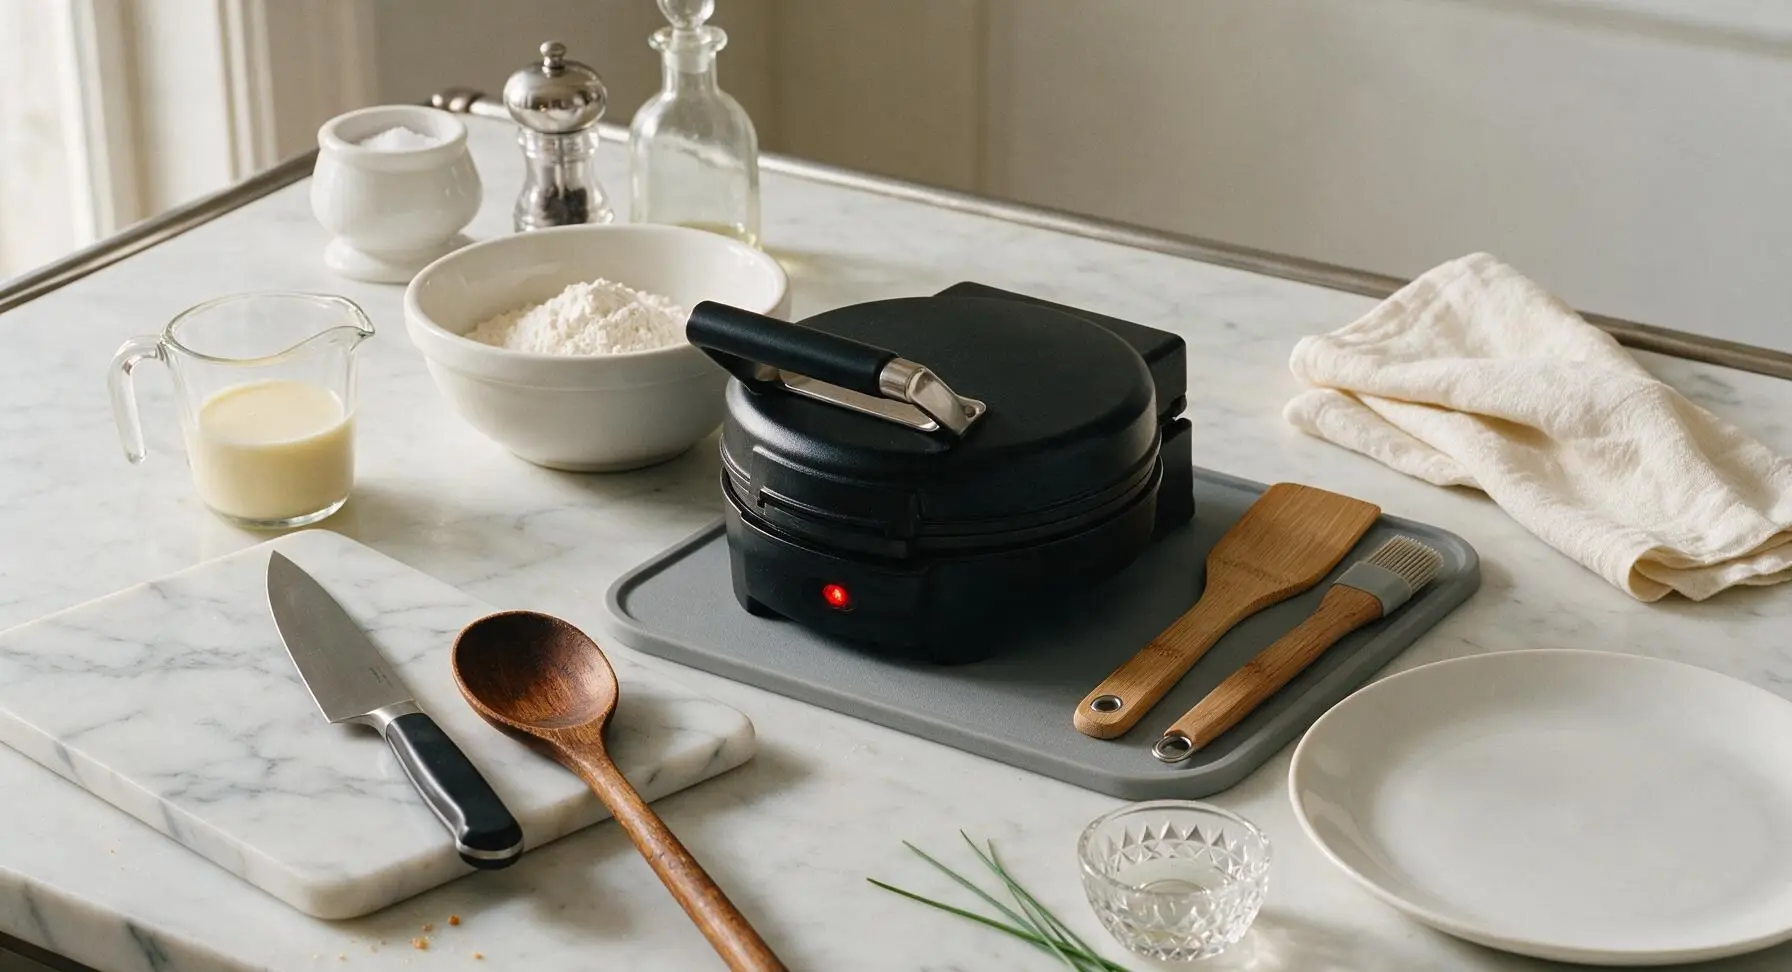
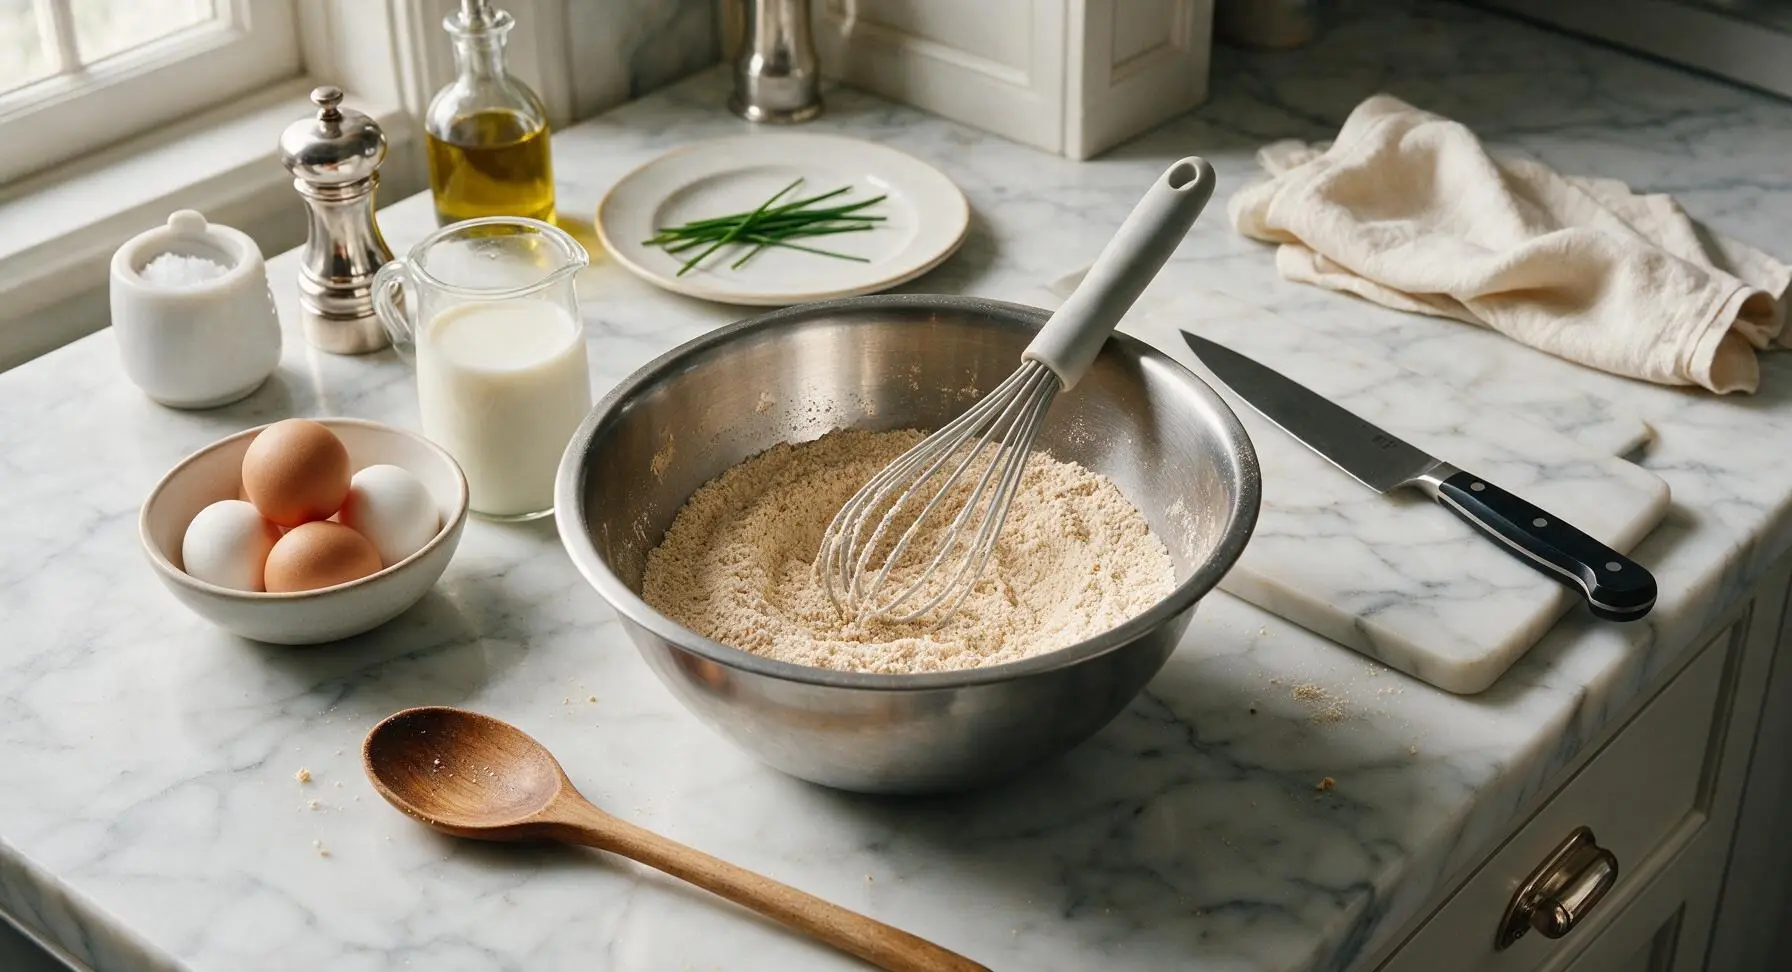
Add the 2 cups (240g) all-purpose flour, 2 tbsp (25g) granulated sugar, 2 tsp (8g) baking powder, and 1/2 tsp (3g) fine sea salt to the medium stainless steel mixing bowl. Use the light gray-handled silicone whisk to stir the dry ingredients for 30 seconds until fully combined, with no visible clumps of baking powder or concentrated salt patches.
Mix Wet Ingredients
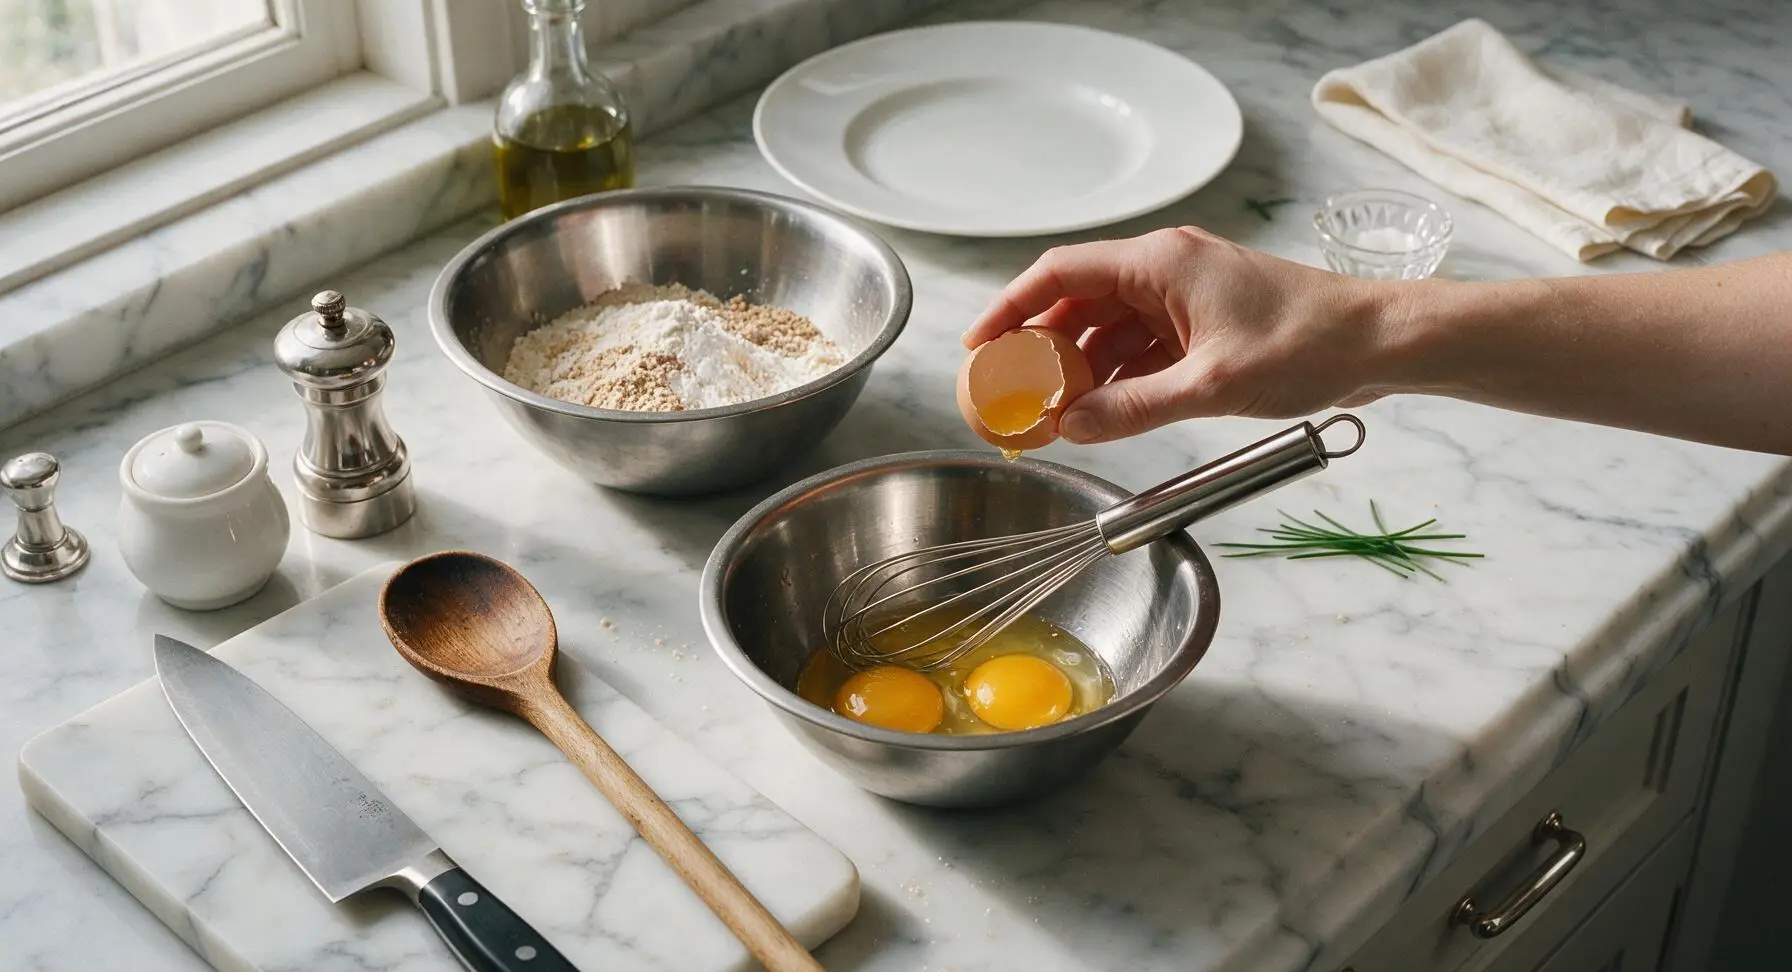
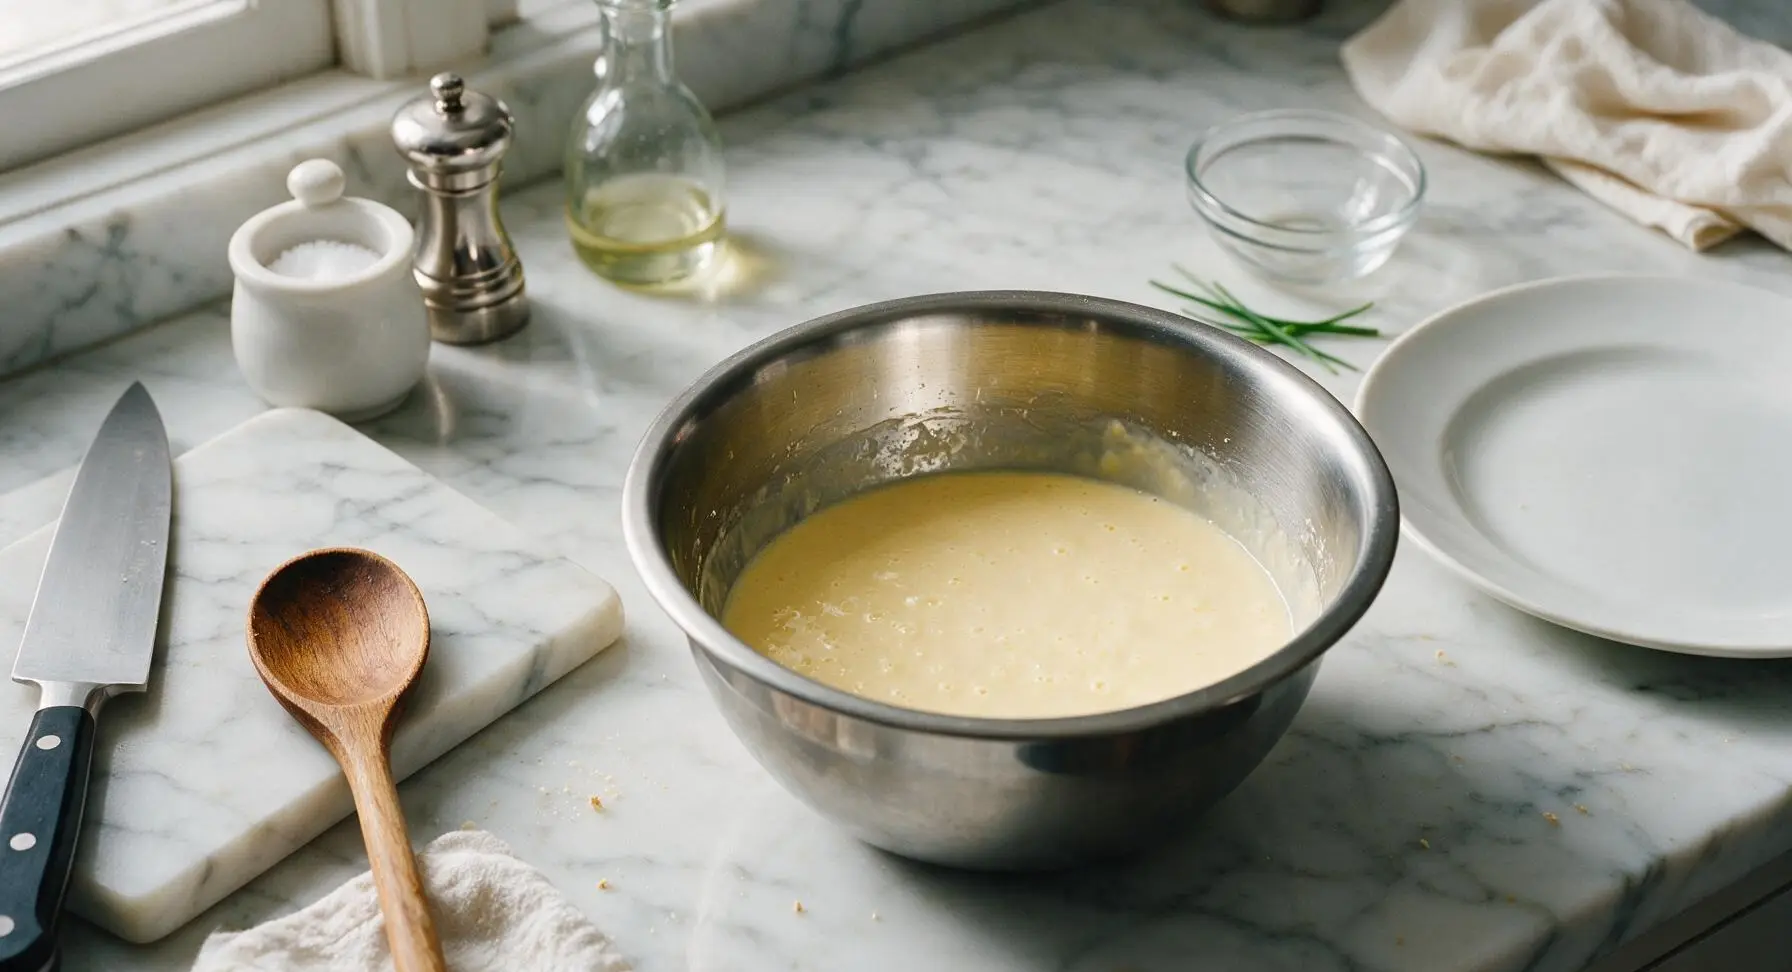
Crack the 2 large eggs into the small stainless steel mixing bowl. Whisk lightly for 20 seconds until yolks and whites are fully combined with no streaks of clear egg white, then stir in the 1 3/4 cups (420ml) buttermilk, 6 tbsp (85g) cooled melted butter, and 1 tsp (5ml) vanilla extract until the mixture is smooth, uniform pale yellow, and free of separated butter streaks.
Combine Batter Gently
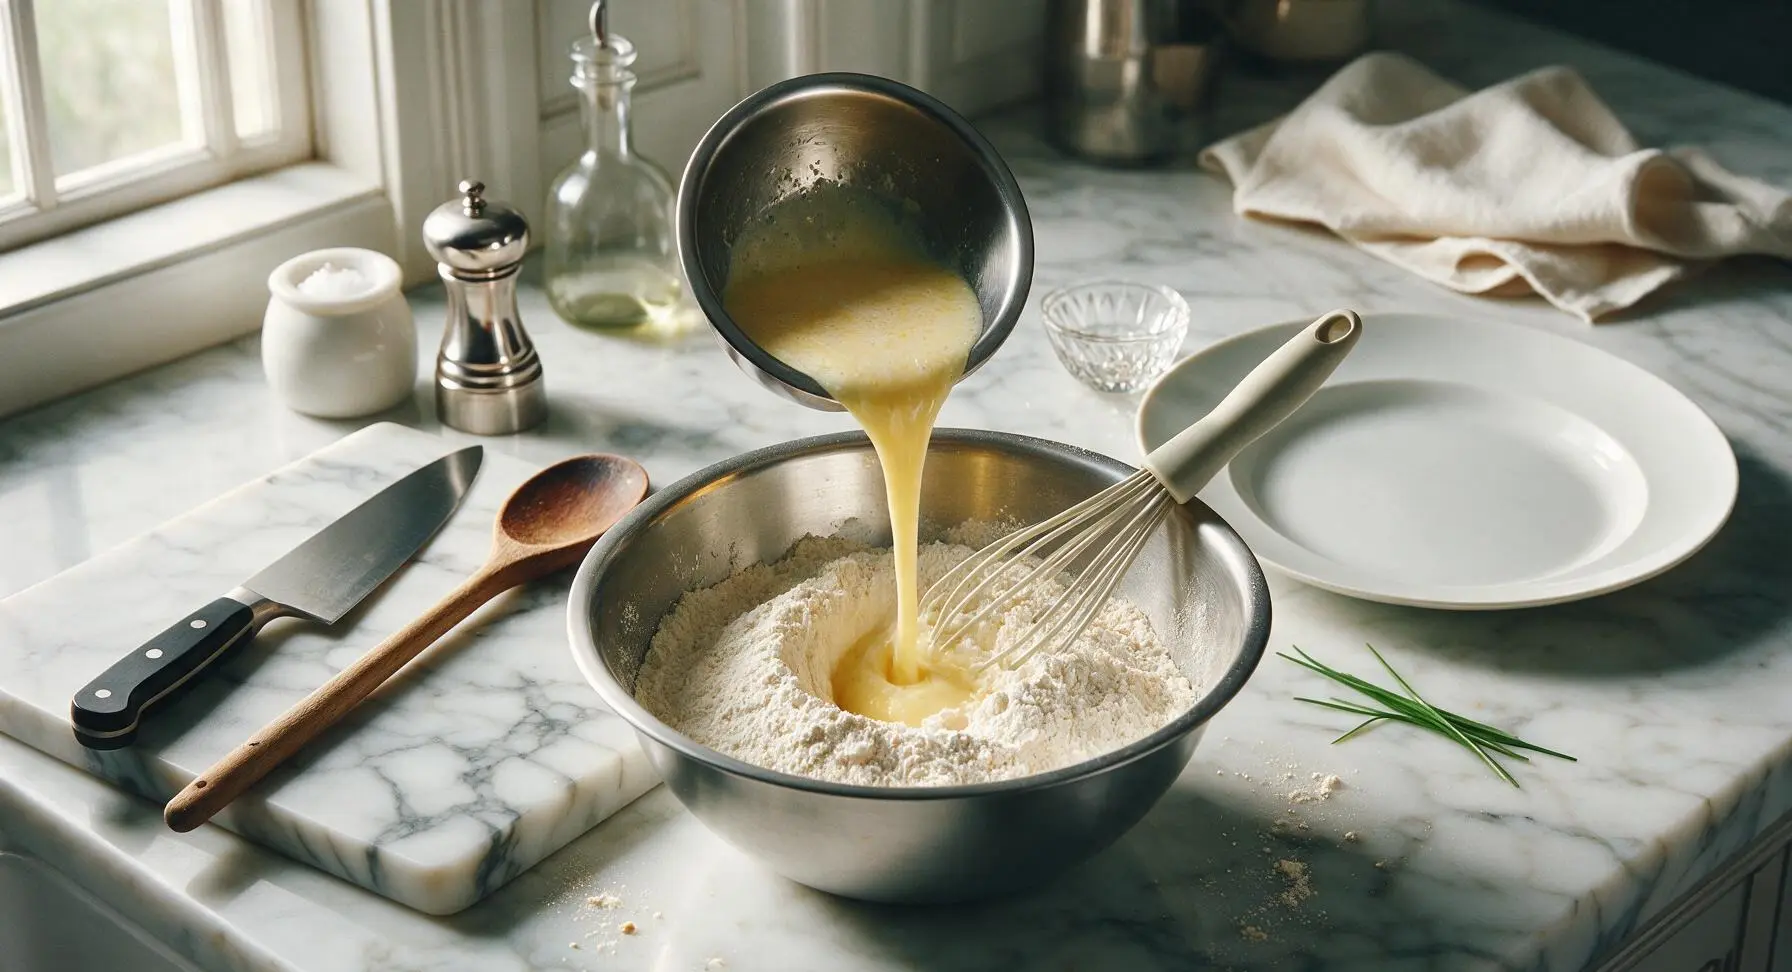
Pour the entire wet ingredient mixture into the medium bowl with the dry ingredients. Use the silicone whisk to stir the batter just until no large dry flour patches remain—stop stirring as soon as the batter comes together; it will be thick, slightly lumpy, and scoopable. Do not overmix, as this develops gluten and creates tough waffles. Let the batter rest for 3 minutes to allow the baking powder to activate and create light, airy texture.
Grease Waffle Plates
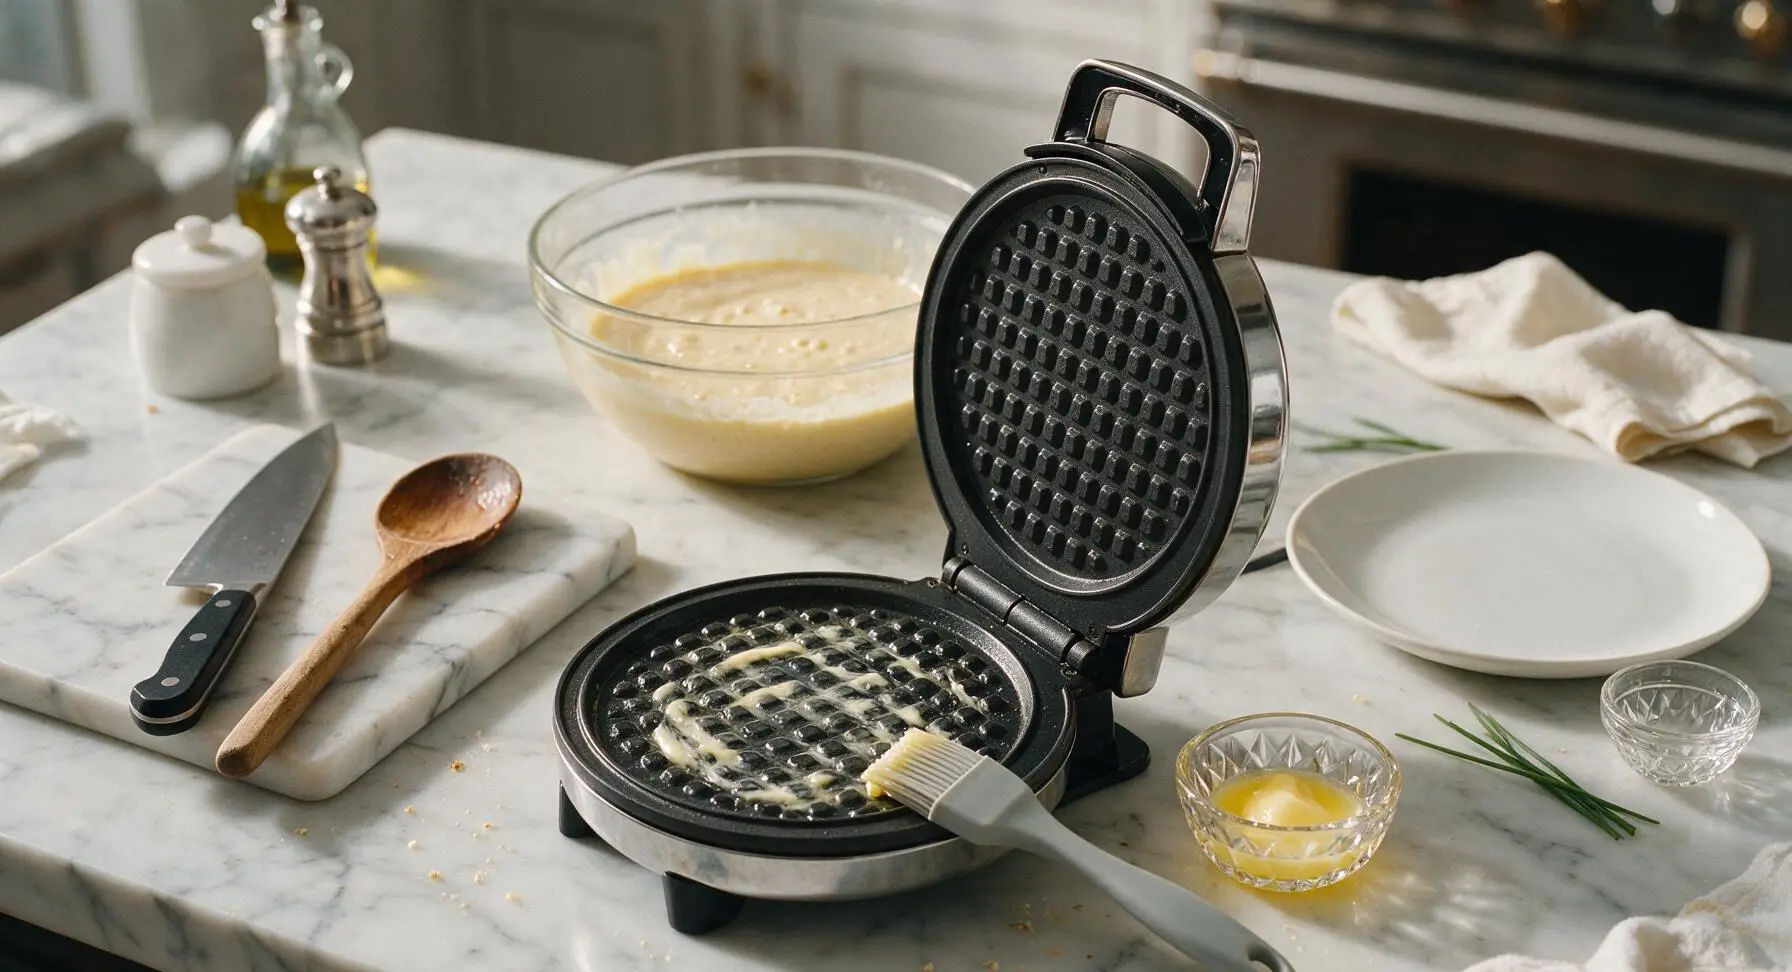
Once the waffle iron is fully preheated (indicator light turns off), dip the light gray silicone basting brush in the reserved 1 tbsp melted butter and brush a thin, even coat across both top and bottom dimpled waffle plates. Take care not to apply excess butter, which will burn and smoke at high heat.
Cook Waffles Until Golden
Use the 1/2 cup measure from the ceramic measuring set to scoop batter and pour it onto the center of the greased bottom waffle plate. Close the lid gently (do not press down hard) and cook for 3 to 4 minutes, until the waffle is deep golden brown, crisp on the raised edges, and no visible steam escapes from the sides of the iron. Do not lift the lid for the first 2 minutes of cooking, as this will tear the partially set waffle.
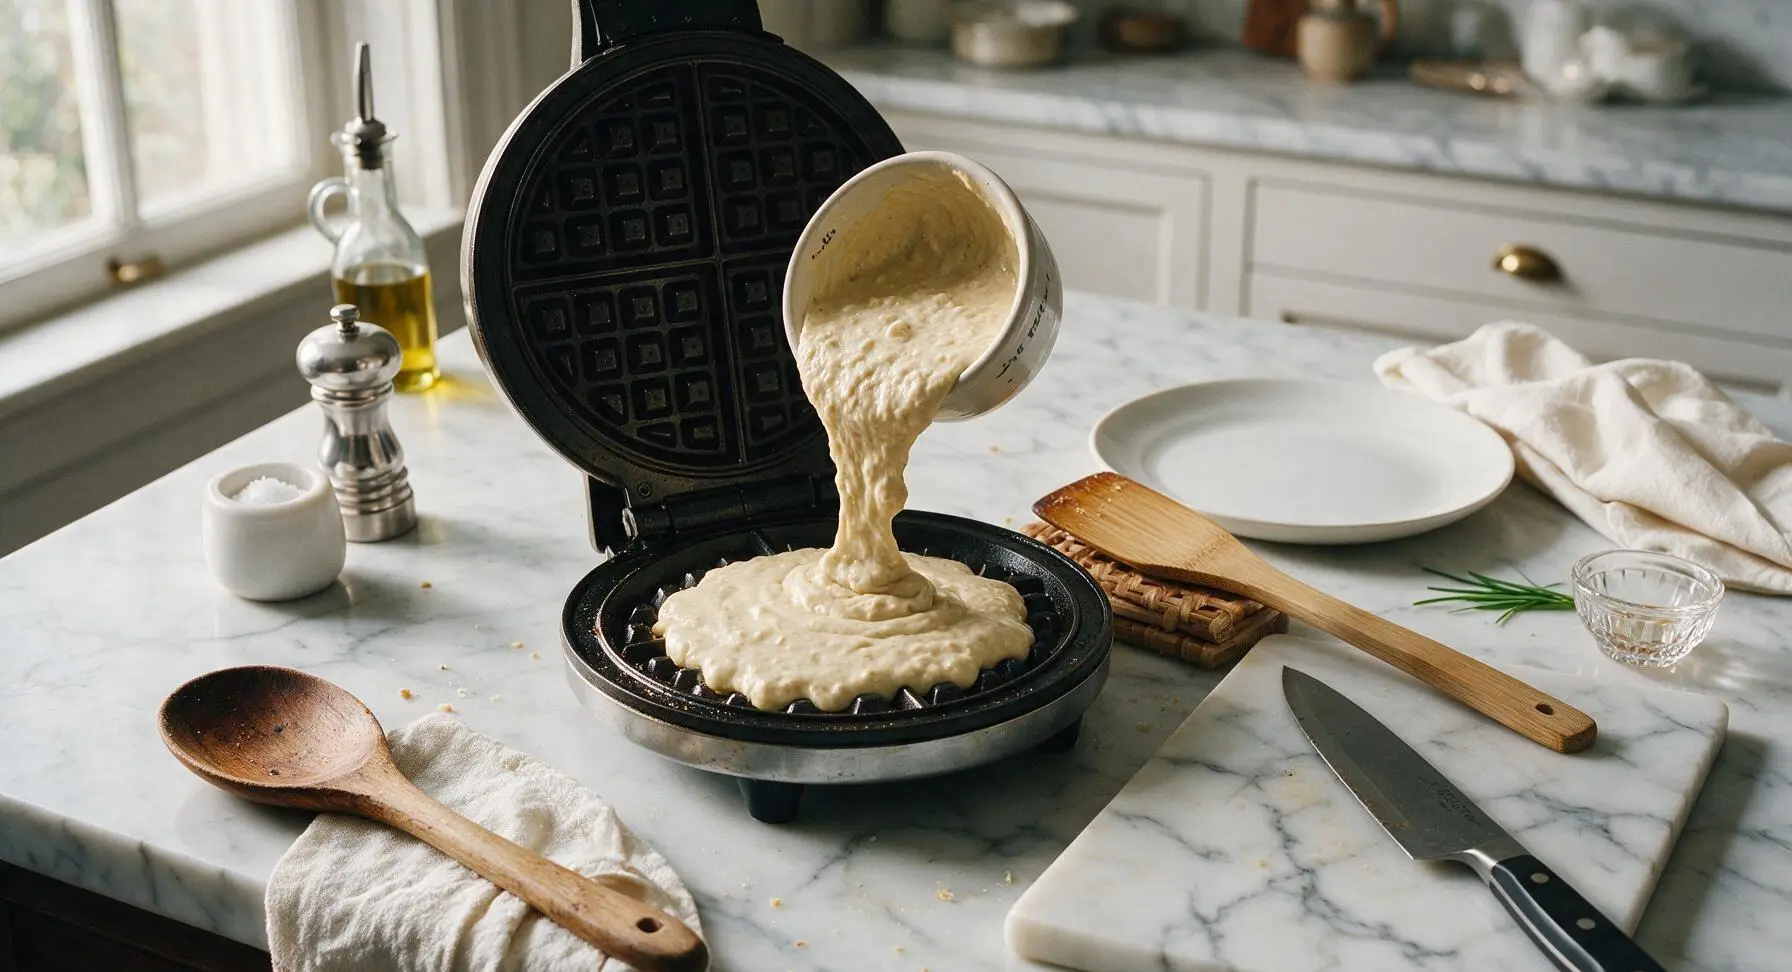
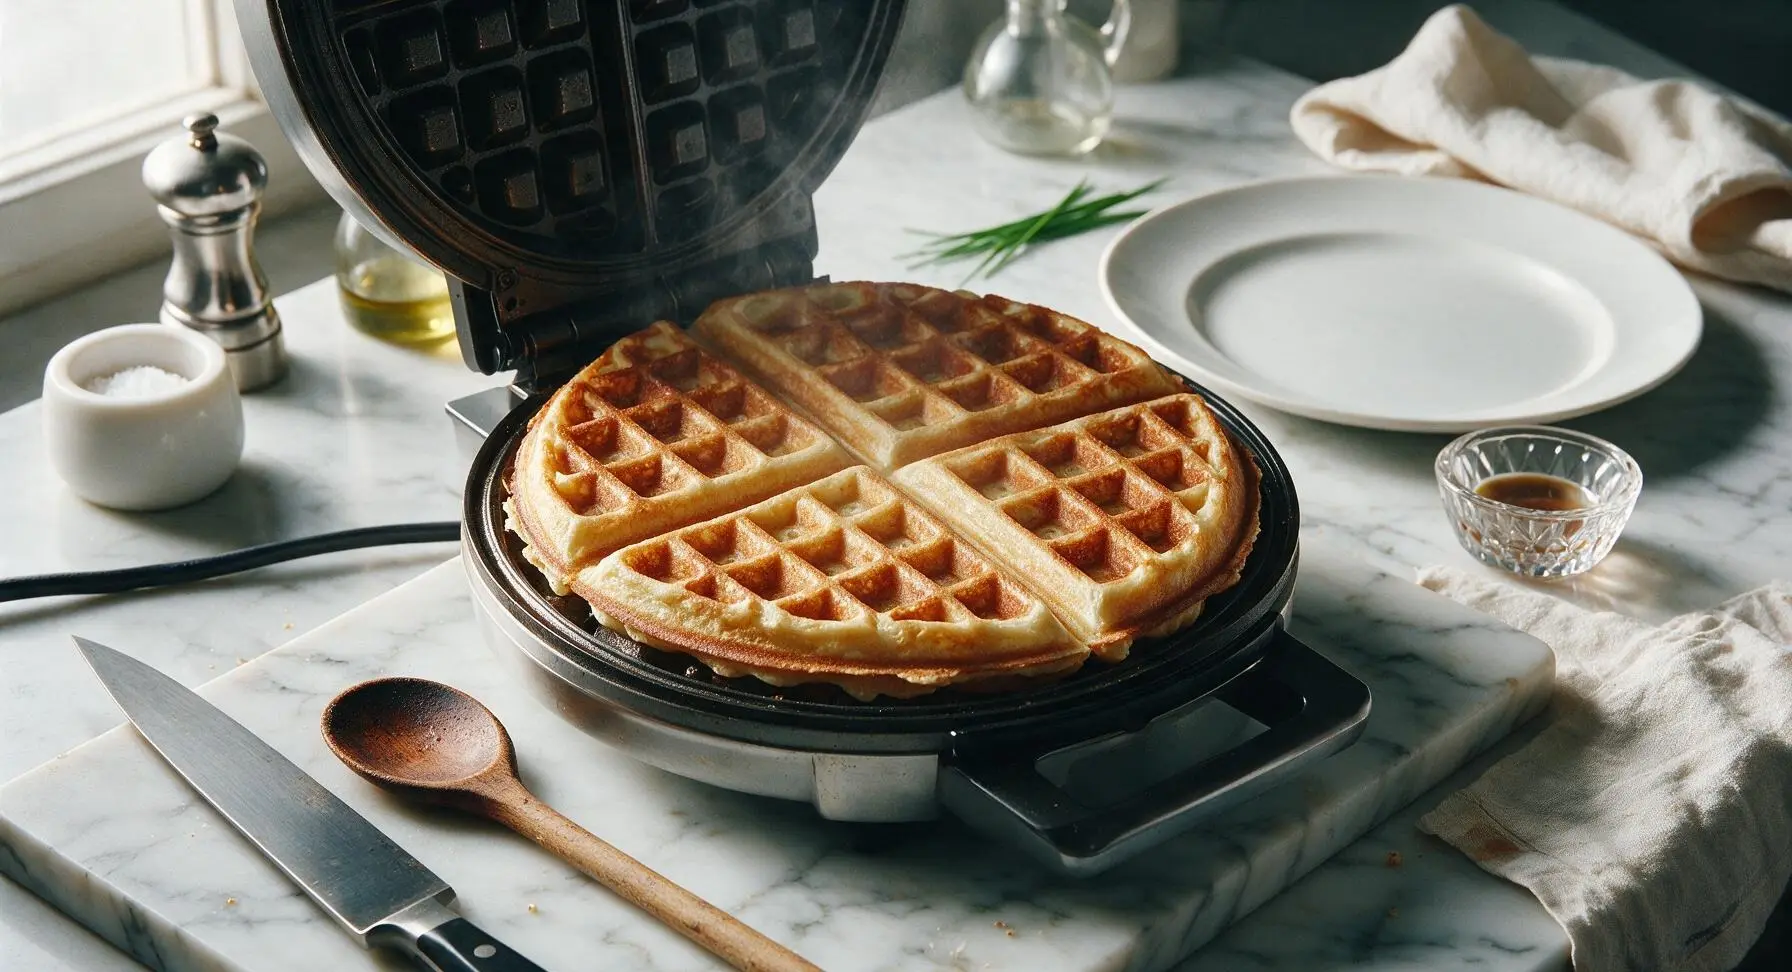
Plate and Serve Warm
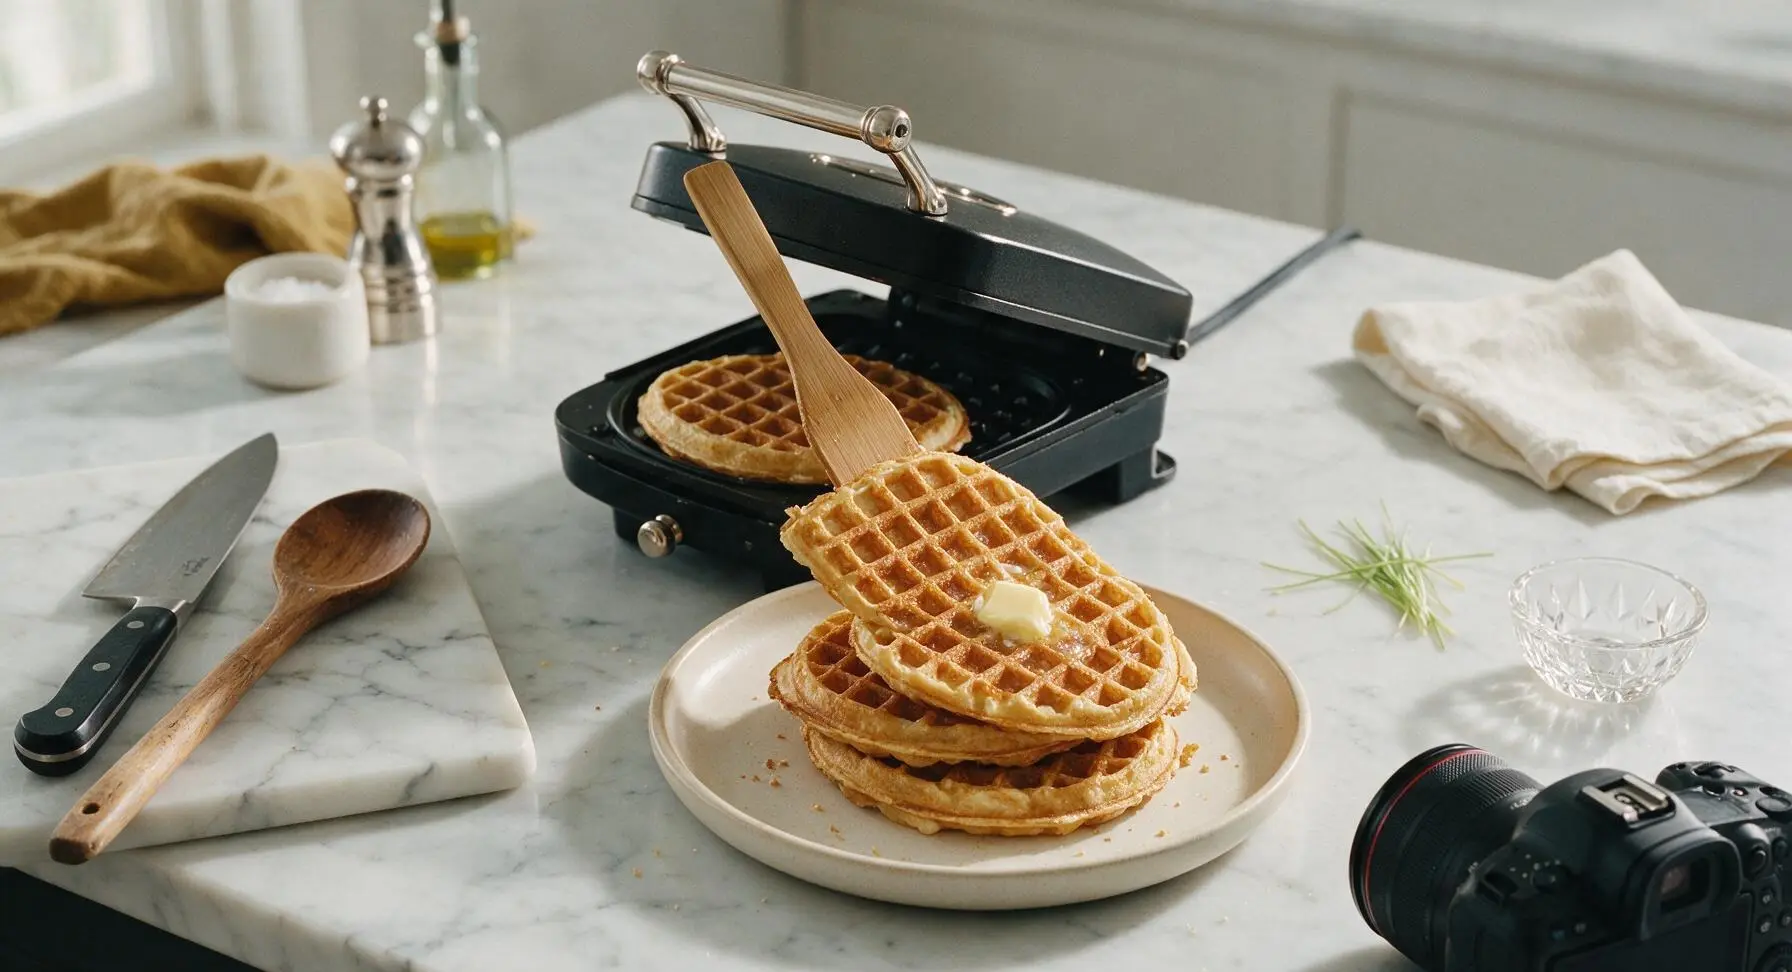
Use the thin bamboo spatula to carefully lift the finished waffle from the iron and transfer it to the matte cream stoneware dinner plate. Repeat the greasing and cooking process with the remaining batter, stacking cooked waffles loosely on the plate to avoid trapping steam. Top with a pat of softened butter, a drizzle of maple syrup, or preferred toppings, and serve immediately while edges are crisp.
Tips
2.Let the batter rest for 3 minutes after mixing: This short pause gives the baking powder time to activate and create tiny air bubbles, which leads to taller, fluffier waffles with a better rise instead of dense, flat results.
3.Keep cooked waffles crisp while making batches: Place finished waffles on a wire rack set over a baking sheet in a 200°F (95°C) oven instead of stacking them directly on a plate. Stacking traps steam, which quickly softens the crisp, golden edges everyone loves.






OMG these are the CRISPIEST waffles I’ve ever made at home!!! I’ve tried so many buttermilk waffle recipes that turn out soggy 2 minutes after they hit the plate, but these stayed crispy even when I loaded them up with strawberries and whipped cream for my kid’s Saturday sleepover. Total game changer. Quick question—can I make the batter the night before for meal prep?
Made these for my grandkids when they visited last weekend, and they gobbled them up faster than I could make them! I added a dash of cinnamon to the batter like I always do, and it paired so nicely with the tangy buttermilk. Only thing is my waffle maker is old, so I had to cook them a full minute longer than the recipe said to get that perfect crunch.
SO good! I used these as the base for a chicken and waffle dinner for my partner last night, and they said it was better than the brunch spot we go to downtown. The crispiness holds up even under a drizzle of hot honey and a piece of fried chicken. 10/10 will be making these every weekend from now on.
Wait, I didn’t have buttermilk on hand so I used the milk + vinegar substitute, and they still turned out amazing? I was so worried they’d be flat, but they puffed up perfectly and had that same crispy edge everyone’s talking about. Great easy recipe for a quick weekday breakfast before school drop off.
Brought a whole batch of these to my neighborhood block party potluck last weekend, and I left with an empty platter and 8 people asking for the link. I cut them into quarters so people could grab them as finger food with little cups of syrup and Nutella for dipping. Only complaint? I wish I made a double batch, they went way faster than the pancakes I brought last month.
These are solid! Cook time was exactly as advertised, super easy even for someone who burns toast half the time (read: me). I topped mine with a scoop of vanilla ice cream for a late night waffle sundae last night, zero regrets.
Does anyone know if these freeze well? I make breakfast ahead for the whole week and usually freeze waffles to pop in the toaster on busy mornings. Hoping these hold up because the flavor looks insane.
Ugh, I followed the recipe exactly but mine came out a little softer than I wanted? Did I maybe pour too much batter into my waffle iron? My iron is the standard 7 inch size, I poured almost a full cup per waffle. Flavor was amazing though, that buttermilk tang is chef’s kiss.
Has anyone tried making these with a 1:1 gluten free flour blend? My youngest has celiac so I’m always looking for easy weekend breakfast recipes I can adapt for the whole family without making two separate batches.
Made these for my monthly brunch with the girls, paired with mimosas, fresh fruit, and a side of bacon. Everyone was raving the whole time! The best part is how little cleanup there is, since you just mix the dry and wet ingredients separately then combine. No fancy equipment needed, total win.
Game. Changer. My twins are super picky eaters and usually turn their nose up at any homemade breakfast that’s not frozen dinosaur-shaped waffles, but they ate two whole of these each this morning and asked if we can have them again tomorrow. Didn’t even fight me when I put blueberries on top. I’m officially saving this recipe forever.
I added a half cup of shredded cheddar and a dash of cayenne to the batter for savory waffles to go with fried chicken, and OH MY GOODNESS. The tang of the buttermilk, the crispy edges, the little kick of spice? Absolute perfection. 10/10, this base recipe is so versatile for sweet or savory takes.
Super easy to make in my tiny dorm waffle maker! I don’t have a lot of kitchen equipment, just a bowl and a whisk, and these turned out perfect first try. Way better than the dining hall waffles, my roommate is already begging me to make them again this weekend.
Made these before a big day hike last weekend, and they kept me full for almost 4 hours on the trail! I slathered them with peanut butter and banana slices for extra protein, and they didn’t get soggy even wrapped in foil in my pack. Such a great portable breakfast option for early mornings out.
I’ve been making buttermilk waffles for 40 years, and I have to say this recipe is right up there with my mama’s. The secret to that extra crisp, which this recipe nails, is making sure your melted butter isn’t too hot when you mix it in, and not overmixing the batter. I served these with warm peach compote for Sunday supper after church, and the whole family loved them.
Love that this recipe uses simple pantry staples I already have on hand! I hate recipes that require a random specialty ingredient I’ll use once and then let go bad in the back of my fridge. These came together in 10 minutes, cook time was fast, and they taste way fancier than the effort they take.
15 minute cook time is NO JOKE! I rolled out of bed 20 minutes before my kid’s bus was supposed to arrive, threw these together, and we both had hot, crispy waffles before he had to run out the door. No crazy prep, no long wait time, this is going straight into my weekday rotation.
I topped these with caramel sauce, toasted pecans, and a dollop of whipped cream for my birthday breakfast, and it was better than any restaurant waffle I’ve ever paid $15 for. The outside is shatteringly crisp, the inside is light and fluffy, that buttermilk tang cuts through the sweet toppings perfectly. I will never use a different waffle recipe again.