
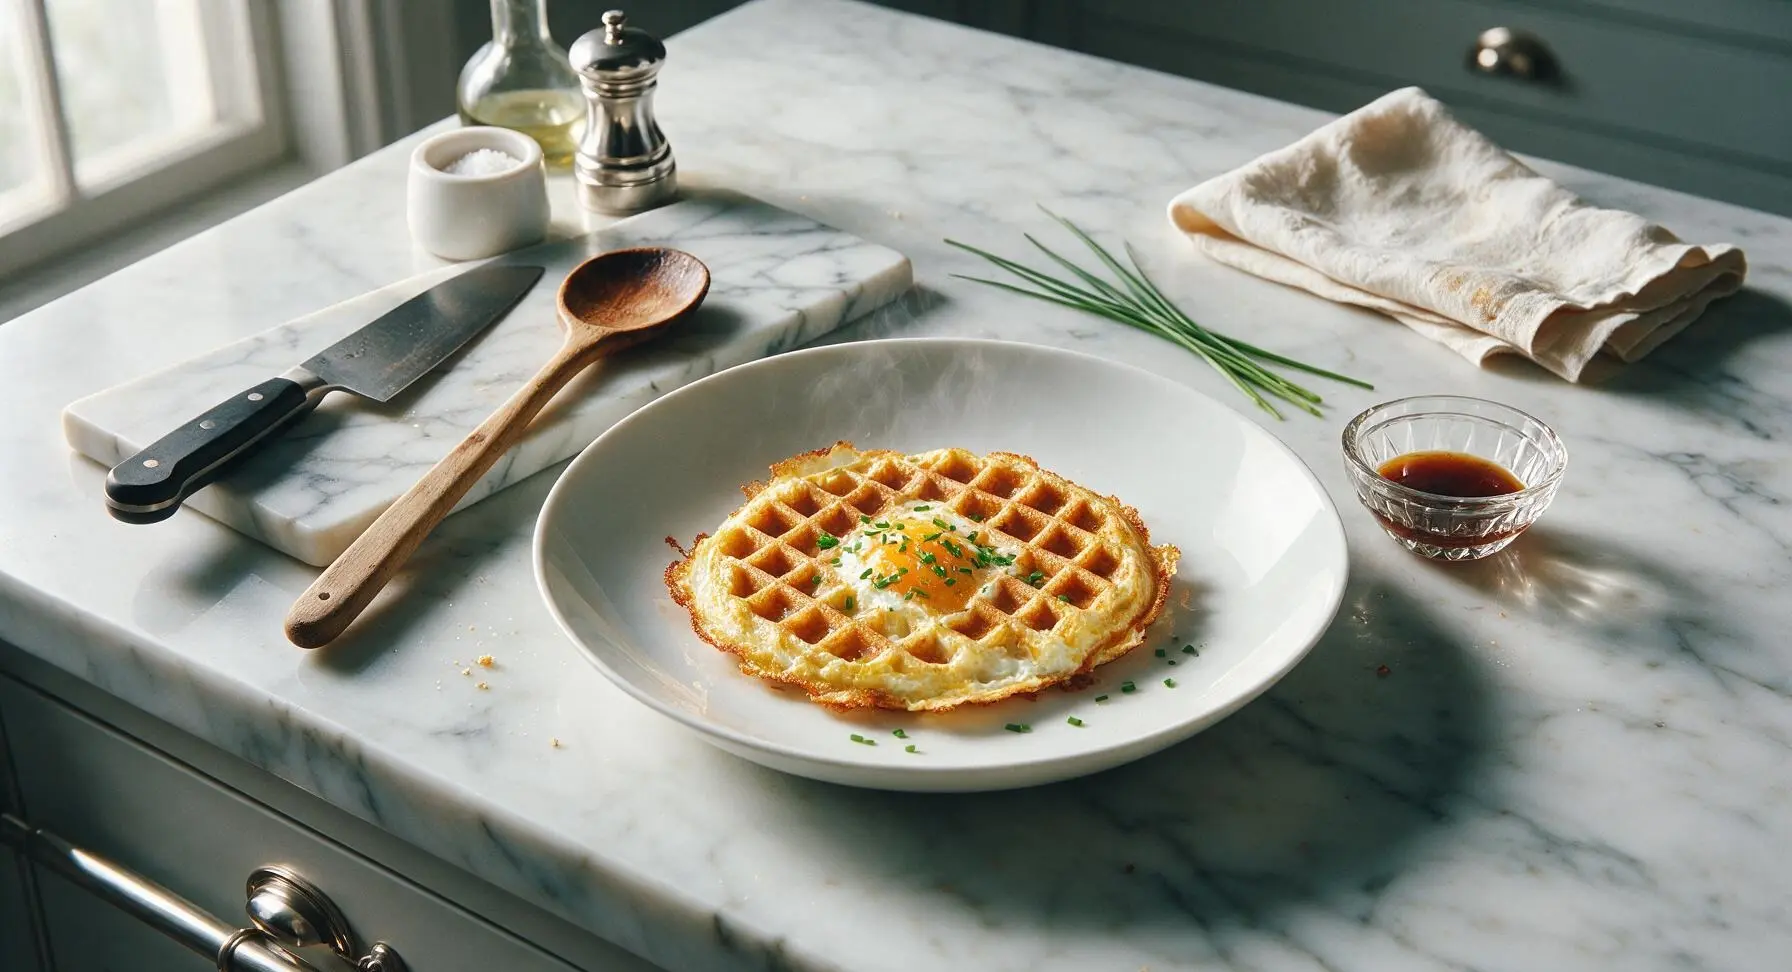
waffle iron eggs

title 1
waffle iron eggs
⏱️ cook time 4 minutes
🍽️ servings 4
⚡ Difficulty easy

intro

Crispy-edged, fluffy waffle iron eggs cook in 4 minutes with no flipping, minimal cleanup, and customizable mix-ins for a fast, satisfying any-time meal.

Ingredients
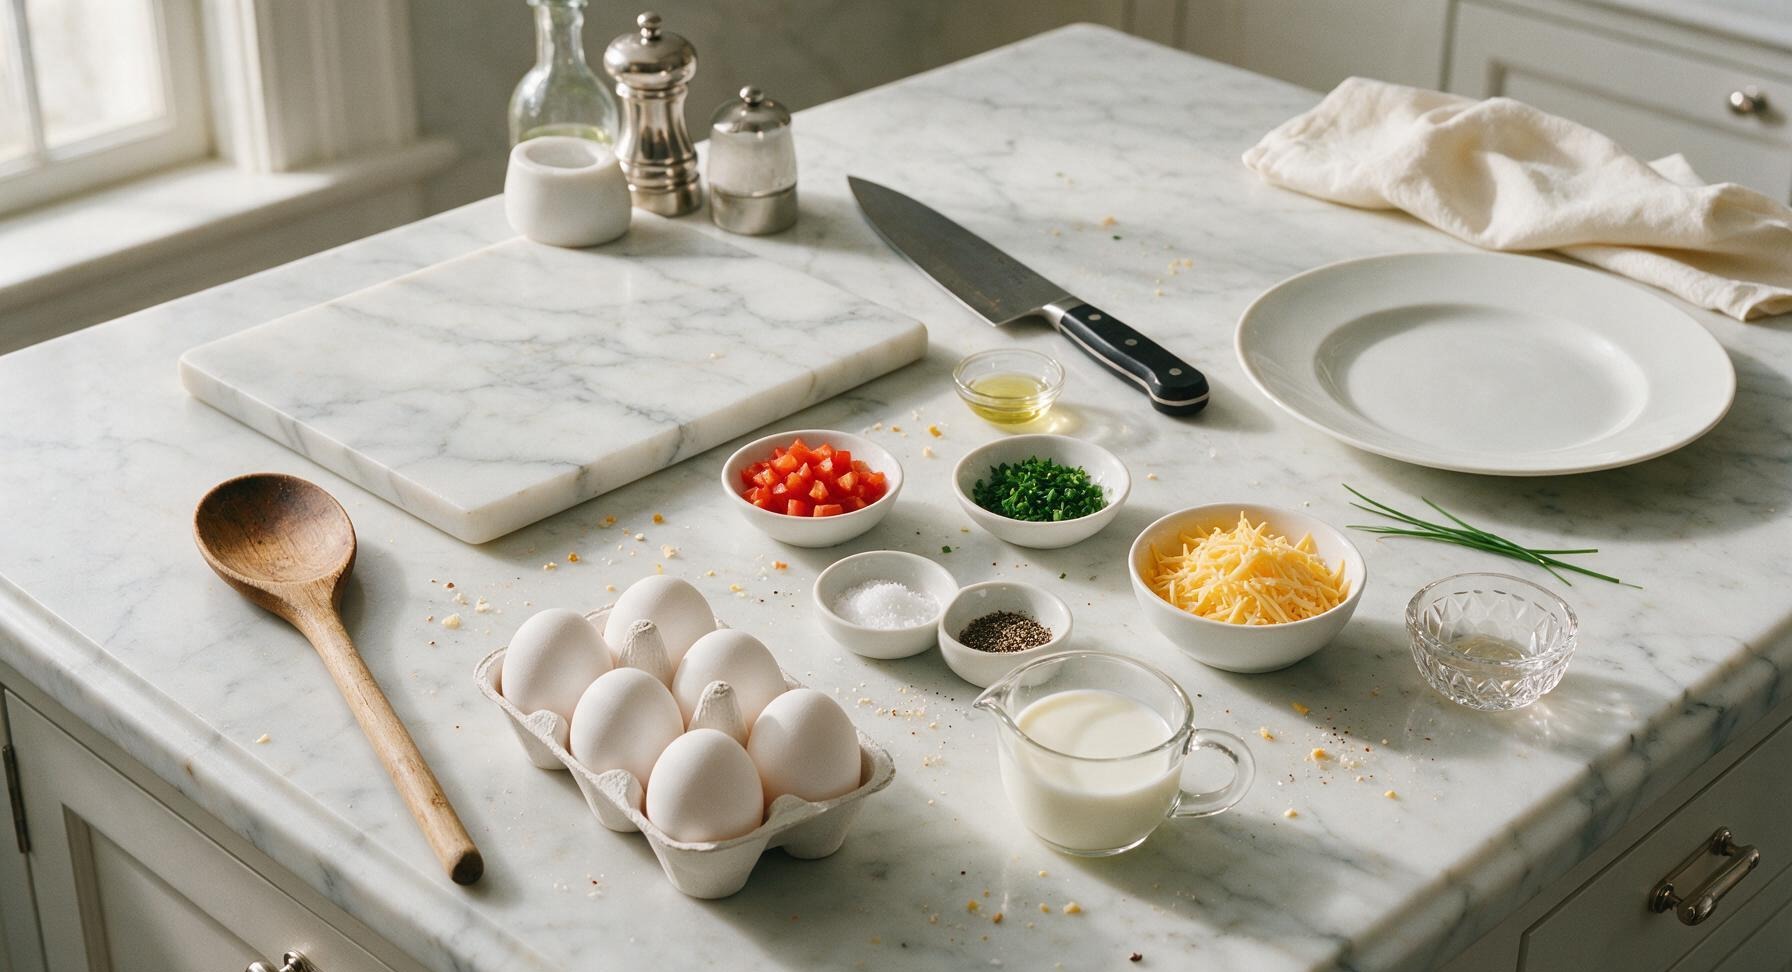
Large eggs 8 each
Whole milk 1/4 cup
Shredded sharp cheddar cheese 1/2 cup
Red bell pepper 1/4 cup, finely diced
Fresh chives 2 tbsp, chopped
Kosher salt 1/2 tsp
Freshly ground black pepper 1/4 tsp
Neutral cooking oil (or non-stick spray) 1 tsp

Steps

1

Preheat the Waffle Iron

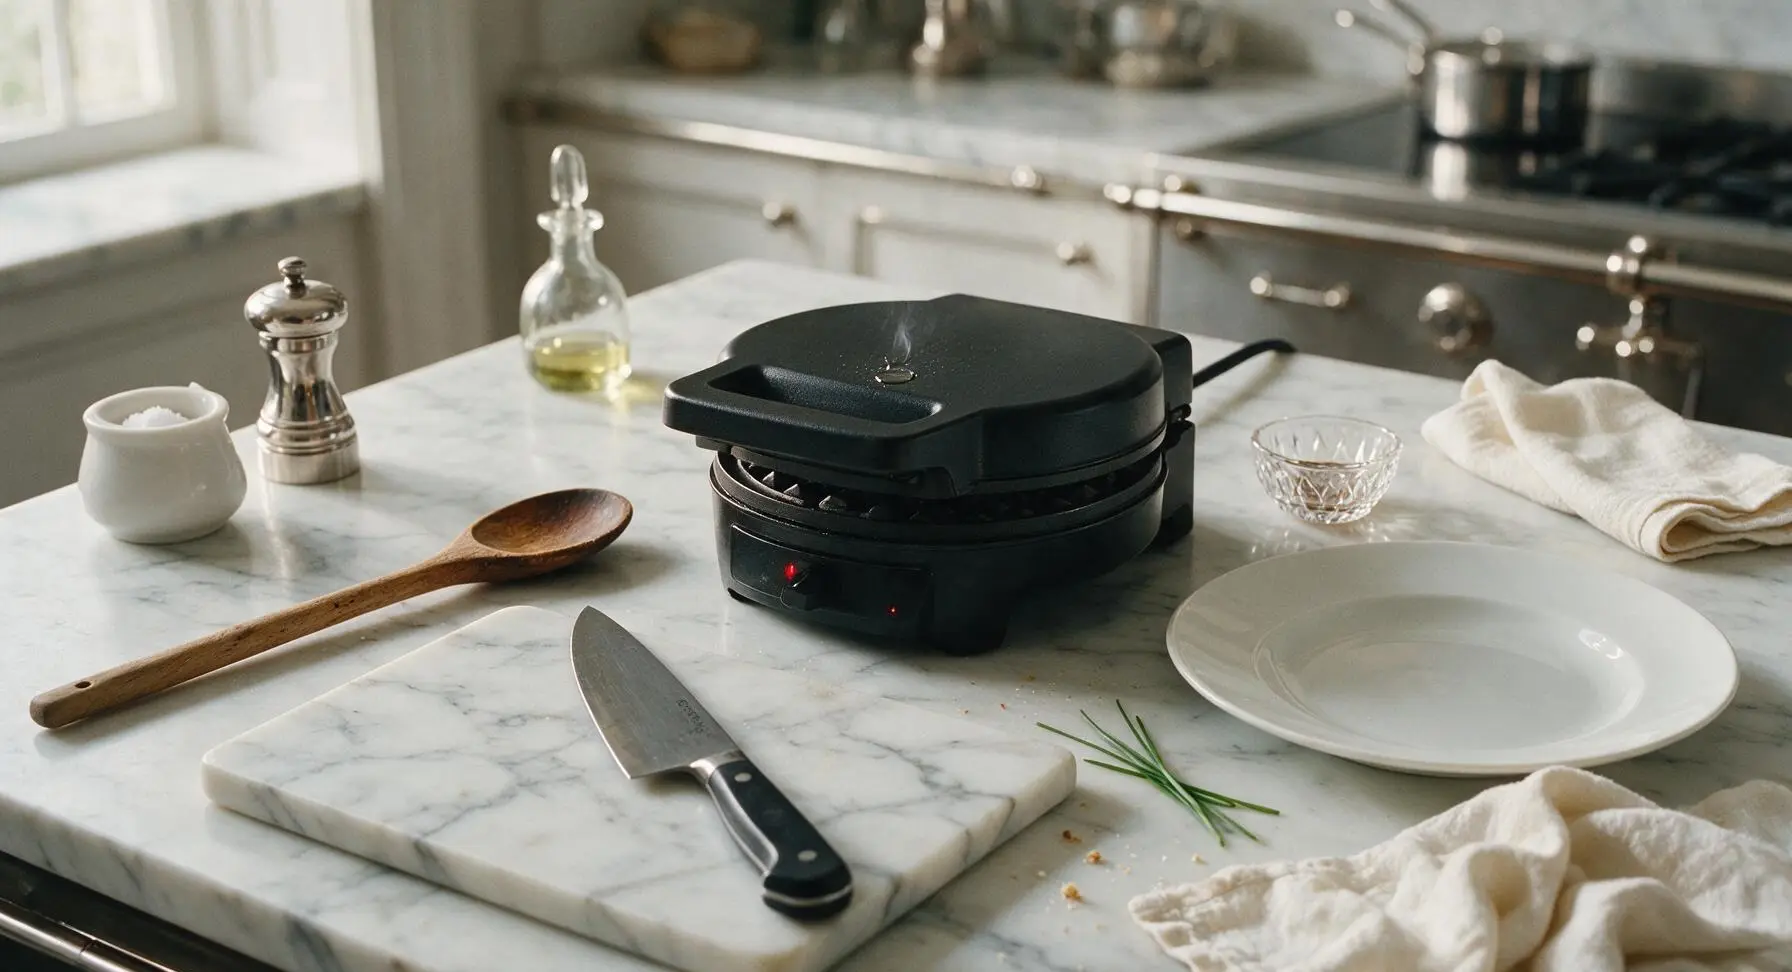
Plug in the matte black waffle iron, close the lid, and preheat to medium-high heat (375°F/190°C) for 3 minutes, until the surface is hot enough that a drop of water sizzles and evaporates within 2 seconds of contact. Do not oil the surface yet.
Step 1
step1:Preheat the Waffle Iron
2

Chop Mix-ins Finely

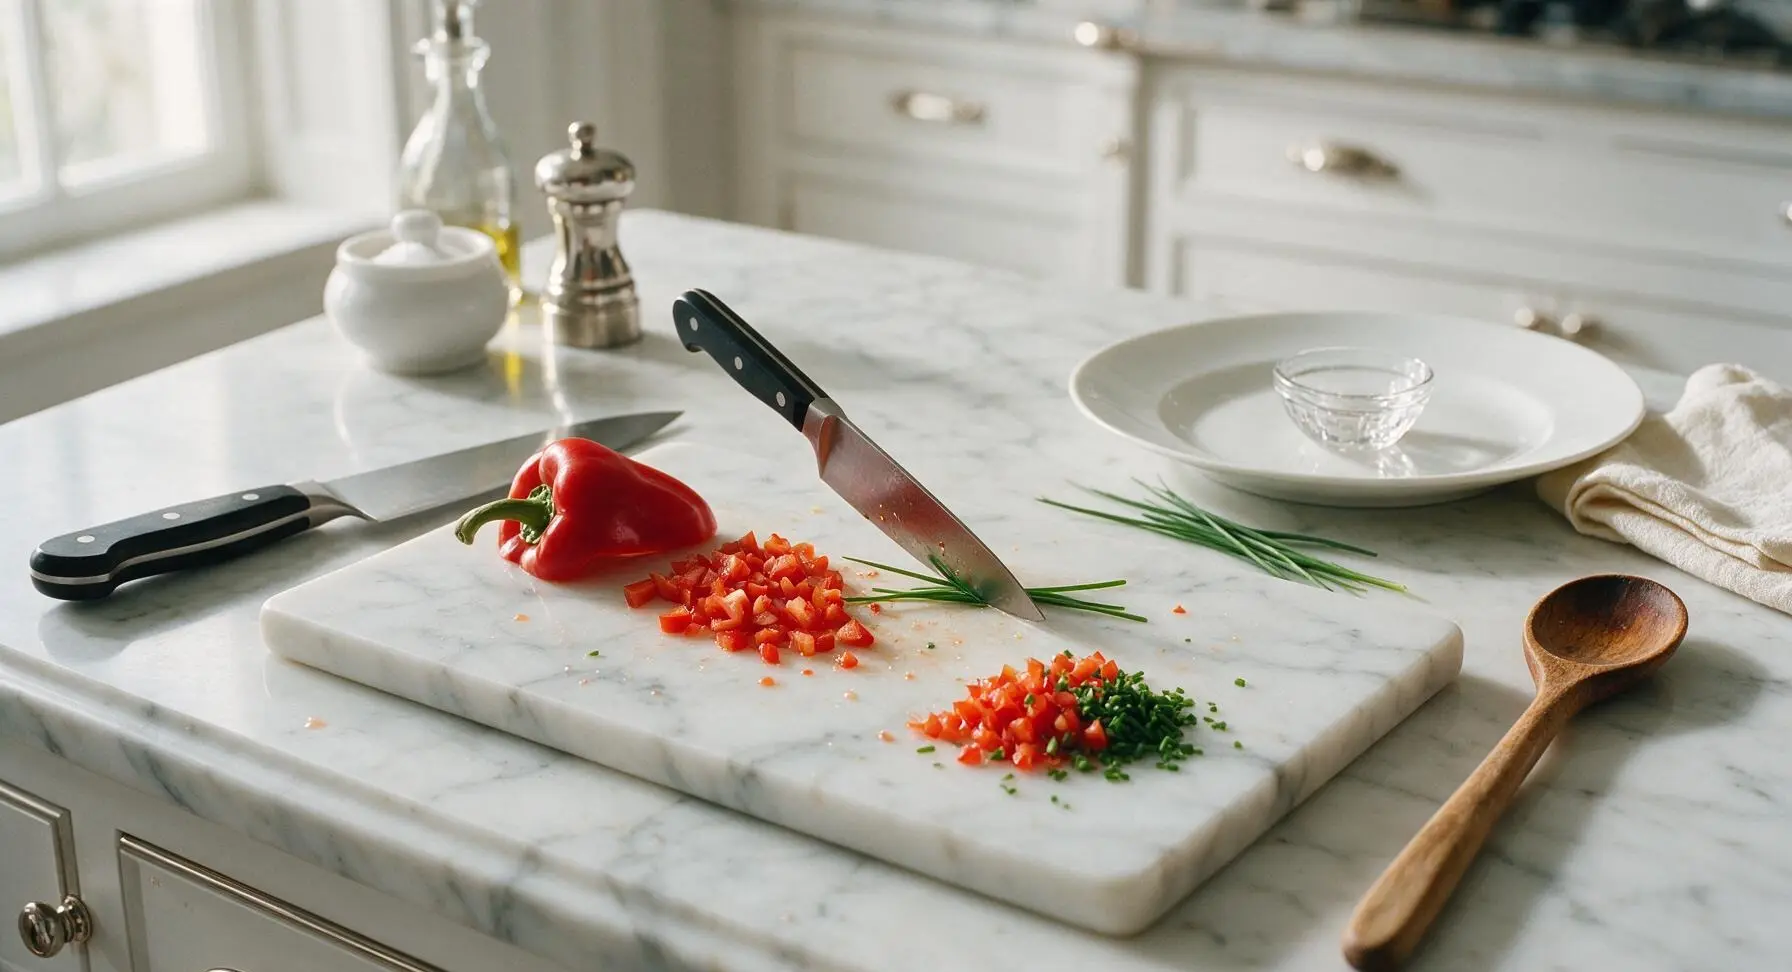
Place the red bell pepper on the beechwood cutting board. Use the 3-inch paring knife to dice it into 1/8-inch pieces, so they cook quickly without getting stuck in waffle iron grooves. Chop 2 tablespoons of fresh chives from the potted plant into 1/4-inch pieces, setting 1 teaspoon aside for garnish.
Step 2
step2:Chop Mix-ins Finely
3

Whisk Egg Mixture

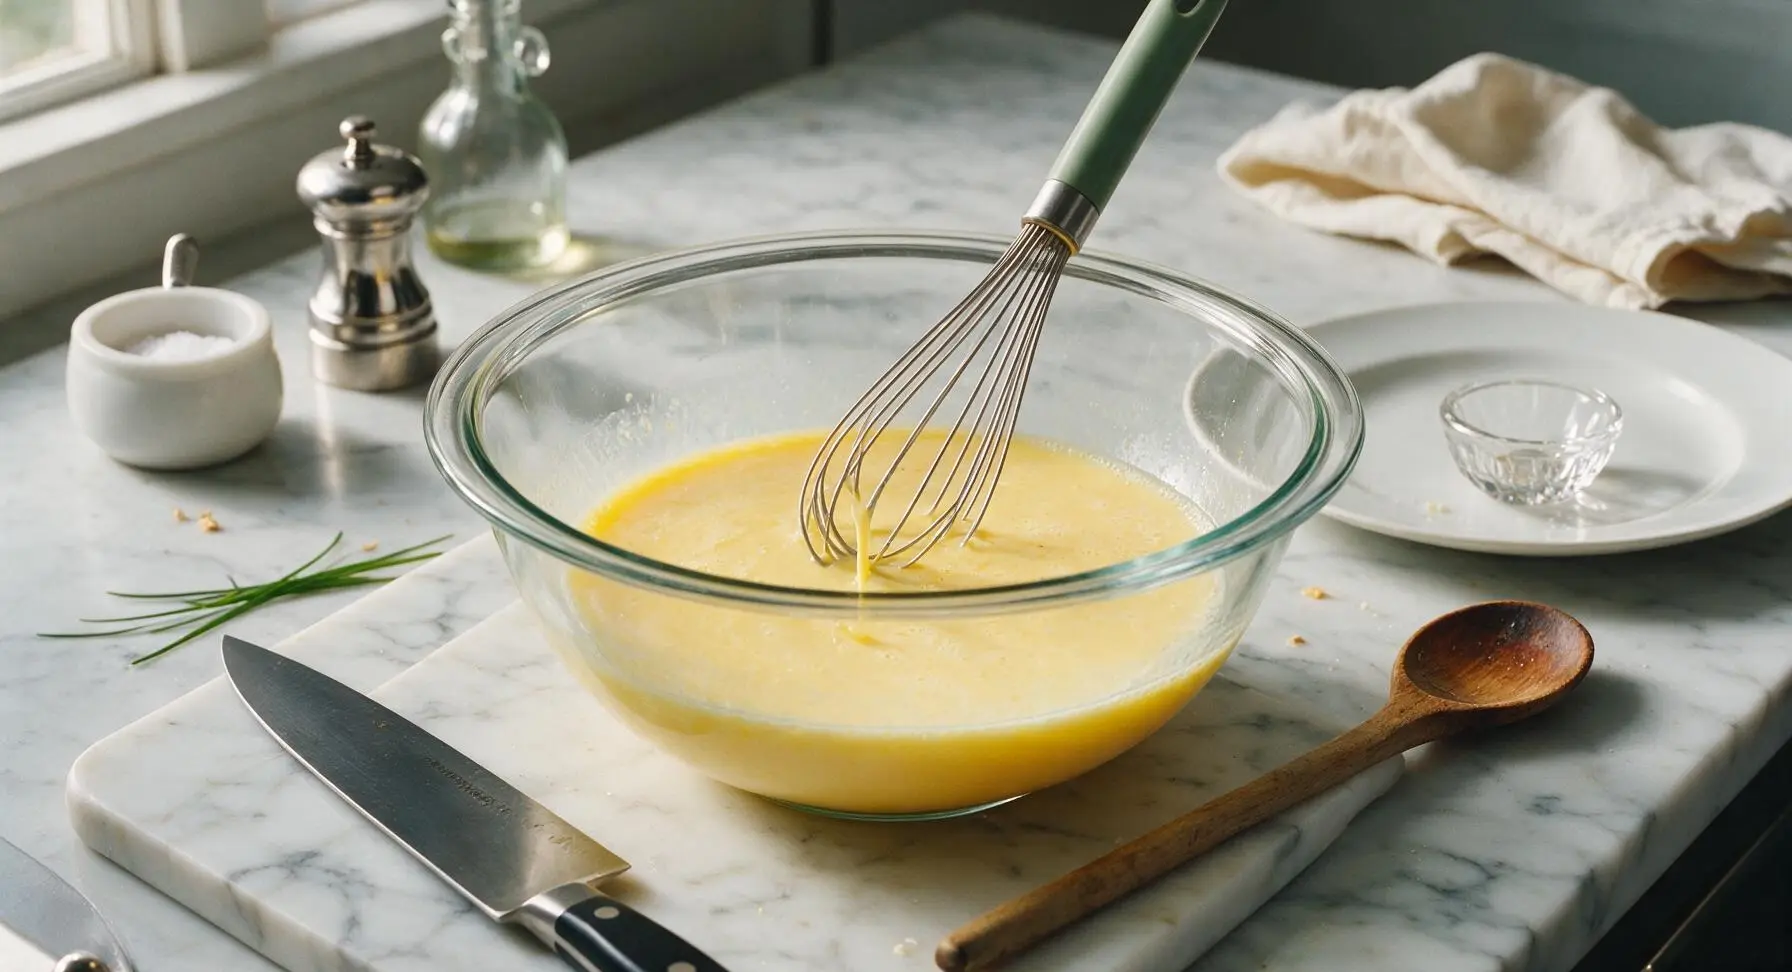
Crack all 8 large eggs into the 2-quart clear glass mixing bowl. Add 1/4 cup whole milk from the measuring cup, 1/2 teaspoon kosher salt, and 1/4 teaspoon black pepper. Use the stainless steel whisk with sage green handle to whisk the mixture for 45 seconds, until yolks and whites are fully combined, with no streaks of clear white remaining, and the surface is slightly frothy.

Step 3
step3:Whisk Egg Mixture
Step 3
step3:Whisk Egg Mixture
4

Fold in Mix-ins

Add the diced red bell pepper, 1 tablespoon of chopped chives, and 1/2 cup shredded sharp cheddar cheese to the whisked egg mixture. Use the whisk to gently fold the ingredients in for 10 seconds, just until evenly distributed—do not overmix, as this will make eggs tough.

Step 4
step4:Fold in Mix-ins
5

Grease Waffle Plates

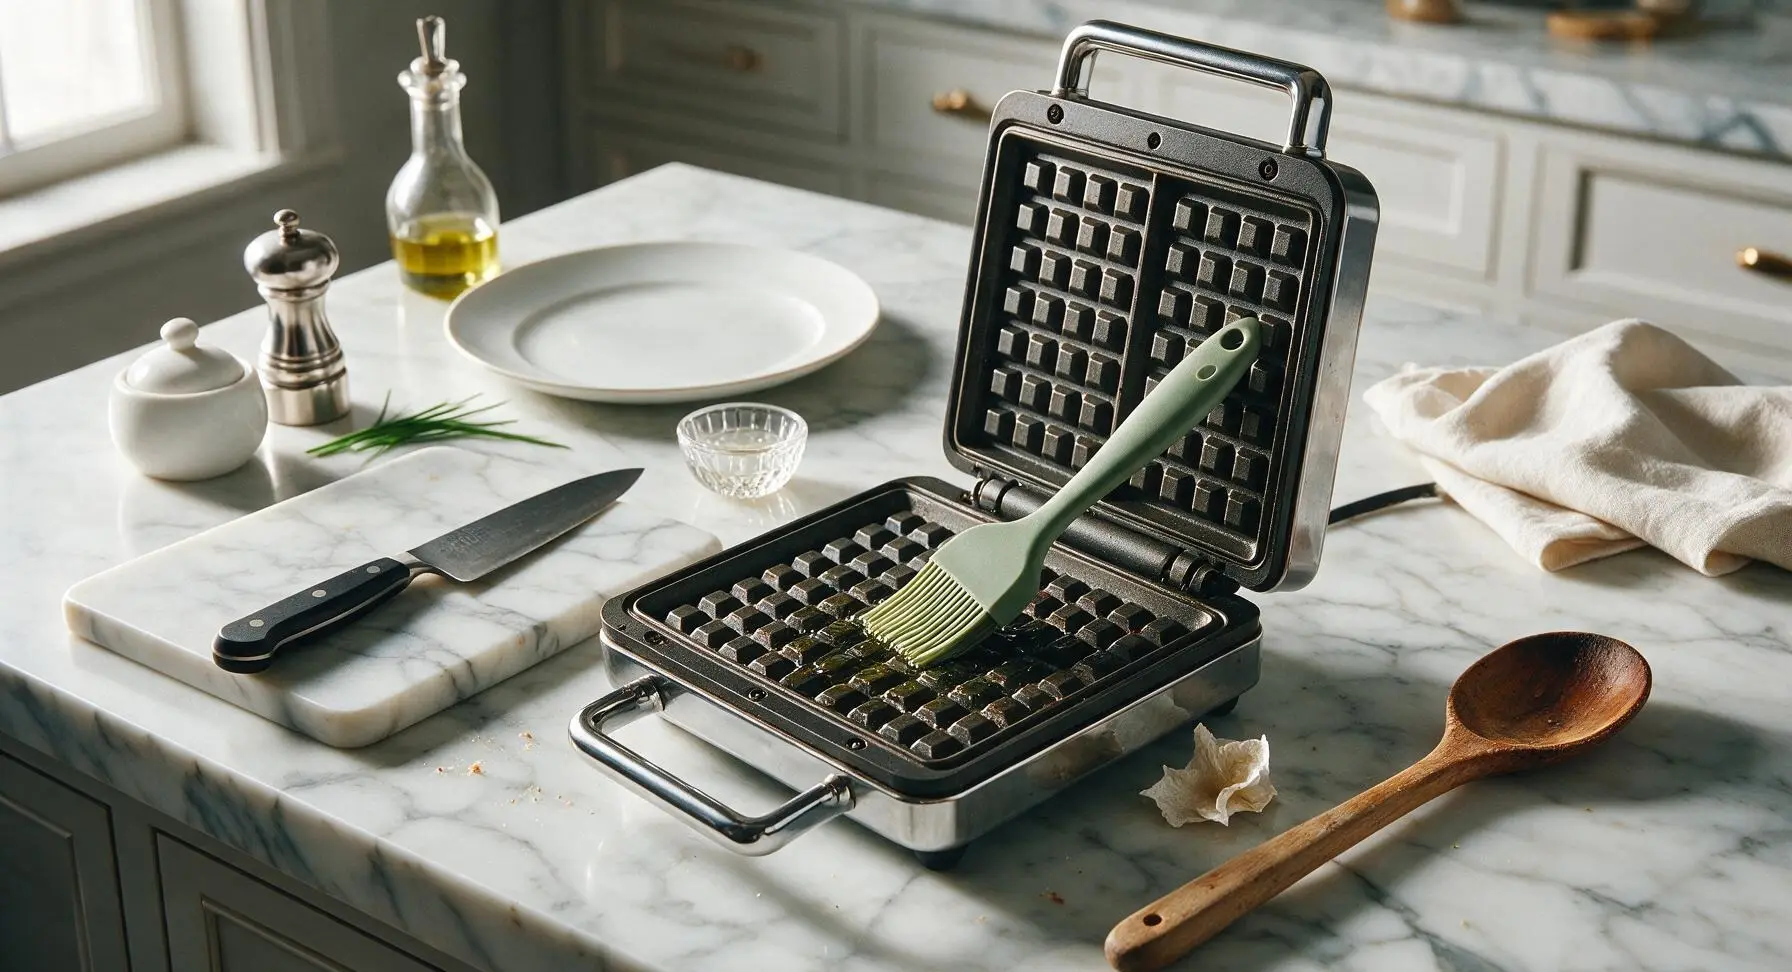
Open the preheated waffle iron. Use the sage green silicone basting brush (or a 1-second burst of non-stick cooking spray) to coat both the top and bottom waffle plates lightly with oil, making sure to get into the grooved edges to prevent sticking. Wipe any excess oil off the edge of the iron with a corner of paper towel from the roll.
Step 5
step5:Grease Waffle Plates
6

Pour Egg Batter

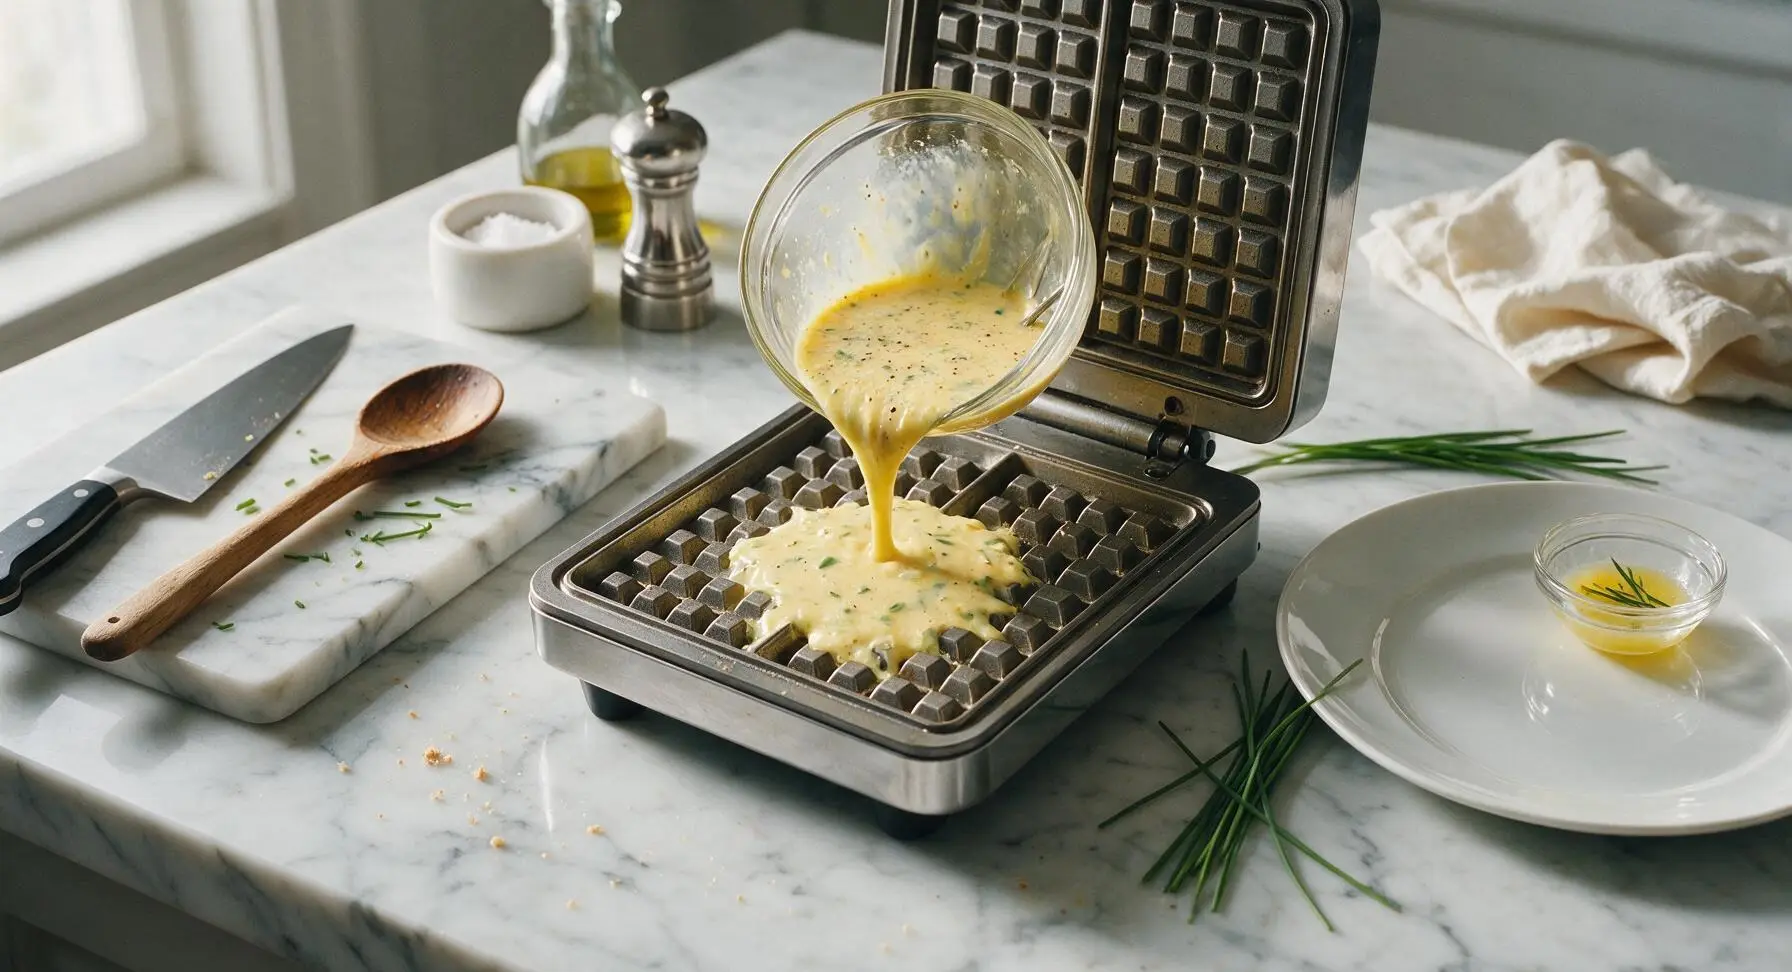
Pour exactly 1/2 cup of the egg mixture into the center of each of the 4 waffle iron squares, for a total of 2 cups of mixture per batch. Do not overpour, as eggs will expand as they cook and spill over the edges of the iron if too full.
Step 6
step6:Pour Egg Batter
7

Cook Until Set

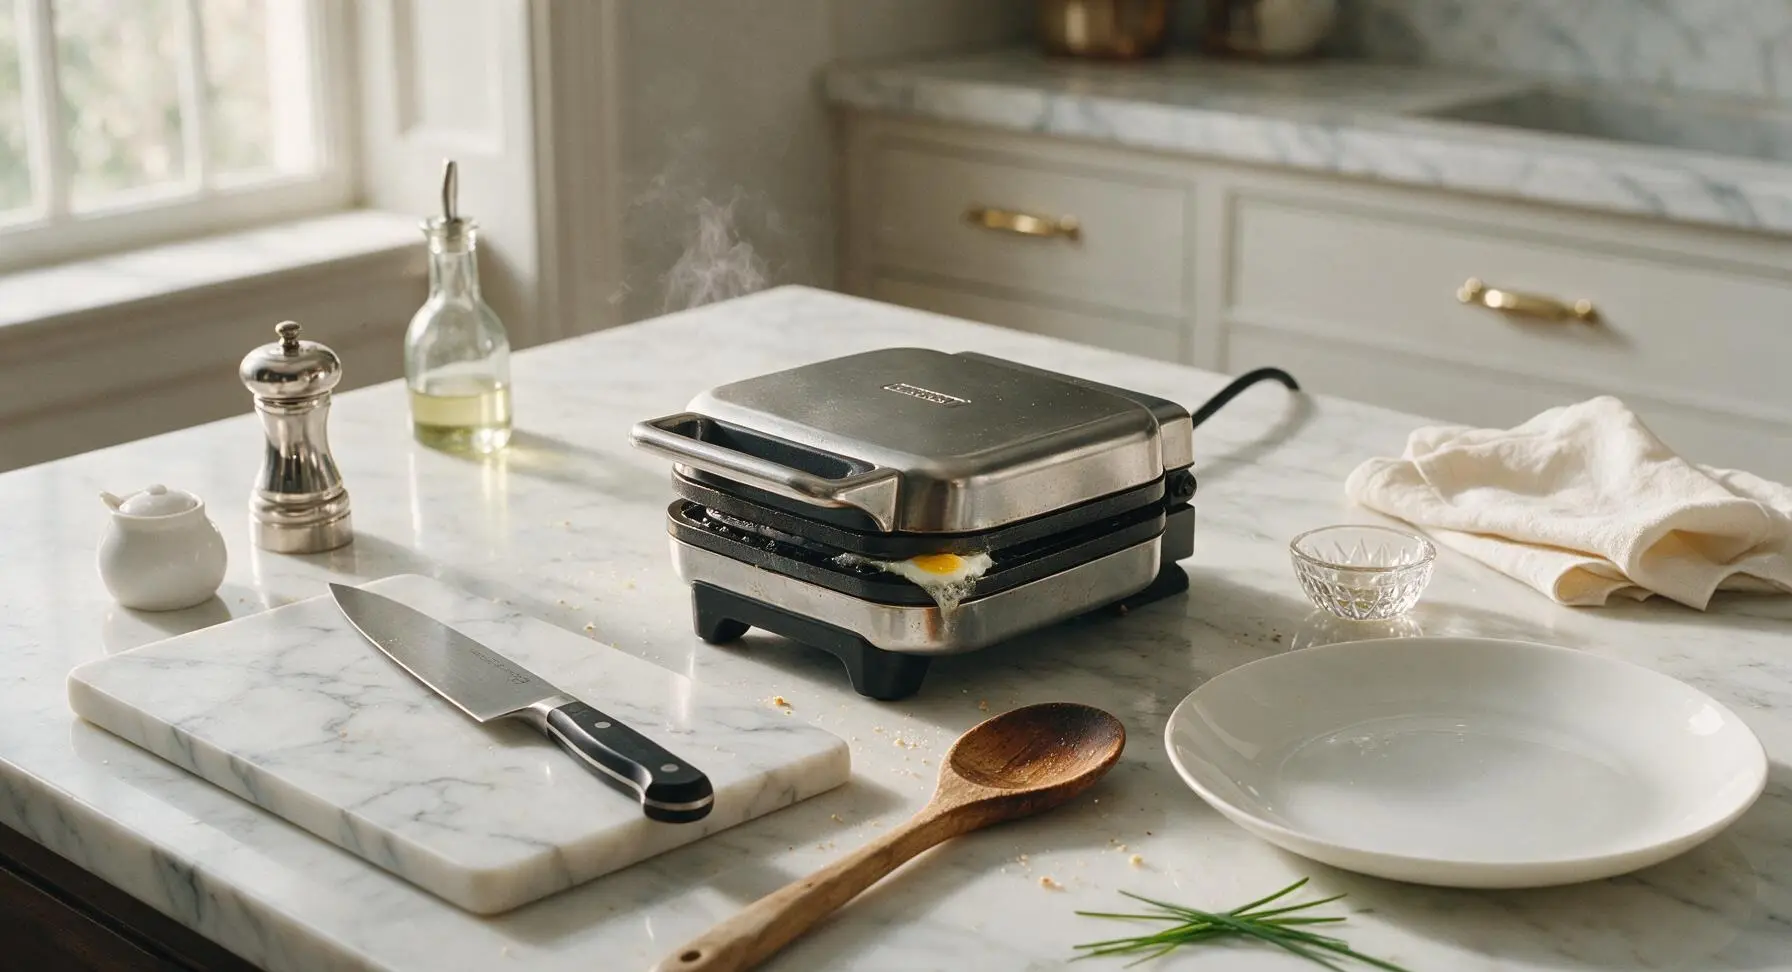
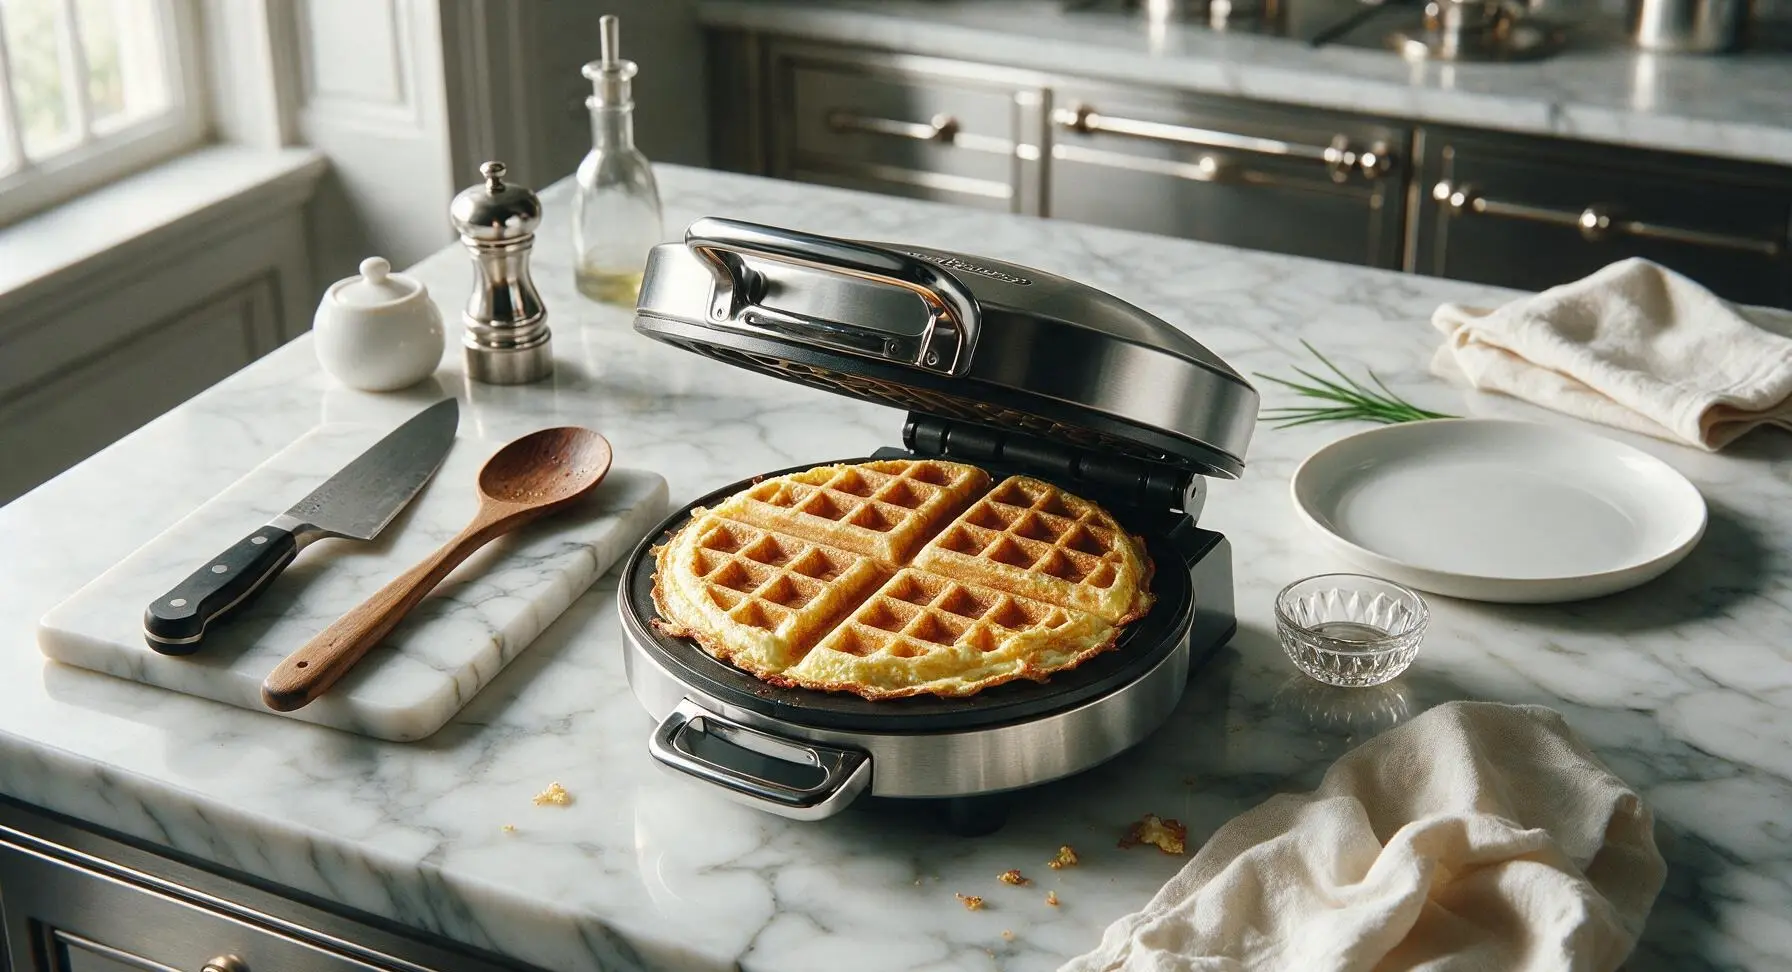
Close the waffle iron lid gently, do not press down hard. Cook for 3 to 4 minutes, until eggs are fully set, edges are golden and slightly crispy, and no liquid egg seeps out from the edges of the iron. Resist the urge to open the lid early, as this will cause the eggs to tear.
Step 7
step7:Cook Until Set
Step 7
step7:Cook Until Set
8

Plate and Garnish

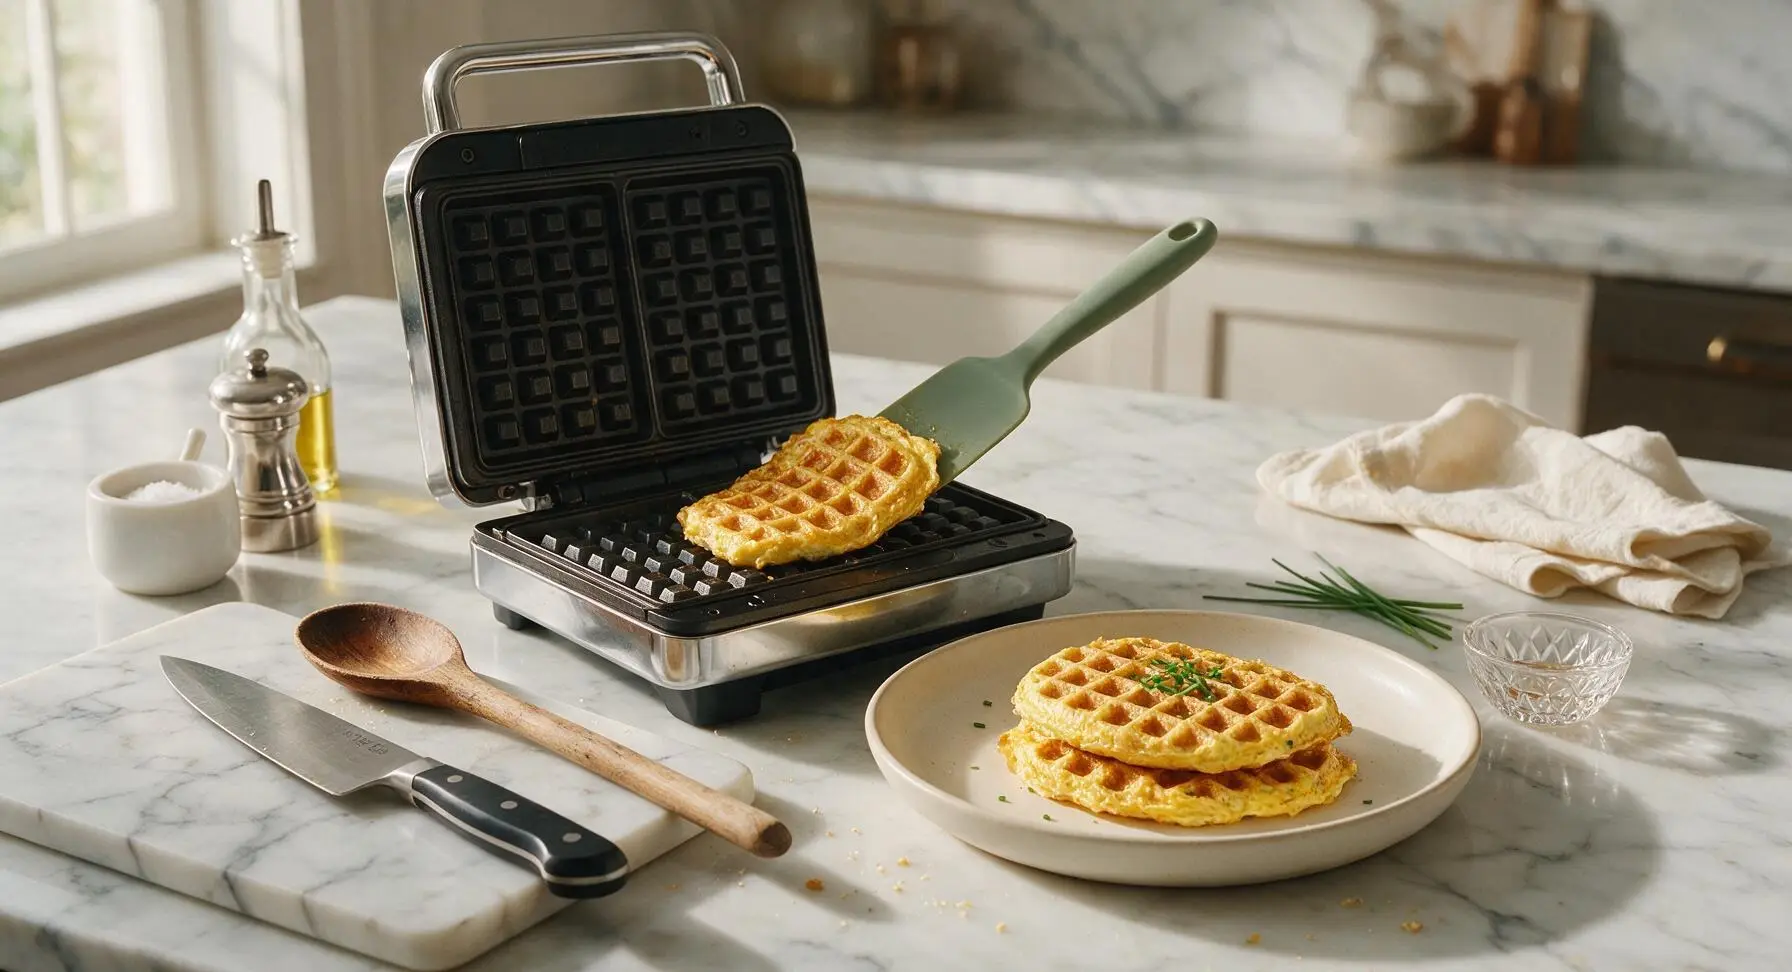
Use the sage green silicone spatula to gently lift the cooked egg portions from the waffle iron, transferring them to the top matte cream ceramic plate. Sprinkle with the reserved 1 teaspoon of chopped chives and a tiny pinch of flaky sea salt from the glass salt jar before serving.
Step 8
step8:Plate and Garnish

Tips

1.Avoid overfilling the waffle iron: eggs expand by roughly 30% as they cook, so pouring more than 1/2 cup of mixture per waffle square will cause sticky overflow that burns onto the iron and extends cleanup time.
2.Pat high-moisture mix-ins (like diced tomatoes, mushrooms, or spinach) dry with a paper towel before adding: excess water will make eggs soggy, prevent crispy lacy edges, and increase the risk of sticking to the waffle plates.
3.Wait 30 seconds after opening the cooked waffle iron before removing eggs: this short rest lets the egg edges firm up and crisp slightly, so you can lift them out cleanly with the spatula without tearing the soft egg.


✨ You May Also Like

Breakfast
🍜 United States

Crisp-edged, fluffy lard griddle cakes are a nostalgic homestyle staple, with rich savoriness from rendered lard, perfect topped with maple syrup or savory gravy.

⏱️ 25 minuteBreakfast ★ 4.8
Breakfast
🍜 United States

Flaky, buttery homemade buttermilk biscuits smothered in creamy, peppery pork sausage gravy: a beloved, hearty Southern American comfort food classic.

⏱️ 35 minuteBreakfast ★ 4.8
Breakfast
🍜 United States

Golden, custardy brioche stuffed with sweet cream cheese and fresh berries, pan-fried to crisp perfection. An indulgent, cozy breakfast perfect for slow weekend mornings.

⏱️ 30 minuteBreakfast ★ 4.7
Breakfast
🍜 United States

Flaky, buttery Southern-style biscuits stuffed with savory salty country ham, a portable, satisfying classic perfect for casual on-the-go meals.

⏱️ 25 minuteBreakfast ★ 4.8
Breakfast
🍜 United States

Iconic puffy baked pancake popularized in Seattle, with crisp golden edges and soft custardy center, served warm with classic sweet toppings.

⏱️ 35 minuteBreakfast ★ 4.6
Breakfast
🍜 United States

Fluffy, golden pancakes studded with juicy peak-summer mixed berries, drizzled with maple syrup for a bright, comforting, crowd-pleasing family breakfast.

⏱️ 25 minuteBreakfast ★ 4.7

waffle iron eggs:Frequently Asked Questions

1.Do I need to grease my waffle iron even if it has a nonstick coating? ▾
Absolutely. Even high-quality nonstick waffle irons can stick when melted cheddar is part of the recipe. Give both the top and bottom grids a light, even coat of neutral nonstick cooking spray or melted butter right before pouring in your egg mix, and you’ll get clean release and extra-crispy, golden edges every time.
2.How long do these eggs take to cook, and do I need to flip them? ▾
At standard medium-high waffle iron heat, these eggs cook fully in exactly 4 minutes with zero flipping required. Resist the urge to lift the lid before the 3-minute mark, as that can tear the eggs or prevent them from developing that signature crispy, lacy edge the recipe is known for.
3.Can I use a different type of cheese instead of sharp cheddar? ▾
Definitely! Shredded sharp cheddar adds a bold, tangy bite, but you can swap it for any meltable shredded cheese you have on hand. Pepper jack for a spicy kick, mozzarella for a mild, stretchy texture, or crumbled feta for a briny twist all work—just stick to ¼ cup per 2 eggs to avoid excess grease.
4.My eggs came out rubbery last time I tried a similar recipe—what went wrong? ▾
Rubbery eggs almost always come from overcooking, or overmixing the egg base. Whisk eggs and milk just until combined, don’t beat them until frothy, and pull them out as soon as the 4-minute timer goes off if your iron runs hot. Stick to medium-high heat, not the highest setting, for tender, fluffy centers.
5.Can I leave out the red bell pepper if I don’t have any on hand? ▾
Of course! The red bell pepper adds a sweet, crisp pop of flavor and bright color, but the recipe is totally customizable. Swap it for equal amounts of finely diced sautéed mushrooms, chopped spinach, cooked crumbled bacon, or leave veggie mix-ins out entirely for a simple, plain cheesy egg.
6.What size waffle iron works best for this recipe? ▾
A standard 7-inch round or square Belgian waffle iron works perfectly for a 2-egg serving, which makes one large shareable portion or two smaller side portions. If you’re using a mini waffle iron, scale down to 1 egg, 1 tablespoon milk, and 1 tablespoon cheese per mini waffle, and cut cook time to 2.5 minutes.
7.Do I need to pre-cook the red bell pepper before adding it to the egg mix? ▾
For the best texture, dice the red bell pepper very finely (about ¼-inch pieces) so it cooks fully during the 4-minute cook time, no pre-cooking needed. If you prefer softer, less crisp pepper, sauté it for 2 minutes over medium heat first and let it cool slightly before stirring it in to avoid curdling the eggs.
8.Can I make these eggs ahead of time for weekly meal prep? ▾
These eggs hold up surprisingly well for meal prep! Let them cool completely, then store in an airtight container in the fridge for up to 3 days. Reheat in a toaster oven or air fryer at 350°F for 3 minutes to bring back crispy edges—microwaving will make them soggy, so skip that method if you can.
9.Can I use water or plant-based milk instead of whole milk? ▾
Whole milk adds richness and helps create that fluffy, tender center, but you can absolutely swap it for unsweetened oat milk, almond milk, or even plain water in a pinch. Just note that water makes eggs slightly less rich, and sweetened plant-based milks will create an odd off-flavor, so stick to unsweetened varieties.
10.How do I avoid egg overflow and messy cleanup when cooking these? ▾
Waffle iron eggs puff up as they cook, so don’t overfill the grids! For a standard waffle iron, pour no more than ½ cup of egg mixture right in the center of the bottom grid before closing the lid. If you’re worried about stray drips, place a small baking sheet under the iron for zero-scrub cleanup.
11.Can I add raw bacon or sausage directly to the egg mixture? ▾
Skip adding raw meat directly to the egg mix, since the 4-minute cook time isn’t long enough to cook it through safely. Pre-cook any bacon, sausage, or ham fully, drain off excess grease, and dice it into small pieces before stirring it into your egg base to avoid food safety risks and soggy eggs.
12.What’s the best way to serve these crispy waffle iron eggs? ▾
These eggs are incredibly versatile for any meal! Serve them as-is with a sprinkle of fresh chives and hot sauce for a quick breakfast, tuck them into a breakfast sandwich on an English muffin, or top with sliced avocado and red pepper flakes for a light lunch or dinner. They pair great with hash browns or fresh fruit, too.

Comments (11)

2 days ago

OMG this is such a game changer! I’ve been staring at my waffle iron collecting dust for months and never thought to cook eggs in it. 4 minutes cook time is perfect for chaotic school mornings, my two picky kids devoured these and asked for seconds! Got that perfect crispy edge just like the recipe says, no messy pan scrubbing afterward too. 10/10 adding to our weekly meal rotation.

yesterday

Right?! The no-scrub part is what sold me too. I make a batch on Sunday for quick breakfast wraps all week, they hold up so good in the fridge!

yesterday

So glad this works for your busy mornings! Pro tip: spritz the waffle iron with a tiny bit of avocado oil before pouring the eggs in for even easier cleanup if you try making a big meal prep batch!

5 minutes ago

Tried this this morning before heading into the office, super easy even when I’m half asleep before my first coffee. Crispy outside, fluffy inside, way better than the sad scrambled eggs I usually burn on the stovetop. Only tweak I made was adding a little sprinkle of everything bagel seasoning on top before closing the waffle iron, chef’s kiss.

30 minutes ago

Wait a second—do you just crack the eggs straight into the waffle iron, or do you whisk them first like you’re making scrambled eggs? I don’t want to make a mess and get raw egg in all the waffle iron crevices my first try lol.

5 minutes ago

Great question! We recommend whisking the eggs first with a pinch of salt and pepper before pouring them evenly onto the preheated waffle iron — that way you don’t get runaway raw egg whites seeping out the sides. If you pour slowly, you won’t have any mess to worry about!

1 week ago

I was so skeptical this would work, but wow—SO good. I added a handful of shredded cheddar and some diced bell pepper to the whisked eggs, and it came out like a crispy little omelet waffle. Brought a batch to my neighborhood potluck last weekend and people kept asking for the recipe! Only con is my waffle iron makes a sort of weird square shape so the eggs look a little goofy, but taste makes up for it.

5 days ago

Wait the cheese addition is genius! I’m making these for our next block party, do you think I could mix in some crumbled bacon too without it getting too greasy?

3 days ago

Love the veggie and cheese add-in! Crumbling pre-cooked bacon into the egg mix works perfectly — just pat it dry a little first with a paper towel to cut down on excess grease, and you’ll get that same great crispy texture.

3 days ago

No stovetop in my dorm, just a tiny hand-me-down waffle iron my mom sent, so this recipe is an absolute lifesaver. Way cheaper than buying breakfast on campus every day, and it takes literally no skill to pull off. I’ve been putting these on English muffins with a slice of cheese for a quick breakfast sandwich on my way to class.

2 days ago

Fellow dorm dweller here, can confirm this works! I also make little egg patties for lunch sandwiches with this trick, game changer for no-kitchen life.

yesterday

Made these for brunch yesterday with my partner, we paired them with hot sauce and some avocado slices. Ridiculously easy, perfectly crispy, zero complaints. Will be making these every weekend from now on tbh.

2 hours ago

Tasted great, but my first batch stuck really bad to the waffle iron and I had to scrape half of it off. Did I do something wrong? I preheated it like the recipe said, but I didn’t use any cooking spray.

30 minutes ago

Sorry to hear the first batch stuck! Even with non-stick waffle irons, eggs can cling if there’s no thin layer of fat between the iron and the food. A quick spritz of non-stick spray or a light brush of butter before pouring the eggs in will keep them from sticking on your next try, promise!

2 weeks ago

Meal prep win of the week! I made 8 of these on Sunday, stored them in an airtight container in the fridge, and they reheat perfectly in the toaster oven in 2 minutes all week long. No soggy microwaved eggs! My husband takes one to work every day and says his coworkers are jealous of his quick fancy breakfast. So happy I found this recipe.

1 week ago

Wait how long do these last in the fridge? I want to make a batch for my teen’s early cross country practice days!

5 days ago

They stay good for up to 5 days in my experience! I wrap each one in a little parchment paper so they don’t stick together in the container, super easy to grab and go.

just now

Y’all. I mixed a little sriracha into the whisked eggs before pouring them in the waffle iron, then topped the finished crispy eggs with furikake and a drizzle of soy sauce. Absolute umami bomb, 10/10, don’t knock it till you try it. This base recipe is so customizable it’s insane.

just now

Oh the sriracha + furikake combo sounds insane, I’m trying that this weekend! I usually do hot honey and feta, but I need to switch it up.

5 days ago

I’m not a good cook, like at all, and even I didn’t mess this up. 4 minutes, no fancy ingredients, perfectly crispy eggs every time. Who knew a waffle iron could make eggs better than a frying pan? Wild.

yesterday

How does this compare texture-wise to regular fried eggs? I love the super crispy lacy edges you get from frying eggs in a cast iron, but I hate the oil splatters that get all over my stove. Does this get that same crispy edge without the mess?

2 hours ago

As a fellow crispy edge obsessed person, I can confirm these are even crispier than cast iron fried eggs! The waffle iron presses the egg thin so every edge gets crunchy, no splatters at all.

30 minutes ago

Couldn’t have said it better ourselves! The direct heat on both sides of the egg creates those perfect crispy lacy edges all over, not just around the perimeter, with zero stovetop splatter to clean up. We think you’ll love it!



