
waffle made of
intro
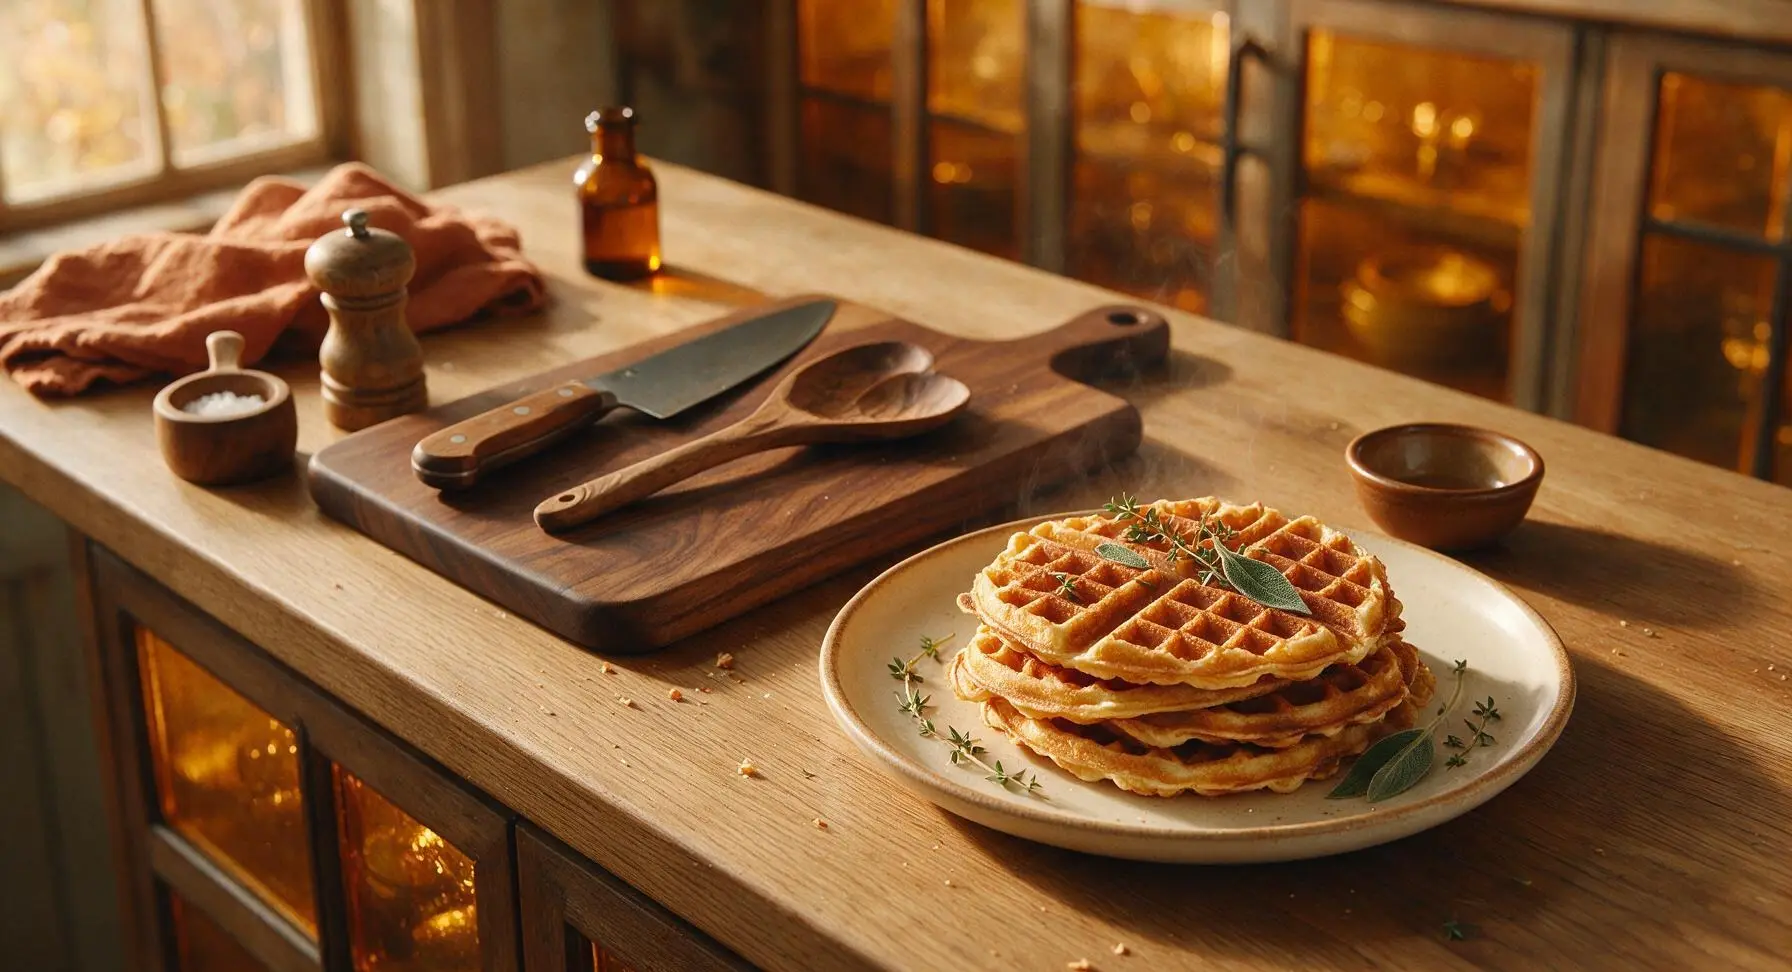
Crisp golden edges, fluffy tender centers, these classic diner-style buttermilk waffles come together in 25 minutes for a cozy, customizable meal any time of day.
Ingredients
Steps
Preheat Waffle Iron
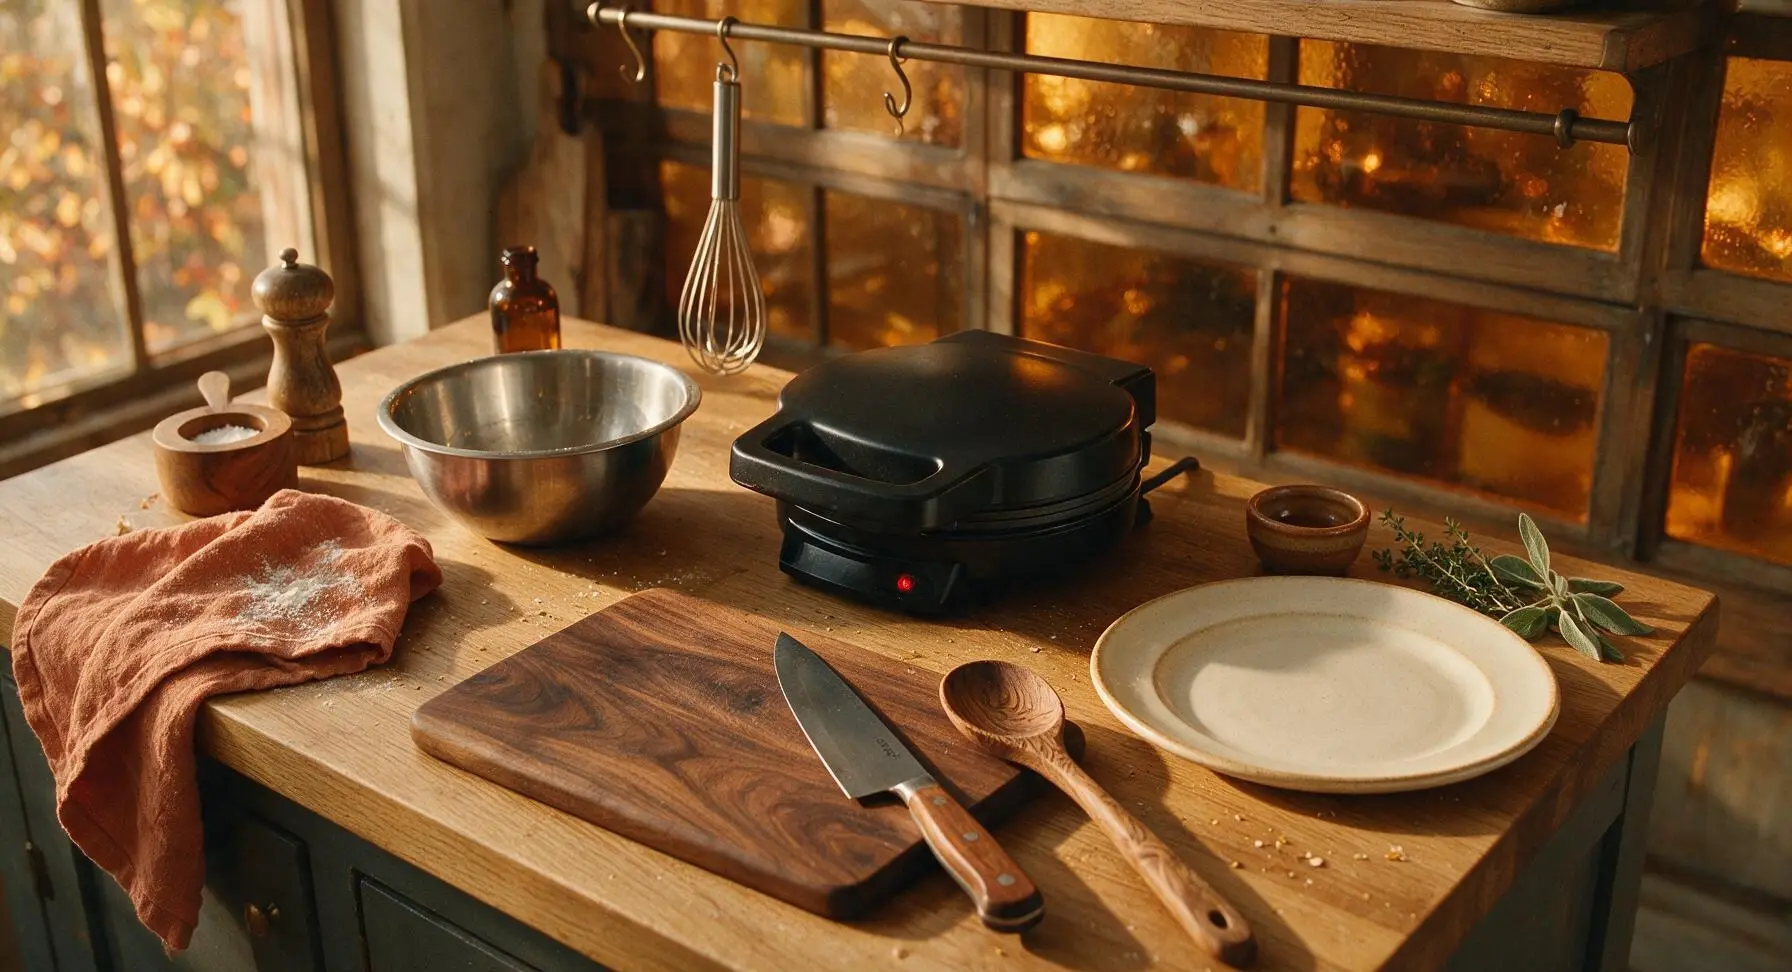
Retrieve the matte black electric waffle iron from under-counter storage and set it in its fixed center-back position on the counter. Preheat to medium-high heat (375°F / 190°C) while you mix the batter; the iron is fully preheated when a drop of cold water sizzles and dances across the surface for 2-3 seconds before evaporating. Move the stainless steel mixing bowl from the utensil rail to its center-left position on the counter to prep for mixing.
Whisk Dry Ingredients
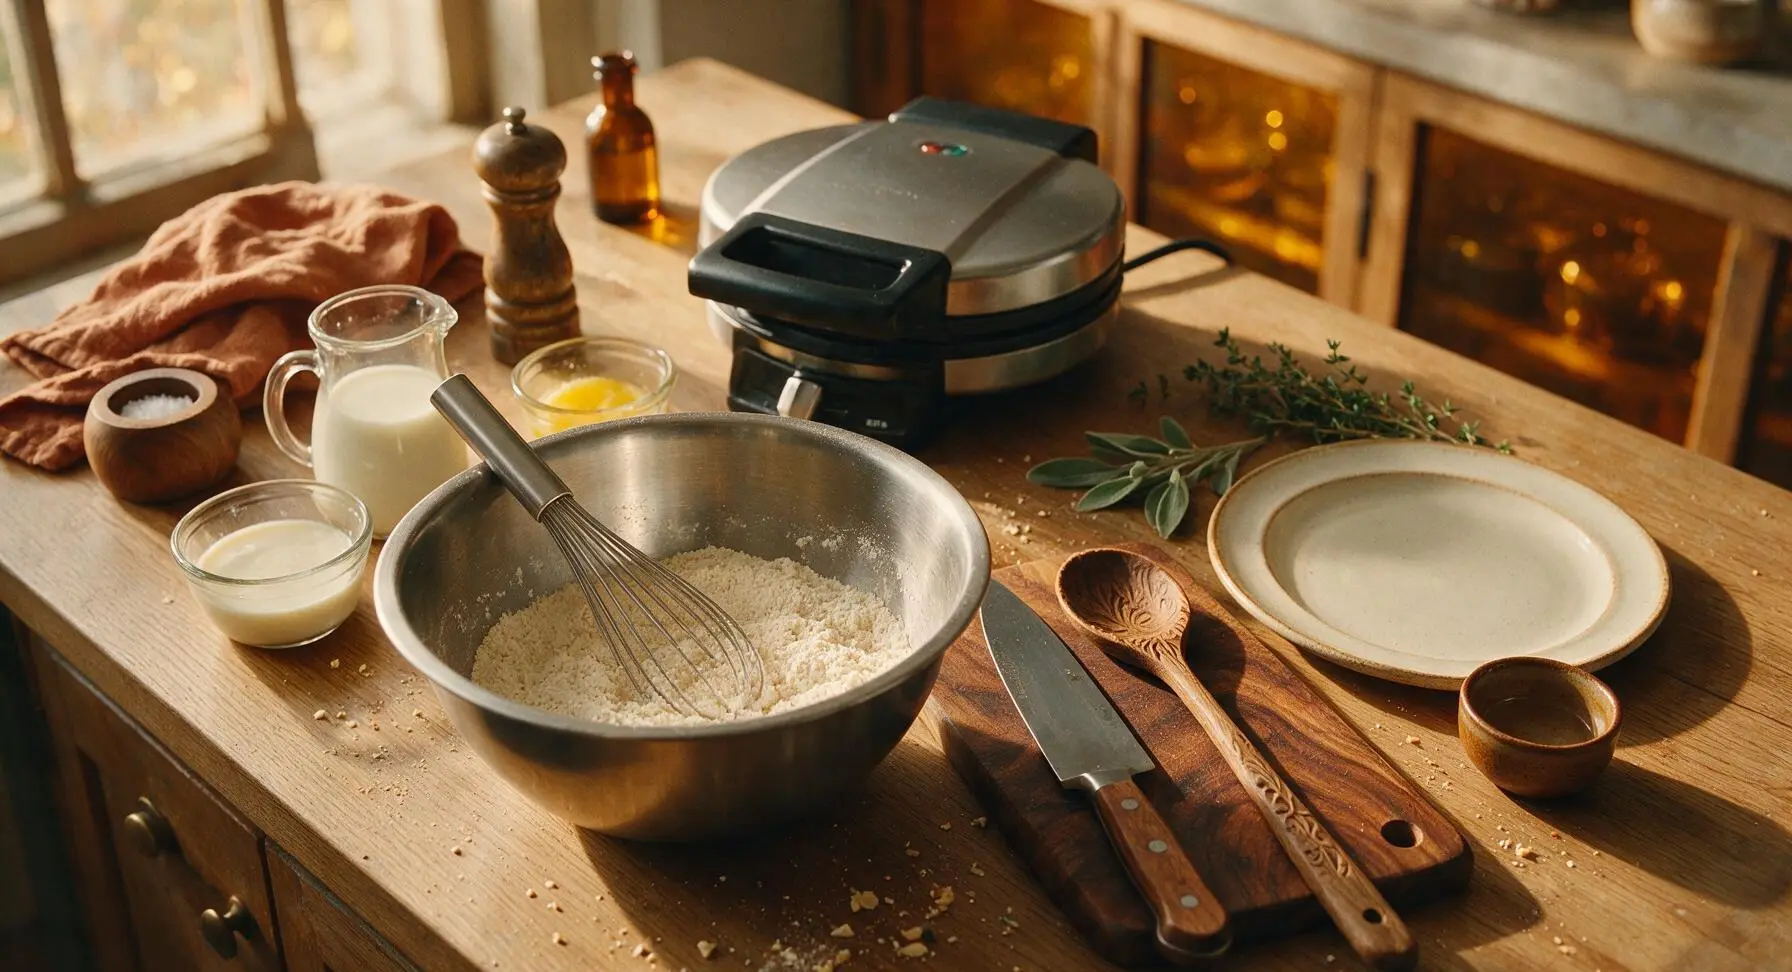
Add the all-purpose flour, granulated sugar, baking powder, baking soda, and fine sea salt to the stainless steel mixing bowl. Retrieve the wire whisk from the utensil rail and stir the dry ingredients for 30 seconds until fully combined, with no visible clumps of baking powder or soda at the bottom of the bowl.
Add Wet Ingredients
Use a spoon to make a 4-inch wide well in the center of the whisked dry ingredients. Crack the 2 room-temperature eggs directly into the well, then pour in the whole buttermilk, cooled melted unsalted butter, and pure vanilla extract. Rest the whisk on the adjacent matte white spoon rest while you prepare to mix.
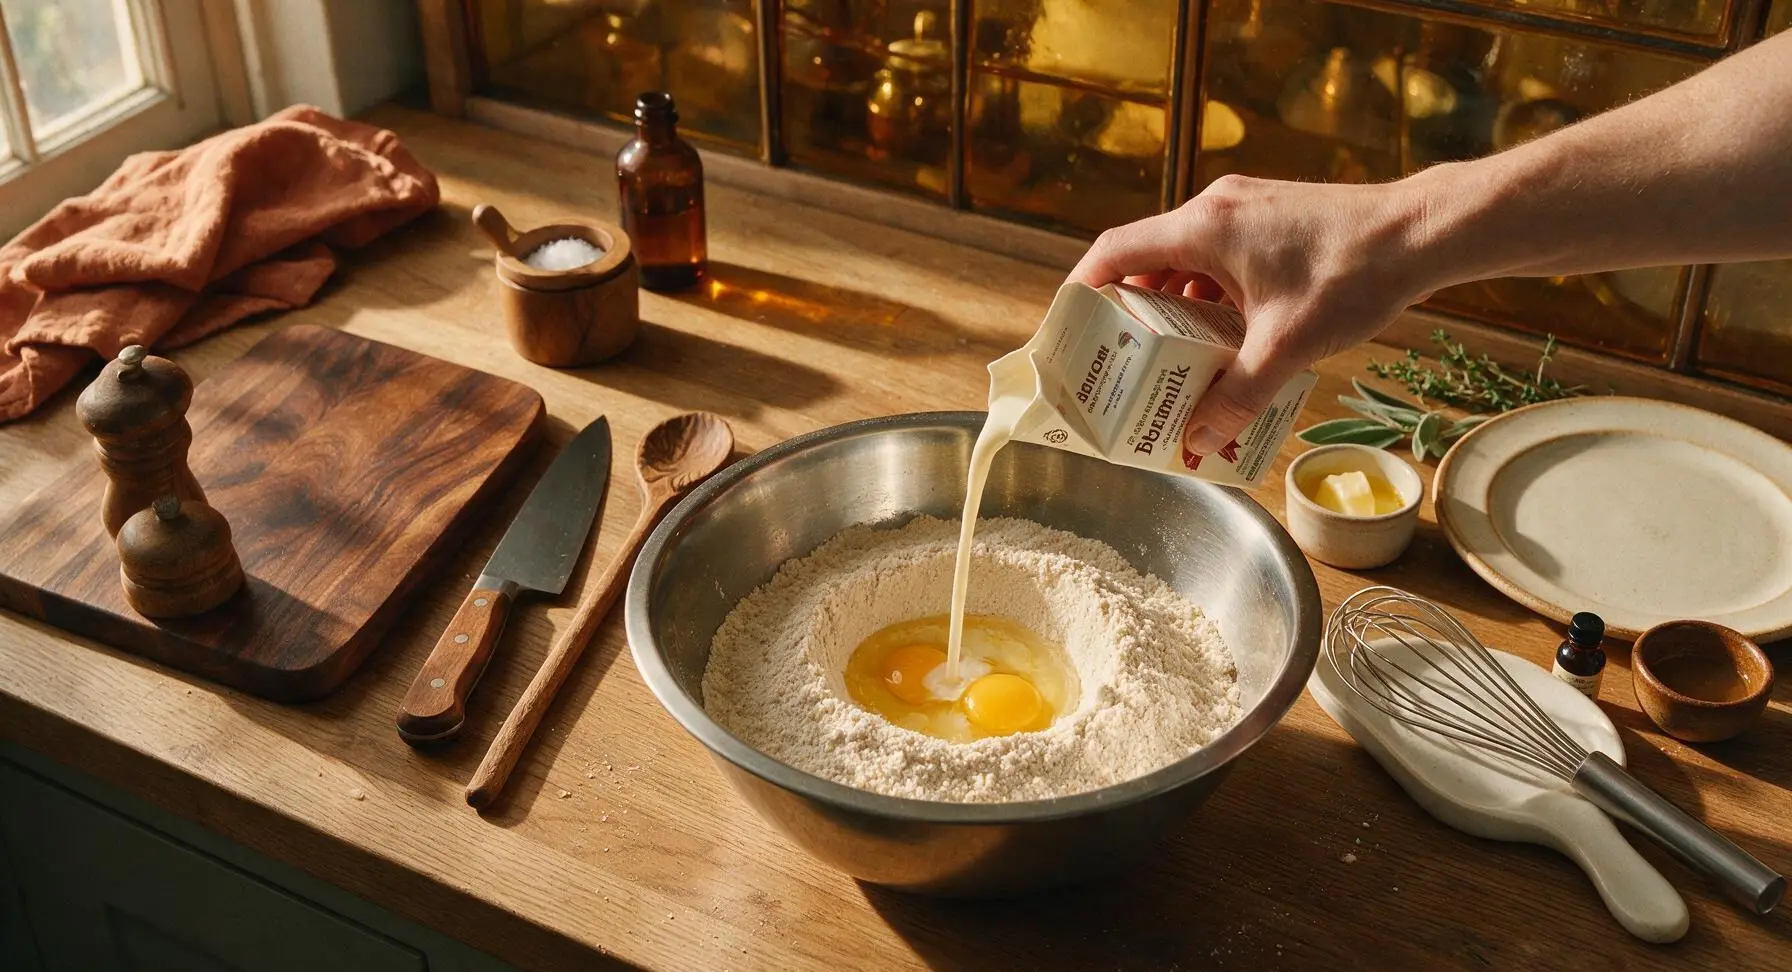
Mix Rested Batter
Use the wire whisk to gently stir the wet and dry ingredients together, mixing just until no large dry flour clumps remain. Stop stirring as soon as the batter comes together; the batter will be thick and slightly lumpy, with a few small flour flecks visible. Over-mixing will develop gluten and make tough, dense waffles, so do not stir until completely smooth. Let the batter rest for 5 minutes at room temperature; it will bubble slightly as the leaveners activate.
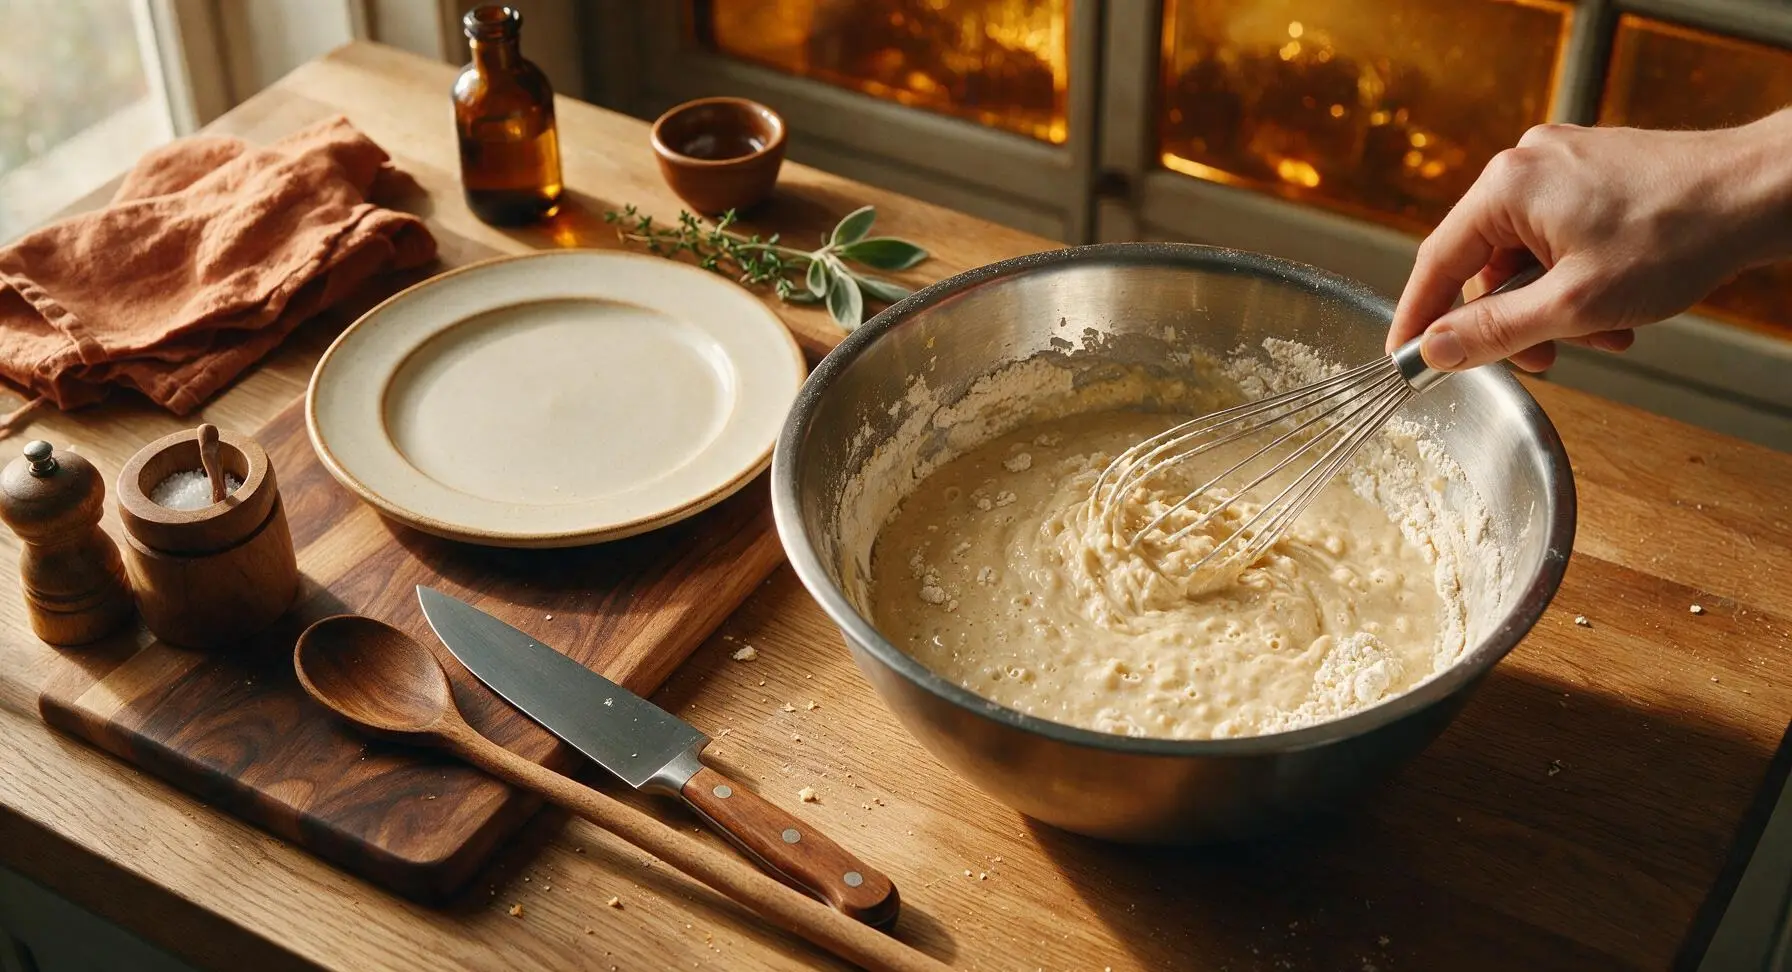
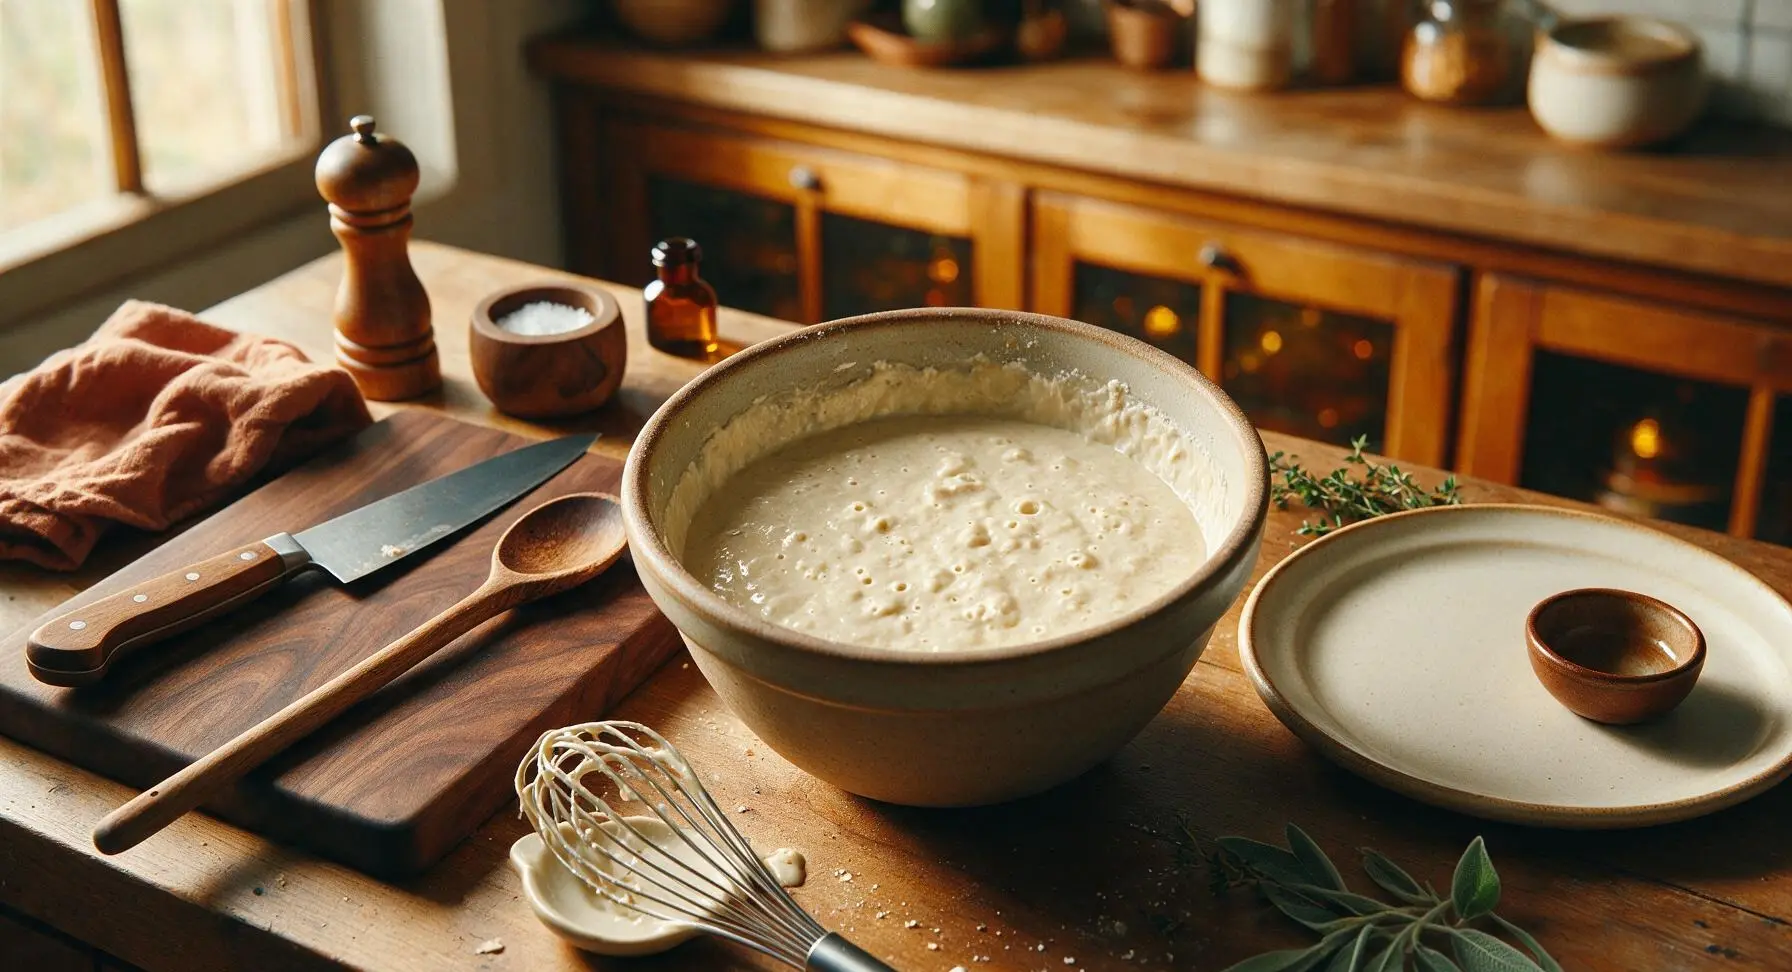
Grease Waffle Grids
Dip a folded corner of the terracotta linen towel in the tiny amount of remaining melted butter from the ramekin, then lightly wipe the top and bottom non-stick grids of the preheated waffle iron. Do not use aerosol cooking spray, as it leaves a sticky, hard-to-clean residue on non-stick surfaces over time. The iron is ready for batter once the grids are lightly coated.
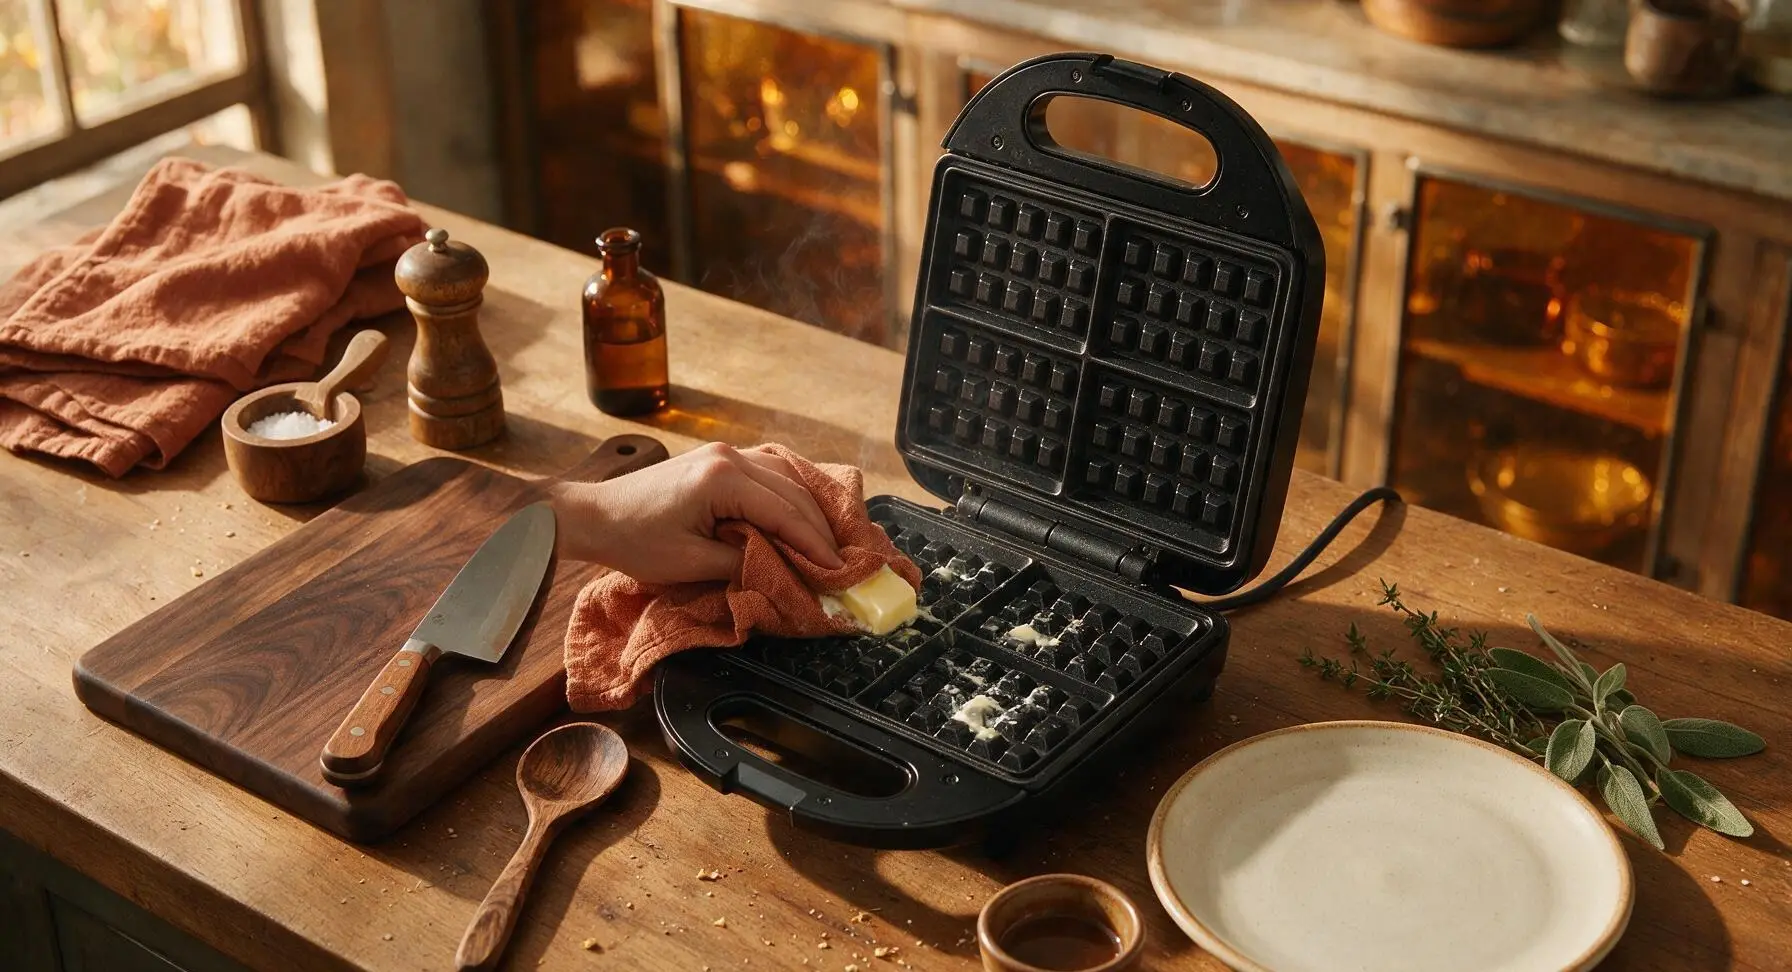
Cook Waffles Golden
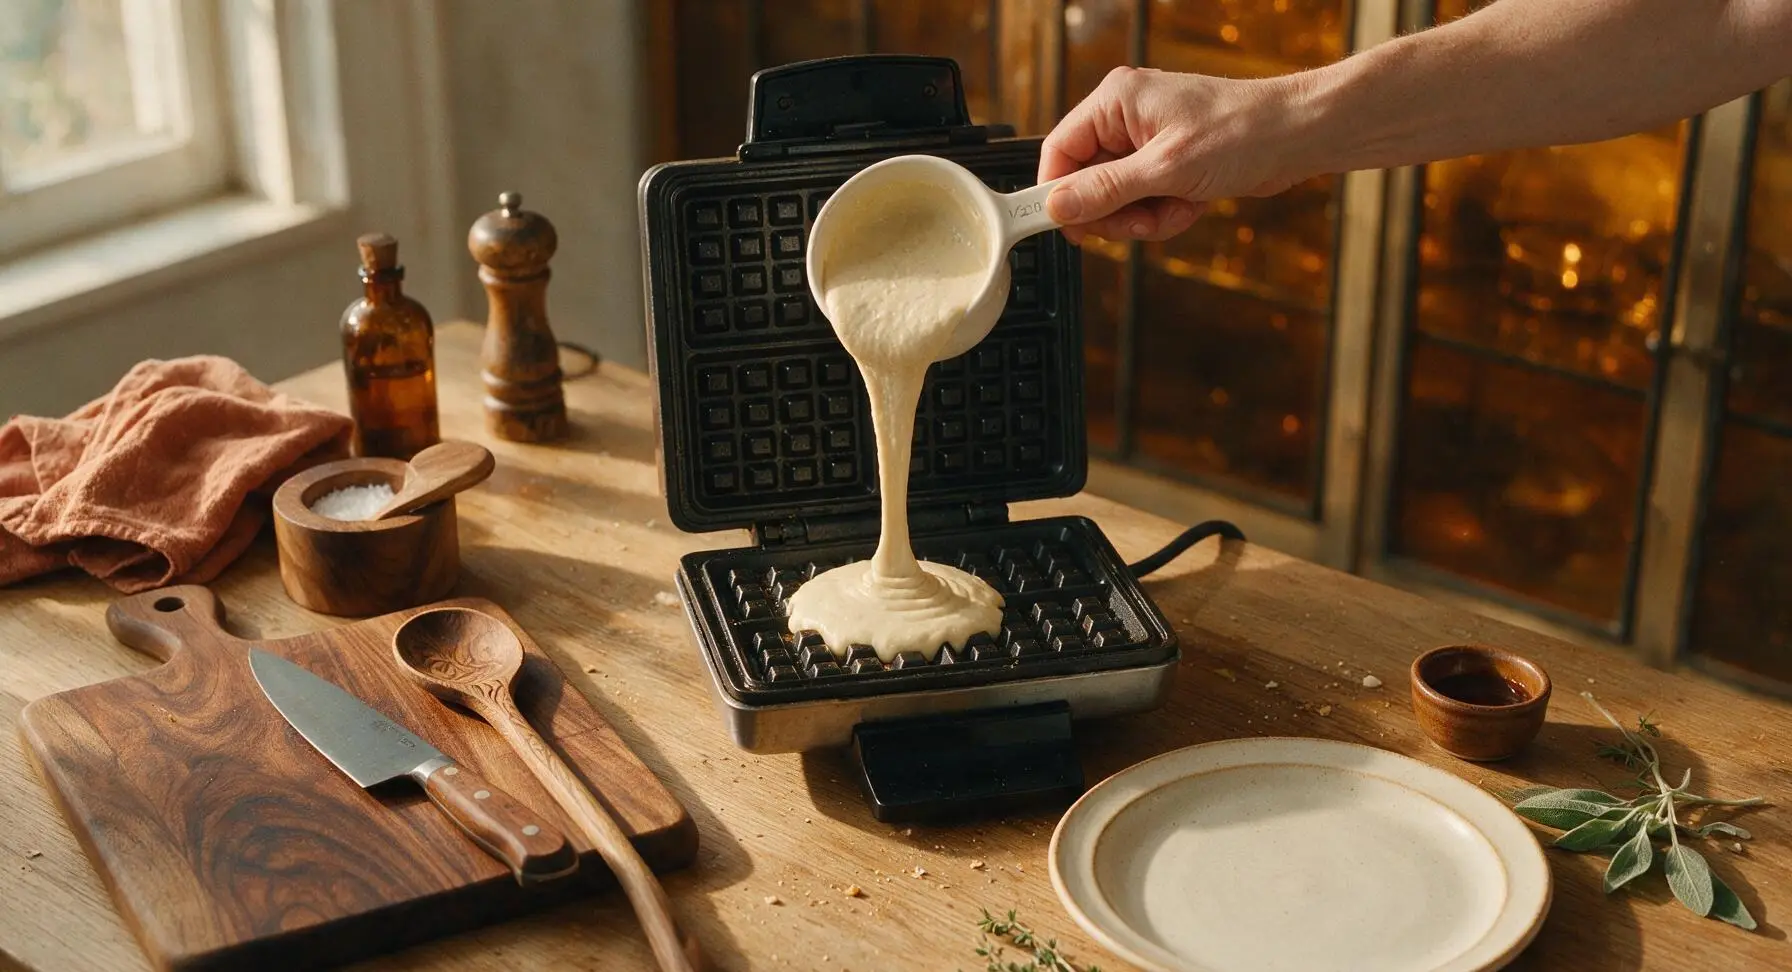
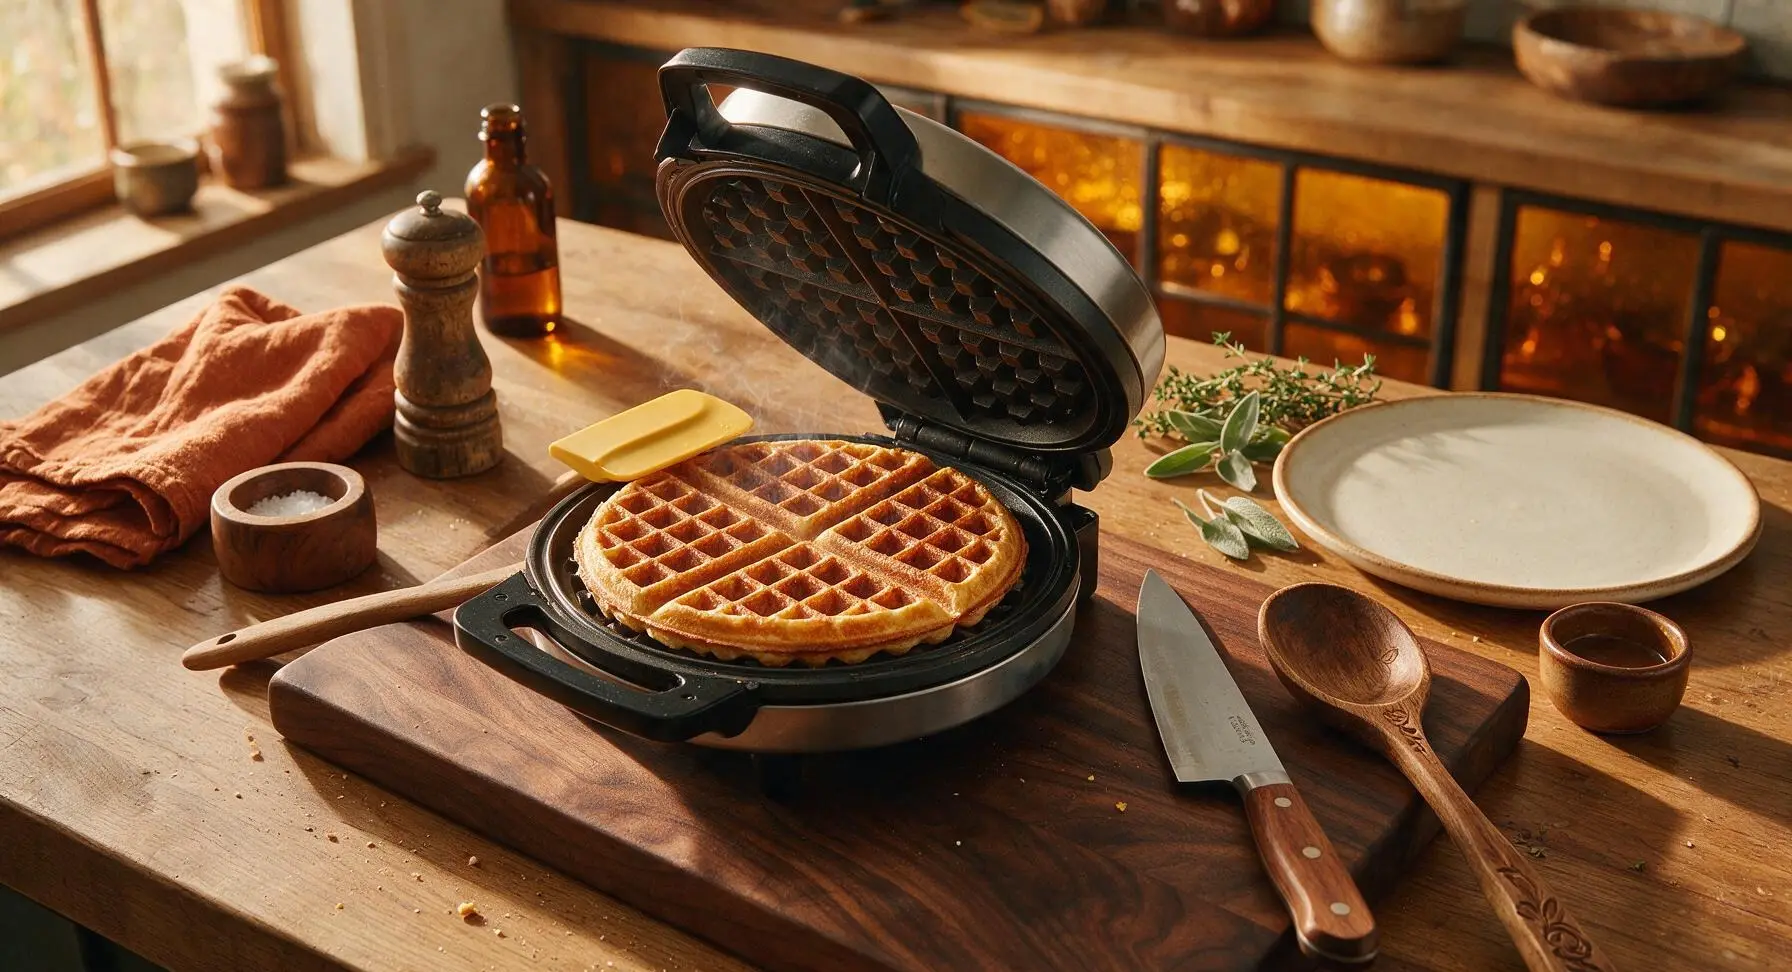
Use the 1/2 cup measure from the stacked white ceramic measuring cup set to pour batter per waffle into the center of the preheated, greased waffle iron grid. Close the lid and cook for 3 to 4 minutes, until the waffle is deep golden brown, crisp on the edges, and no steam escapes from the sides of the iron. Do not lift the lid for the first 2 minutes of cooking, as this will cause the waffle to split and stick to the grids.
Keep Waffles Warm
As each waffle finishes cooking, use the butter-yellow silicone spatula to lift it from the waffle iron and transfer it to the matte cream ceramic dinner plate. Loosely tent the waffles with a small piece of parchment torn from the roll at back right to keep warm while you cook the remaining batter. Do not stack waffles directly on top of each other while hot, as trapped steam will make the crisp edges turn soggy.
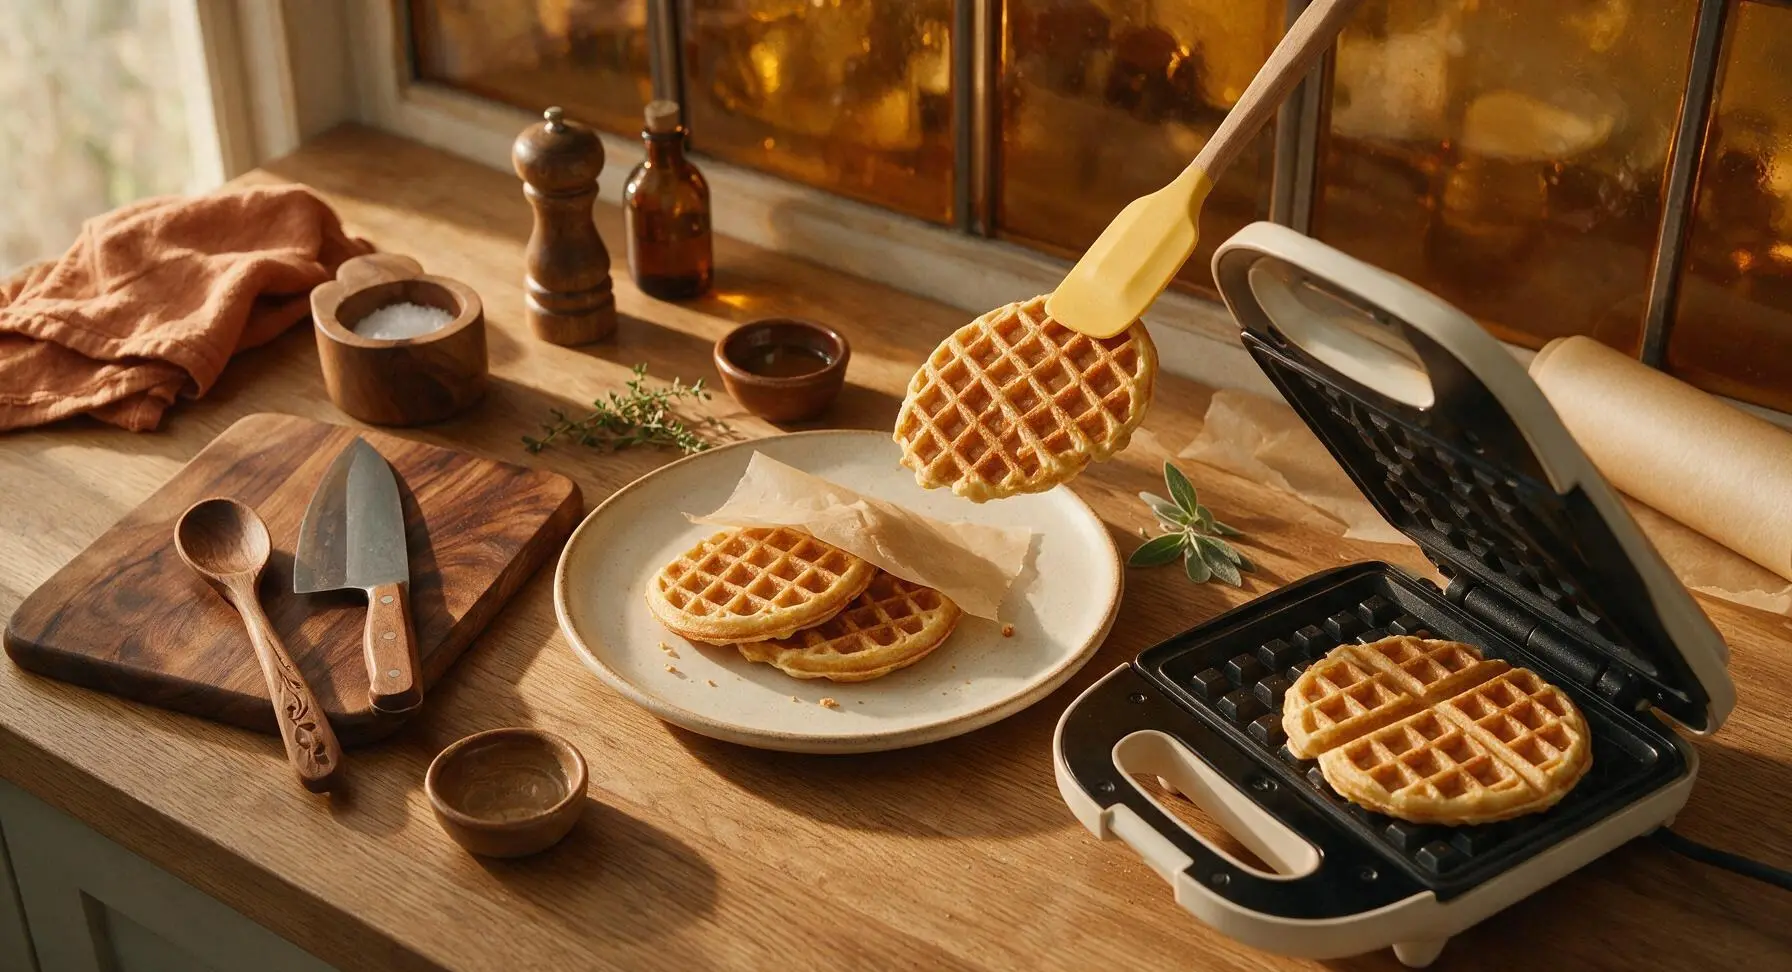
Plate and Garnish
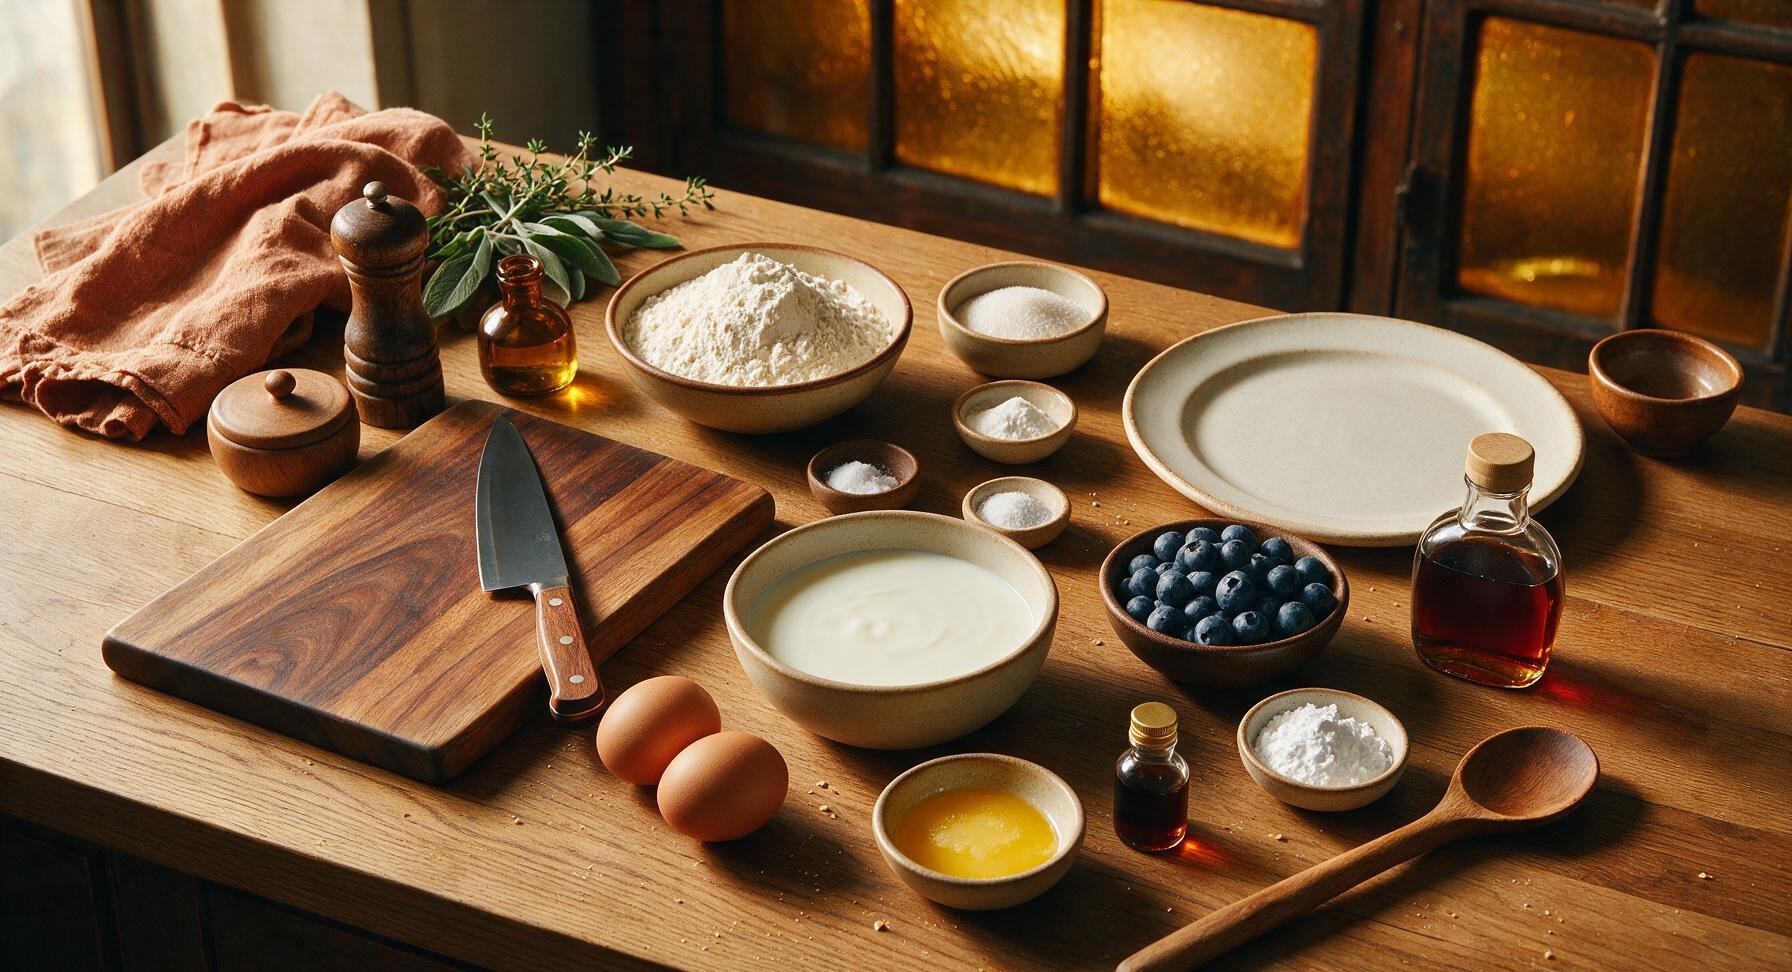
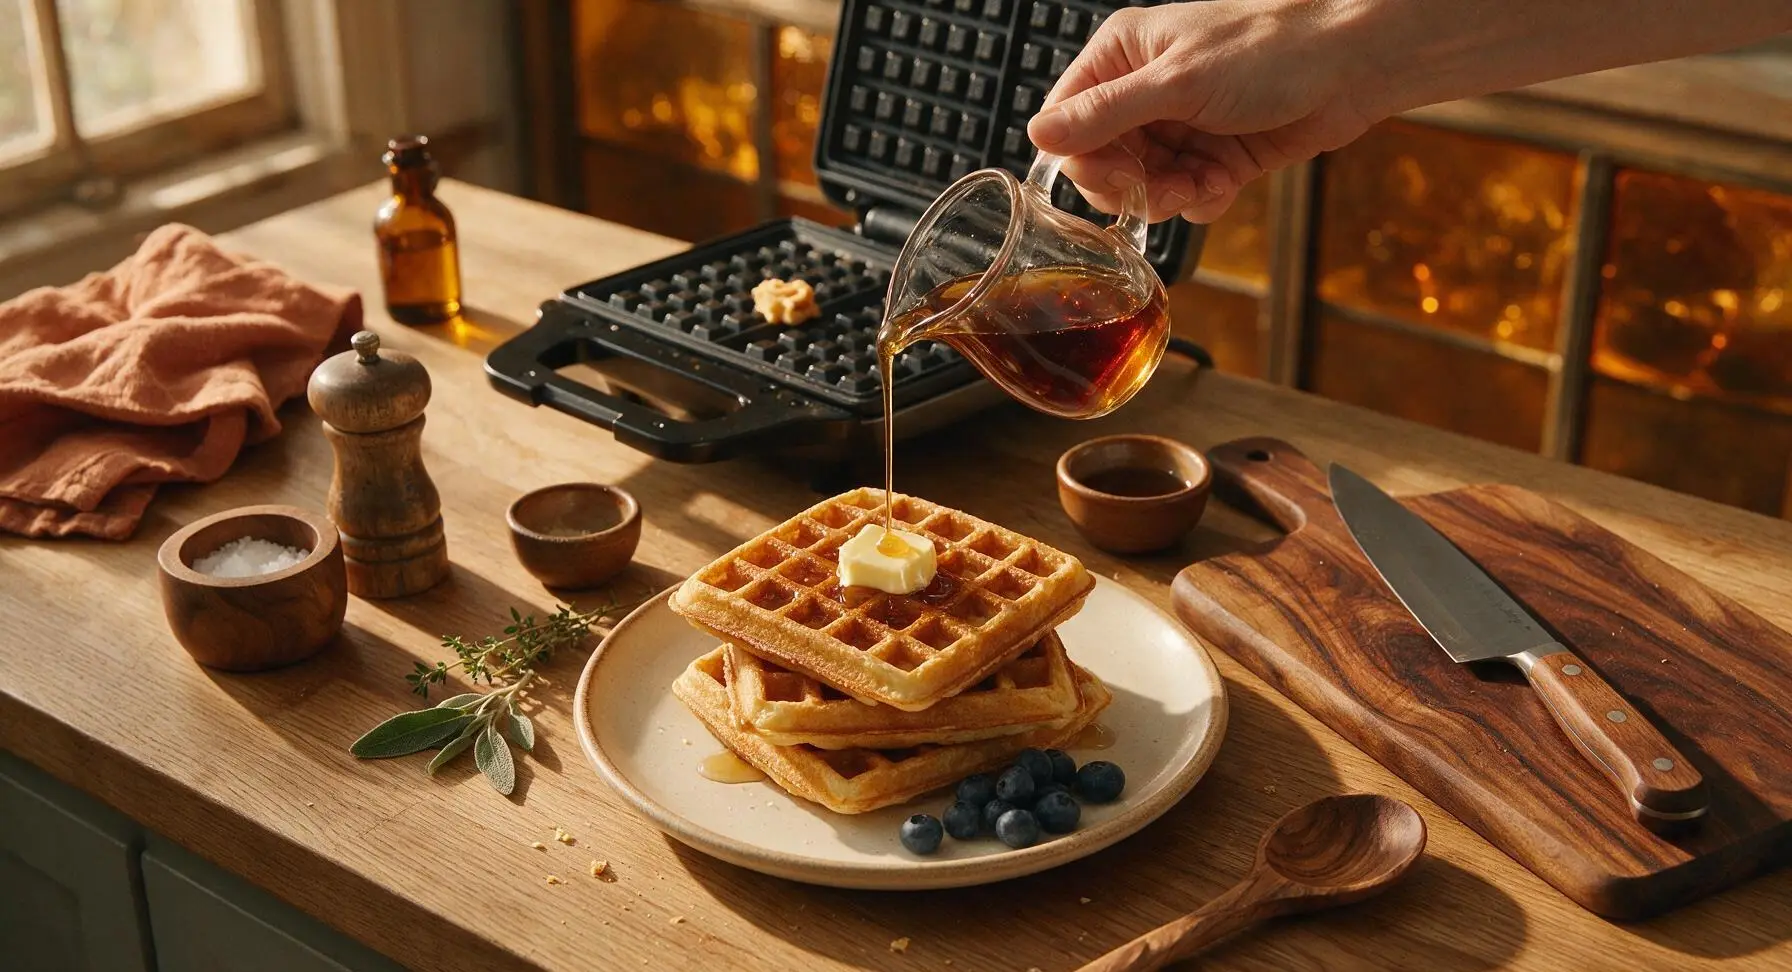
Once all 8 waffles are cooked, stack three waffles neatly on the matte cream ceramic dinner plate (reserve remaining waffles for serving). Top with a 1-tablespoon pat of salted butter, drizzle with warm maple syrup so it fills the waffle grid pockets, scatter fresh blueberries across the plate, and add a light dusting of powdered sugar if desired. Serve immediately while hot and crisp.
Tips
2.Never over-mix the batter: small lumps are completely normal, and over-stirring develops gluten in the flour that leads to tough, chewy waffles instead of tender, fluffy centers with crisp outsides. Stop stirring as soon as you no longer see large pockets of dry flour.
3.Avoid stacking hot waffles directly on top of each other straight from the iron: resting them in a loose single layer, tented lightly with parchment, prevents trapped steam from softening the crispy golden edges that make waffles a step up from regular pancakes.






OMG these are SO good! I made them for Saturday morning breakfast and my kids literally begged for seconds before they even finished their first plate. The crunch is perfect, not soggy at all even when I piled on syrup and berries. Game changer for our weekend breakfast rotation!
I was so nervous to make waffles from scratch because every past attempt turned out rubbery, but these were foolproof! Super easy to throw together, 15 minute cook time is no joke, and they came out crispy on the outside, fluffy inside even for a total beginner like me. 10/10 will make again.
Really solid waffle recipe! I swapped half the all purpose flour for whole wheat to make them a little heartier for meal prep, and they held up great in the toaster all week for quick workday breakfasts. Only note is I needed to add a splash more buttermilk because my batter was a little thicker than I expected.
Made these for my friend’s potluck brunch last weekend and everyone was asking for the recipe! I set up a little topping bar with whipped cream, chocolate chips, fresh peaches, and maple syrup, and people went back for rounds. Even the friend who swears she “doesn’t like waffles” had two.
Taste was great, but my first batch came out a little soggier than I expected. Did I maybe pour too much batter into the waffle iron? I used low fat buttermilk because that’s all the store had, not sure if that made a difference?
Obsessed. I live in a tiny dorm with a tiny countertop waffle maker and these still turned out perfect. Way better than the frozen waffles I’ve been living off of for two years, and the ingredients are cheap enough for my student budget. Already sent the recipe to all my roommates.
I tested this with a 1:1 gluten free all purpose flour blend for my kid with celiac, and it worked so well! The texture was almost identical to regular flour waffles, no weird gritty aftertaste. Knocked a star off because I did have to add an extra egg to help them bind better, but otherwise fantastic.
These are now my official go-to waffle recipe. I’ve tried probably a dozen buttermilk waffle recipes over the years trying to get that old diner crisp, and this nails it. My wife said they’re better than the waffles we got on our honeymoon in Vermont, which is the highest possible compliment in our house.
These freeze SO well! I made a double batch on Sunday, popped them in the freezer between parchment paper squares, and now we just pop one in the toaster on busy school mornings. Crisps right back up, no sogginess, tastes just as good as fresh made. Total lifesaver for rushed weekdays.
Okay I know these are classic buttermilk, but I added a handful of mini chocolate chips and a teaspoon of vanilla extract to the batter and they were insane. Tasted like a crispy chocolate chip cookie but waffle form. Topped with peanut butter and banana and I think I ate half the batch in one sitting no shame.
Made these for my first ever family dinner brunch when my in-laws were in town, and they were a hit! Only issue was my waffle iron runs a little hot, so my first two got a little darker than I wanted, but once I turned the heat down a notch they were perfect. My mother in law even asked for the recipe, which means I’ve officially won her over.
Made these before an early morning hike last weekend, and they kept me full for hours! I slathered them with almond butter and a little jam, wrapped them in foil, and ate them on the trail. Way better than the sad granola bars I usually pack. The crisp held up even after being wrapped up for an hour, I was shocked.
I’ve been making waffles for 40 years, and this recipe is dead on. The ratio of buttermilk to flour is perfect, you get that shatteringly crisp outside and soft, pillowy inside that so many recipes miss. Pro tip from an old guy: separate your eggs, beat the whites to soft peaks and fold them in, and they’ll be even lighter.
I really wanted to love these, but I used lactose free buttermilk and they just didn’t have that same tang I remember from regular buttermilk waffles. Texture was great, super crispy, but the flavor was a little flat for me. Any tips for amping up the tang without using regular buttermilk?
My twin toddlers are going through a super picky eating phase right now, and these are the only thing they will reliably eat without throwing half of it on the floor. I make a mini version in my tiny waffle maker for their little hands, and they go crazy for them. Even better, I don’t feel guilty giving them to them because they’re not loaded with extra sugar.
Don’t judge me but I made these at 10pm last night when I got a random waffle craving, and they did not disappoint. I ate two straight off the waffle iron with nothing but a little butter, no syrup even, they were that good. 10/10 would have a midnight waffle feast with this recipe again.