
waffle maker belgian
intro
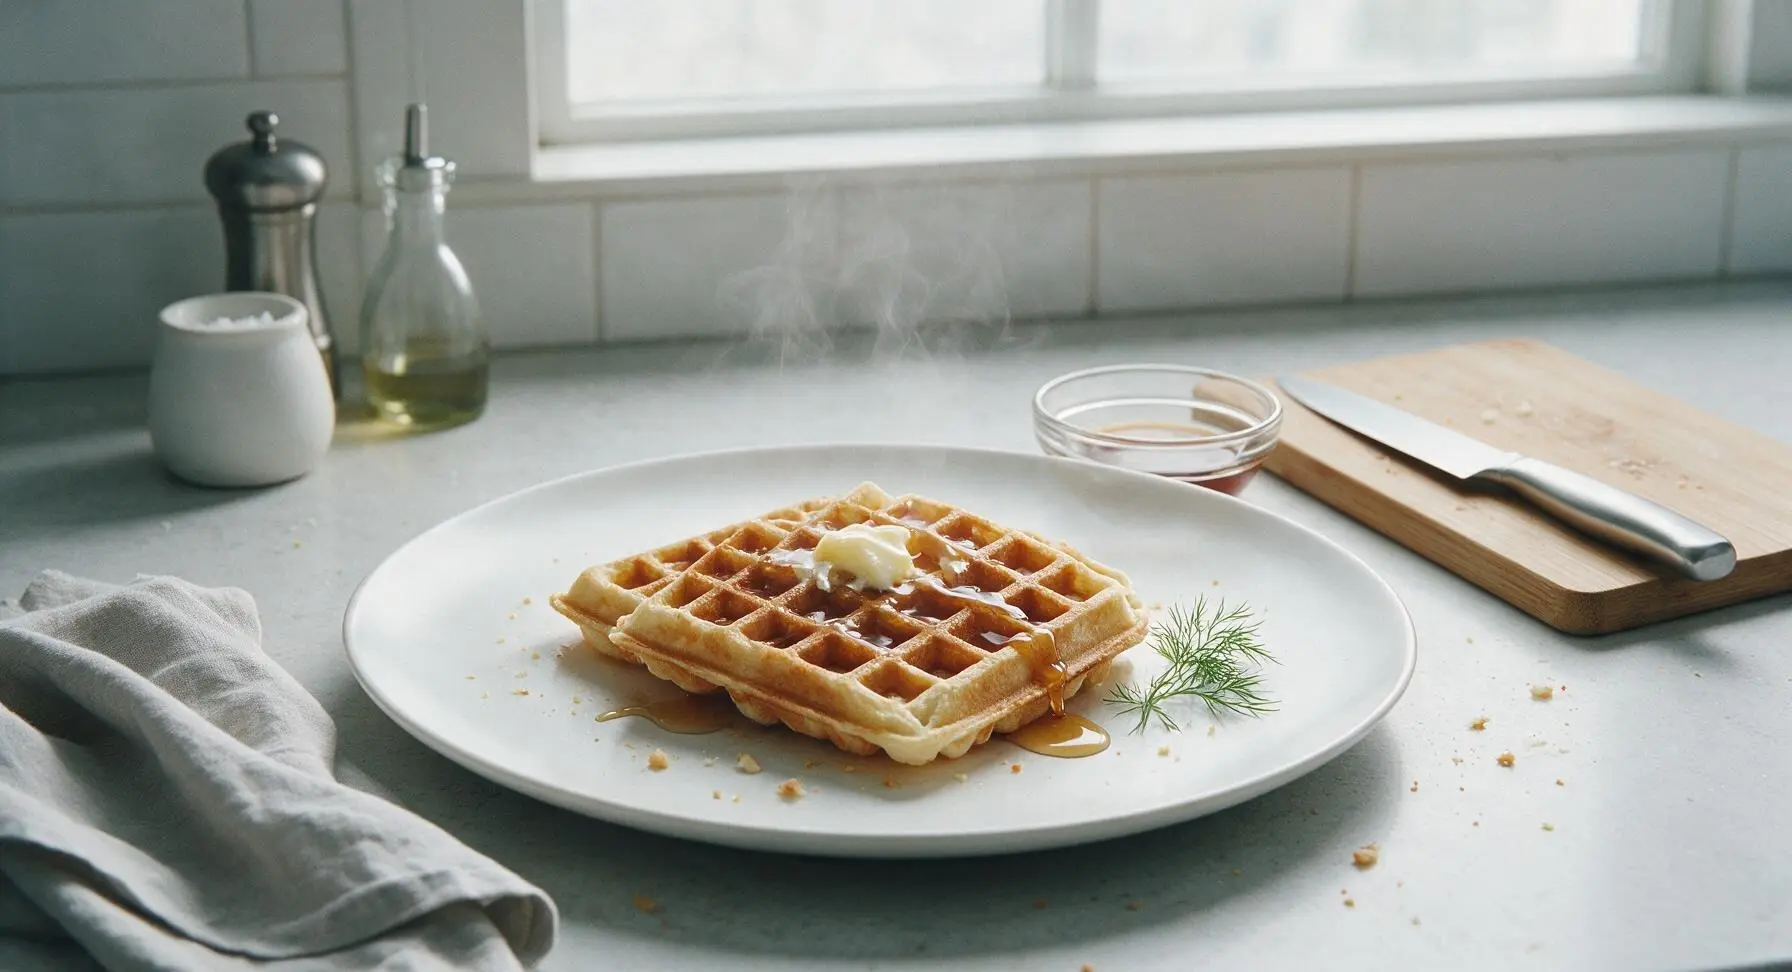
Crisp golden edges, light fluffy interiors, these classic Belgian waffles cook perfectly in a countertop waffle maker, ideal for cozy family meals topped with butter and maple syrup.
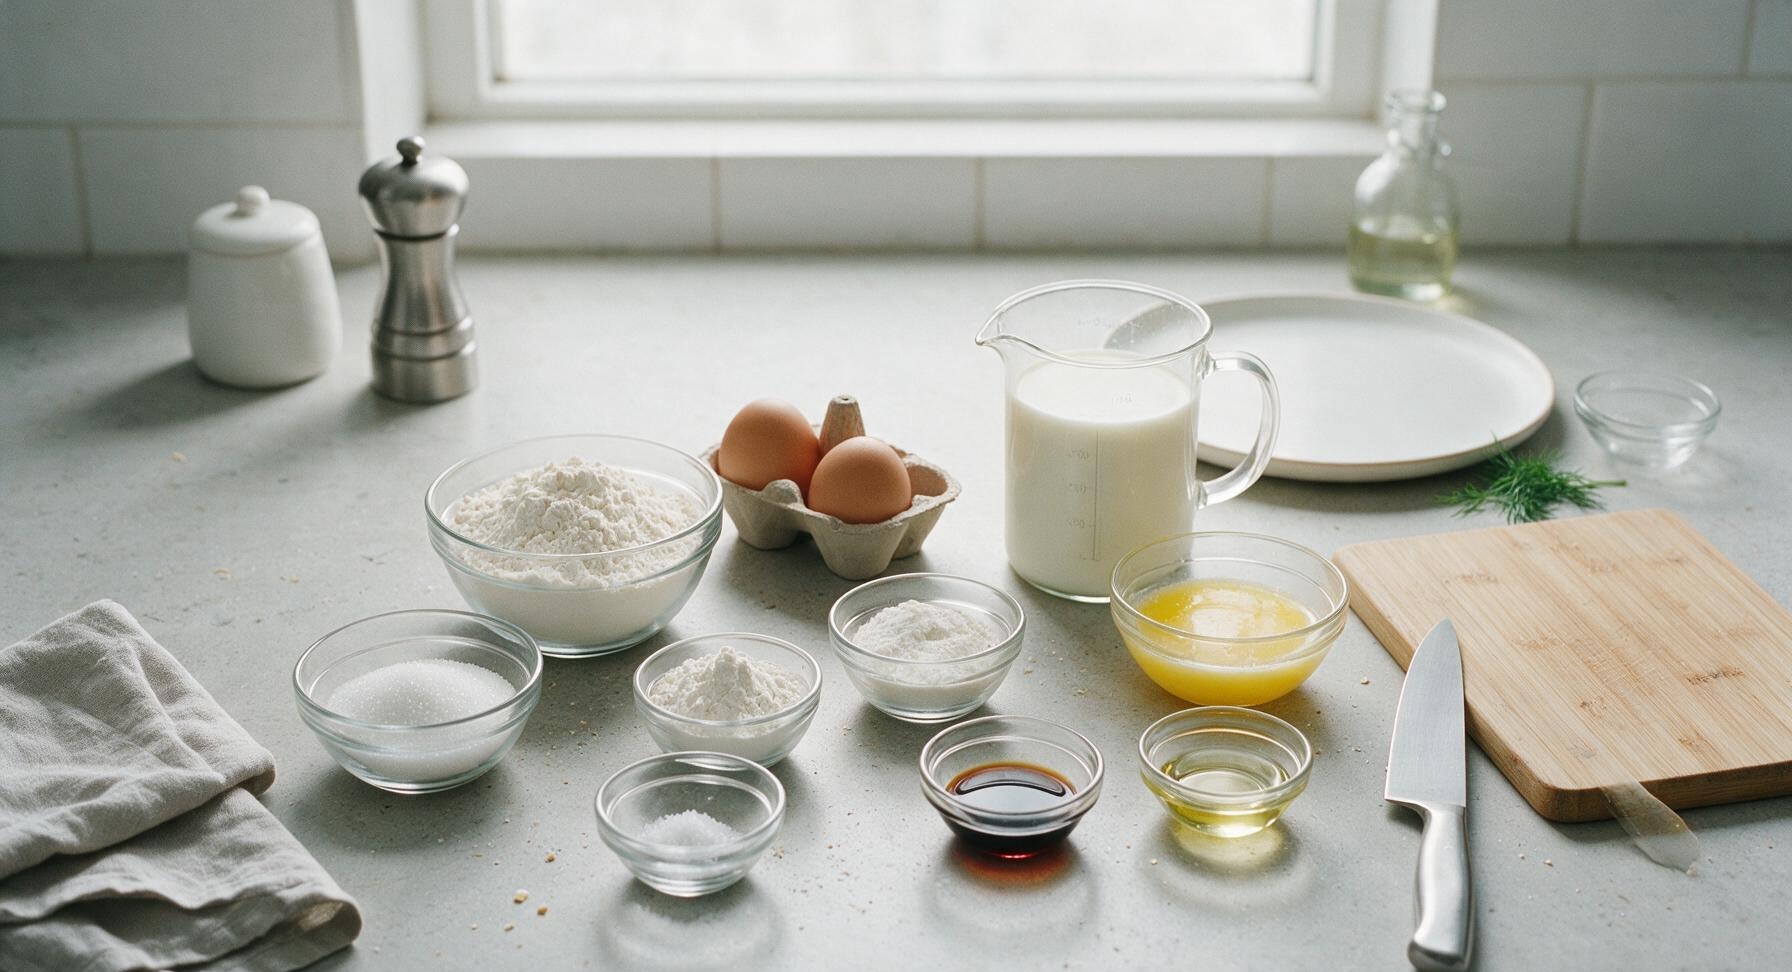
Ingredients
Steps
Preheat the Waffle Maker
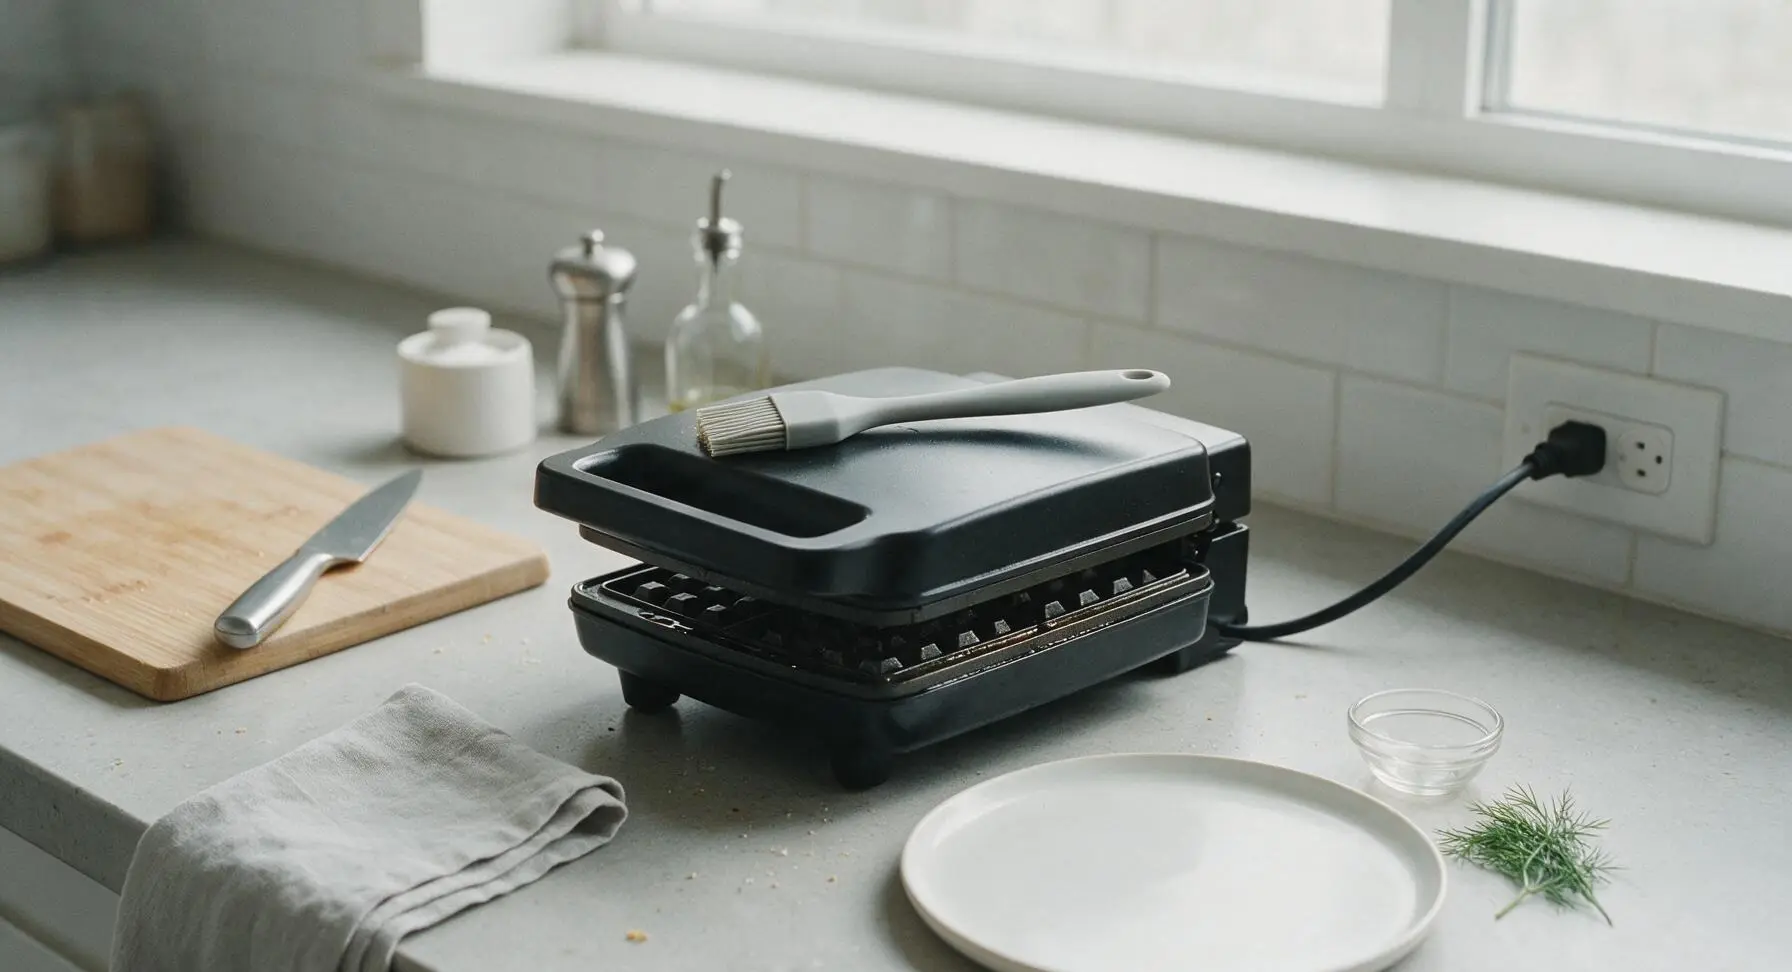
Place the matte black cast aluminum Belgian waffle maker on the center of the honey-oak counter, plug into the right wall outlet, and preheat to medium-high (375°F/190°C) according to manufacturer settings. Wait until the preheat indicator light activates, roughly 3-4 minutes, while you prepare the batter. Use the light gray silicone basting brush to lightly coat the top and bottom nonstick grids with neutral cooking oil to prevent sticking.
Combine Dry Ingredients
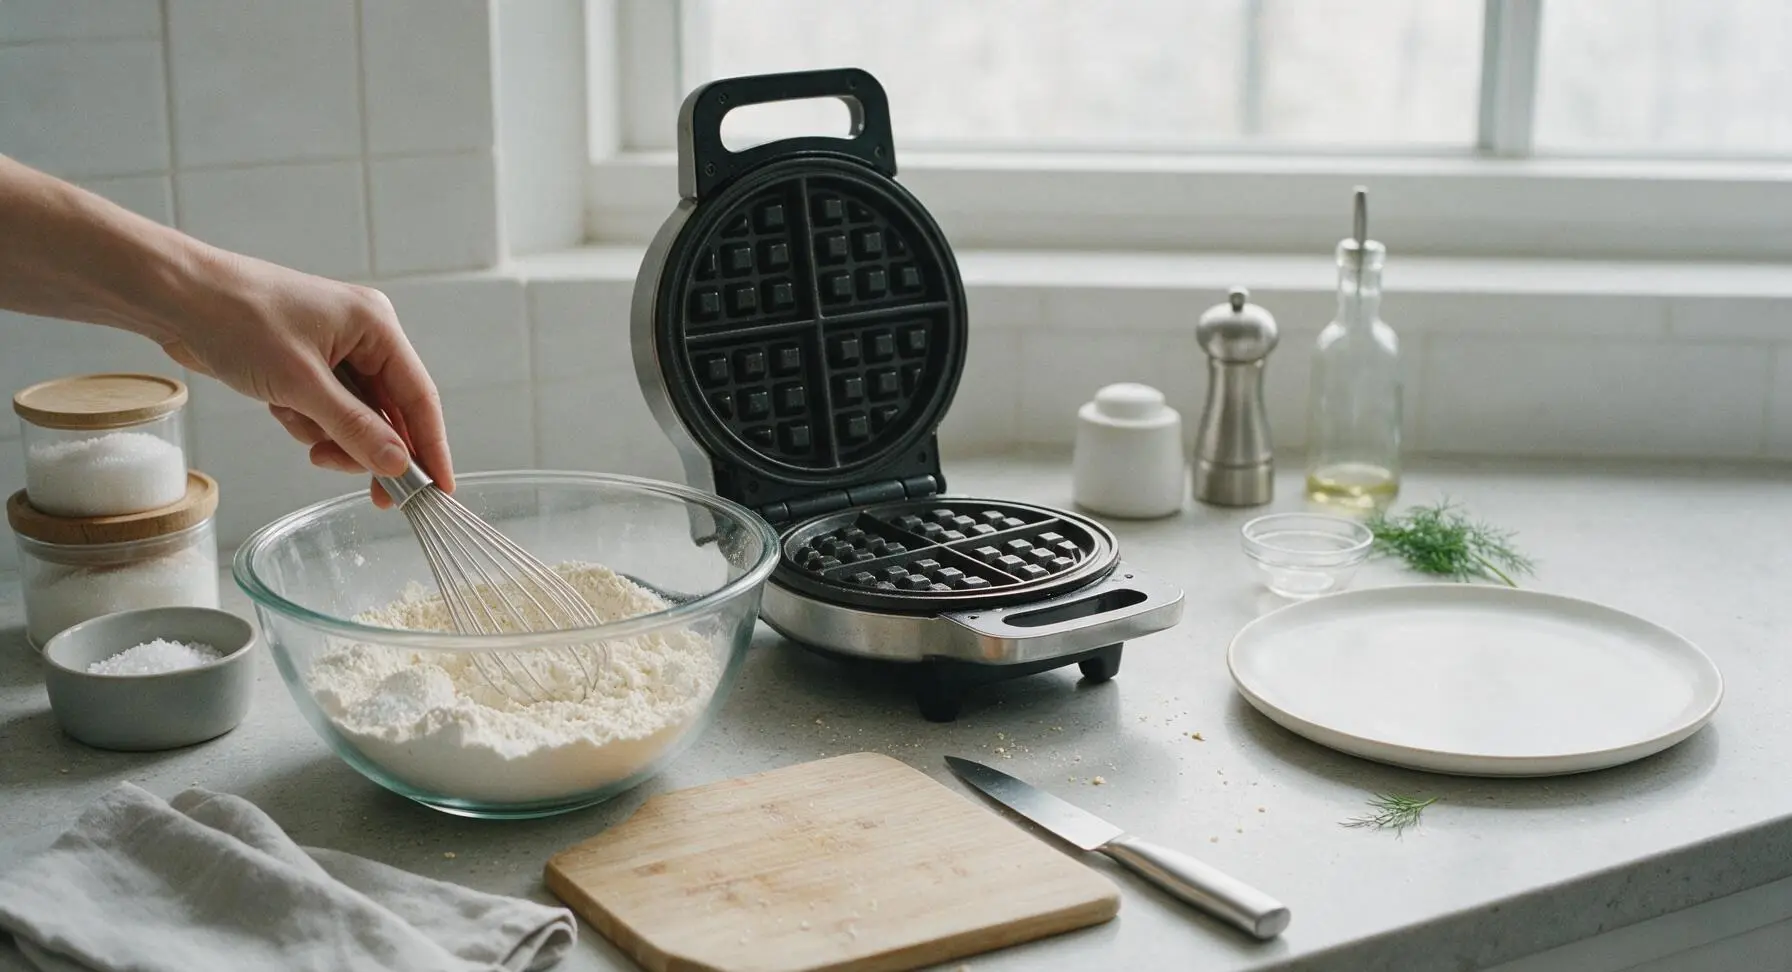
Place the 2L clear tempered glass mixing bowl on the counter left of the preheating waffle maker. Add 240g all-purpose flour, 25g granulated sugar, 12g baking powder, and 3g fine sea salt to the bowl. Use the stainless steel balloon whisk to stir the dry ingredients for 30 seconds until fully combined, with no visible clumps of baking powder or sugar.
Mix Wet Batter Base
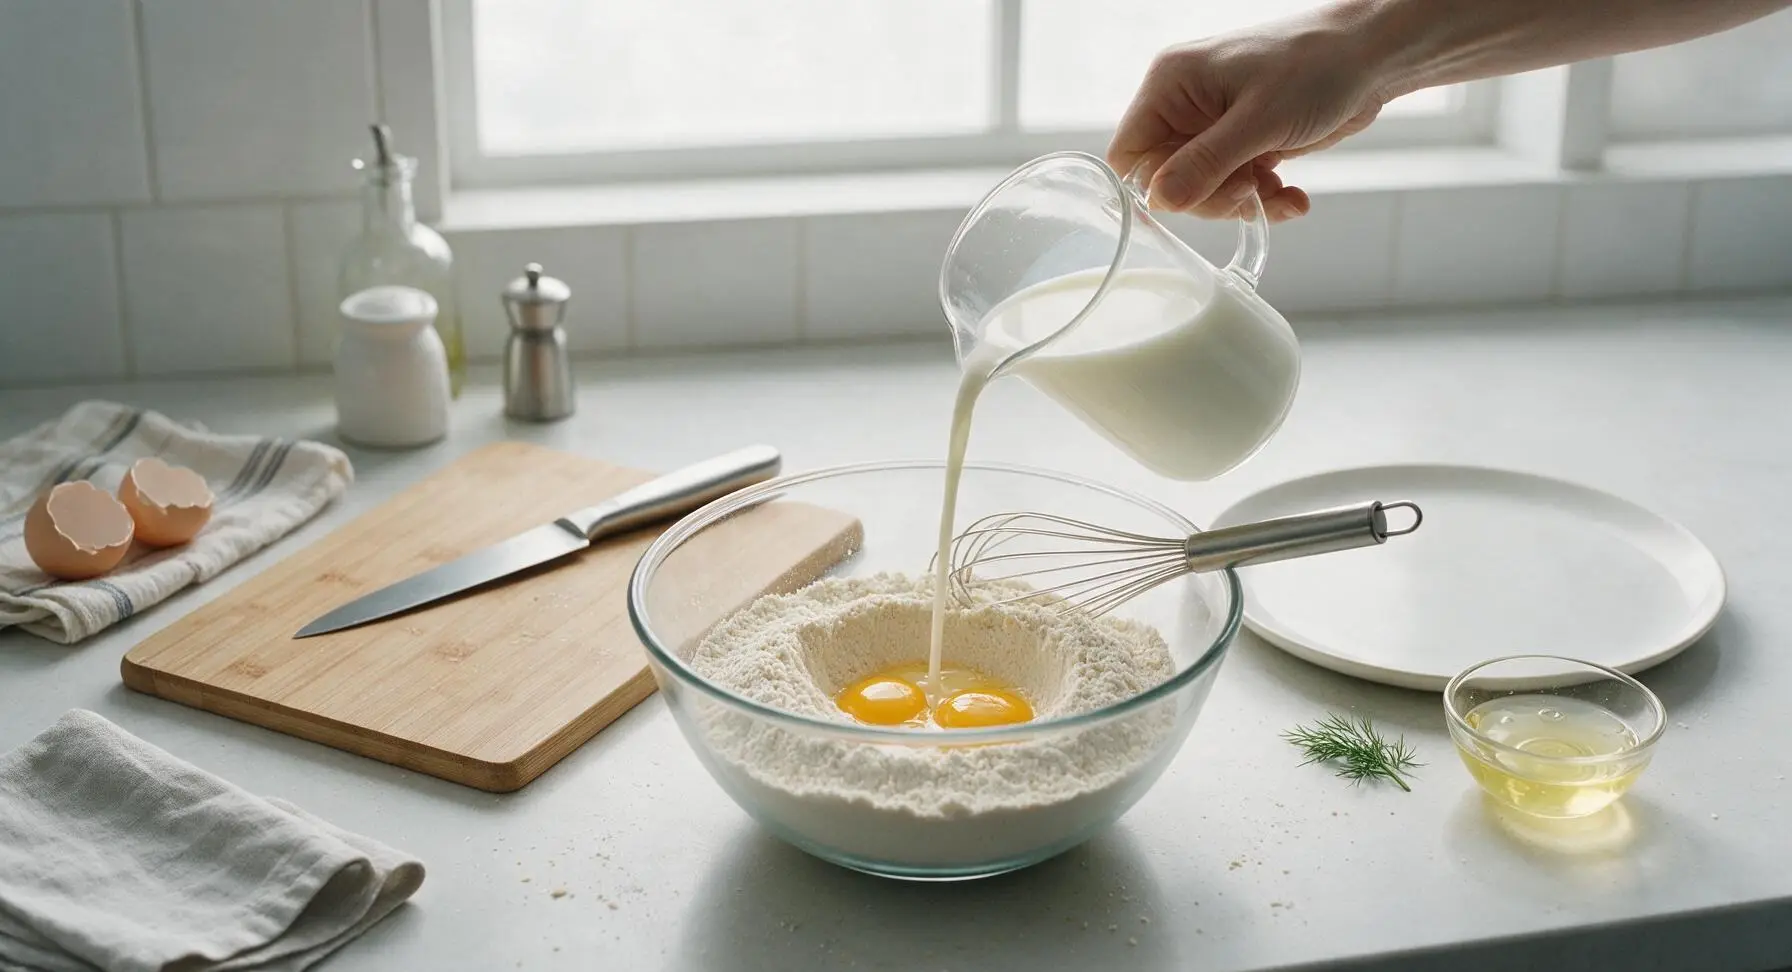
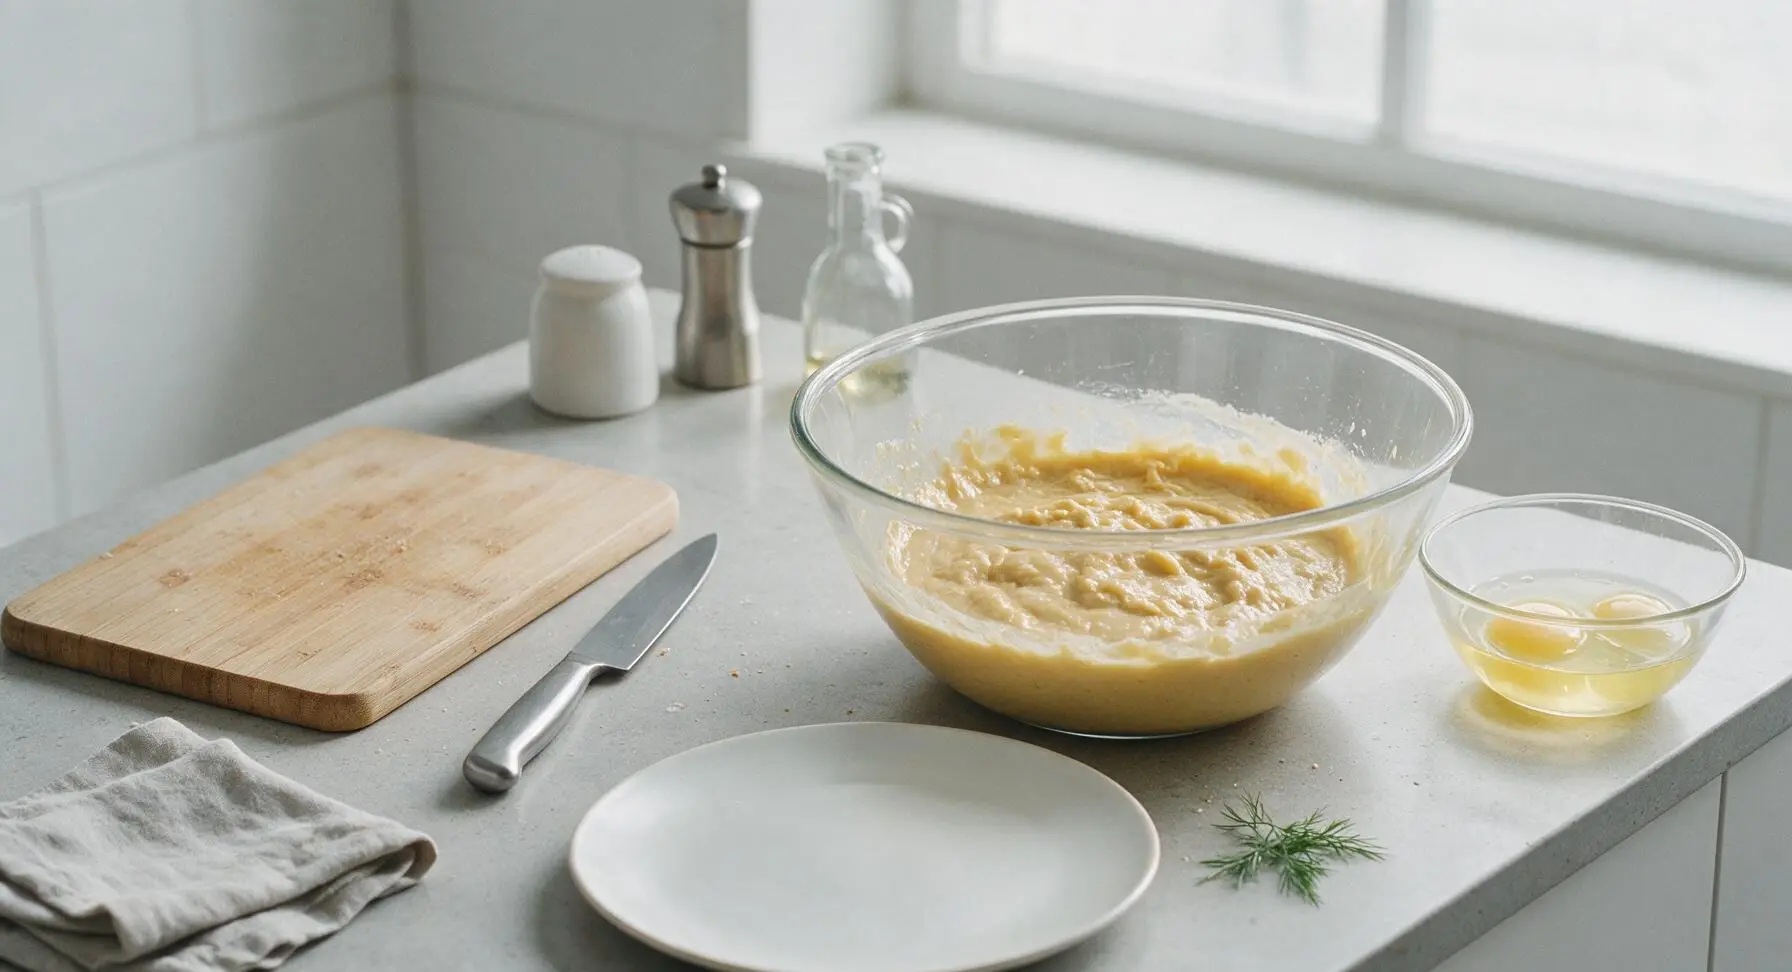
Create a small well in the center of the combined dry ingredients. Separate the two large eggs, placing the yolks directly into the well in the dry mix, and the egg whites into the completely clean, dry small glass prep bowl (set aside for later, ensuring no yolk traces mix into the whites). Add 420ml whole milk, 75g cooled melted butter, and 5ml vanilla extract to the well with the egg yolks. Whisk slowly from the center outward, just until the dry ingredients are incorporated into a thick, slightly lumpy batter — do not overmix, as this will create tough waffles.
Whip Egg Whites
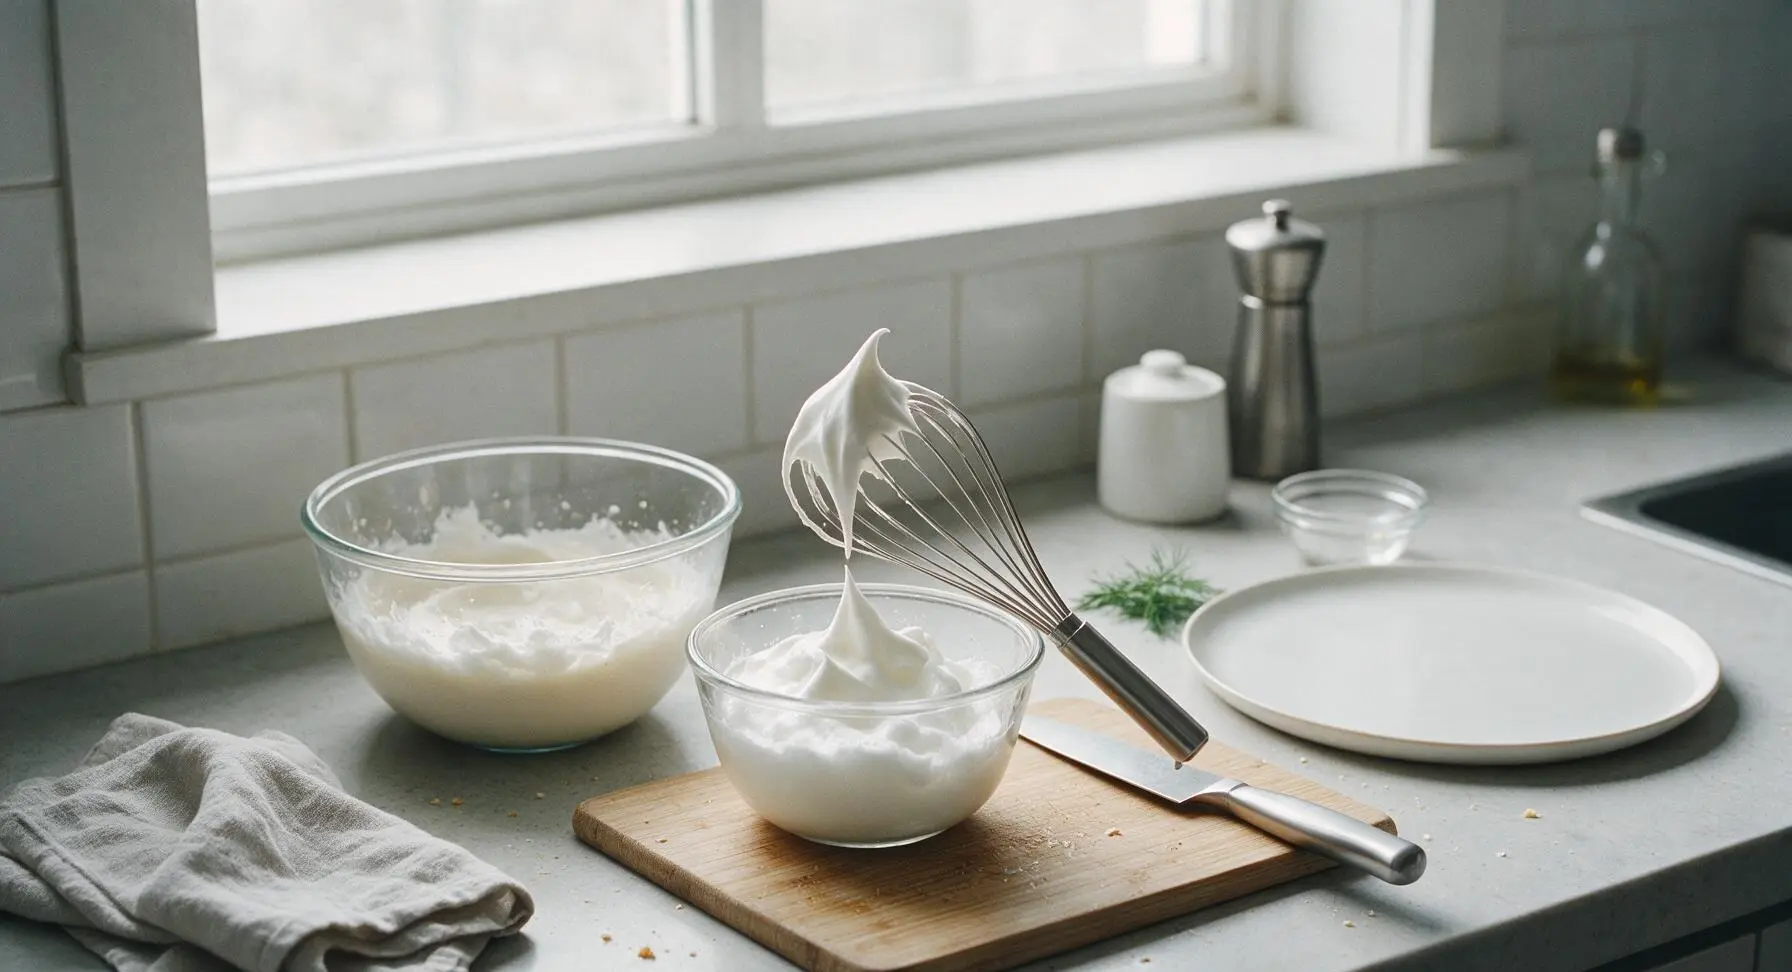
Wipe the stainless steel balloon whisk completely dry with the linen kitchen towel to remove all batter residue, then beat the reserved egg whites for 2-3 minutes, until they form stiff, glossy peaks that hold their shape when the whisk is lifted straight out of the bowl. This trapped air is what creates the light, fluffy interior texture classic to Belgian waffles.
Fold in Egg Whites
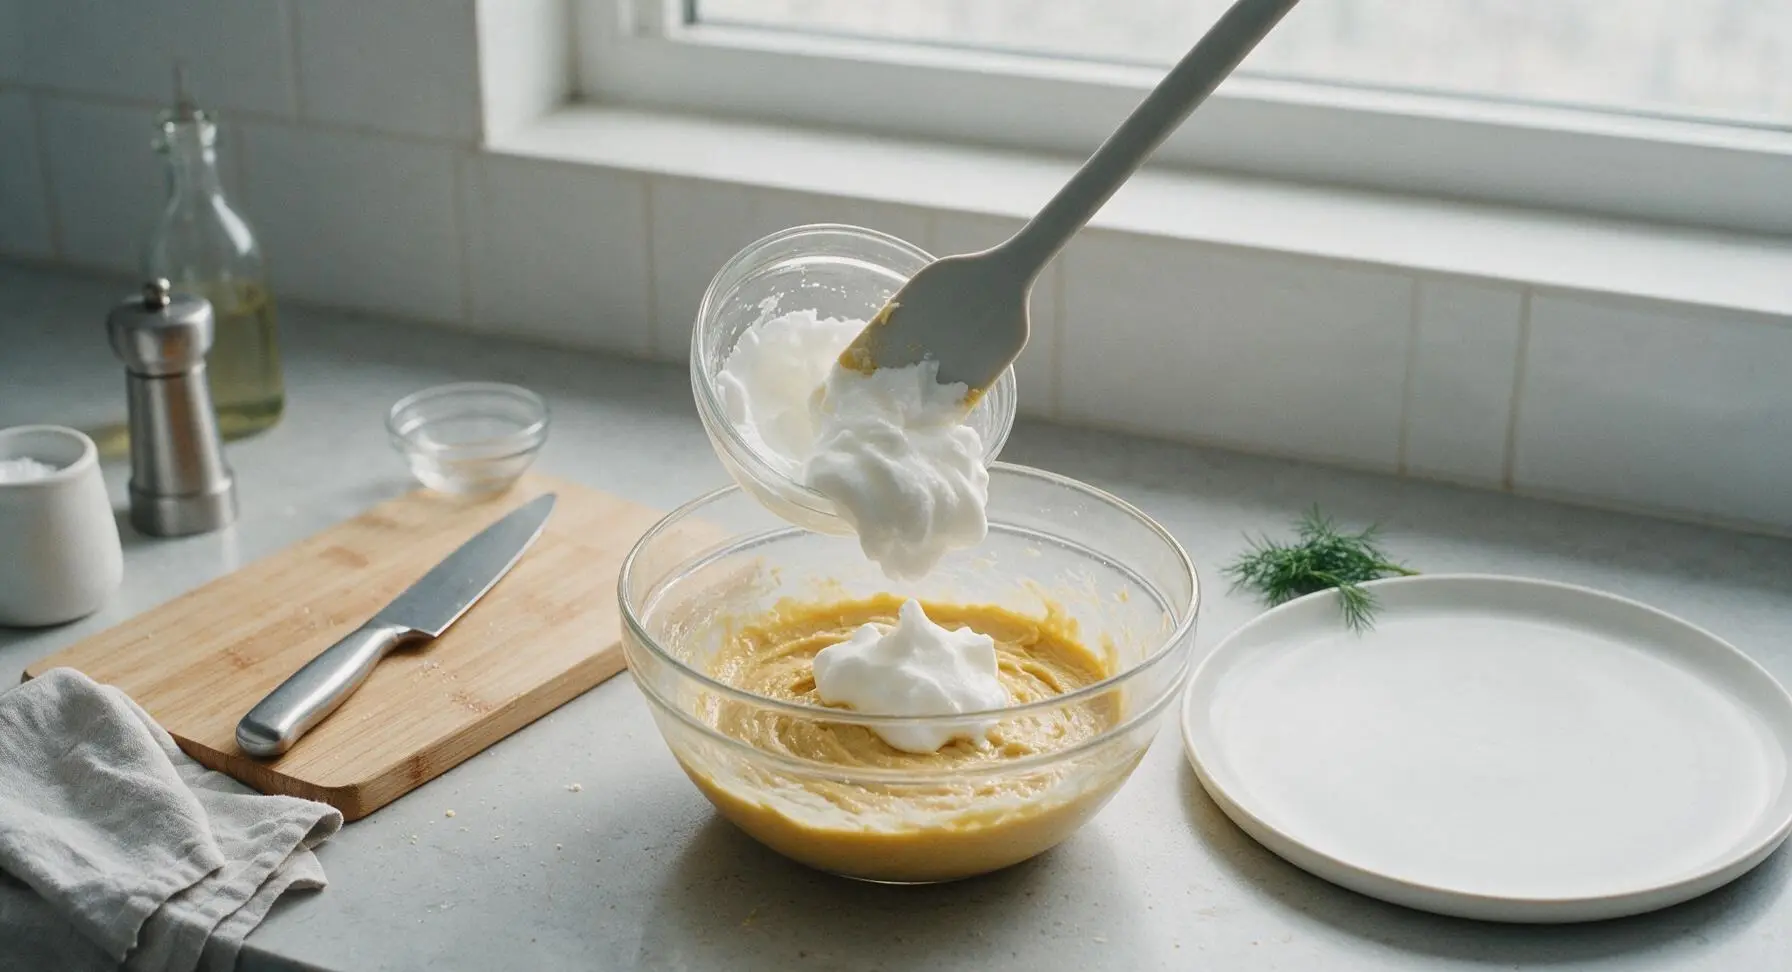
Scoop one third of the whipped egg whites into the main batter bowl, and stir gently with the light gray silicone spatula to lighten the thick batter. Add the remaining egg whites, folding gently with a slow cutting and turning motion (do not stir vigorously or deflate the air in the whites) until just combined — a few small streaks of white egg white remaining in the batter is perfectly fine, as overmixing will produce dense, heavy waffles.
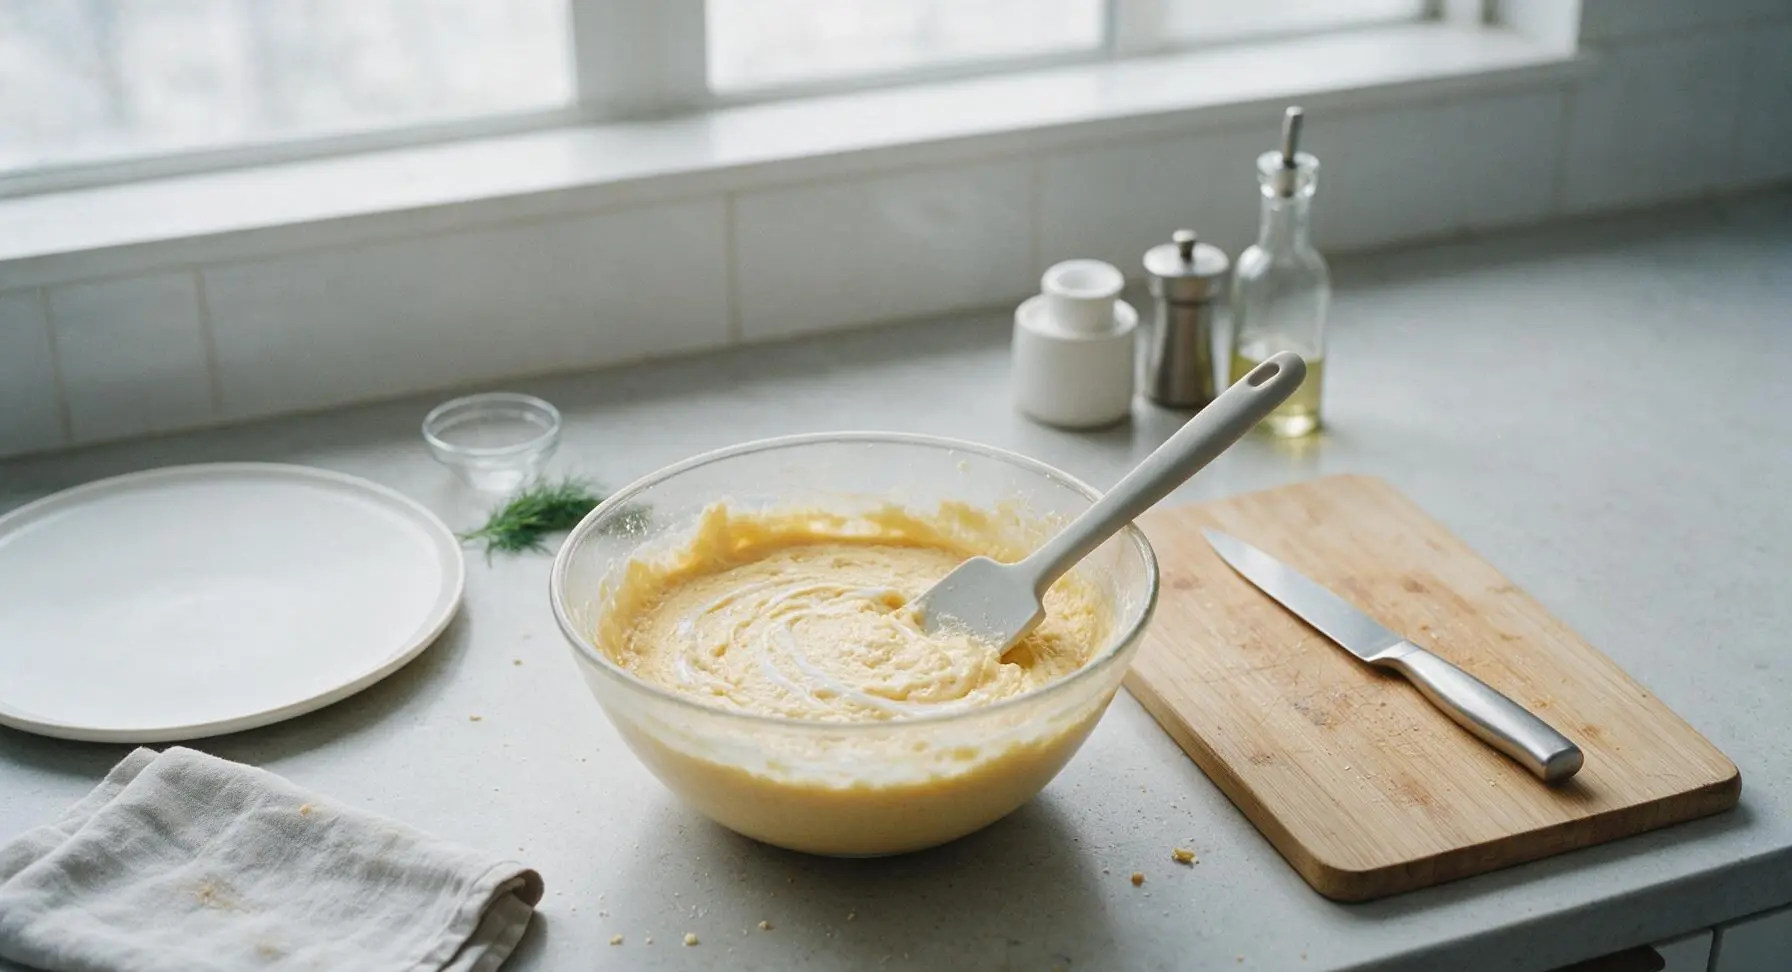
Cook the Waffles
Open the preheated waffle maker lid. Use the polished stainless steel measuring cup to pour 180ml (3/4 cup) of batter onto the center of the bottom waffle grid, spreading it slightly toward the edges with the back of the measuring cup if needed. Close the lid, and cook for 3.5 to 4 minutes, until the waffle is deep golden brown, crisp on the outside, and no visible steam escapes from the waffle maker edges. Do not open the lid before 3 minutes, as this will cause the waffle to split and stick to the grids.
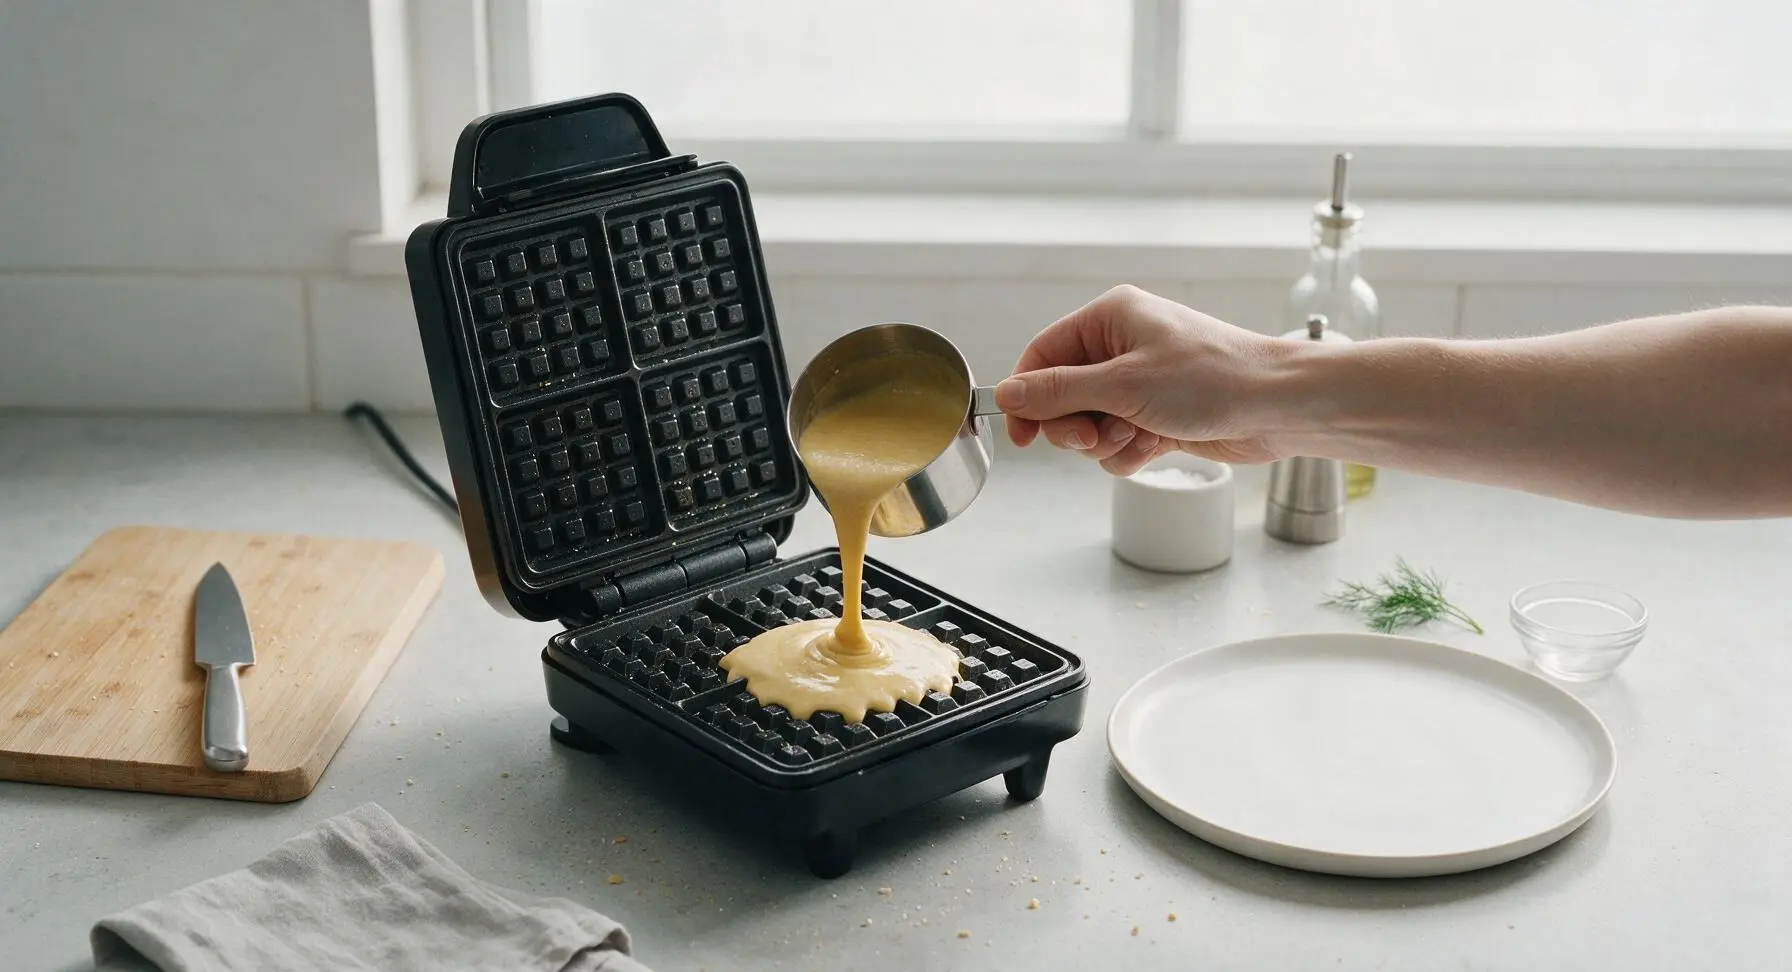
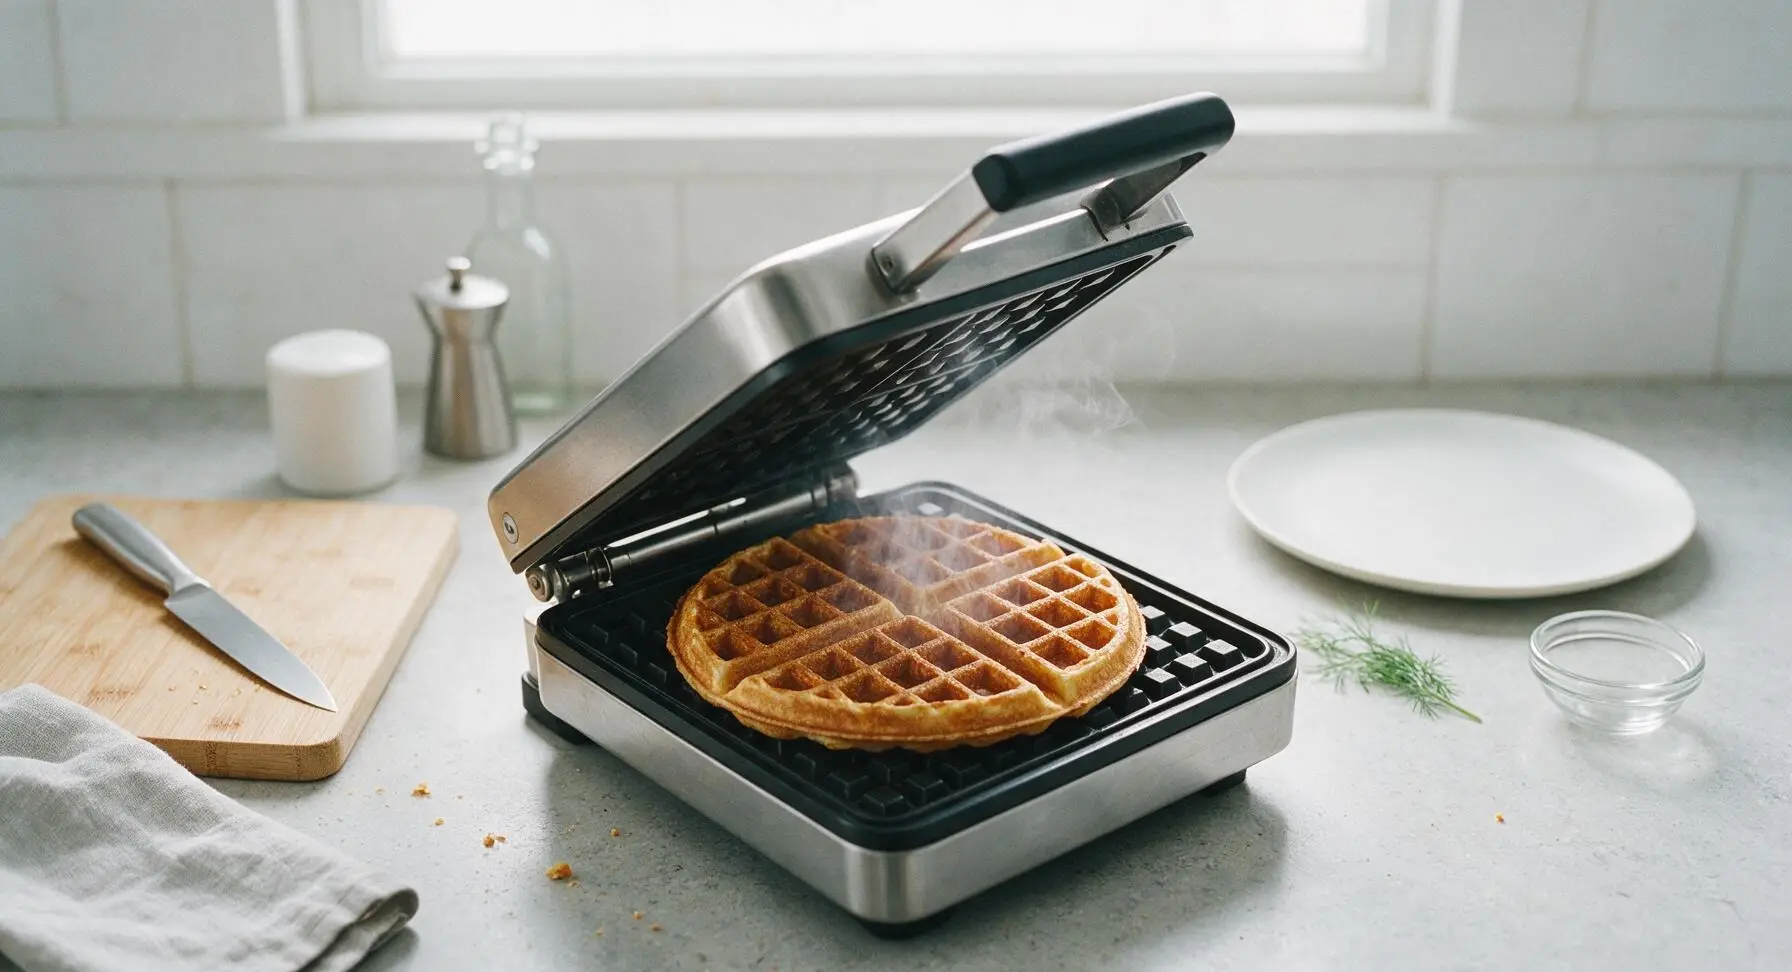
Rest Waffles on Rack
Use the light gray silicone spatula to gently lift the cooked waffle from the waffle maker, and transfer it to the chrome wire cooling rack positioned to the right of the waffle maker. Repeat the cooking process with the remaining batter, placing cooked waffles loosely on the rack (do not stack them directly on a plate, as trapped steam will make them soggy). Let each waffle rest for 1 minute before plating to keep the exterior crisp.
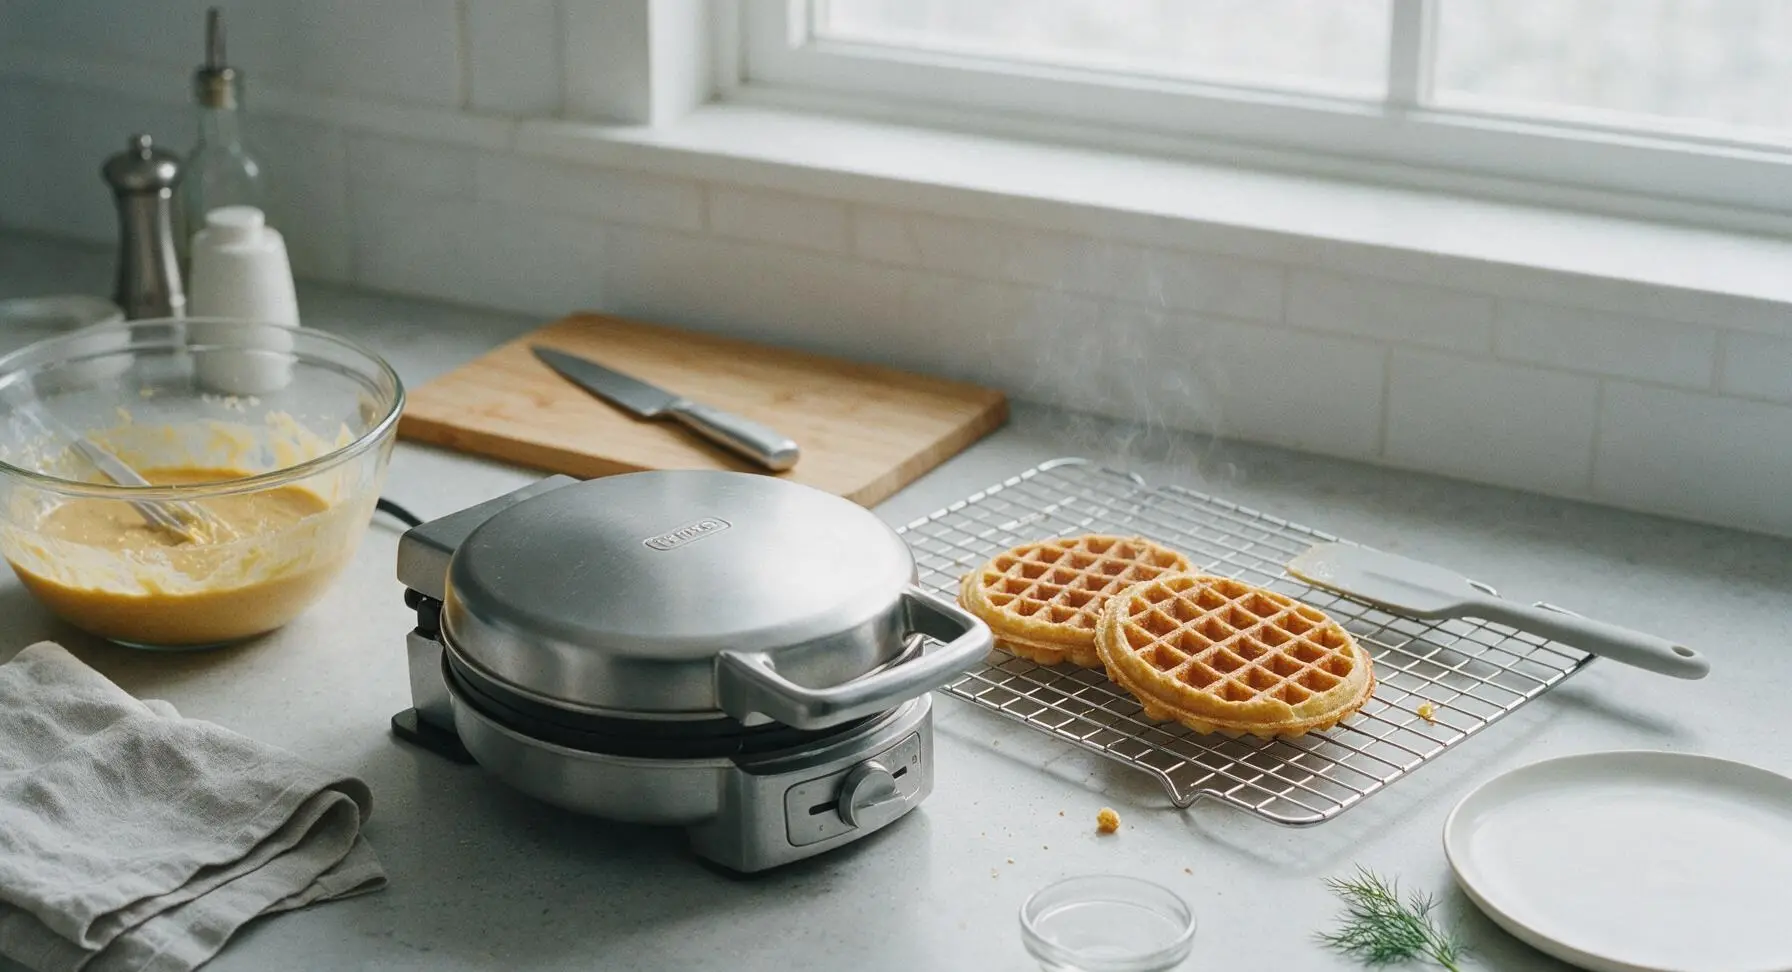
Plate and Garnish
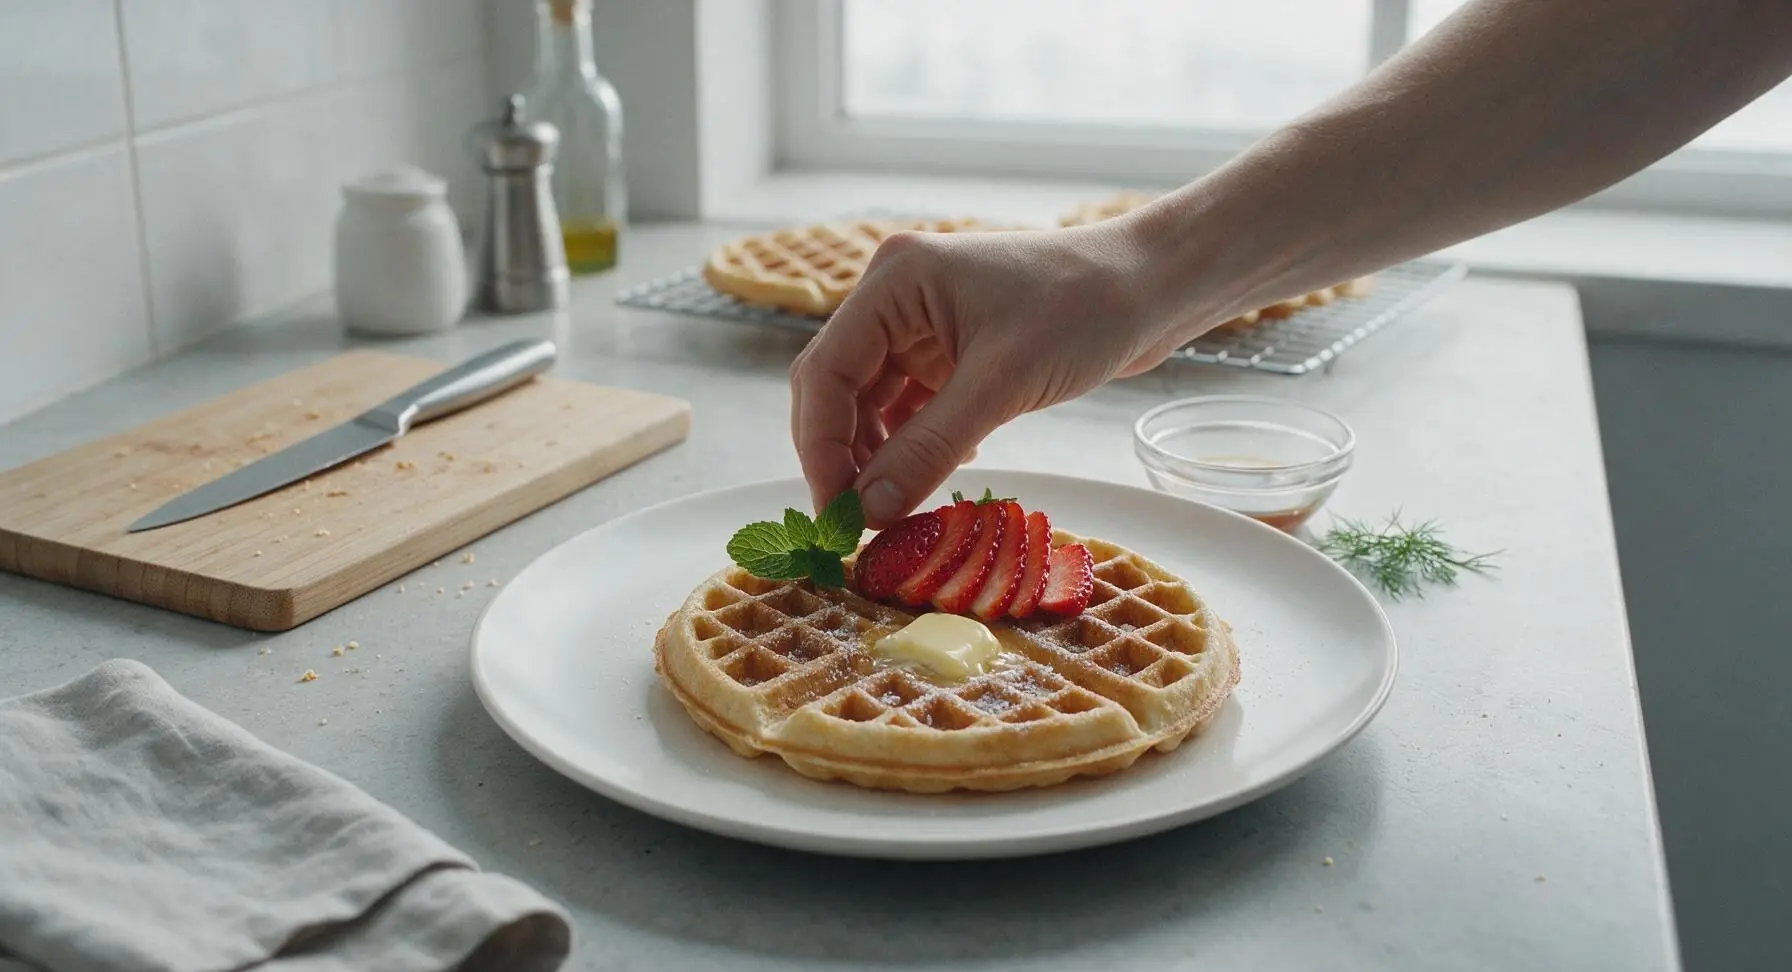
Transfer one rested waffle to the matte cream ceramic dinner plate. Top with a 14g (1 tbsp) pat of softened butter, a 30ml (2 tbsp) drizzle of maple syrup, a light 5g dusting of powdered sugar from the small cream ramekin, and 3 sliced fresh strawberries and a single mint sprig from the wicker basket for garnish. Serve immediately while warm.
Tips
2.Resist the urge to overmix the batter: small lumps are completely normal and desirable, as overmixing develops gluten in the flour and results in tough, chewy waffles. Stop folding as soon as no large dry flour clumps remain, even if a few white streaks of egg white are visible.
3.Rest cooked waffles on a wire rack instead of stacking them directly on a plate: trapped steam from hot waffles will condense against the plate and soften the crisp outer crust, while an open rack allows air circulation to keep edges crisp. For batch cooking, hold waffles directly on the rack in a 200°F (95°C) oven to keep them warm and crisp until serving.






OMG these are SO good! I’ve been messing up waffle recipes for months because they always come out soggy in the middle, but these were perfectly crispy on the outside and light and fluffy inside. My kids loved it so much they asked for seconds before they even finished their first plate. Drizzled with maple syrup and a side of fresh strawberries, total weekend brunch win for our family! 10/10, so easy to whip up too, didn’t even need a million fancy ingredients.
Total game changer! I’ve had my basic waffle maker sitting in the back of my kitchen cabinet for like a year because every waffle I made stuck so bad I just gave up on it. Followed this recipe exactly, sprayed the iron lightly with nonstick spray before pouring batter in, and they slid right out no problem at all. Cook time was spot on too, about 3 minutes per waffle on my machine, whole batch was done in 15 minutes just like the recipe said. Made these for my roommate and he swore they’re better than the diner waffles we get downtown on Saturday mornings.
Super easy straightforward recipe, perfect for quick weekday breakfast meal prep! I made a double batch on Sunday, let the waffles cool fully, then froze the extras in ziplock bags. Now I just pop one in the toaster during the week when I’m running out the door for work, and they taste fresh made. They hold up so much better than the frozen grocery store waffles, no weird soggy texture after reheating. I added a little dash of cinnamon and extra vanilla to the batter for extra warmth, chef’s kiss.
Bro this recipe saved my lazy Sunday morning. I’m a total beginner in the kitchen, I almost burned avocado toast last week, so I was shocked how easy these were to nail. Had all the ingredients in my dorm pantry already, no fancy specialty stuff required. Only hiccup was my cheap hand-me-down waffle maker runs a little hot so the first waffle came out a little darker than I wanted, but the rest turned out golden and perfect. Slathered some Nutella and sliced banana on top, absolutely insane.