
waffle mini maker
intro
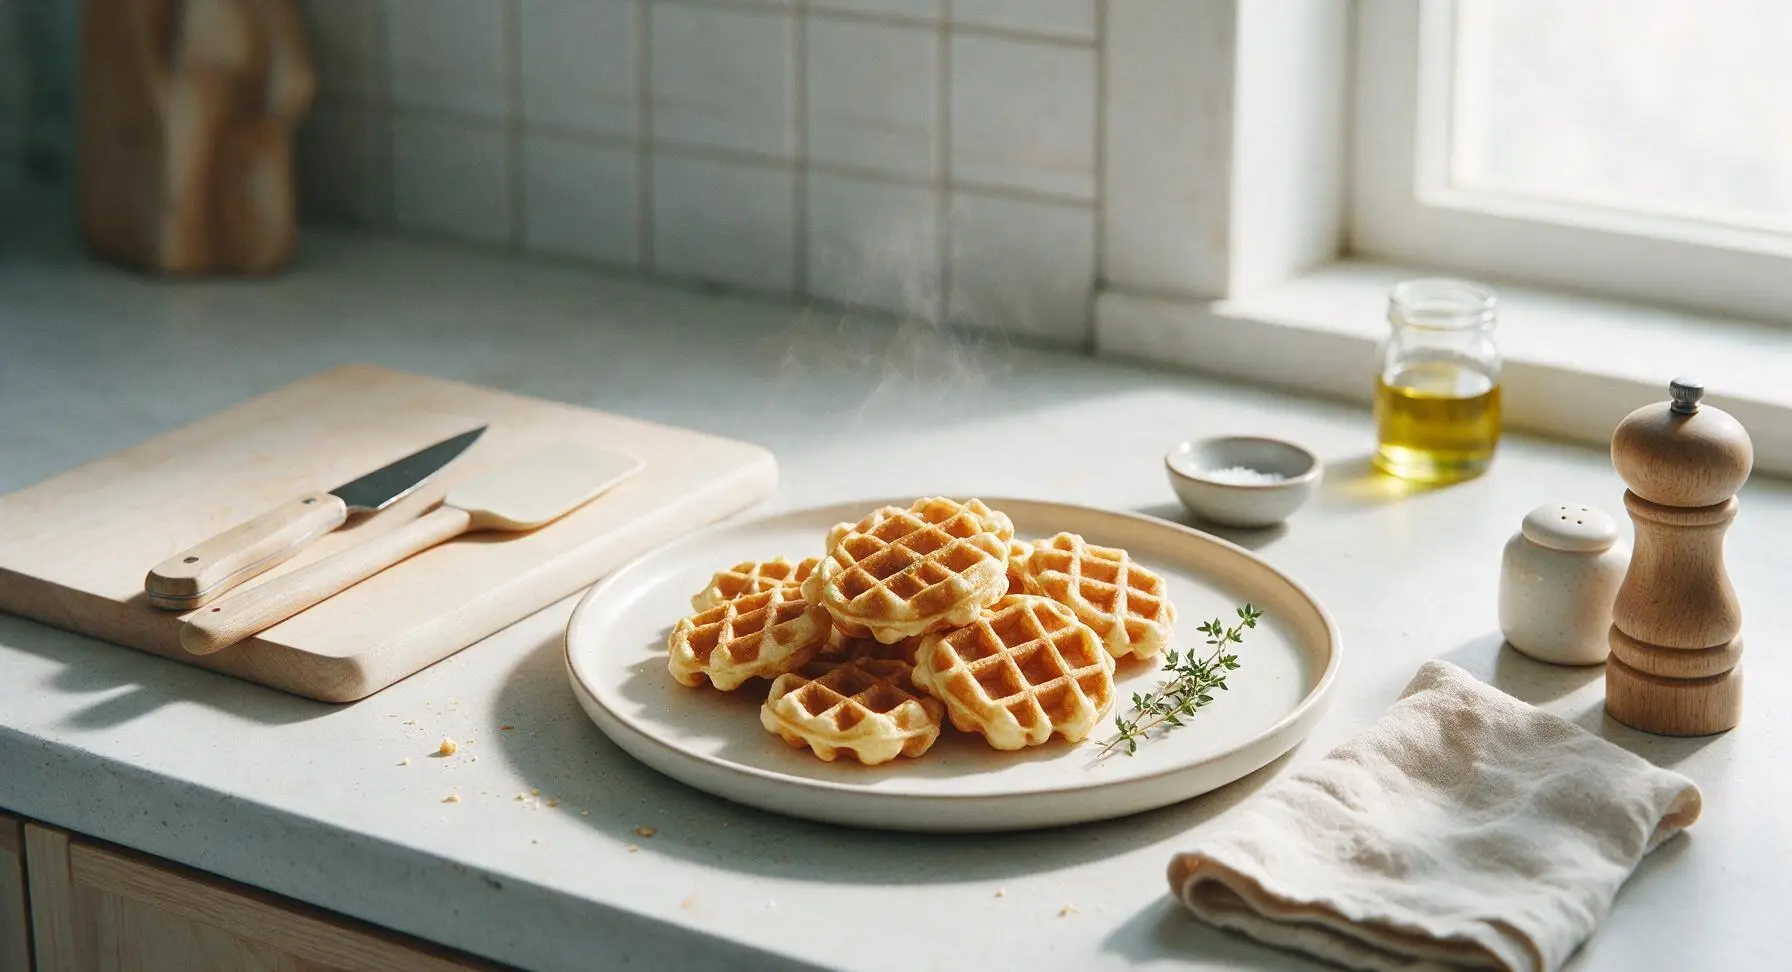
Crisp on the outside, fluffy inside, these golden mini buttermilk waffles cook in minutes in a countertop mini waffle maker, perfect for fast, cozy winter weeknight meals.
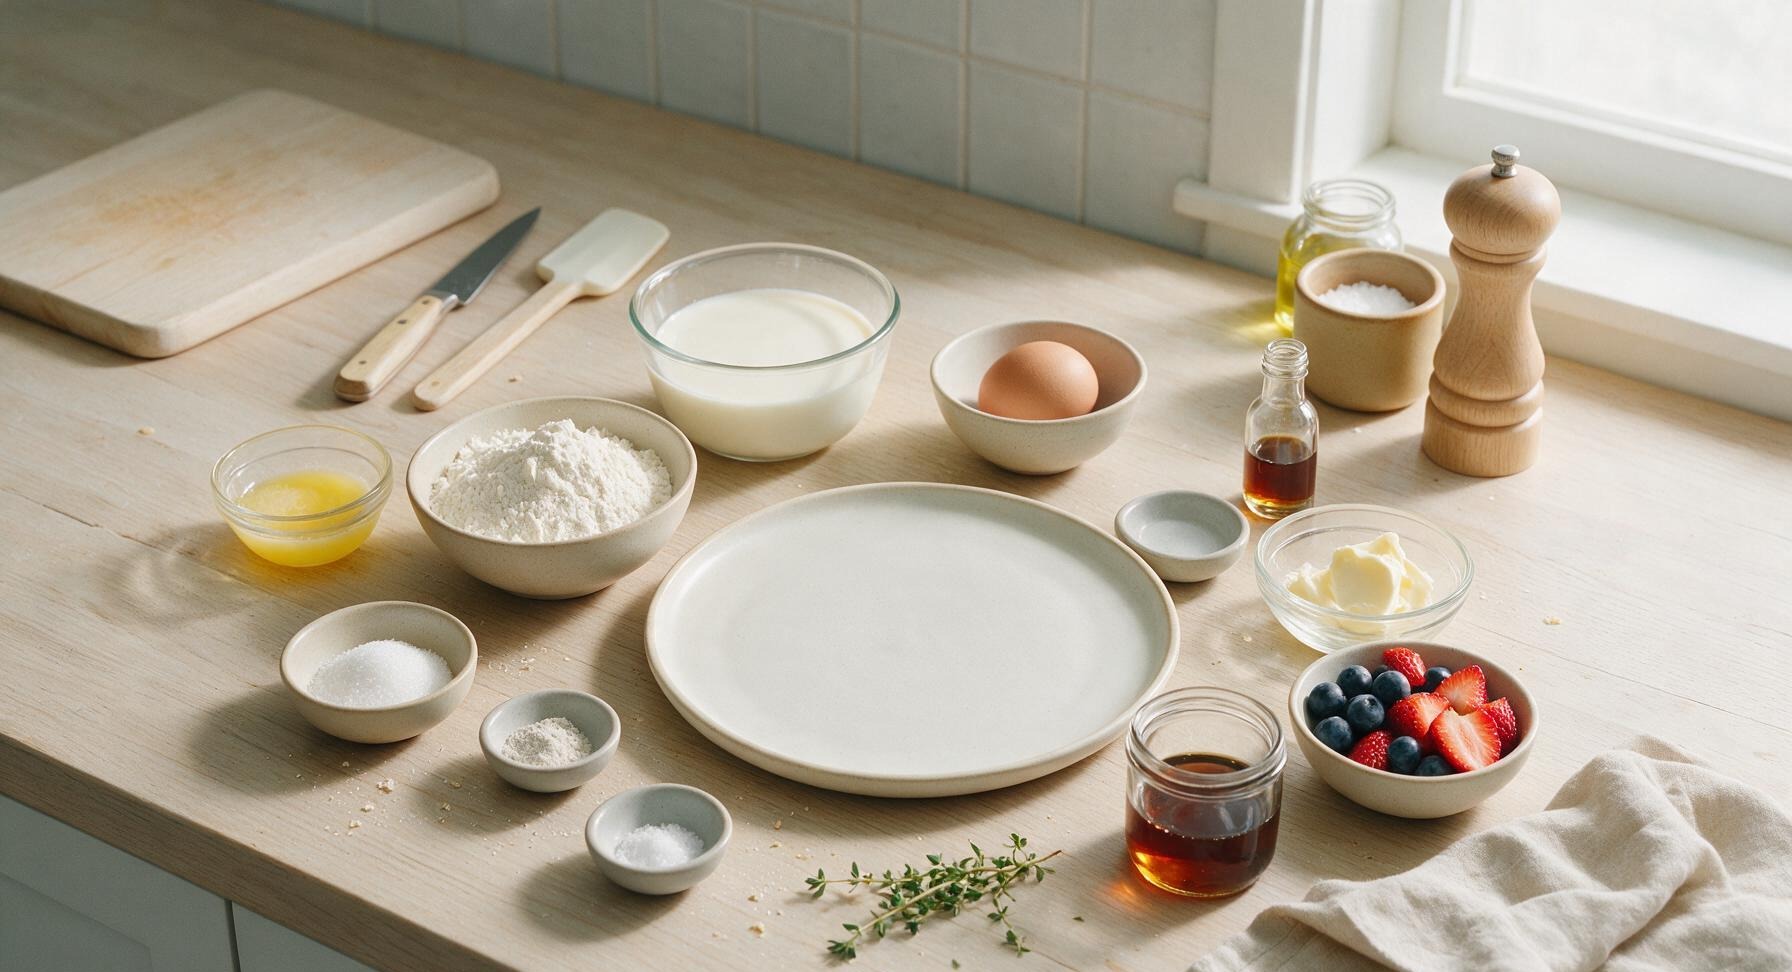
Ingredients
Steps
Preheat Waffle Maker
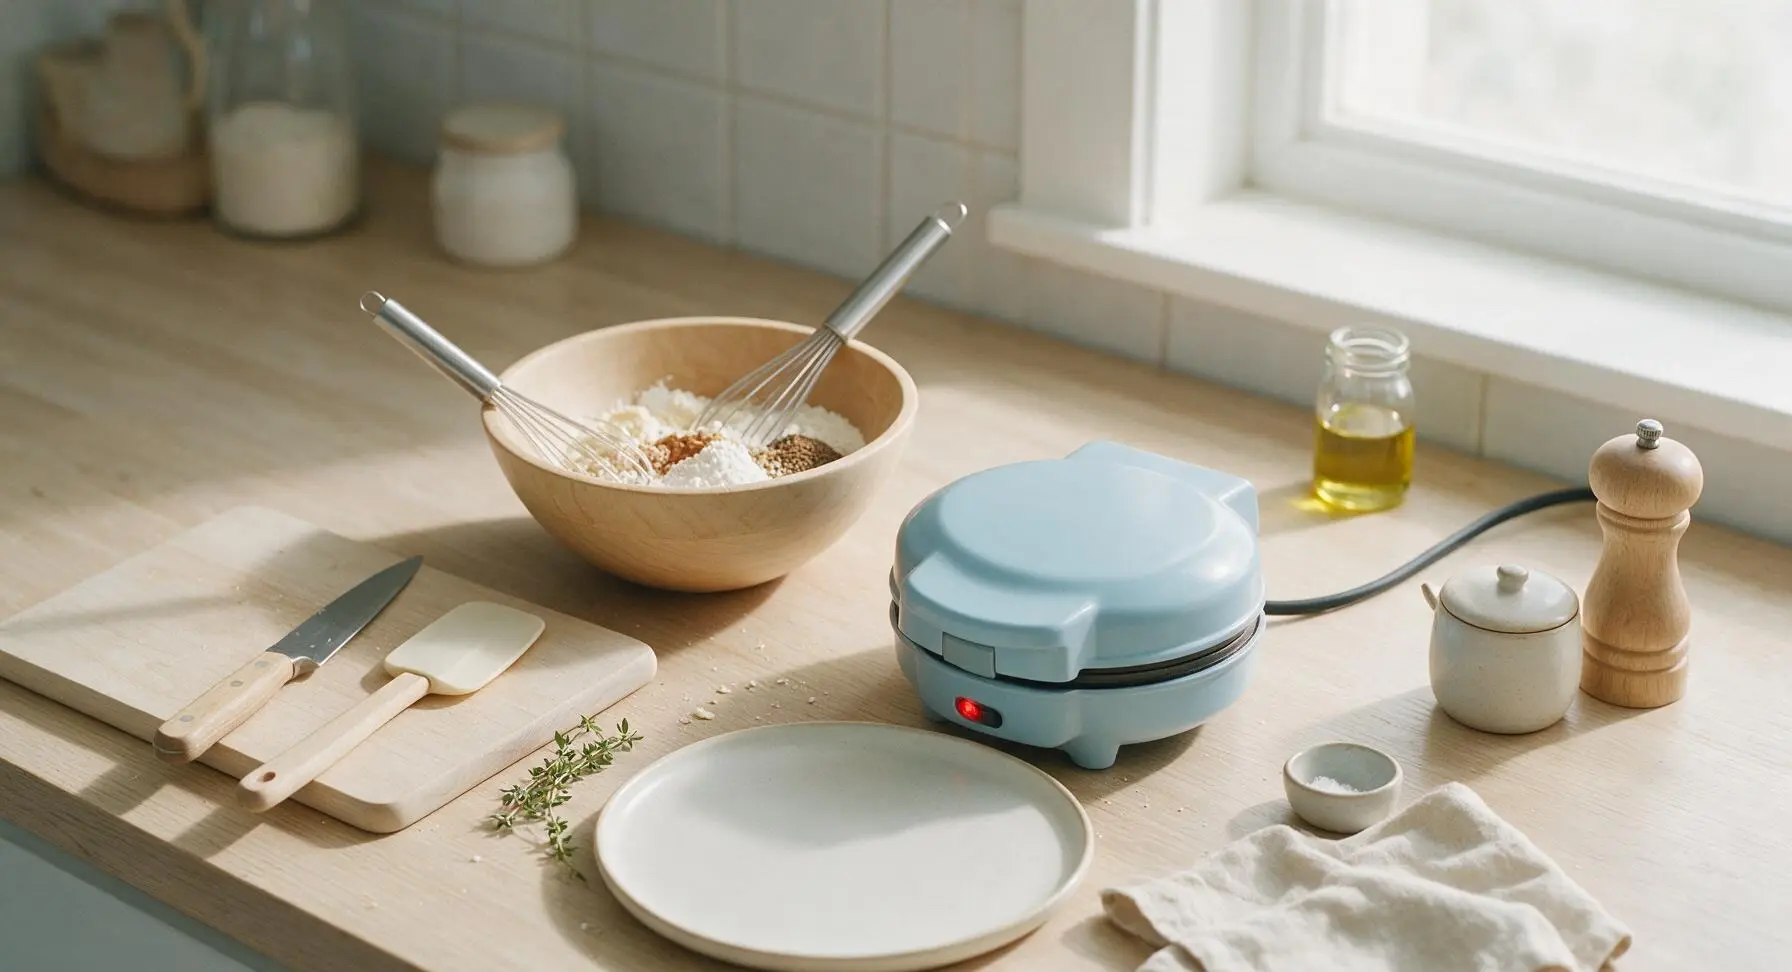
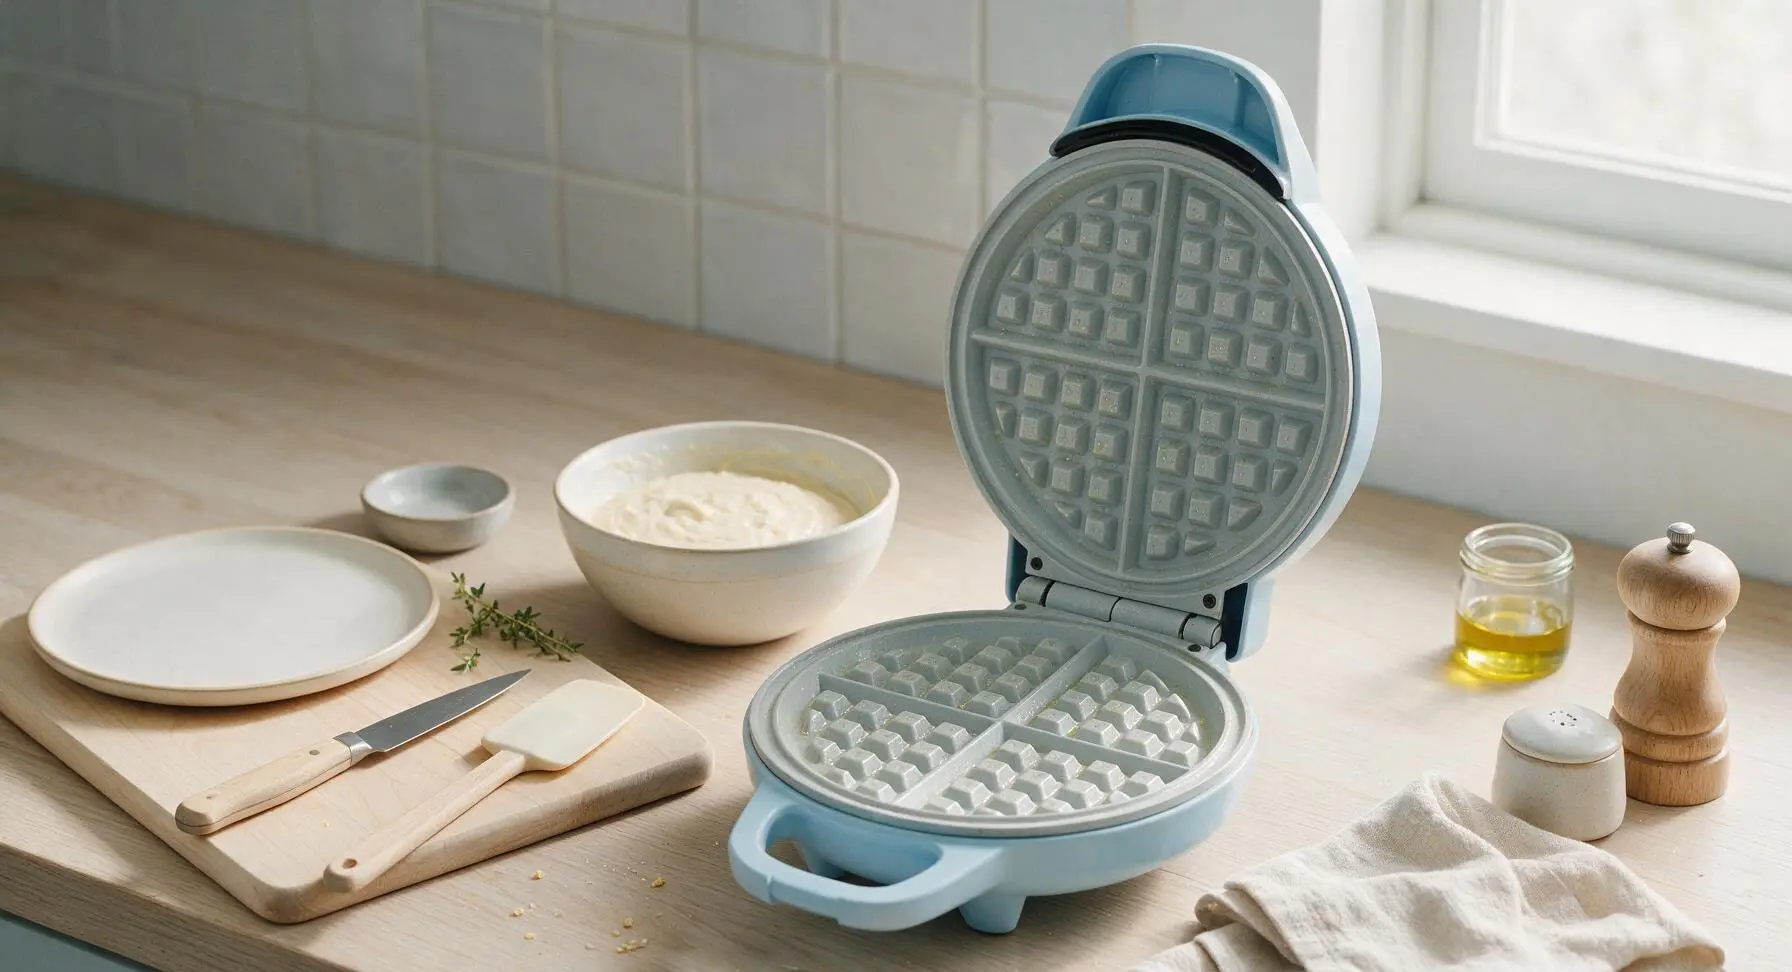
Plug in the matte pastel blue 4-inch mini waffle maker to preheat while you prepare the batter. The red power indicator light will illuminate when the unit is plugged in, and will shut off automatically once the cooking plates reach the optimal 375°F (190°C) cooking temperature, approximately 3 minutes. Preheat the plates dry without oil first to prevent sticky residue buildup on the non-stick surface.
Mix Dry Ingredients
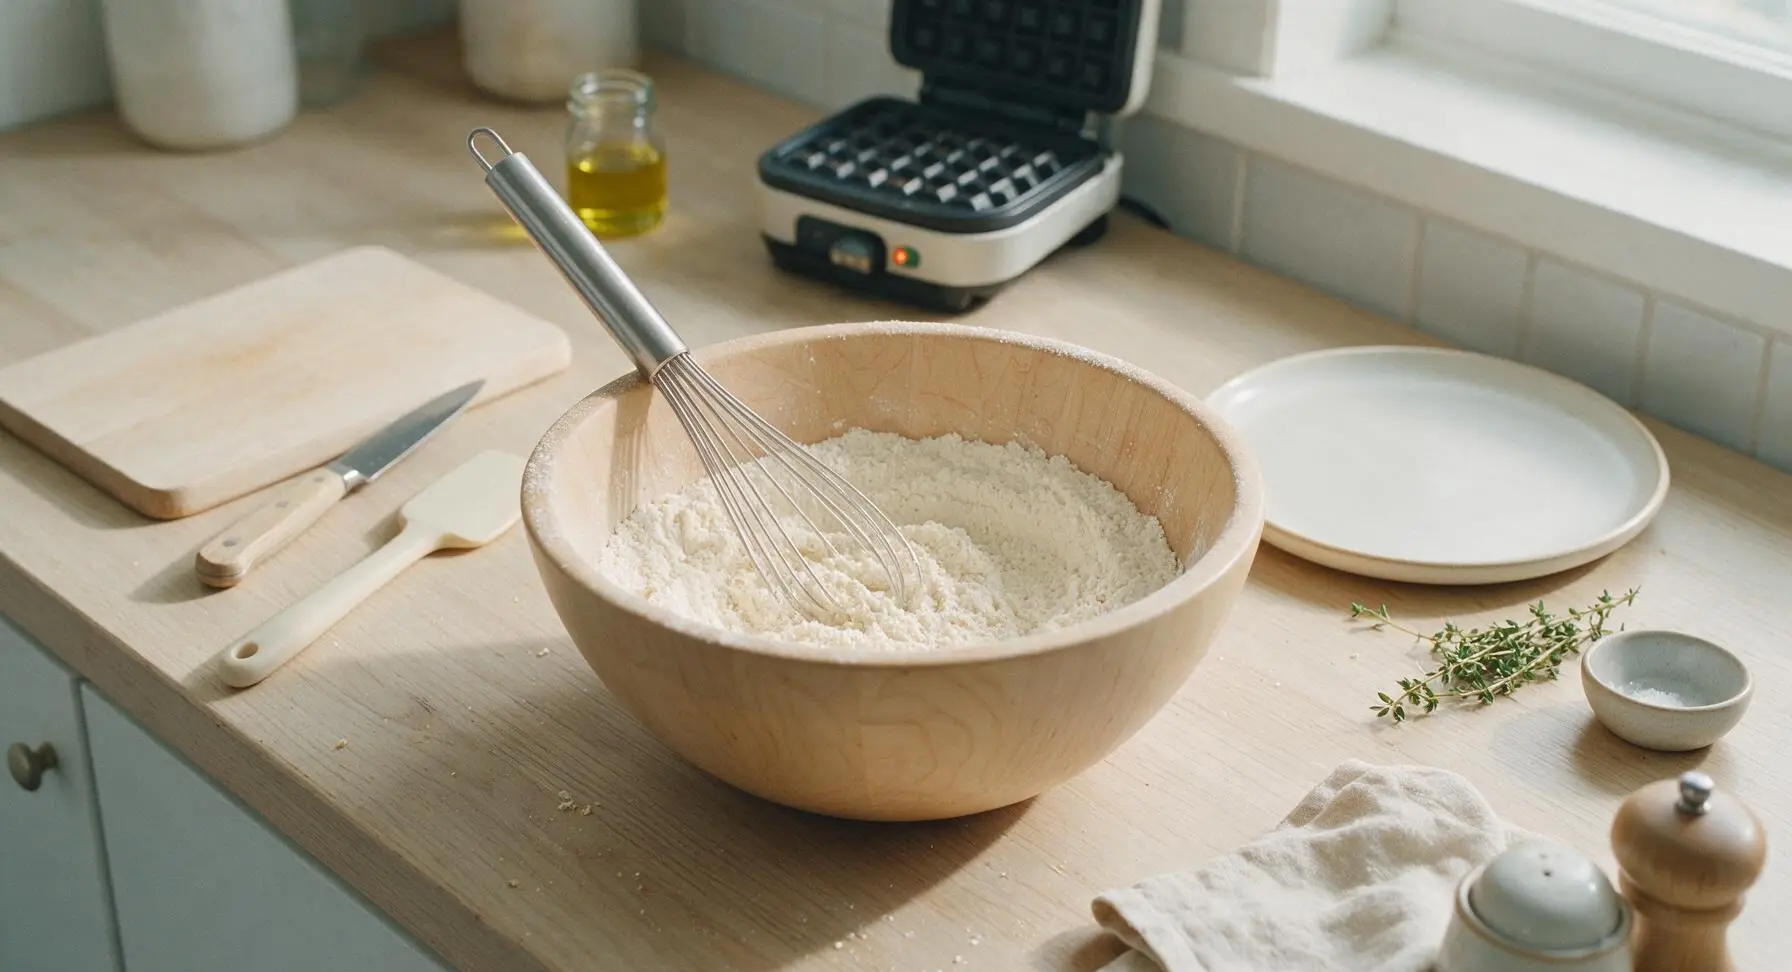
Add the 1 1/2 cups all-purpose flour, 2 teaspoons baking powder, 1/4 teaspoon baking soda, 1 tablespoon granulated sugar, and 1/4 teaspoon fine salt to the light maple wood mixing bowl. Use the stainless steel whisk to stir the dry ingredients for 30 seconds, until fully combined into a uniform pale off-white powder with no visible clumps of leavening.
Combine Wet Ingredients
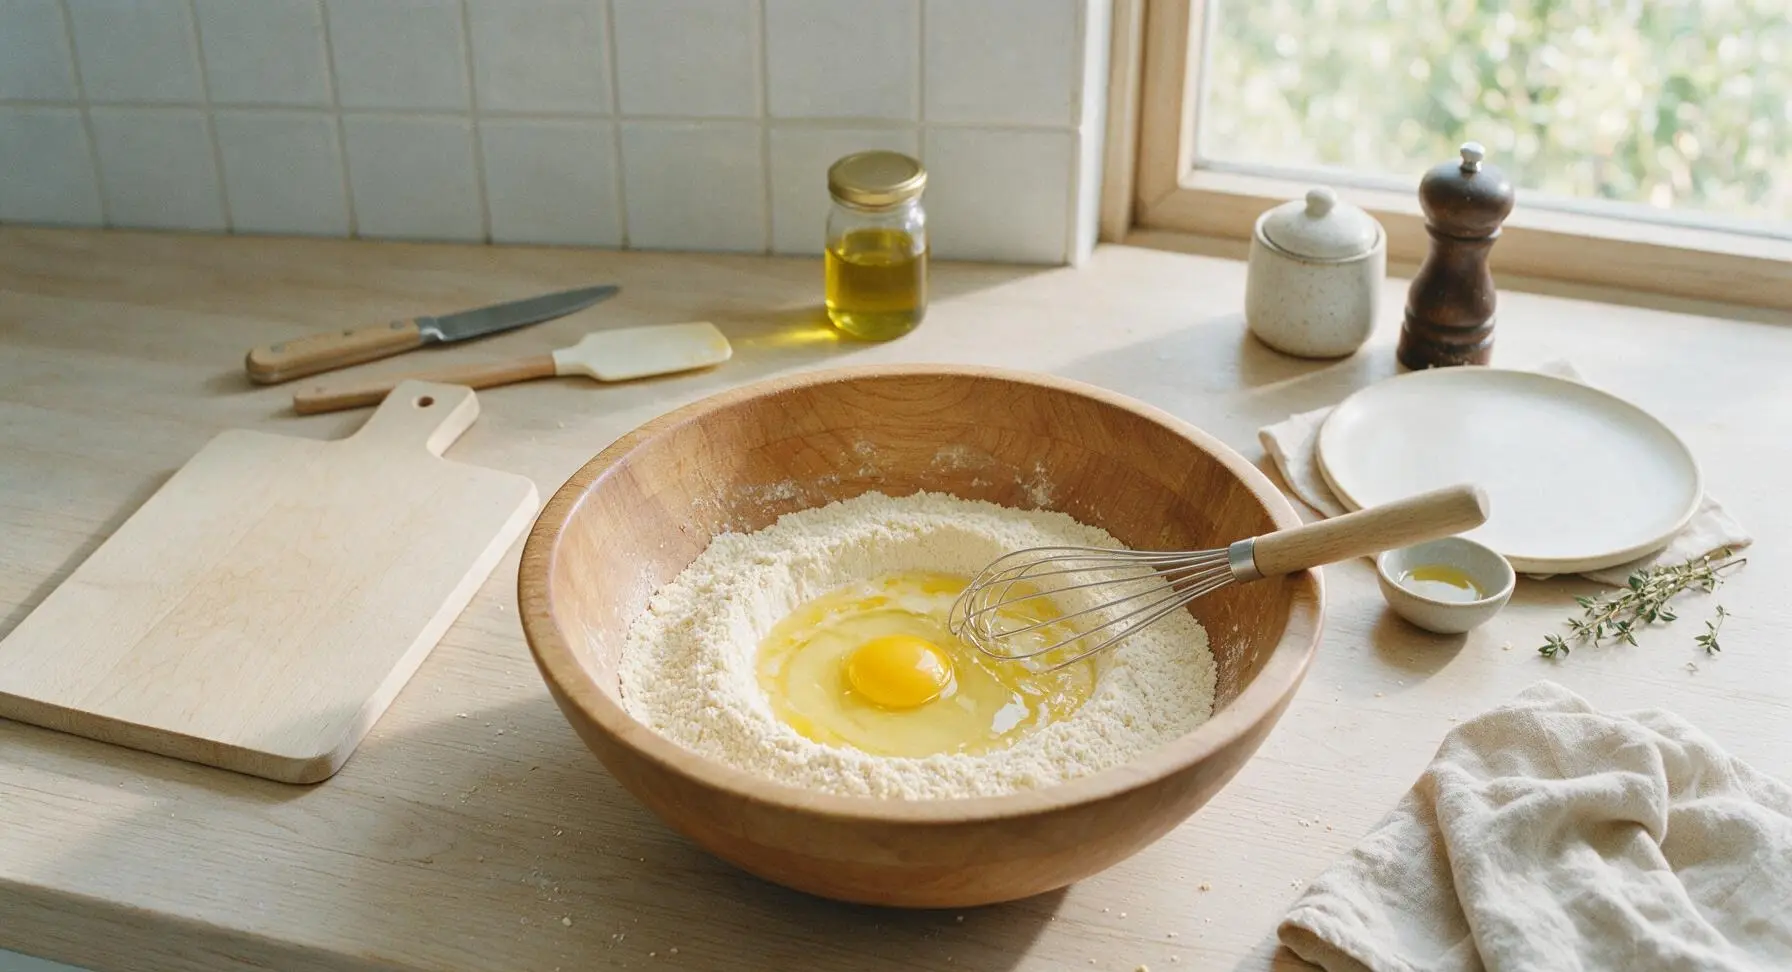
Create a 3-inch wide well in the center of the mixed dry ingredients. Crack the room-temperature large egg into the well, then pour in the 1 1/4 cups buttermilk, 3 tablespoons of cooled melted butter, and 1/2 teaspoon vanilla extract. Do not stir immediately; adding wet ingredients to a central well prevents over-mixing by keeping dry ingredients from clumping around the whisk.
Stir Smooth Batter
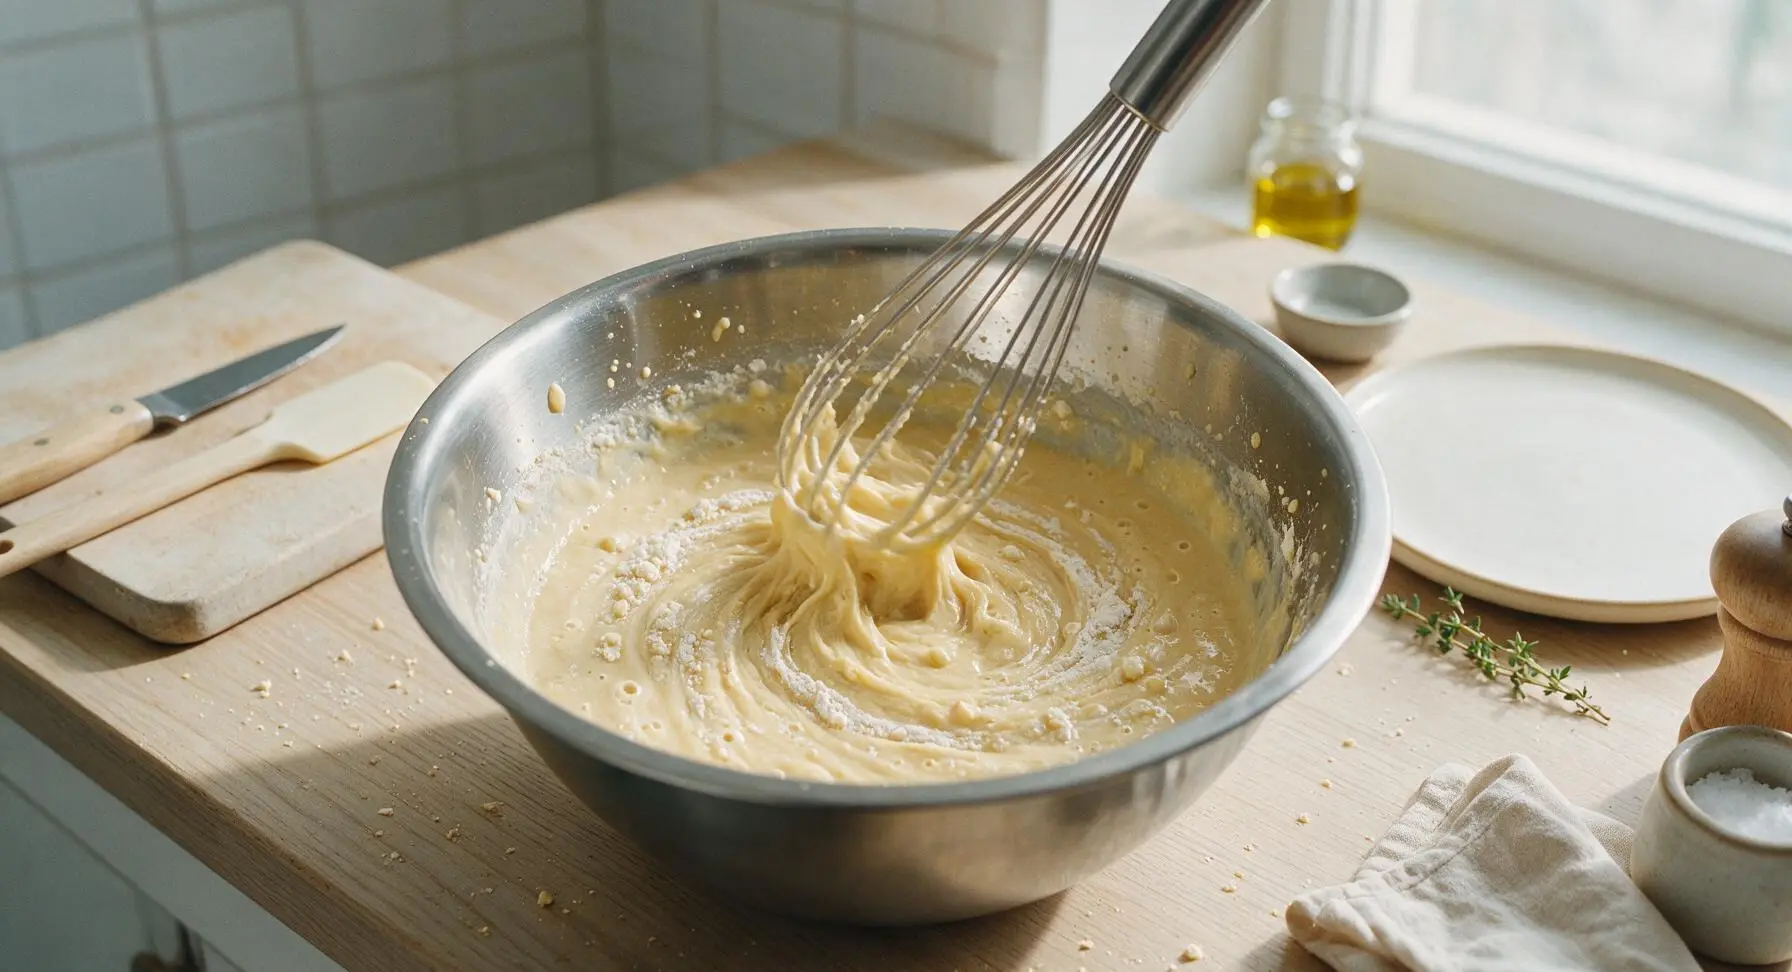
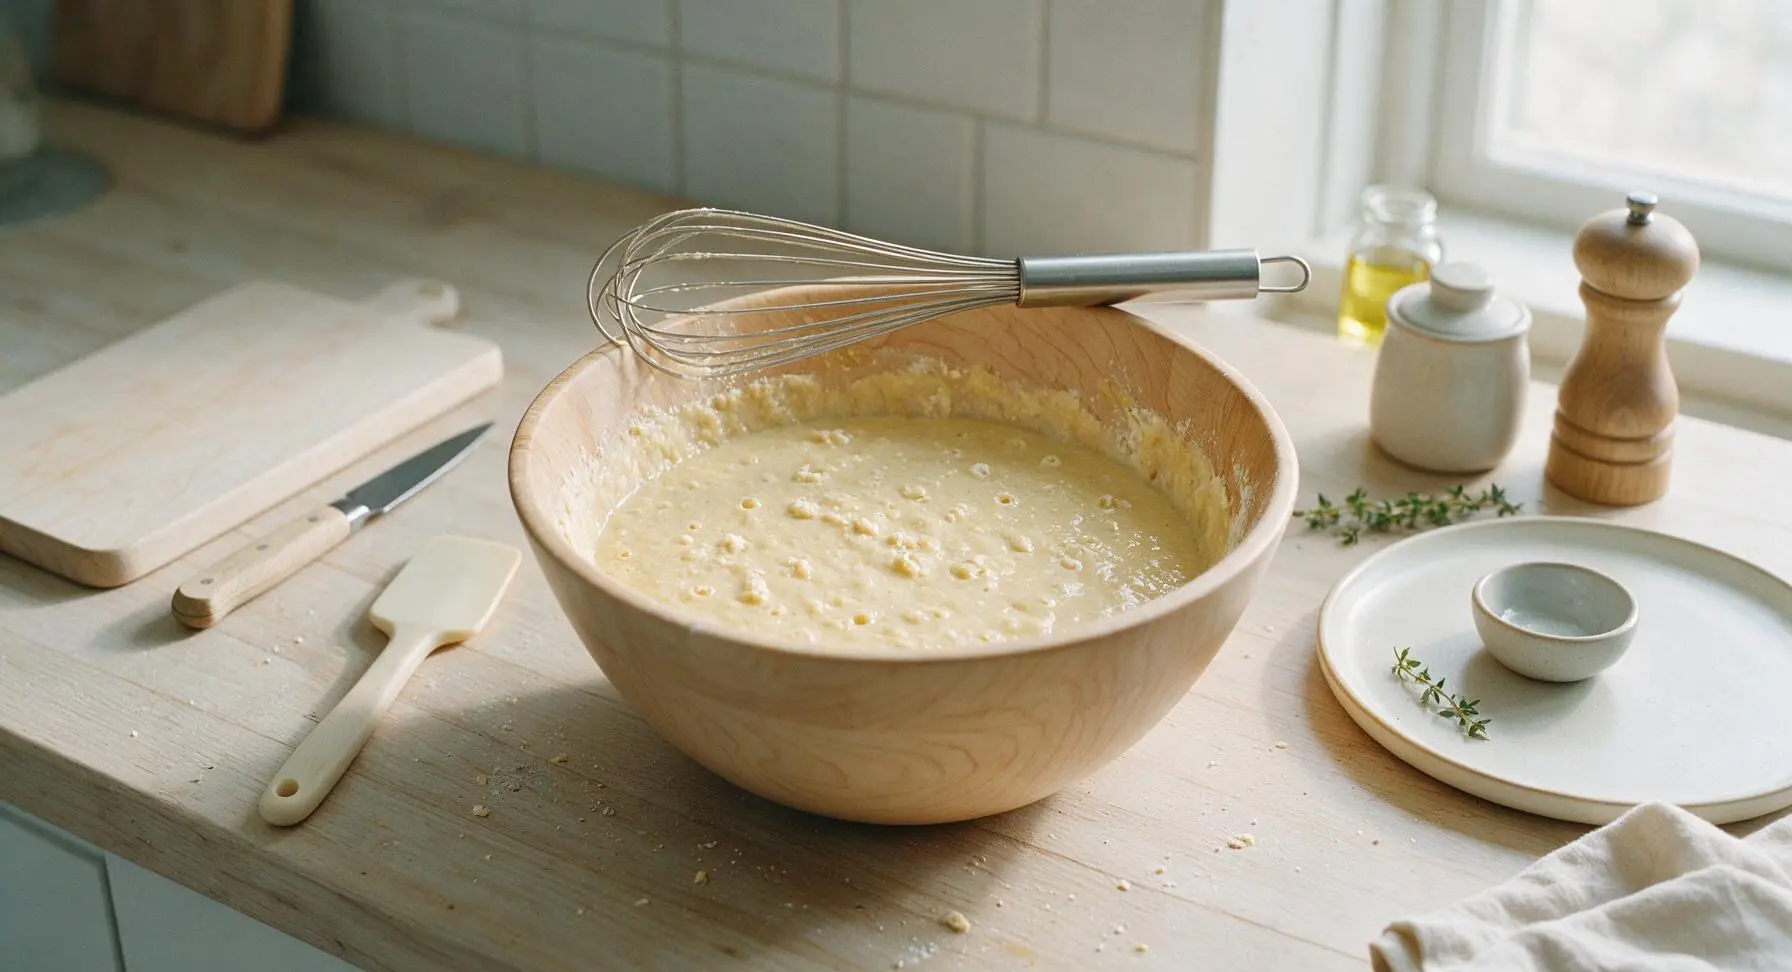
Use the stainless steel whisk to gently stir the wet and dry ingredients together with slow, wide circular motions, stopping as soon as no large pockets of dry flour remain. The finished batter will be thick, pale golden, and visibly lumpy with small 1/4-inch flour lumps; do not stir until completely smooth, as over-mixing develops gluten and creates tough, dense waffles. Let the batter rest for 2 minutes, until tiny air bubbles appear on the surface, indicating the leaveners are activated.
Prep Waffle Plates
Once the waffle maker is fully preheated and the batter has rested, lift the waffle maker lid and lightly coat both top and bottom non-stick grid plates with a thin layer of non-stick cooking spray, or a light brushing of melted butter. Use a corner of the draped cream cotton kitchen towel to wipe any excess oil from the edge of the plates to prevent smoking during cooking.
Cook Mini Waffles
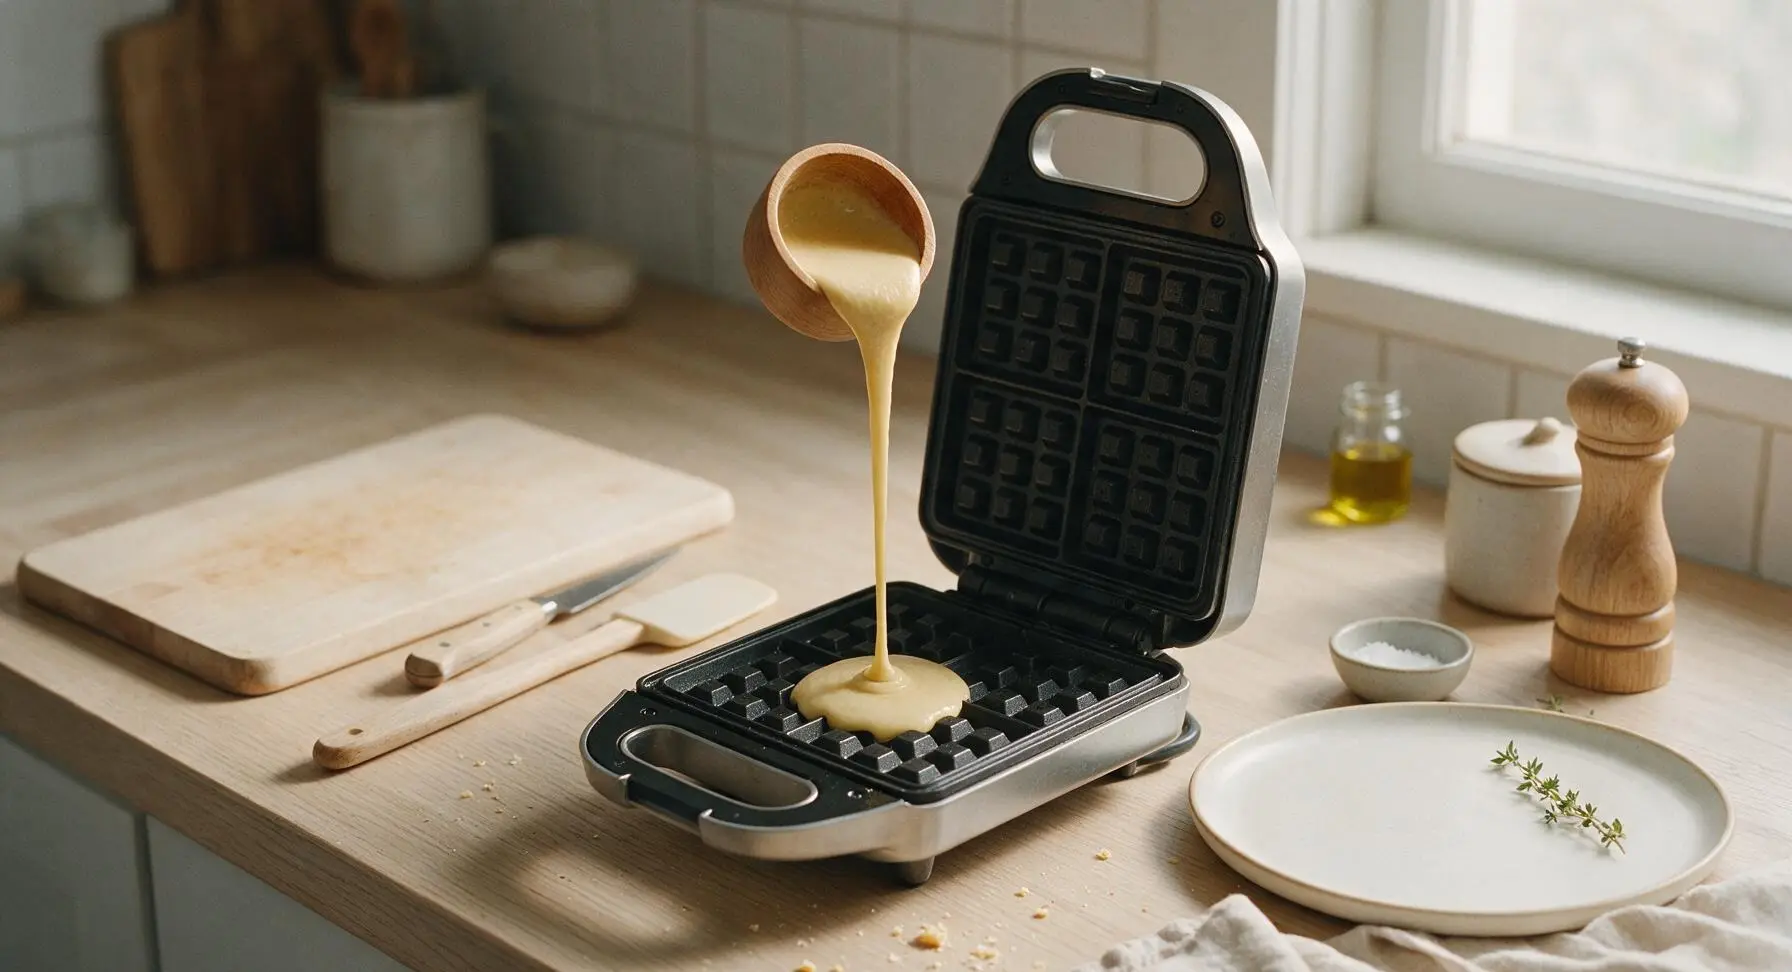
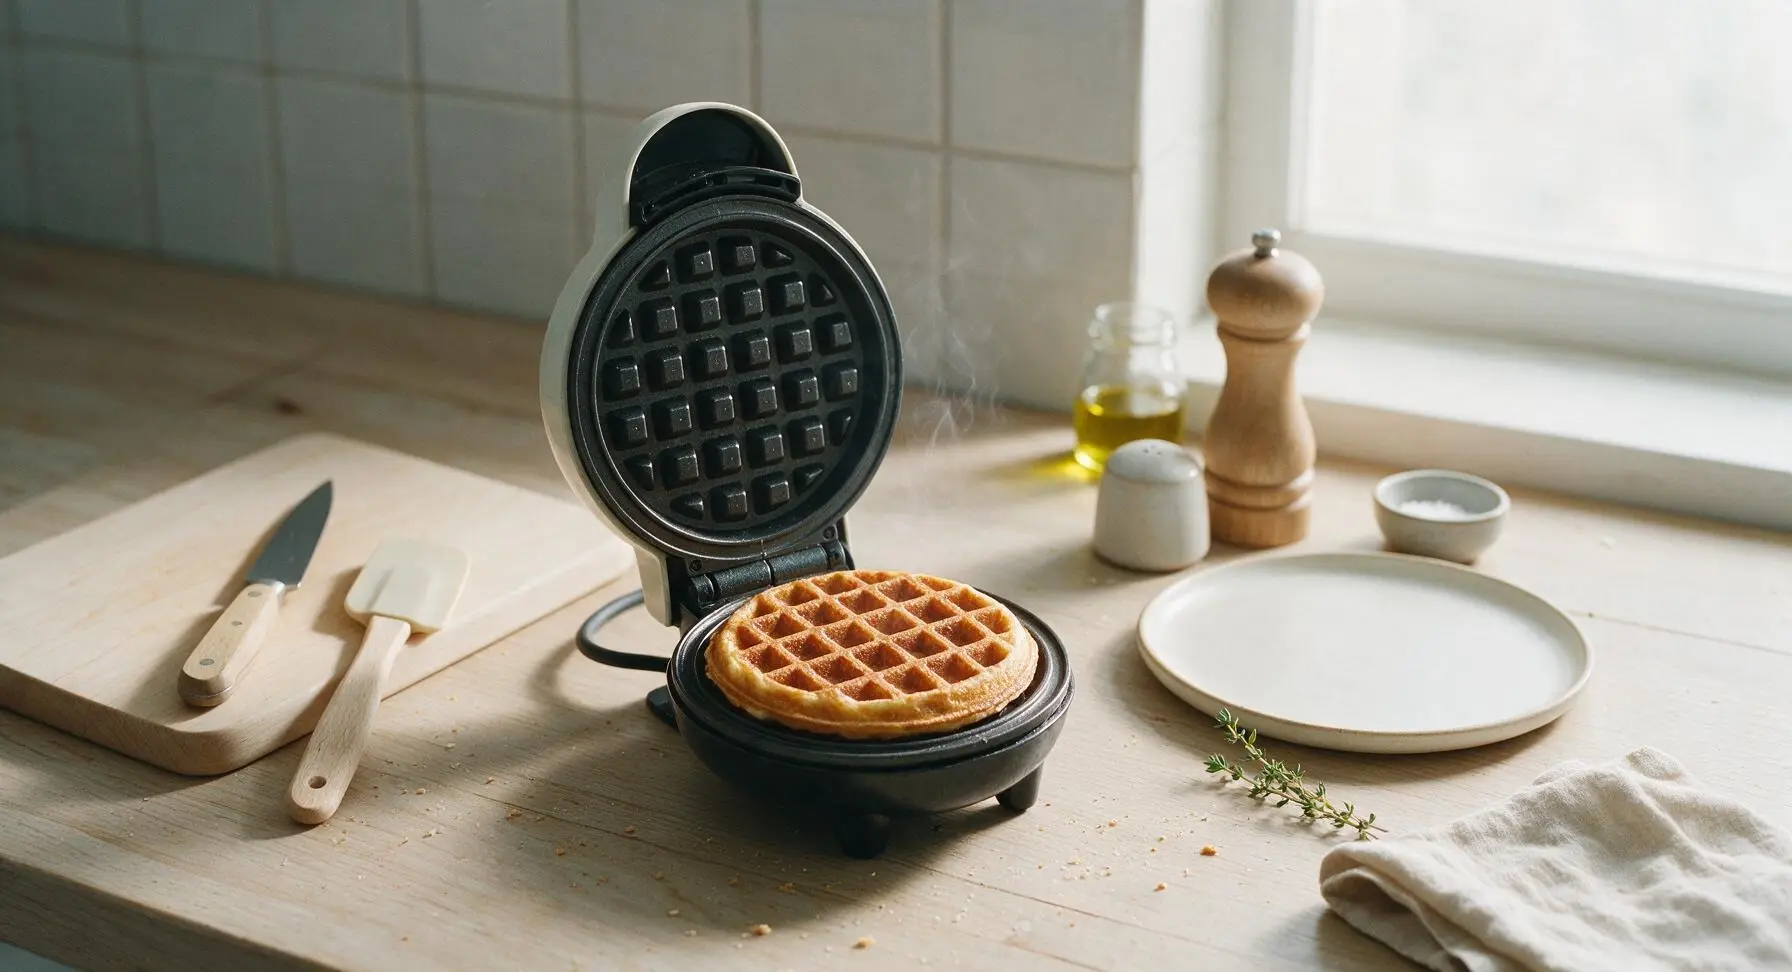
Use the 1/4 cup measure from the maple measuring cup set to pour exactly 3 tablespoons of batter directly into the center of the bottom waffle plate. Do not over-pour, as excess batter will leak out the sides of the mini maker as it rises and cooks. Close the lid and cook for 2 to 2 1/2 minutes, until the waffle is deep golden brown and crisp, and no thin white steam escapes from the edges of the unit. Do not open the lid for the first 90 seconds of cooking, as this will cause the waffle to split and stick to the plates.
Remove and Repeat
Use the black silicone-tipped tongs to gently lift the cooked waffle from the plates, transferring it to the cream white ceramic dinner plate positioned center-front on the counter. Repeat the pouring and cooking process with the remaining batter, stacking cooked waffles on the plate as you work. This recipe yields 8 total mini waffles, with 2 to 2.5 minutes of cook time per batch. Only re-spray the plates if waffles begin to stick during subsequent batches.
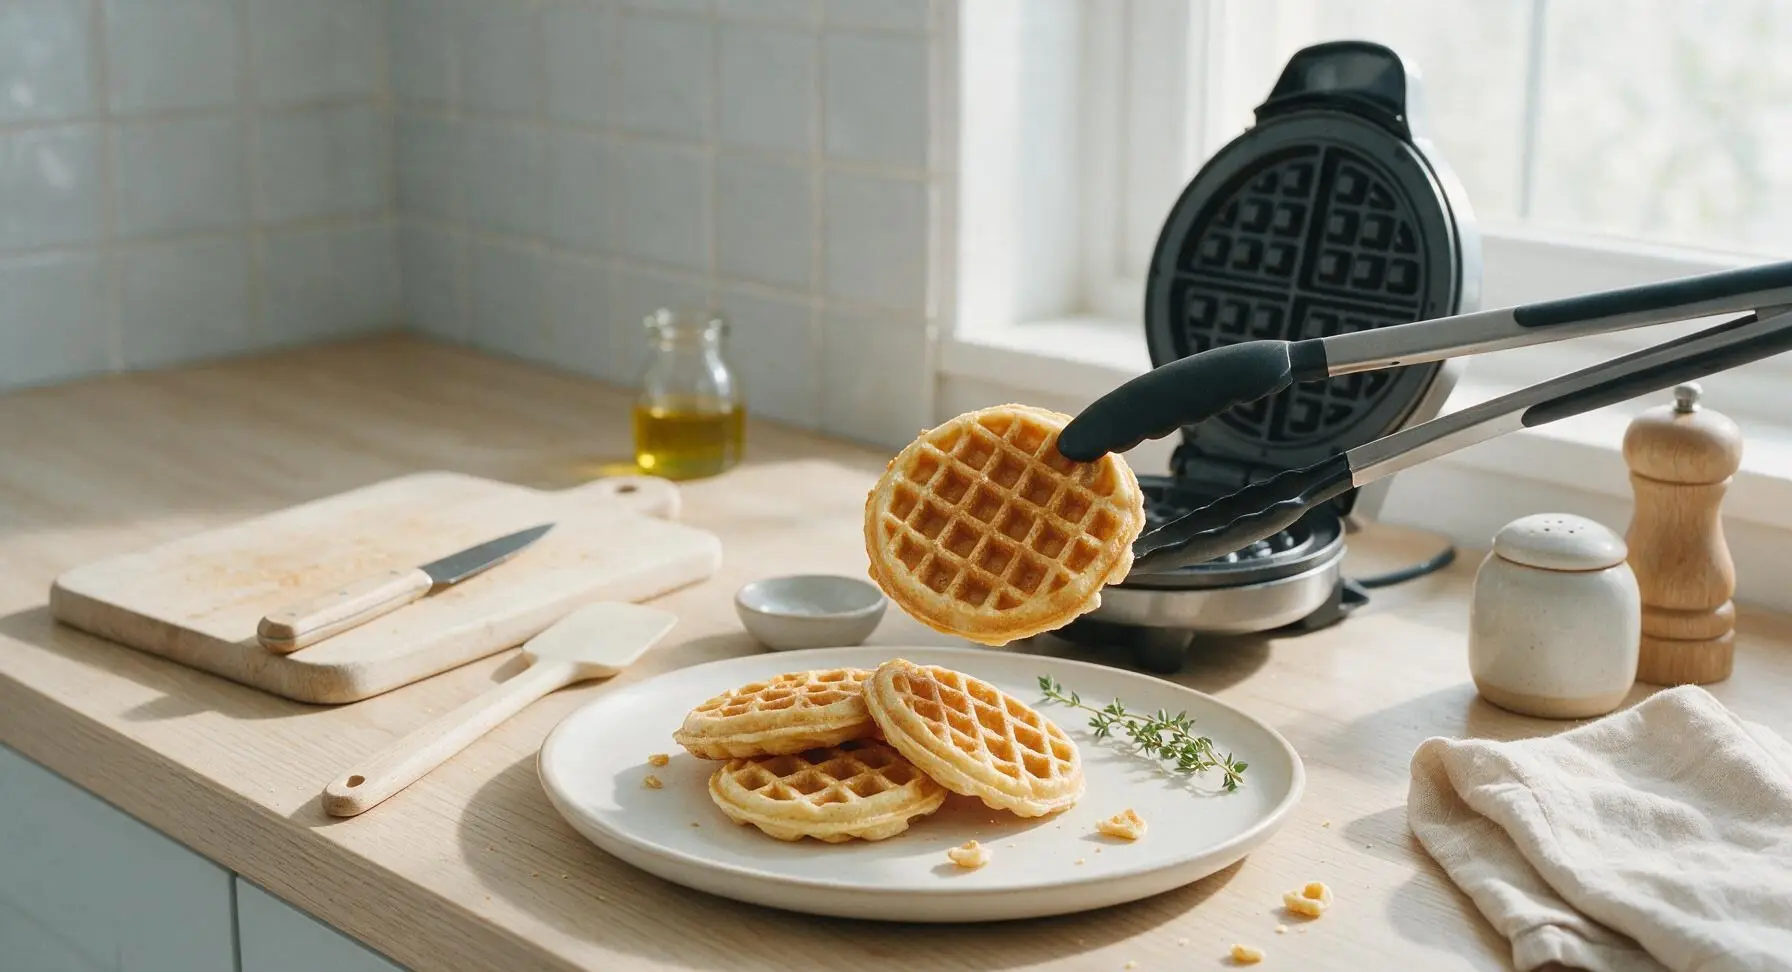
Plate and Serve
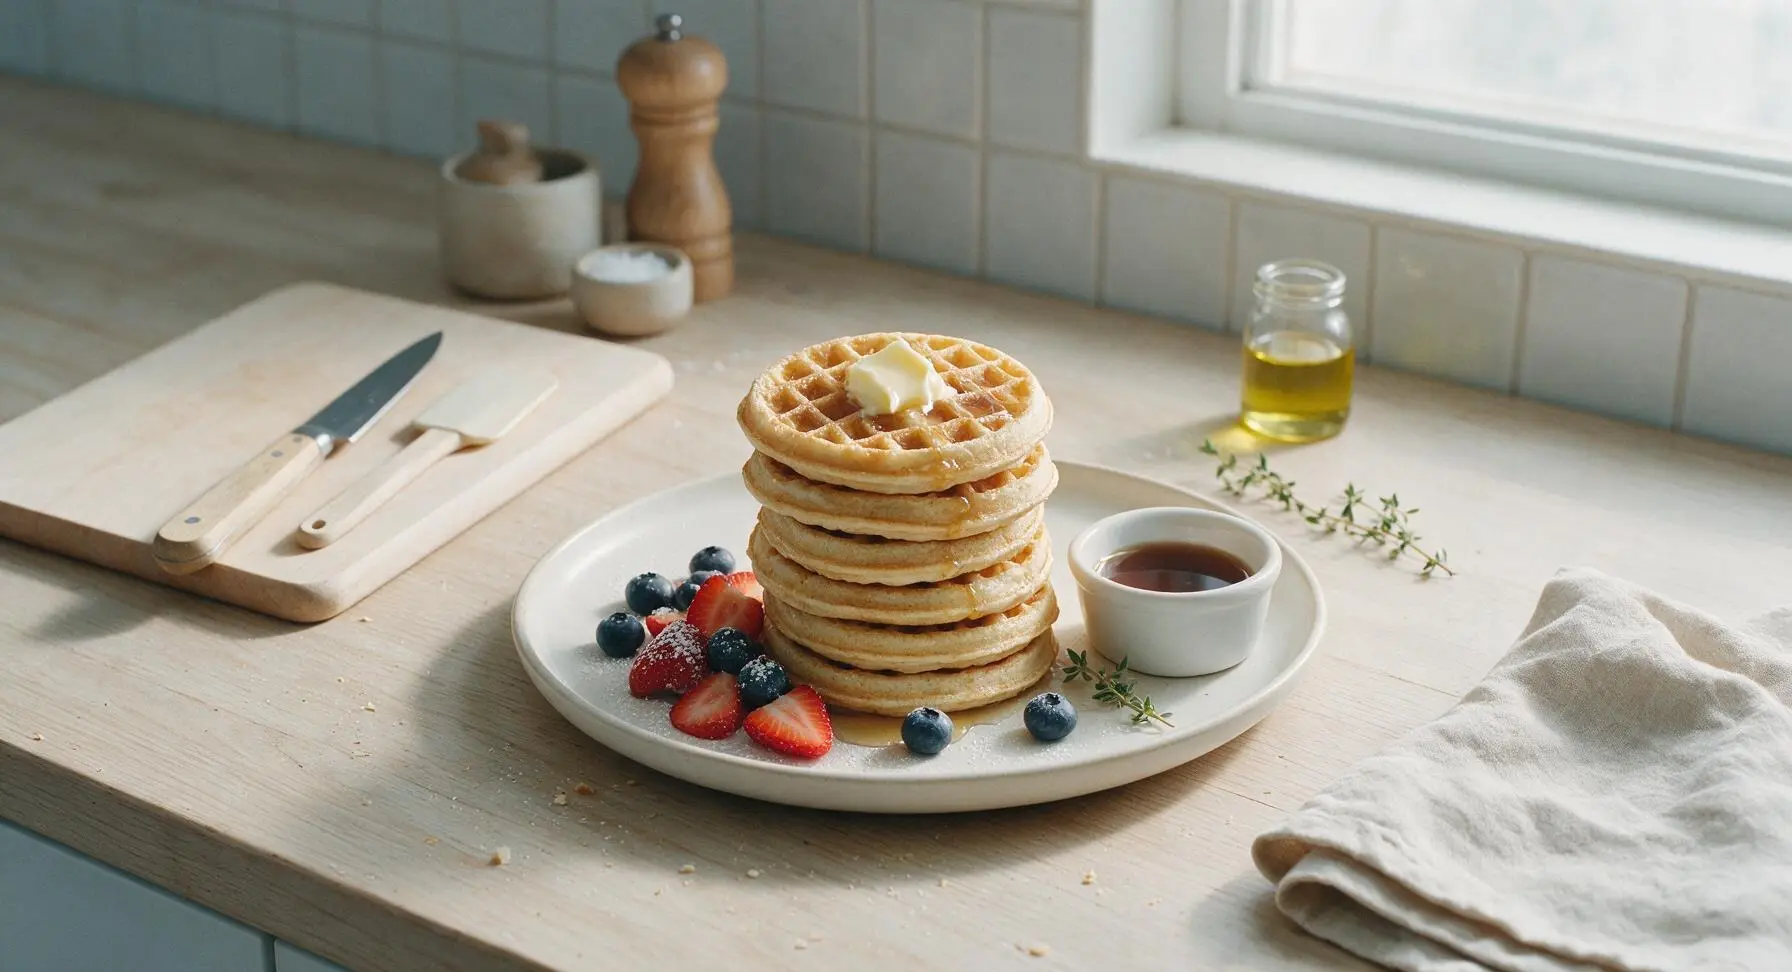
Once all 8 waffles are cooked and stacked on the cream ceramic plate, top the stack with 2 tablespoons of softened salted butter, allowing it to melt slightly into the waffle grids. Drizzle 1 tablespoon of maple syrup over the top, garnish with the mixed fresh blueberries and sliced strawberries, and pour the remaining maple syrup into the small white ceramic ramekin to serve on the side. Serve immediately while waffles are hot and crisp.
Tips
2.Wait for steam to stop before opening the lid: If thin white steam is escaping from the edges of the closed waffle maker, the waffle is still releasing moisture and will be soft and undercooked. When steam stops, the exterior is crisp and the waffle is ready to remove without sticking.
3.Keep batches crisp if cooking ahead: Instead of stacking cooked waffles directly on the plate while you make remaining batches, set them on a wire rack over a baking sheet in a 200°F (95°C) oven. Stacking hot waffles traps steam between layers, leading to soggy, soft waffles before serving.






Brought these mini waffles to my friend’s potluck brunch last weekend and everyone was asking for the recipe! They’re so fluffy and the buttermilk gives the perfect little tang, way better than the boxed mix I usually grab. My mini waffle maker worked like a charm with this batter, no sticking at all even when I skipped extra spray halfway through. SO good.
Super easy recipe, perfect for my tiny dorm mini waffle maker! My only tiny note is that I had to cook them a little longer than the recipe said to get them crispy on the outside, since I like my waffles with a little crunch. Otherwise, the flavor is chef’s kiss, way cheaper than buying the frozen mini waffles from the campus market.
OMG these are a lifesaver for chaotic toddler breakfasts! I’ve tried so many mini waffle recipes that turn out dense or stick to the maker, but these came out perfectly fluffy on the first try. My twins gobbled them up and kept asking for 'more waffle please' – total win! I even snuck a little finely shredded zucchini into half the batch and they didn’t notice a thing.
Total game changer for my post-hike weekend breakfasts! I make a double batch on Sundays, pop them in the freezer, and toast them up quick throughout the week for busy work mornings. They hold up perfectly in the toaster, no sogginess at all. I love topping mine with a little peanut butter and banana slices for a filling, quick meal.