
waffle mix
intro
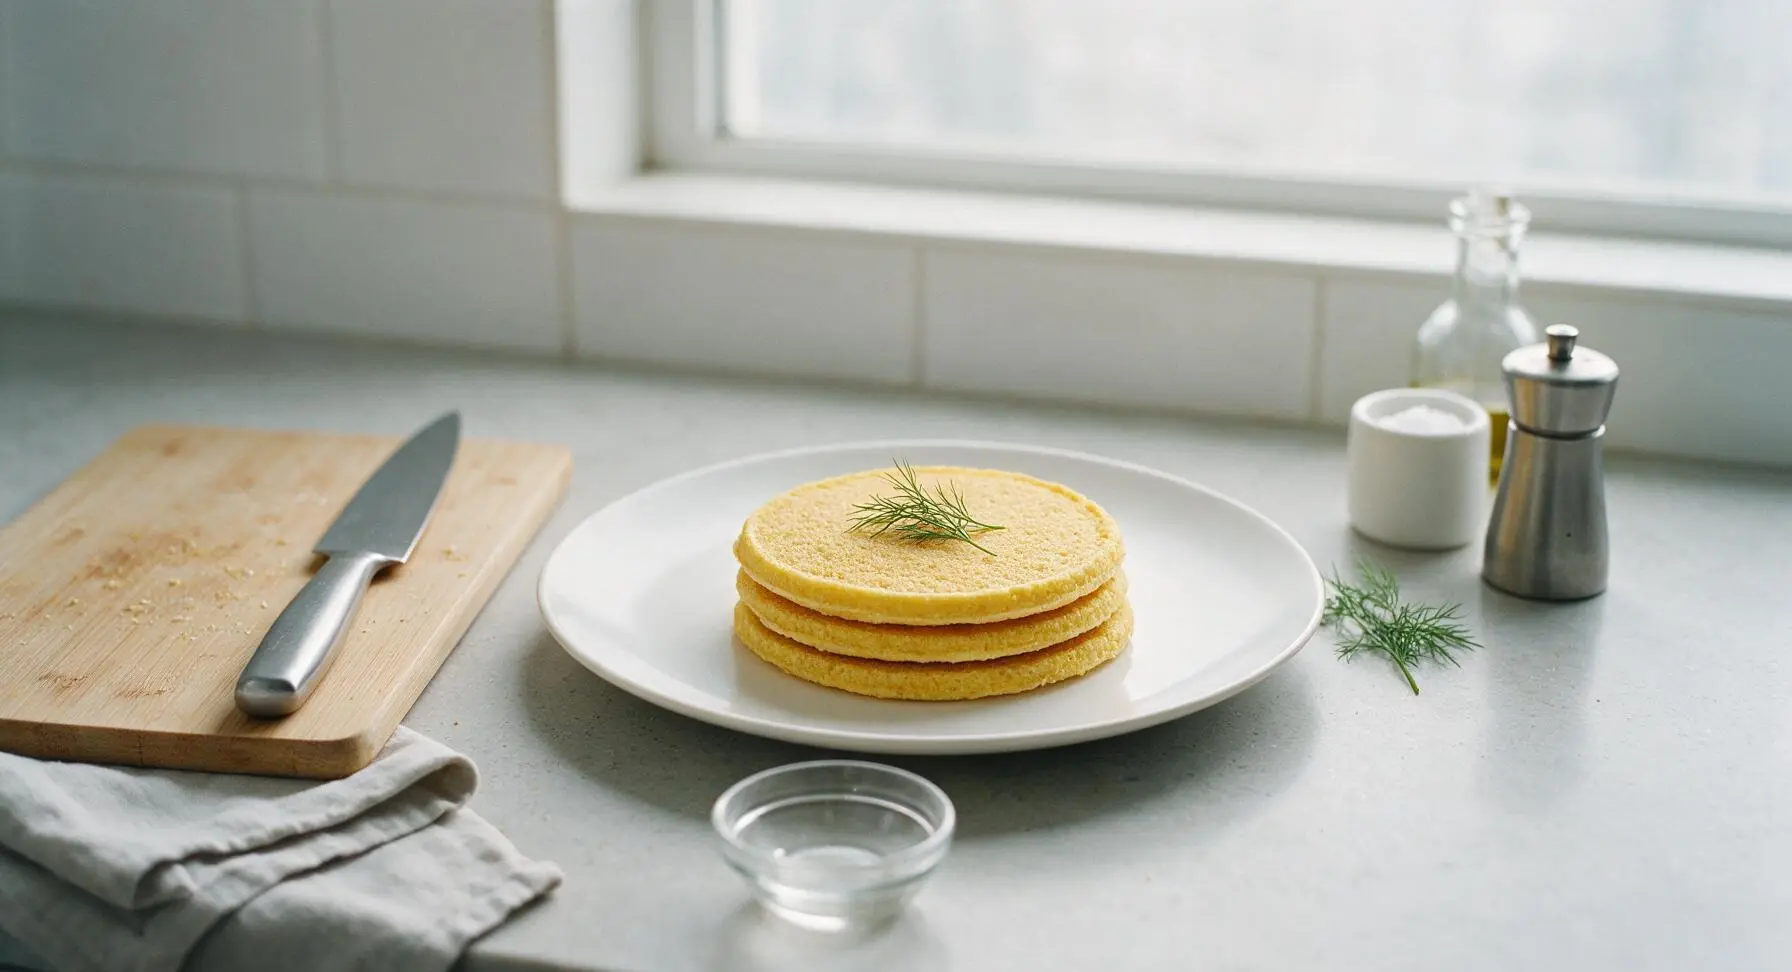
Light, fluffy homemade waffle mix, a make-ahead pantry staple that yields crisp-edged, golden waffles in minutes, with no artificial preservatives or fancy ingredients required.
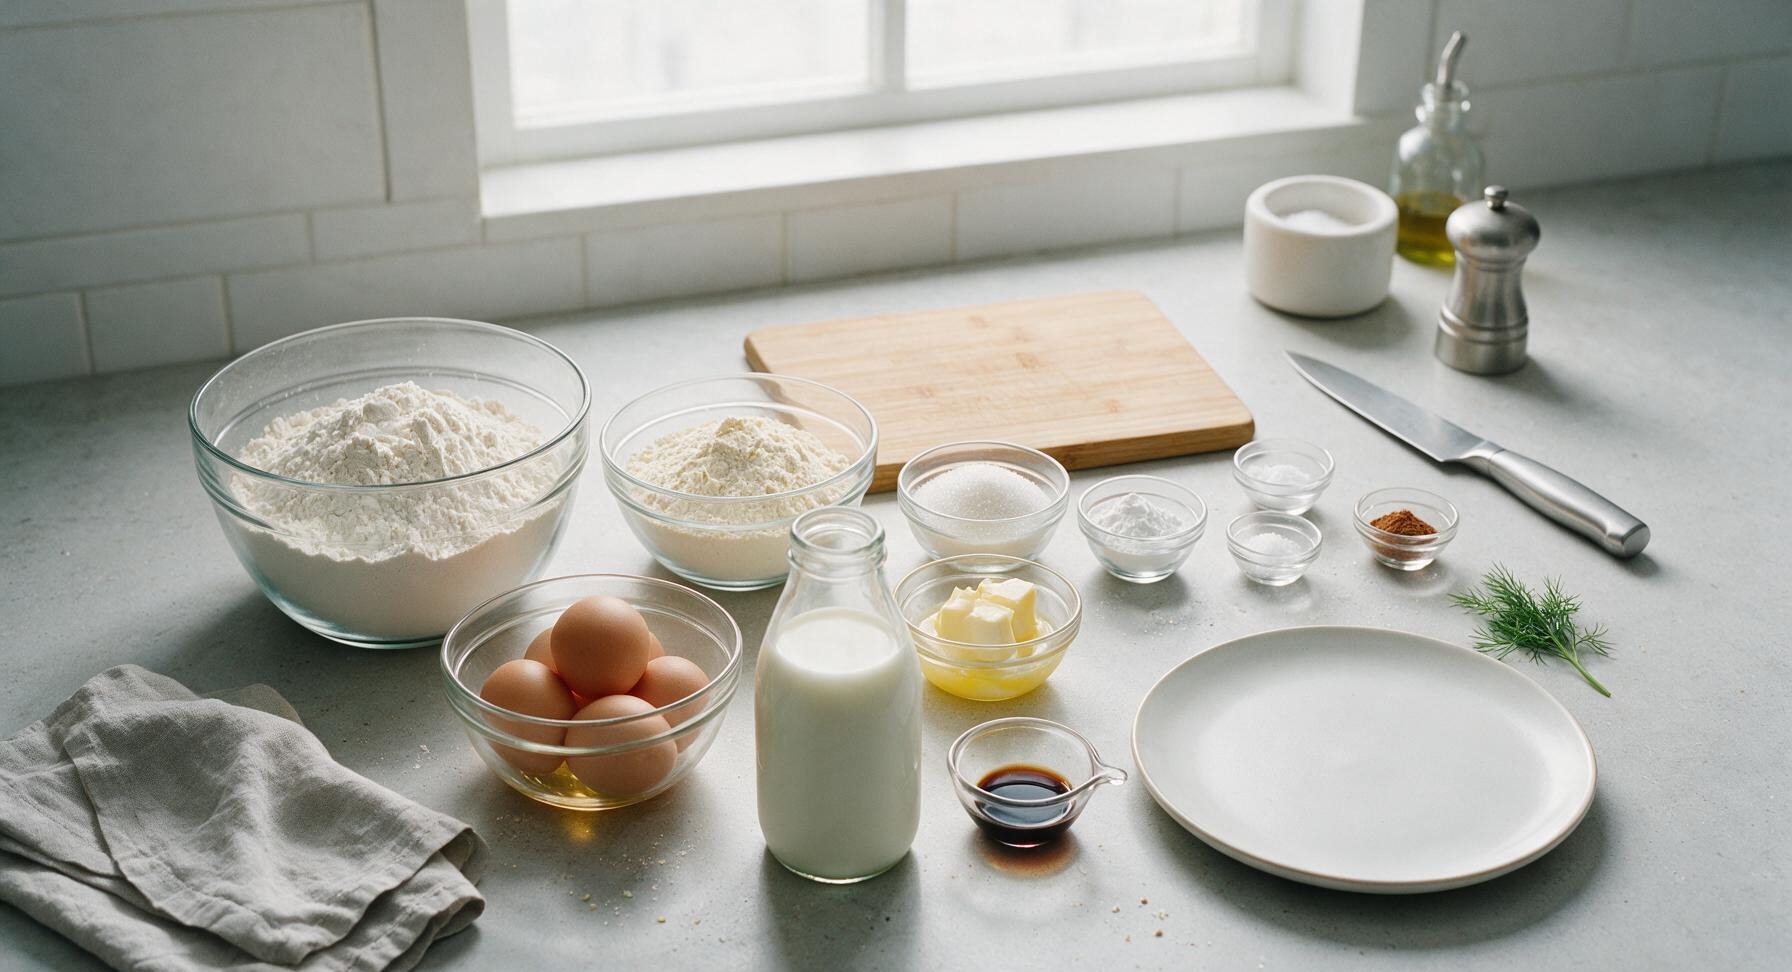
Ingredients
Steps
Measure Dry Ingredients
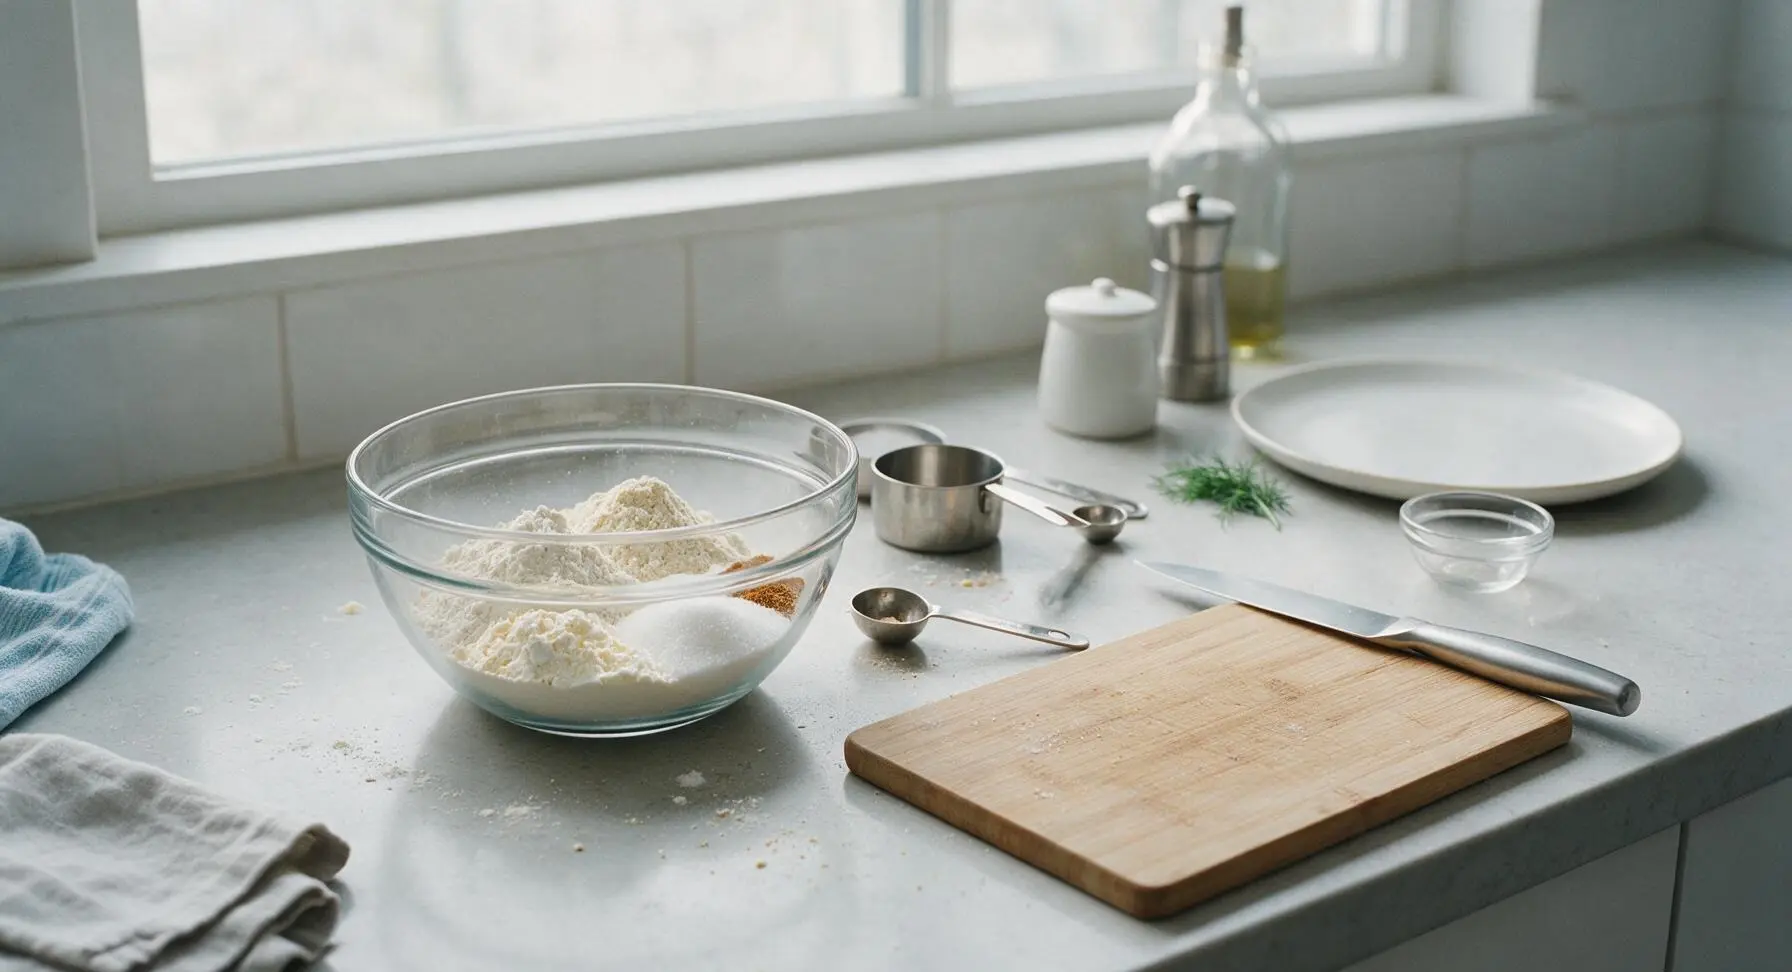
First, confirm all tools and the storage jar are completely dry (any residual moisture will activate leavening early and shorten the mix’s shelf life). Use the stainless steel measuring cups to measure 3 cups all-purpose flour, 3/4 cup powdered buttermilk, and 3 tablespoons granulated sugar, pouring each directly into the large glass mixing bowl. Use the stainless steel measuring spoons to add 1 tablespoon baking powder, 1.5 teaspoons baking soda, 1.5 teaspoons fine sea salt, and 3/4 teaspoon ground cinnamon to the bowl. Do not tap measuring cups on the counter when scooping flour, as this compacts the flour and leads to dry, dense waffles.
Whisk Dry Ingredients
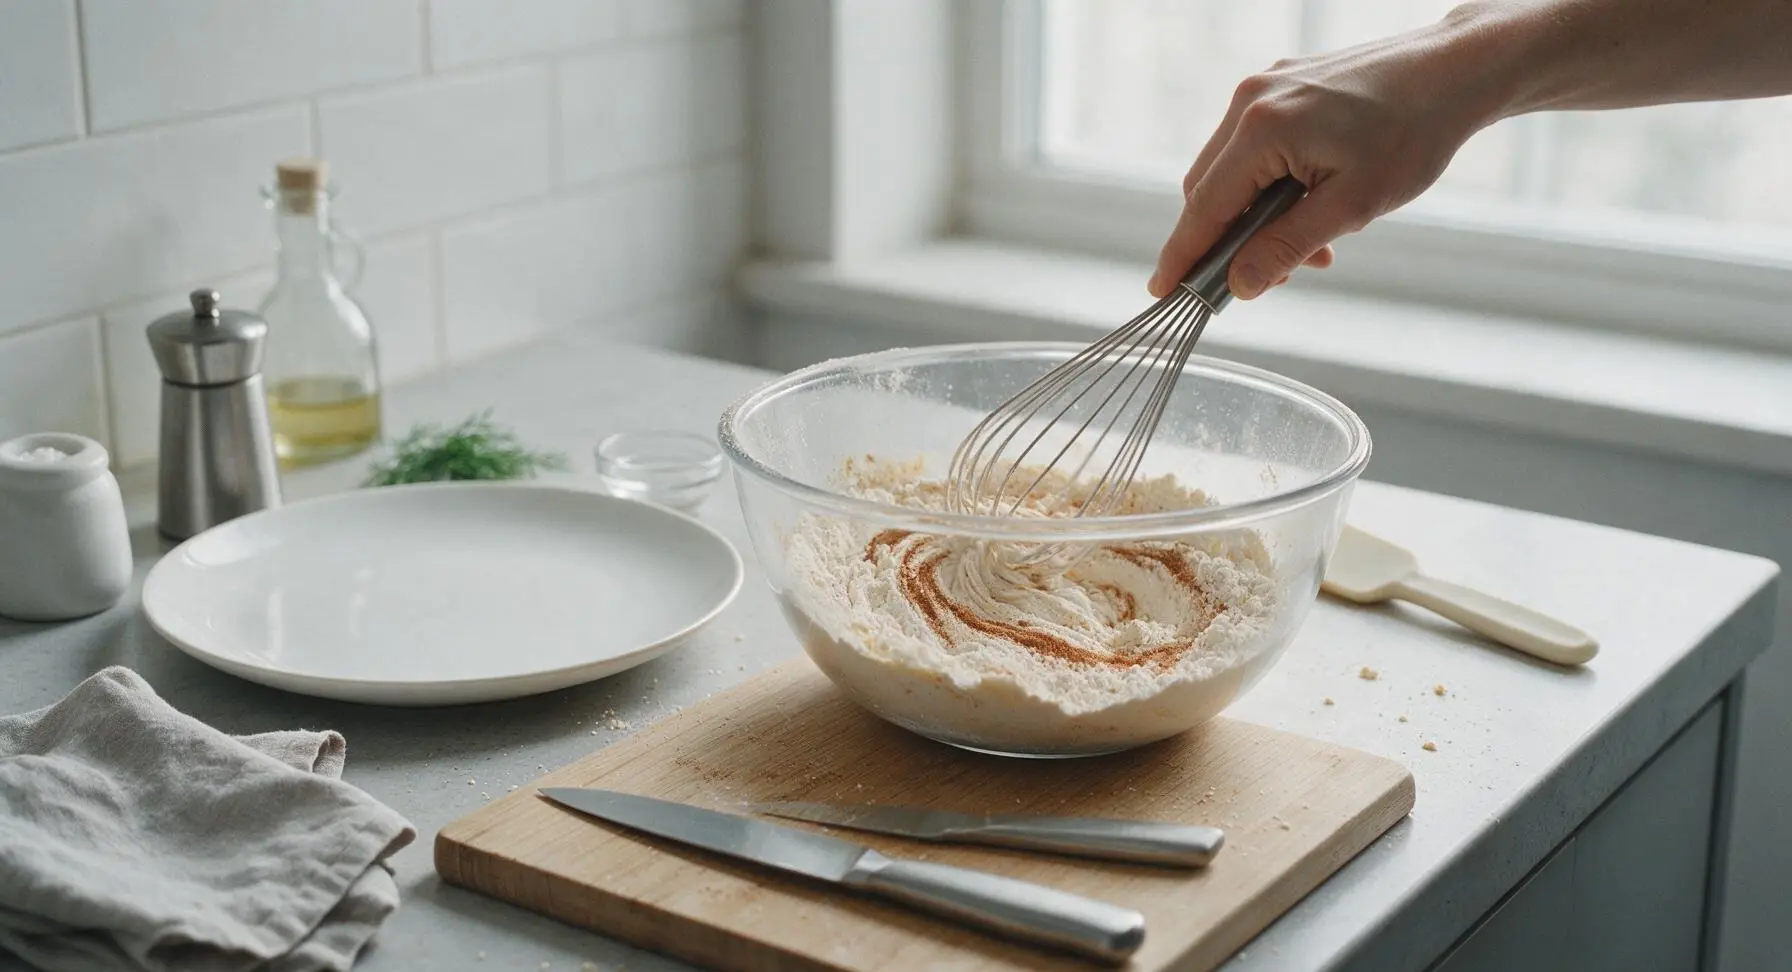
Grasp the stainless steel wire whisk from the bowl rim, and stir the dry ingredients slowly at first to avoid kicking up a cloud of flour, then increase speed for 45 to 60 seconds. Whisk until the mixture is a mostly uniform pale cream color, with no large clumps of cinnamon or baking powder visible on the surface. Pause once halfway through mixing to scrape the bottom and sides of the bowl with the off-white silicone spatula, to ensure no pockets of unmixed flour are trapped at the base.
Sift Mix for Smoothness
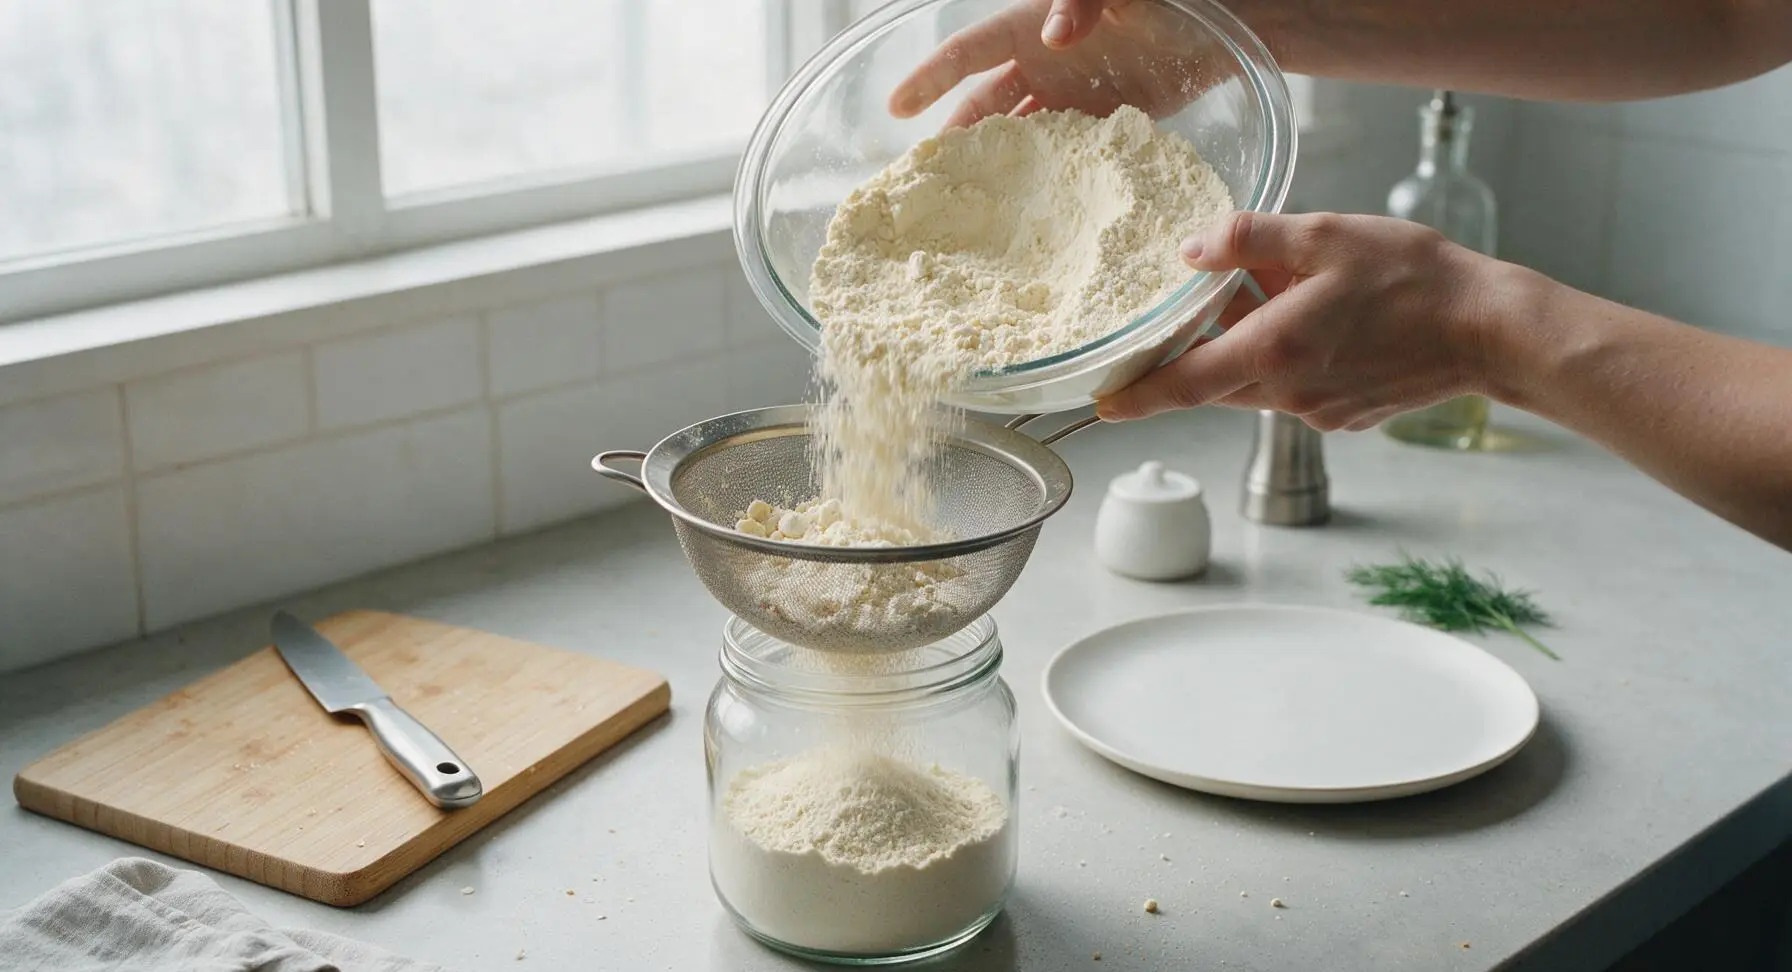
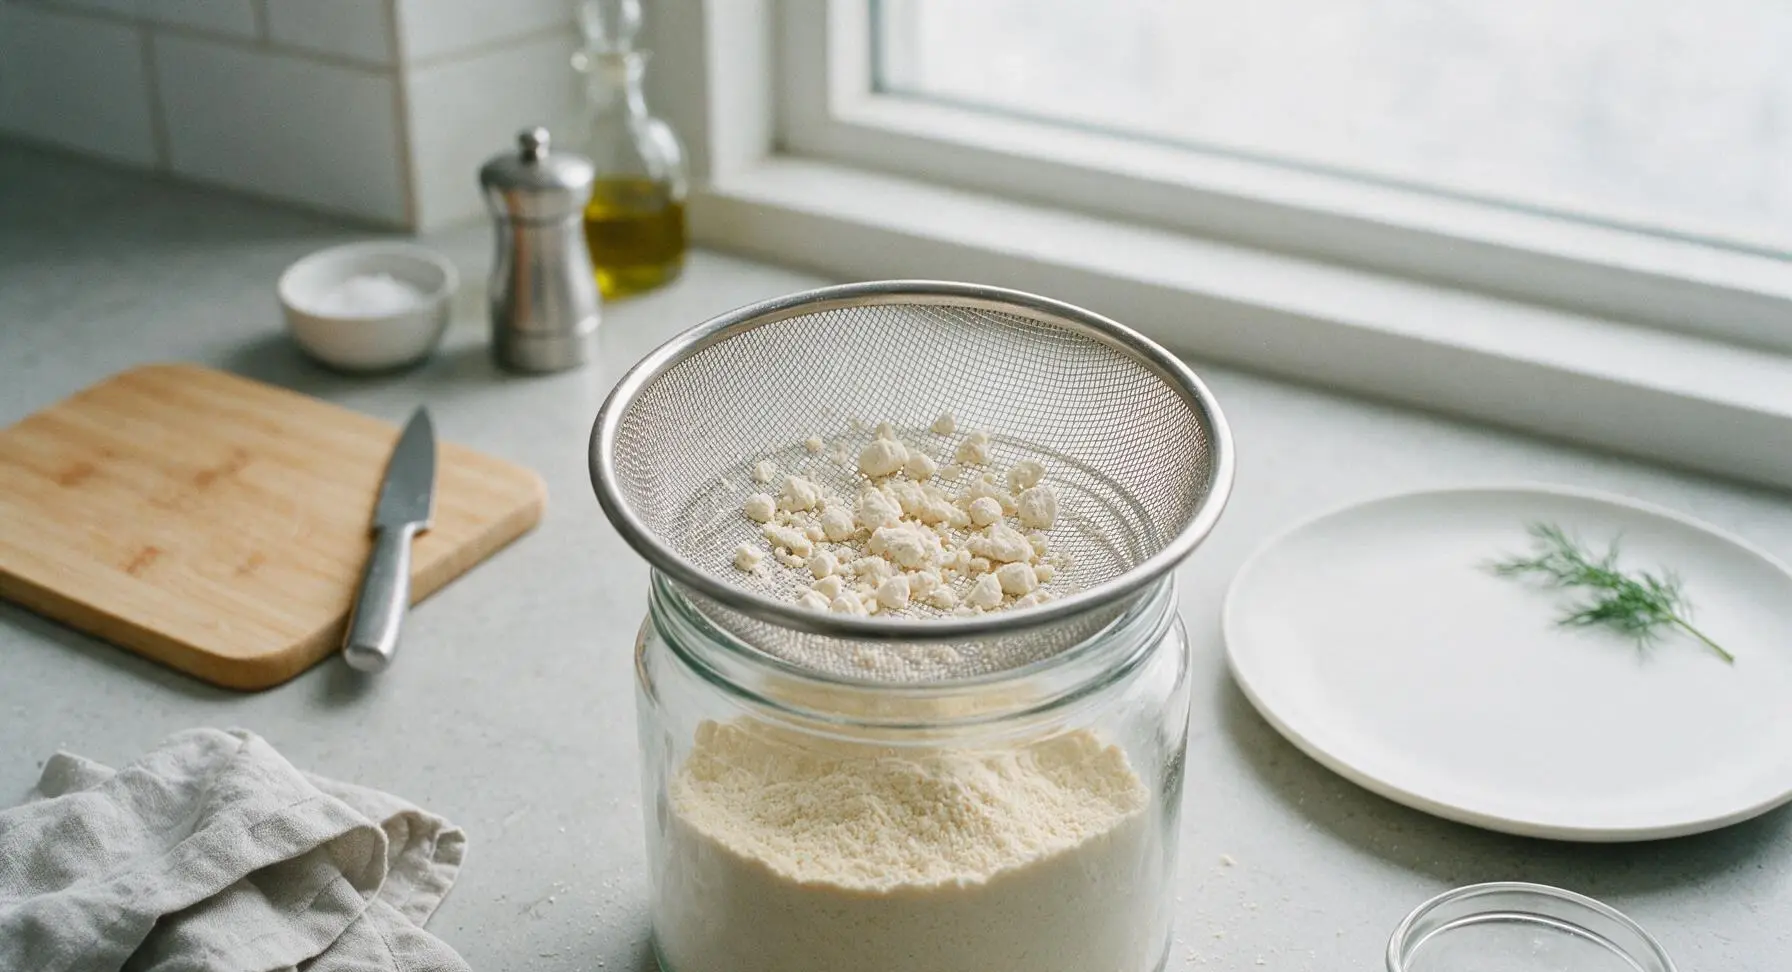
Position the fine-mesh stainless steel sieve over the open mouth of the clear glass storage jar. Pour the whisked dry mix through the sieve in small 1-cup batches, tapping the side of the sieve gently with your free hand to encourage the fine powder to fall through into the jar below. Discard any small, hard clumps of leavening or compacted flour that remain trapped in the sieve, as these will create uneven rise and dense spots in finished waffles. This step guarantees every scoop of mix has a perfectly balanced ratio of ingredients for consistent, fluffy waffles. The sifted mix will fill the jar roughly halfway, leaving plenty of headspace for the lid to seal easily.
Seal and Store Mix
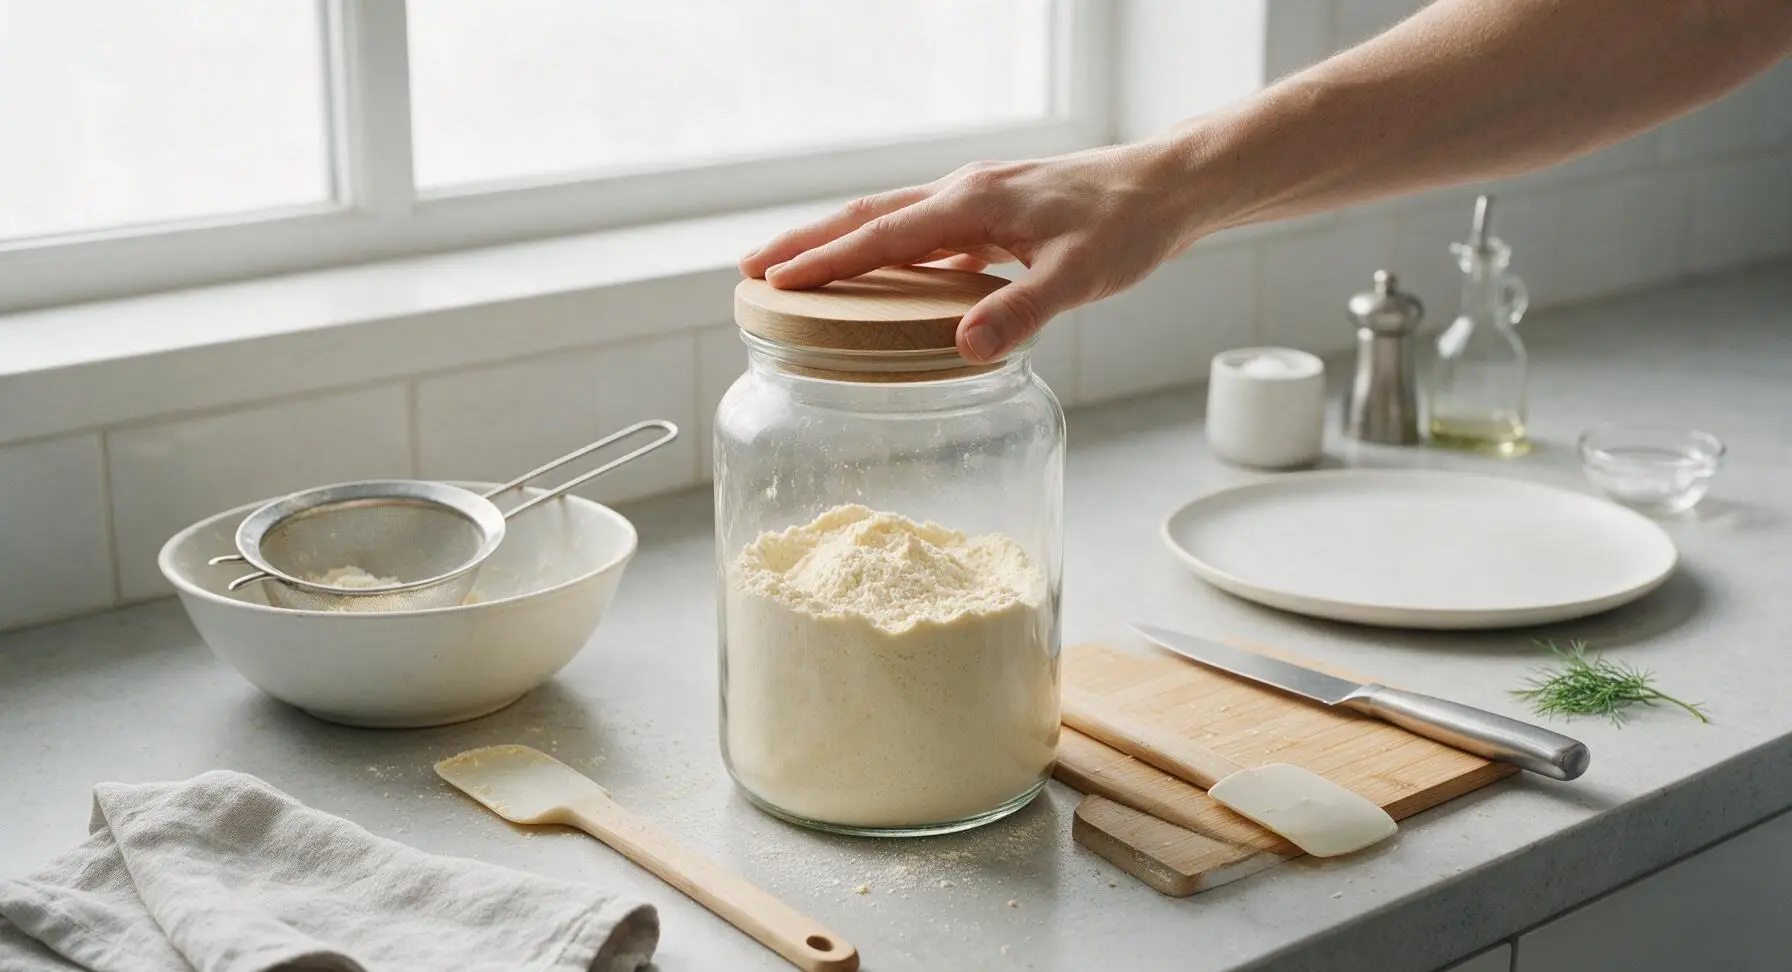
Once all mix is sifted into the storage jar, wipe any stray flour dust from the jar rim and threads with a corner of the pale blue cotton kitchen towel to ensure a fully airtight seal. Press the light oak lid firmly onto the jar, twisting gently until it clicks into place. Label the jar with the prep date if desired, and store in a cool, dark pantry for up to 3 months. Do not refrigerate or freeze the mix, as condensation will introduce moisture and reduce leavening power.
Mix Waffle Batter
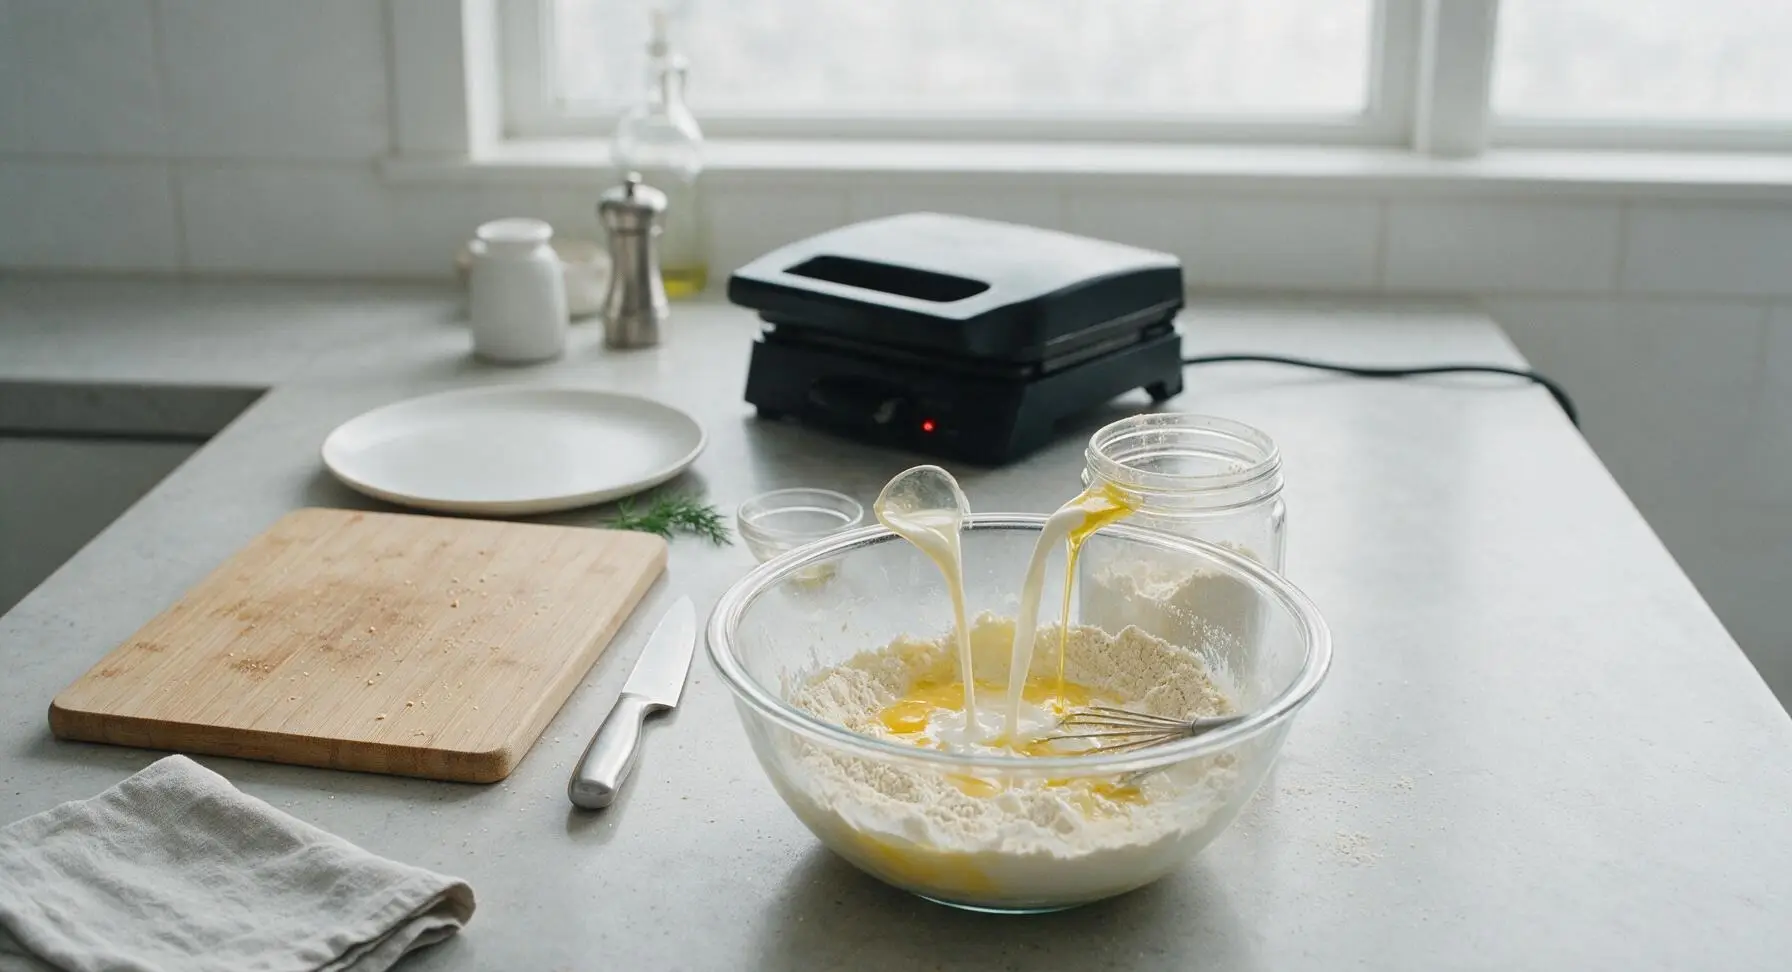
To prepare 4 servings (8 waffles) from the stored mix, first place the matte black waffle maker on the back center of the counter and preheat to 375°F (190°C). Scoop the full 4 cups of waffle mix back into the clean glass mixing bowl. Add 4 large lightly beaten eggs, 3 cups whole milk, 2/3 cup melted and slightly cooled unsalted butter, and 2 teaspoons pure vanilla extract. Whisk gently for 20 to 30 seconds just until combined—small lumps in the batter are completely normal, and overmixing will create tough, chewy waffles. Let the batter rest for 5 minutes to allow the leavening to activate.
Cook Crisp Waffles
Once the waffle iron is fully preheated, lightly coat the cooking grids with a thin layer of melted butter or non-stick spray. Pour 1 cup of batter onto the center of the lower waffle grid (1/2 cup per waffle section for the 2-waffle iron), close the lid, and cook for 3 to 4 minutes. Wait until steam stops escaping from the edges of the waffle iron before opening the lid—opening early will cause the waffle to split and stick. Cooked waffles should be deep golden brown with crisp, raised edges. Repeat with remaining batter, cooking 2 waffles per batch for a total of 4 batches.
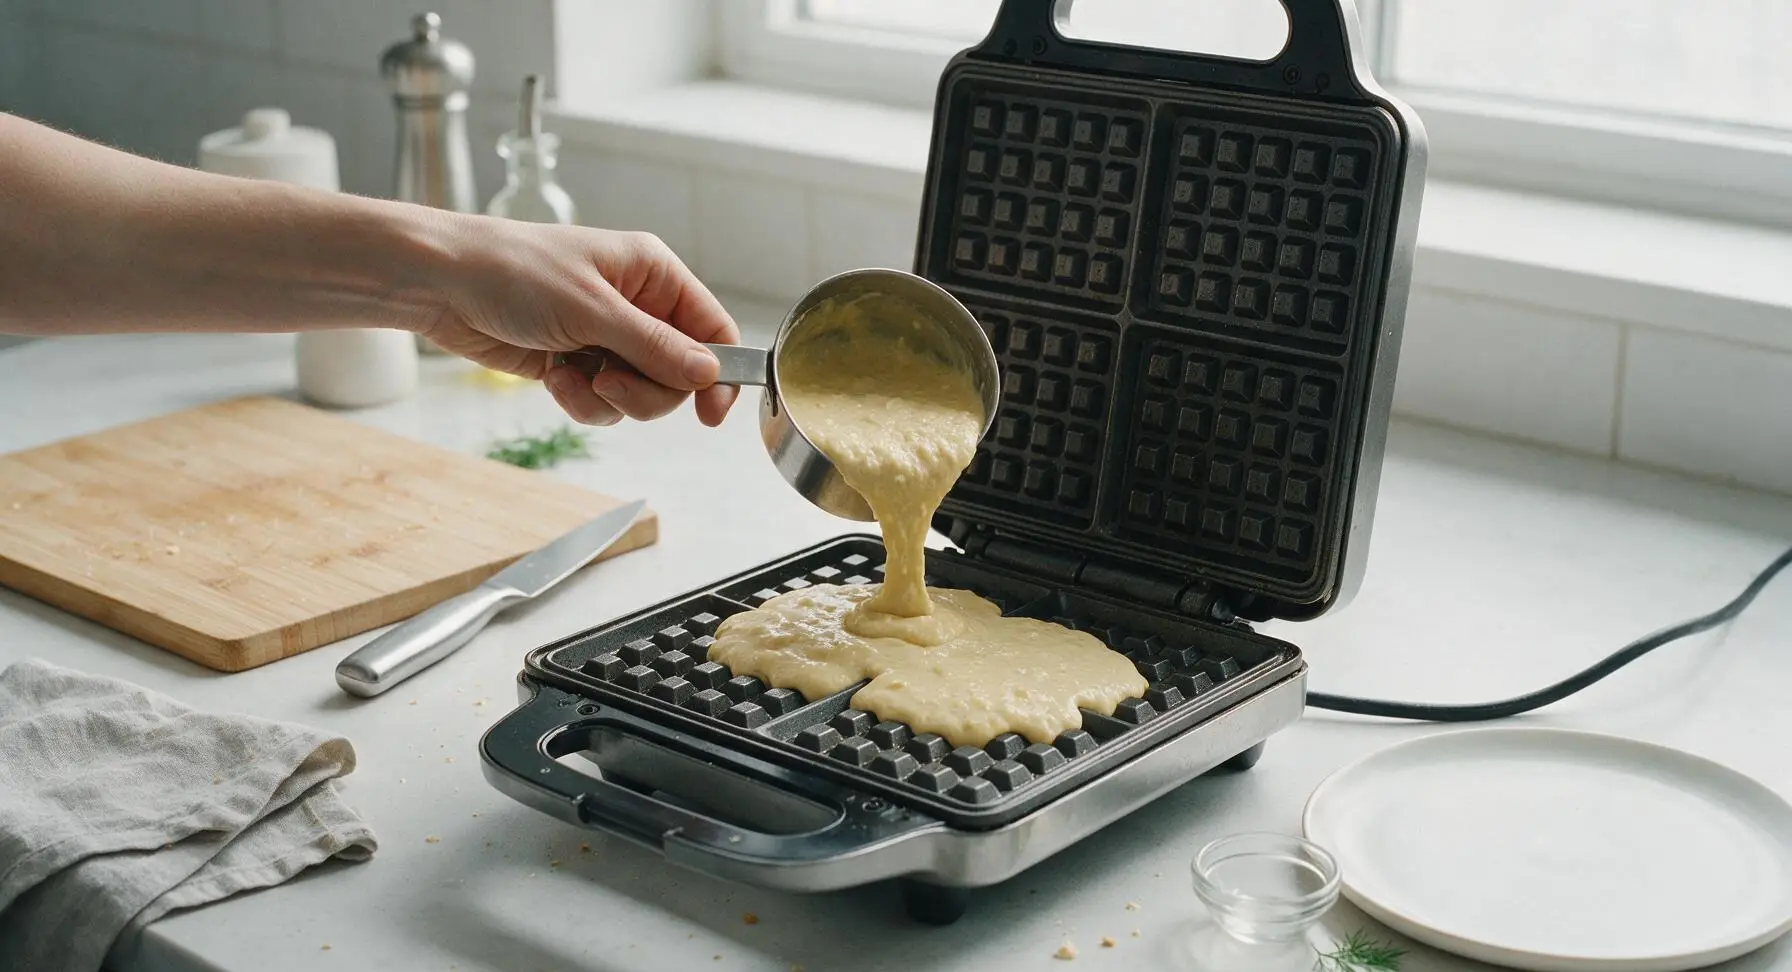
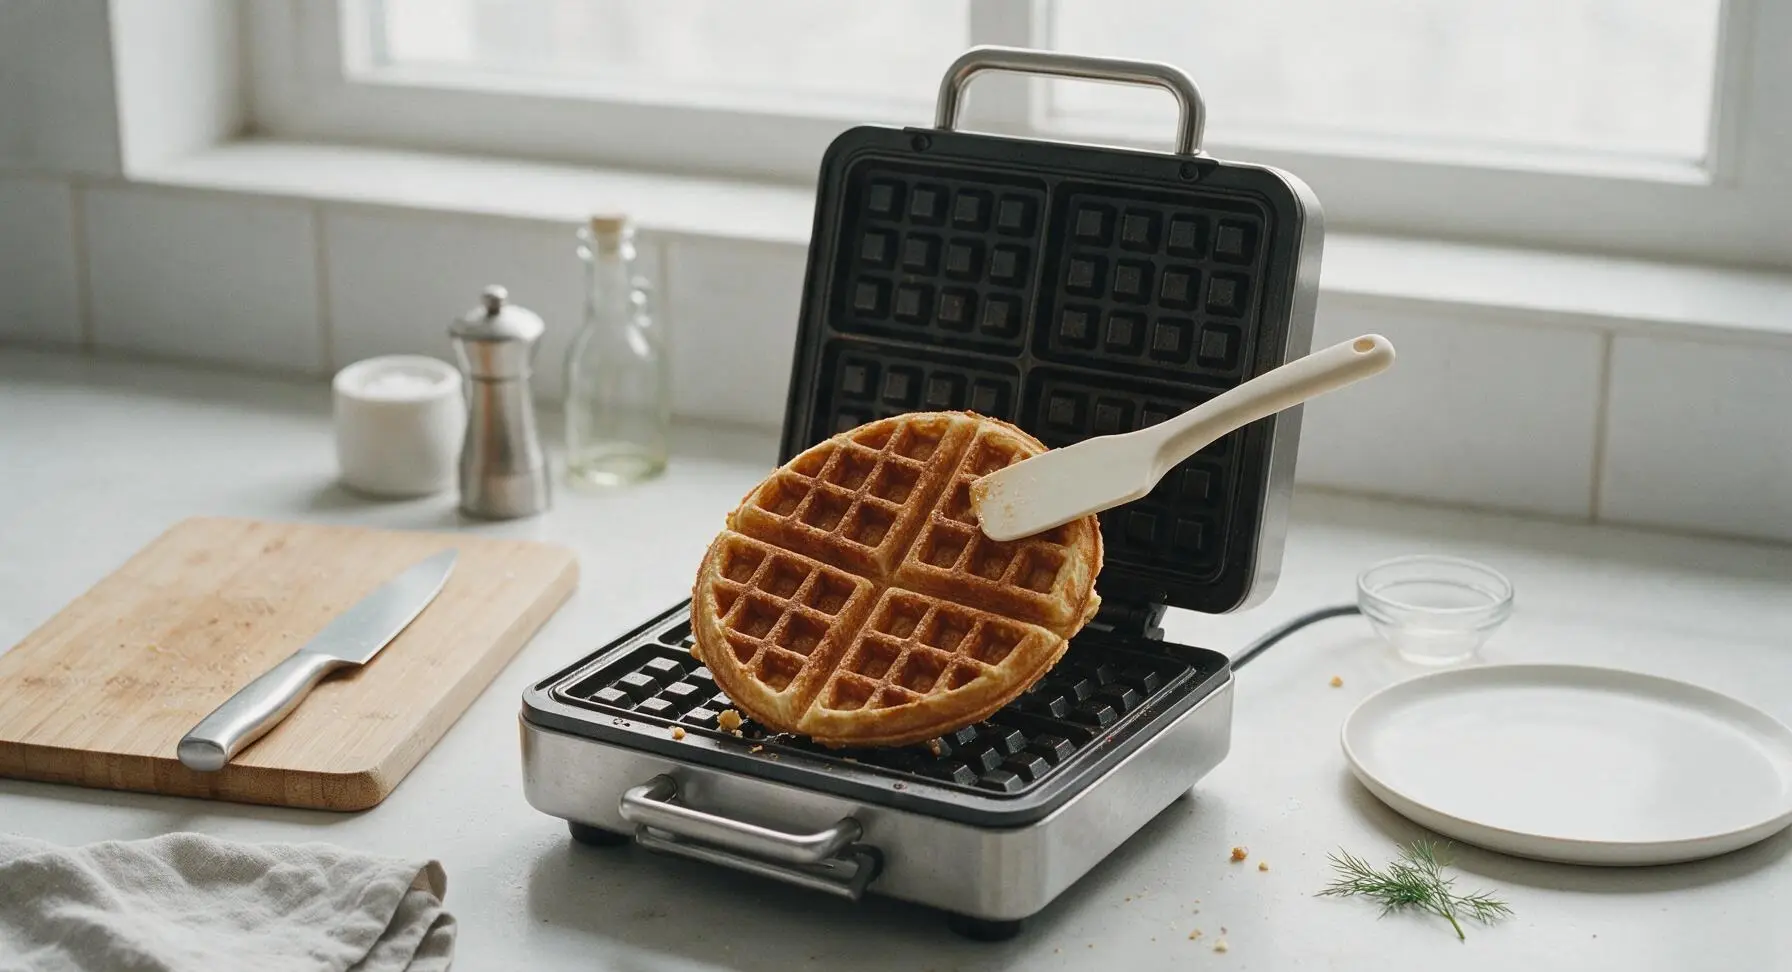
Plate and Serve
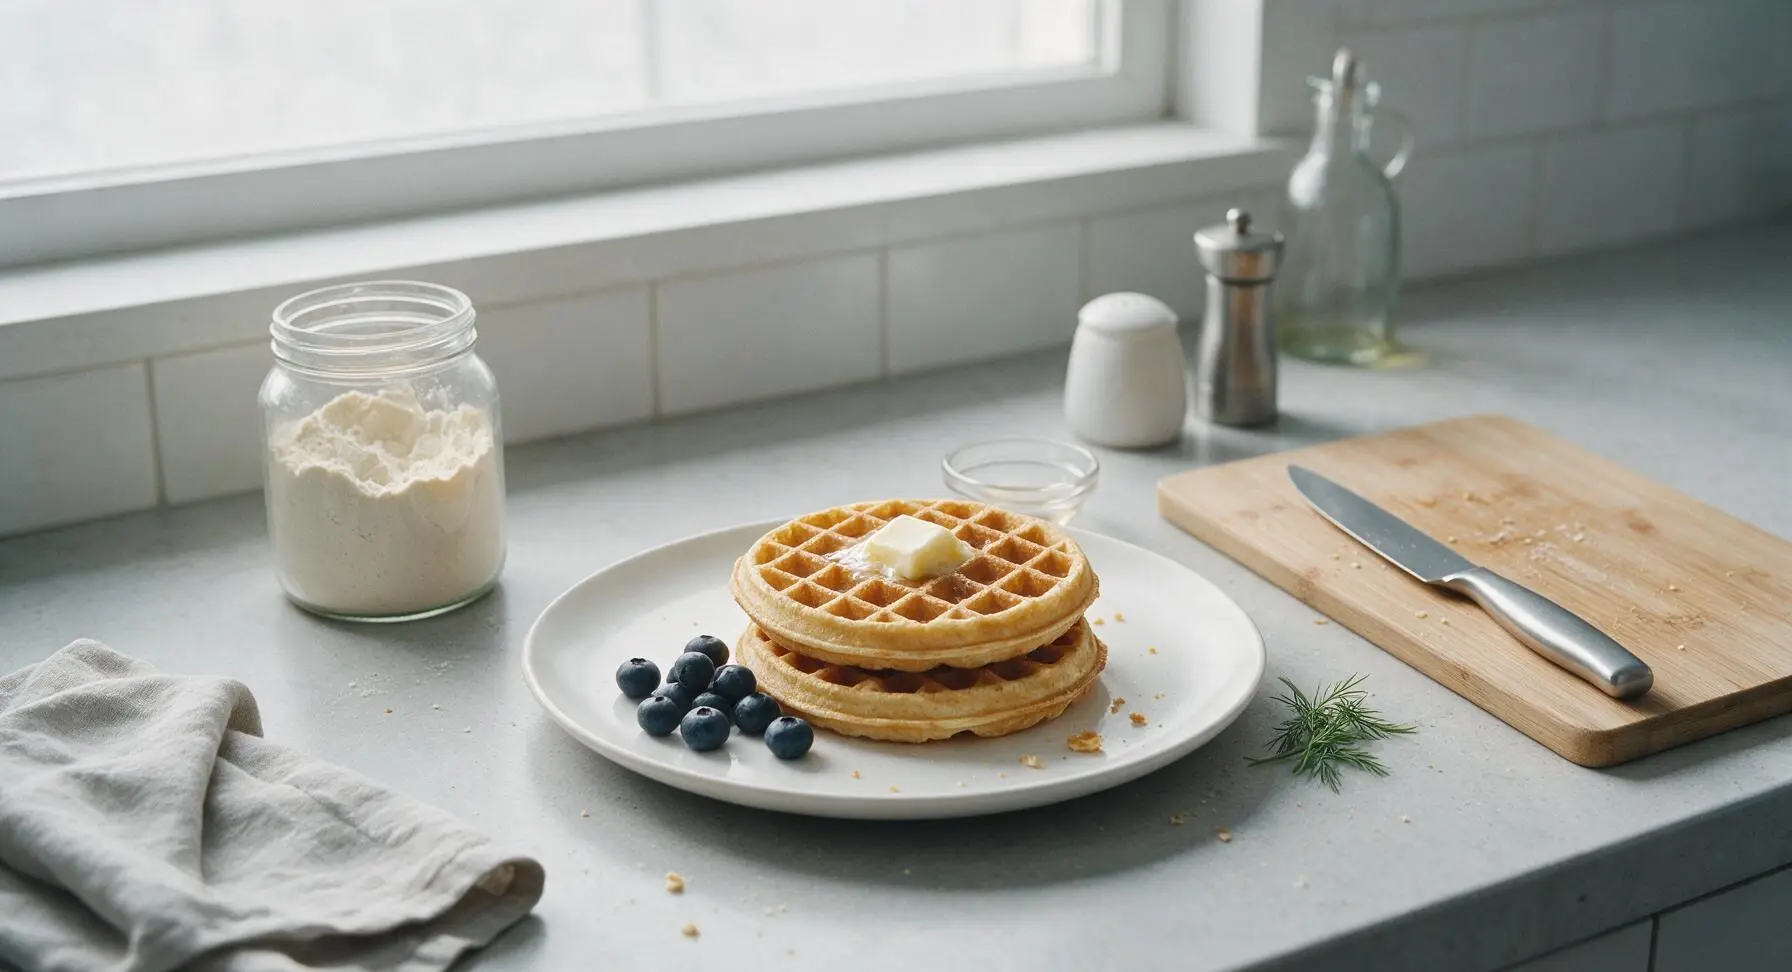
Stack two warm waffles per serving on the matte cream ceramic dinner plate. Top each stack with a 1-tablespoon pat of cold unsalted butter, a light 1-tablespoon drizzle of pure maple syrup, and a small handful of fresh blueberries if desired. Serve immediately, as waffles will lose their crisp edge after 2 to 3 minutes of resting on a plate. Let leftover cooked waffles cool completely, then freeze in a sealed bag for up to 1 month, reheating in a toaster for quick meals.
Tips
2.Resist the urge to overmix the waffle batter: small, pea-sized lumps are perfectly desirable, as over-stirring develops gluten in the flour and results in tough, chewy waffles instead of light, tender ones with crisp edges.
3.For extra-crisp waffles that hold their texture longer, rest freshly cooked waffles on a wire rack for 60 seconds before plating: stacking hot waffles directly on a plate traps steam between layers, which quickly softens crisp edges.






OMG this make-ahead waffle mix is such a game changer! I prepped a big batch last Sunday, and we’ve had quick, crispy waffles every school morning this week without the mess. My kids loved it so much they asked for extra chocolate chips in their portion today. Total win for chaotic weekday meal prep!
Tried this for the first time this morning, cook time was way shorter than I expected! 15 minutes total from grabbing the pre-mixed jar to sitting down to eat, which is perfect when I’m running late for work and need to get my toddler out the door for daycare. Only note is I wish I’d made a double batch first go around, we ran out halfway through breakfast!
Made waffles from this mix for my sister’s birthday brunch a couple weeks back and they were a total hit! Topped them with fresh strawberries, whipped cream, and a little drizzle of maple syrup, and everyone went back for seconds. The texture was perfectly crispy outside, fluffy inside — no sad soggy waffles here!
This is so easy! I was worried I didn’t have enough fancy ingredients to make homemade mix, but it’s just pantry staples I already had lying around. No weird preservatives, way cheaper than buying the pre-made name brand stuff at the grocery store. 10/10 will be a staple in my cabinet from now on.
Brought a batch of waffles made from this mix to our neighborhood potluck last weekend and everyone was begging for the recipe! It’s so easy even my teen who can barely boil water can whip up a batch when their friends sleep over. SO good, way better than the store-bought stuff that tastes like cardboard.
Wait, has anyone swapped the all-purpose flour for a 1:1 gluten free blend to make this? I have celiac and have been hunting for a solid make-ahead waffle mix that doesn’t have that weird gritty GF aftertaste.
Game changer for my dorm meal prep! I don’t have a ton of kitchen storage, so keeping a jar of this mix on my shelf means I can make waffles in my tiny countertop waffle iron between classes instead of spending money on takeout breakfast. Tastes way better than the dining hall waffles too, SO good.
Quick question before I make a giant batch: can I use this mix for Belgian waffles too, or do I need to adjust anything? My waffle iron is the deep-pocket Belgian style and I don’t want flat, soggy waffles.
Packed a sealed bag of this mix for our family camping trip last weekend and it was perfect! We just mixed it up with some water and a little oil over the camp stove waffle iron, and the kids devoured them after a long morning of hiking. Saved us from packing a ton of separate ingredients and made breakfast so low-stress.
Wait, I messed up my first batch — I accidentally added the wet ingredients straight into the whole dry mix jar instead of portioning out what I needed 😭 Is there any way to salvage this, or do I have to toss it?