
waffle mix directions

intro
Crisp golden on the outside, light and fluffy inside, these foolproof waffles from basic mix come together in 15 minutes for a cozy, customizable meal the whole family will love.
Ingredients
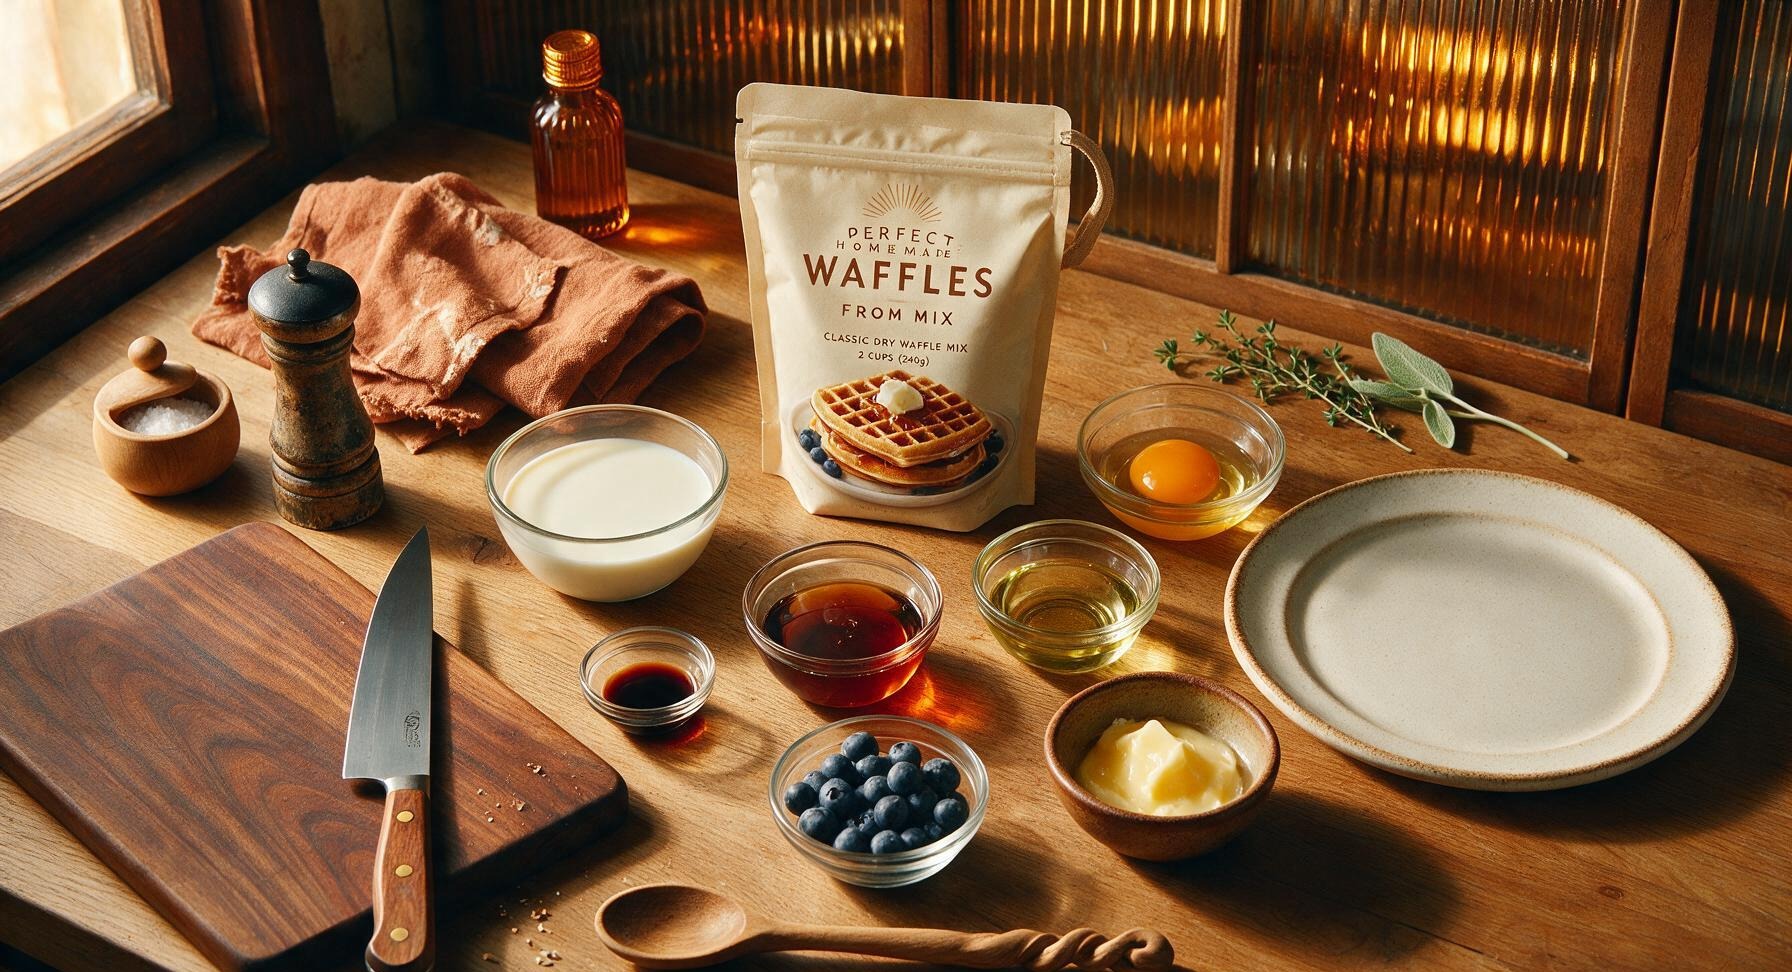
Steps
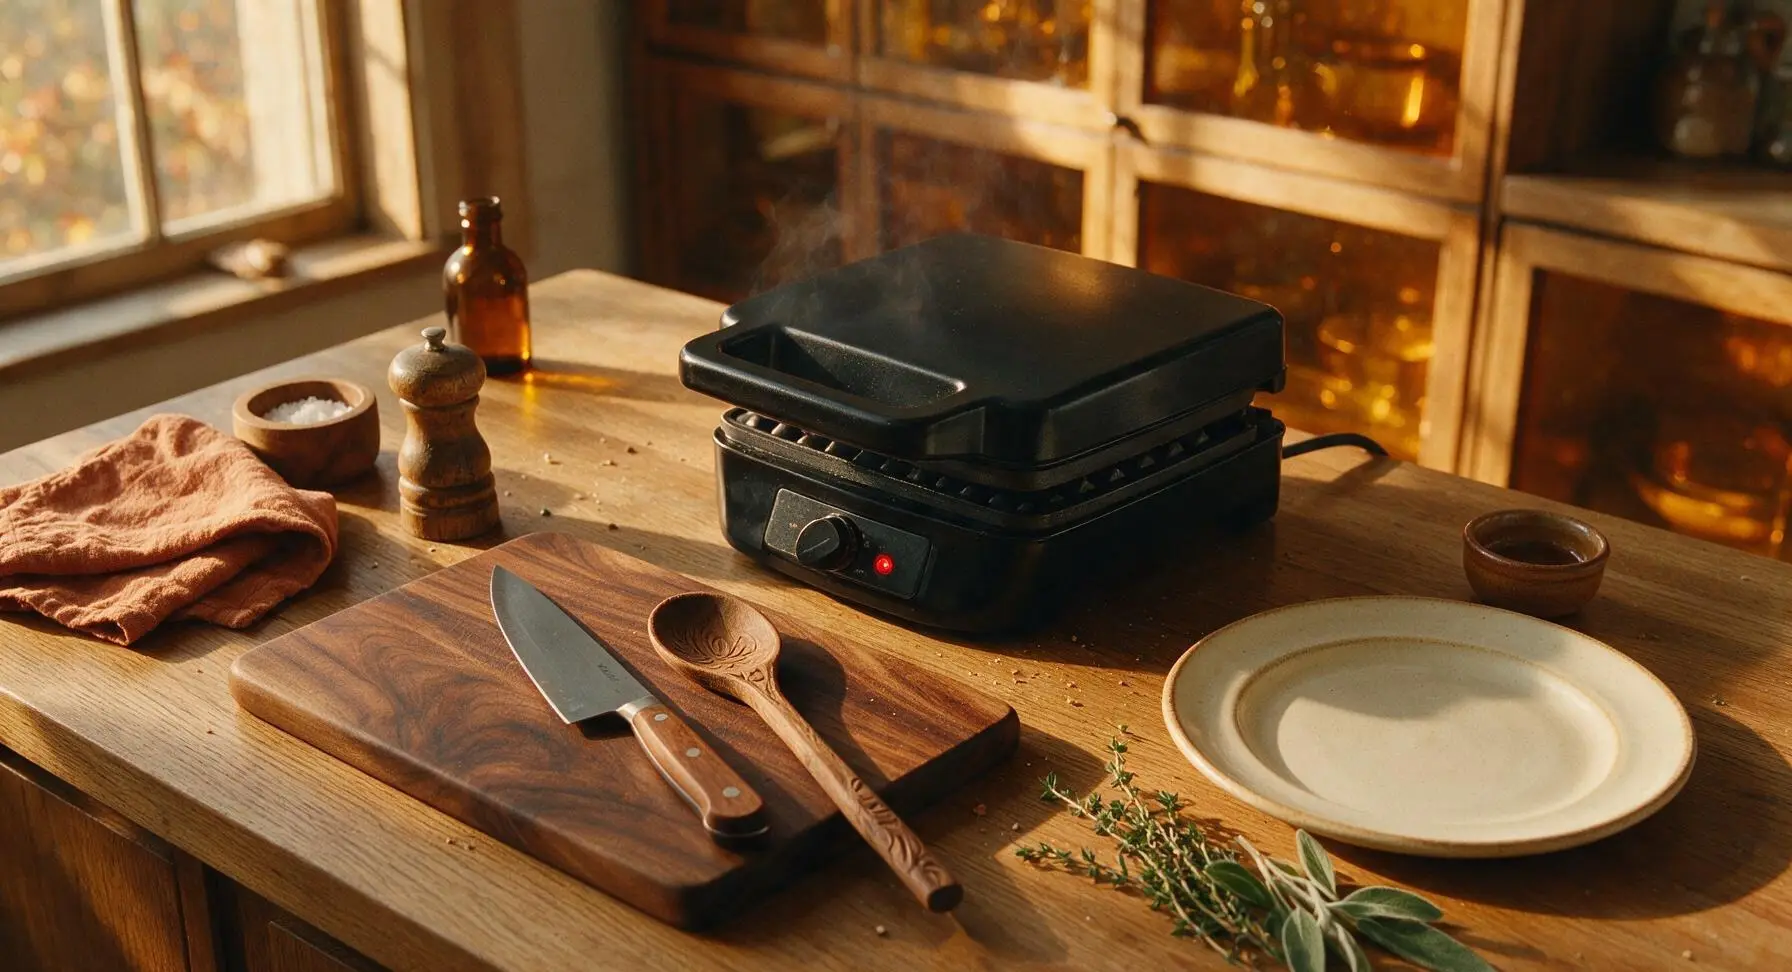
Preheat Waffle Iron
Plug in the matte black electric waffle iron and set it to medium-high heat (375°F/190°C). Close the lid and allow it to preheat for 3-4 minutes, until the built-in indicator light shows it is ready, or a single drop of cold water sizzles and evaporates within 2 seconds when flicked onto the nonstick plates. Do not grease the plates during preheating, as cold butter will burn before the batter is added.
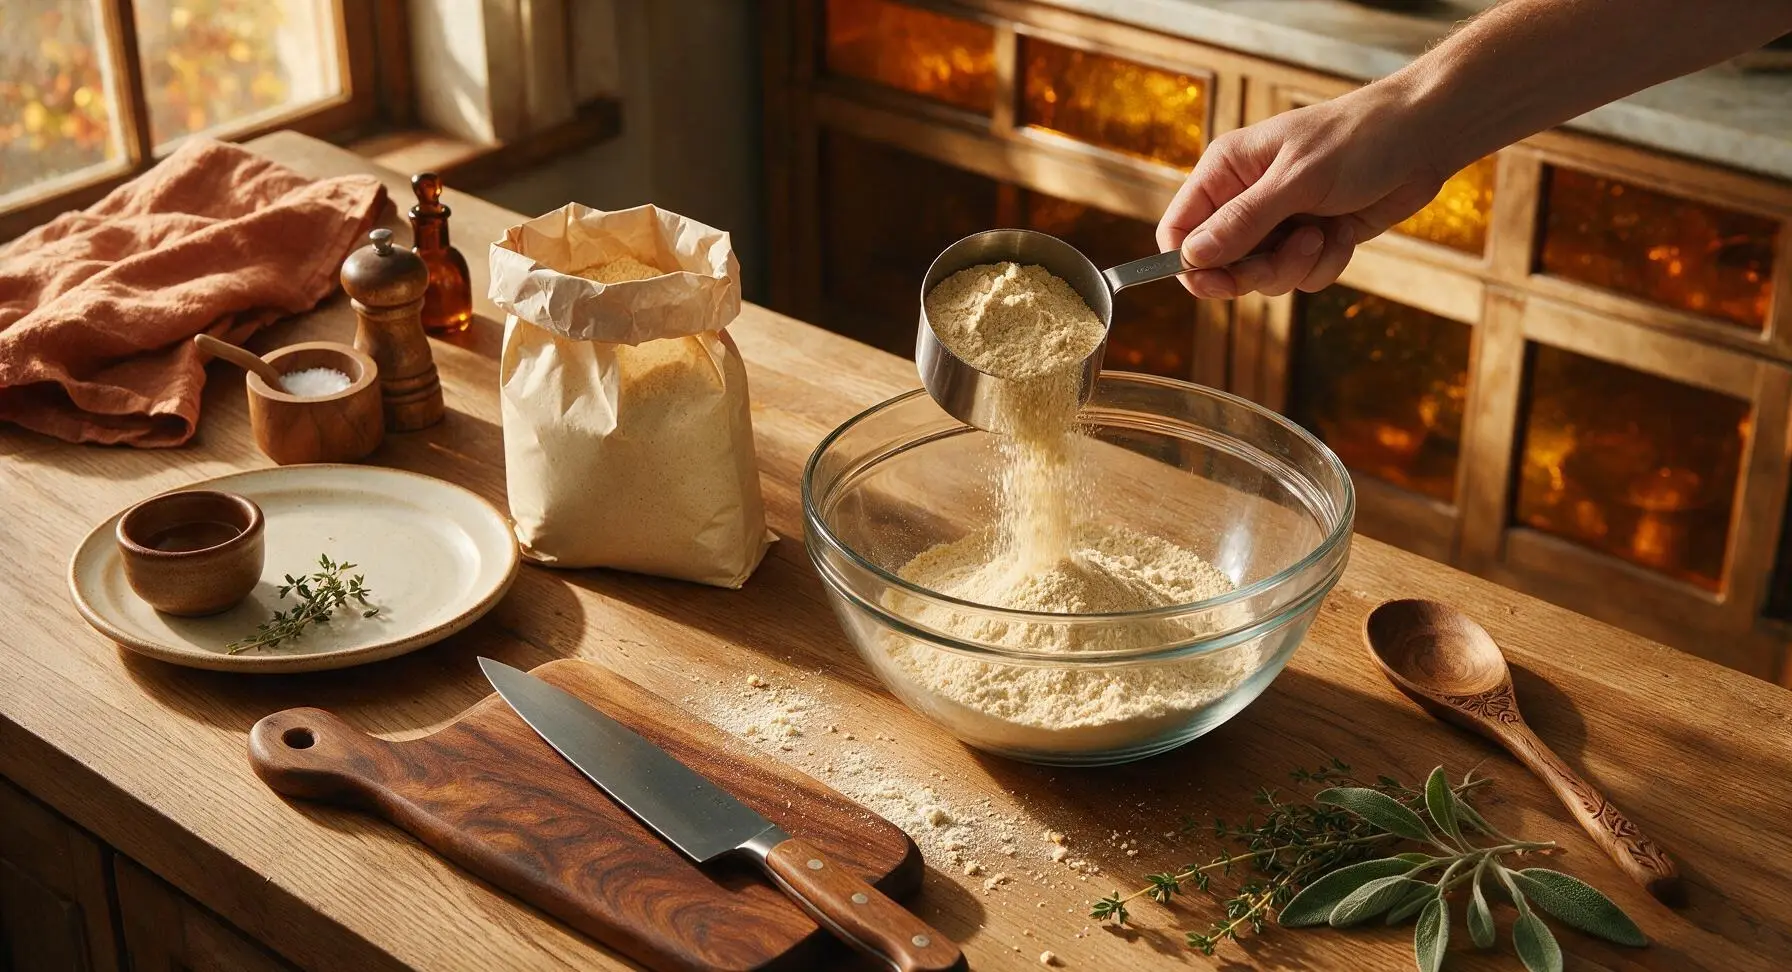
Add Mix to Bowl
Open the sealed bag of dry waffle mix. Use the 1-cup stainless steel dry measuring cup to scoop 2 level cups of mix into the 2-quart clear glass mixing bowl, running the flat edge of a knife across the top of the cup to level the mix for an accurate measurement; do not pack the mix tightly into the cup, as this will result in dry, dense batter. Pick out and discard any small, hard clumps of old mix from the bowl.
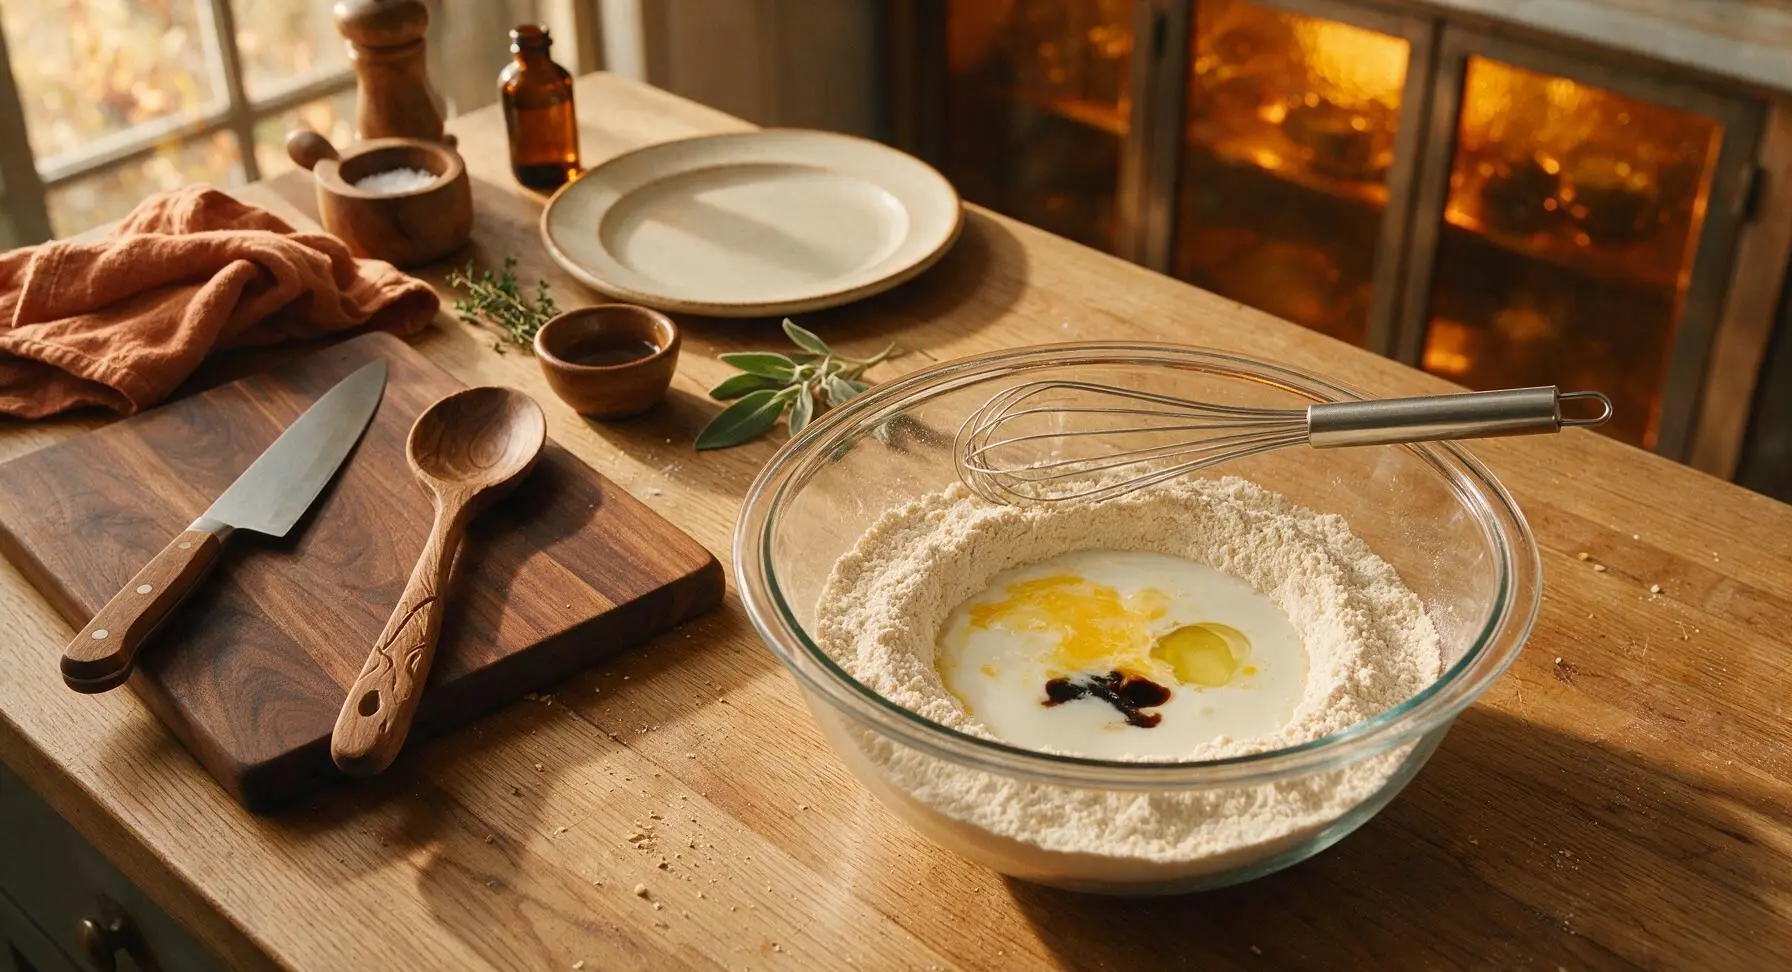
Add Wet Ingredients
Use a silicone spatula to push the dry mix up the sides of the bowl to create a small, shallow well in the center of the dry mix. Pour 1 1/2 cups whole milk, 1 lightly beaten large egg, 1/3 cup neutral vegetable oil, and 1 teaspoon pure vanilla extract directly into the well. Do not begin stirring immediately, as this will cause dry mix to fly out of the bowl when you start whisking.
Stir Lumpy Batter
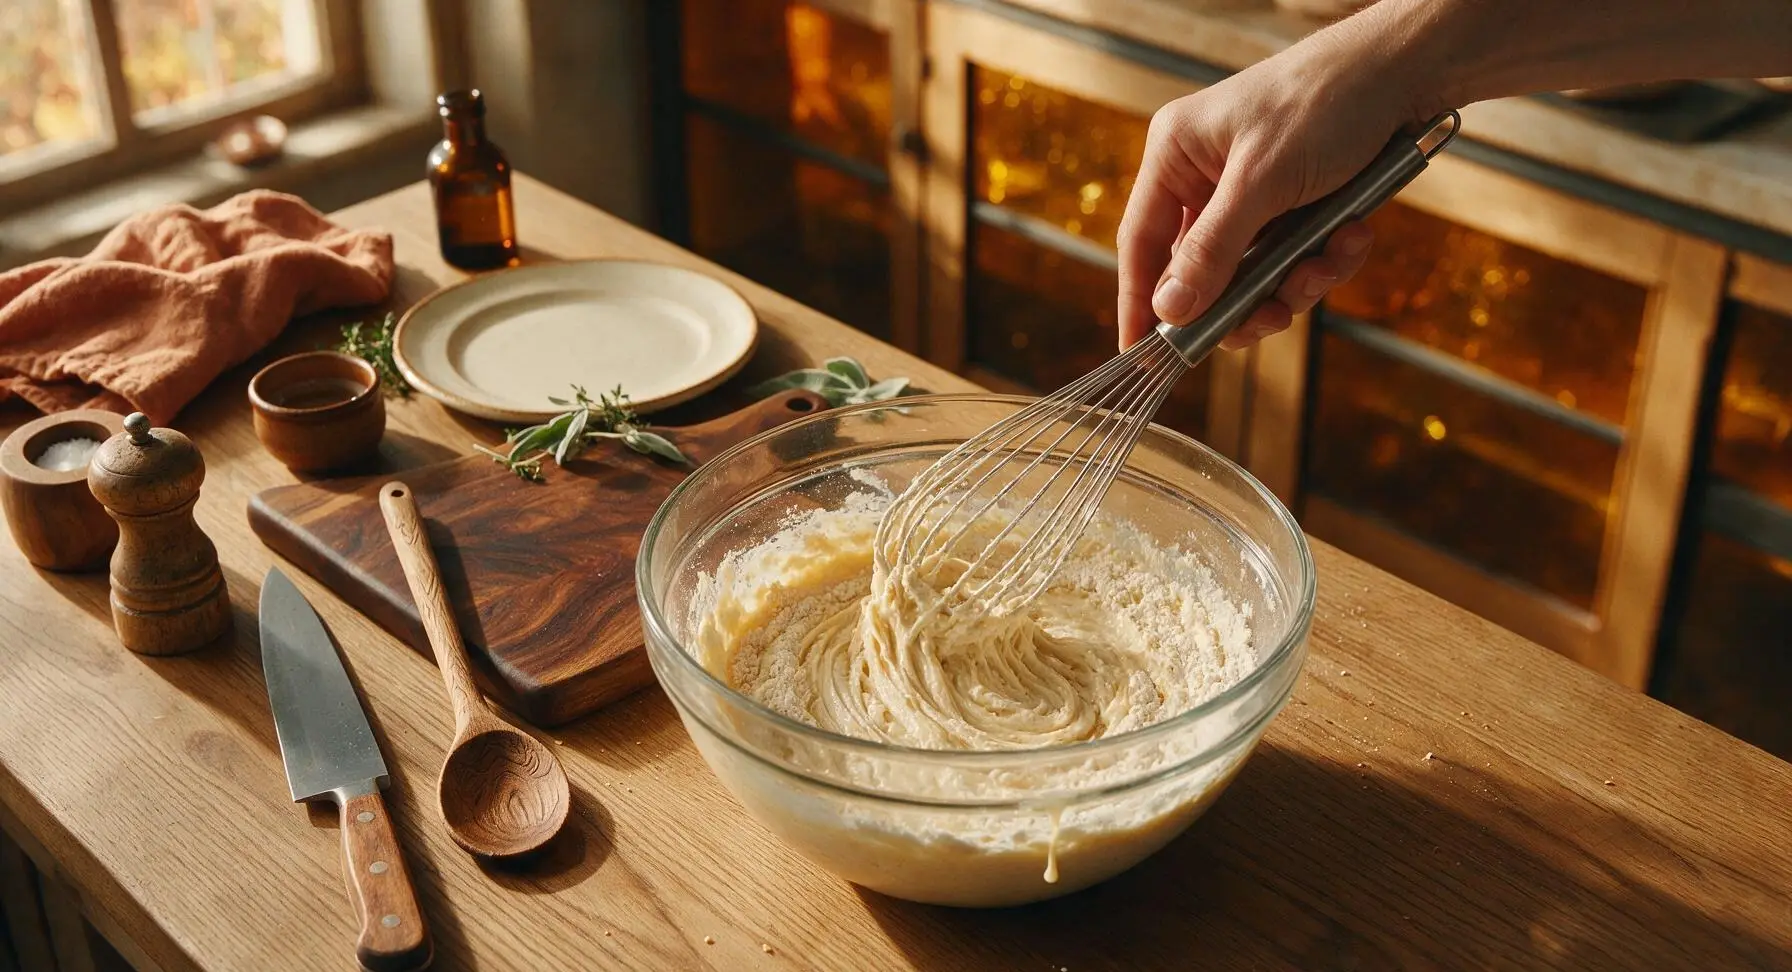
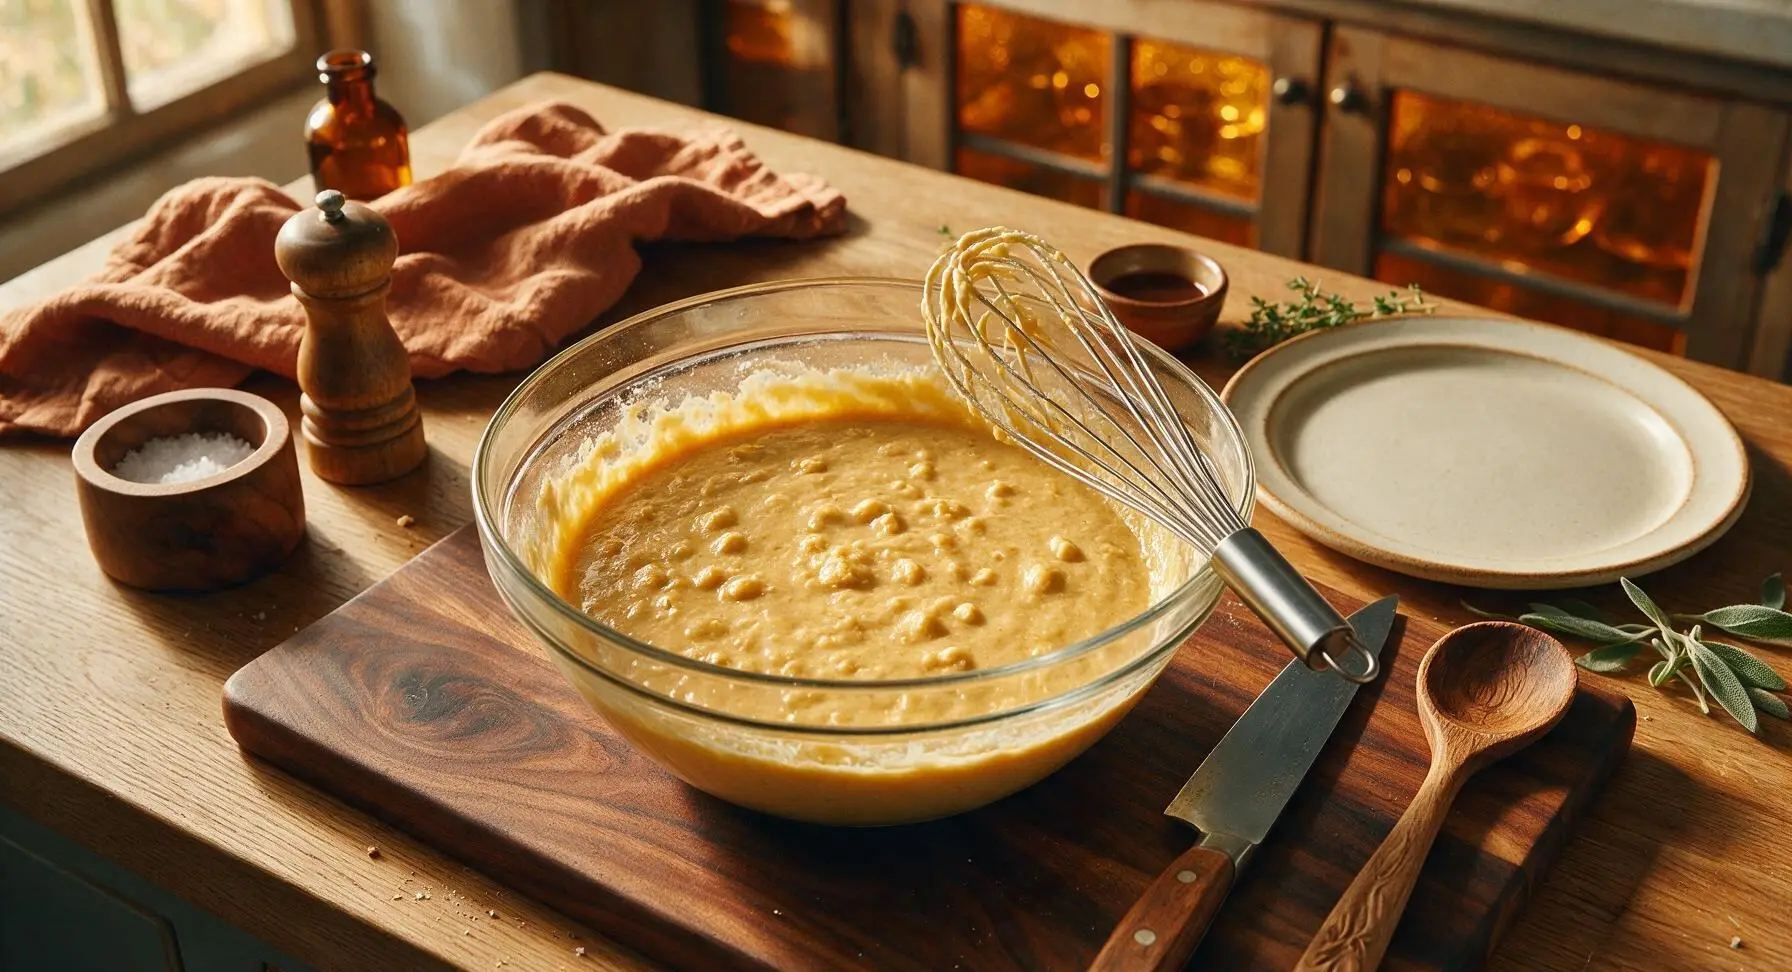
Use the stainless steel wire whisk to gently fold the wet and dry ingredients together, stirring only just until no large pockets of dry flour remain at the bottom of the bowl. Stop stirring immediately once the batter comes together; the finished batter should be thick, pourable, and visibly dotted with small lumps. Overmixing to a smooth consistency will develop gluten in the flour, resulting in tough, chewy waffles instead of tender, crisp ones. Let the batter rest for 2 full minutes at room temperature to allow the leavening to activate.
Grease Waffle Plates
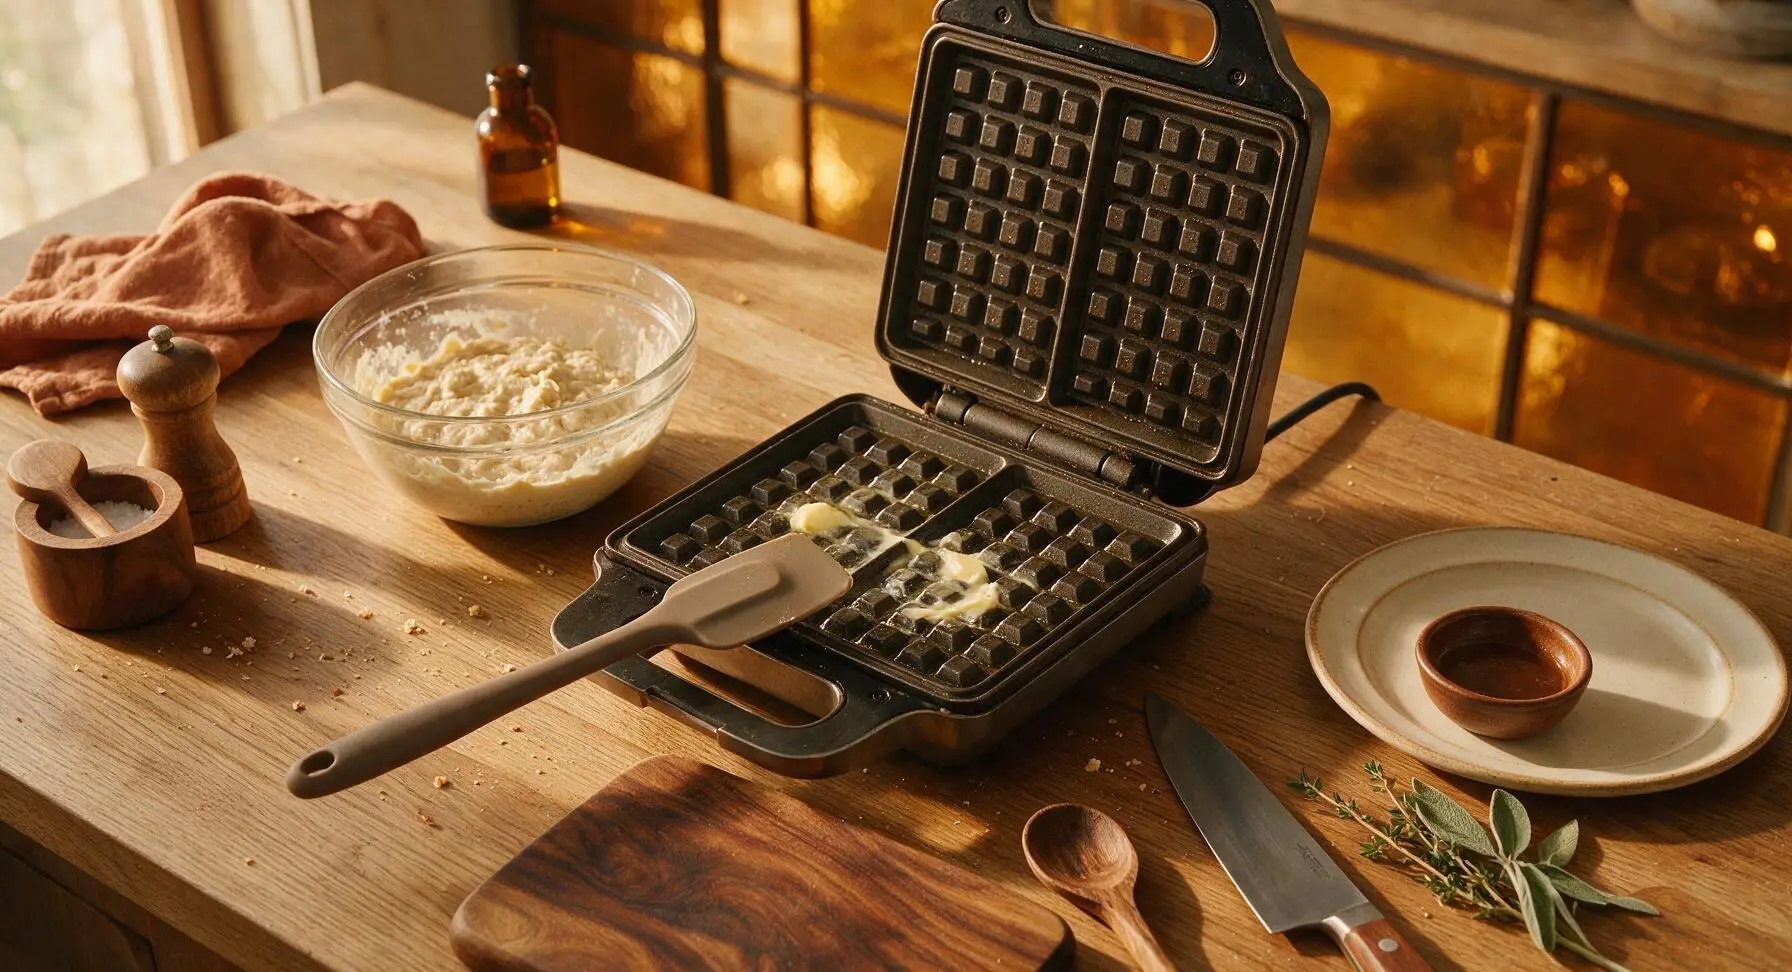
Melt 2 tablespoons of unsalted butter, then dip the edge of the taupe silicone spatula in the butter to spread a thin, even coating across both the top and bottom nonstick plates of the preheated waffle iron. Use only a thin layer: excess butter will burn quickly, creating dark, bitter edges on the waffles and causing excess smoke. Wipe up any butter drips on the outside of the iron with the corner of the folded cotton kitchen towel.
Pour Batter Evenly
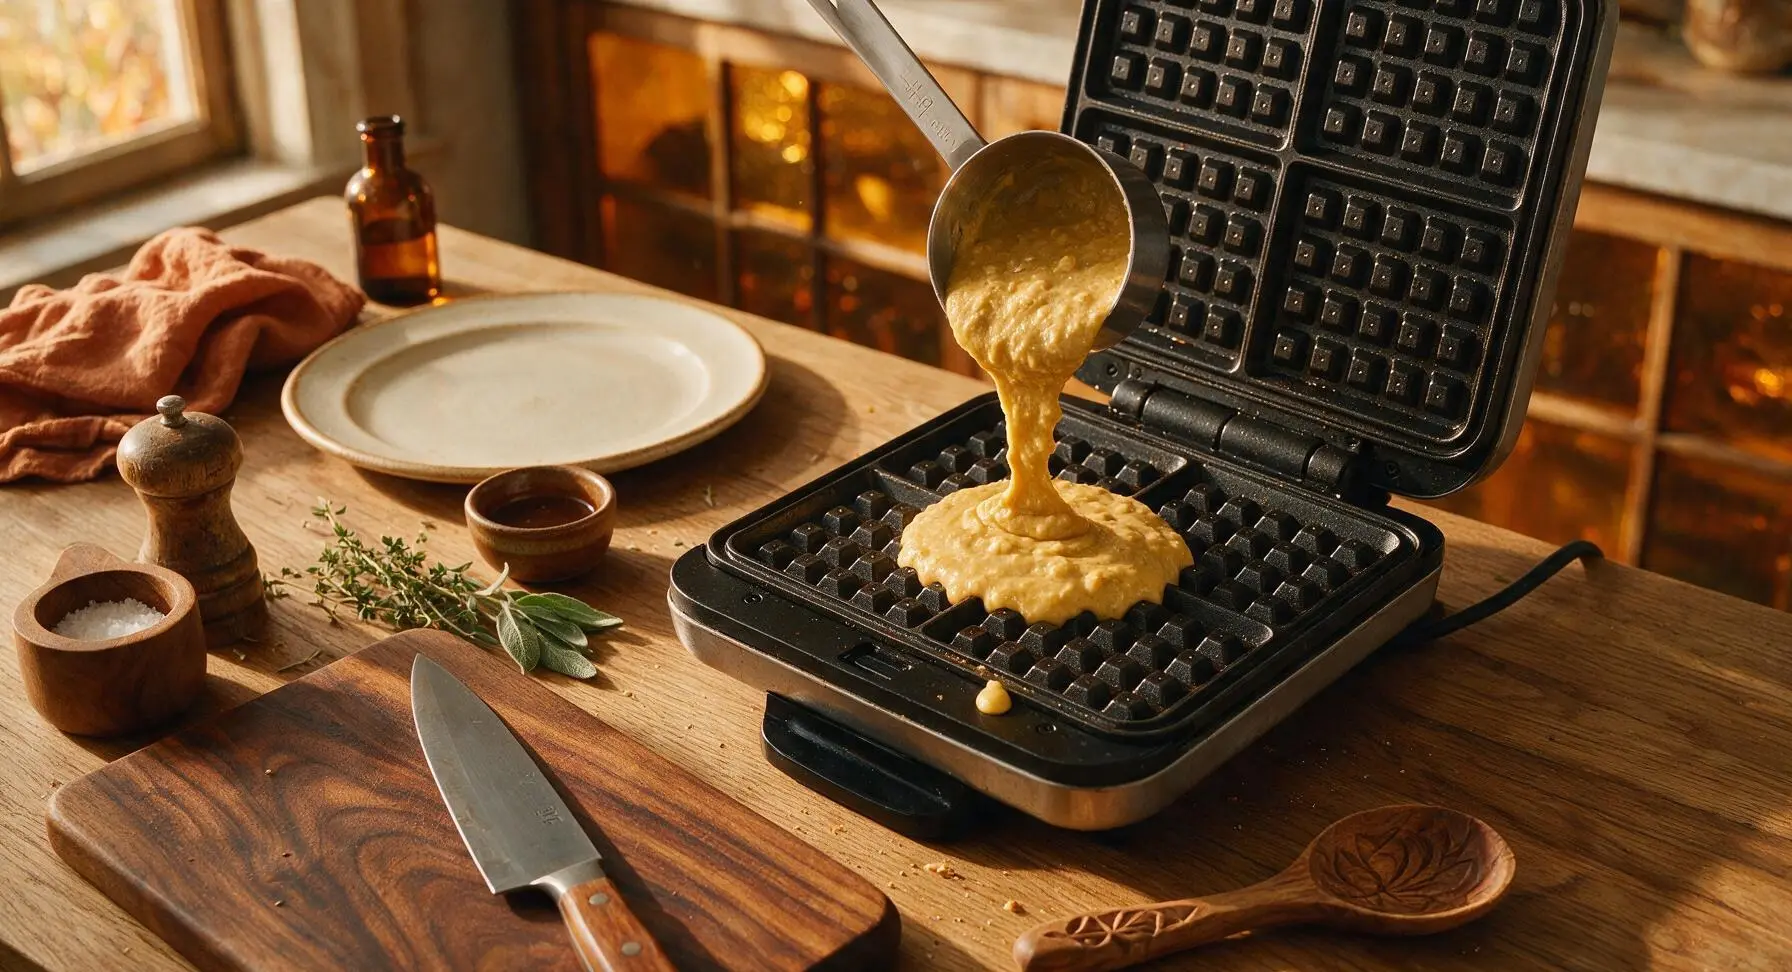
Use the 1/2-cup stainless steel measuring cup to scoop rested batter, pouring it slowly in a steady stream directly onto the center of the greased bottom waffle plate. Use the tip of the silicone spatula to spread the batter gently to within 1/2 inch of the plate edges; do not spread it all the way to the edge, as the batter will expand and rise as it cooks. Overpouring batter will cause it to seep out the sides of the iron and burn onto the counter. Close the waffle iron lid immediately after pouring.
Cook Crispy Waffles
Keep the waffle iron lid closed and cook the waffle for 3 to 4 minutes, resisting the urge to open the lid for the first 2 minutes (opening early will split the half-set waffle and cause it to stick). The waffle is fully cooked when steam stops escaping from the edges of the iron, the exterior is deep even golden brown, and the surface feels crisp when gently prodded with the spatula. Use the silicone spatula to gently lift the edge of the waffle, transferring it to the waiting cream ceramic plate. Repeat the greasing, pouring, and cooking process with all remaining batter.
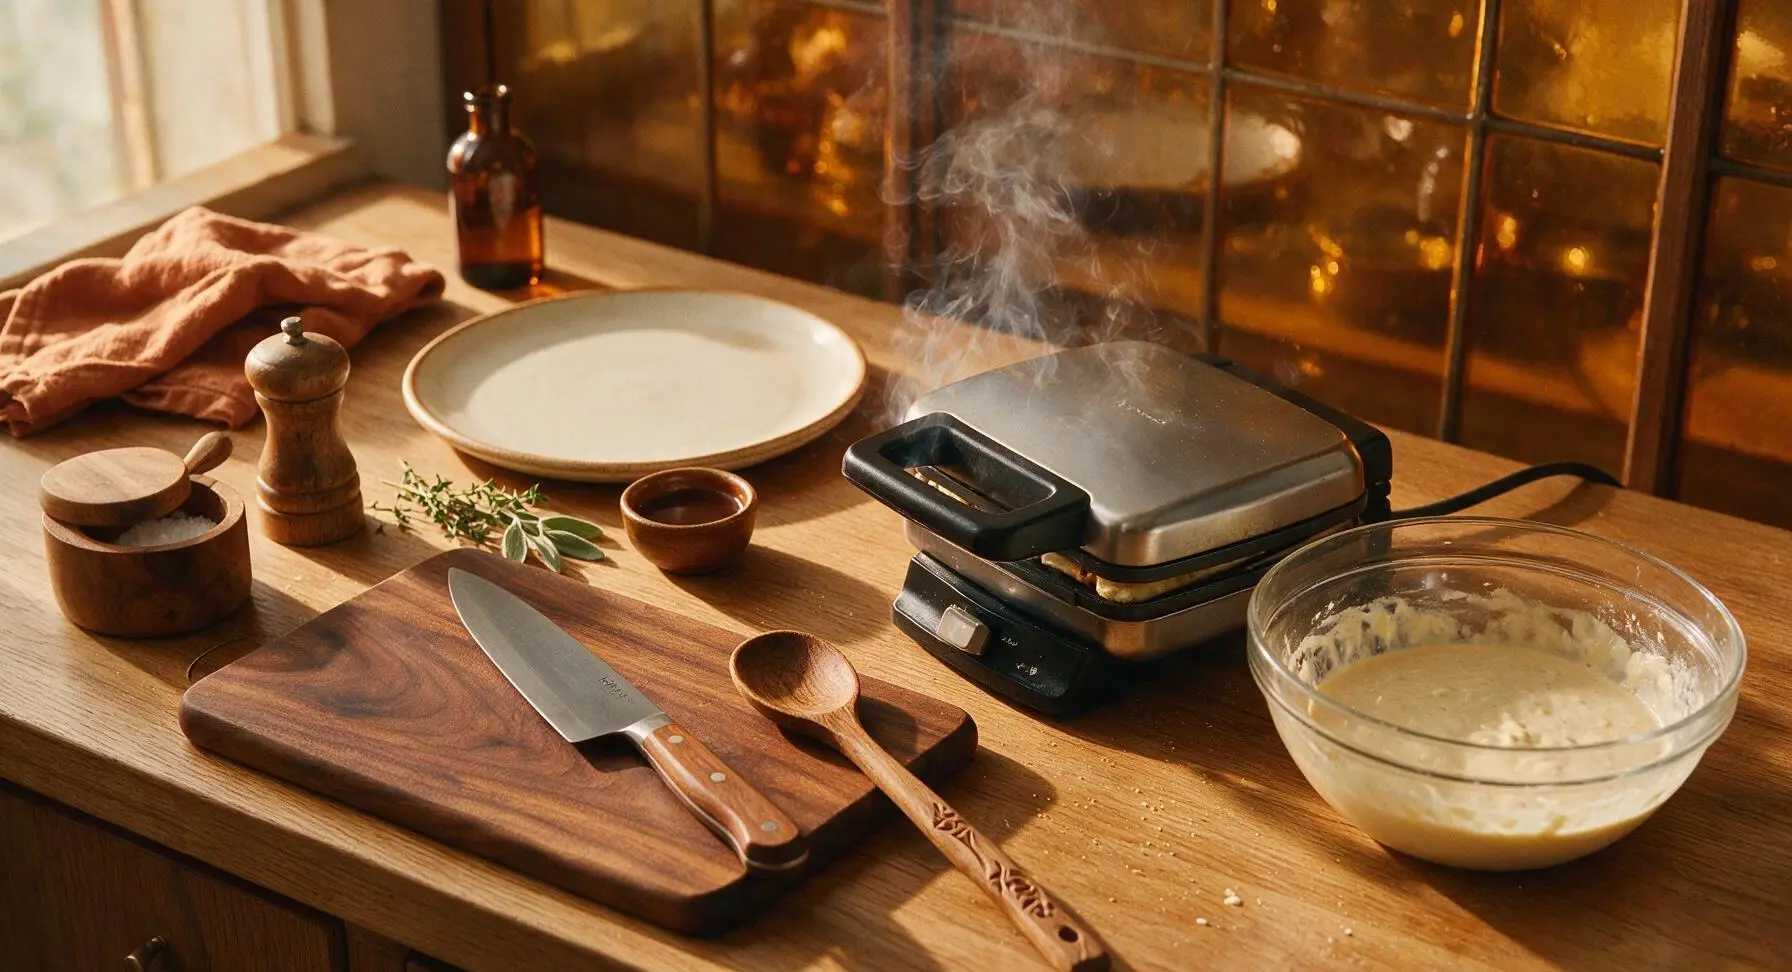
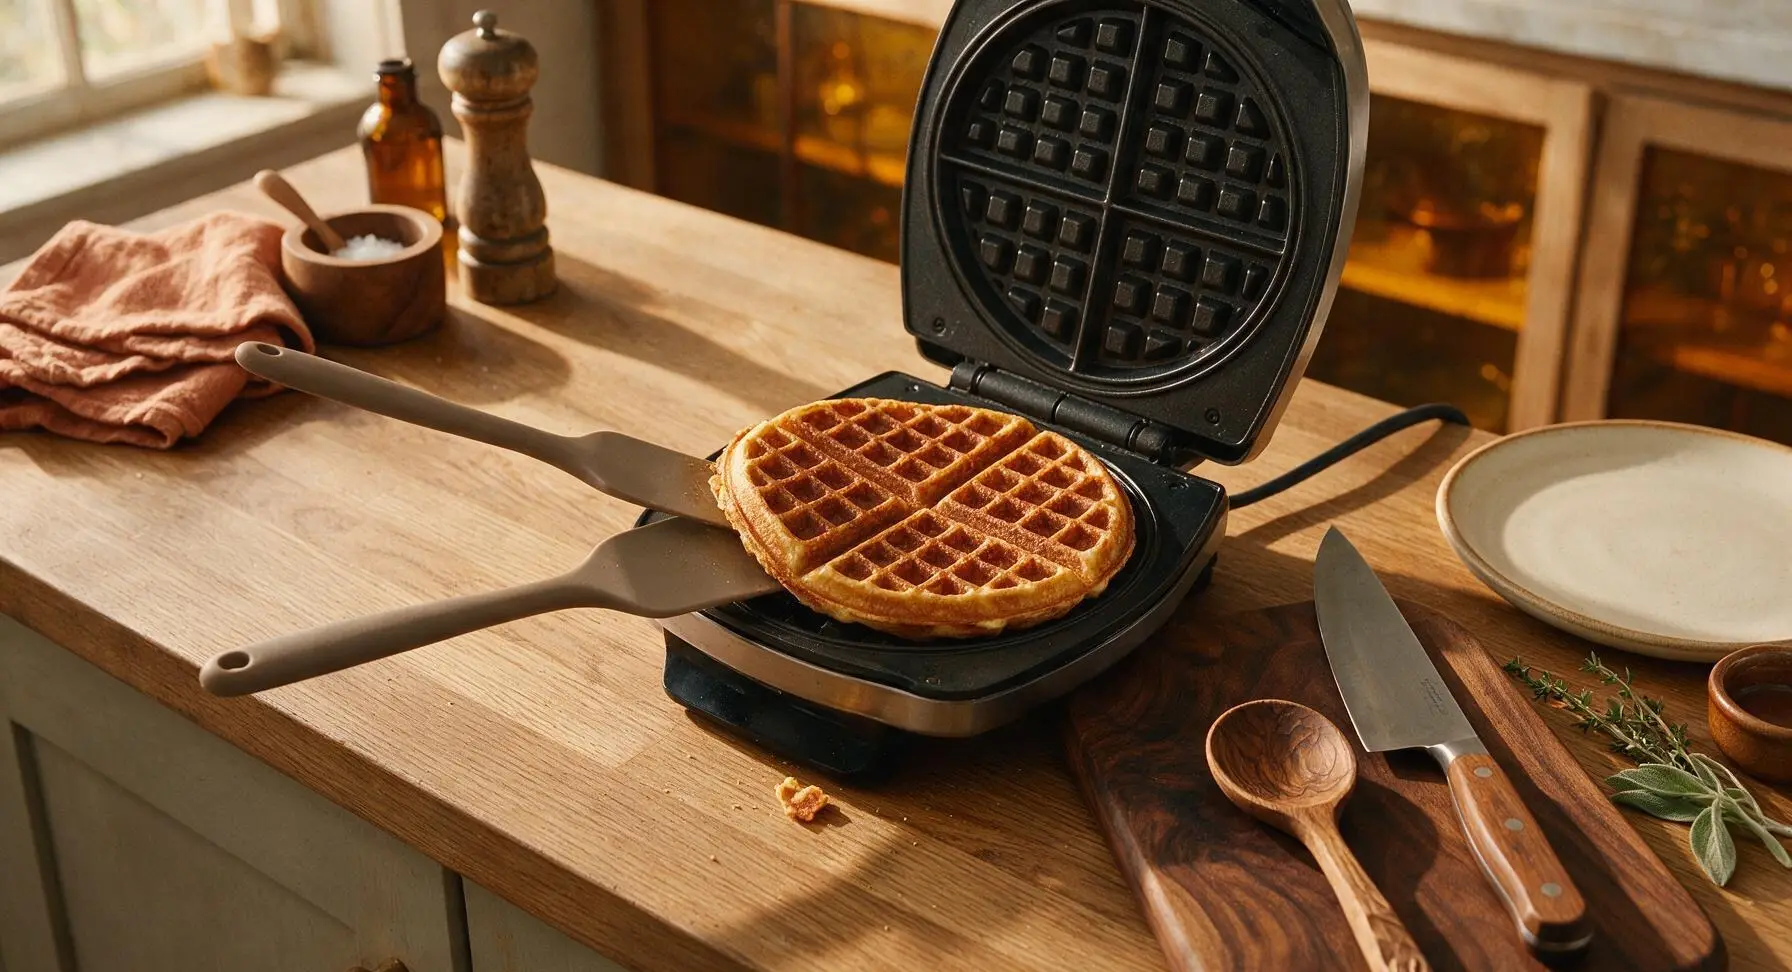
Plate and Serve
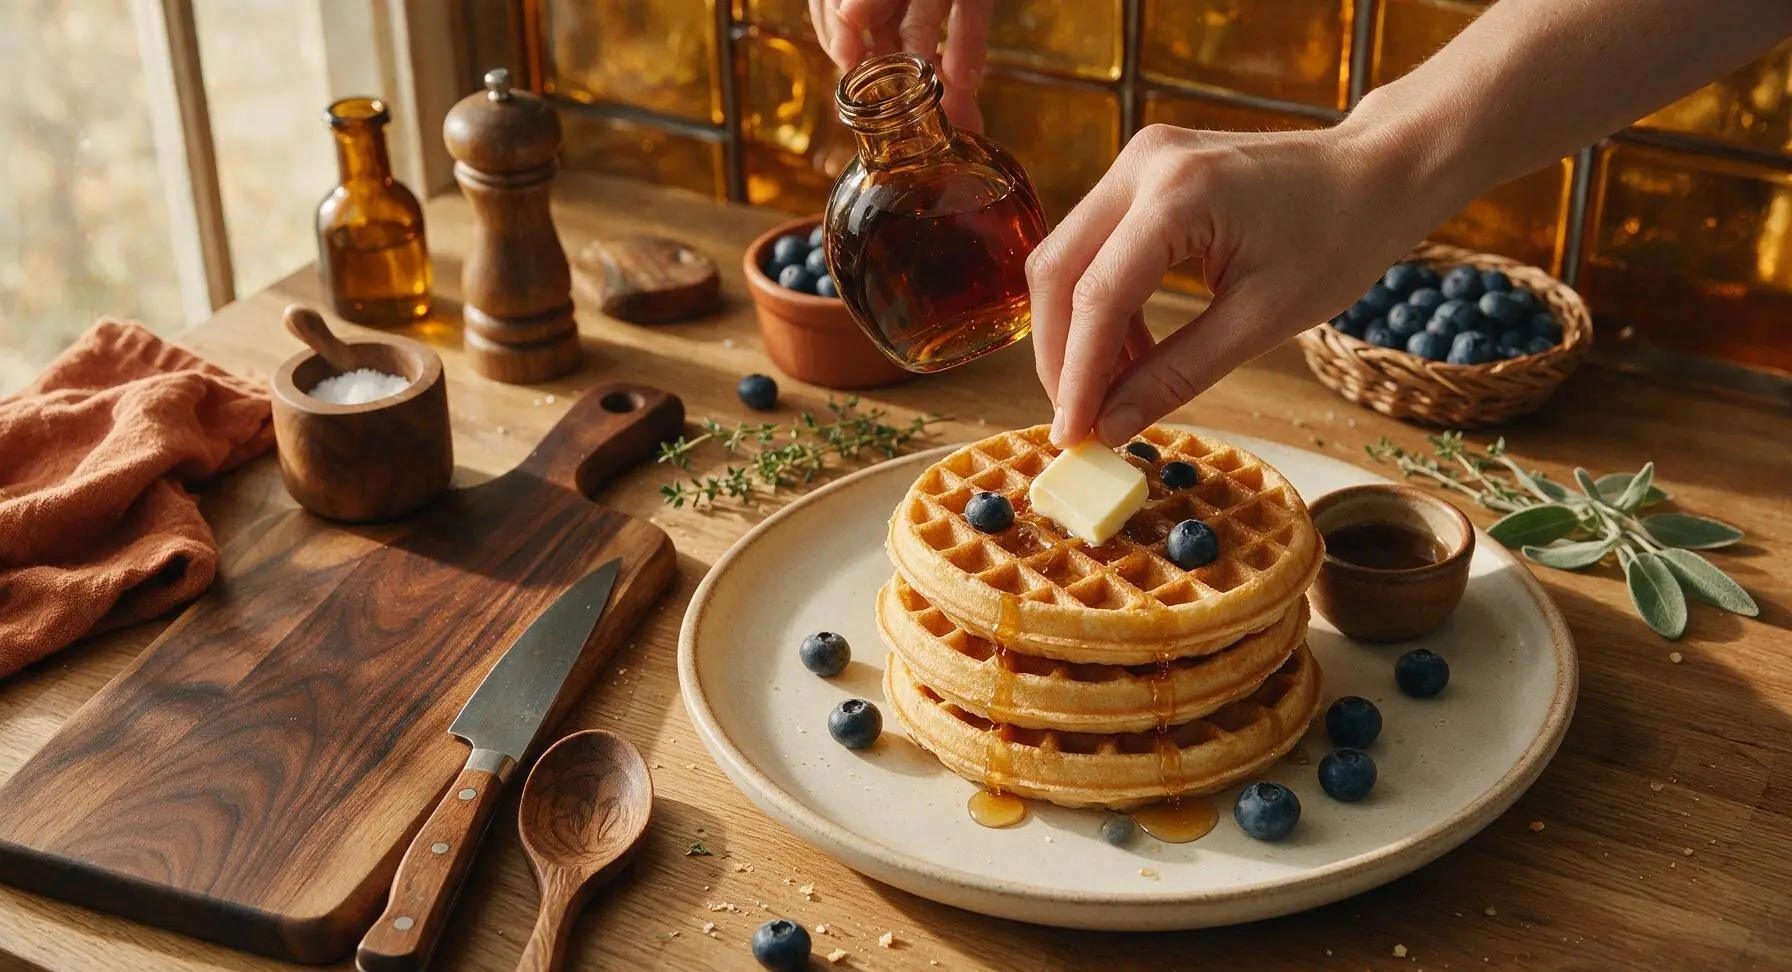
Stack the cooked waffles on the matte cream ceramic dinner plate, topping the stack with a small pat of unsalted butter that melts into the waffle grids, a generous drizzle of warm maple syrup, and a scattering of fresh blueberries. Serve immediately, as waffles will lose their crisp exterior and become soft and soggy after 5 minutes at room temperature.
Tips
2.Never open the waffle iron before the 2-minute cook mark: the waffle structure is not fully set in the first two minutes, so opening the lid will tear the waffle in half, leaving half stuck to the top plate and ruining its crisp shape.
3.Keep finished waffles crisp while cooking batches by setting them on a wire rack placed over a baking sheet in a 200°F (95°C) oven, instead of stacking them on a plate: stacking traps hot steam between waffles, which softens the crisp exterior and makes them soggy before serving.






OMG this is such a game changer! I’ve been messing up boxed waffle mix for years because it always comes out soggy, but following this trick got them crispy on the outside and fluffy inside? My kids begged for seconds before they even finished their first plate. 10/10 will be making these every Sunday brunch from now on!
Dude, SO good. I thought homemade from mix was just following the box directions but these tasted like the diner waffles I pay $12 for on weekends. Threw some chocolate chips in half the batch for my roommate and he already asked me to make them again tomorrow.
Meal prep win! I made a double batch on Sunday, froze the extra waffles, and pop them in the toaster all week for quick breakfasts before work. They hold up way better than the frozen store bought ones, no weird rubbery texture.
Super easy, 10 minute cook time is no joke. I made these before an early morning trail ride last week and they kept me full for 3 hours of riding without feeling heavy. Topped with peanut butter and banana, chef’s kiss. Only knock is I wish I’d made a triple batch, I ran out after one serving for me and my partner.
Made these for my grandkids when they visited last weekend and they said they were better than the fancy waffles we get at the beach boardwalk. I added a dash of cinnamon to the batter like I always do, and it paired perfectly with the vanilla mix. Will be keeping this recipe taped to my fridge!
Bro, I’m a broke college student with a $10 waffle iron and the cheapest grocery store waffle mix, and these still came out perfect. No fancy ingredients needed, I didn’t even have vanilla extract and it still slapped. Brought the leftover batch to my dorm potluck and everyone was asking for the recipe.
Brought these to my neighborhood block party potluck last weekend and they were the first dish gone! I set up a little topping bar with syrup, whipped cream, berries, and sprinkles for the kids, and even the neighbors who “don’t like sweets” had a serving. So easy to make a big batch without slaving over the stove all morning.
Tried this on a whim Tuesday morning when we were out of cereal and the kids were losing their minds. Fast, easy, no mess, and I didn’t have to run to the store for anything special. 10/10, added to the weekly rotation permanently. Even my super picky 7 year old who only eats plain toast ate two full waffles.
Used my go-to gluten free waffle mix with this method and it worked perfectly! I was worried GF mix would get crumbly or dry, but these were crispy and fluffy just like regular waffles. My husband who eats gluten didn’t even notice a difference, that’s how good they were.
Wait why did no one tell me you can make savory waffles with this too? I added a little cheddar and garlic powder to the mix, served it with fried chicken for dinner last night and it was better than the chicken and waffles at my favorite BBQ spot. 10/10, game changer for weeknight dinners.
I’m so mad I wasted years making sad, flat waffles from the box directions. This method takes literally the same amount of effort but tastes 100x better. Paired with my morning latte, it’s better than the $18 waffle plate I get at the fancy coffee shop downtown.
Perfect for quick weekday breakfasts! I make a big batch every Sunday, separate them with parchment paper, and freeze them. 30 seconds in the microwave or 1 minute in the toaster and they taste fresh made. Saves me so much time on busy school mornings with my teen. Only reason it’s not 5 stars is my first batch stuck to the waffle iron a little, a quick spray of nonstick before the next pour fixed it right up.
Made these for a last minute brunch with friends and everyone was raving. I thought for sure I’d mess it up because I’m terrible at baking, but the directions are so straightforward even I couldn’t screw it up. Topped with fresh strawberries and whipped cream, chef’s kiss.
Made these before a sunrise hike last weekend and they were perfect. Light, not too heavy, held up when I packed one as a trail snack with a little almond butter. Cook time was so fast I didn’t even have to wake up extra early to make them before meeting my group.
Wow, I was skeptical that small tweaks to box mix could make that big of a difference but I was wrong! These are fluffy, crispy, have the perfect little waffle pockets that hold so much syrup. My whole family loved them, even my teen who turns his nose up at everything I make lately.