
waffle mix for one
intro
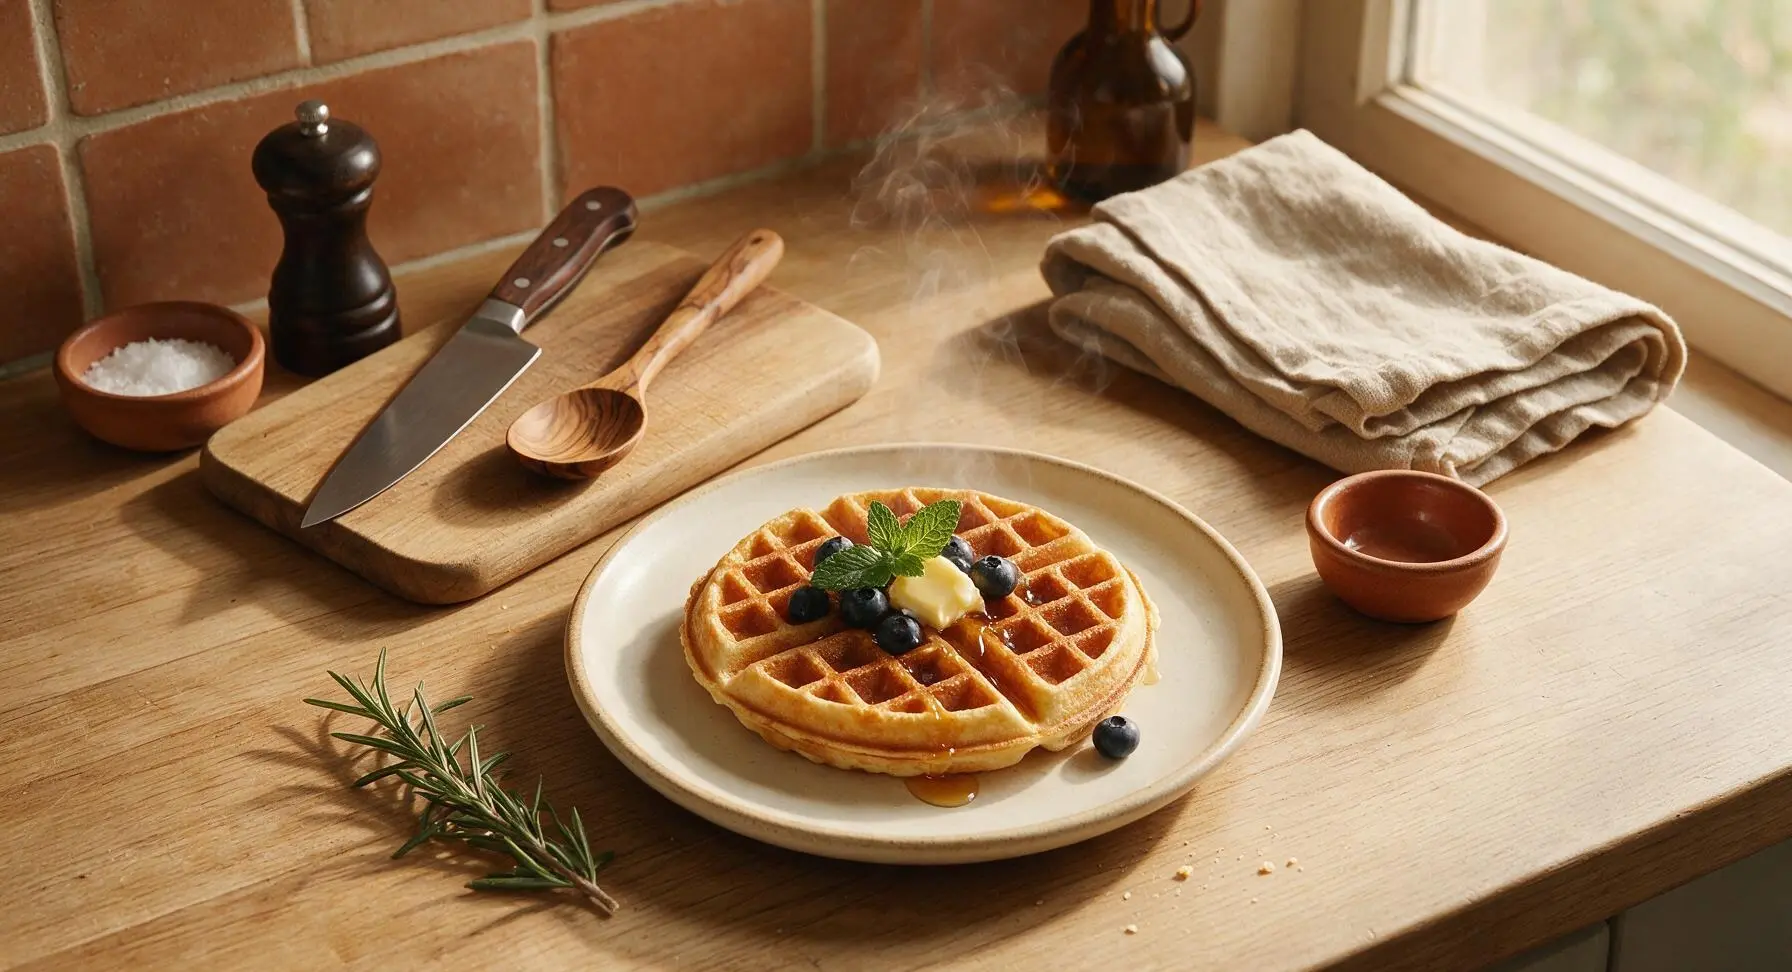
Fluffy, crisp-edged single-serving waffle mixed in minutes with zero leftover batter — a quick, cozy solo meal perfect for customizing with your favorite toppings.
Ingredients
Steps
Mix Dry Ingredients
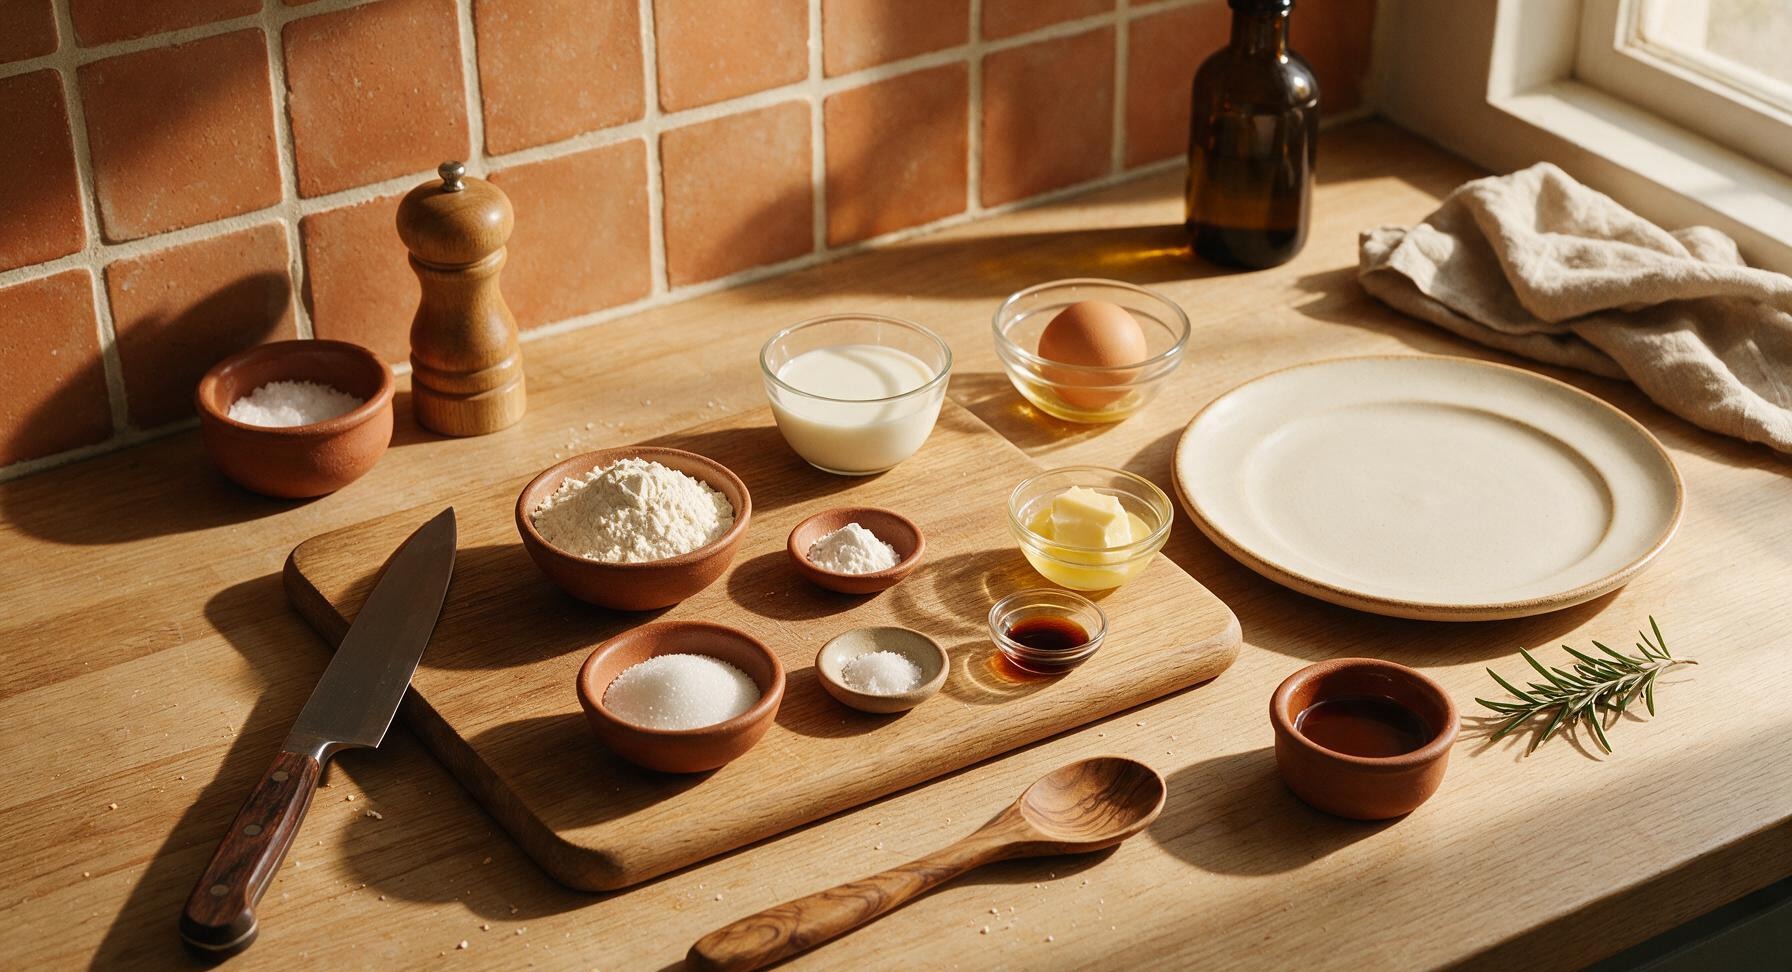
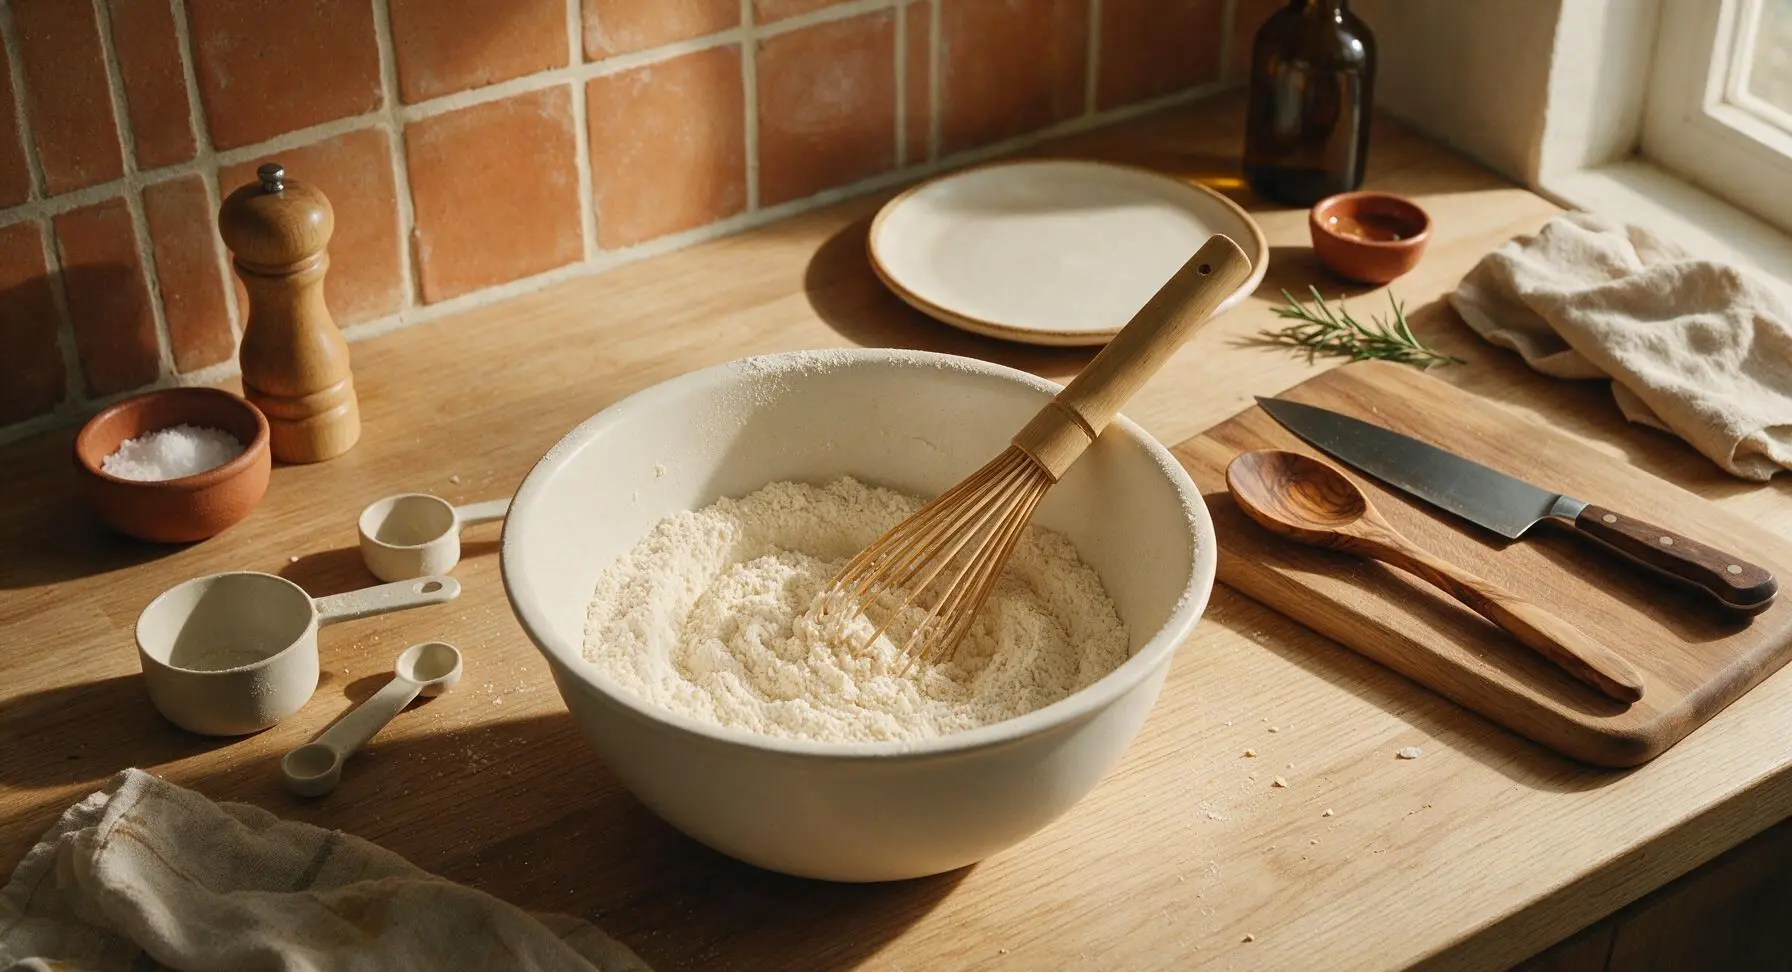
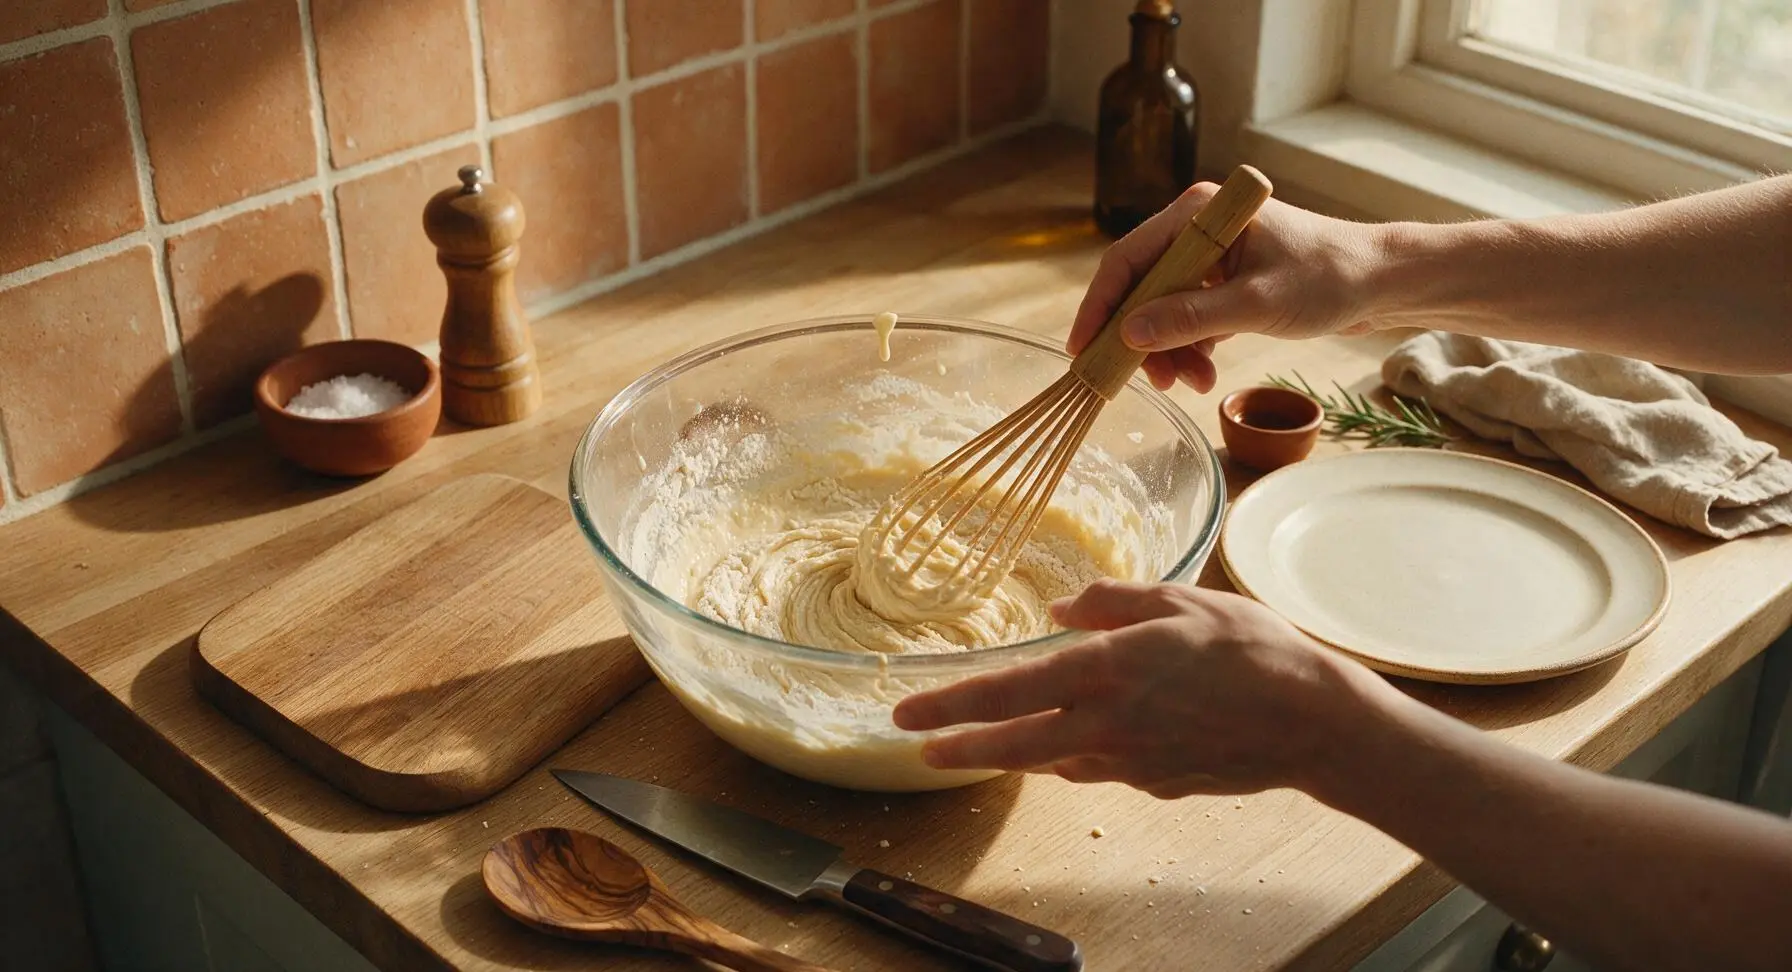
Place the matte white mixing bowl at center counter. Add 1/3 cup all-purpose flour, 3/4 tsp baking powder, 1 tbsp granulated sugar, and 1/8 tsp fine sea salt to the bowl. Use the bamboo whisk to stir the dry ingredients for 30 seconds until fully combined, with no clumps of baking powder visible. The mixture should be a uniform pale off-white color.
Add Wet Ingredients
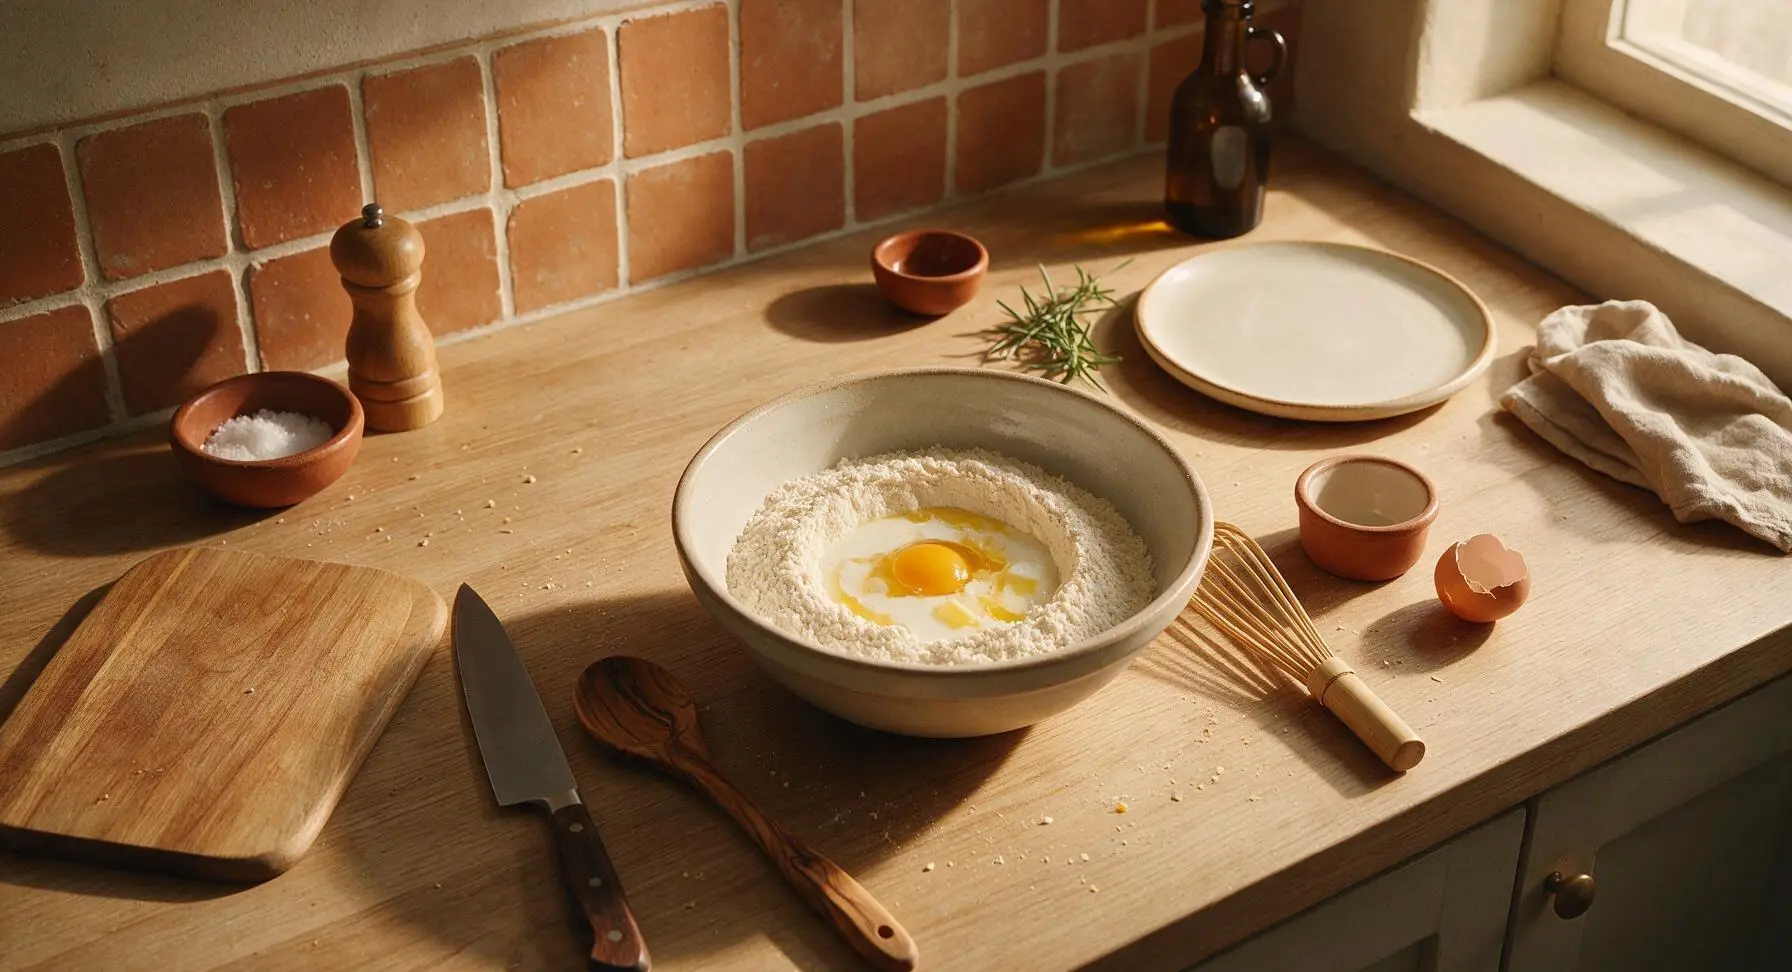
Make a small well in the center of the dry ingredient mixture. Crack 1 large egg into the well, then pour in 1/2 cup whole milk, 1 tbsp cooled melted butter (reserved in the terracotta ramekin), and 1/4 tsp vanilla extract. Take care not to slosh ingredients over the bowl edge as you add them.
Whisk Batter Smooth
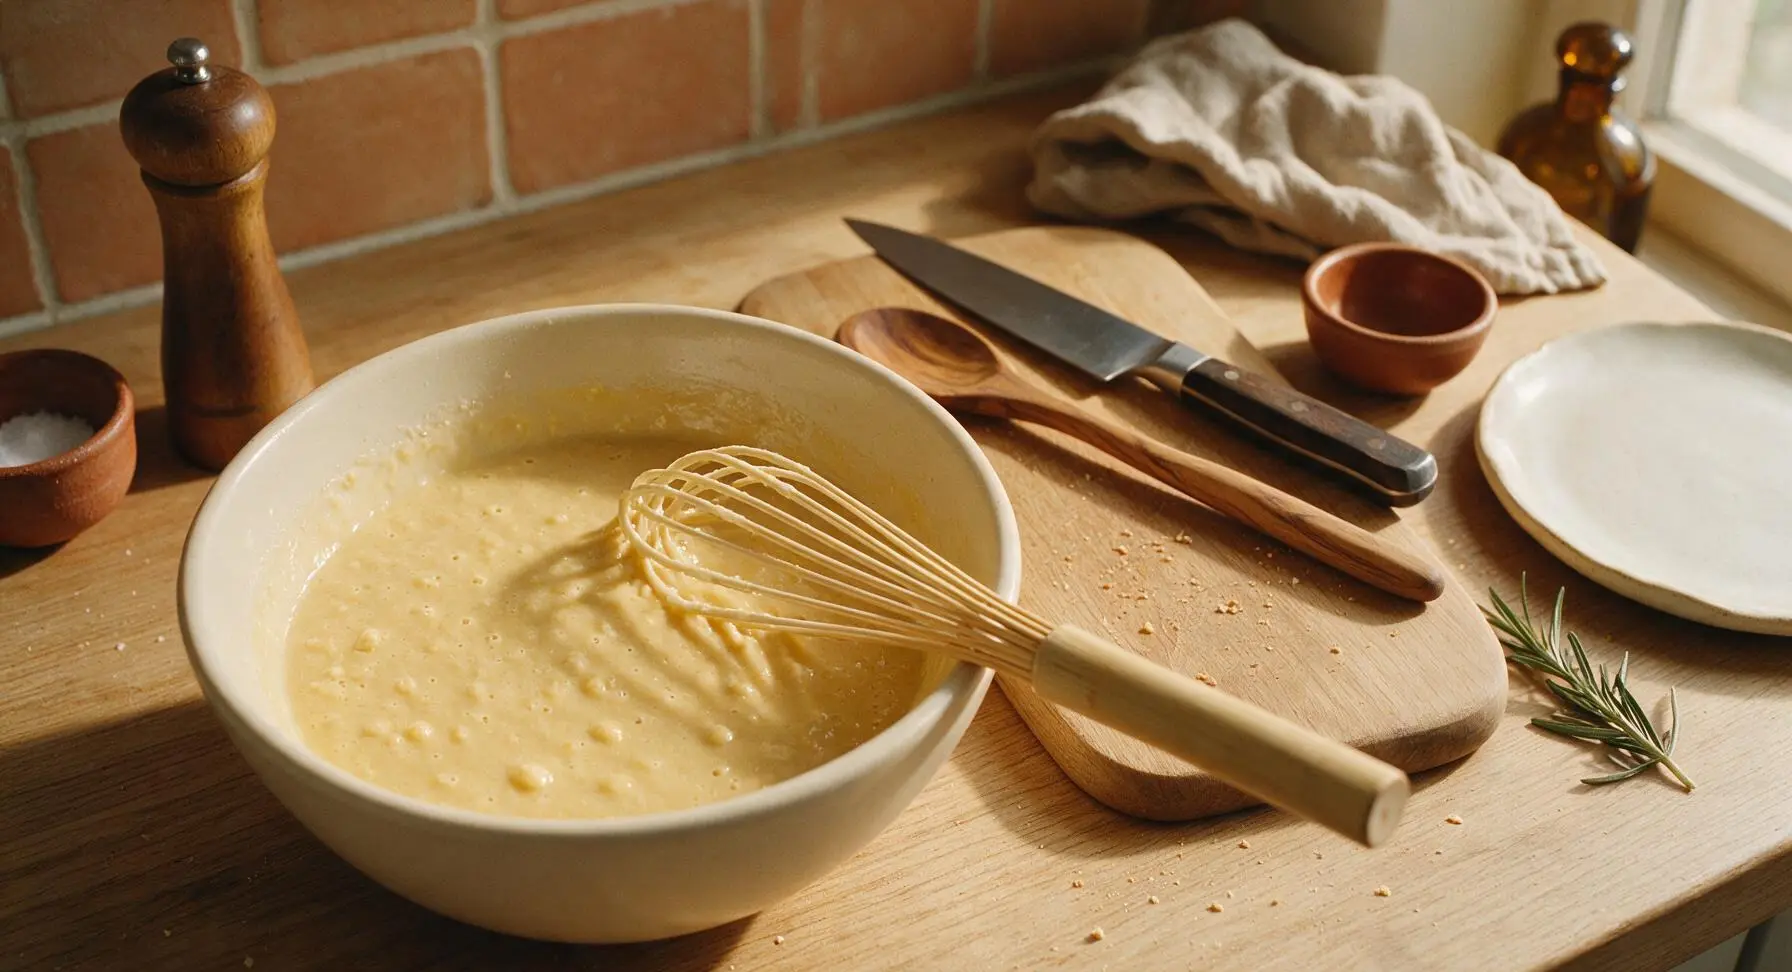
Use the bamboo whisk to stir the wet and dry ingredients together in slow, circular motions, scraping the sides and bottom of the bowl to catch any hidden dry flour. Mix only until just combined — small lumps in the batter are normal and desirable; overmixing will create tough, dense waffles. The finished batter should be thick but pourable, with a consistency similar to heavy cream, and take about 45 seconds of mixing total.
Preheat Waffle Iron
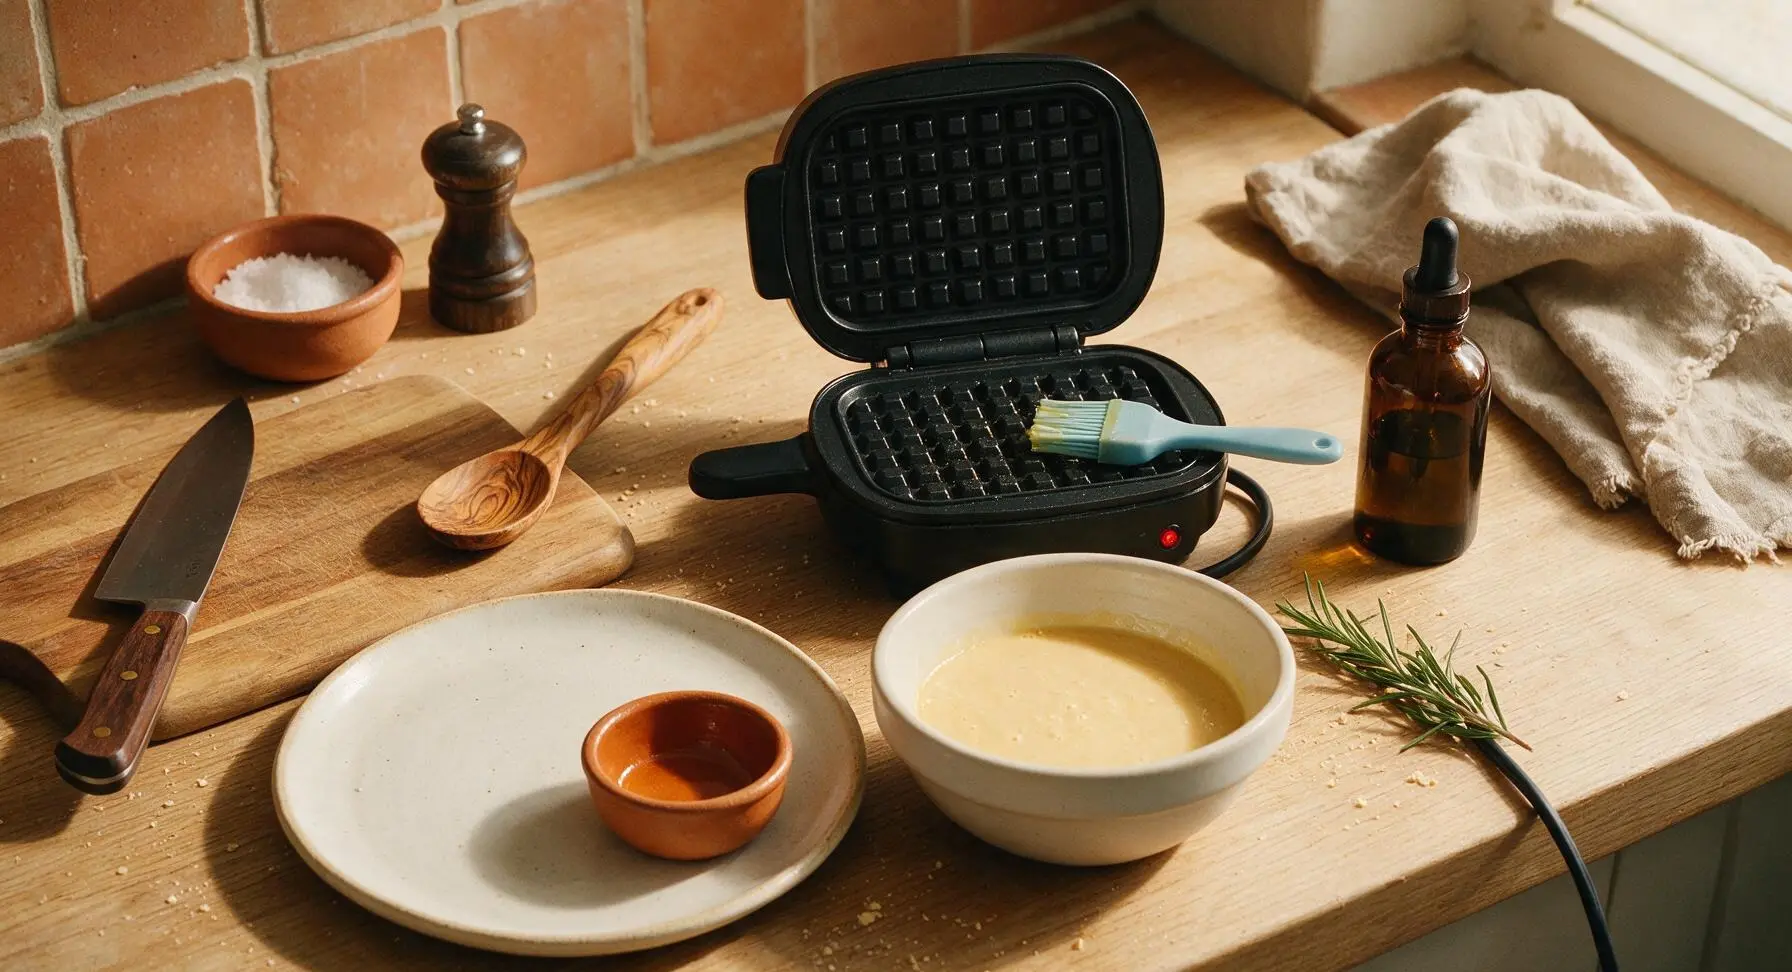
Retrieve the compact matte black mini waffle iron from the under-counter cabinet, place it at center back counter, and plug it in to preheat for 2 minutes, or until the indicator light shows it has reached 400°F (200°C). Use the light blue silicone basting brush to lightly coat the top and bottom cooking surfaces with a thin layer of leftover melted butter from the ramekin to prevent sticking.
Cook the Waffle
Pour all of the batter directly into the center of the preheated, greased waffle iron cooking surface. Close the lid and cook for 3 full minutes, without opening the lid to check, until the waffle is deep golden brown and crisp on the outside. Resist the urge to press the lid down during cooking, as this will squeeze out trapped air and create a dense waffle.
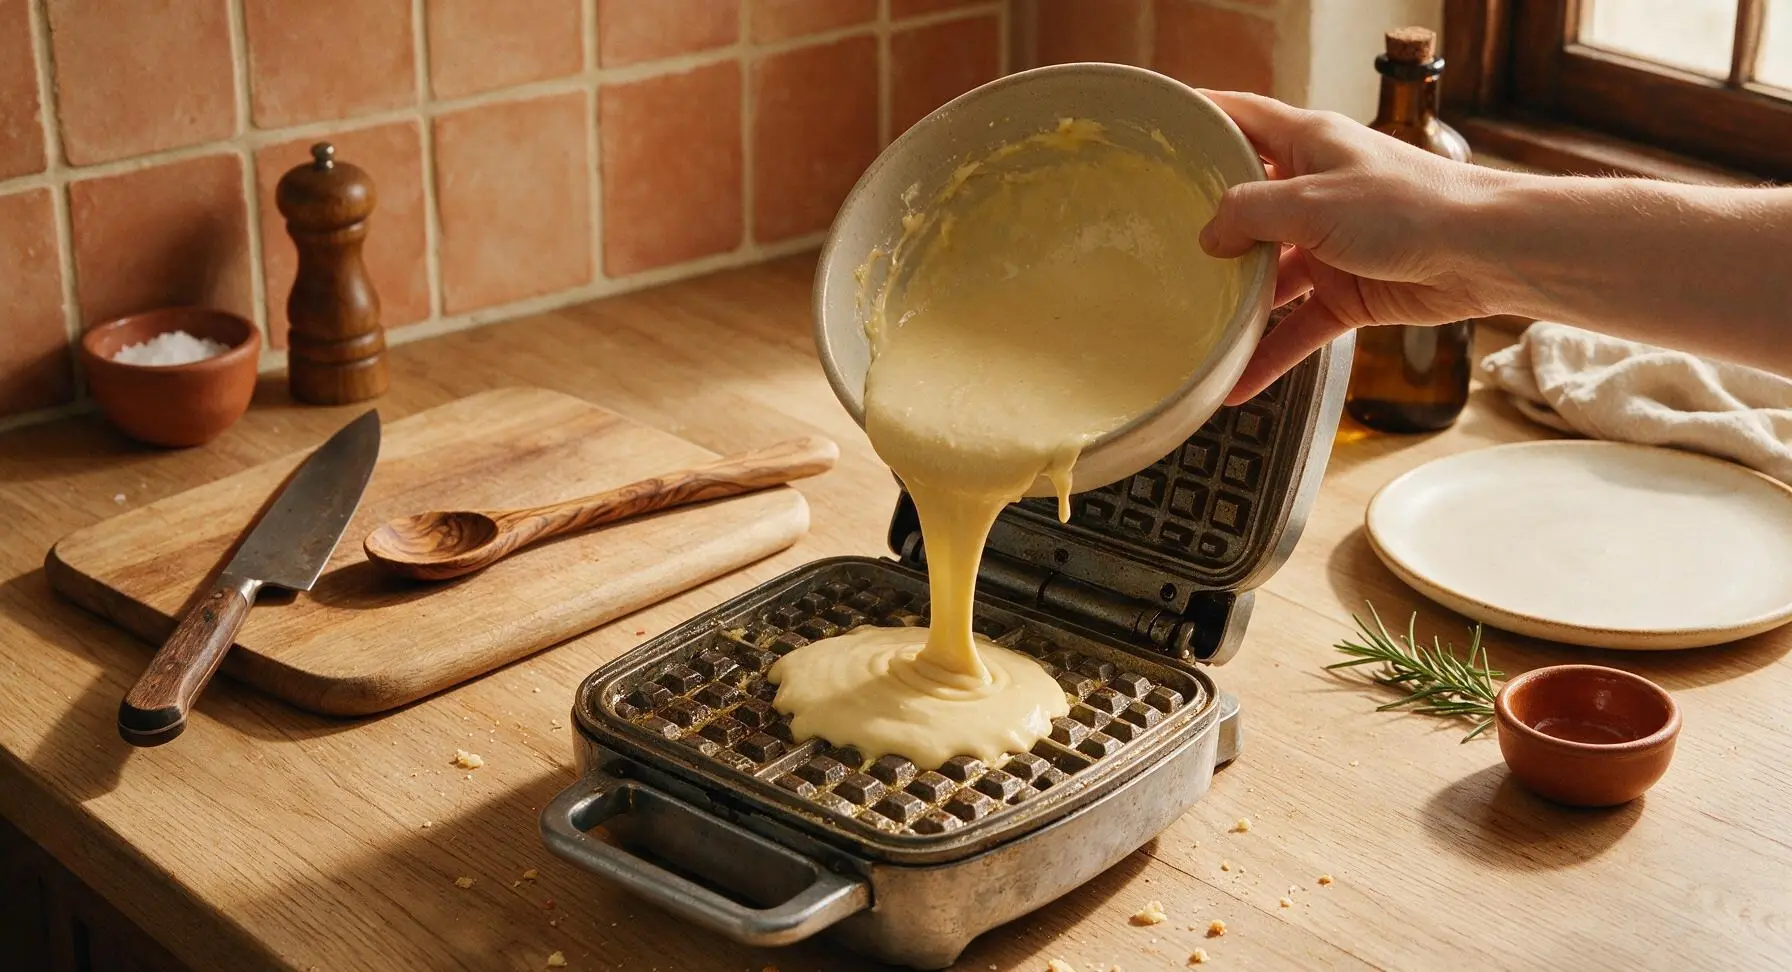
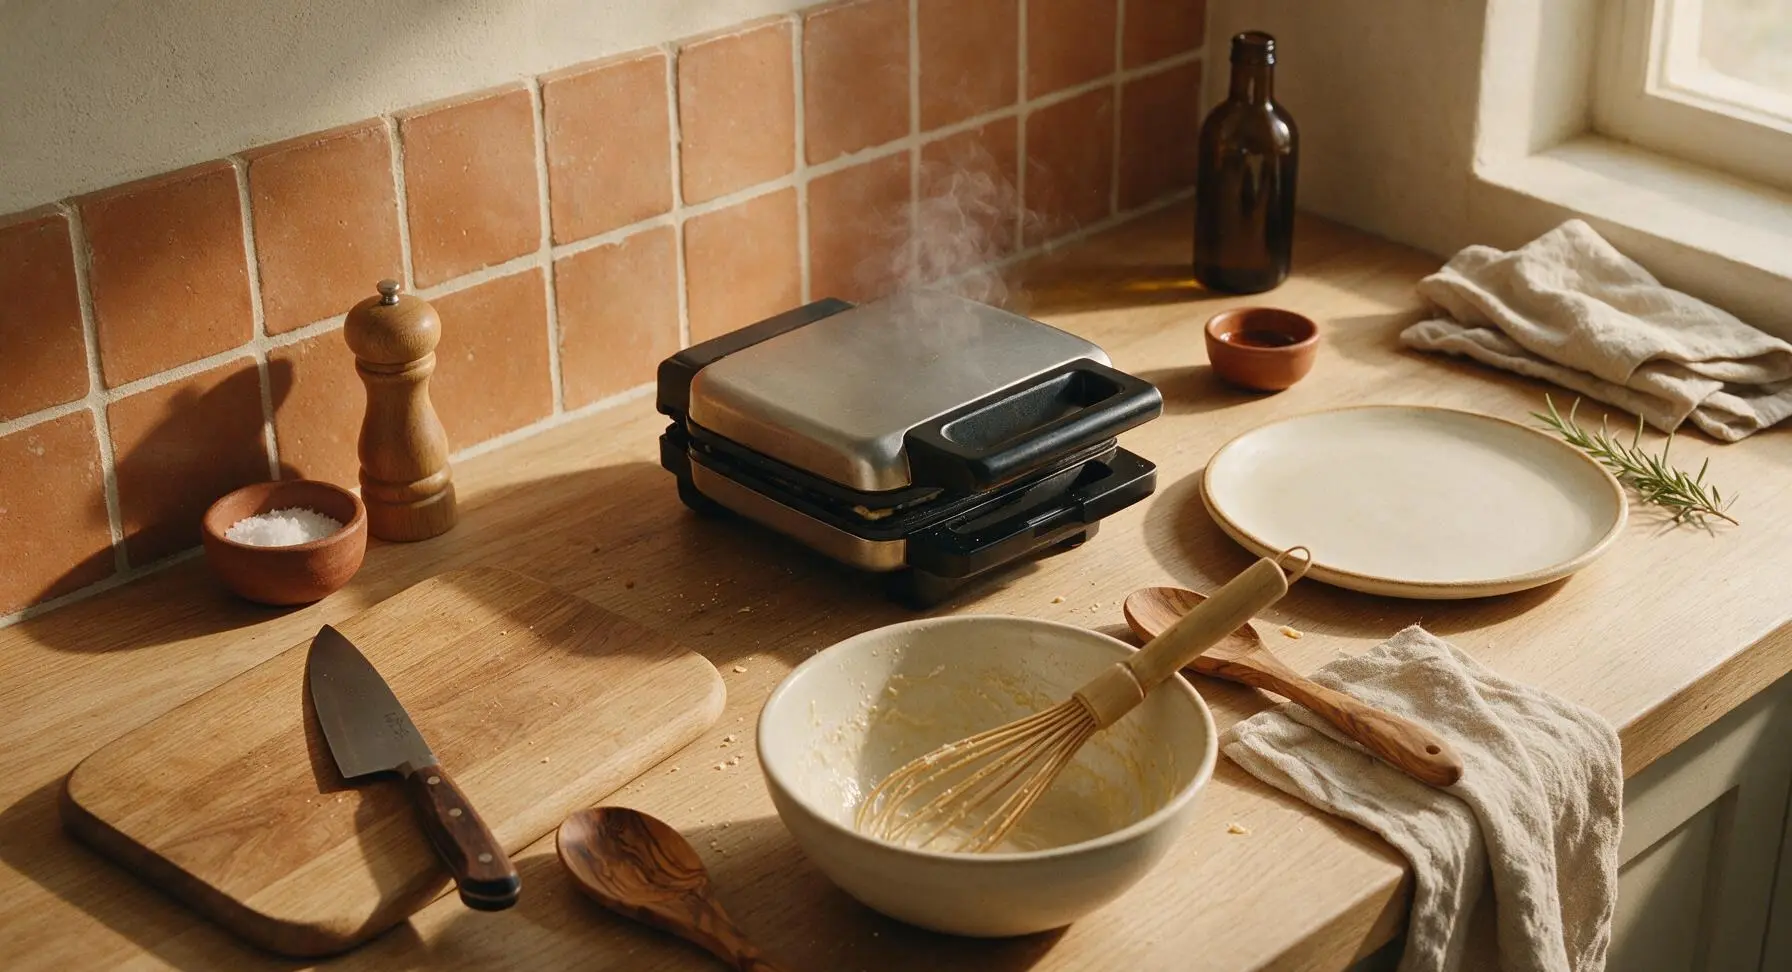
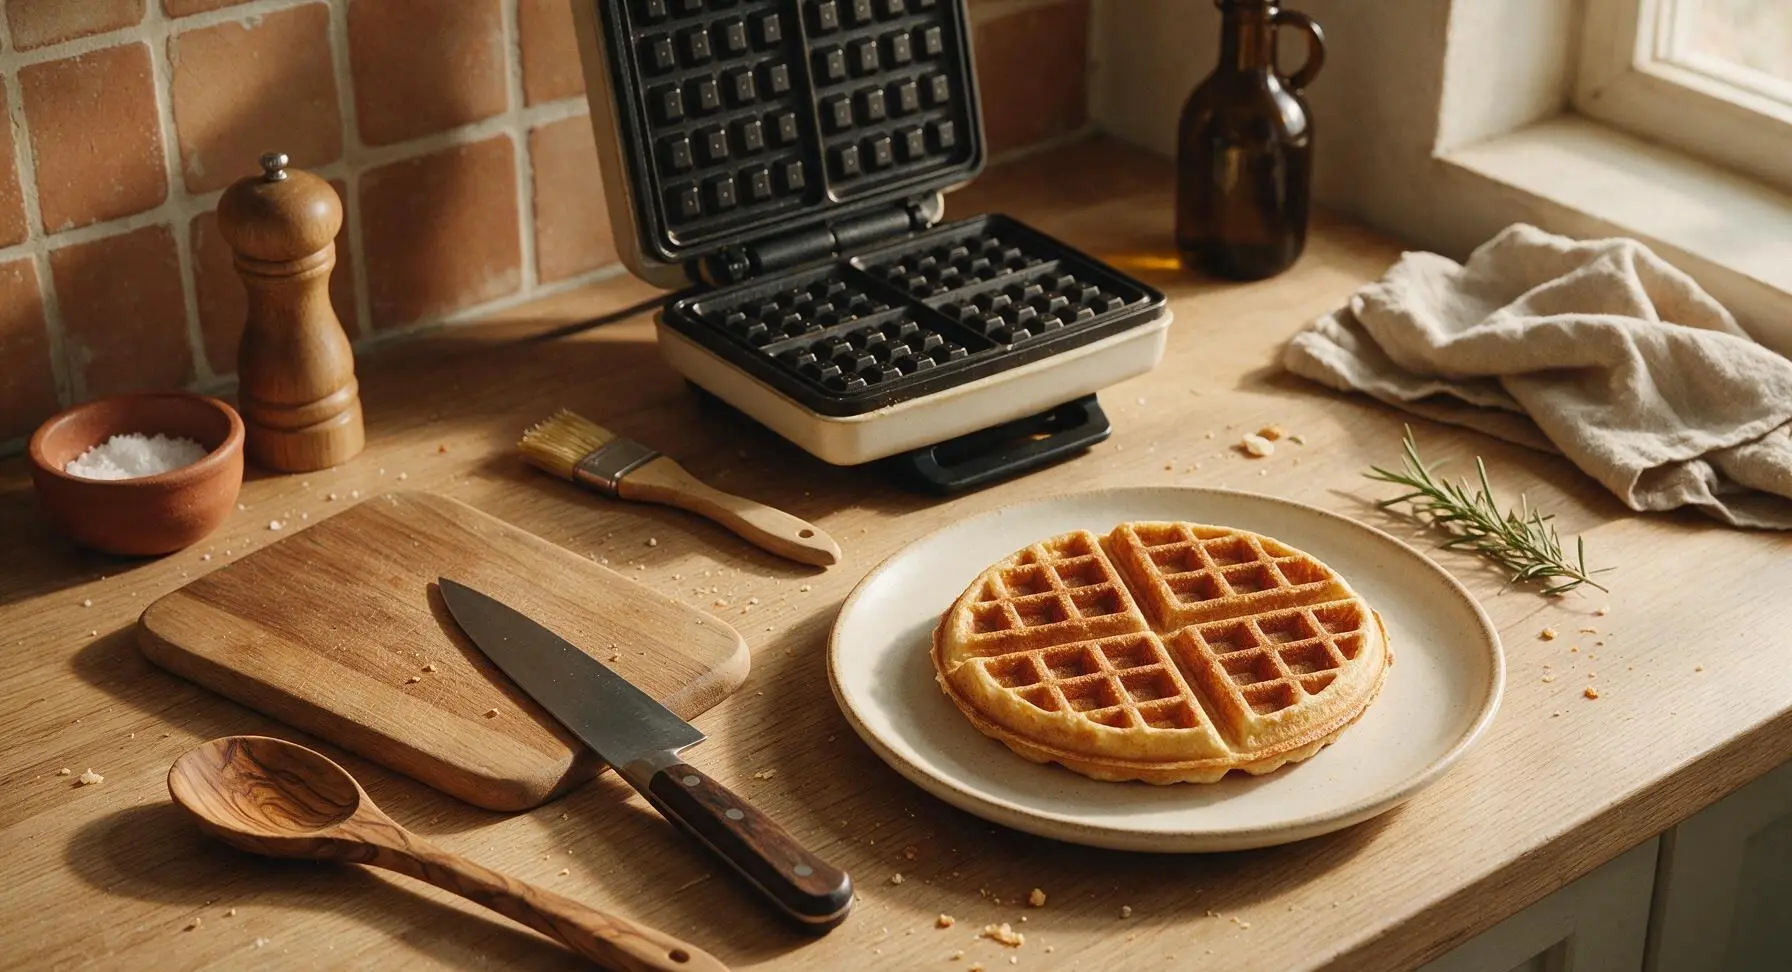
Plate Fresh Waffle
Retrieve the matte cream ceramic dinner plate from the open back shelf, place it at front right counter. Carefully open the waffle iron lid once the 3-minute cook time ends, and gently lift the edge of the cooked waffle with the wooden handle of the basting brush to transfer it directly to the center of the waiting plate. The waffle should be deep golden, with crisp defined grid lines, and release easily from the nonstick surface if properly greased.
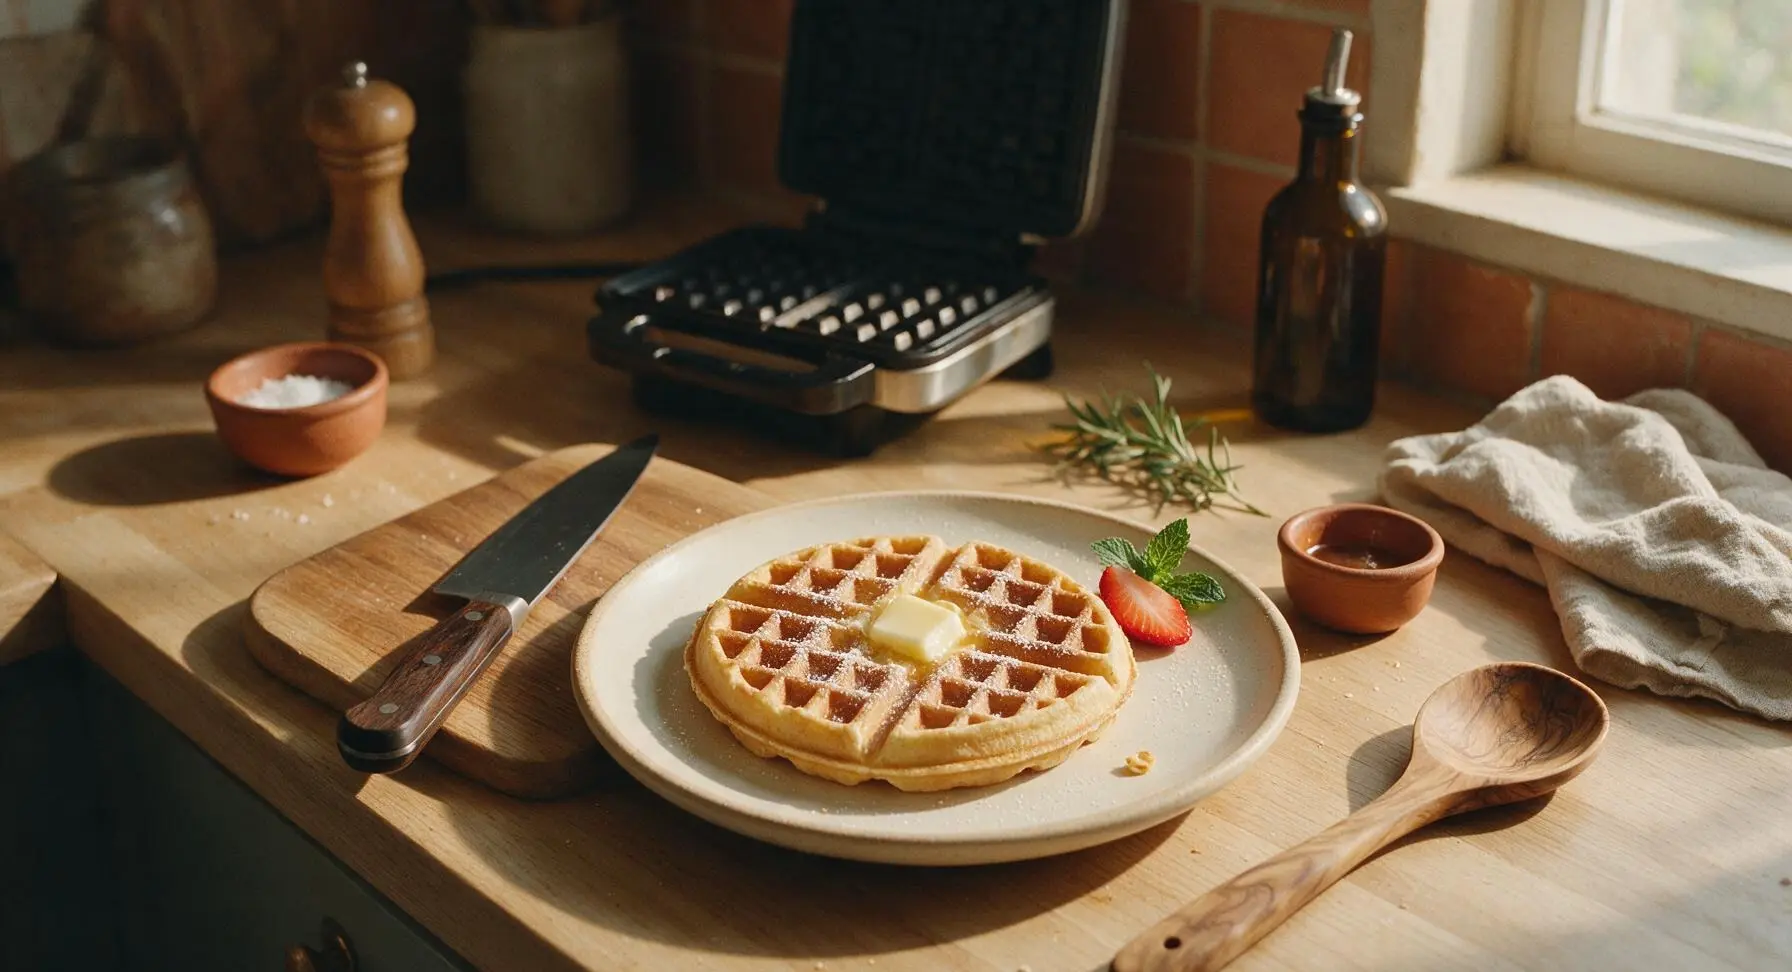
Add Finishing Toppings
Top the warm waffle with a tiny pat of leftover butter, allowing it to melt into the grid lines. Add a light dusting of powdered sugar, one thin slice of fresh strawberry, and a tiny sprig of mint for garnish, if desired. Serve immediately while hot and crisp, as waffles lose their crunch quickly as they cool.
Tips
2.Let melted butter cool for 2 minutes before adding it to the batter: hot butter will partially cook the raw egg when poured in, creating tiny lumpy scrambled egg bits in your waffle instead of a smooth, even batter.
3.Resist opening the waffle iron before the full 3-minute cook time elapses: peeking early will cause the partially set waffle to split and stick to the plates, and will release trapped steam that is critical for creating a fluffy interior and crisp, golden exterior.






OMG this is such a game changer! I live alone and always hated making a huge batch of waffle mix that goes to waste before I can use it. Took literally 5 minutes to throw together, cooked up perfectly crispy on the edges, fluffy in the middle. Drizzled a little maple syrup and some fresh strawberries on top, chef’s kiss.
SO good! I was skeptical a single-serve waffle would actually be filling enough for my teen son’s after-school snack, but he ate it in 2 minutes and asked if I could make another. Super easy, no fancy ingredients, I already had everything in my pantry. Will be keeping this recipe saved for busy school mornings!
Perfect quick weekday breakfast! I don’t have a ton of time to cook before my early shift at the hospital, so this is ideal. I mix in a handful of chocolate chips right before pouring it in the waffle iron and it tastes like a treat, not a sad rushed meal. No waste, no cleanup, 10/10.
Absolute lifesaver for my tiny college dorm kitchen! I don’t have space to store big boxes of waffle mix, and I can make this with the tiny mini waffle maker I brought from home. Tastes way better than the dining hall waffles, no cap.
I was today years old when I realized I didn’t have to make a whole tub of waffle mix for one waffle. This is perfect for busy work mornings – I can make it fresh each time without the hassle of storing leftover mix! I’ve been topping it with a scoop of peanut butter for extra protein, which keeps me full straight through my back-to-back morning meetings.
So happy this works with my 1:1 gluten free flour blend! I’ve tried so many single-serve waffle recipes that turn out gummy or crumbly, but this one had the exact right texture. Crisp outside, soft inside, no weird aftertaste. Will be making this at least once a week!
Just whipped this up before my morning hike and wow, that’s so much easier than I thought! I stirred in a dash of cinnamon and some chopped pecans, and it cooked up perfectly in 5 minutes flat. Way better than grabbing a sad gas station pastry, and cleanup is basically nothing. Only knocking off one star because I wish it made a slightly bigger waffle for my long trail days, but that’s just my giant hiker appetite talking!