
waffle mix near me
intro
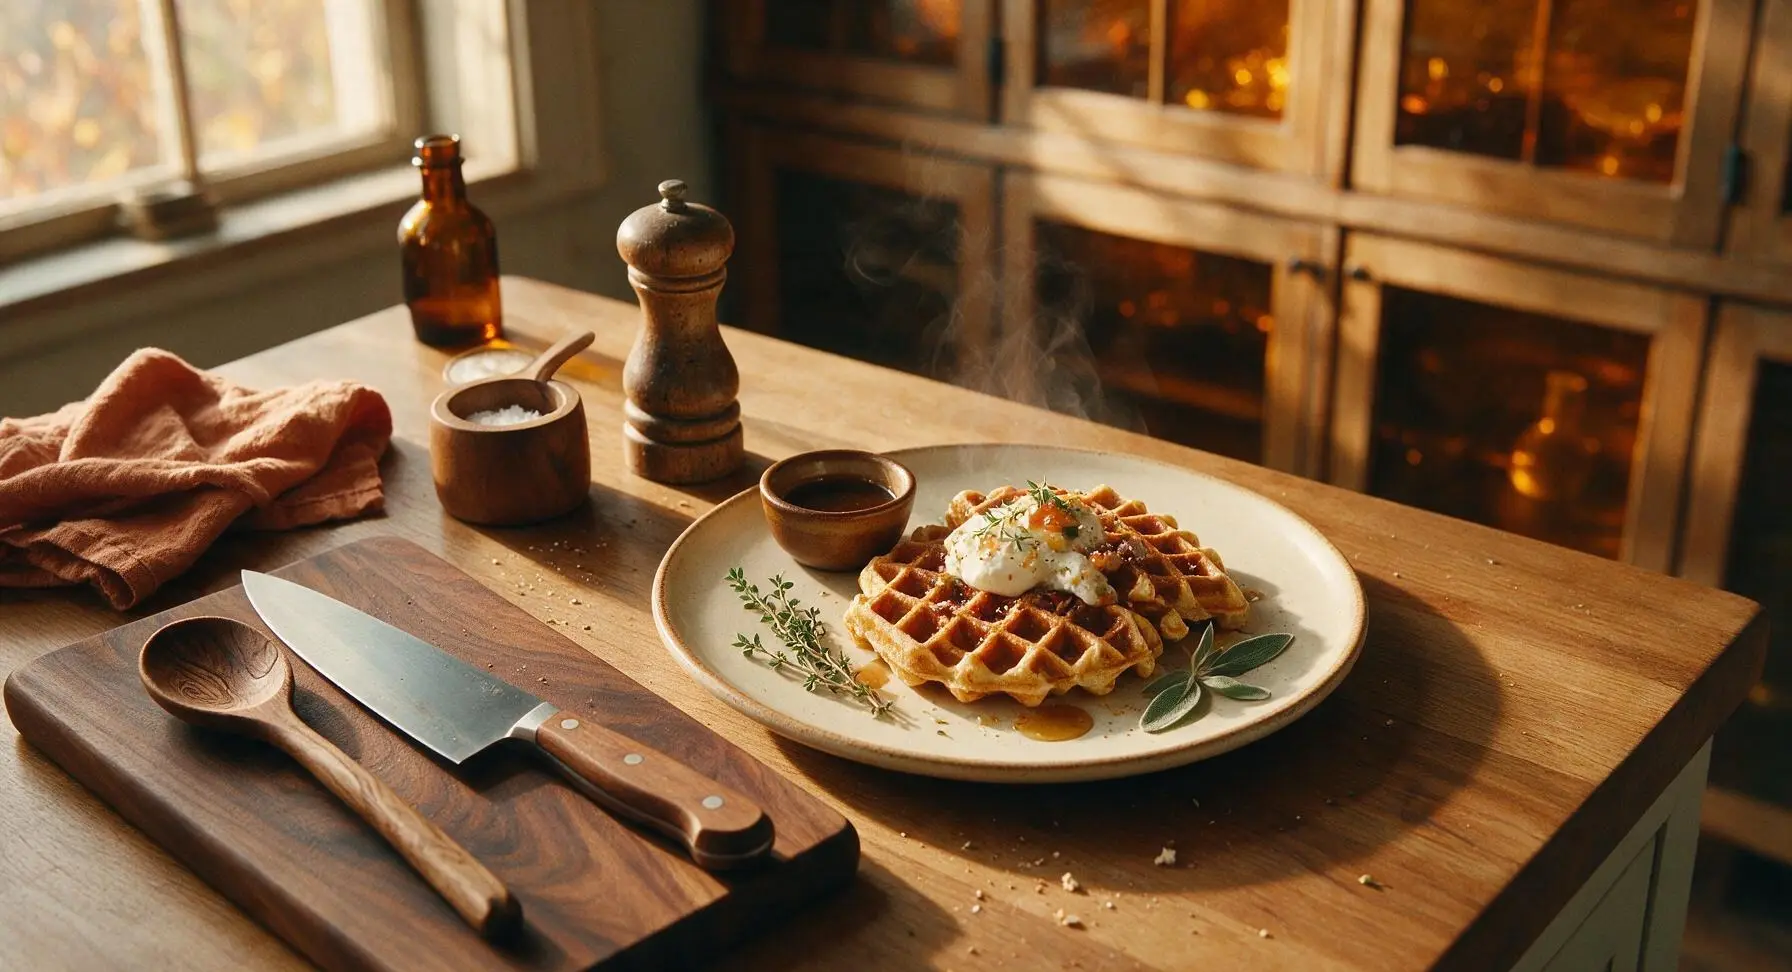
Skip the last-minute search for store-bought waffle mix near you. This shelf-stable homemade blend makes crisp, fluffy waffles in minutes for fast, cozy meals.
Ingredients
Steps
Measure Dry Mix Ingredients
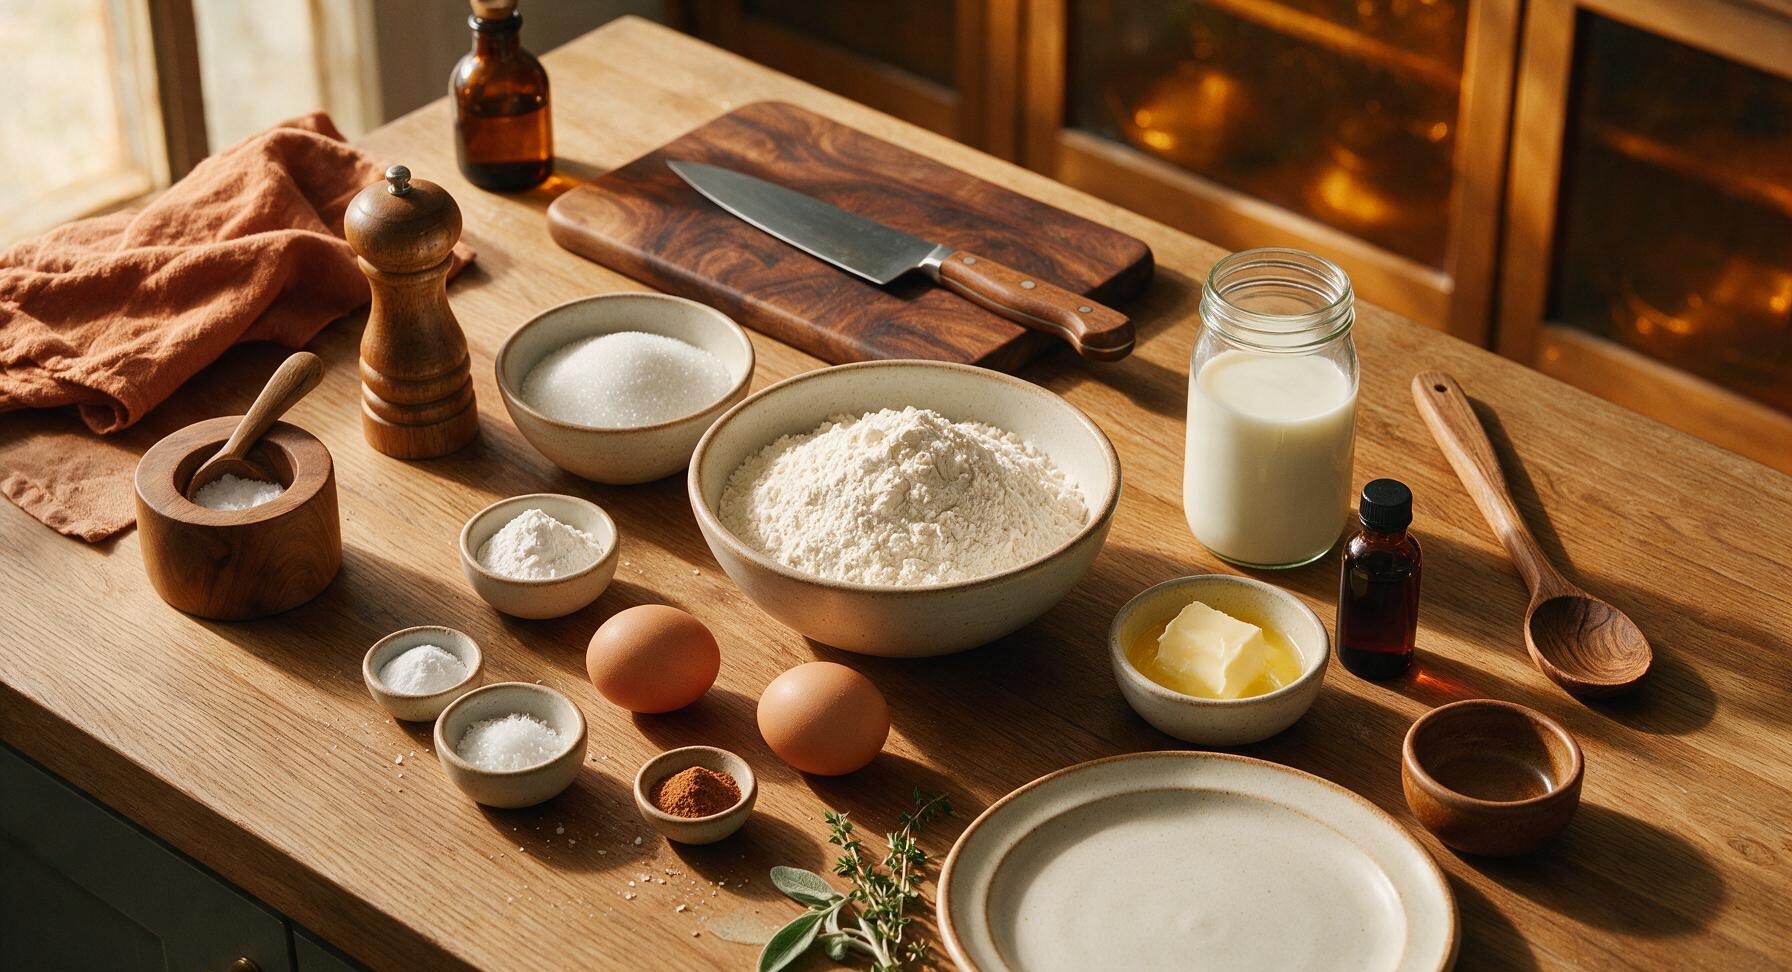
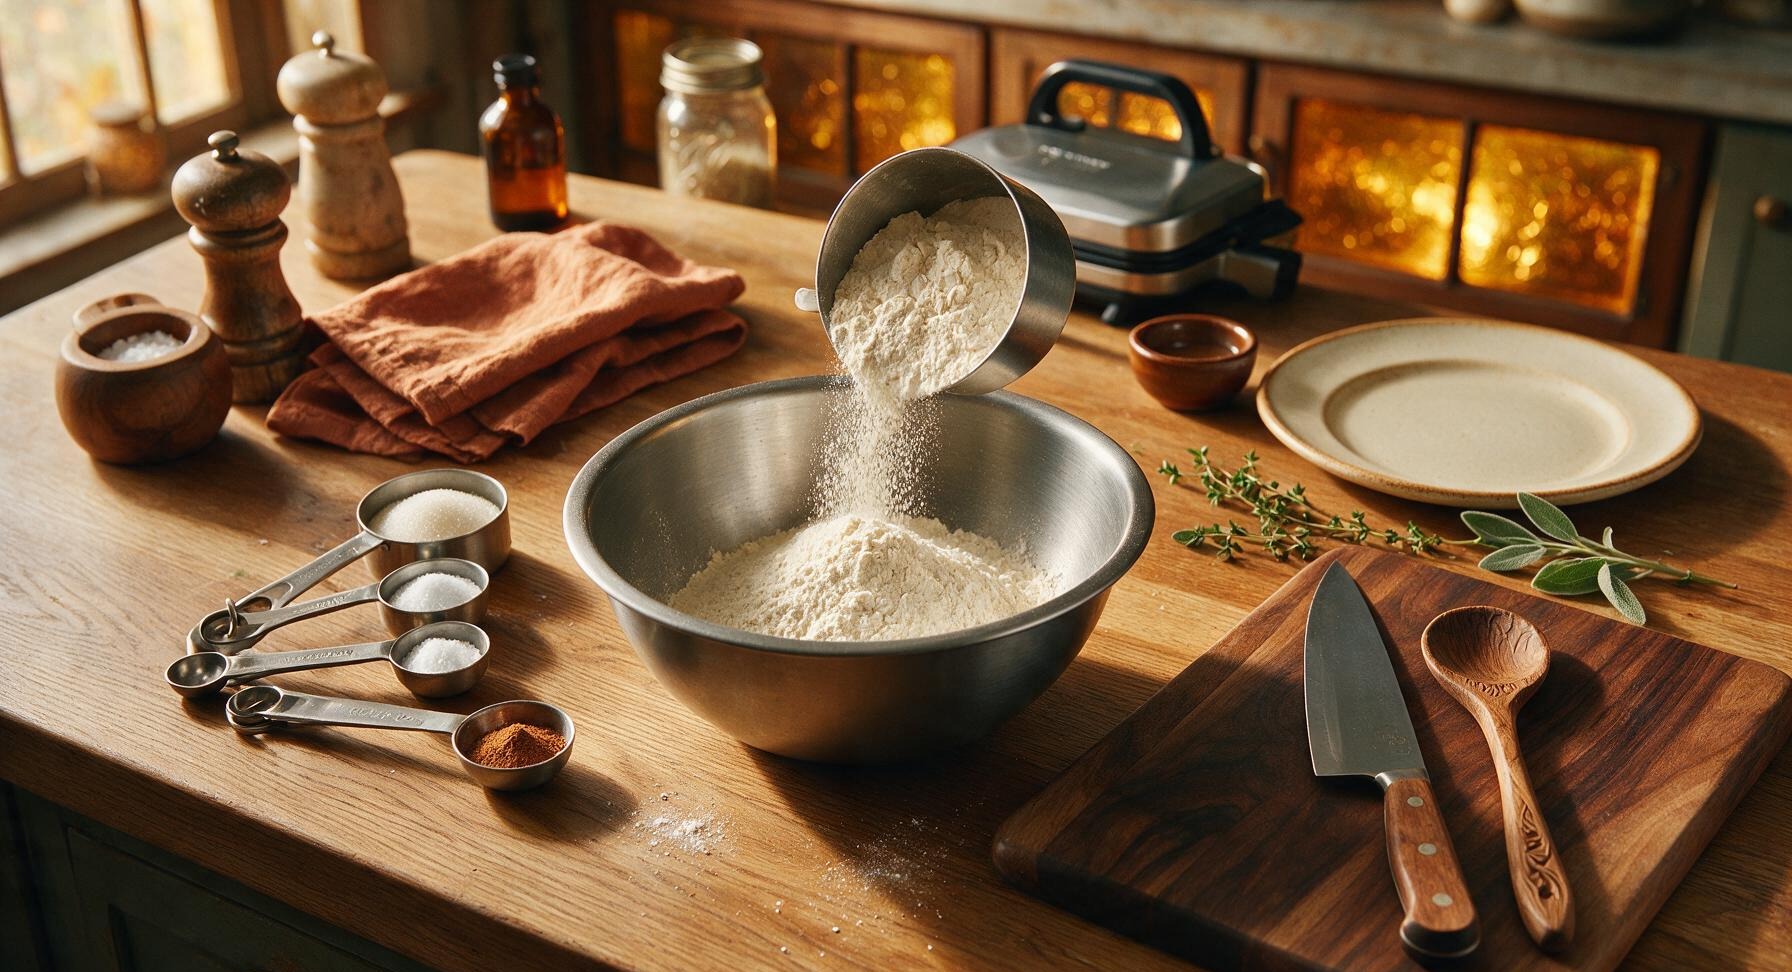
Using the matte stainless steel measuring cups and spoons, portion 300g (2 cups) all-purpose flour, 25g (2 tbsp) granulated sugar, 14g (1 tbsp) baking powder, 5g (1 tsp) baking soda, 5g (1 tsp) fine sea salt, and 1g (1/2 tsp) ground cinnamon directly into the centered stainless steel mixing bowl. Double-check leavening measurements to ensure consistent, even rise for every batch of waffles.
Whisk to Combine Mix
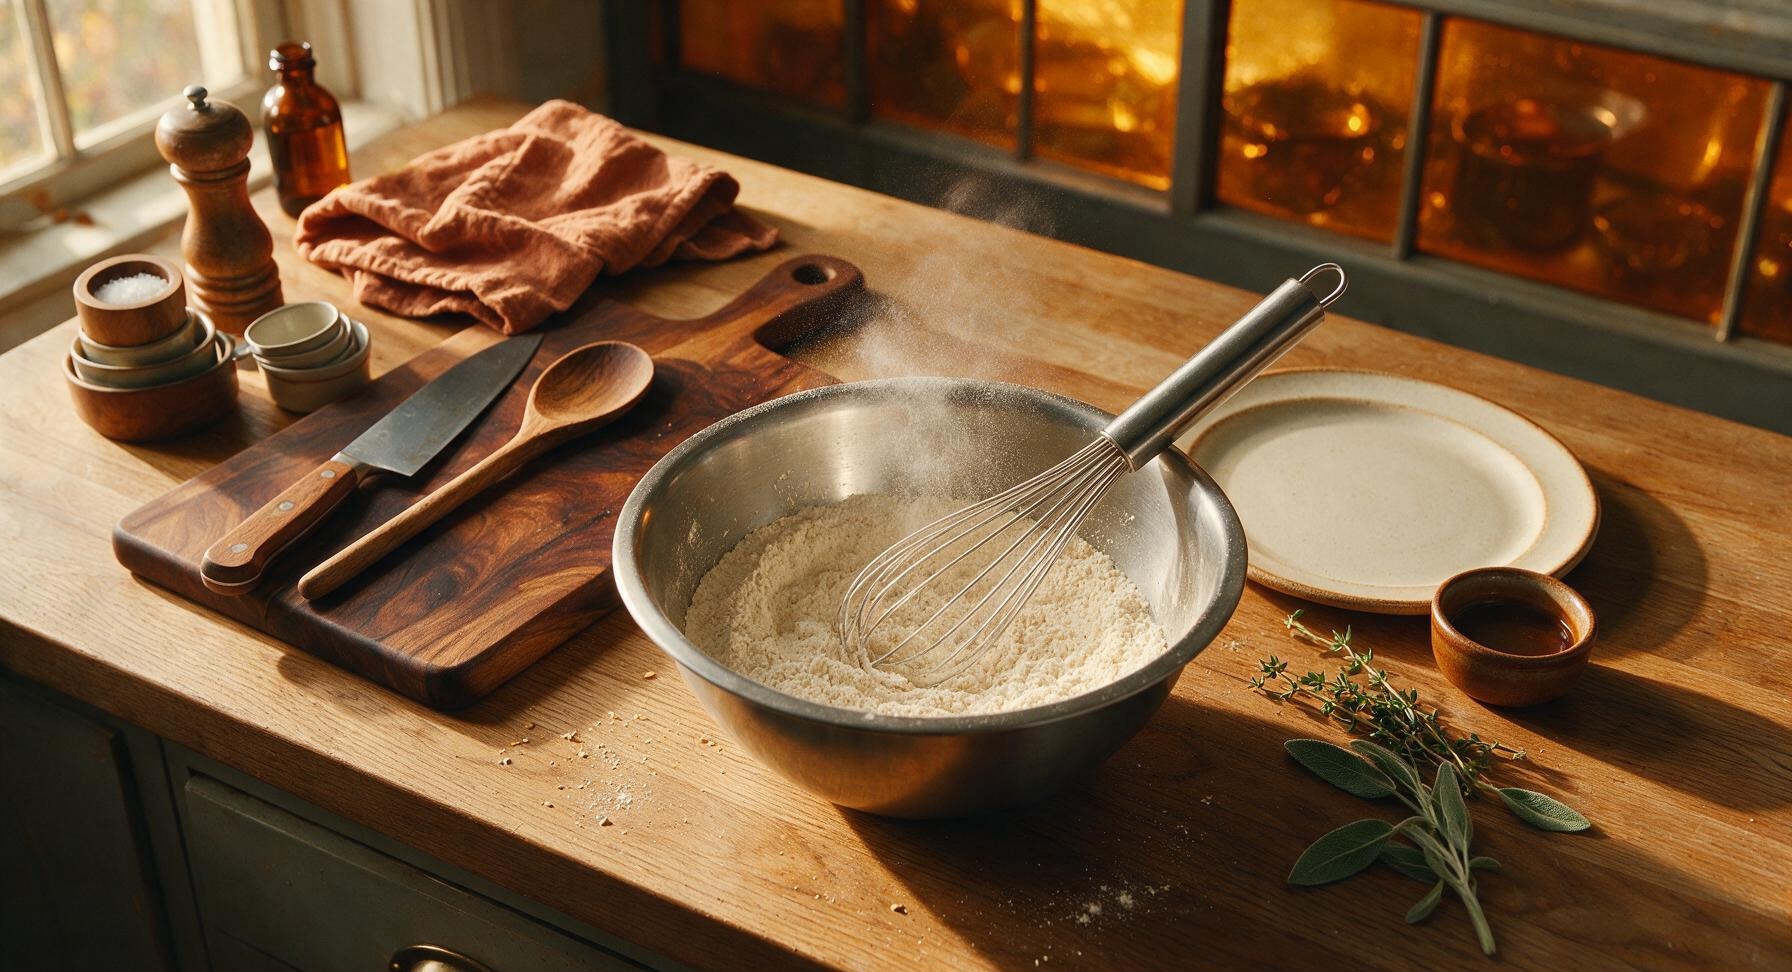
Use the stainless steel wire whisk to stir all dry ingredients together for 45-60 seconds, until the mixture is a uniform pale cream color, with no visible clumps of baking powder or concentrated cinnamon streaks. Even mixing ensures every scoop of stored mix produces perfectly risen waffles.
Store Mix for Later
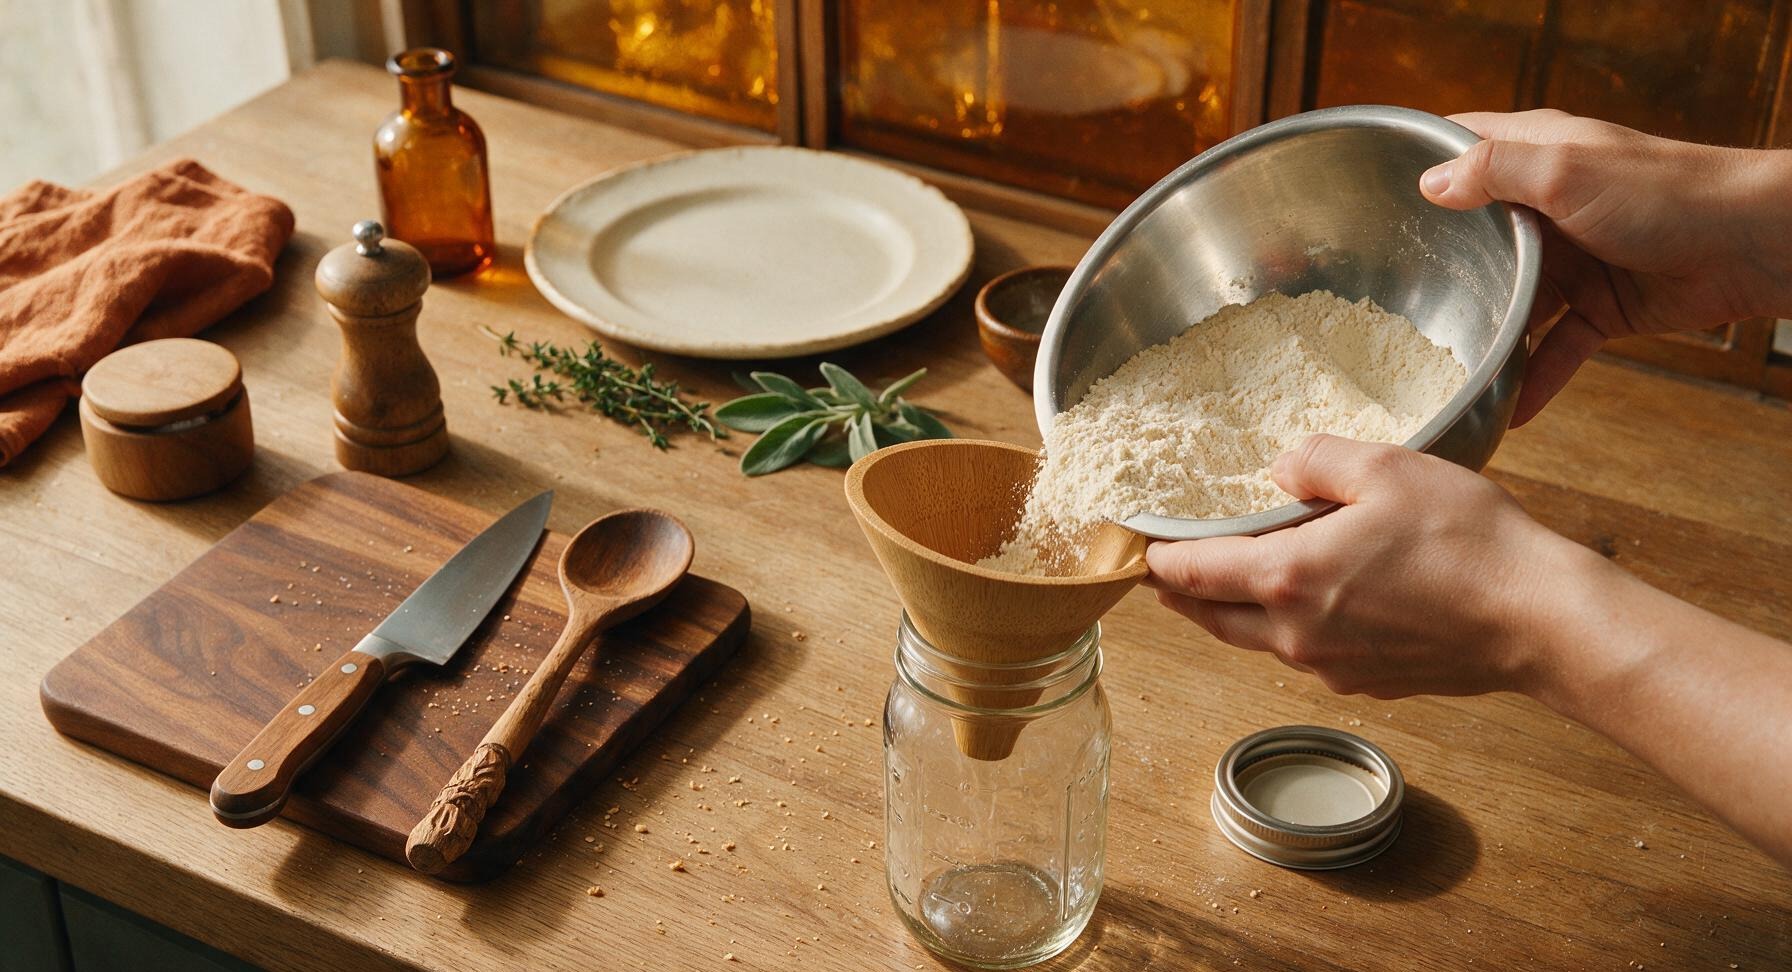
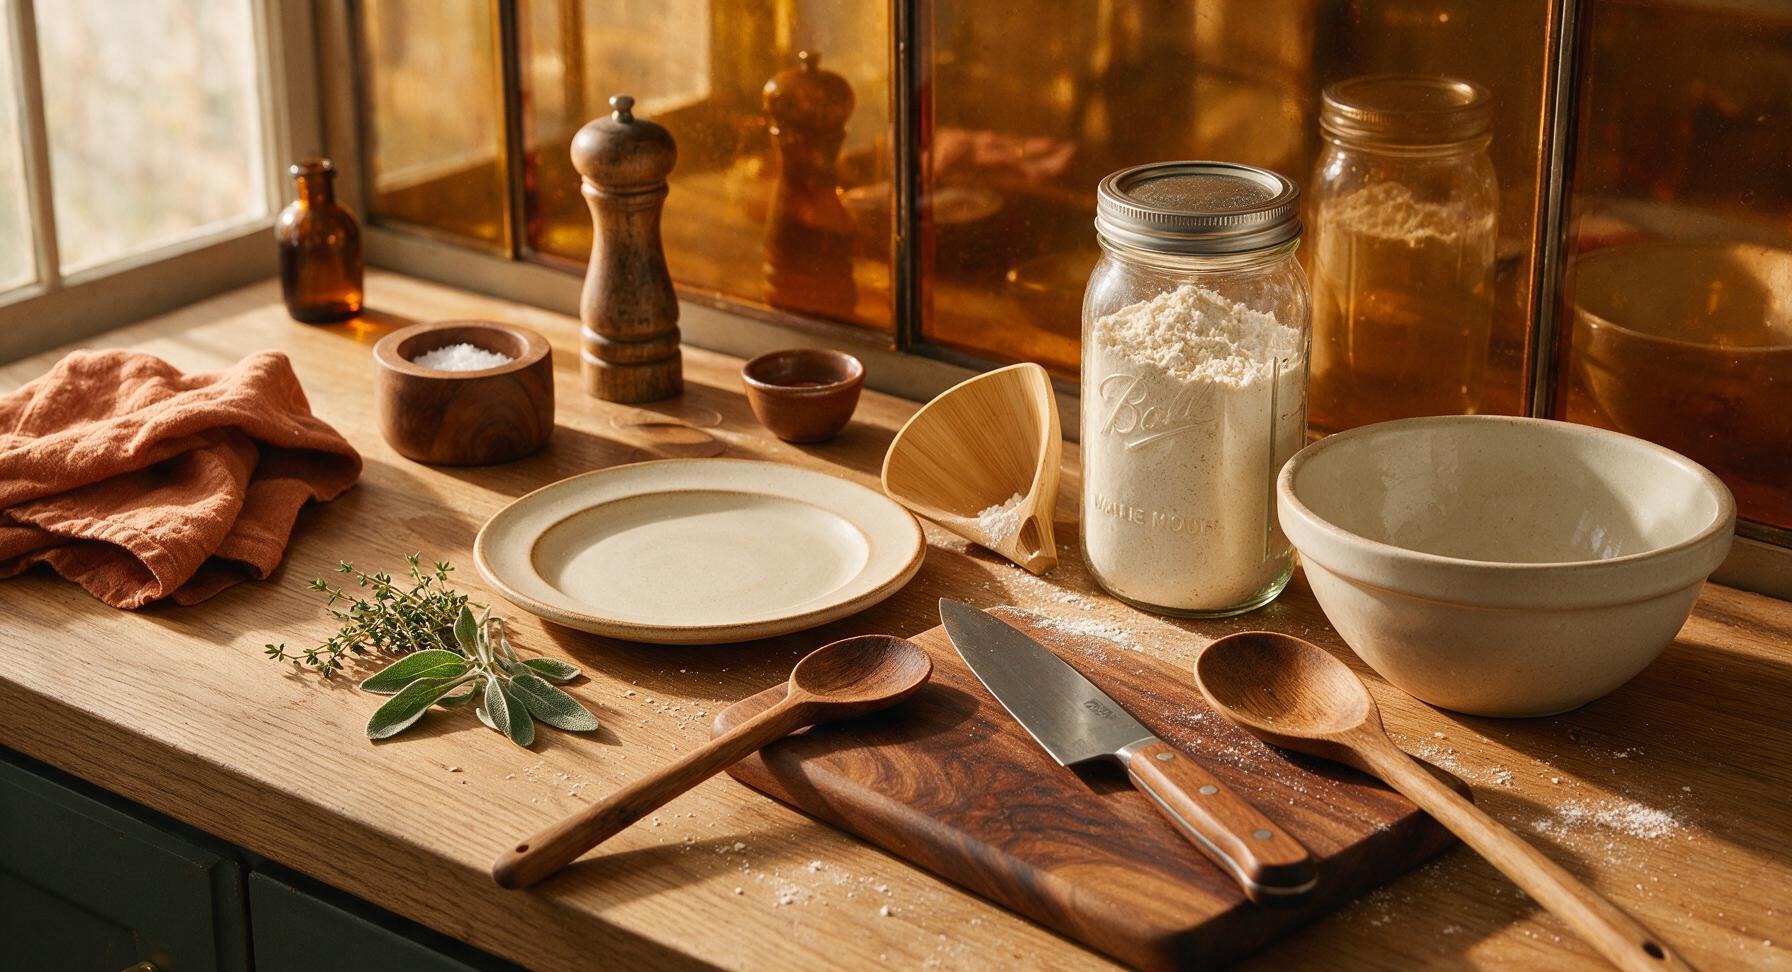
Set the natural bamboo funnel in the mouth of the 1-quart glass mason jar. Carefully pour the fully combined dry waffle mix through the funnel into the jar, then seal tightly with the silver metal lid. Stored in a cool, dark pantry, this mix stays fresh for up to 3 months, eliminating last-minute trips to search for pre-made waffle mix at nearby stores.
Prep Batter Ingredients
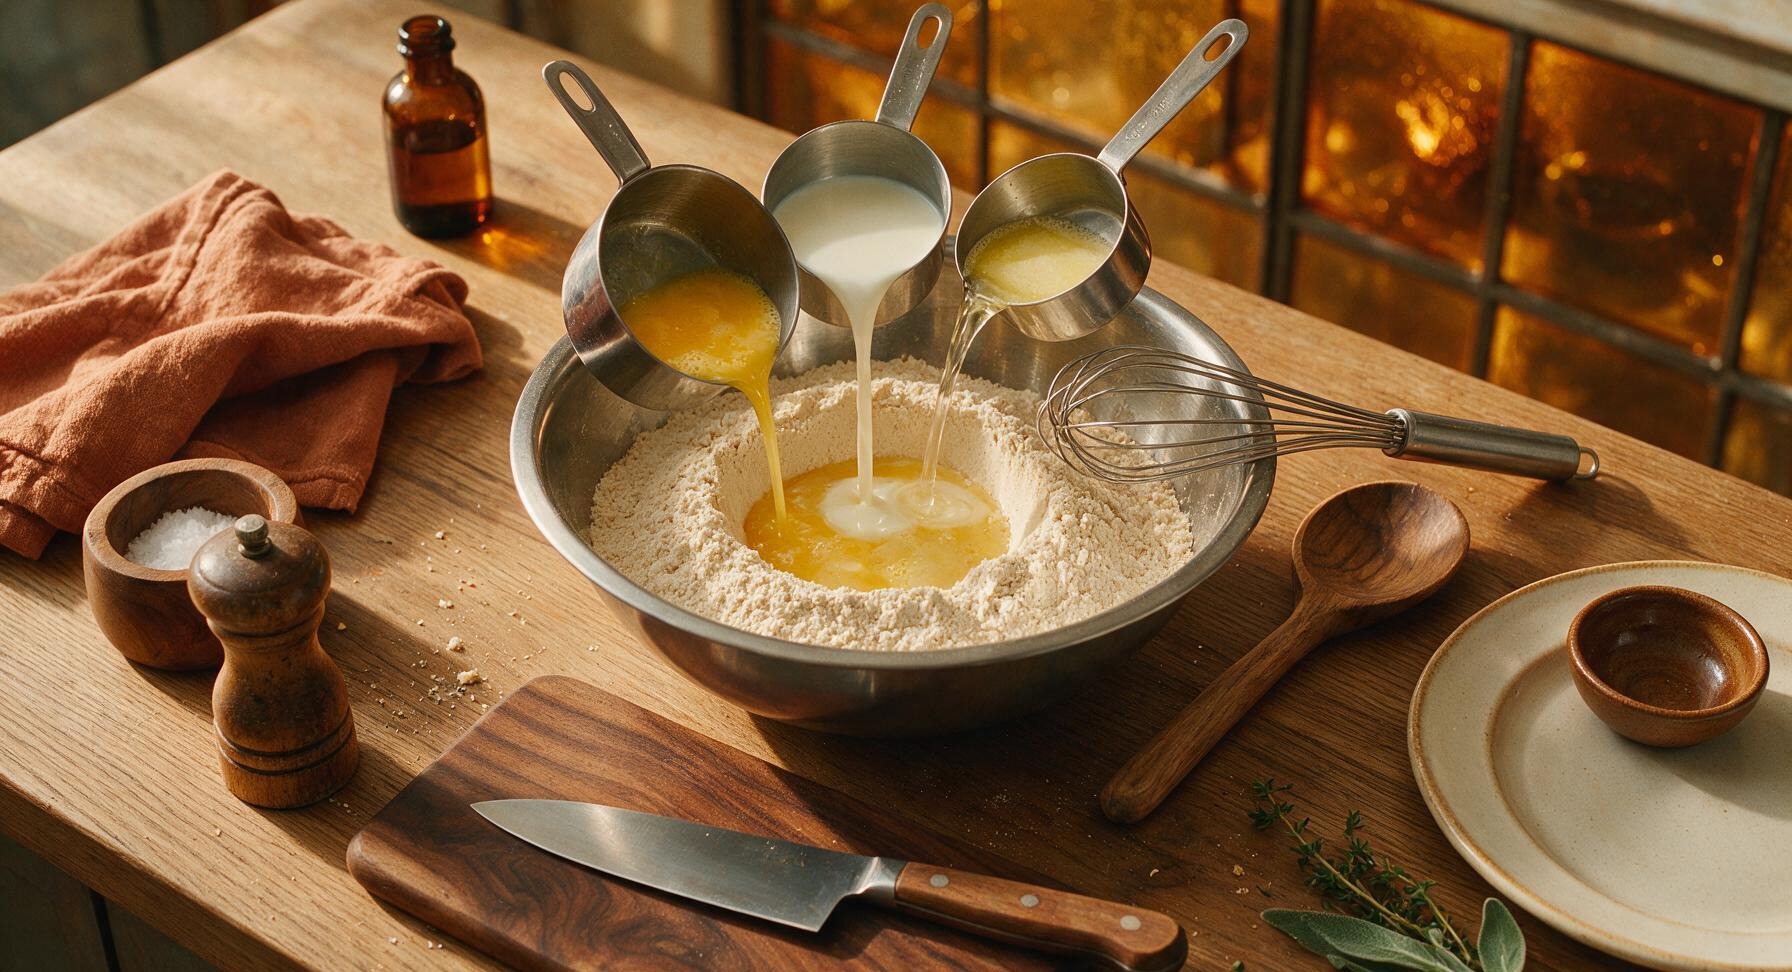
When ready to cook waffles, measure 240g (2 cups) of your stored waffle mix back into the clean stainless steel mixing bowl. Make a shallow 2-inch well in the center of the dry mix, then add 2 lightly beaten large eggs, 420ml (1 3/4 cups) whole milk, 55g (1/4 cup) cooled melted unsalted butter, and 5ml (1 tsp) pure vanilla extract directly into the well.
Mix Batter Gently
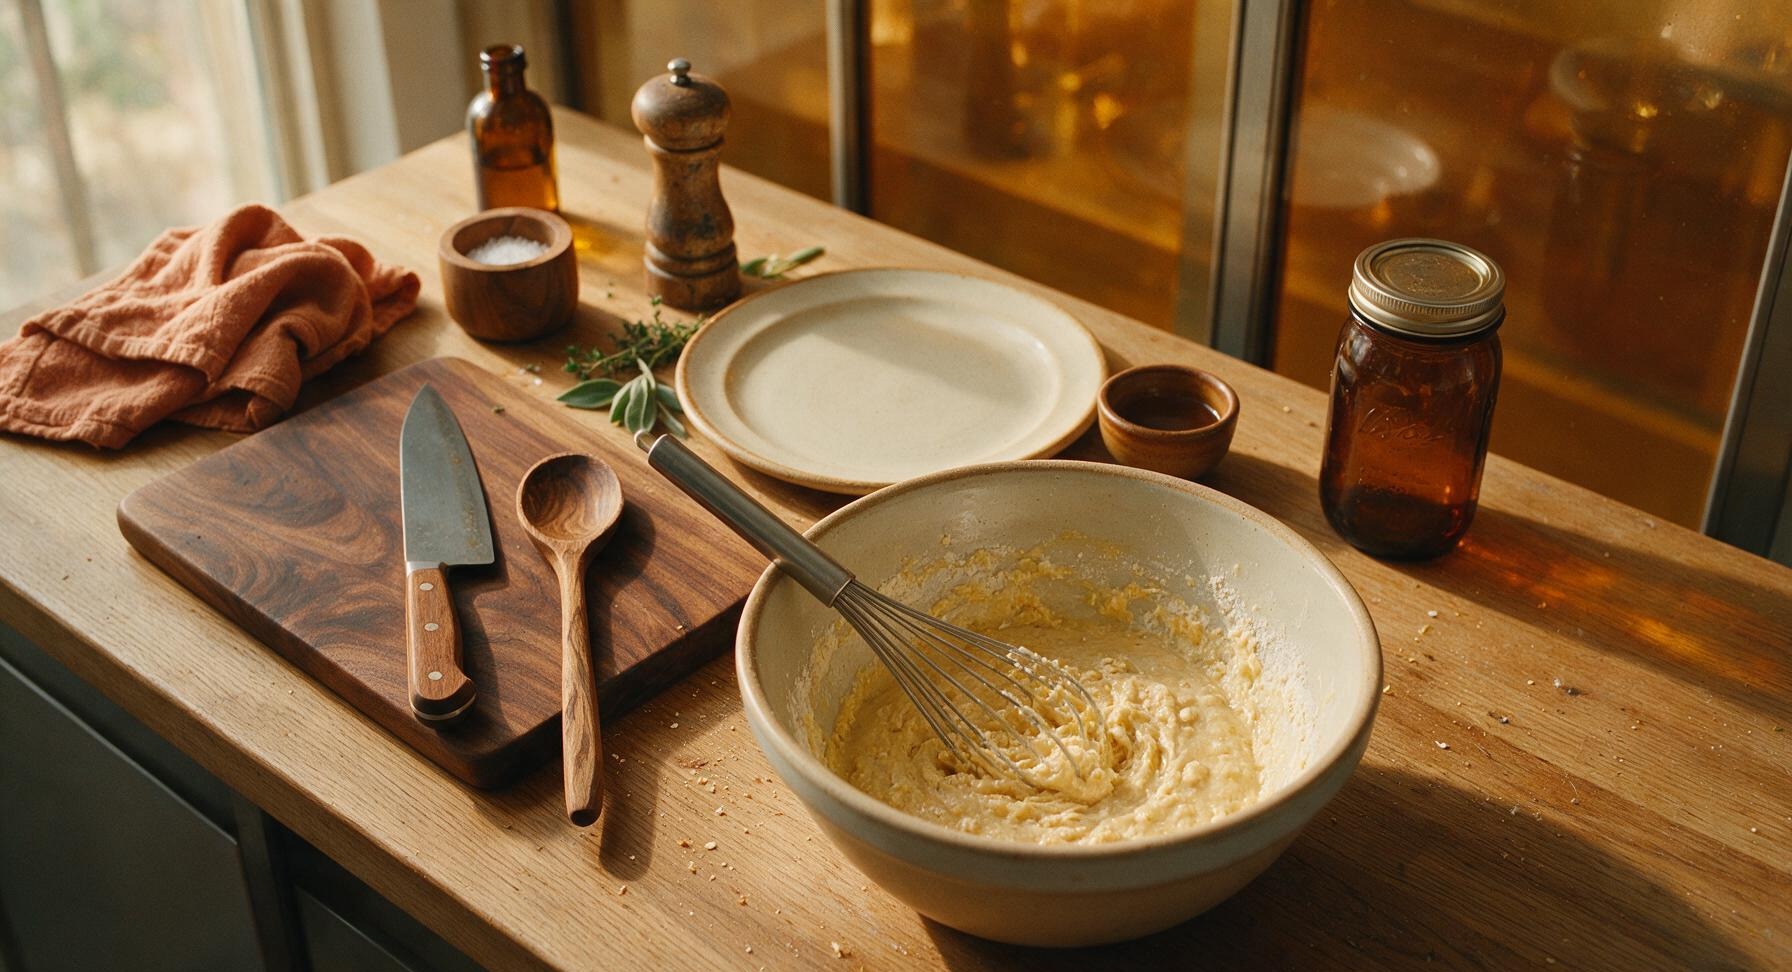
Use the wire whisk to stir the wet and dry ingredients together just until combined—stop stirring as soon as no dry flour streaks remain. The batter will be pale golden with small, visible lumps; overmixing will develop wheat gluten and result in tough, dense waffles. Let the batter rest for 5 minutes at room temperature to allow the leavening to activate, creating tiny bubbles for light texture.
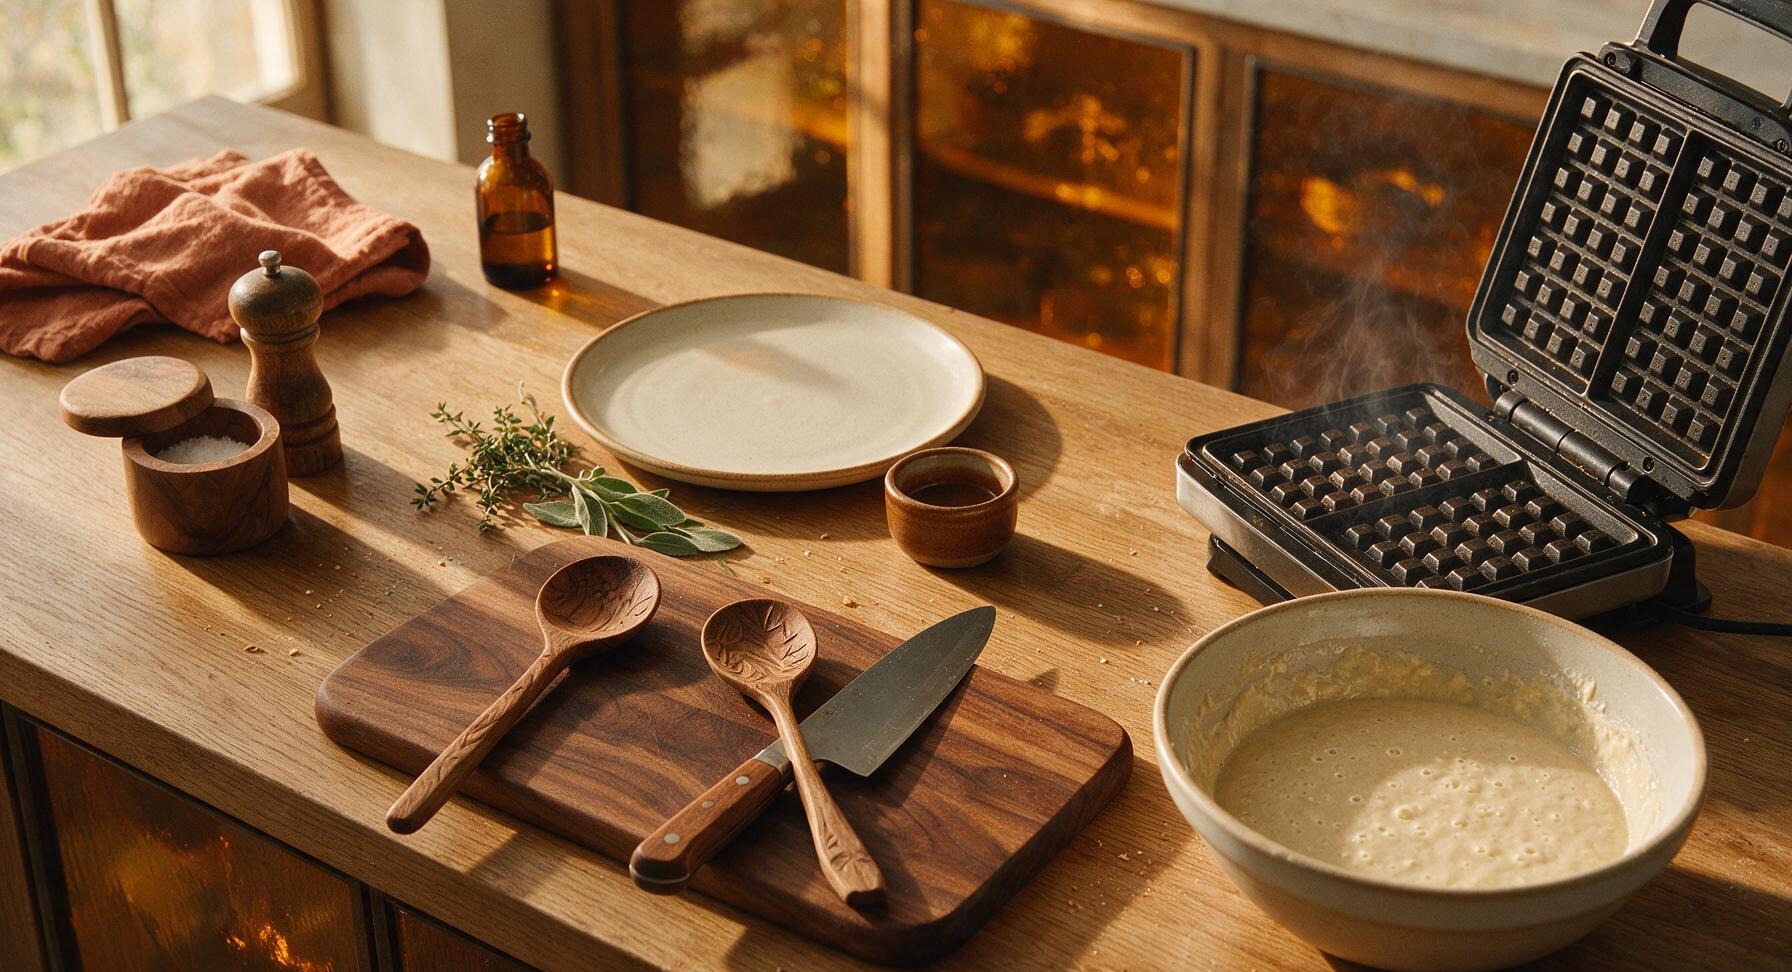
Preheat Waffle Iron
Preheat the non-stick waffle iron to 190°C (375°F), or test for readiness by dropping a single bead of water on the cooking grid: the iron is ready when the water sizzles and dances across the surface before evaporating in 2 seconds. Lightly coat grids with a thin layer of melted butter if your iron is not fully non-stick.
Cook Golden Waffles
Pour 120ml (1/2 cup) of rested batter per waffle onto the center of the preheated waffle iron grid, close the lid, and cook for 3-4 minutes. The waffle is done when steam stops escaping from the edges of the iron, and the waffle is a deep golden brown with crisp, defined edges. Do not open the lid before the 3-minute mark, as this will tear the delicate waffle structure.
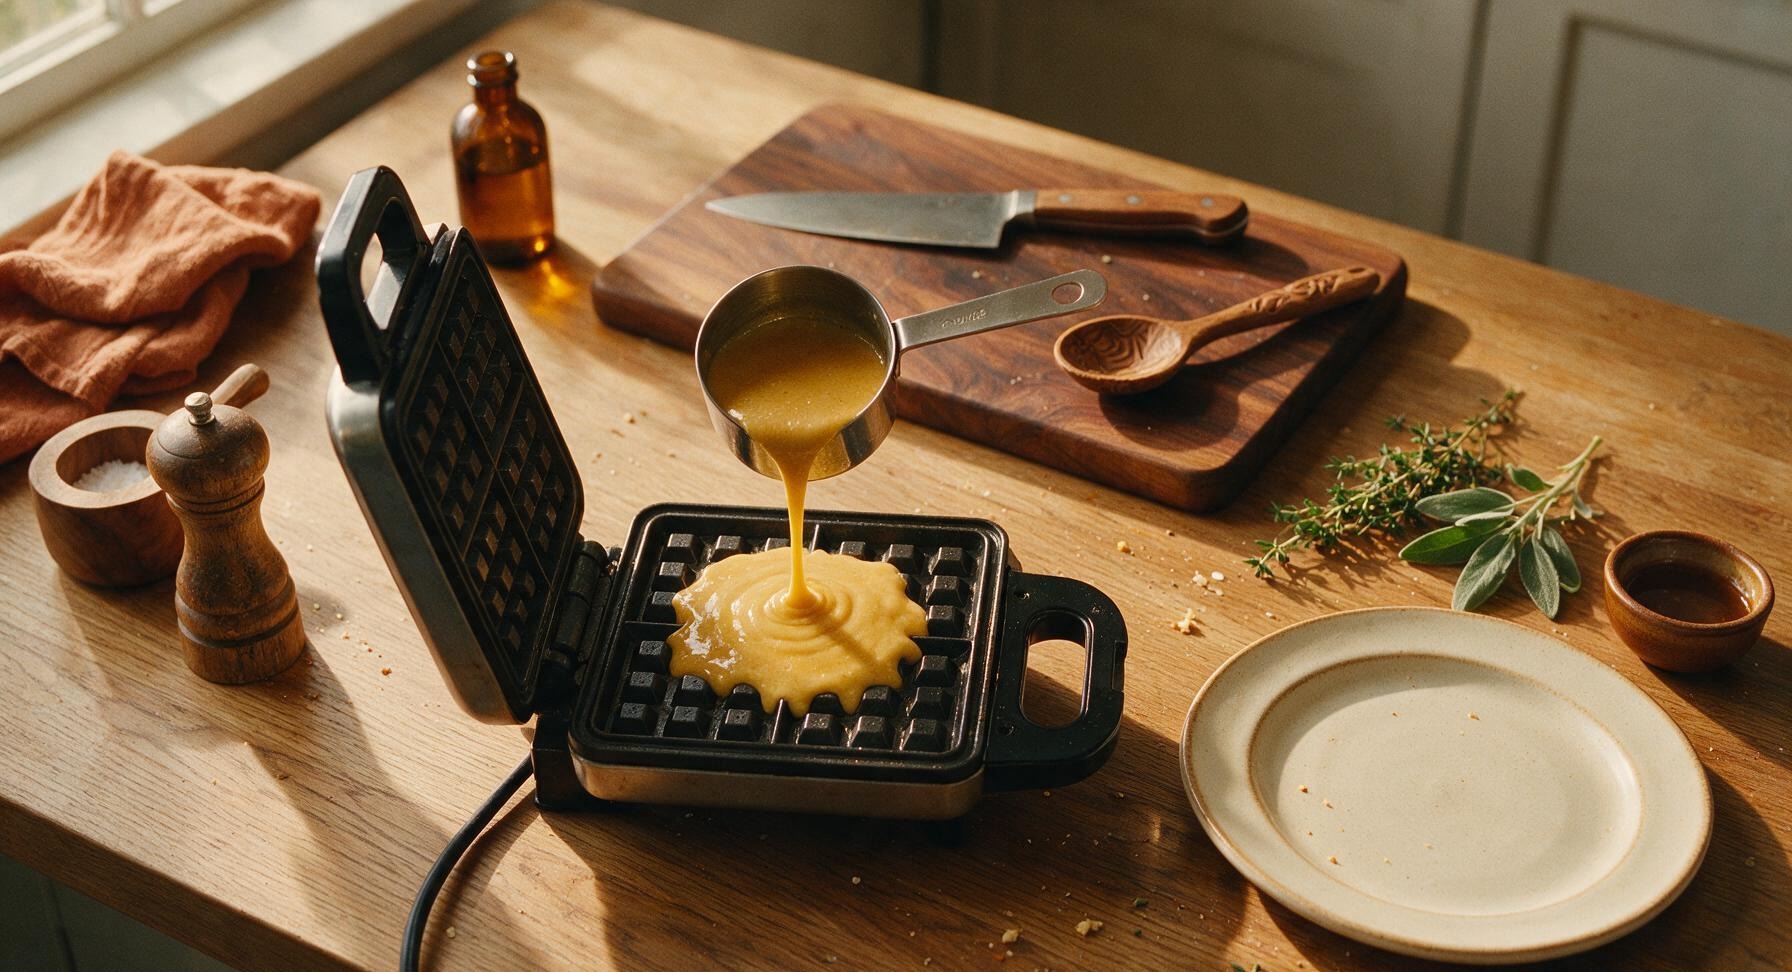
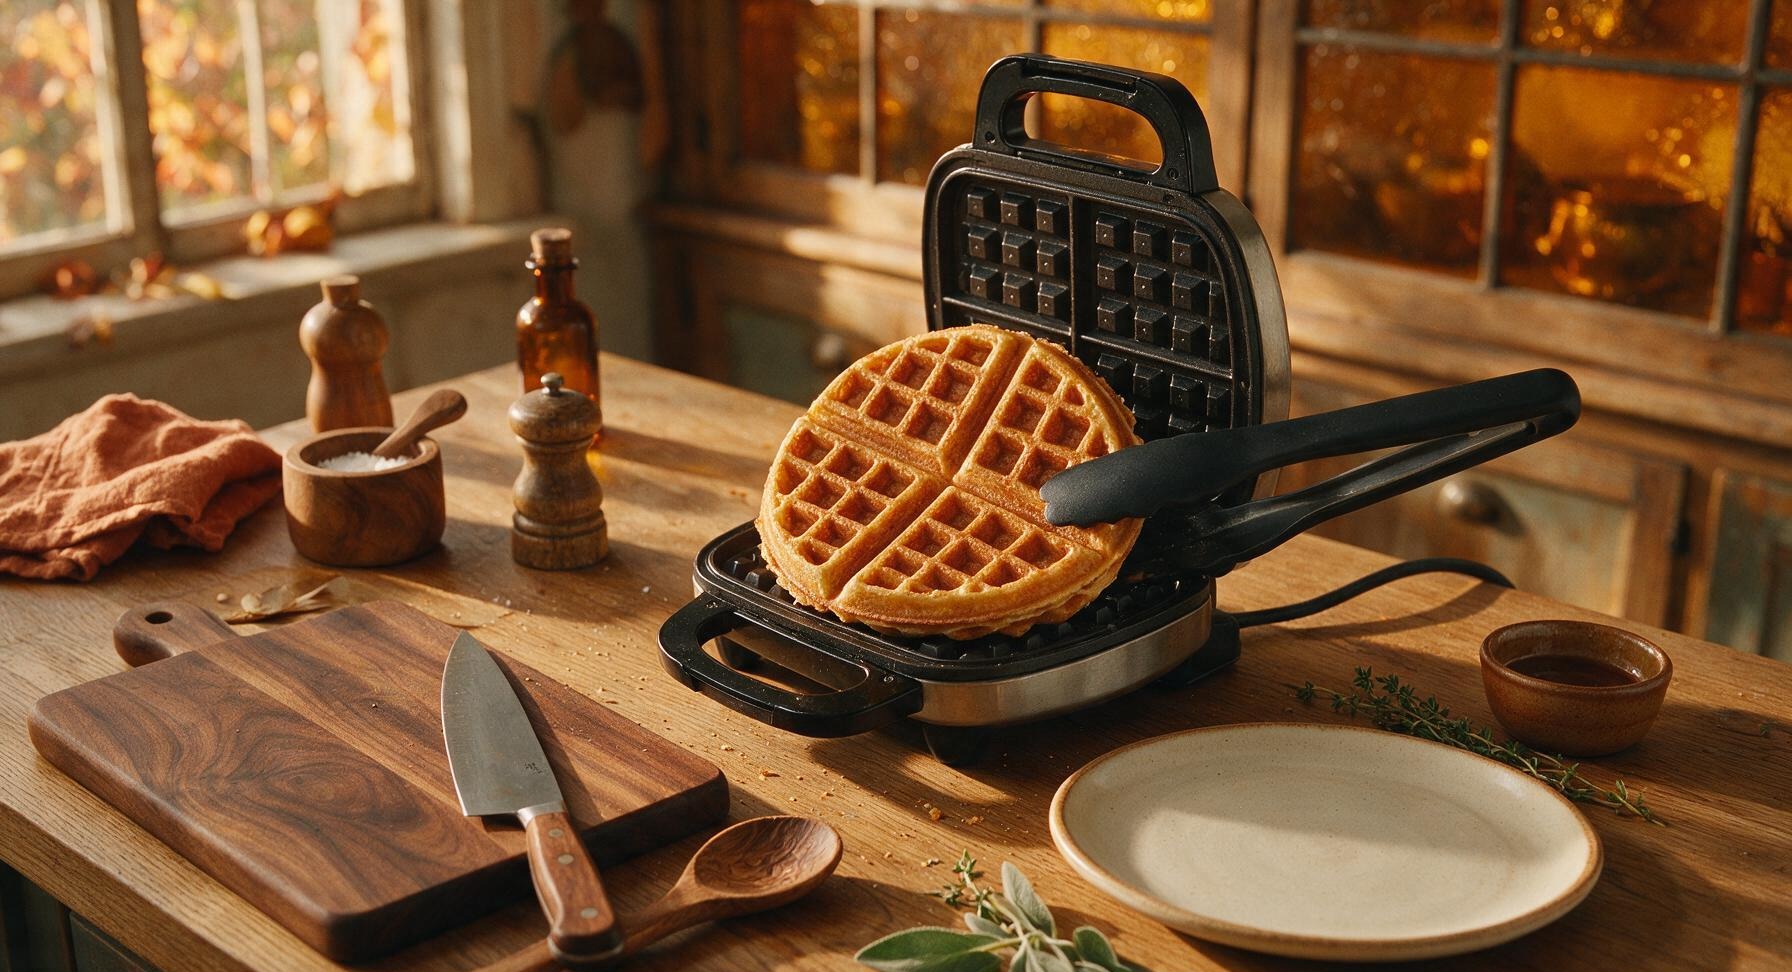
Plate and Serve Warm
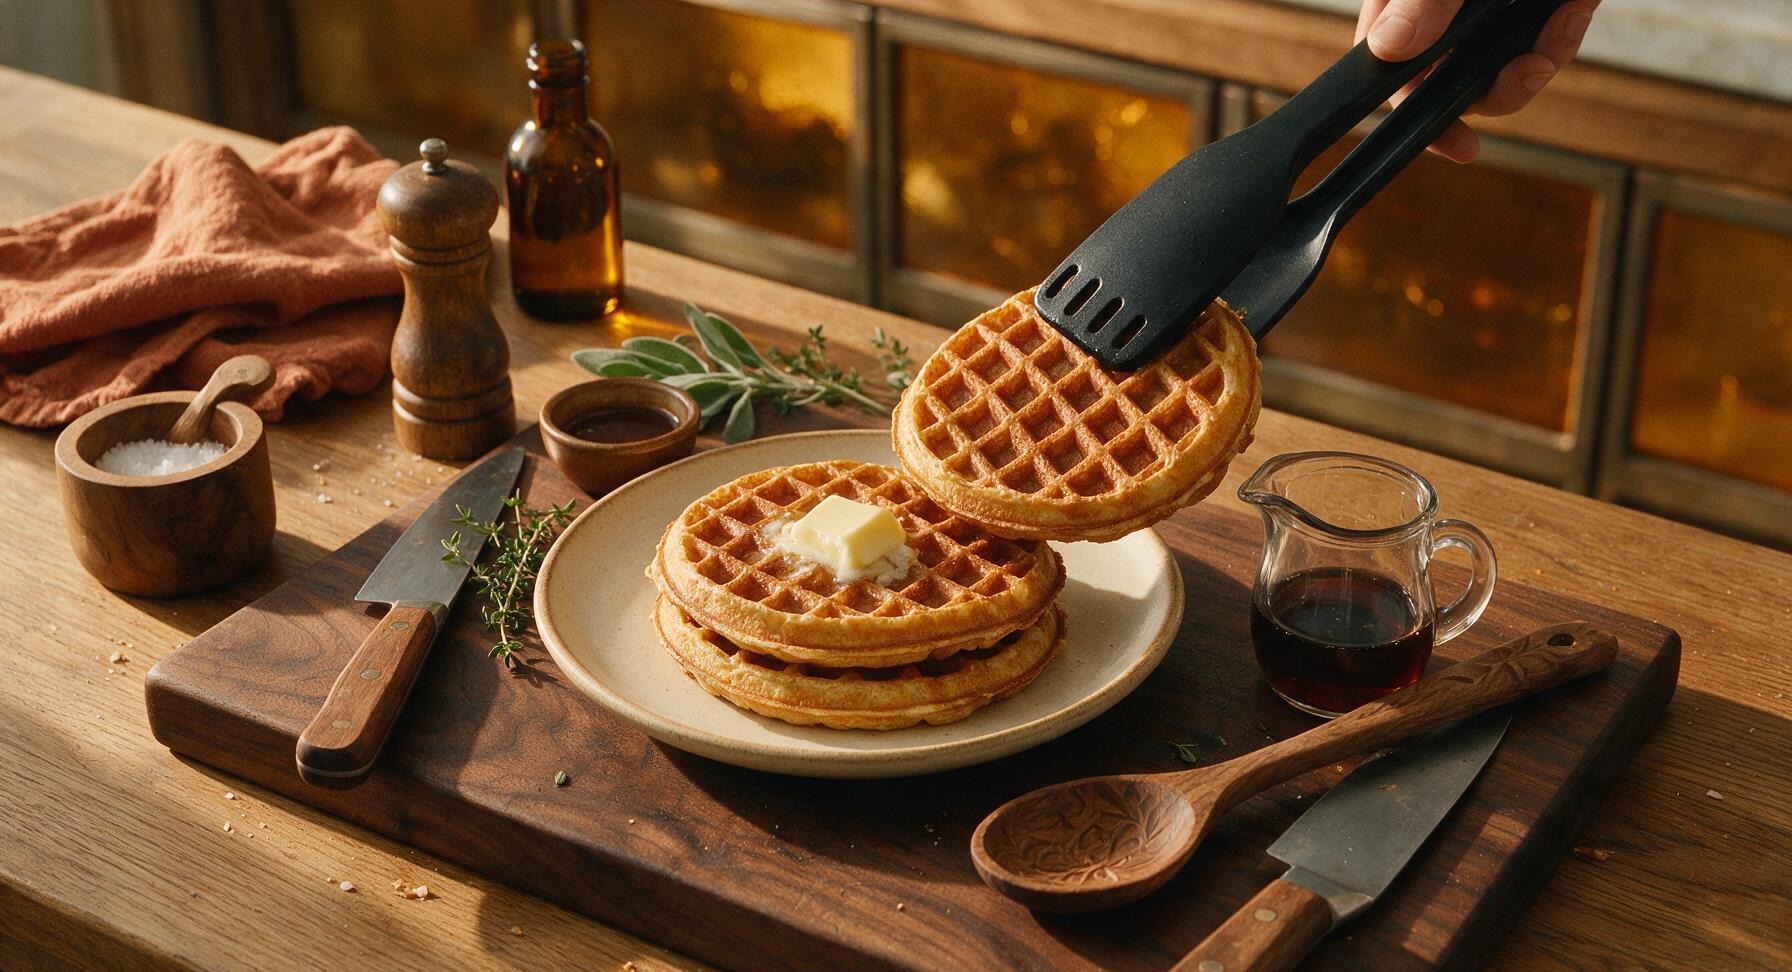
Use the matte black waffle tongs to transfer cooked waffles to the matte cream ceramic dinner plate. Top with a pat of salted butter, warm maple syrup, or your favorite seasonal toppings, and serve immediately while the edges are crisp and the interior is tender.
Tips
2.Resist the urge to overmix your waffle batter: small, pea-sized lumps are completely normal and desirable, as overstirring develops gluten in the flour that leads to chewy, tough waffles instead of tender, crisp ones.
3.Add shelf-stable custom mix-ins directly to your stored dry mix (like mini chocolate chips, dried blueberry powder, or ground orange zest) for flavored waffles on demand; avoid adding fresh fruit or nuts to the stored mix, as these will spoil and shorten the mix’s 3-month shelf life.






OMG this is such a game changer! I never keep store-bought waffle mix in the house because it always goes stale before I finish the box, but this uses literally every staple I already have in my pantry. My kids went crazy for the waffles this Saturday morning, even asked for seconds! 10/10 will be making a big batch to keep in a mason jar for quick breakfasts.
Took this mix camping last weekend! Pre-portioned the dry mix into ziplock bags before we left, all we had to do was add eggs, milk, and oil at the campsite. Beat the sad freeze-dried camping meals by a mile, even the folks at the next campsite came over to ask what smelled so good.
SO good. I added a teaspoon of cinnamon to my batch of mix and it tastes like the fancy waffles we get at our local brunch spot, for a fraction of the cost. No weird preservatives either, which I love for my toddler.
Wait, can I use this mix for pancakes too? I don’t own a waffle iron (I know, I know, I’m behind) but I’ve been looking for a cheap, easy pancake mix I can make at home too.
Brought waffles made from this mix to our neighborhood potluck brunch last week, set up a little topping bar with fruit, whipped cream, and syrup. People were raving! Multiple neighbors asked for the recipe, I told them to look it up here, it’s foolproof.
Calculated the cost per batch vs the name brand waffle mix I usually buy, and this is literally 1/3 the cost? And it tastes better? Why did I ever buy pre-made mix? This is going into my regular meal prep rotation for easy school morning breakfasts.
Wait, has anyone tried swapping the all-purpose flour for a 1:1 gluten free flour blend? My partner has celiac so I’m always looking for easy GF swaps for breakfast favorites.
Made these with my 7 year old this morning for Father’s Day breakfast (yes, I let him help even though he made a mess with the flour). The waffles came out crispy on the outside, fluffy on the inside, exactly how I like them. 10/10, would let my kid cover the counter in flour again for these.
I live in a tiny dorm with a mini waffle maker, and this mix is perfect. I keep a small jar of it on my shelf, and it takes 2 minutes to mix up the batter before class. Way cheaper than buying breakfast at the campus café every day, and it actually tastes good.
I added a little vanilla extract and a pinch of nutmeg to my wet ingredients when making the waffles, and it tasted just like my grandma’s old waffle recipe. This mix is such a perfect base to customize however you like!
How long does the dry mix stay good in the pantry? I want to make a huge batch to keep for busy school mornings, but I don’t want it to go bad before we use it all.
Who else uses this mix for savory waffles? I added a little shredded cheddar and garlic powder to the batter and made waffles to go with fried chicken last night. Game. Changer.
I love that this doesn’t come in a plastic-lined cardboard box from the grocery store! I store mine in a reused glass pasta jar, so no extra packaging waste. The waffles are amazing too, which is obviously a bonus.
I am notoriously terrible at baking, like, I burn boxed brownies level bad. But this? It was so easy! I followed the directions exactly and the waffles came out perfect, no burnt edges, no raw middle. I’m actually proud of myself.
Wait, can I cut the sugar in the mix? I don’t love super sweet waffles, I usually top mine with peanut butter and banana so I don’t need extra sugar in the batter itself.
Does this work in those tiny mini waffle makers that are all over TikTok? I got one as a white elephant gift last year and I’ve been looking for mixes that cook evenly in it without overflowing.
12 minute cook time is NO JOKE. I mixed up the batter, poured it in my waffle iron, and had hot waffles on my plate before my coffee even finished brewing. This is going to be a weekend staple for me.
I didn’t have regular milk when I made these, so I used a half cup of sour cream thinned with a little water to make up the cup of liquid, and the waffles were so tangy and delicious! Tasted like fancy buttermilk waffles, no extra trip to the store needed (which is exactly what the recipe promises, lmao).