
waffle recipe from scratch
intro
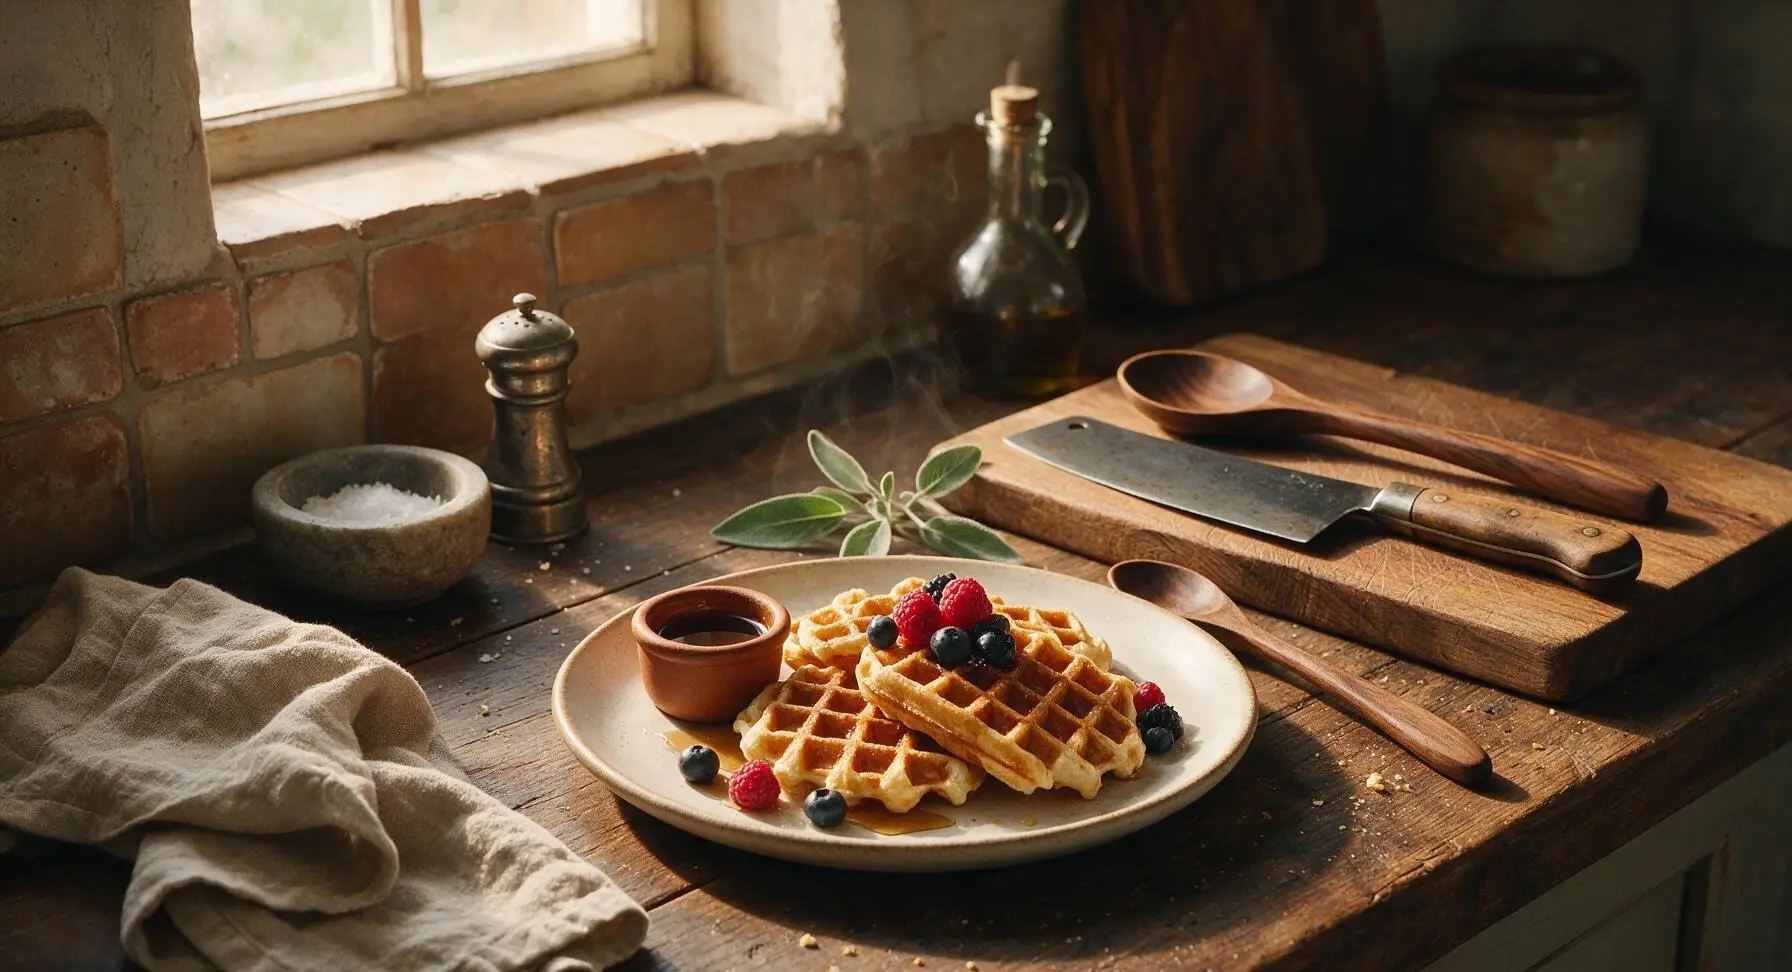
Crisp, golden-edged homemade waffles with light, fluffy centers, made from simple pantry staples. Perfect for topping with maple syrup and fruit for a cozy, crowd-pleasing autumn meal.
Ingredients
Steps
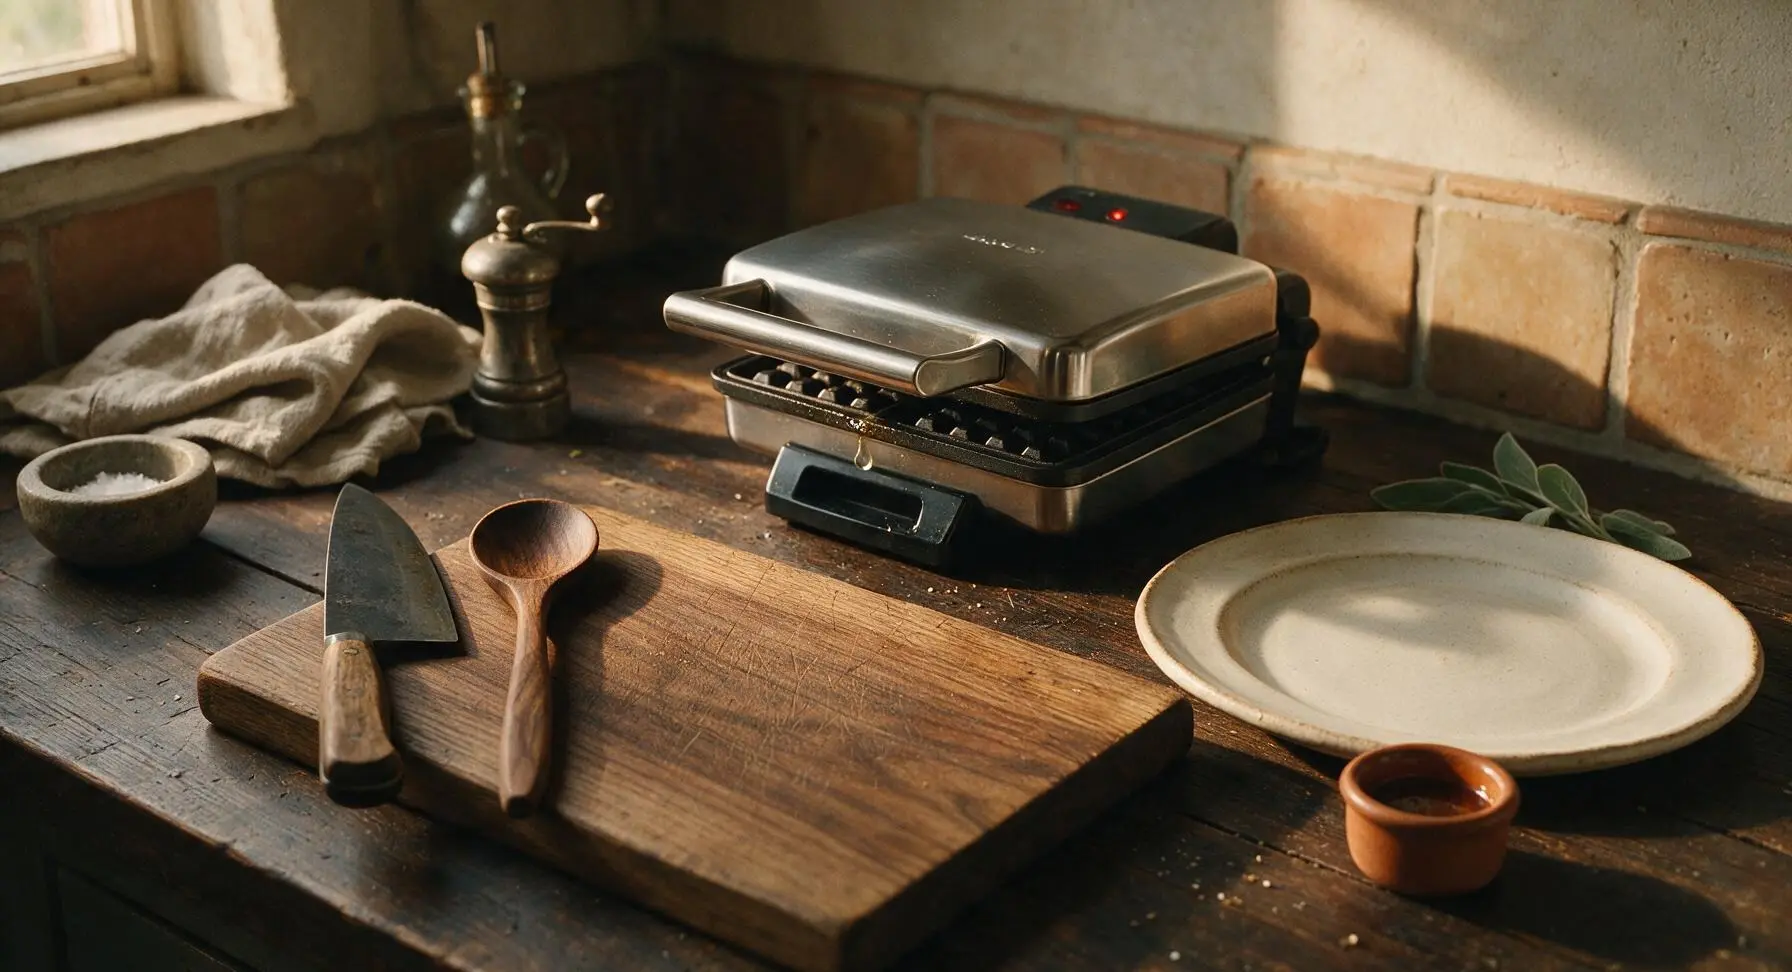
Preheat Waffle Iron
Plug in the polished stainless steel waffle iron and preheat to the medium-high setting (375°F/190°C). Close the lid while you prepare the batter; the iron is fully ready when a drop of cold water flicked onto the lower plate sizzles and evaporates in 2-3 seconds. Preheating properly ensures waffles crisp immediately when batter hits the plate, preventing sticking.
Melt and Cool Butter
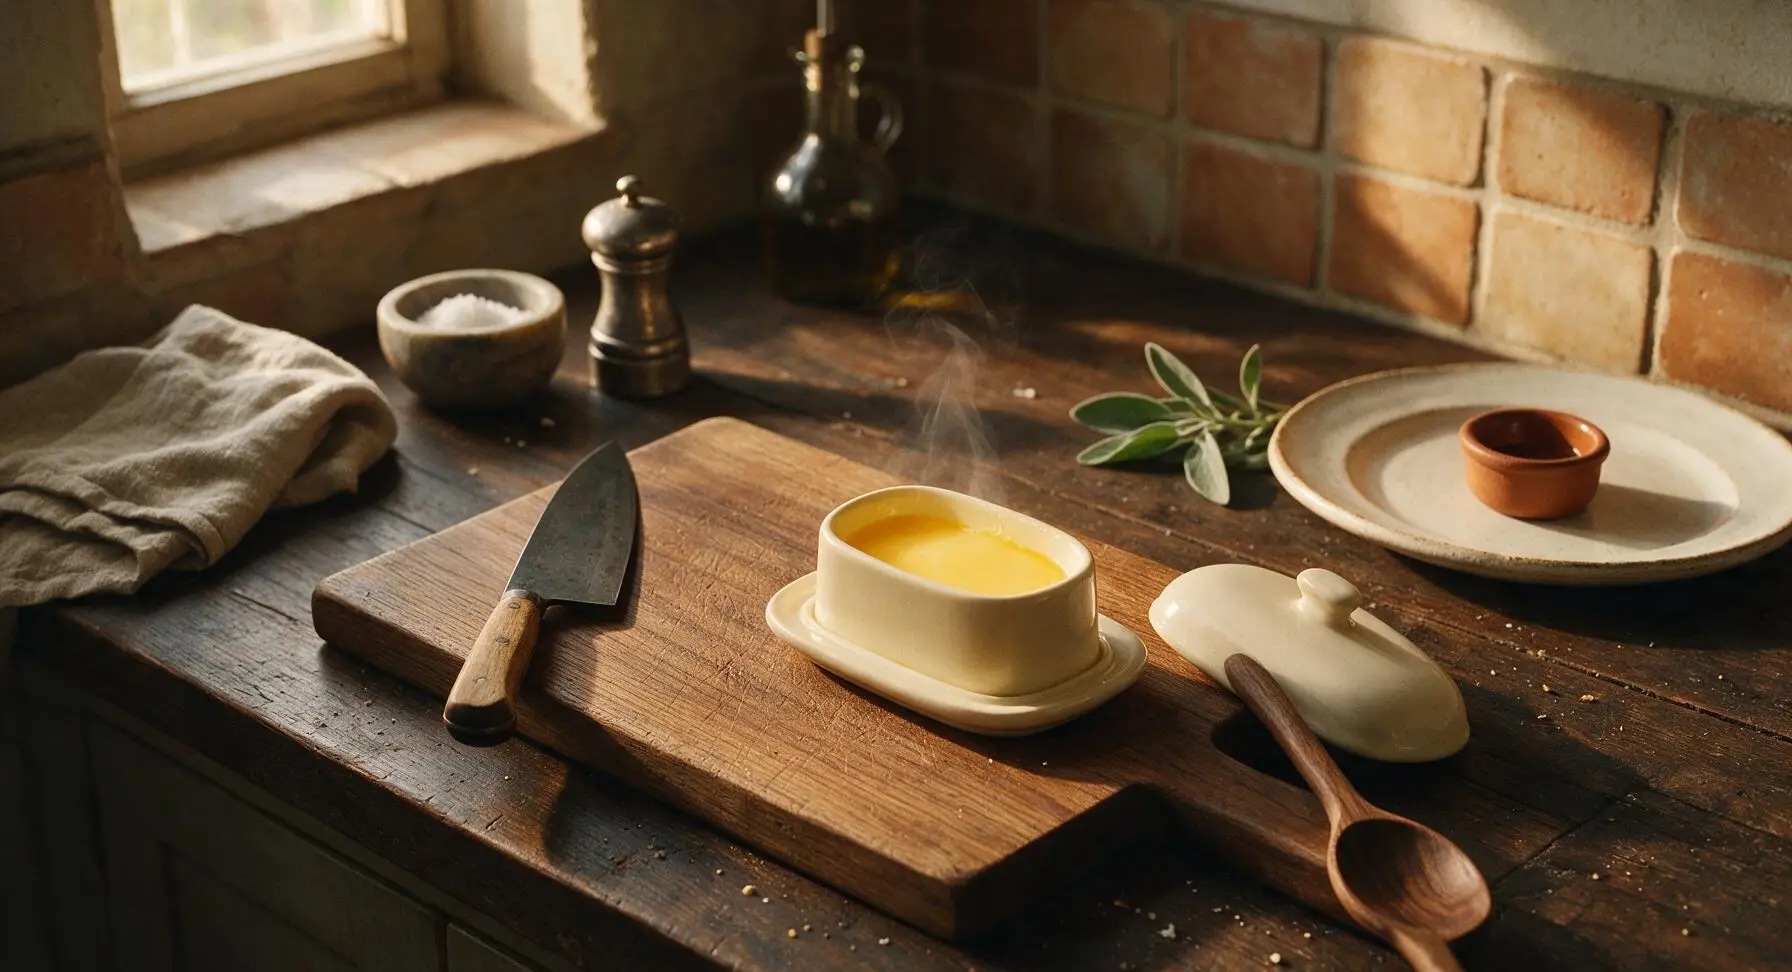
Unwrap the 1/3 cup (75g) stick of unsalted butter, place it on the base of the cream ceramic butter dish, and microwave in 20-second bursts until fully melted, about 40 seconds total. Set aside to cool for 2 minutes while you measure remaining ingredients; adding piping hot butter to raw eggs will cause curdling, leading to lumpy, uneven batter. The butter is ready when it is liquid and warm to the touch, not hot enough to burn your finger.
Whisk Dry Ingredients
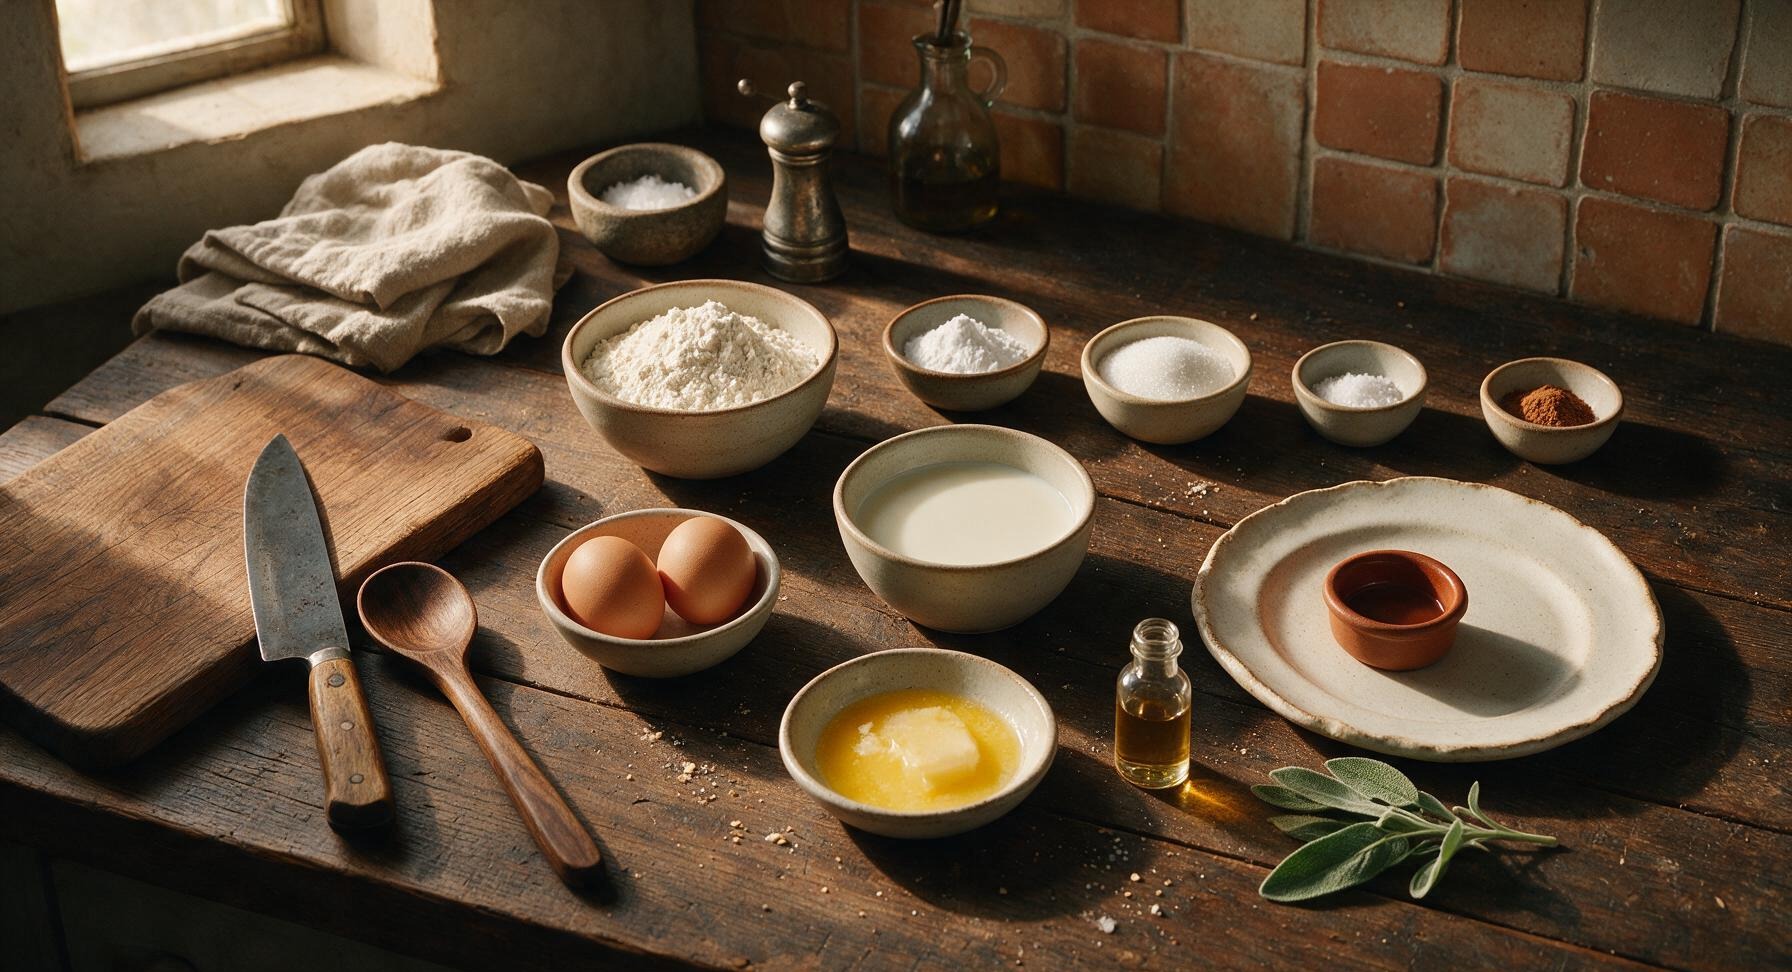
Add the 2 cups (240g) all-purpose flour, 1 tablespoon baking powder, 1 tablespoon granulated sugar, 1/2 teaspoon fine sea salt, and 1/4 teaspoon ground cinnamon to the large clear glass mixing bowl. Use the matte black silicone whisk to stir the dry ingredients for 30 seconds until fully combined, with no concentrated clumps of baking powder or cinnamon visible. Evenly mixing the leavening ensures waffles rise consistently across the entire surface, with no flat spots.
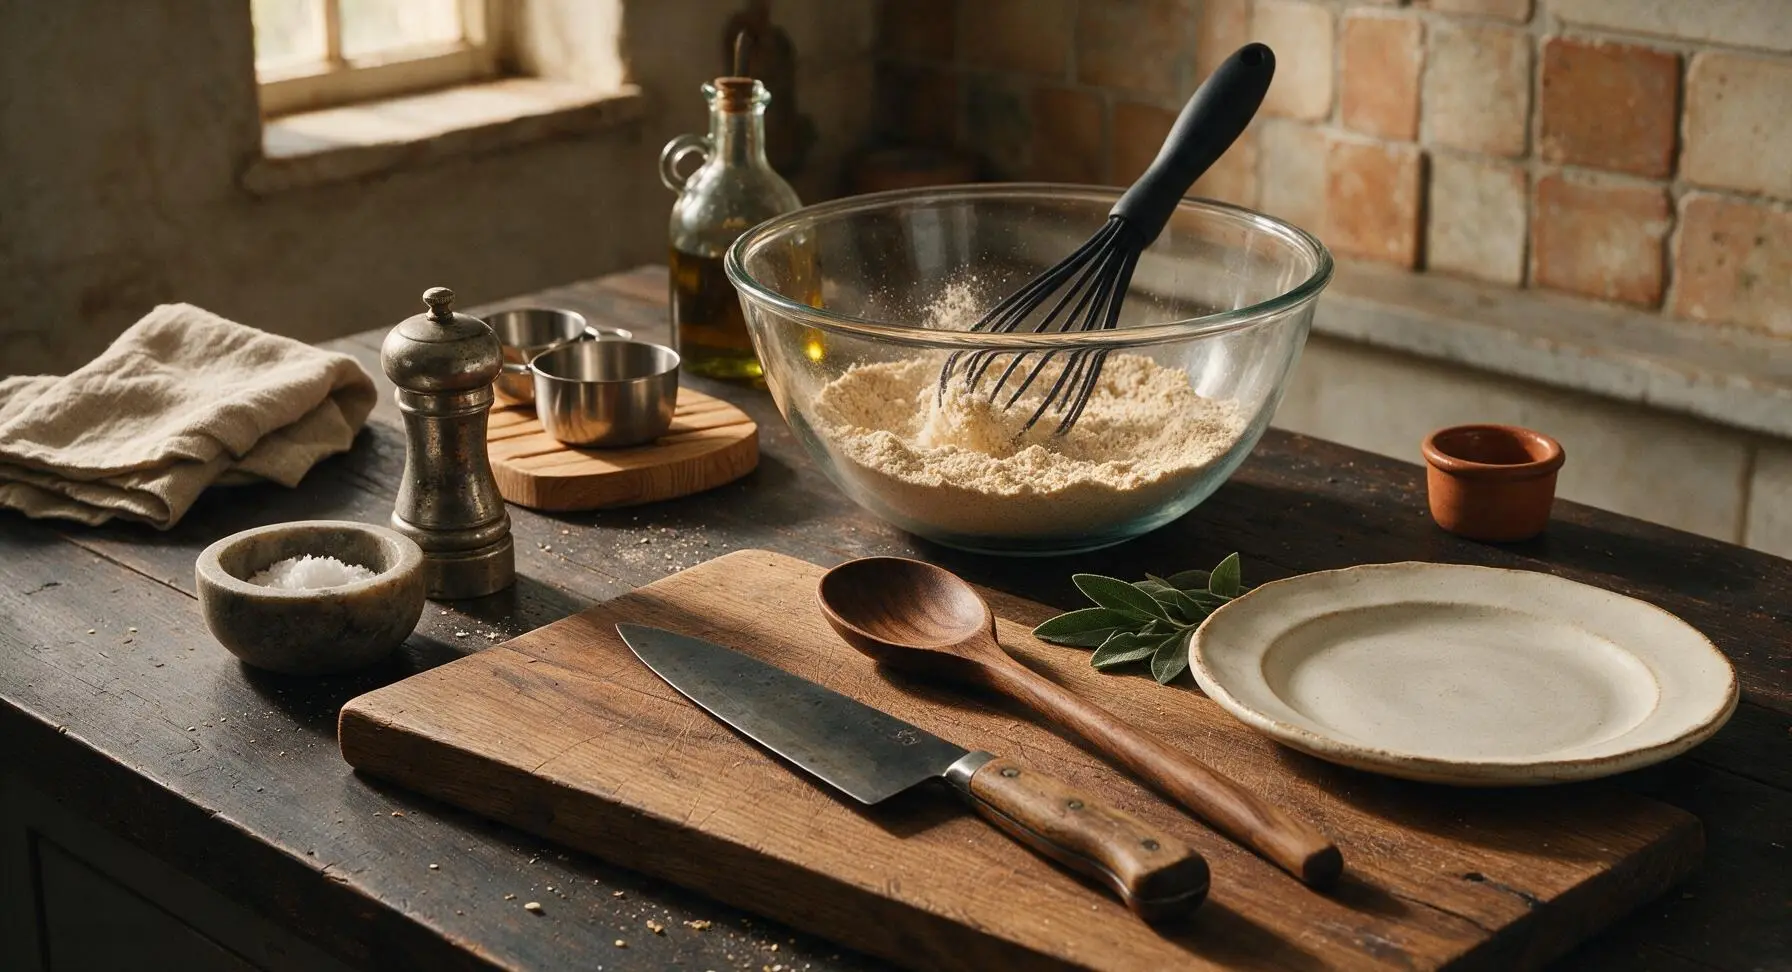
Combine Wet Ingredients
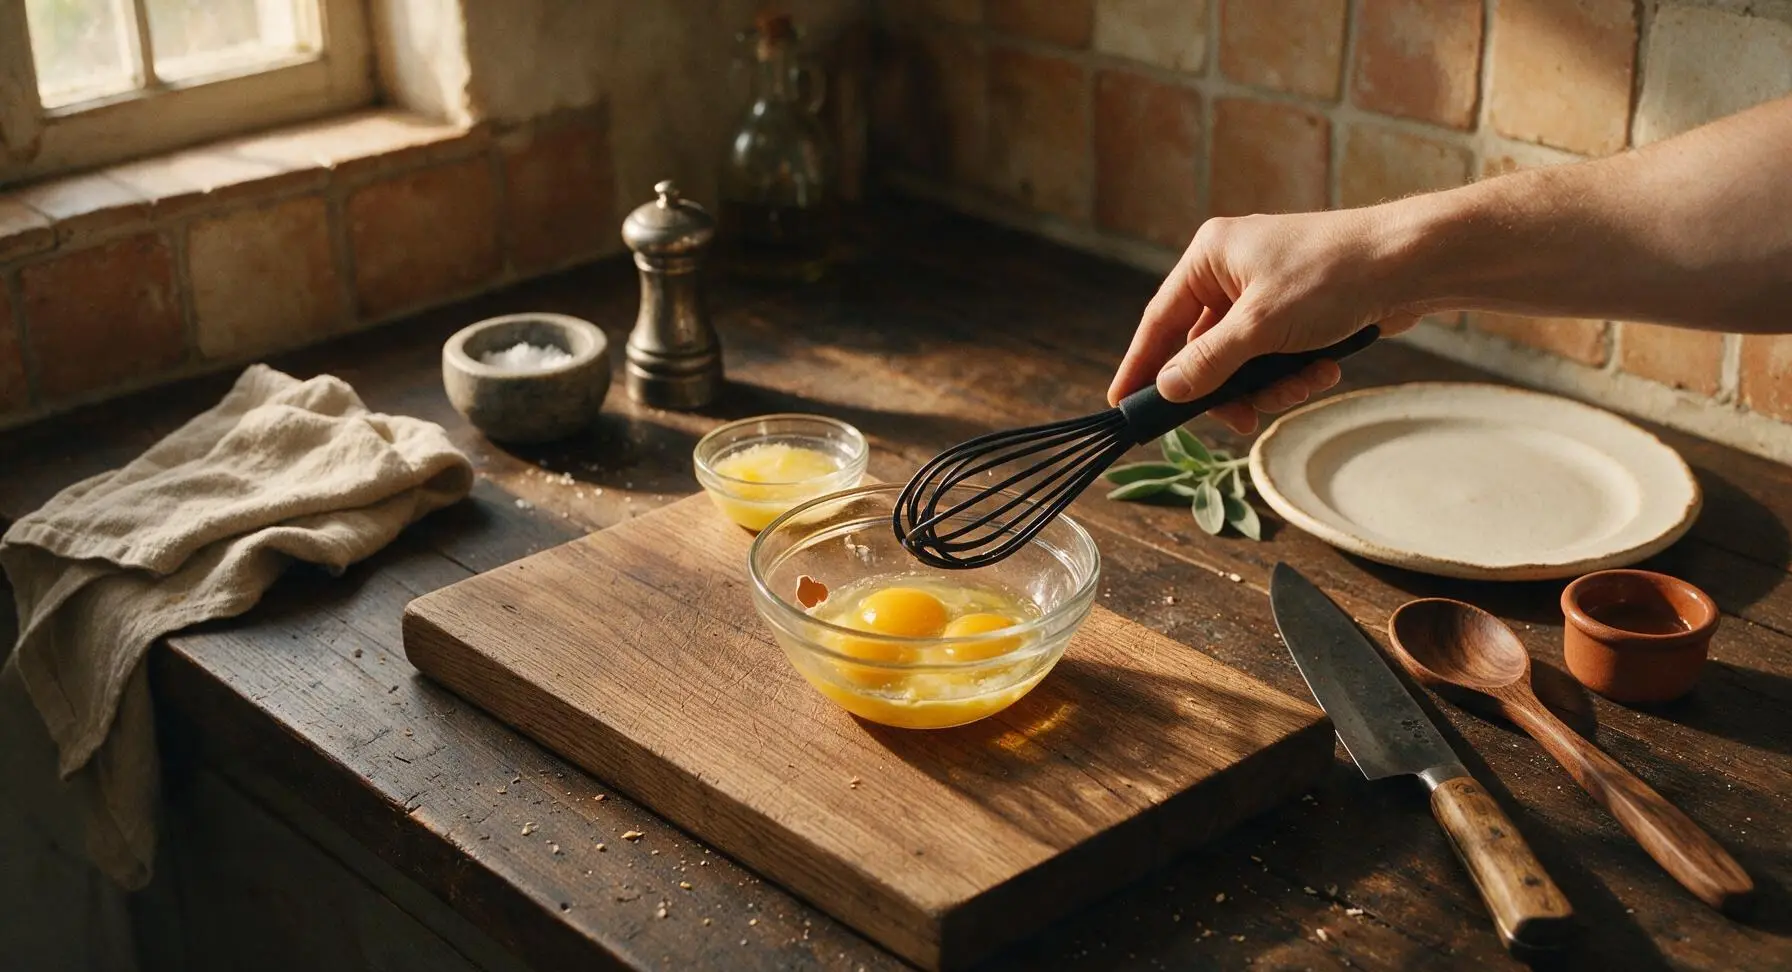
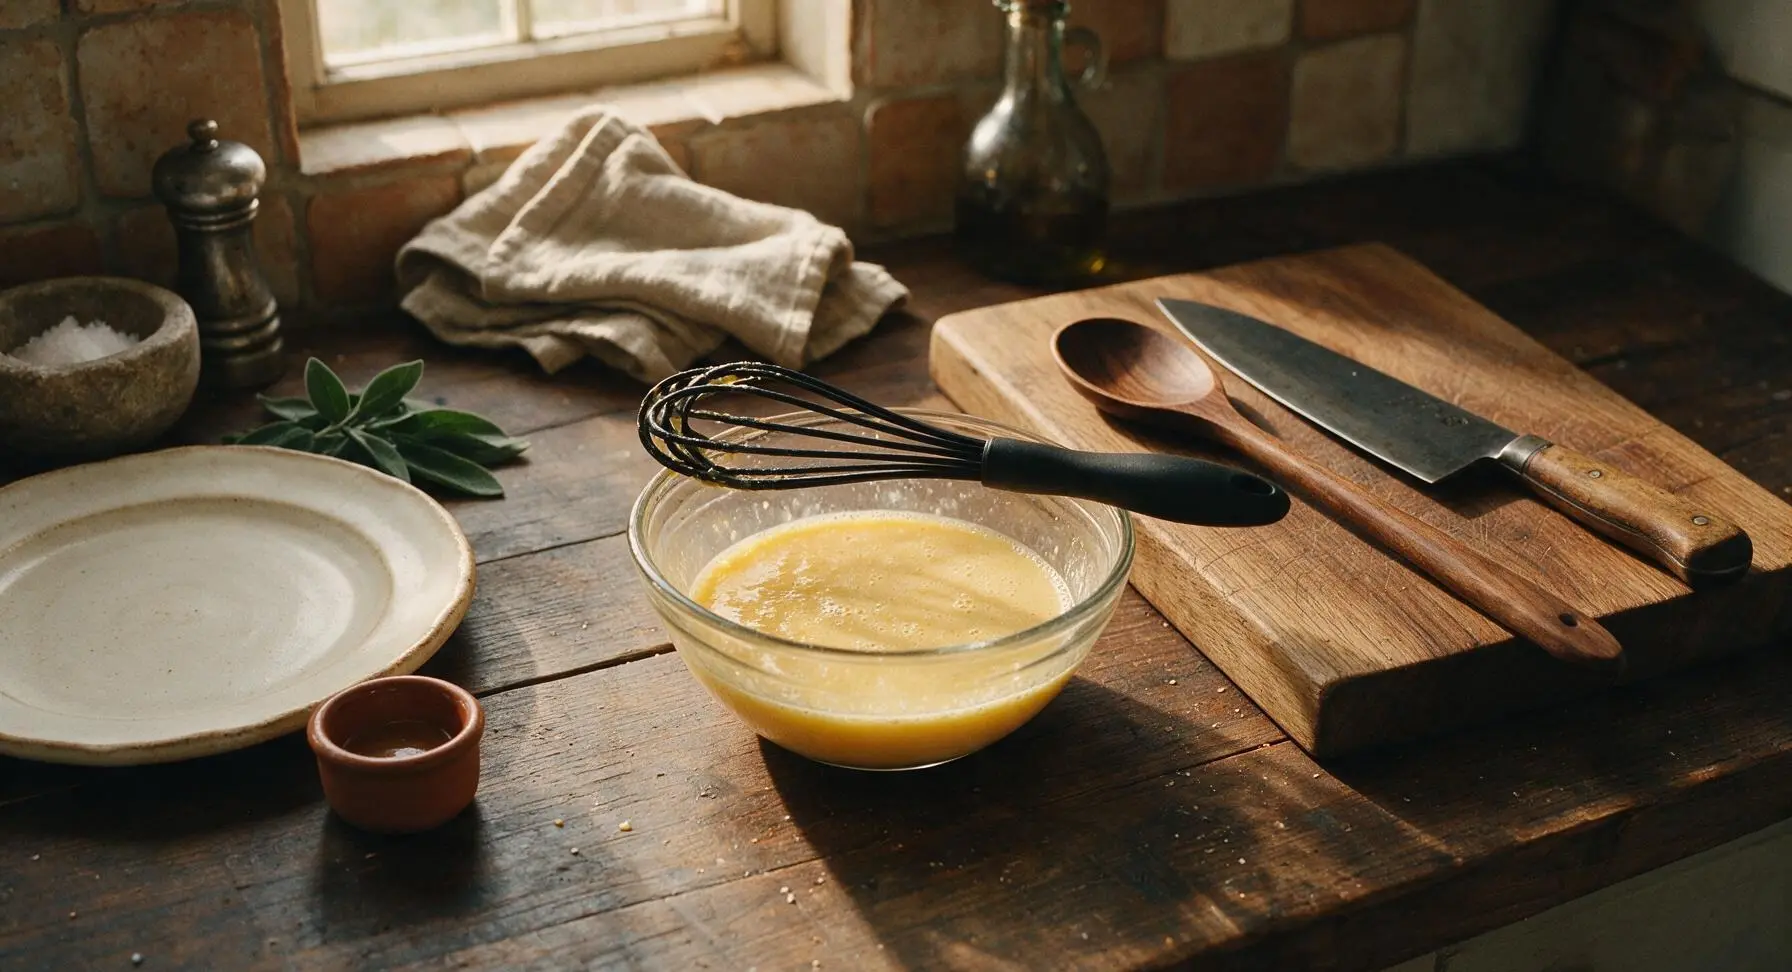
Crack the 2 large eggs into the small clear glass mixing bowl, fishing out any tiny shell fragments with the edge of the whisk. Whisk lightly for 10 seconds until yolks and whites are fully blended into a uniform pale yellow. Add the 1 3/4 cups (414ml) whole milk, cooled melted butter, and 1 teaspoon pure vanilla extract, whisking for another 20 seconds until the mixture is smooth with a light froth on top, with no streaks of unblended egg visible.
Fold Batter Gently
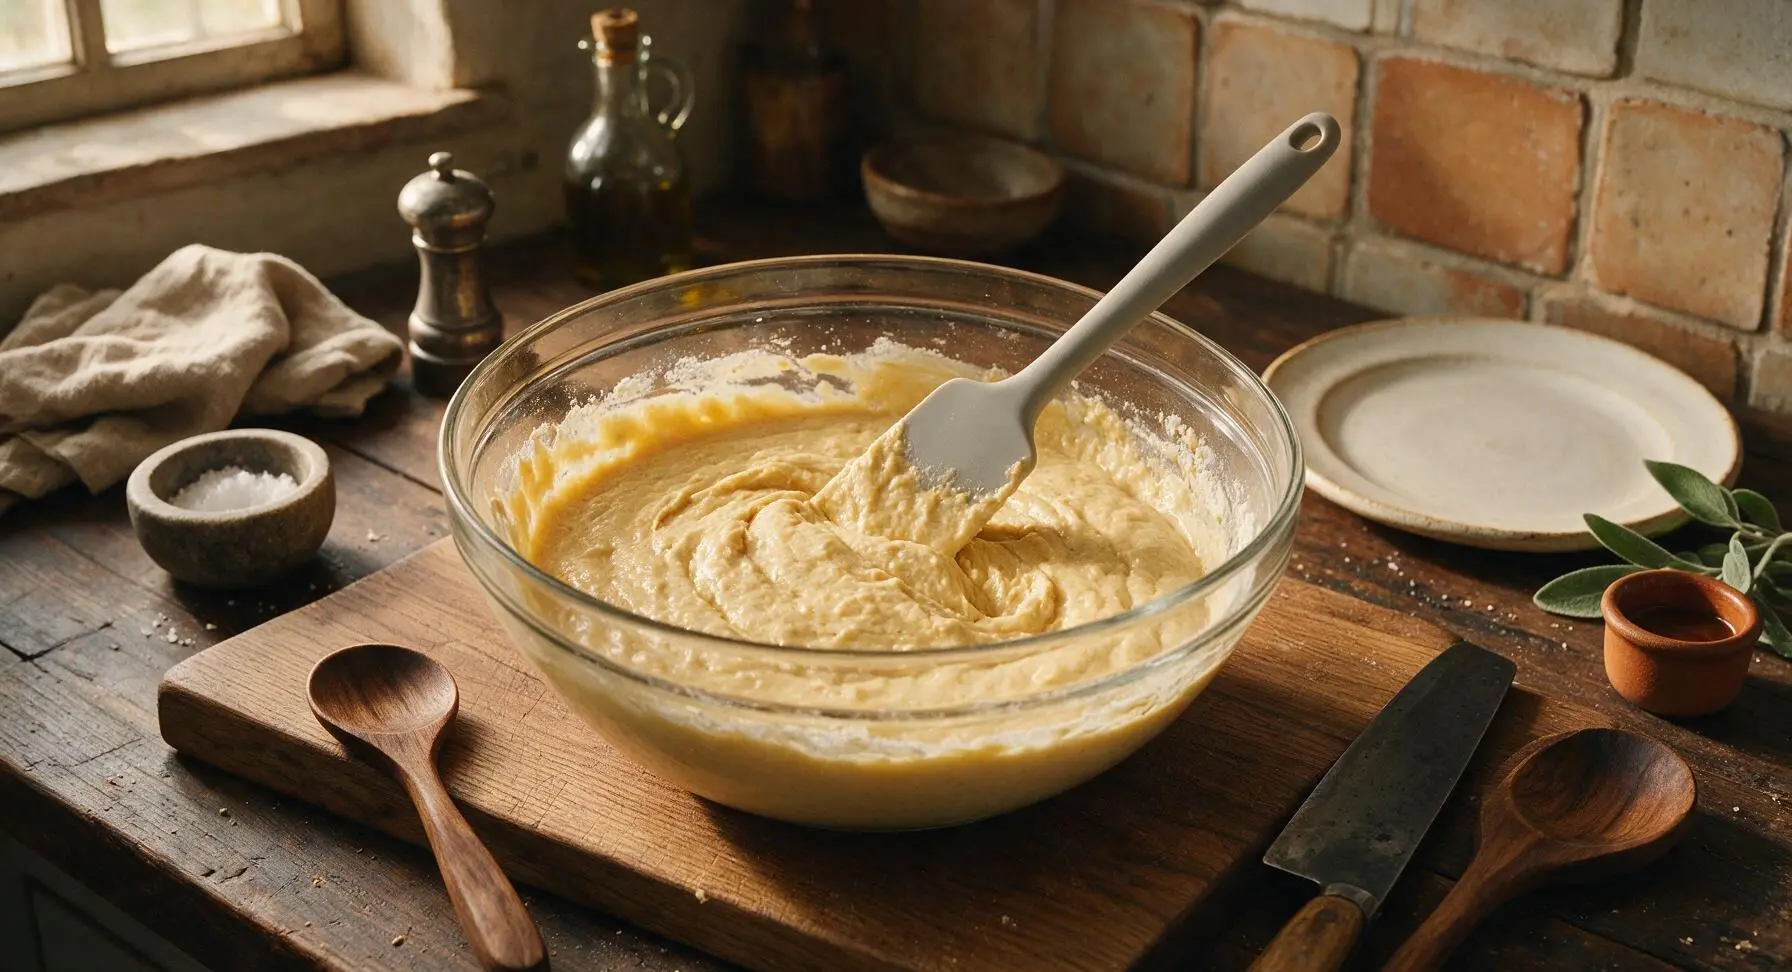
Pour the entire wet ingredient mixture from the small bowl into the large bowl with the dry ingredients. Use the light gray silicone spatula to gently fold the mixtures together with slow, scraping turns around the bowl edge, stopping as soon as no large streaks of dry flour remain. The batter will be thick and visibly lumpy; do not overmix, as this develops gluten in the flour and leads to tough, dense waffles. Small, pea-sized lumps are ideal and will disappear during cooking.
Cook Waffles in Batches
Open the preheated waffle iron and pour 1/2 cup of batter directly onto the center of the lower waffle plate, using the silicone spatula to scrape all batter from the measuring cup. Close the lid gently without pressing down hard, and cook for 3 to 4 minutes, until steam stops escaping from the iron edges and the waffle is deep golden brown and crisp to the touch. Repeat with remaining batter, transferring cooked waffles to the chrome wire cooling rack for 1 minute before plating to keep edges crisp. You will have 8 total waffles, 2 per serving.
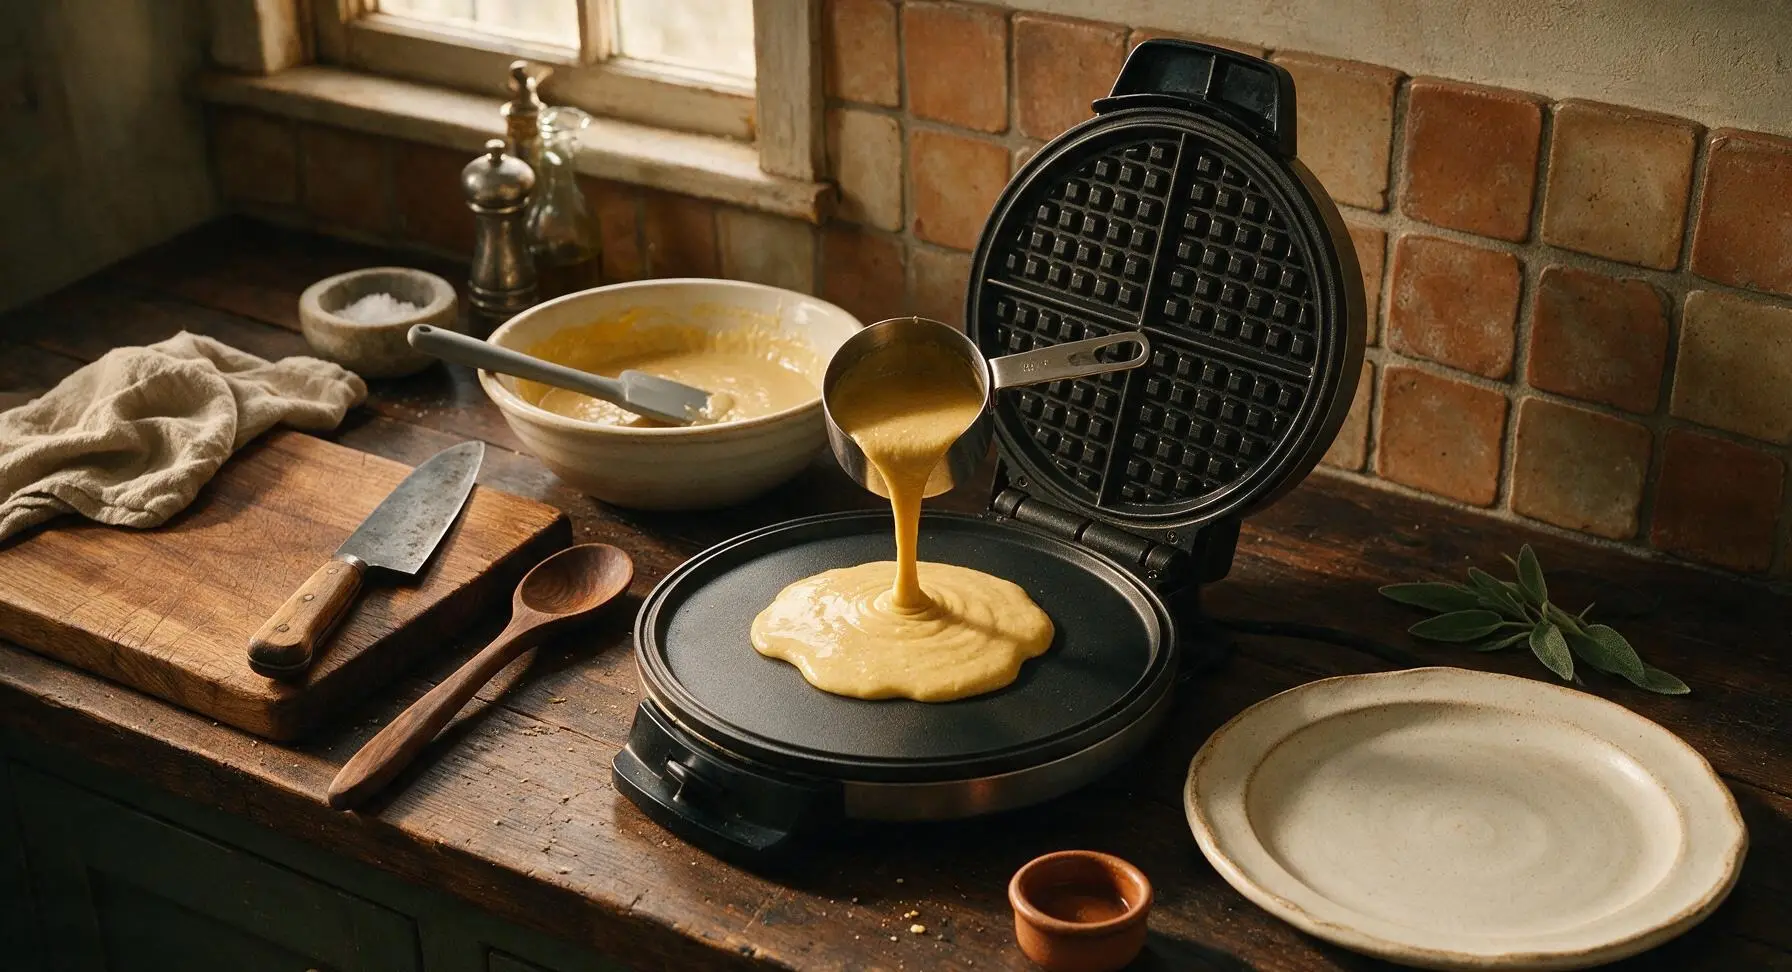
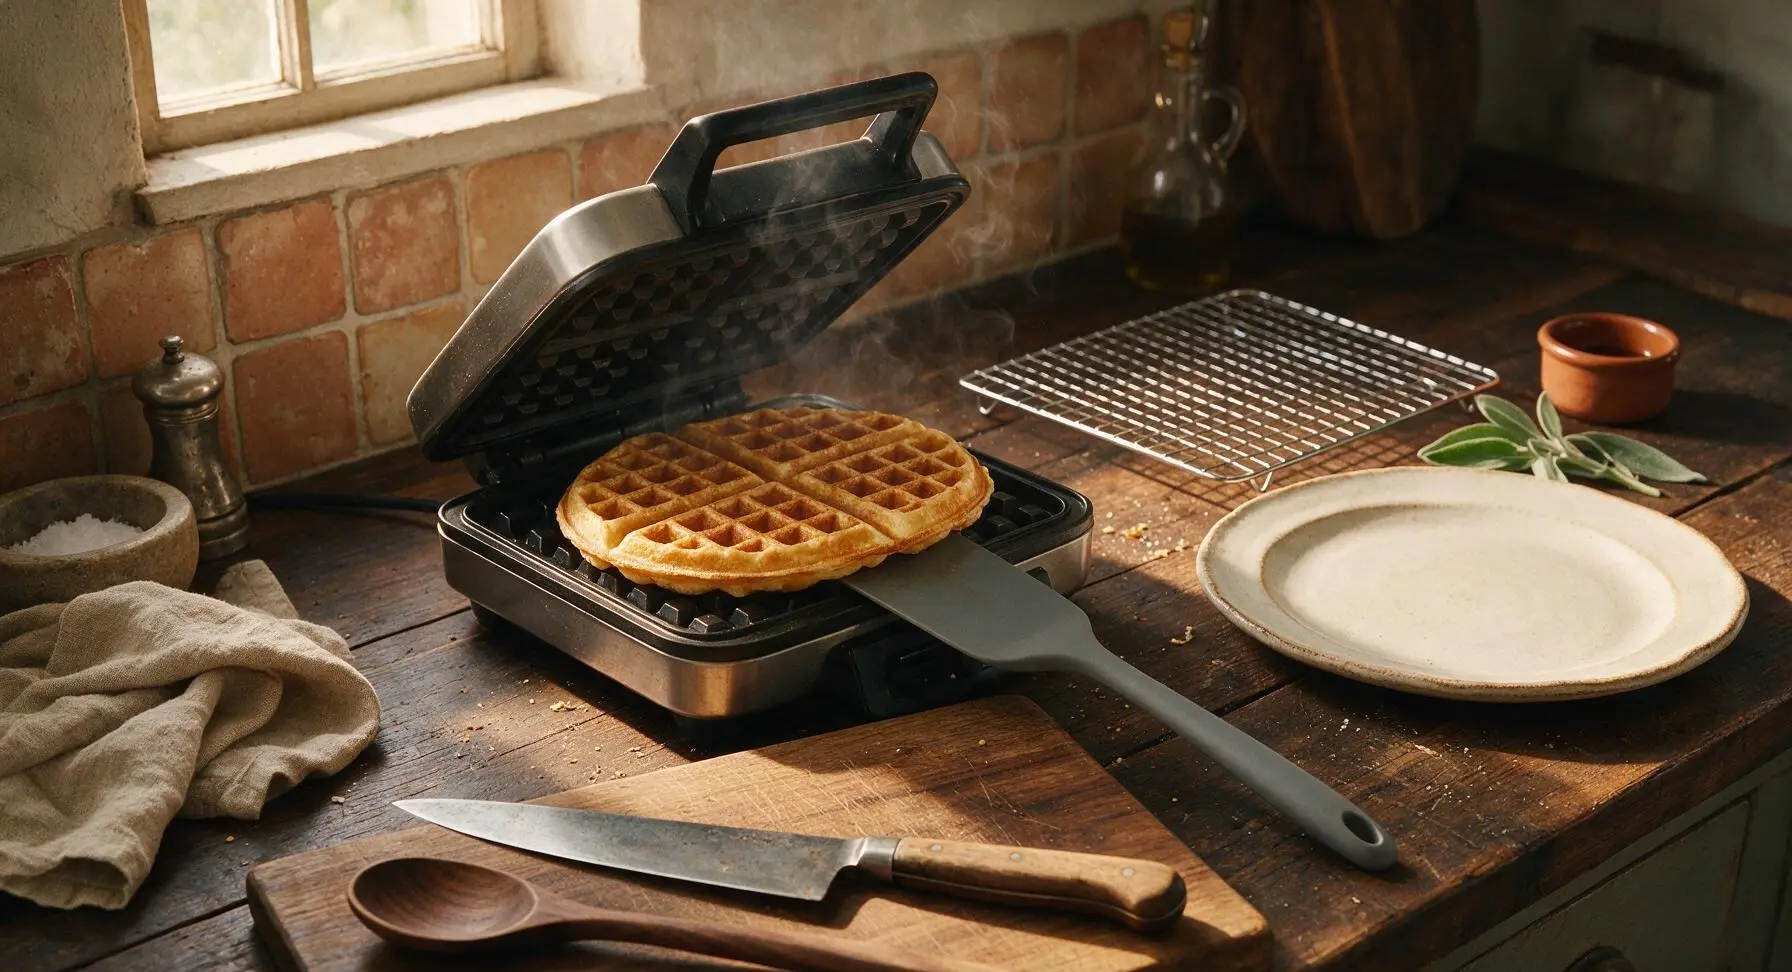
Plate and Garnish
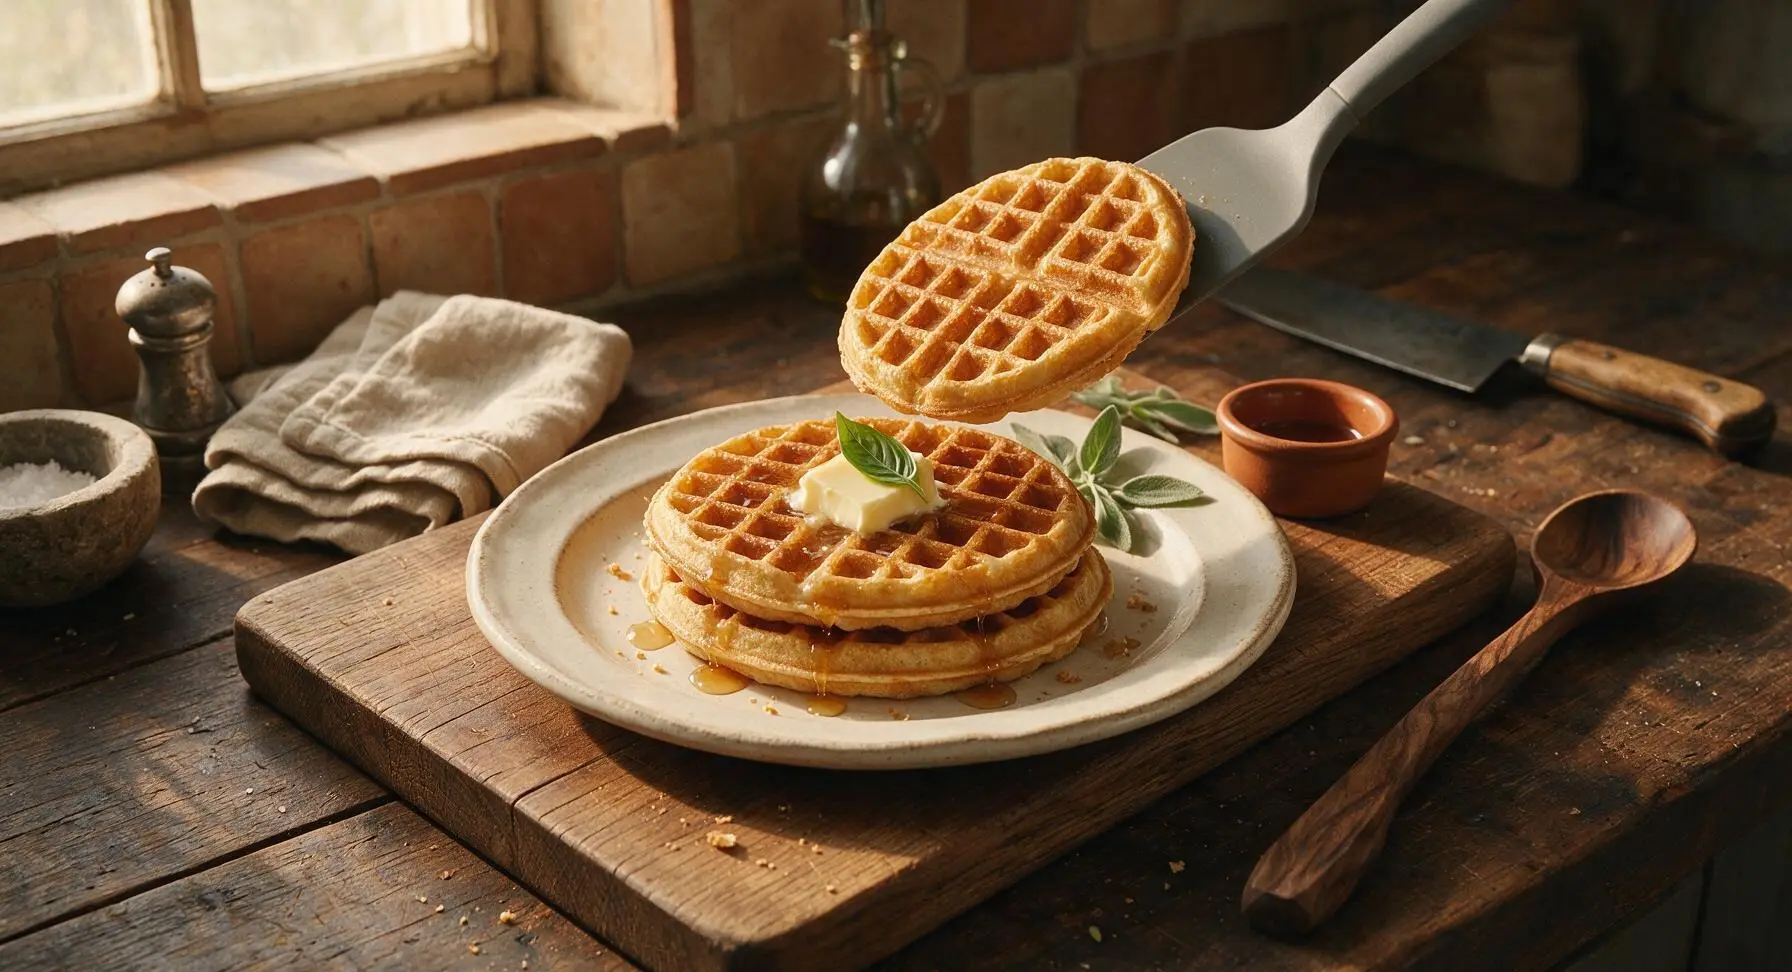
Once waffles have rested for 1 minute on the wire rack, stack two waffles centered on the matte cream ceramic dinner plate. Place a 1-tablespoon pat of cold unsalted butter on the top waffle, letting it melt into the warm grid pockets. Drizzle 2 tablespoons of maple syrup over the stack, allowing it to run down the sides and pool slightly in the plate well. Garnish with a single fresh cinnamon basil leaf, and serve immediately while waffles are hot and crisp.
Tips
2.Rest cooked waffles on the wire cooling rack for 60 seconds before plating instead of piling them directly on a plate. Stacking hot waffles traps steam between layers, turning crisp edges soft and soggy; air circulation from the rack preserves crunch.
3.Never press down on the waffle iron lid after closing it. Pressing squeezes out the air bubbles created by the baking powder, resulting in thin, dense waffles instead of thick, fluffy ones with well-defined grid pockets to hold butter and syrup.






OMG these are SO good! I’ve tried so many homemade waffle recipes that turn out soggy 10 minutes after cooking, but these stayed crispy the entire time my kids were shoveling them down with syrup and berries. Cook time was actually only 15 minutes total like the recipe said, no fancy hard-to-find ingredients needed. Total game changer for our lazy Saturday brunch routine!
Super easy recipe even for someone who burns toast half the time. Made these for my roommate and I before our early hike, they held up great even when we slathered them with peanut butter and banana slices. Crispy on the outside, fluffy in the middle, 10/10.
Perfect for meal prep! I made a double batch on Sunday, popped them in the toaster all week for quick breakfasts, and they crisp right back up like they’re fresh. Way better than the frozen waffles I used to buy, and way cheaper too. My only tiny note is I added a dash of cinnamon to the batter and it was chef’s kiss.
Made these for my book club potluck last weekend and everyone was asking for the recipe! I was nervous because I’ve never made waffles from scratch before, but the difficulty being easy was no lie – no weird steps, just mix and pour. I topped them with a little whipped cream and peach compote and they were a hit.
My teen son who lives on frozen waffles said these are ‘actually fire’ which is the highest compliment he gives any food I make. Win for dad. Will be making these every weekend from now on.
Tried these last night and they were tasty, but mine came out a little softer than I wanted. Quick question – my waffle iron is the super old thin kind my mom gave me from the 90s, do I need to adjust cook time for that? I cooked them for the time my waffle iron manual says but they weren’t as crispy as the photos look.
Took me way too long to find a from-scratch waffle recipe that doesn’t require separating eggs and beating egg whites, who has time for that on a weekday? These are so quick, perfectly crispy, and I love that I probably already have all the ingredients in my pantry. 10/10, no notes.
This looks SO good! Quick question for anyone who’s tried it – does this work with a 1:1 gluten free all purpose flour blend? My daughter has celiac and I’ve been searching for a crispy gluten free waffle recipe that doesn’t taste like cardboard. Fingers crossed this works, it looks exactly like what I’ve been looking for!
Made these for our early morning tailgate before the college football game last weekend, set up a little waffle topping bar with syrup, sprinkles, chocolate chips, and fruit. People went crazy for them, even the guys who usually just eat donuts and beer at tailgates were coming back for seconds. Easy to transport too if you keep them in a covered dish.
First time making breakfast for my in-laws this weekend and I was so stressed, but these came out perfect! My mother-in-law is super picky about waffles (she swears by her mom’s 70 year old recipe) and she asked for the recipe. Win for the new daughter-in-law!
First batch was a total flop because I forgot to melt the butter first, oops! Second batch I followed the directions exactly and they were perfect, crispy, fluffy, everything you want in a waffle. Don’t be like me and skip melting the butter, folks.
I swapped the dairy milk for oat milk and the eggs for flax eggs to make these vegan, and they still got perfectly crispy! I was shocked, usually vegan waffles are so soggy, but these held up even with vegan butter and maple syrup. Will be making these on repeat.
Game. Changer. I added a little vanilla extract and a handful of mini chocolate chips to the batter, served them with fried chicken for a chicken and waffles dinner last night, and my roommate said it’s the best meal I’ve ever made. The crisp on these waffles is unreal, even when you put savory toppings on them.