
waffle recipe metric

title 1
waffle recipe metric

⏱️ cook time 15 minutes
🍽️ servings 4
⚡ Difficulty easy

intro

Crisp golden edges, light fluffy centers, and simple metric measurements make these homestyle waffles perfect for fast weeknight meals or lazy weekend topping spreads.

Ingredients
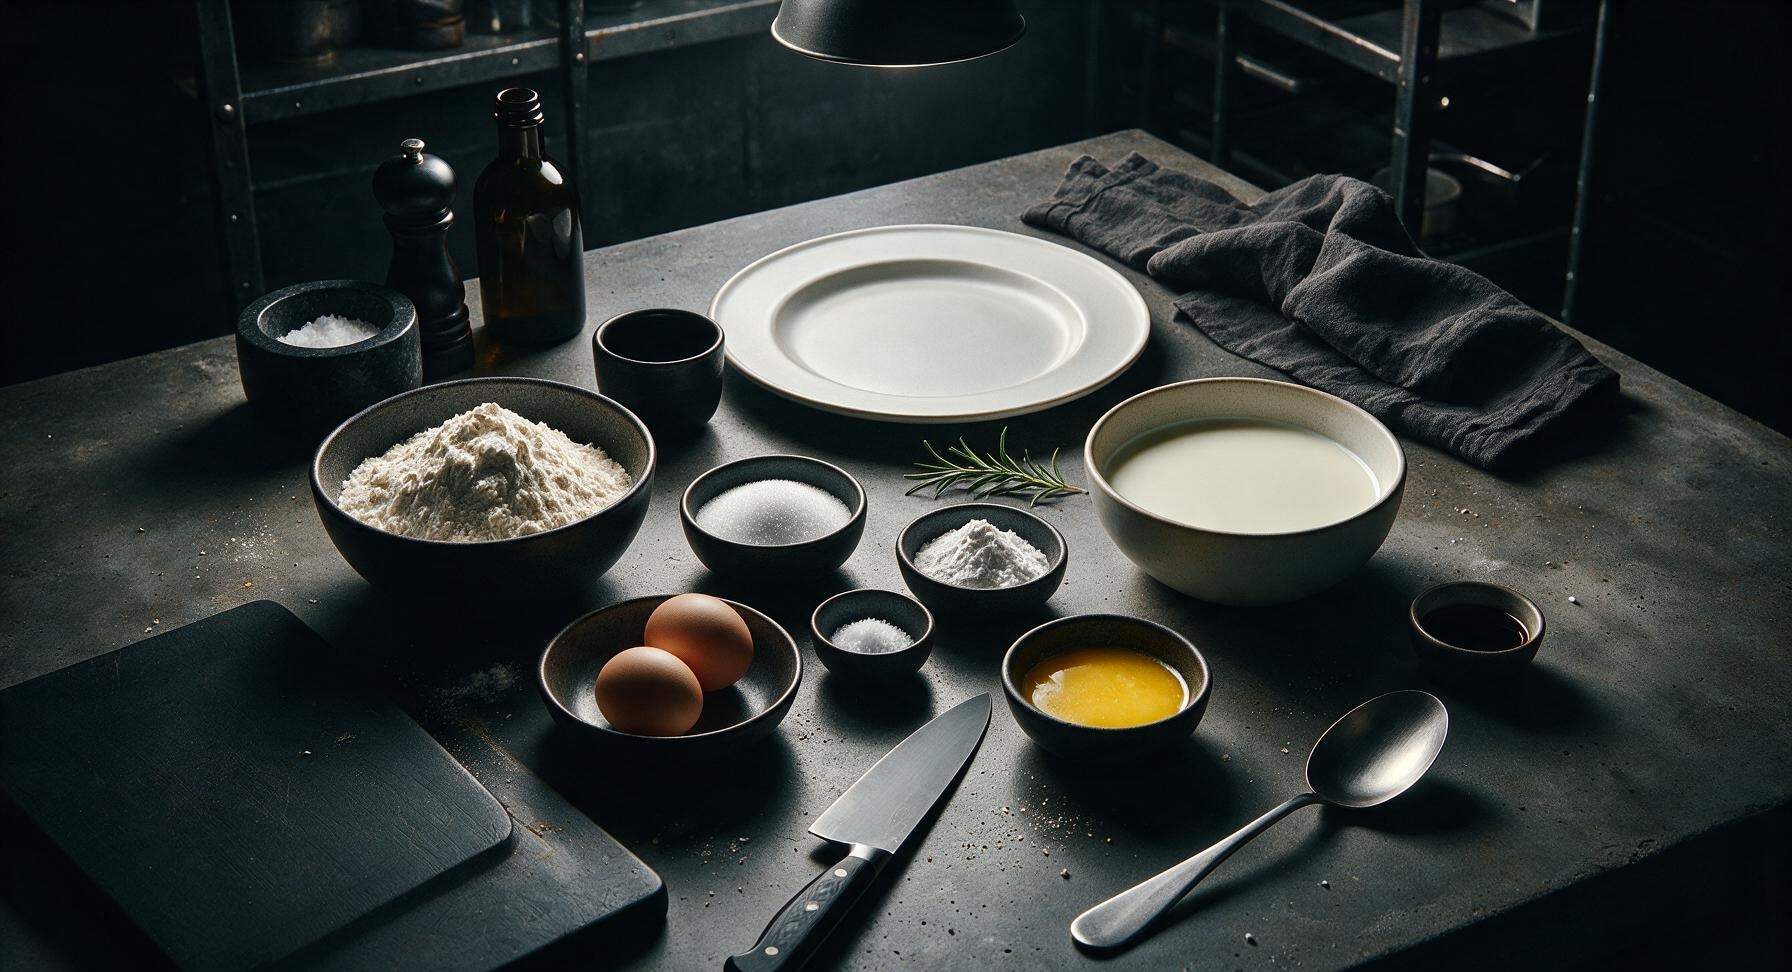
Plain all-purpose flour 250g
Granulated white sugar 15g
Double-acting baking powder 10g
Fine table salt 3g
Large eggs 2 units (approx 100g, shelled)
Whole milk (3.25% fat) 350ml
Unsalted butter, melted and cooled 60g
Pure vanilla extract 5ml

Steps

1

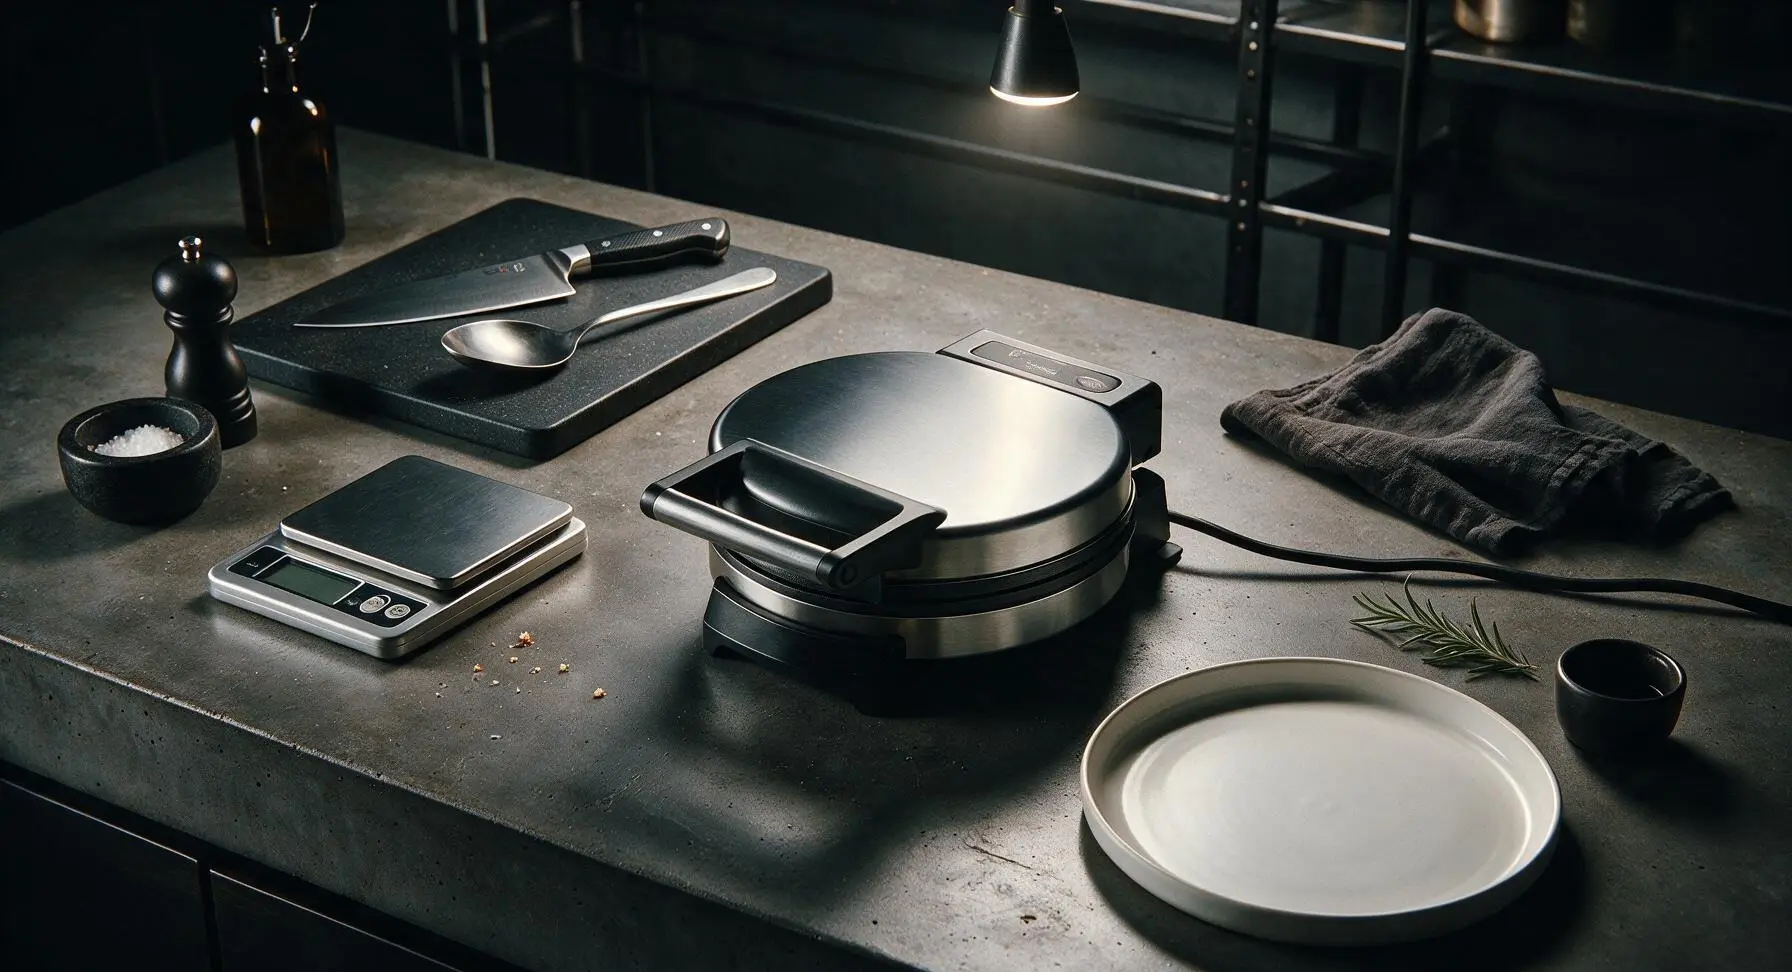
Preheat Waffle Maker

Pull the stainless steel electric waffle maker from its back center storage position to the center of the work zone. Plug it in and preheat to 190°C (medium-high setting) while you mix the batter; this takes approximately 5 minutes, and the unit’s indicator light will turn off when it reaches target temperature. If your waffle maker does not have a permanent non-stick coating, lightly brush the grids with a thin layer of melted butter to prevent sticking.
Step 1
step1:Preheat Waffle Maker
2

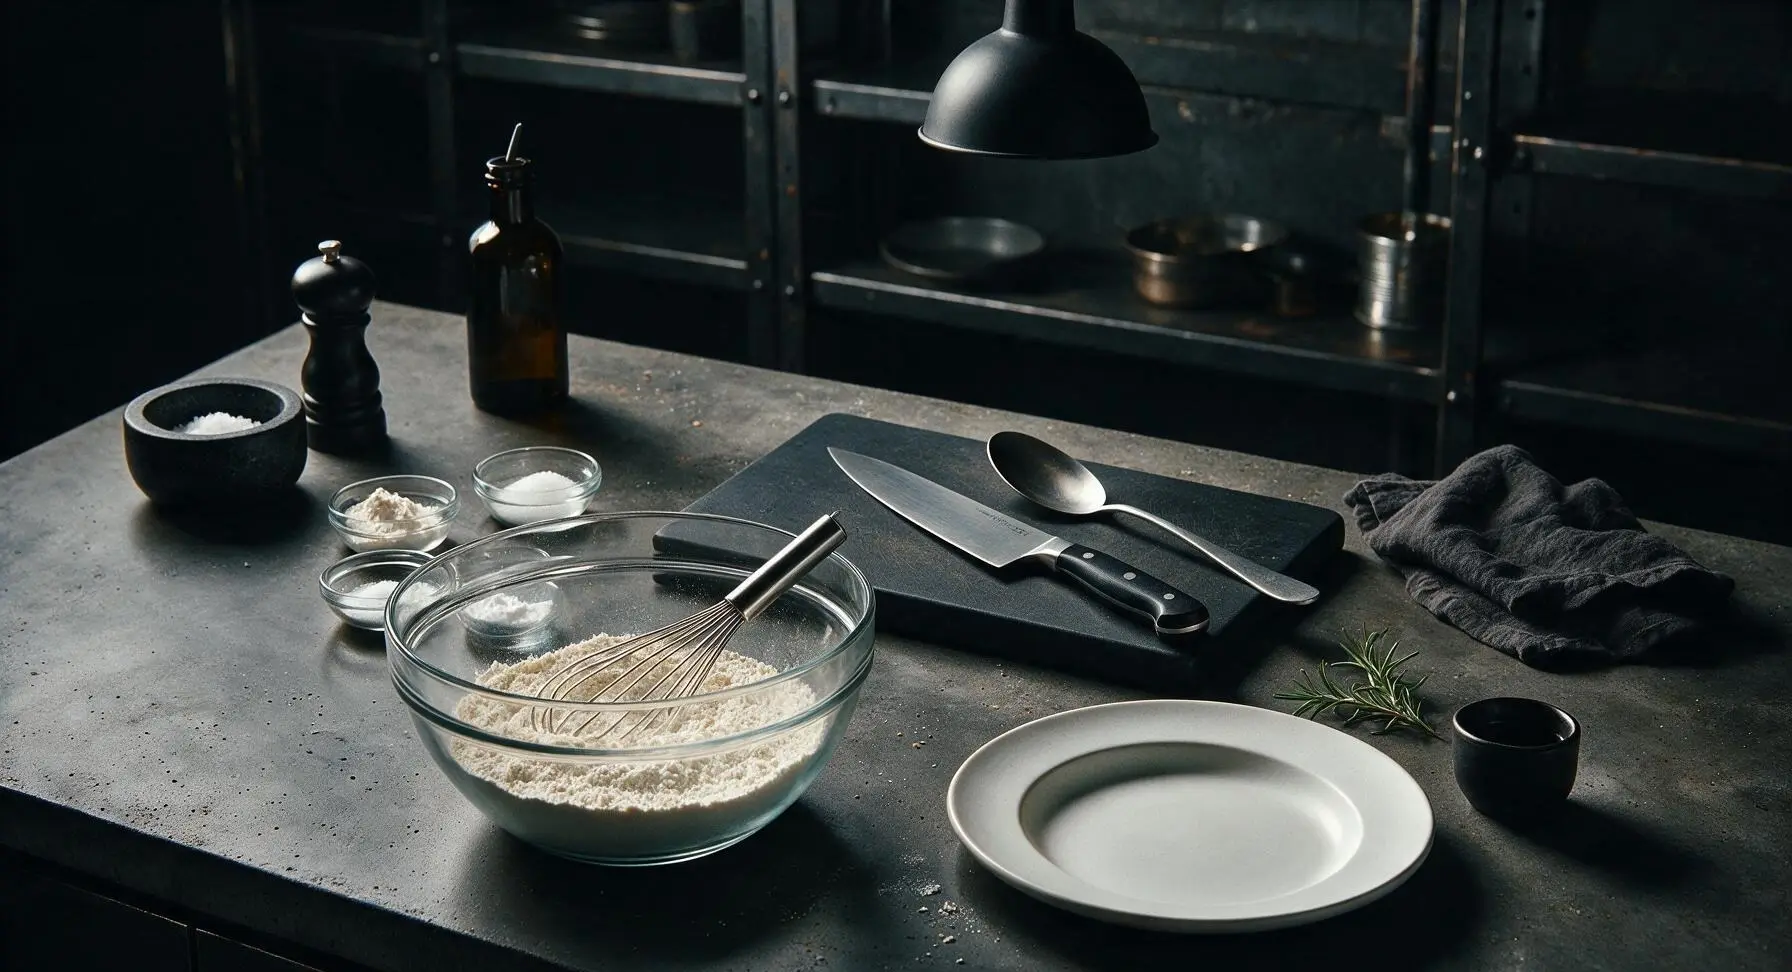
Combine Dry Ingredients

Place the 2L clear glass mixing bowl on the center-left counter position. Weigh 250g plain flour, 15g granulated sugar, 10g baking powder, and 3g fine salt directly into the bowl using the digital scale. Use the stainless steel wire whisk to stir the dry ingredients for 30 seconds until fully combined, with no visible clumps of baking powder remaining.
Step 2
step2:Combine Dry Ingredients
3

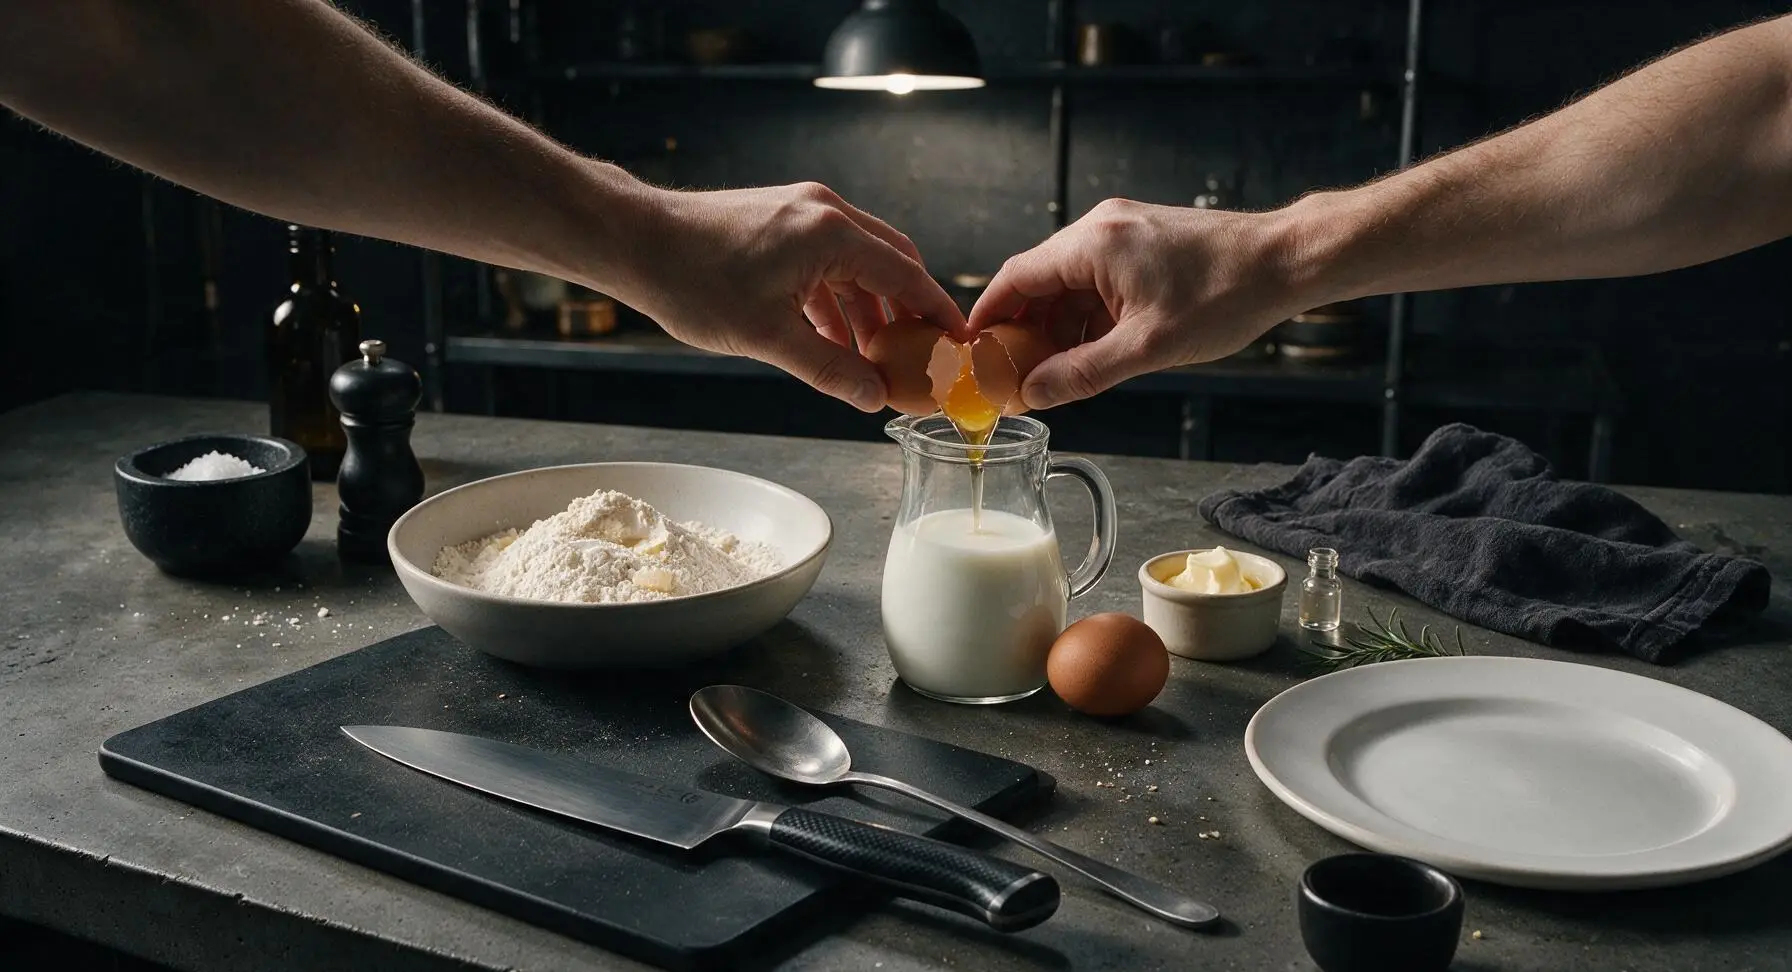
Whisk Wet Ingredients

Crack the 2 large eggs into the clear glass milk jug holding 350ml whole milk, add 5ml vanilla extract, and whisk with the stainless steel wire whisk for 20 seconds until the eggs are fully broken up and the mixture is a uniform pale yellow. Stir in the 60g cooled melted butter from the cream ceramic ramekin, mixing for 10 seconds to fully combine.
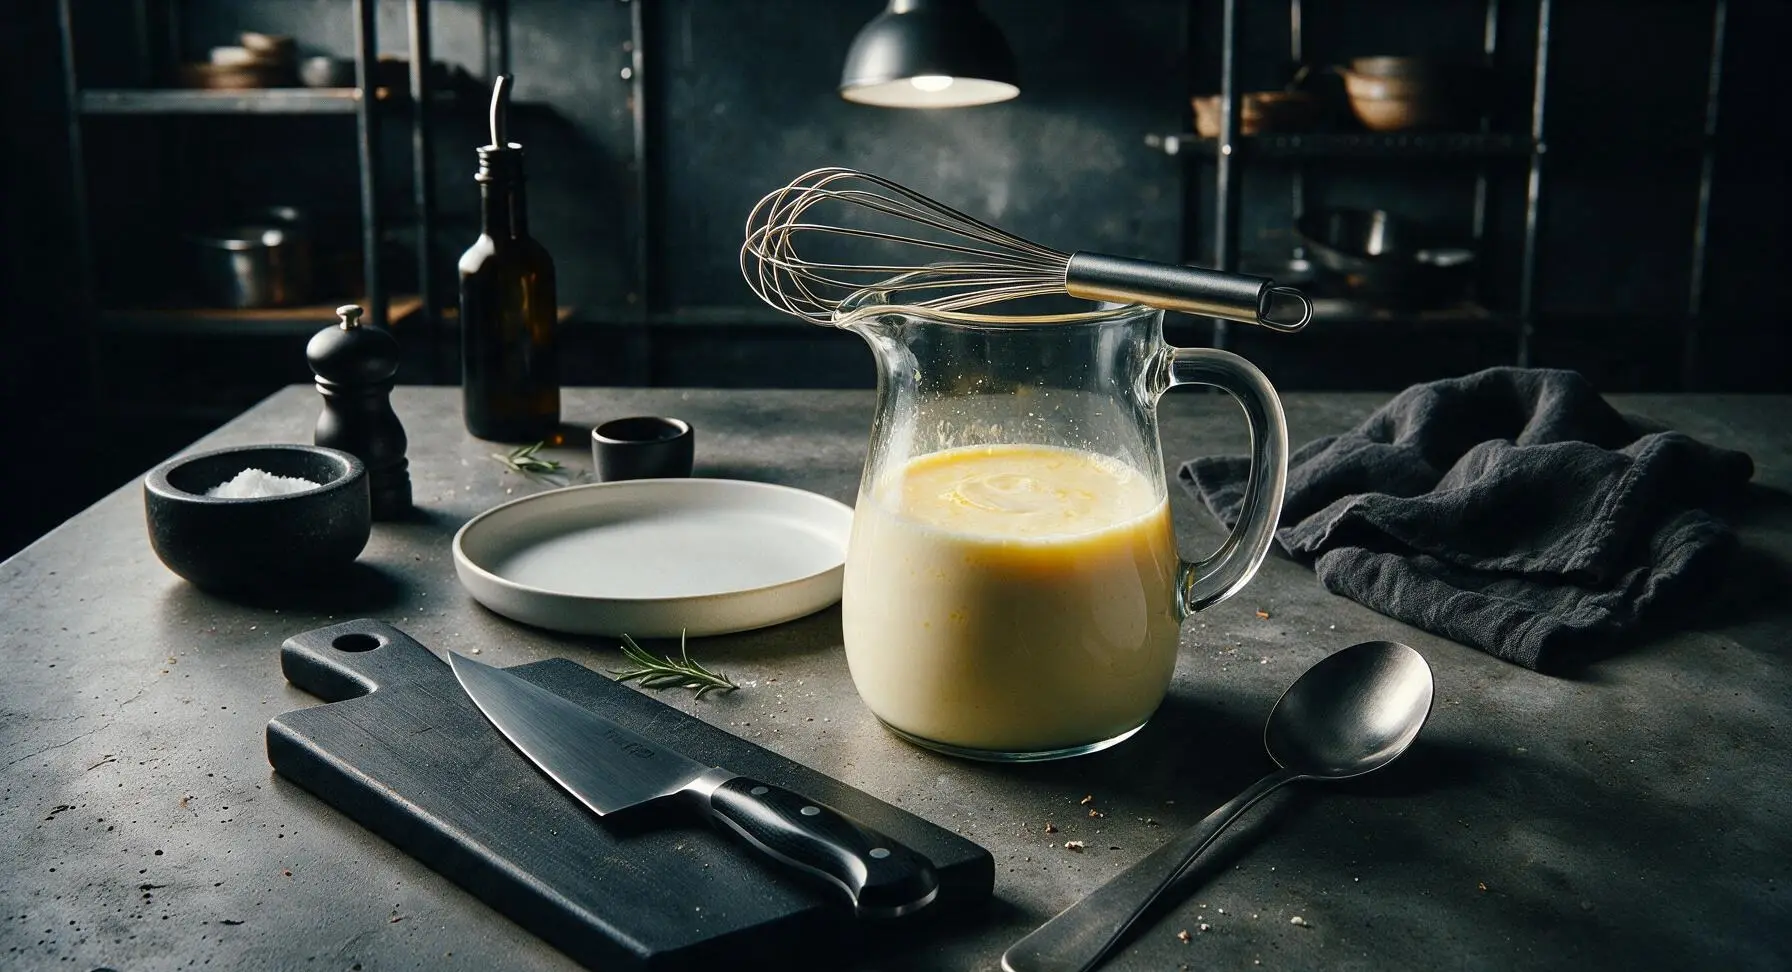
Step 3
step3:Whisk Wet Ingredients
Step 3
step3:Whisk Wet Ingredients
4

Mix Waffle Batter

Pour the entire wet ingredient mixture from the milk jug into the bowl of dry ingredients. Use the matte light blue silicone spatula to gently fold the ingredients together, stirring only until no large pockets of dry flour remain. Stop mixing as soon as the batter comes together; small lumps are completely normal and will result in fluffier waffles—overmixing develops gluten and will make waffles tough. Let the batter rest for 3 minutes to allow the baking powder to activate and create light rise.
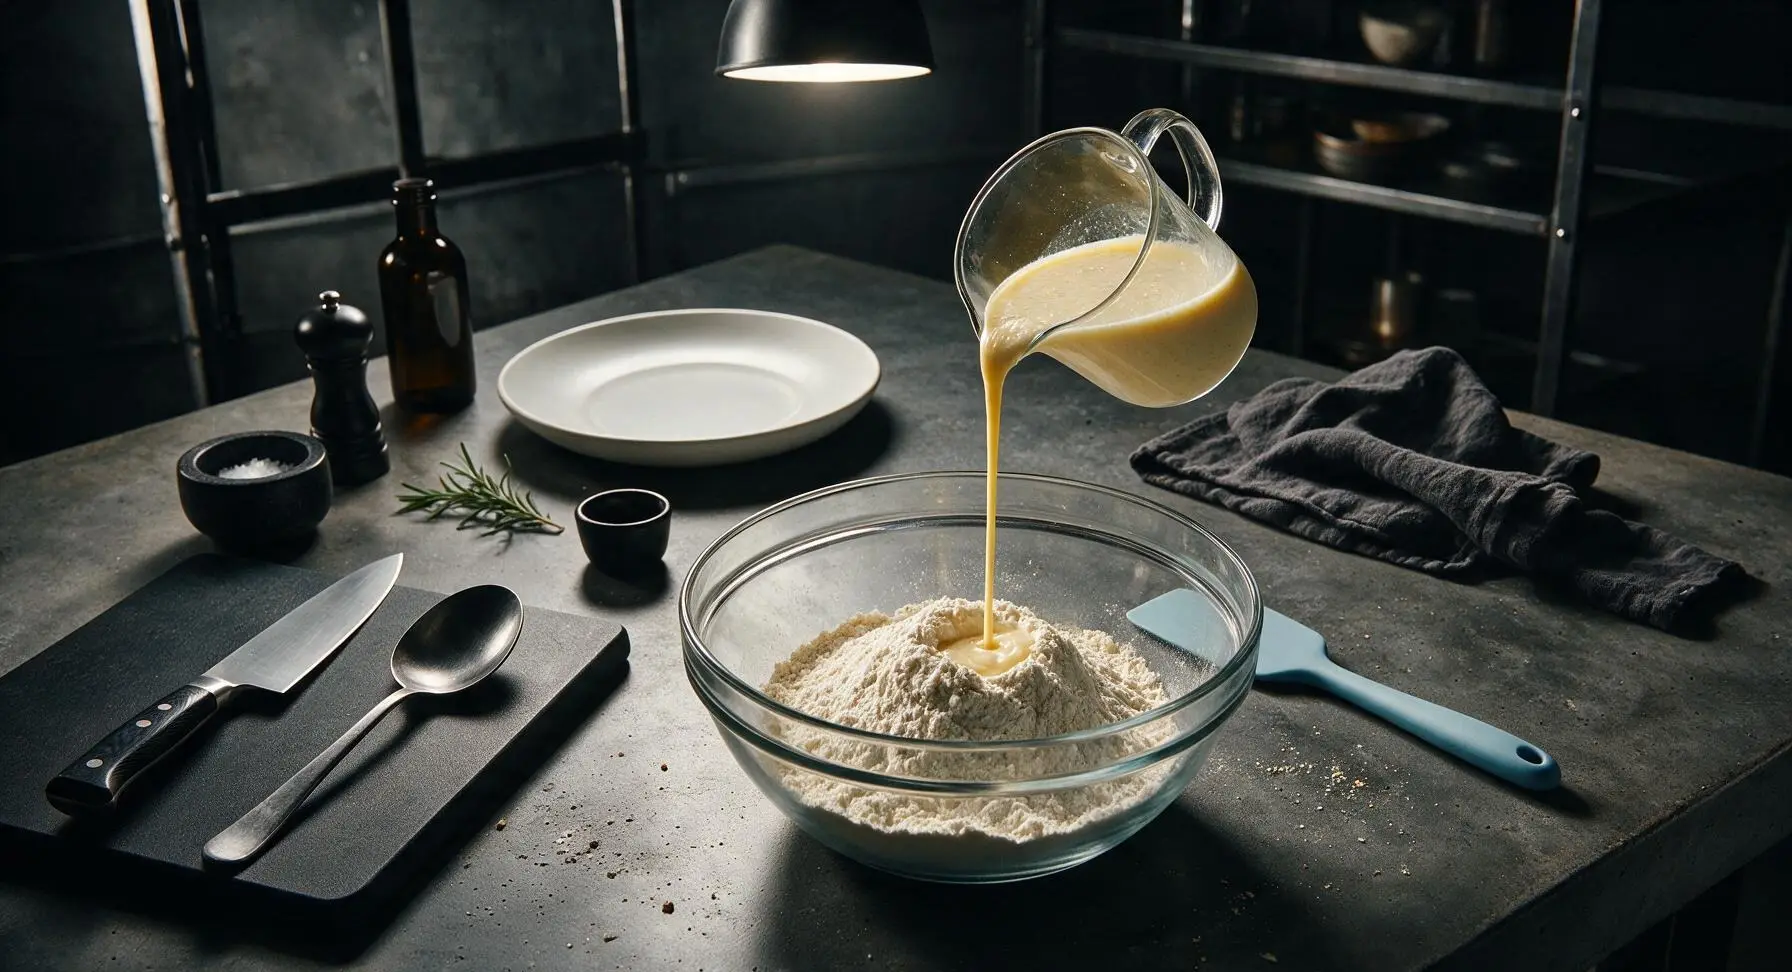
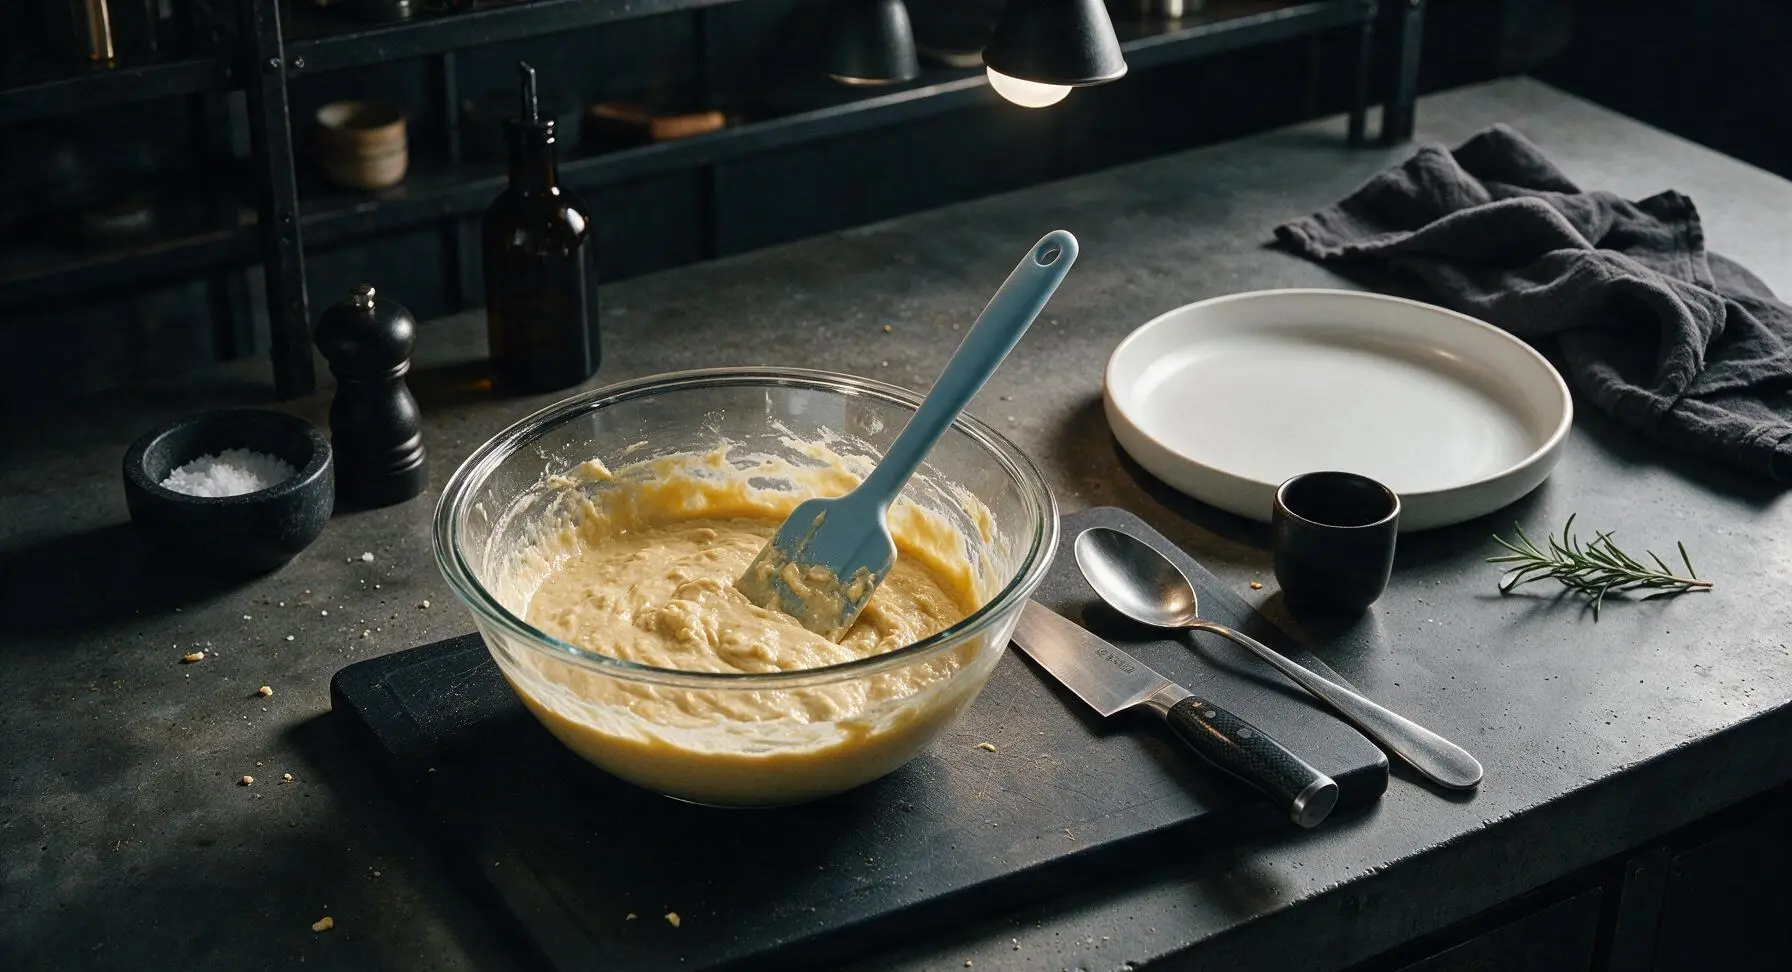
Step 4
step4:Mix Waffle Batter
Step 4
step4:Mix Waffle Batter
5

Portion Batter to Cook

Once the waffle maker is preheated (indicator light off) and the batter has rested for 3 minutes, use the 125ml stainless steel measuring cup from the nested set to scoop batter, pouring it directly onto the center of the lower waffle grid. Use the back of the measuring cup to gently spread the batter 1cm away from the grid edges, as it will spread and rise as it cooks. For the 22cm round waffle maker, 125ml of batter is the perfect amount to avoid messy overflow.
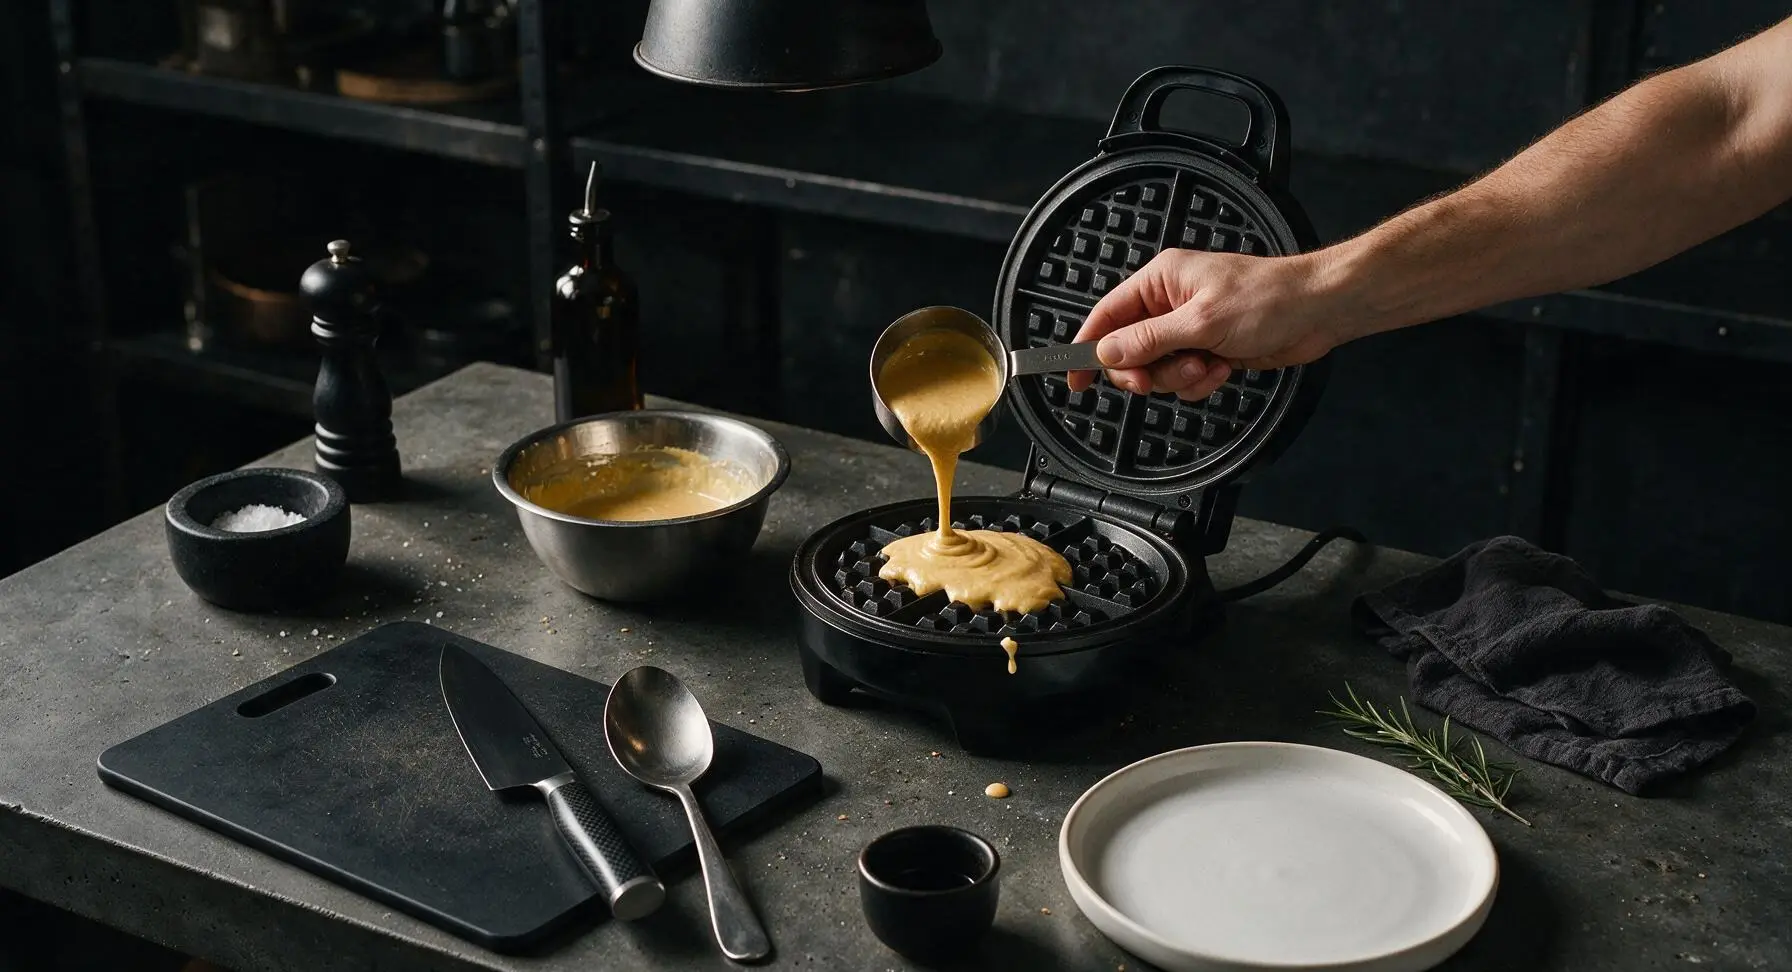
Step 5
step5:Portion Batter to Cook
6

Cook to Crisp Golden

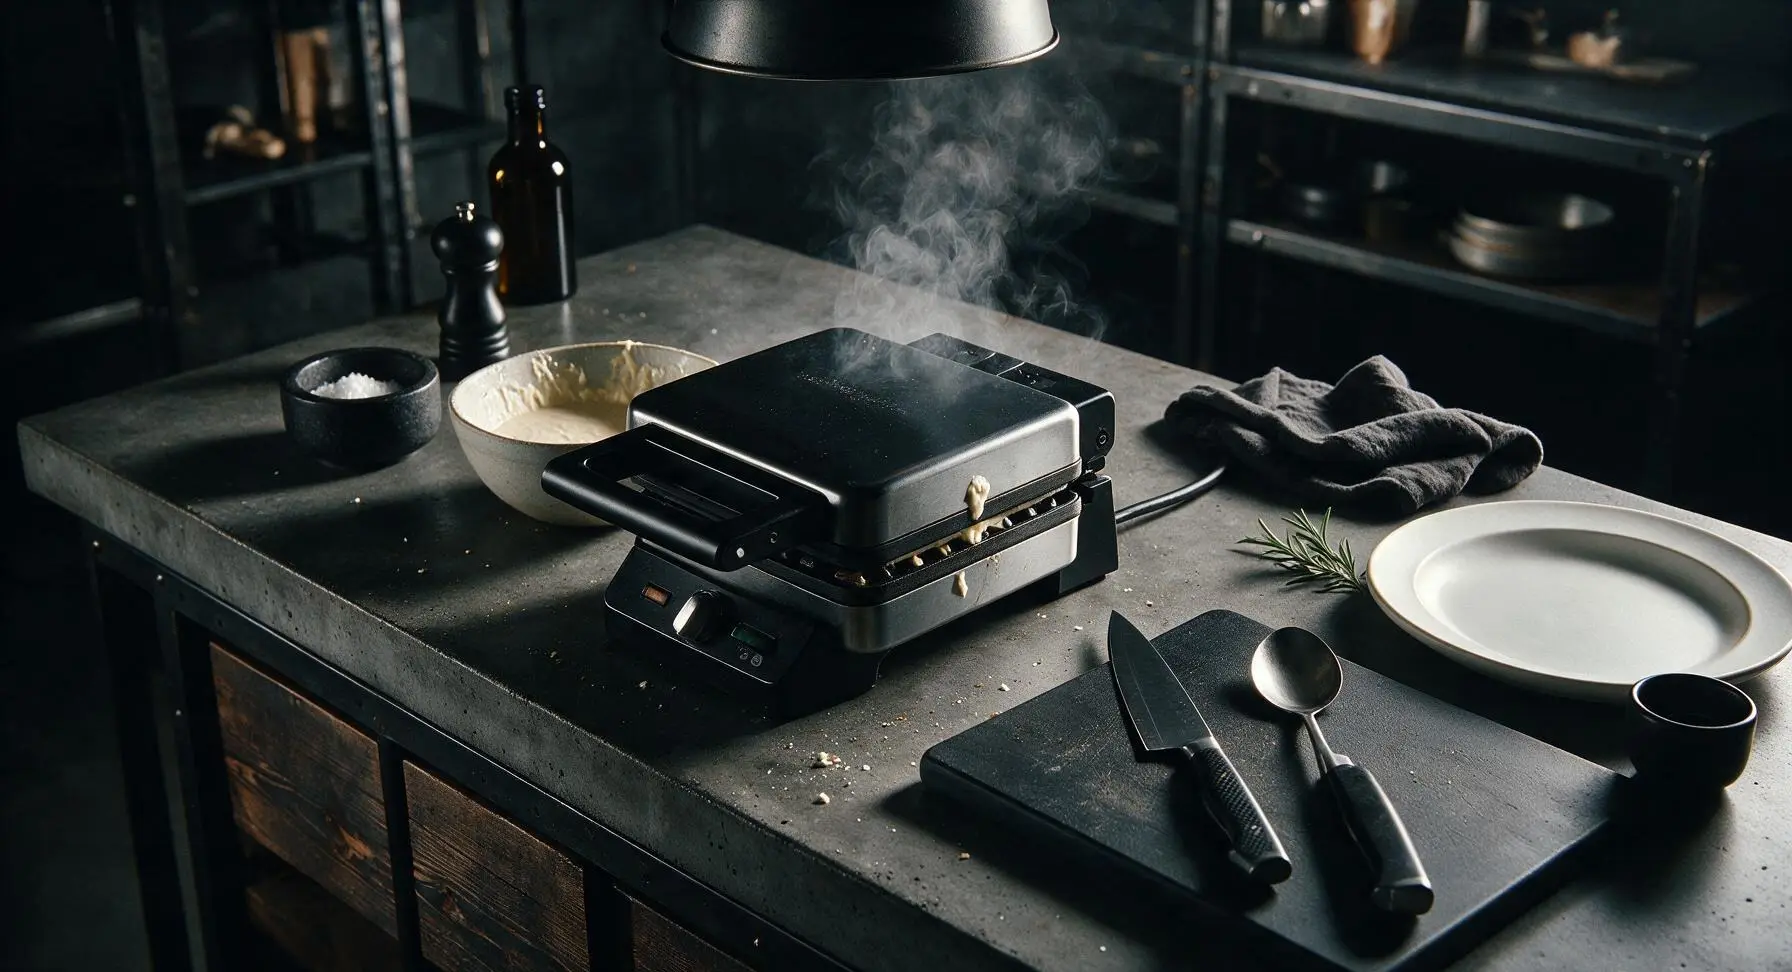
Close the waffle maker lid and cook for 3 to 4 minutes, until steam stops escaping from the edges of the waffle maker. Do not open the lid before 3 minutes, as this will cause the partially set waffle to split and stick to the grids. The finished waffle will be deep golden brown, crisp on the outer edges, and pull away easily from the grids when fully cooked.
Step 6
step6:Cook to Crisp Golden
7

Transfer Cooked Waffles

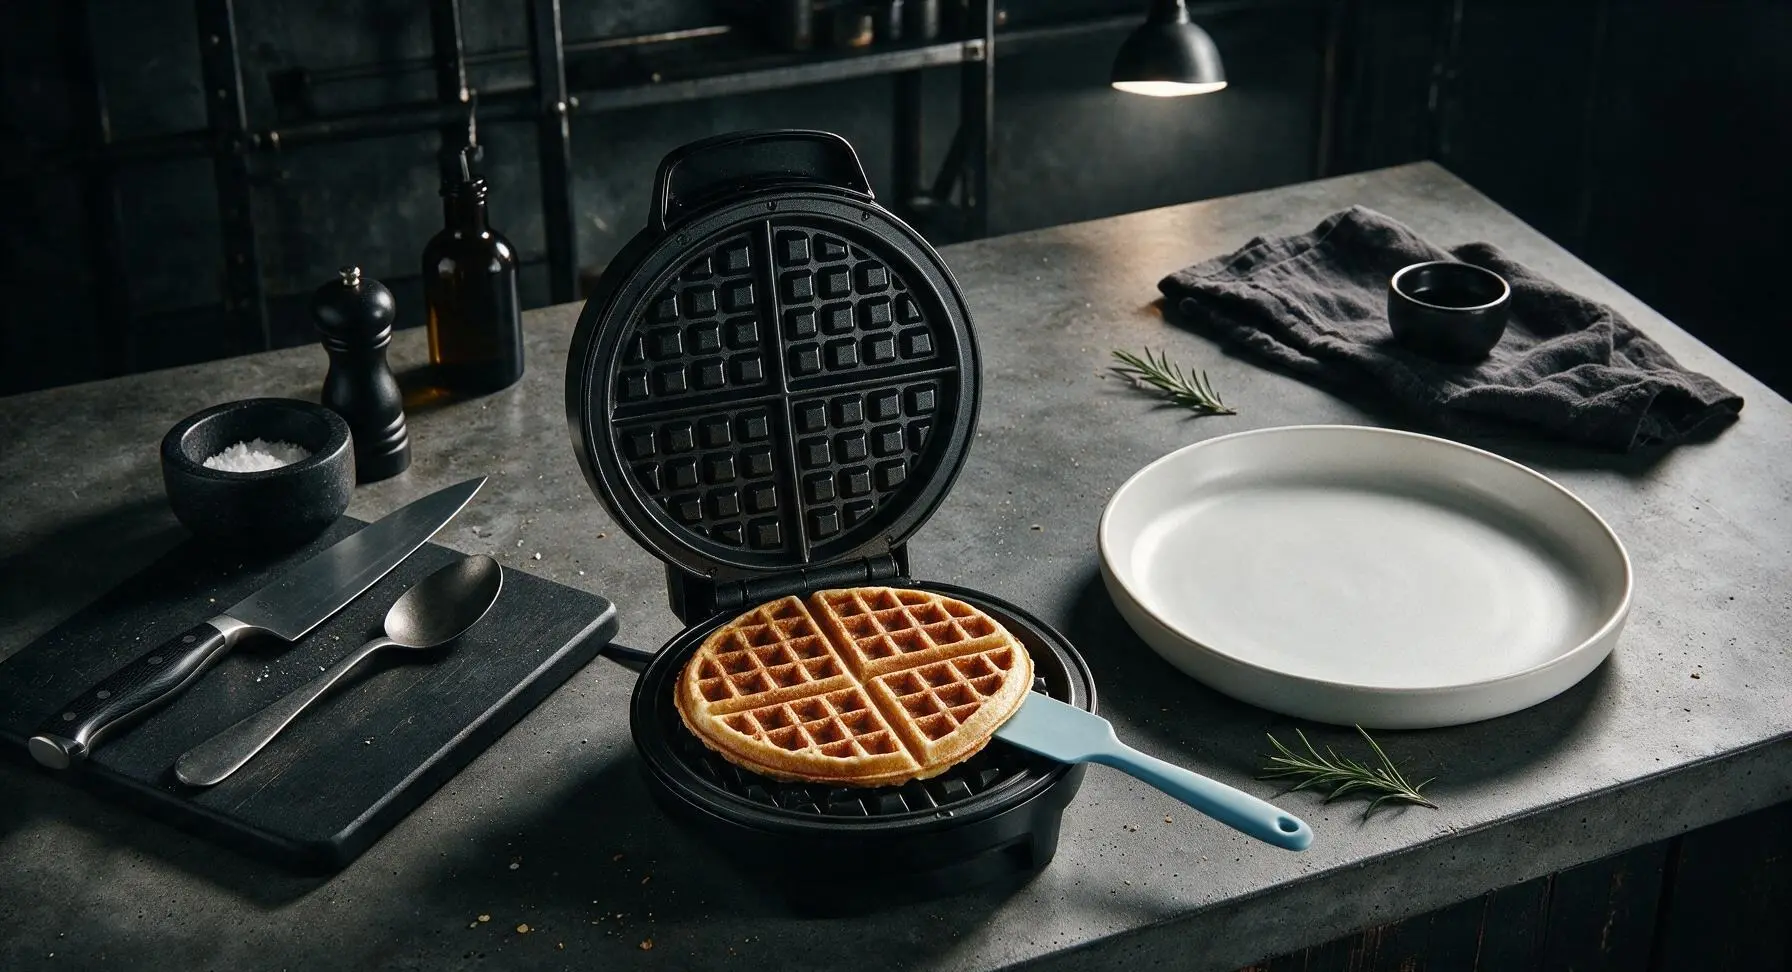
Open the waffle maker lid once steam stops, use the light blue silicone spatula to gently lift the finished golden waffle from the grids, transferring it to the cream white ceramic dinner plate positioned center-right. Repeat the portioning and cooking process with the remaining batter, stacking cooked waffles loosely on the plate to keep edges crisp; do not stack them tightly or cover with a towel, as trapped steam will make them soggy.
Step 7
step7:Transfer Cooked Waffles
8

Top and Serve Warm

Once all waffles are cooked and loosely stacked on the cream white plate, top the stack with a 10g pat of salted butter, and serve warm with maple syrup, fresh fruit, or whipped cream as desired. Serve immediately for the best crisp, light texture, as waffles will soften as they cool.

Step 8
step8:Top and Serve Warm

Tips

1.Always let melted butter cool for 2 minutes before adding it to wet ingredients: hot butter will partially cook the eggs in the milk mixture, creating tiny cooked egg lumps that lead to uneven, dense waffle texture.
2.Resist the urge to open the waffle maker before the 3-minute mark: if you lift the lid early, the waffle’s gluten structure hasn’t set, and it will tear, stick to the grids, and lose its fluffy, tall rise.
3.For extra-crisp waffles when cooking multiple batches, place cooked waffles directly on a wire rack set over a baking sheet in a 100°C oven instead of stacking them on a plate—this allows air to circulate around the waffles and prevents trapped steam from softening the crisp edges.


✨ You May Also Like

Breakfast
🍜 United States

Crisp-edged, fluffy lard griddle cakes are a nostalgic homestyle staple, with rich savoriness from rendered lard, perfect topped with maple syrup or savory gravy.

⏱️ 25 minuteBreakfast ★ 4.8
Breakfast
🍜 United States

Flaky, buttery homemade buttermilk biscuits smothered in creamy, peppery pork sausage gravy: a beloved, hearty Southern American comfort food classic.

⏱️ 35 minuteBreakfast ★ 4.8
Breakfast
🍜 United States

Golden, custardy brioche stuffed with sweet cream cheese and fresh berries, pan-fried to crisp perfection. An indulgent, cozy breakfast perfect for slow weekend mornings.

⏱️ 30 minuteBreakfast ★ 4.7
Breakfast
🍜 United States

Flaky, buttery Southern-style biscuits stuffed with savory salty country ham, a portable, satisfying classic perfect for casual on-the-go meals.

⏱️ 25 minuteBreakfast ★ 4.8
Breakfast
🍜 United States

Iconic puffy baked pancake popularized in Seattle, with crisp golden edges and soft custardy center, served warm with classic sweet toppings.

⏱️ 35 minuteBreakfast ★ 4.6
Breakfast
🍜 United States

Fluffy, golden pancakes studded with juicy peak-summer mixed berries, drizzled with maple syrup for a bright, comforting, crowd-pleasing family breakfast.

⏱️ 25 minuteBreakfast ★ 4.7

waffle recipe metric:Frequently Asked Questions

1.Why does this waffle recipe use metric measurements instead of standard US cups? ▾
Metric measurements eliminate the inconsistency that comes with scooping or packing dry ingredients like flour and sugar, so you get perfectly fluffy, evenly textured waffles every single batch. It also makes scaling the recipe up or down for crowds totally foolproof, no tricky fraction math required mid-prep.
2.What gives these homestyle waffles their light, fluffy texture instead of turning out dense? ▾
The double-acting baking powder is the main star here—it leavens the batter first when mixed with wet ingredients, then again when it hits the hot waffle iron to create airy, soft centers. Just don’t overmix the batter, as overdeveloped gluten will lead to tough, heavy waffles.
3.Can I substitute self-rising flour for the plain all-purpose flour in this recipe? ▾
You can, but you’ll need to adjust the other dry ingredients to avoid overly salty or flat waffles. For every 100g of self-rising flour used, cut the added baking powder by 1.5 teaspoons and skip the added table salt entirely, then proceed with the rest of the recipe as written.
4.What temperature should I set my waffle iron to get crisp golden edges without burning? ▾
Set your waffle iron to medium-high heat, roughly 190–200°C (375–400°F) if it has a digital temperature gauge. Let it fully preheat for 3–5 minutes before pouring batter in—if it’s too cool, waffles will stick, turn soggy, and won’t develop that signature caramelized crisp edge.
5.Can I mix up the full batter ahead of time for fast weekday breakfasts? ▾
You can pre-mix all the dry ingredients and store them in an airtight container at room temperature for up to 3 months for ultra-fast prep. I don’t recommend mixing in wet ingredients ahead, though—the baking powder will lose leavening power, leading to flat, dense waffles.
6.How much batter should I pour per waffle to avoid messy overflow in my iron? ▾
For most standard 20cm (8-inch) round waffle irons, 120–150ml (½–⅔ cup) of batter is perfect. Pour it slowly into the center of the iron, then close the lid without pressing down hard—pressing squeezes out air and leads to thin, tough waffles instead of thick, fluffy ones.
7.Can I use a granulated sugar substitute instead of white granulated sugar here? ▾
Most 1:1 granulated sugar substitutes work perfectly here and won’t ruin the fluffy, light texture. Just note that some substitutes cause waffle edges to brown slightly faster, so keep a close eye on cook time to avoid burning, and turn heat down a touch if needed.
8.Why do my waffles keep sticking to the waffle iron even when it’s preheated? ▾
First, make sure you’re not opening the lid too early—waffles need 3–4 minutes of cook time before they release easily from the grids. If sticking persists, give the iron a light, even coating of neutral cooking spray before the first batch, even if it’s labeled non-stick.
9.Can I stir mix-ins like chocolate chips or blueberries into this waffle batter? ▾
Absolutely! Fold 50–75g of your favorite mix-in into the batter right before cooking so they don’t sink to the bottom. For juicy add-ins like fresh blueberries, toss them in a light dusting of flour first to keep them evenly distributed through the fluffy crumb.
10.Why does this recipe call for double-acting baking powder instead of regular baking powder? ▾
Regular single-acting baking powder only leavens once when it hits wet ingredients, so it loses power fast if you don’t cook batter immediately. Double-acting baking powder leavens twice—once when mixed, once when heated—for a more reliable, high rise that creates that classic fluffy texture.
11.Can I adapt this recipe to be gluten-free for family members with sensitivities? ▾
Yes! Swap the plain all-purpose flour for a 1:1 gluten-free all-purpose flour blend that contains xanthan gum to build structure. Let the batter rest 5 minutes before cooking to let the flour hydrate fully, so you get the same light, fluffy texture without traditional wheat flour.
12.How do I keep cooked waffles crisp while I finish making a full batch for a group? ▾
Set your oven to 95°C (200°F) and arrange cooked waffles in a single layer on a wire rack set over a baking sheet. Don’t stack them or wrap them in foil—trapped steam will turn crisp edges soggy fast, ruining that perfect crisp-fluffy texture contrast.
13.Can I freeze leftover cooked waffles for quick, easy meals later? ▾
Absolutely! Let cooked waffles cool completely to room temperature, then stack them with small squares of parchment paper between each to prevent sticking, and store in a sealed freezer bag for up to 3 months. Reheat straight from frozen in a toaster to bring back crisp edges.
14.What happens if I overmix the waffle batter? ▾
Overmixing develops the gluten in the all-purpose flour, which leads to tough, chewy waffles instead of light, fluffy homestyle ones. It’s totally normal (and good!) to have a few small lumps left in the batter—stop mixing as soon as you no longer see dry streaks of flour.
15.Can I use coarse sea salt instead of fine table salt in this recipe? ▾
You can, but you’ll need to adjust the amount to avoid under-seasoned waffles, since coarse salt is less dense by volume. Use 1.5 times the called-for weight of coarse sea salt to match the seasoning of fine table salt, and whisk it fully into dry ingredients for even distribution.
16.Do I need to separate my eggs and whip the whites to get fluffy waffles? ▾
You don’t have to for that classic, cozy homestyle texture—the double-acting baking powder gives enough lift for light, fluffy centers without the extra fussy step. If you want extra-tall, restaurant-style waffles, though, separating eggs and whipping whites works great.
17.How can I tell when my waffles are fully done and ready to pull from the iron? ▾
Waffles are done when steam stops escaping from the edges of the iron, which usually takes 3–4 minutes for standard-sized waffles. They should be deep golden brown on the outside, pull away from grids easily, and have a fully set, fluffy center with no raw batter pockets.
18.Can I use this waffle batter to make pancakes if I don’t own a waffle iron? ▾
You can, with a small adjustment! Thin the batter slightly with cold water until it reaches a slow-pouring pancake consistency, then cook on a preheated greased griddle over medium heat for 1–2 minutes per side until golden, fluffy, and fully set in the center.

Comments (12)

2 days ago

OMG these are SO good! I made them for Saturday morning breakfast for my two boys and they both asked for seconds before they even finished their first plate. The metric measurements were so much easier to follow than the random cup measurements I usually mess up, no more lumpy batter for me! Game changer for our weekend brunch rotation. Wait, quick question—has anyone tried freezing the leftover waffles for quick weekday breakfasts?

yesterday

I froze a batch last week! Just pop them in the toaster straight from the freezer, they crisp up perfectly and taste just as fresh as the day you make them. I do meal prep for my work week and these have saved me so much time in the mornings!

yesterday

So glad your boys loved them! Freezing works wonderfully—we recommend laying them flat on a baking sheet to freeze first before tossing them in a freezer bag to prevent sticking, they’ll keep for up to 3 months!

1 week ago

Brought these to our neighborhood block party potluck last weekend and people were begging for the recipe before I even set the platter down! I topped half with fresh berries and whipped cream and the other half with fried chicken and spicy honey for the savory crowd, both versions were a total hit. Only thing is I don’t have a Belgian waffle maker, will this batter work okay in a regular thin waffle iron?

5 days ago

I used a regular old $20 waffle iron I got at a garage sale and they turned out perfect! Just cut the cook time down by about 30 seconds so they don’t get too crispy around the edges if you like them soft and fluffy like I do.

5 days ago

Thrilled they were a potluck hit! This batter works beautifully in any waffle iron—for standard thin irons, just reduce cook time to 2-3 minutes instead of the 3-4 minutes recommended for Belgian makers, and keep an eye on them for that perfect golden brown finish.

3 days ago

I made these last week with regular all purpose flour and they were so fluffy! Quick question though—has anyone tried making them with a 1:1 gluten free all purpose flour blend? My daughter has celiac so I’m always looking for easy, fluffy waffle recipes that don’t turn into dense cardboard when I swap flours, y’all know what I mean? The 15 minute cook time is perfect for busy school mornings, I don’t have time for fussy recipes that take forever!

2 days ago

I used Bob’s Red Mill 1:1 GF blend last week and added an extra 1/4 tsp of baking powder, they were so fluffy my husband didn’t even notice they were gluten free! Game changer for our house too.

2 days ago

Great question! We’ve tested this recipe with several 1:1 GF flour blends and it works great—we do recommend adding that extra pinch of baking powder as Jess mentioned to keep that light, fluffy texture, and make sure your batter isn’t overmixed!

5 minutes ago

Dude, these were so easy to make even I didn’t mess them up and I burn toast half the time. The metric measurements meant I didn’t have to do a million weird conversion math things for my kitchen scale, total win. I added a handful of chocolate chips to the batter and it was chef’s kiss. 10/10 will make again for my dorm floor hang this weekend.

just now

Love that! Chocolate chips are such a fun add-in, pro tip: toss them in a little flour first before stirring into the batter so they don’t all sink to the bottom of the waffle iron. Hope your dorm crew loves them!

yesterday

Made these yesterday for my partner’s birthday brunch and they were perfect! So light and fluffy, not heavy and greasy like the frozen waffles we used to buy. I did add a teaspoon of vanilla extract because I love that extra warm flavor, highly recommend that tweak if you’re a vanilla fan like me.

2 hours ago

Oh the vanilla addition sounds chef’s kiss! I added a half teaspoon of cinnamon last time I made them and it gave them that cozy, warm flavor that’s perfect for fall weekends with a side of apple cider.

2 weeks ago

I meal prepped a double batch of these on Sunday and they’ve been holding up great all week for quick breakfasts before my early morning workouts. They’re not overly sweet so I can top them with peanut butter and banana for a protein-packed bite, or with syrup on days I want a treat. Super versatile!

1 week ago

That’s such a smart way to use them! We love the peanut butter banana topping too—it’s the perfect balance of sweet and satisfying for busy mornings. So glad they worked for your meal prep routine!

30 minutes ago

Okay, full transparency, I forgot to separate the egg whites like the recipe said? I just dumped everything in the bowl together and mixed it, and they still came out fluffy? I was fully prepared for them to be a total flop but they were actually really good! Next time I’ll do the egg white thing to see if they’re even better, but even with my messy mistake they slapped.

5 minutes ago

I did the exact same thing my first time! When I finally remembered to beat the egg whites to stiff peaks and fold them in? Next level fluffy, like cloud level. Don’t get me wrong, they’re great even if you skip that step, but it’s so worth the extra 2 minutes!

5 days ago

I’ve been making waffles for my grandkids for 40 years and I was skeptical a “metric” recipe would be better than my old cup-based one, but boy was I wrong! These are the fluffiest waffles I’ve ever made, even my oldest grandson who’s super picky said they taste like the ones we get at our favorite diner. Will be adding this to my permanent recipe box.

3 days ago

There’s no higher compliment than a seasoned home cook loving this recipe! We’re so glad it earned a spot in your recipe box, and that your picky grandson approves—diner-level fluff is exactly what we were going for!

2 hours ago

I swapped the dairy milk for oat milk and the eggs for flax eggs and these still came out so fluffy! I was convinced the vegan swaps would make them dense but nope, they were perfect for my vegan brunch with friends last weekend. 10/10, super adaptable recipe!

30 minutes ago

Thank you for sharing this swap! I’ve been nervous to try vegan waffles because every recipe I’ve tried turns into a dense brick, I’m grabbing oat milk on my way home from work today to test this!

5 minutes ago

Thanks for sharing your vegan tweaks, Lex! We’ve tested this with flax eggs and oat milk too and it works like a charm, we’re glad you loved how fluffy they turned out for your brunch!

2 weeks ago

SO good. We do “breakfast for dinner” every Wednesday at our house and these are now the official waffle of the rotation. My kids loved it so much they asked to have them for dessert too with a scoop of ice cream on top, which honestly? Slaps. 15 minute cook time is no joke, I had them on the table faster than I could get the syrup out of the pantry.

1 week ago

Took these on our last camping trip! I pre-mixed the dry ingredients at home in a mason jar so all I had to do at the campsite was add the wet ingredients and pour into our cast iron waffle iron over the campfire. They came out perfectly golden, everyone at the campground was asking what smelled so good. Easy, no-fuss, perfect for travel.

just now

These were good, but I like my waffles extra crispy on the outside so I ended up leaving them in the iron for an extra minute and a half. Super fluffy inside for sure, just a heads up for folks who prefer that crunch factor instead of the soft all the way through texture. Still a solid recipe, will make again with my cook time tweak.



