
waffle recipe no sugar
intro
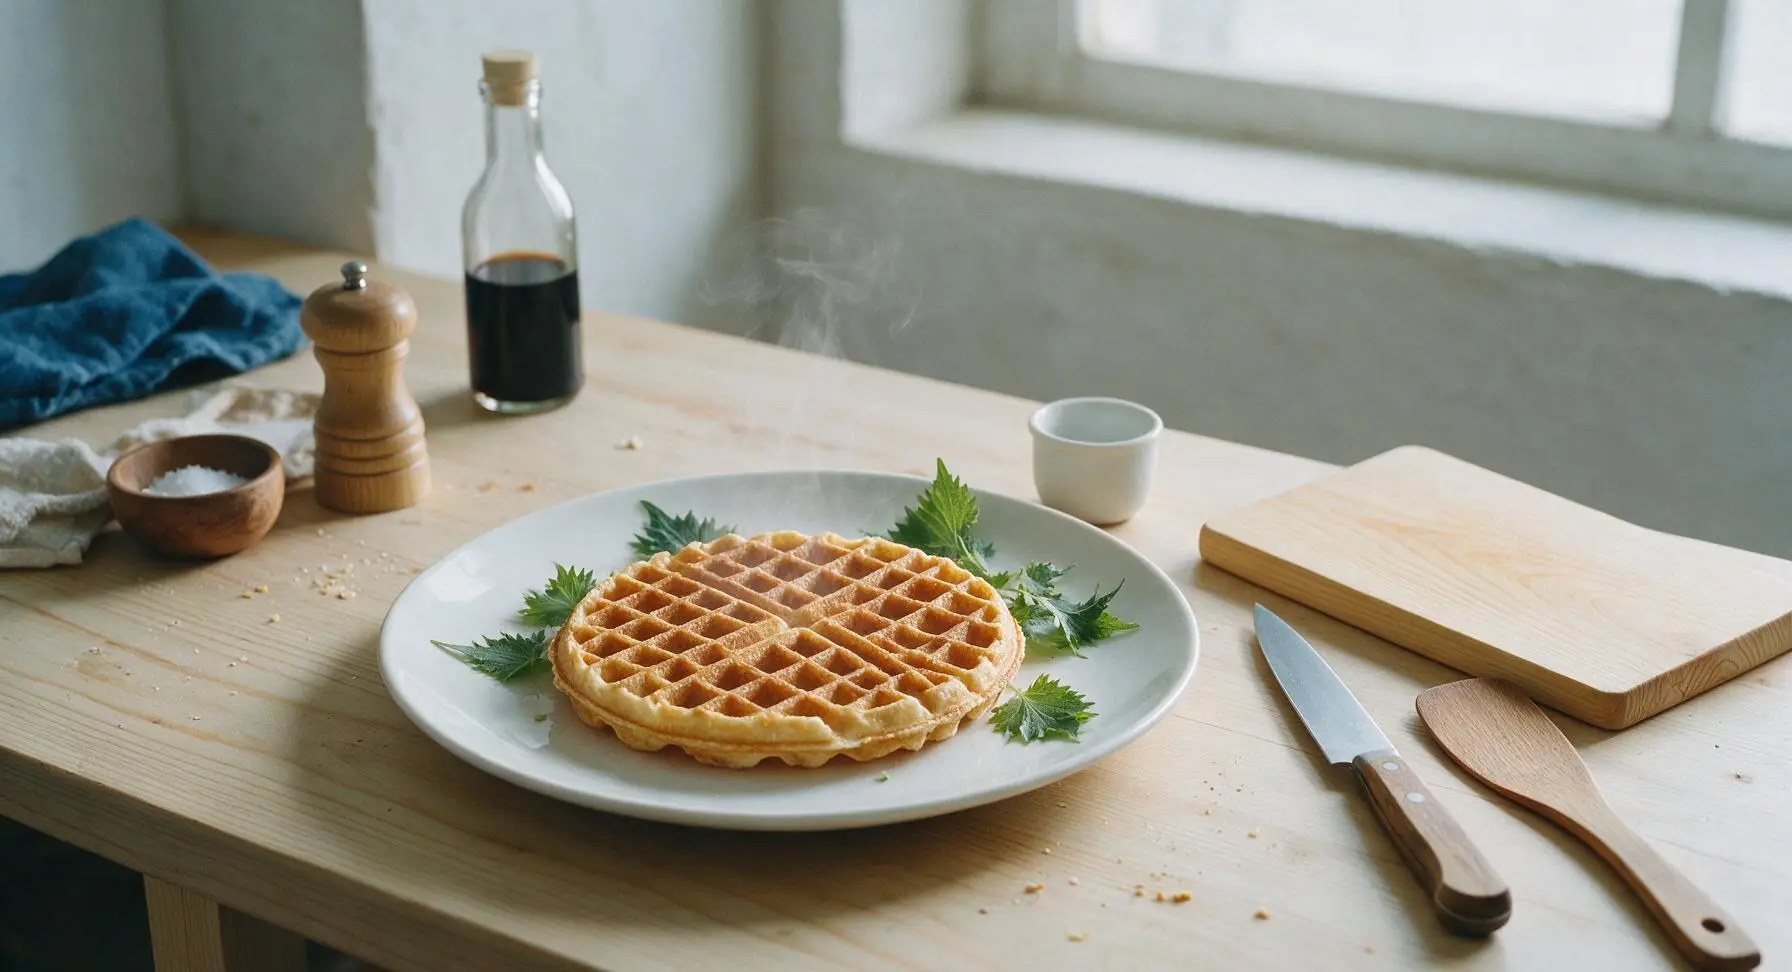
Crisp, golden, and free of added sugar, these fluffy waffles work for sweet or savory toppings, making them a fast, flexible option for busy weeknight meals.
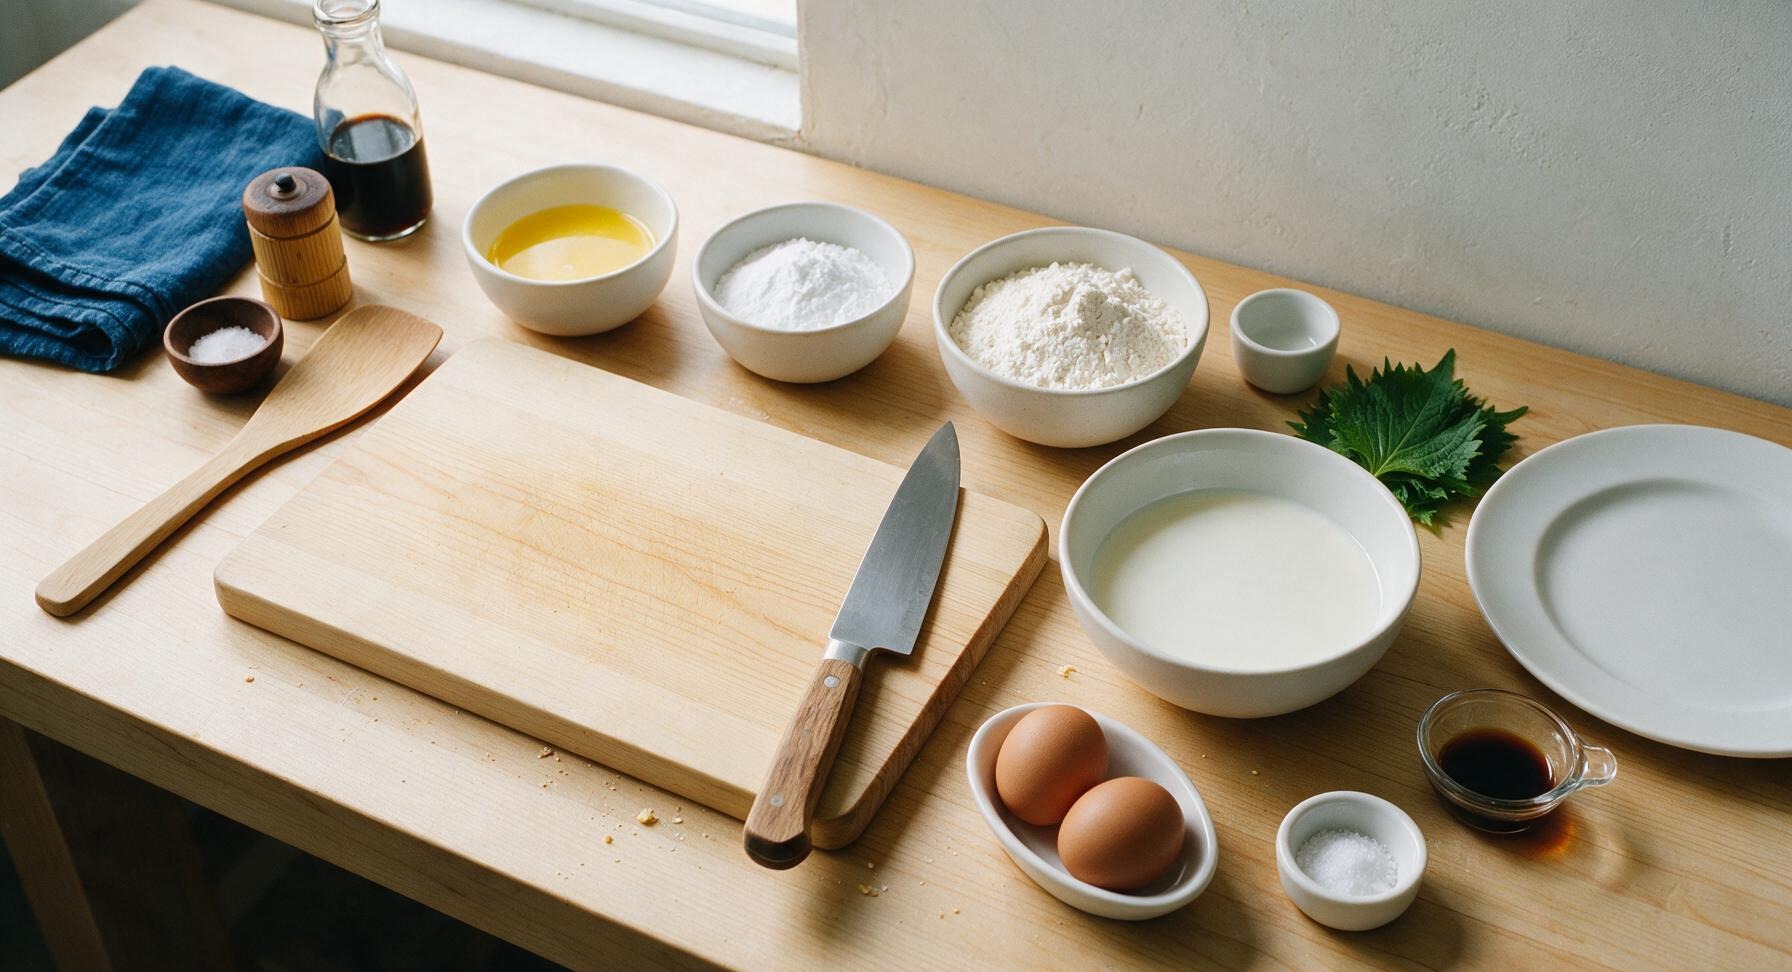
Ingredients
Steps
Preheat Waffle Maker
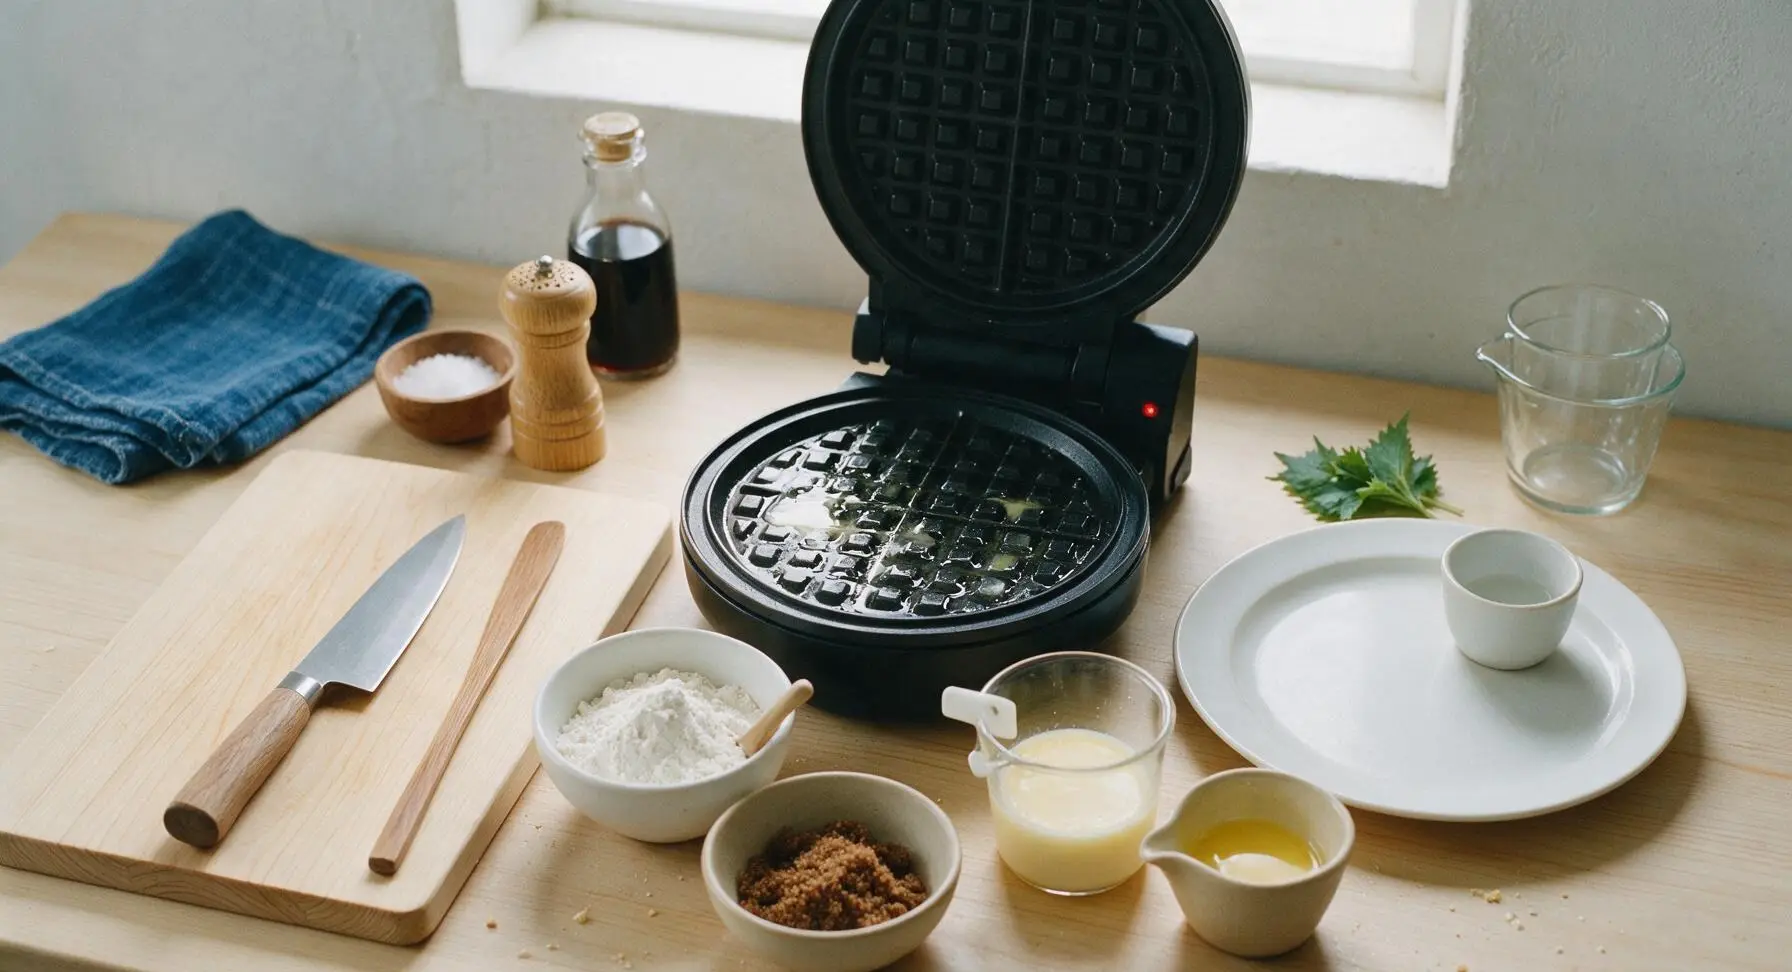
Plug in the 7-inch round electric waffle maker and set it to medium-high heat (375°F/190°C). Allow it to preheat fully for 5 minutes; the built-in indicator light will turn off when it reaches cooking temperature. Lightly coat the non-stick plates with a thin swipe of cooled melted butter using a crumpled paper towel to prevent sticking, taking care not to leave excess butter that will burn.
Mix Dry Ingredients
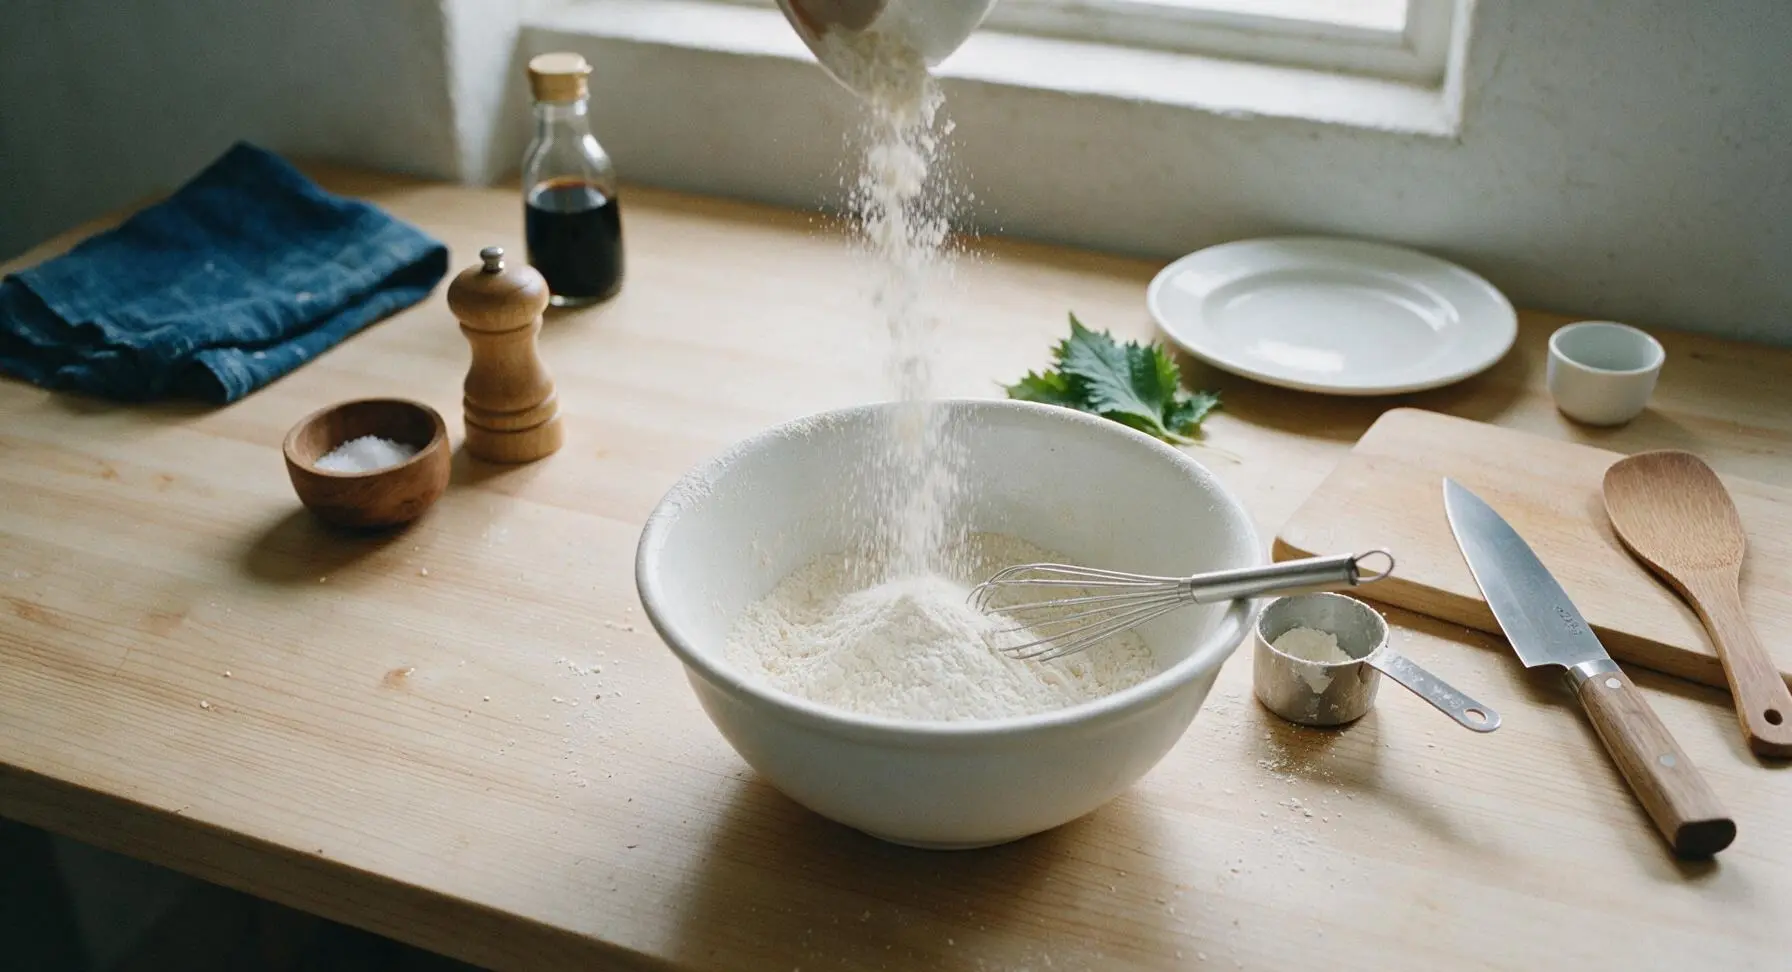
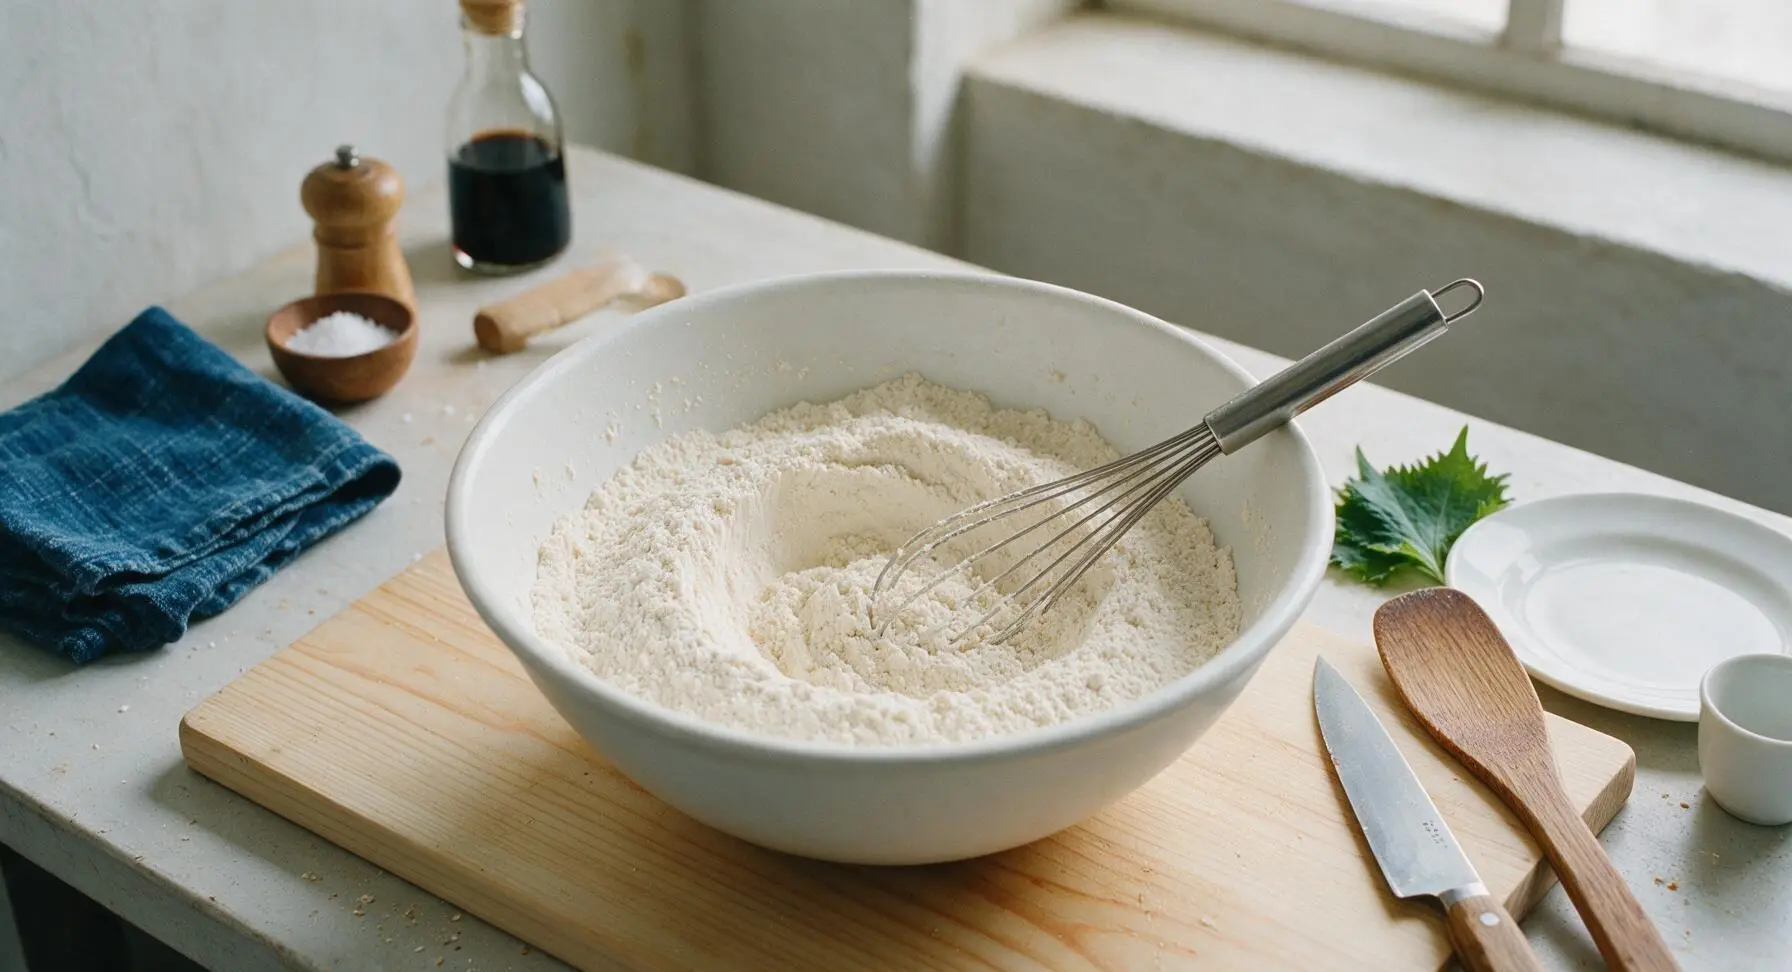
Add 2 cups (240g) all-purpose flour, 1 tablespoon baking powder, and 1/2 teaspoon fine sea salt to the matte white ceramic mixing bowl. Use the stainless steel wire whisk to stir the dry ingredients together for 30 seconds until fully uniform, with no concentrated clumps of baking powder or salt visible. Press a small, shallow well into the center of the dry mix to hold the wet ingredients.
Add Wet Ingredients
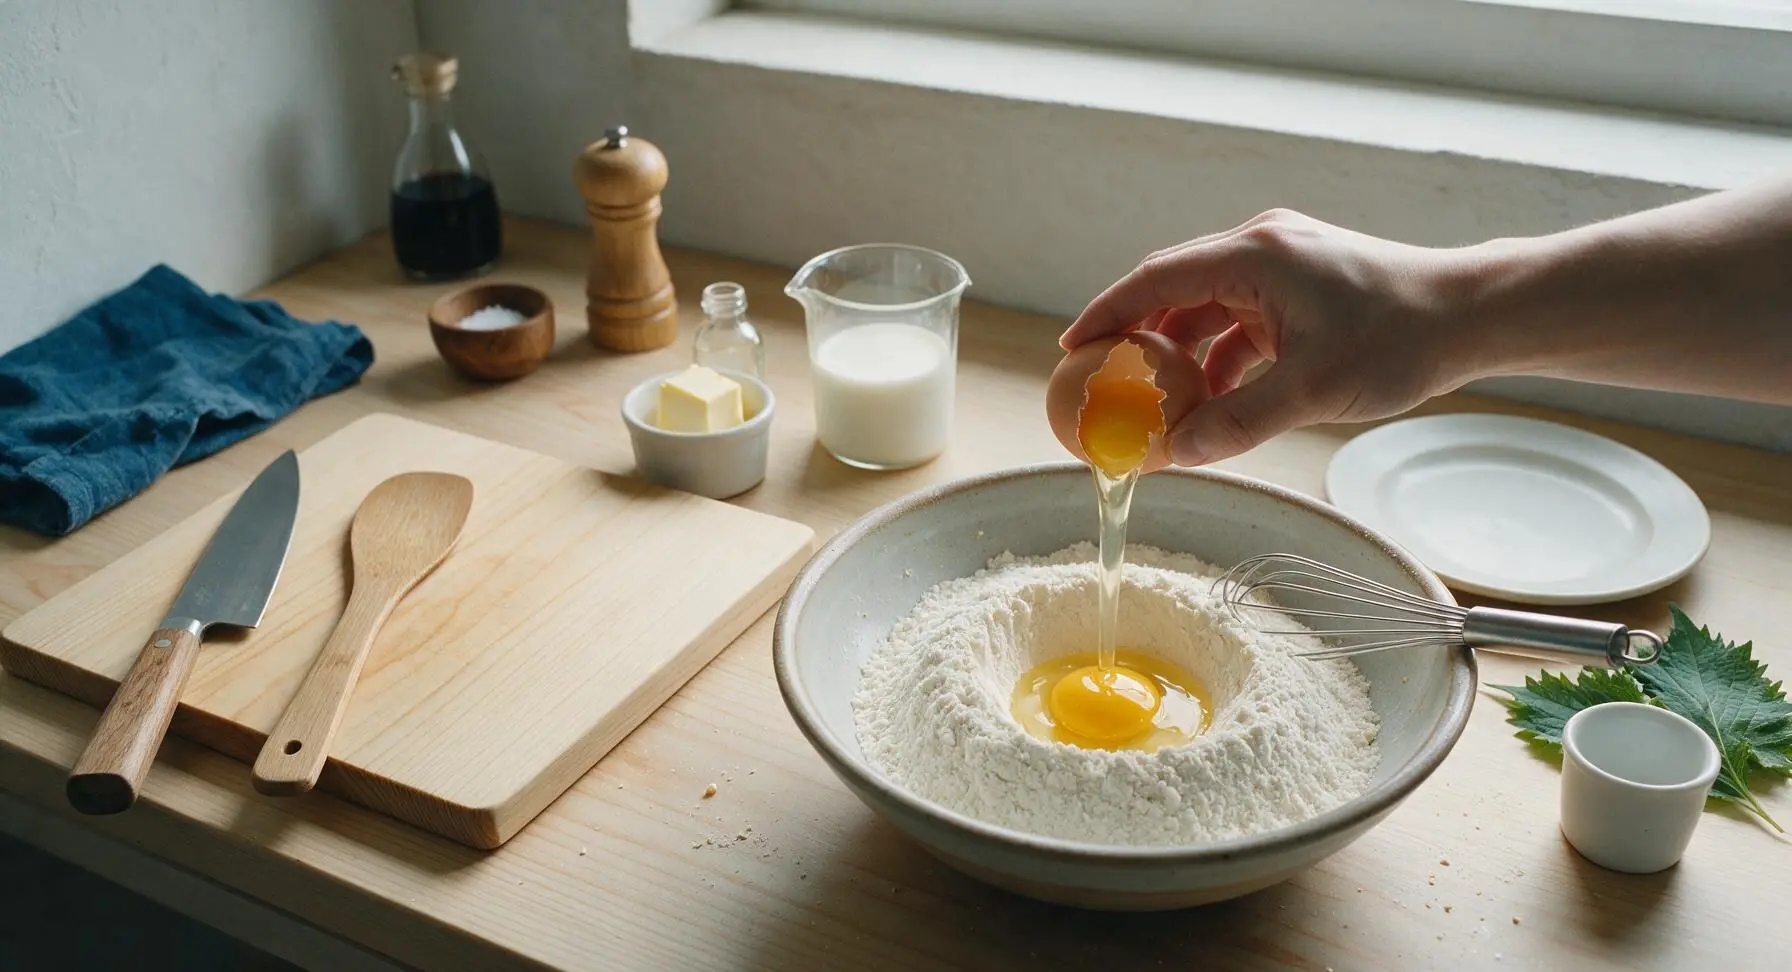
Crack the 2 large eggs directly into the well in the dry mixture, then pour in 1 3/4 cups (420ml) whole milk, the remaining cooled melted butter, and 1 teaspoon pure vanilla extract. Do not stir yet—adding wet ingredients directly to the well prevents flour from flying out of the bowl when you begin whisking.
Whisk Rested Batter
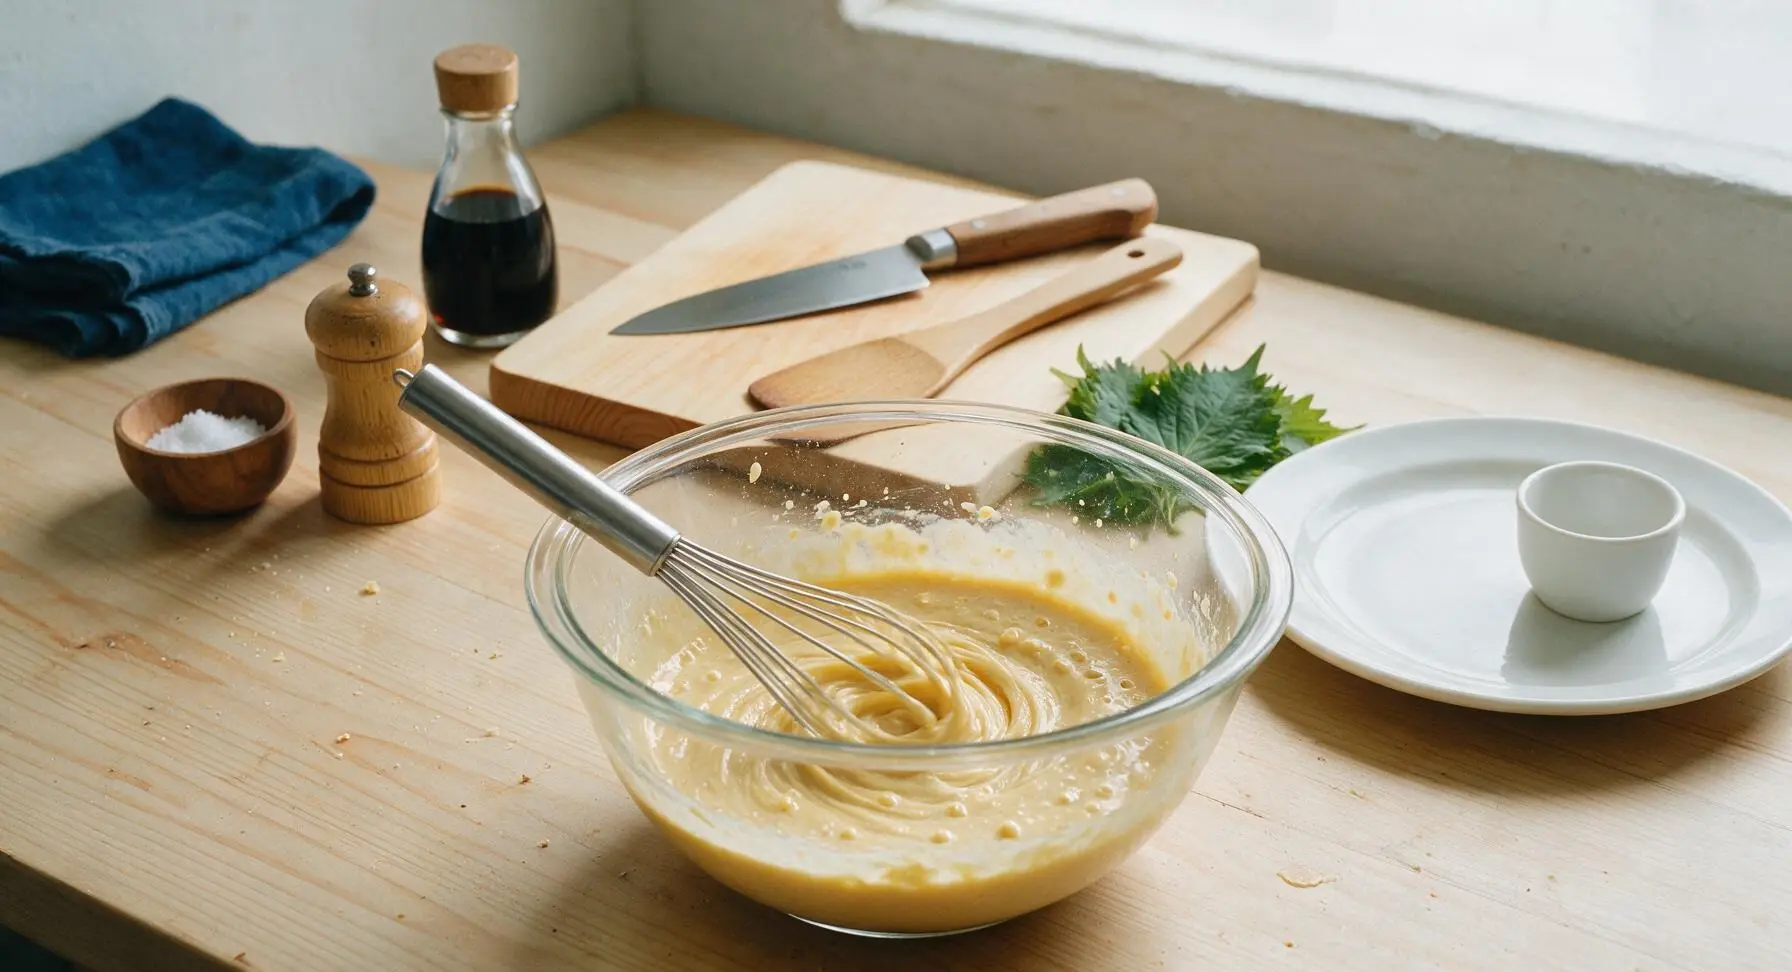
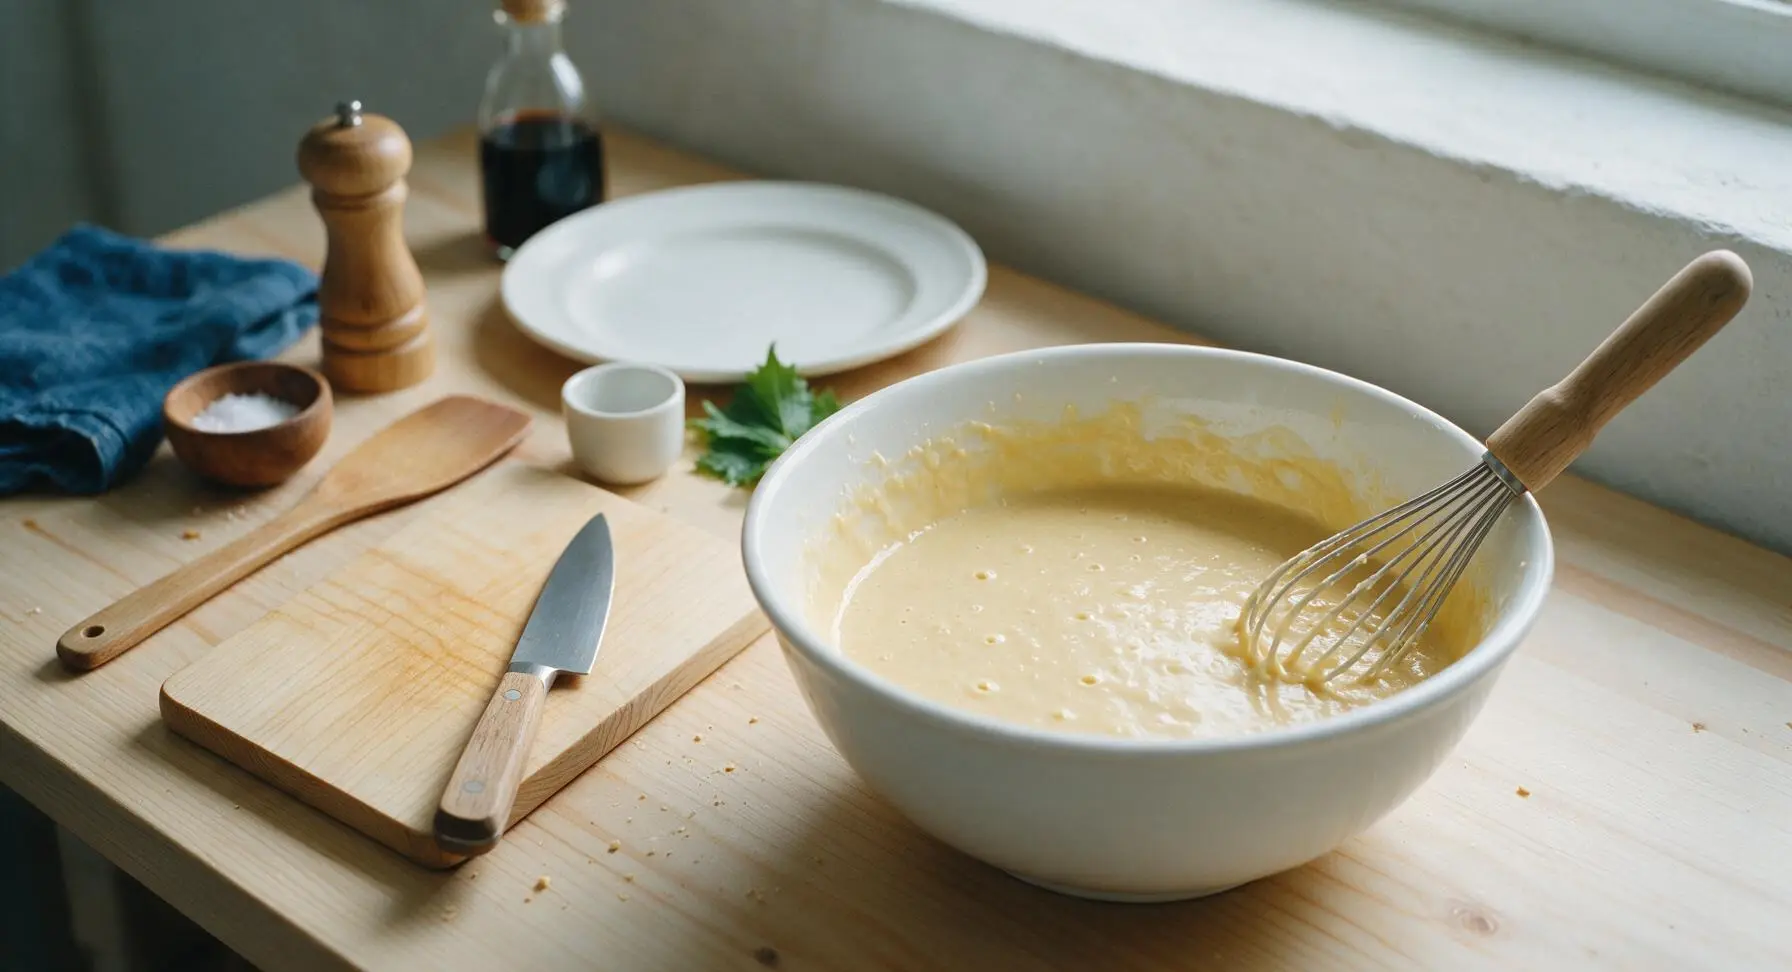
Whisk the ingredients slowly, starting from the center of the well and working outwards to gradually incorporate dry ingredients into the wet, until just combined. Stop mixing as soon as no dry flour pockets remain; small, pea-sized lumps in the batter are normal and desirable, as overmixing will develop gluten and lead to tough, dense waffles. Let the batter rest for 3 minutes at room temperature to allow the baking powder to activate—you will see tiny air bubbles dotting the batter surface when it is ready.
Pour Batter On Iron
Once the waffle maker is fully preheated, use the 1/2 cup measuring cup to scoop rested batter and pour it directly into the center of the lower waffle plate. Use the back of the matte black silicone spatula to spread the batter gently to within 1/2 inch of the plate edges—do not spread it all the way to the edge, as the batter will expand and spread as it cooks.
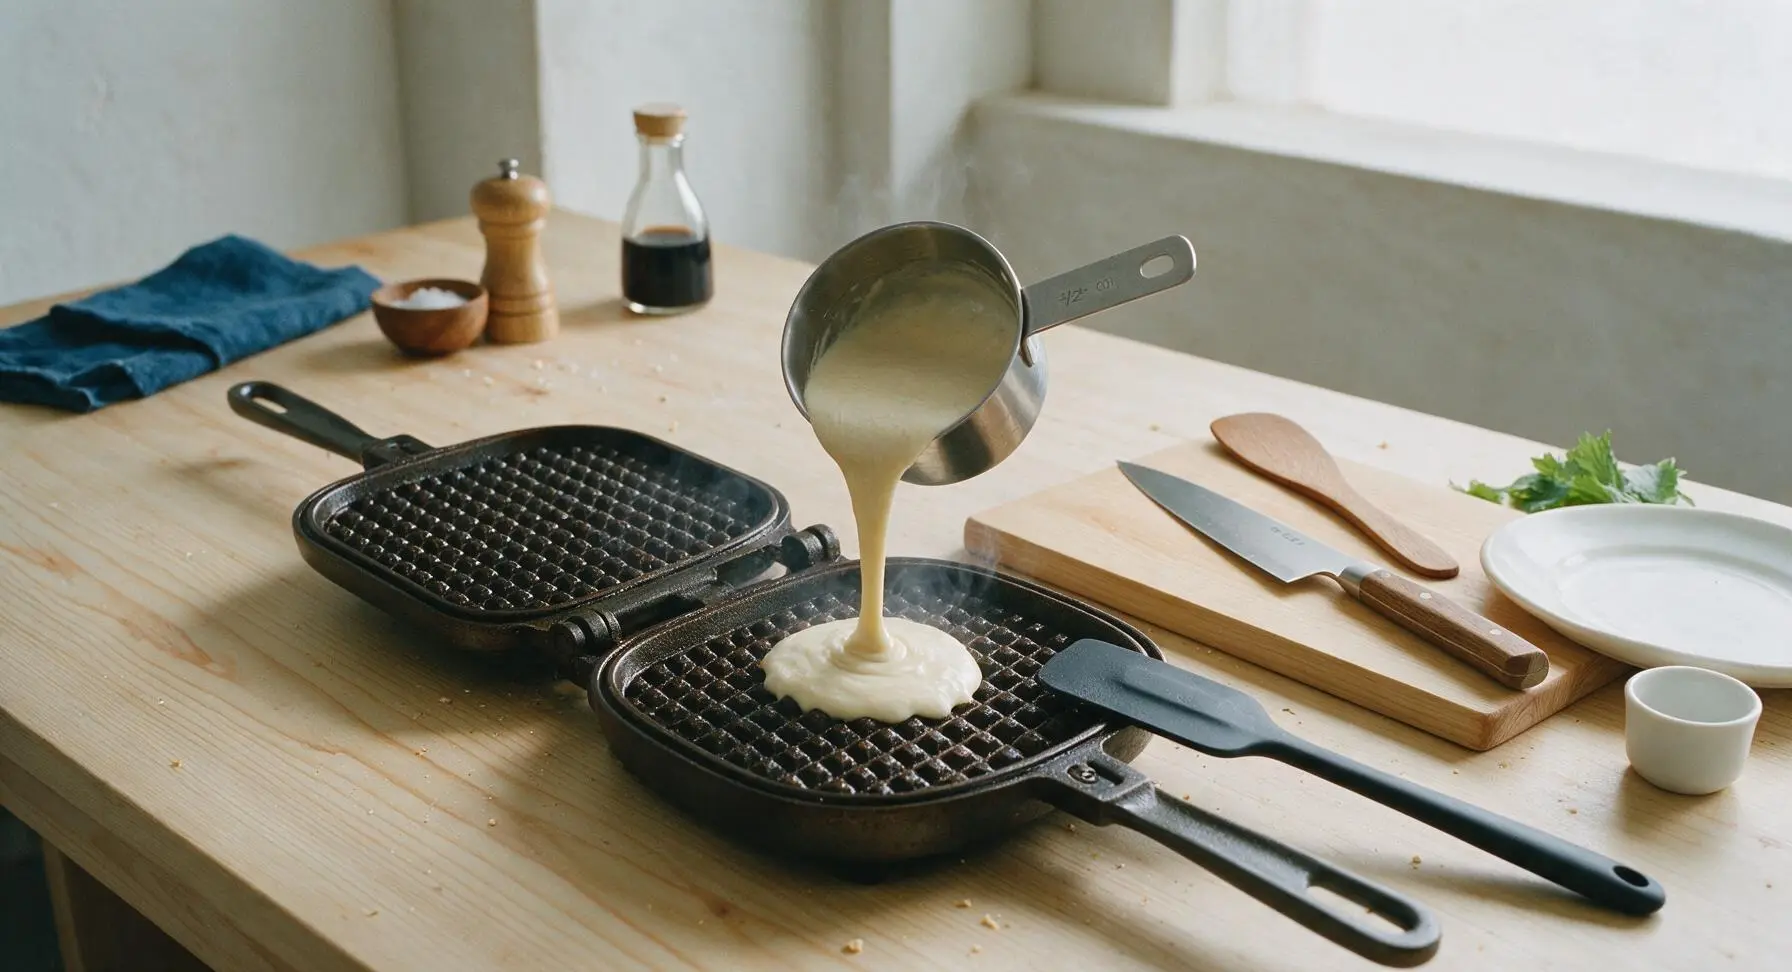
Cook Until Golden Crisp
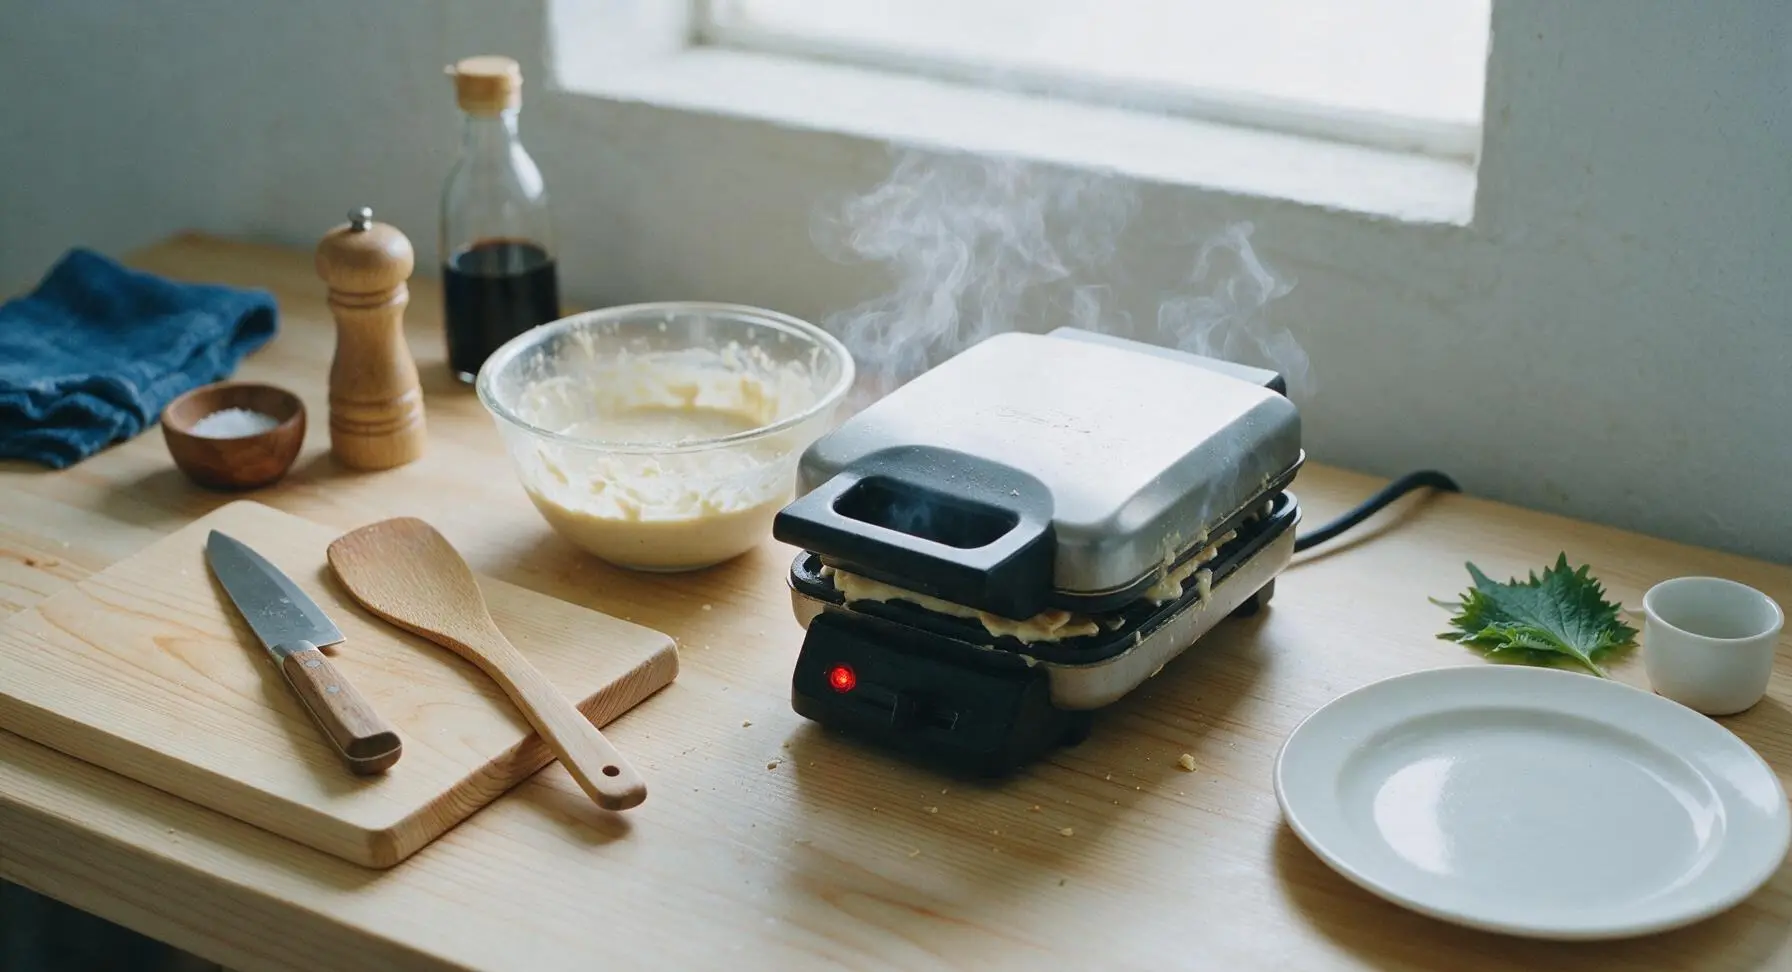
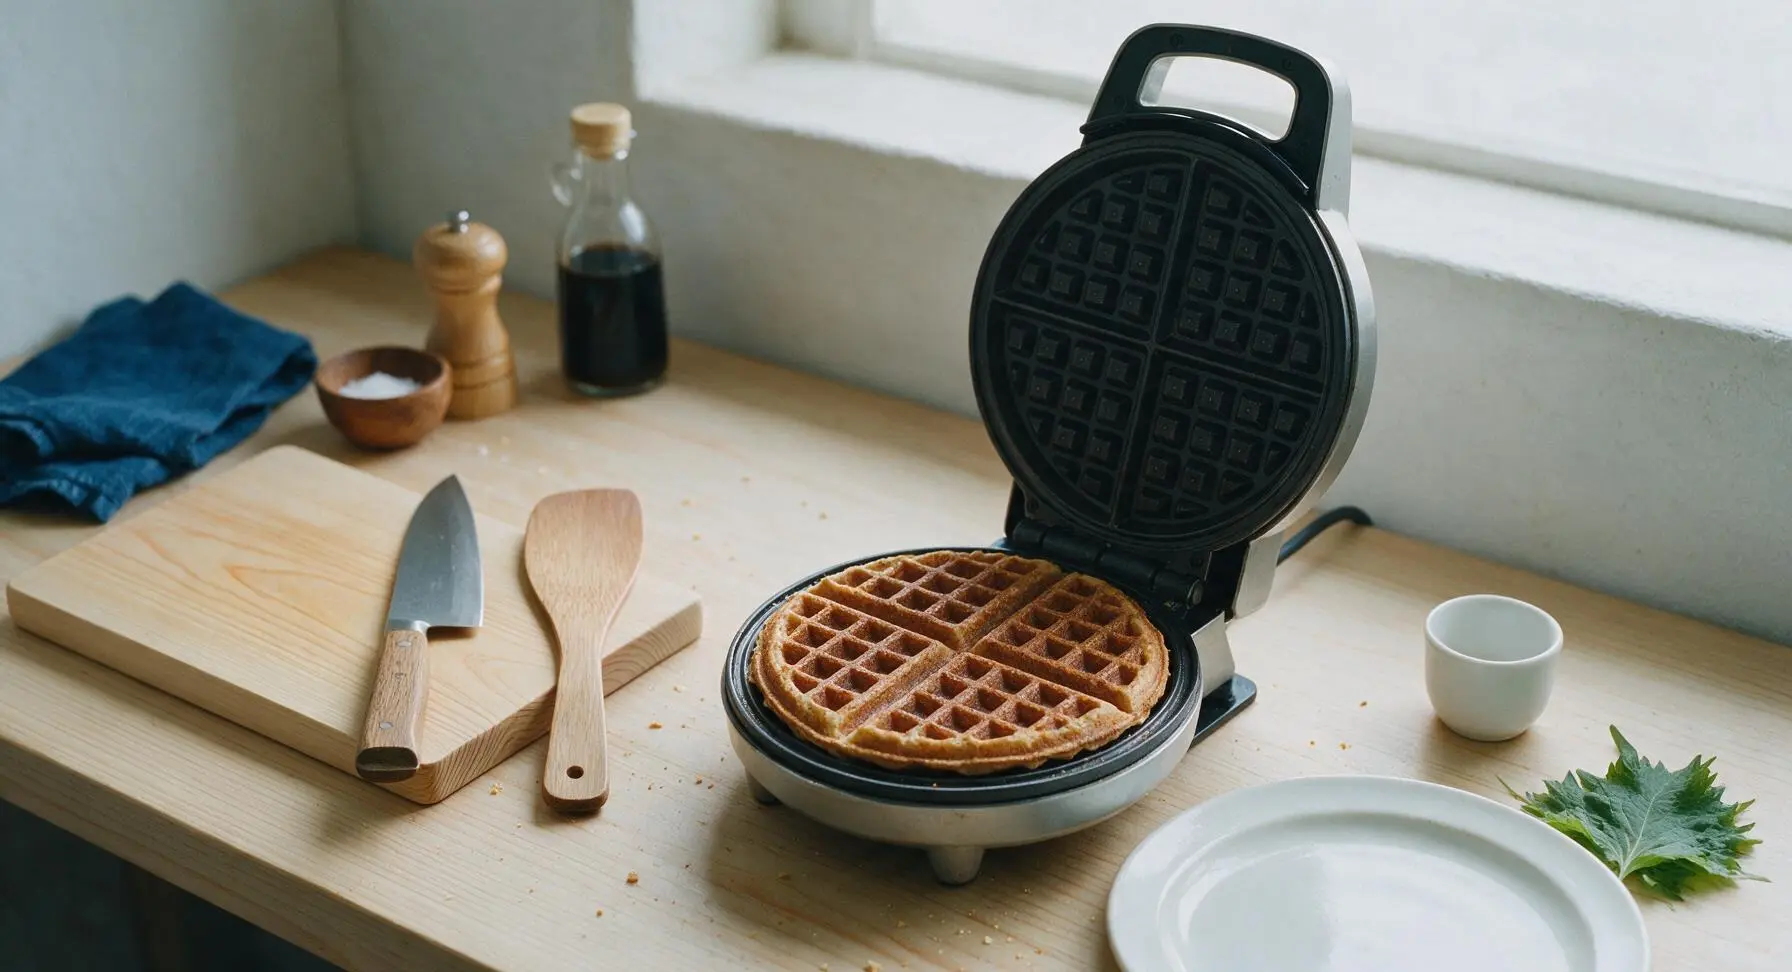
Close the waffle maker lid and cook for 3 to 4 minutes, until thin streams of steam stop escaping from the edges of the iron. Do not open the lid before the 3-minute mark, as releasing heat early will cause the waffle to split, stick, or deflate before it forms a crisp crust. The finished waffle will be deep golden brown, with crisp defined grid lines, and will pull away easily from the non-stick plates when done.
Transfer Cooked Waffles
Use the matte black silicone spatula to lift the finished waffle from the iron, tilting it slightly for 2 seconds to let any excess melted butter drip back into the plate, then place it on the matte cream ceramic dinner plate. Repeat the pouring and cooking process with remaining batter, stacking cooked waffles loosely on the plate (do not wrap or cover tightly, as trapped steam will make crisp waffles soggy).
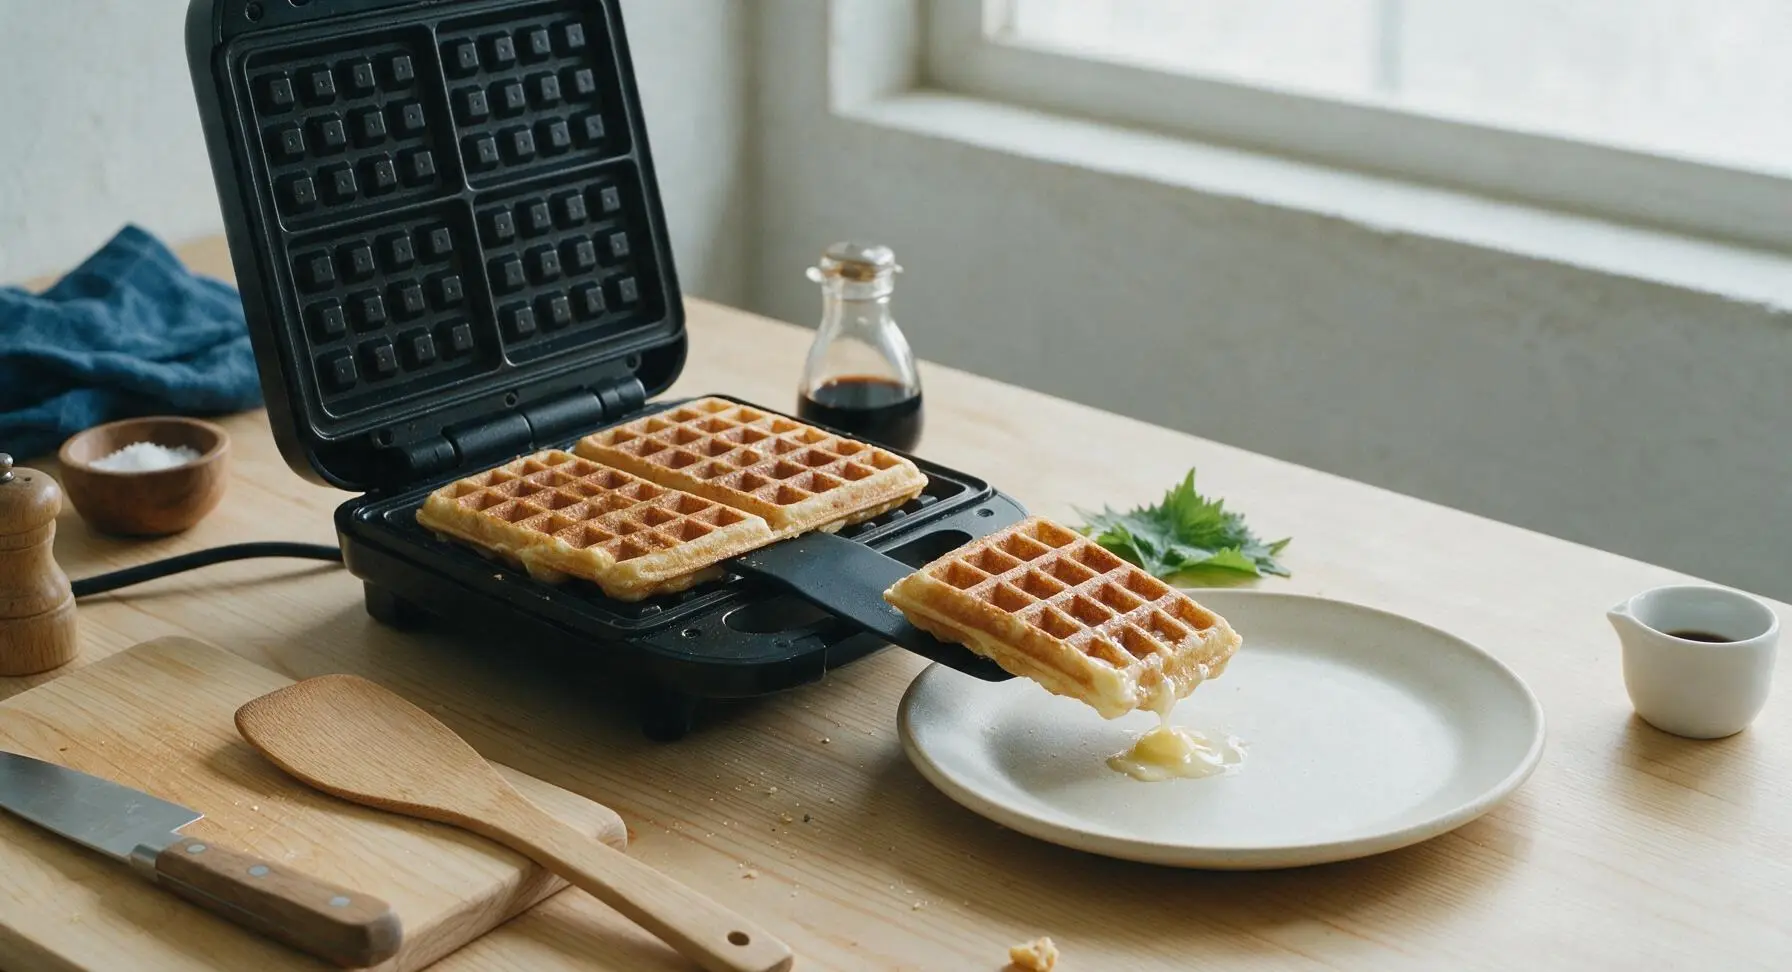
Plate and Serve
Arrange the finished waffles in a loose stack on the cream ceramic plate, add a thin pat of unsalted butter if desired, and serve immediately with your choice of toppings: savory options include sliced avocado, fried egg, or shredded cheese, while sweet options include fresh berries, plain Greek yogurt, or a light drizzle of maple syrup. Waffles will hold their crisp texture for 10 minutes after cooking if left uncovered.
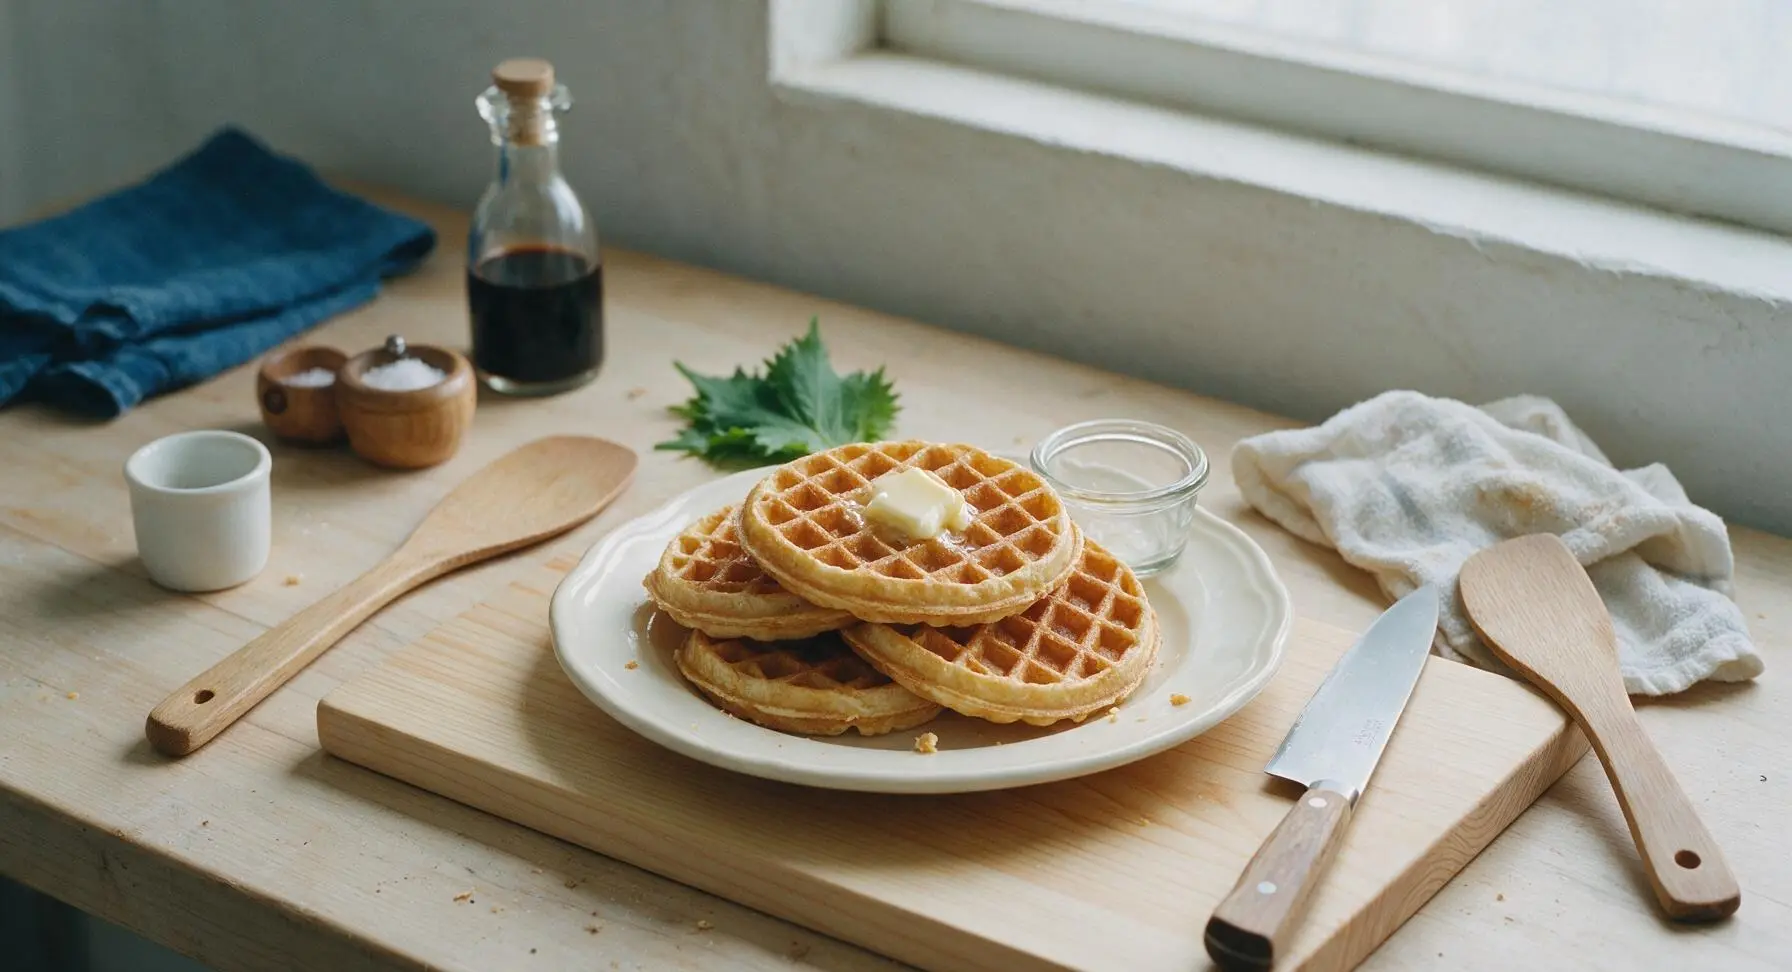
Tips
2.Let the batter rest before cooking: The 3-minute rest gives baking powder time to activate and create tiny air bubbles, which produce fluffier waffle interiors with better rise, rather than flat, dense results. Look for small bubbles breaking on the batter surface to know it is ready.
3.Wait for steam to slow before opening the waffle maker: Peeking earlier than 3 minutes releases trapped heat and steam, which can cause the waffle to tear, stick to the plates, or lose its crisp outer crust. When steam almost stops escaping, the waffle is perfectly done.






OMG these are a total game changer for our busy weekday mornings! I’ve been looking for a no-sugar waffle recipe that doesn’t come out soggy, and these are perfectly crisp even after I freeze them for meal prep. My 6 and 8 year old doused theirs in a little maple syrup and didn’t even notice there was no added sugar! 10/10 will be making these every Sunday for the week ahead.
SO good! I’ve been cutting added sugar for my gym cut and was craving waffles so bad. These hit the spot, especially topped with Greek yogurt and fresh berries. Super easy to throw together too, only took me 12 minutes start to finish? Wild.
Really solid recipe! I swapped the dairy milk for oat milk and used a flax egg to make it vegan, and they still got super crisp in my waffle iron. Only reason I’m not giving 5 stars is I wish there was a little cinnamon or vanilla note, but that’s an easy add on my end. Will make again!
I made these for my grandkids when they visited last weekend, and even my pickiest eater asked for seconds! I love that there’s no added sugar so I don’t have to worry about them bouncing off the walls before their soccer games. Such a simple recipe too, I didn’t even have to run to the store for any special ingredients.
Wait has anyone tried making these with a 1:1 gluten free flour blend? I have celiac and have been hunting for a good GF waffle that doesn’t turn into a crumbly mess. These look perfect but I don’t want to waste ingredients if they don’t hold up!
Decent for a no-sugar recipe, but mine stuck a little to my super old dorm waffle maker even when I sprayed it. Tasted fine, just took a little extra scrubbing to get the iron clean after. Probably user error on my end tbh, I don’t cook much.
Made these for a neighborhood potluck brunch last weekend and people were asking me for the recipe left and right! I set out a whole topping bar with fresh fruit, nut butters, whipped cream, and sugar-free syrup so people could customize, and every last waffle was gone by the end of the party. So easy to make a double batch too!
My husband and I made these for our first Saturday morning brunch in our new house and they were chef’s kiss! We did half the batch plain and half added a handful of blueberries, and both versions were so crisp. Only thing is our waffle iron runs hot, so we had to shave a minute off the cook time to keep them from getting too dark.
Tried these after my doctor told me to cut back on added sugar for my blood pressure, and I was fully expecting them to taste like cardboard. Boy was I wrong! They’ve got that perfect fluffy on the inside, crisp on the outside waffle texture, and when I top them with a little peanut butter and banana slices I don’t miss the sugar at all.
These are great! I added a dash of vanilla extract and a pinch of nutmeg to the batter to give it a little extra warmth, and it paired so nicely with the apple slices I had on top. Perfect quick breakfast for hectic school mornings.
Made a double batch of these on Sunday to pack for my kids’ school breakfasts all week, and they held up perfectly! I was worried no sugar would mean no flavor, but the crisp texture makes up for it, and the kids love adding their own toppings each morning. Game changer for our chaotic morning routine.
I’ve made these three times in the last two weeks! My husband is type 1 diabetic so we’re always looking for low-sugar breakfast options that don’t spike his blood sugar, and these have been perfect. They don’t have that weird artificial aftertaste that a lot of no-sugar baked goods have, which is a huge win.
Pretty good! I will say I thought they were a little bland on their own, but once I added a sprinkle of cinnamon and a drizzle of sugar-free syrup they were great. Super quick to make on days I work from home and don’t have a lot of time for a fancy breakfast.
These are the perfect post-hike breakfast! I make a batch before I head out on early morning weekend trails, toss a couple in a Tupperware, and they’re still crisp enough to eat when I get back to the car. Way better than the sad protein bars I used to choke down after hikes.
Just made these for my kid’s pre-soccer practice breakfast and wow, no sugar crash mid-practice! They were asking for seconds before we even left the house, and I love that I didn’t have to spend 30 minutes mixing up a complicated batter. So easy, so tasty, will be a staple in our house from now on.