
waffle recipe self rising flour

title 1
waffle recipe self rising flour
⏱️ cook time 12 minutes
🍽️ servings 4
⚡ Difficulty easy

intro

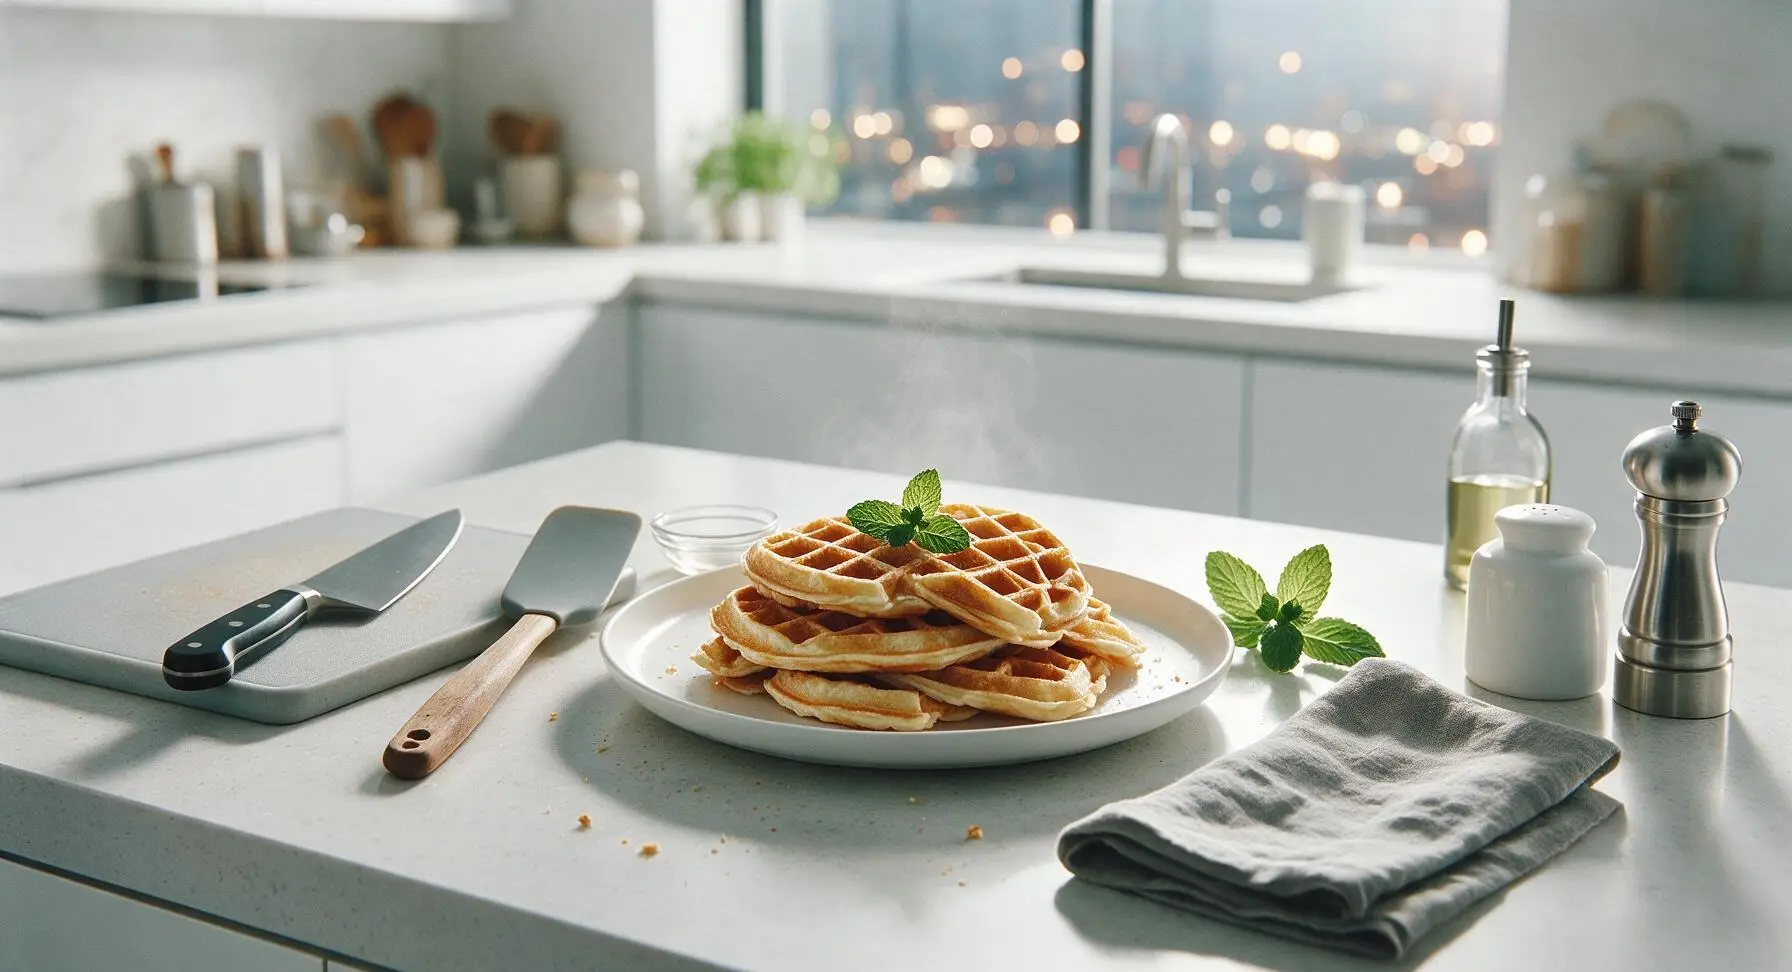
Light, fluffy inside, crisp golden outside, these shortcut self-rising flour waffles are ready in 22 minutes for warm, syrupy meals the whole family will love.

Ingredients
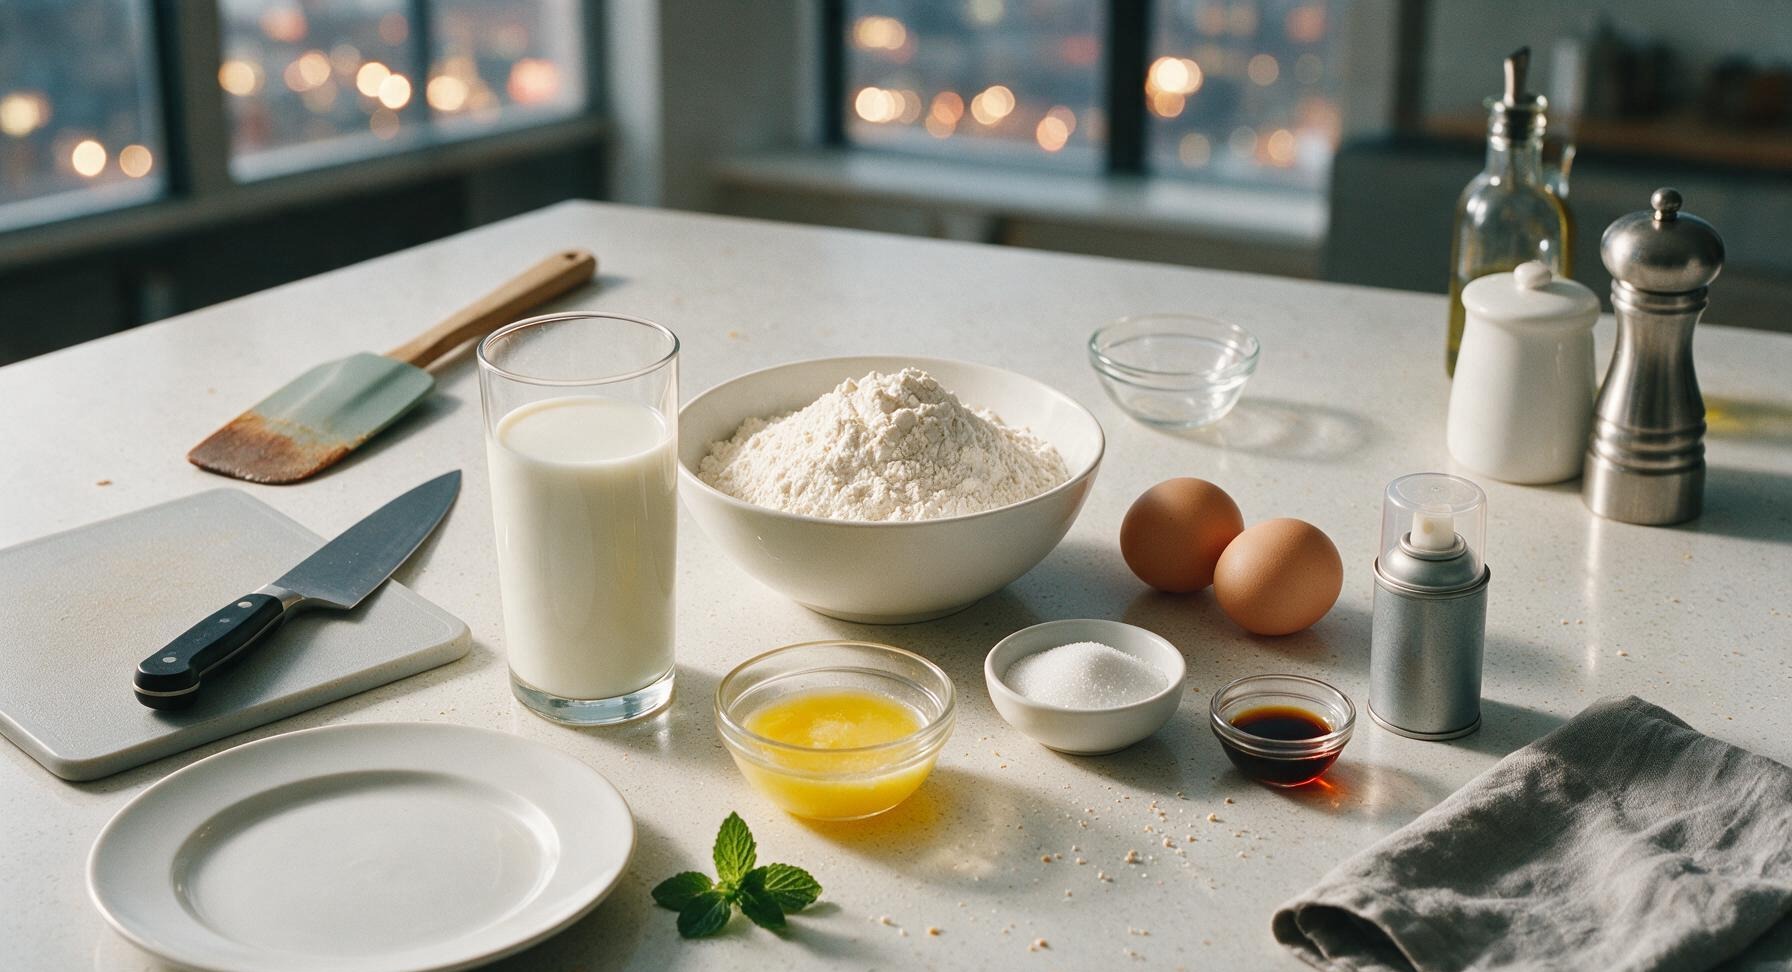
Self-rising flour 2 cups (240g)
Whole milk 1 1/2 cups (360ml)
Large eggs 2
Unsalted butter, melted and cooled 4 tablespoons (57g)
Granulated sugar 1 tablespoon (12g)
Pure vanilla extract 1 teaspoon (5ml)
Non-stick cooking spray 1 short burst

Steps

1

Preheat Waffle Iron

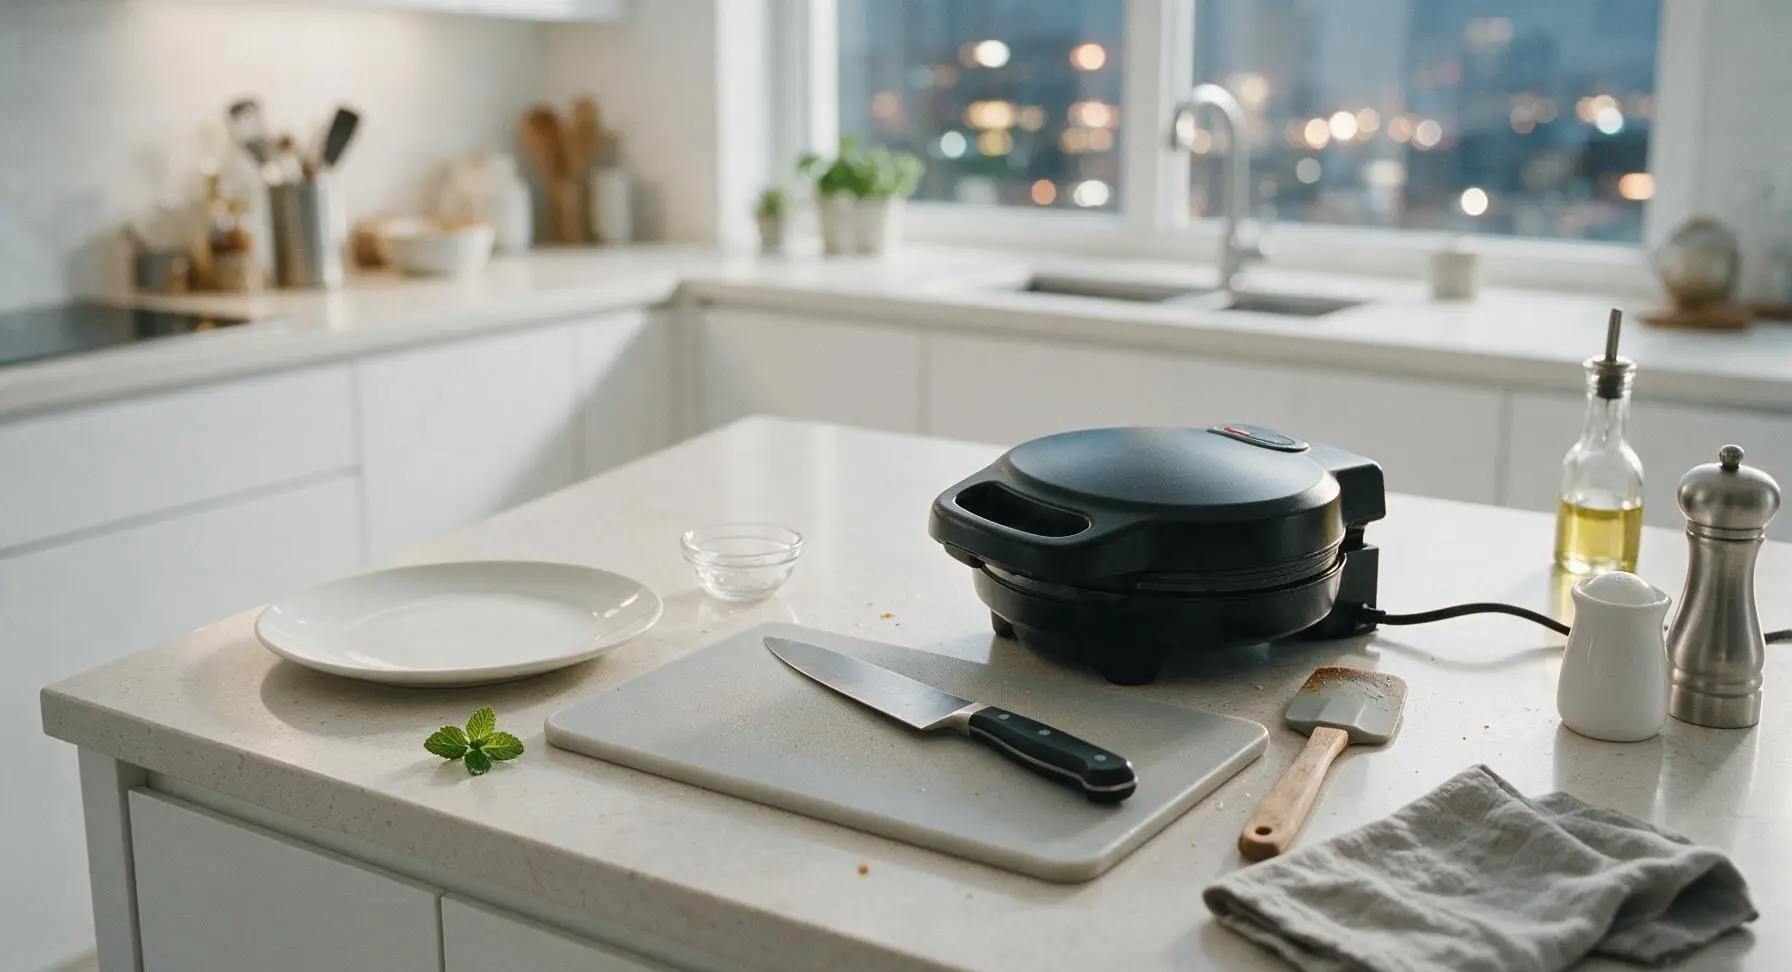
Plug in the matte black electric waffle maker and preheat to medium-high setting (375°F/190°C). Close the lid and allow it to heat for 3-4 minutes, until the indicator light shows it is ready for batter. A drop of water flicked onto the plate should sizzle and dance immediately when it reaches correct temperature.
Step 1
step1:Preheat Waffle Iron
2

Mix Dry Ingredients

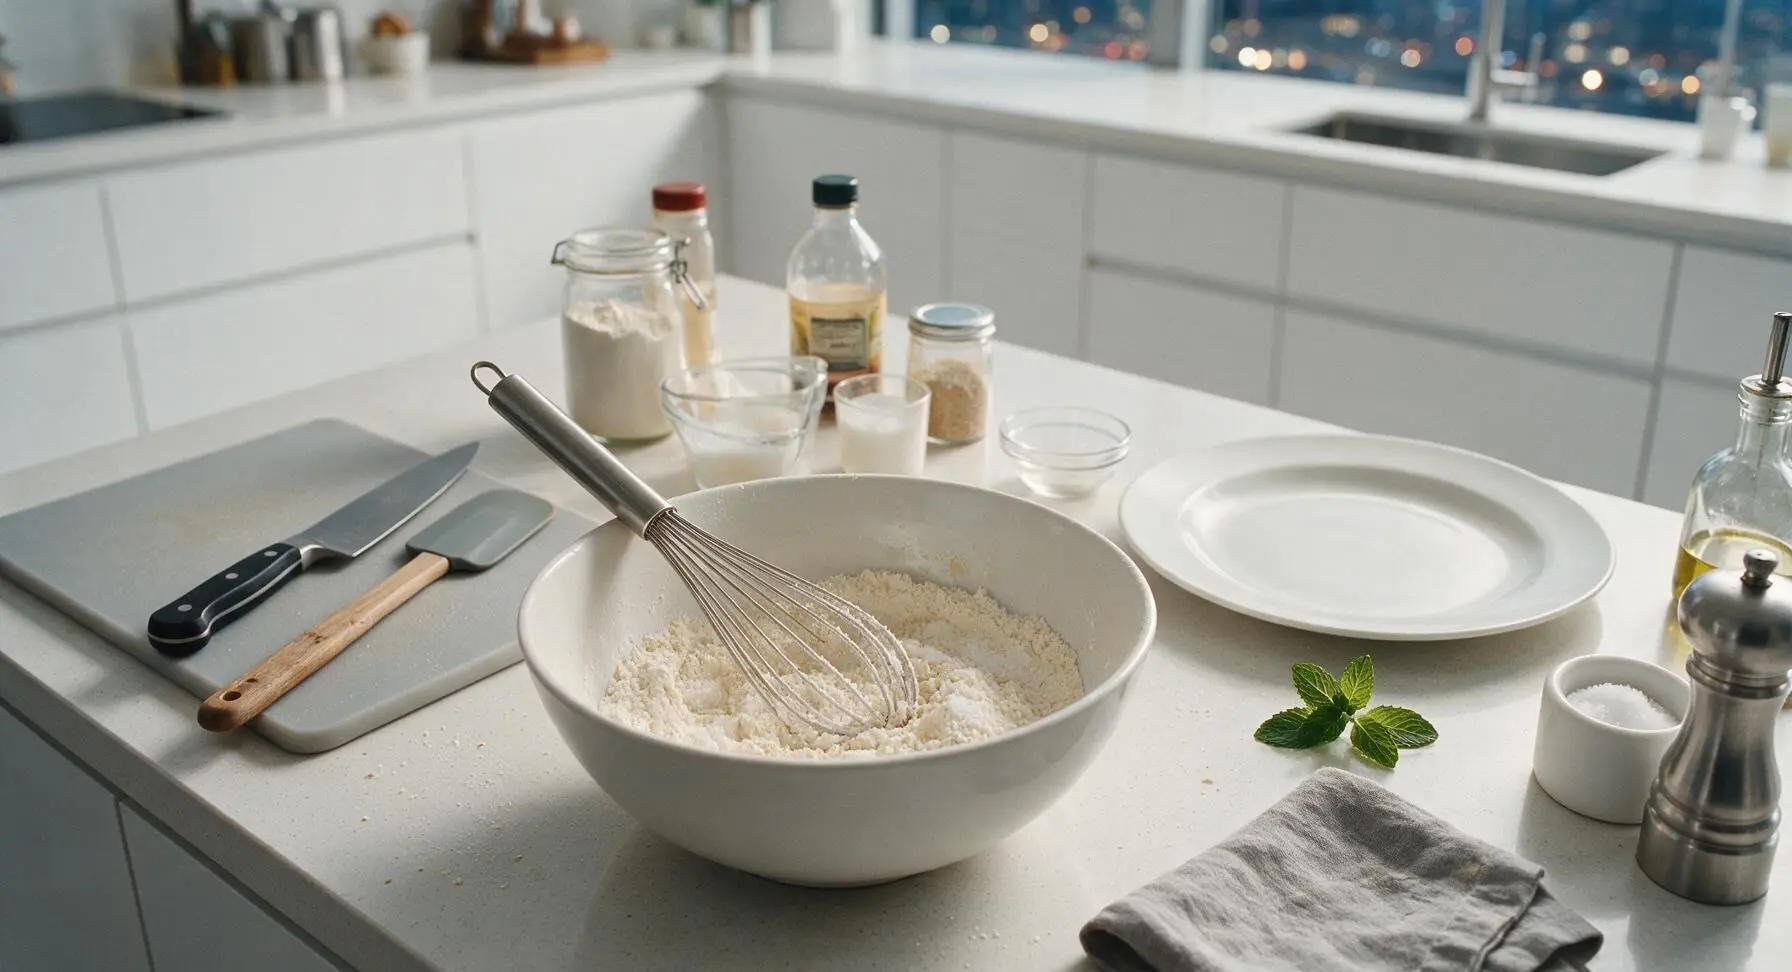
Add the 2 cups of self-rising flour and 1 tablespoon of granulated sugar to the matte white ceramic mixing bowl. Use the stainless steel wire whisk to stir the two ingredients together for 30 seconds, until fully evenly combined, with no clumps of sugar visible in the flour.
Step 2
step2:Mix Dry Ingredients
3

Whisk Wet Ingredients

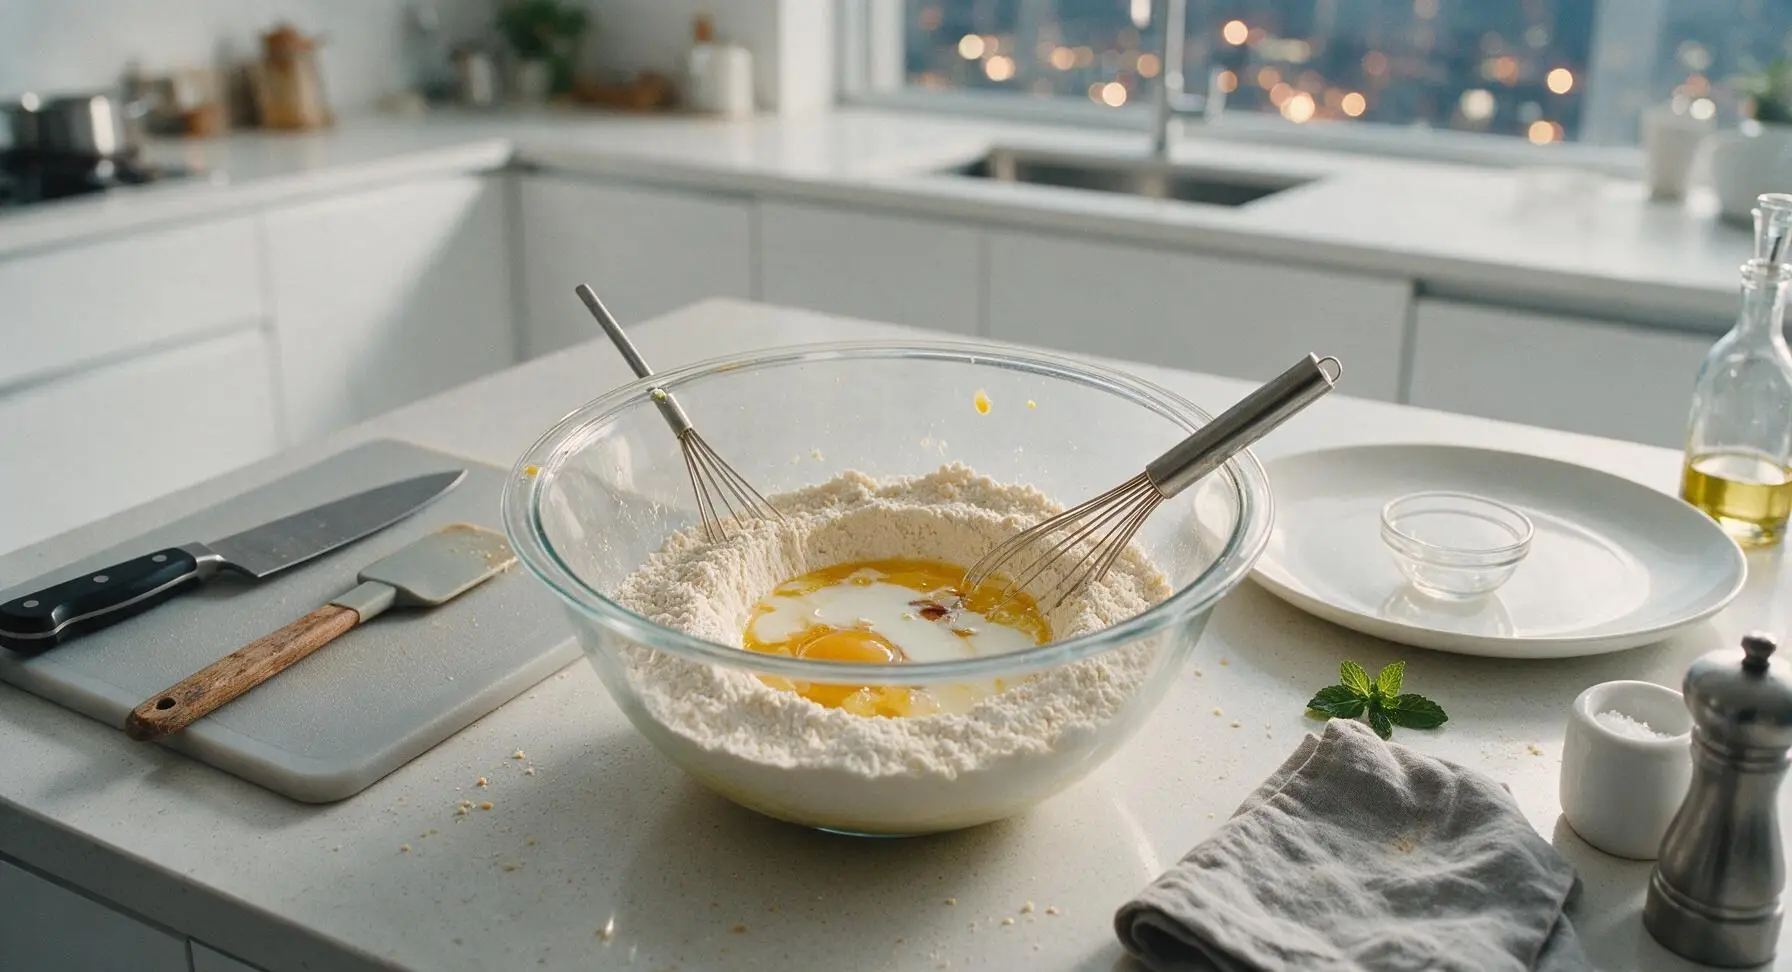
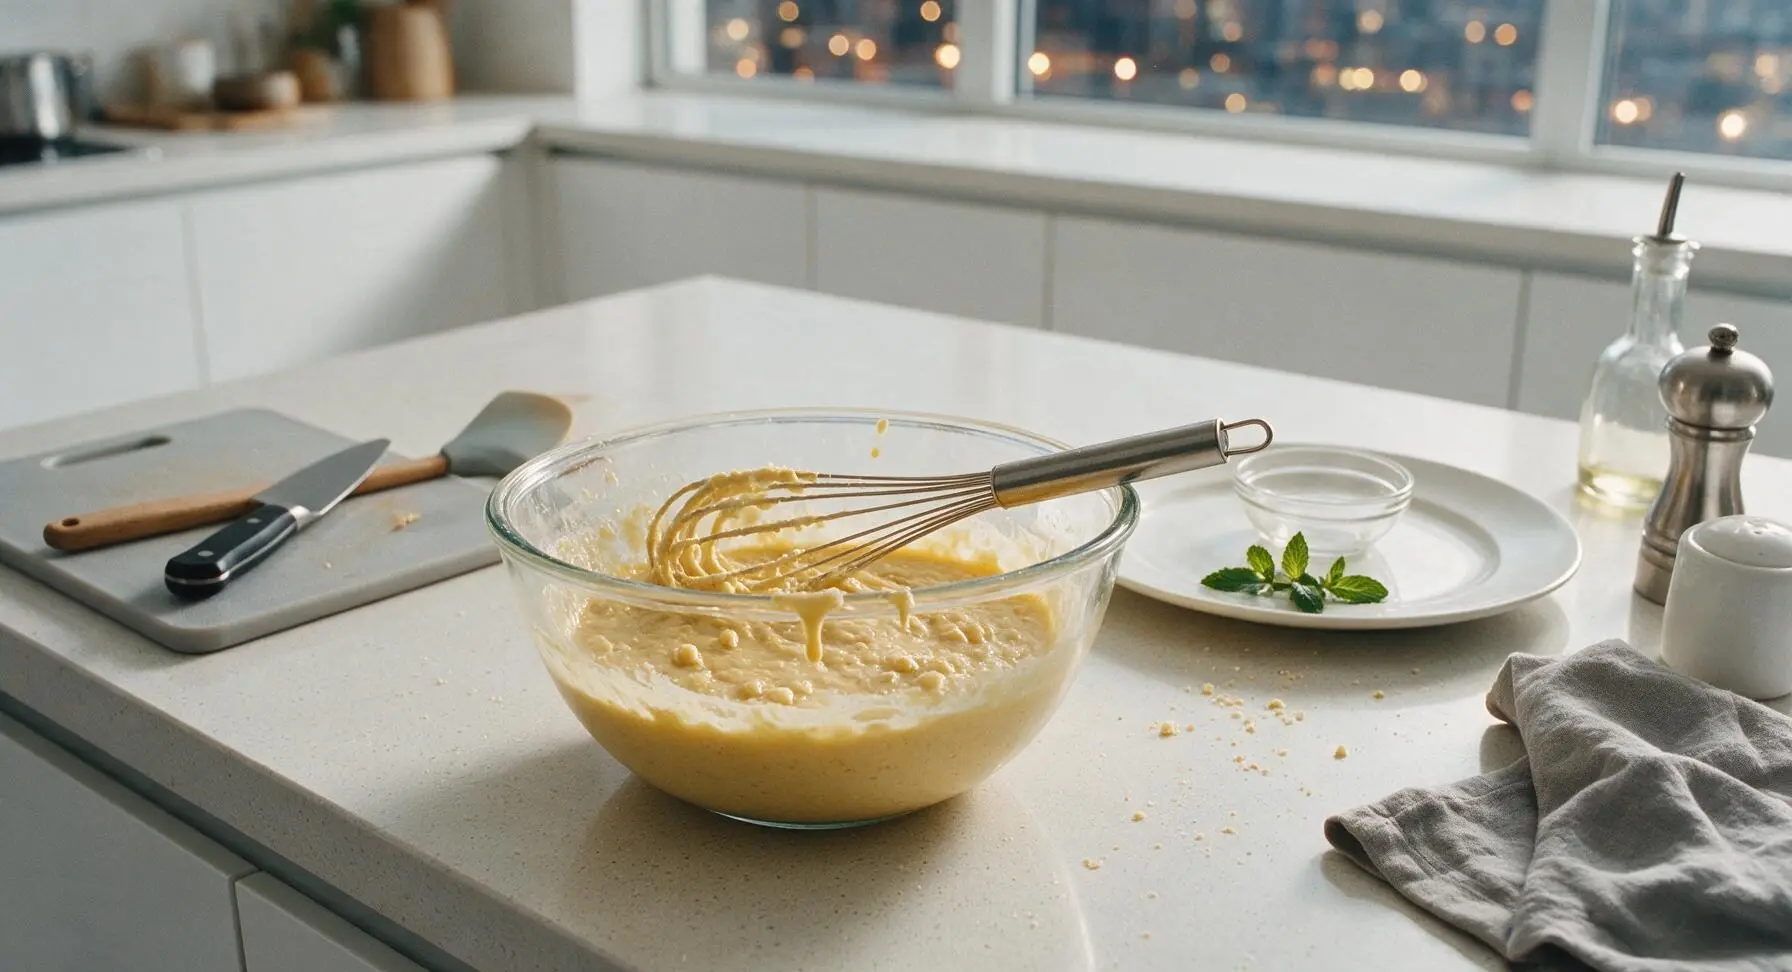
Make a 2-inch wide well in the center of the dry flour mixture. Crack the 2 large eggs into the well, then add the 1 1/2 cups whole milk, 1 teaspoon vanilla extract, and fully cooled melted unsalted butter. Whisk slowly at first to incorporate dry ingredients from the edges of the well, then stir gently until just combined. Stop mixing as soon as no large dry flour patches remain; the batter should be slightly lumpy, with small pea-sized flour clumps visible—overmixing will produce tough, dense waffles.
Step 3
step3:Whisk Wet Ingredients
Step 3
step3:Whisk Wet Ingredients
4

Grease Waffle Plates

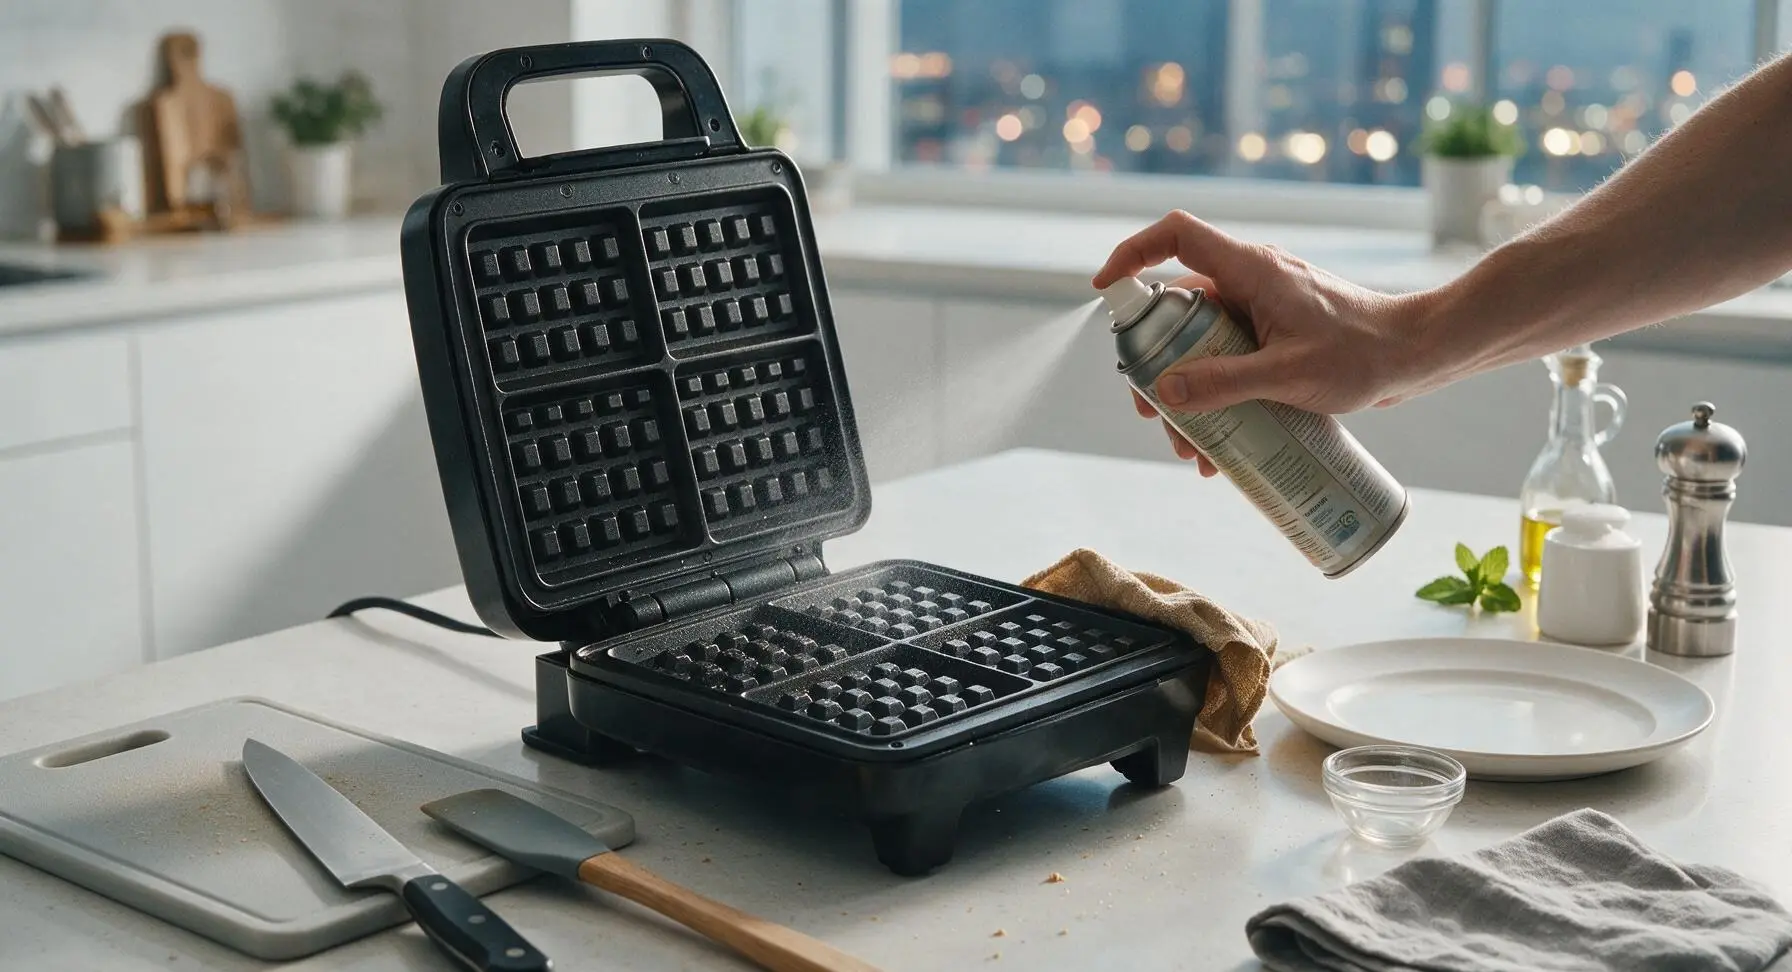
Once the waffle maker is fully preheated, open the lid and give the top and bottom non-stick plates a single short burst of non-stick cooking spray, holding the can 6 inches away to coat evenly. Wipe any excess spray from the outer edges of the waffle maker with the corner of the tan linen towel to prevent burning.
Step 4
step4:Grease Waffle Plates
5

Cook Waffles Until Golden

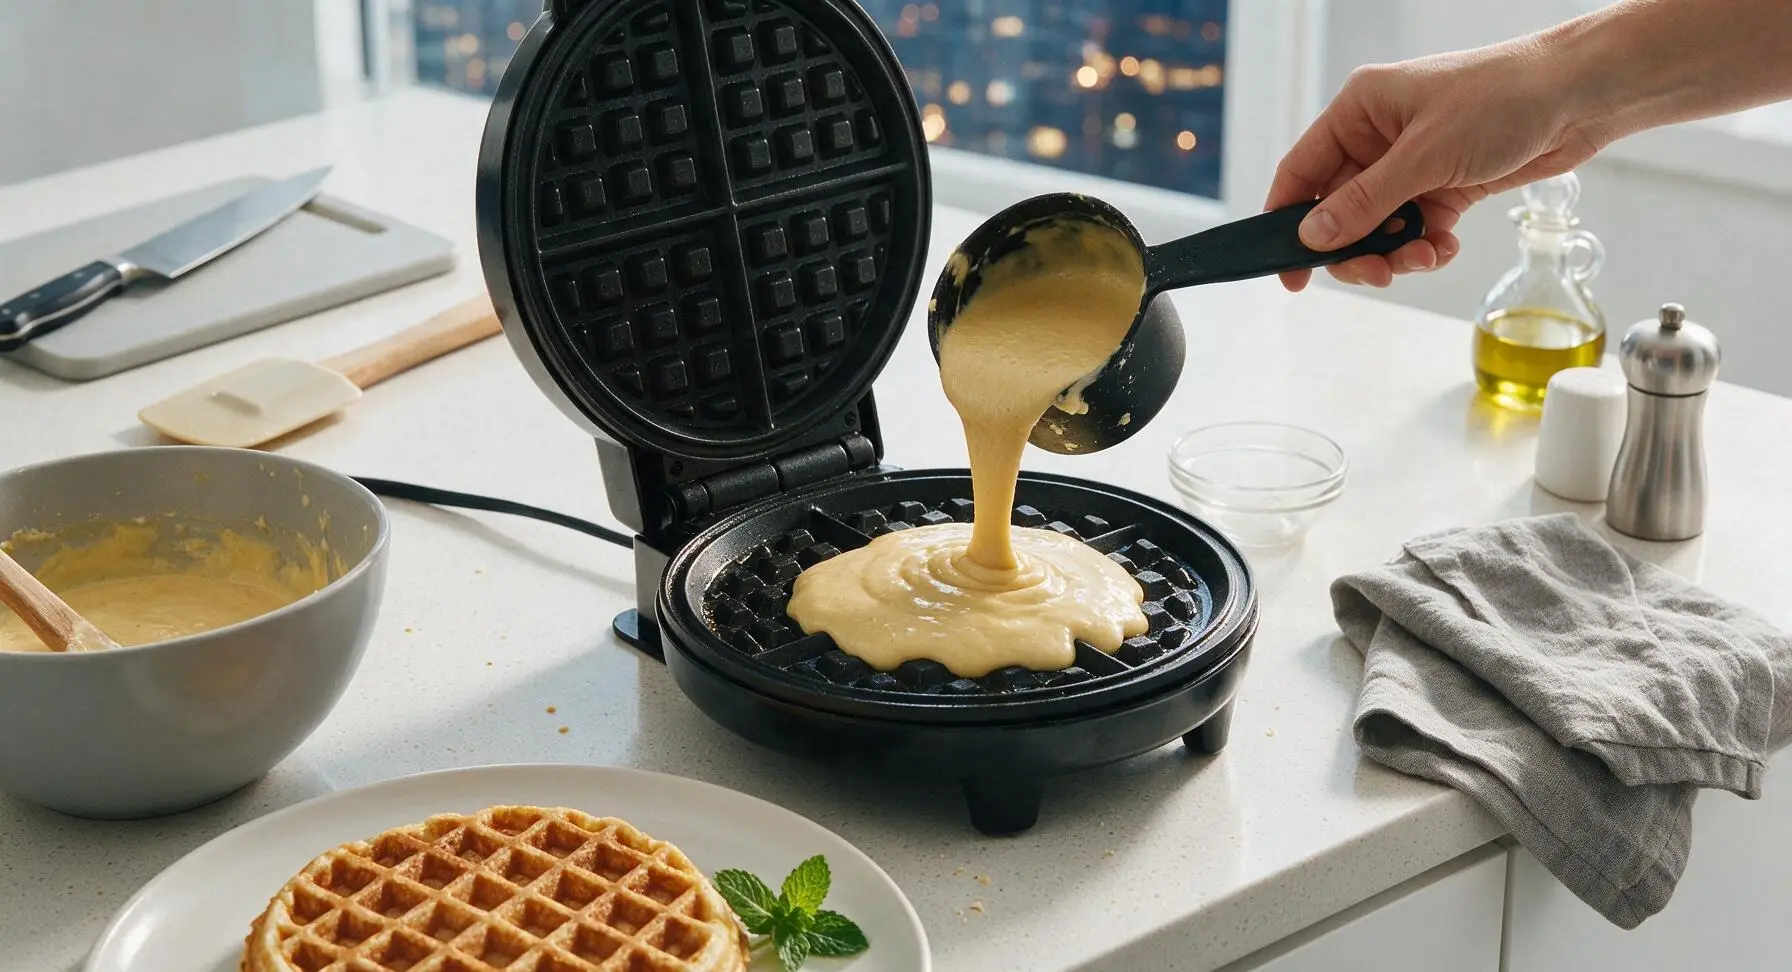
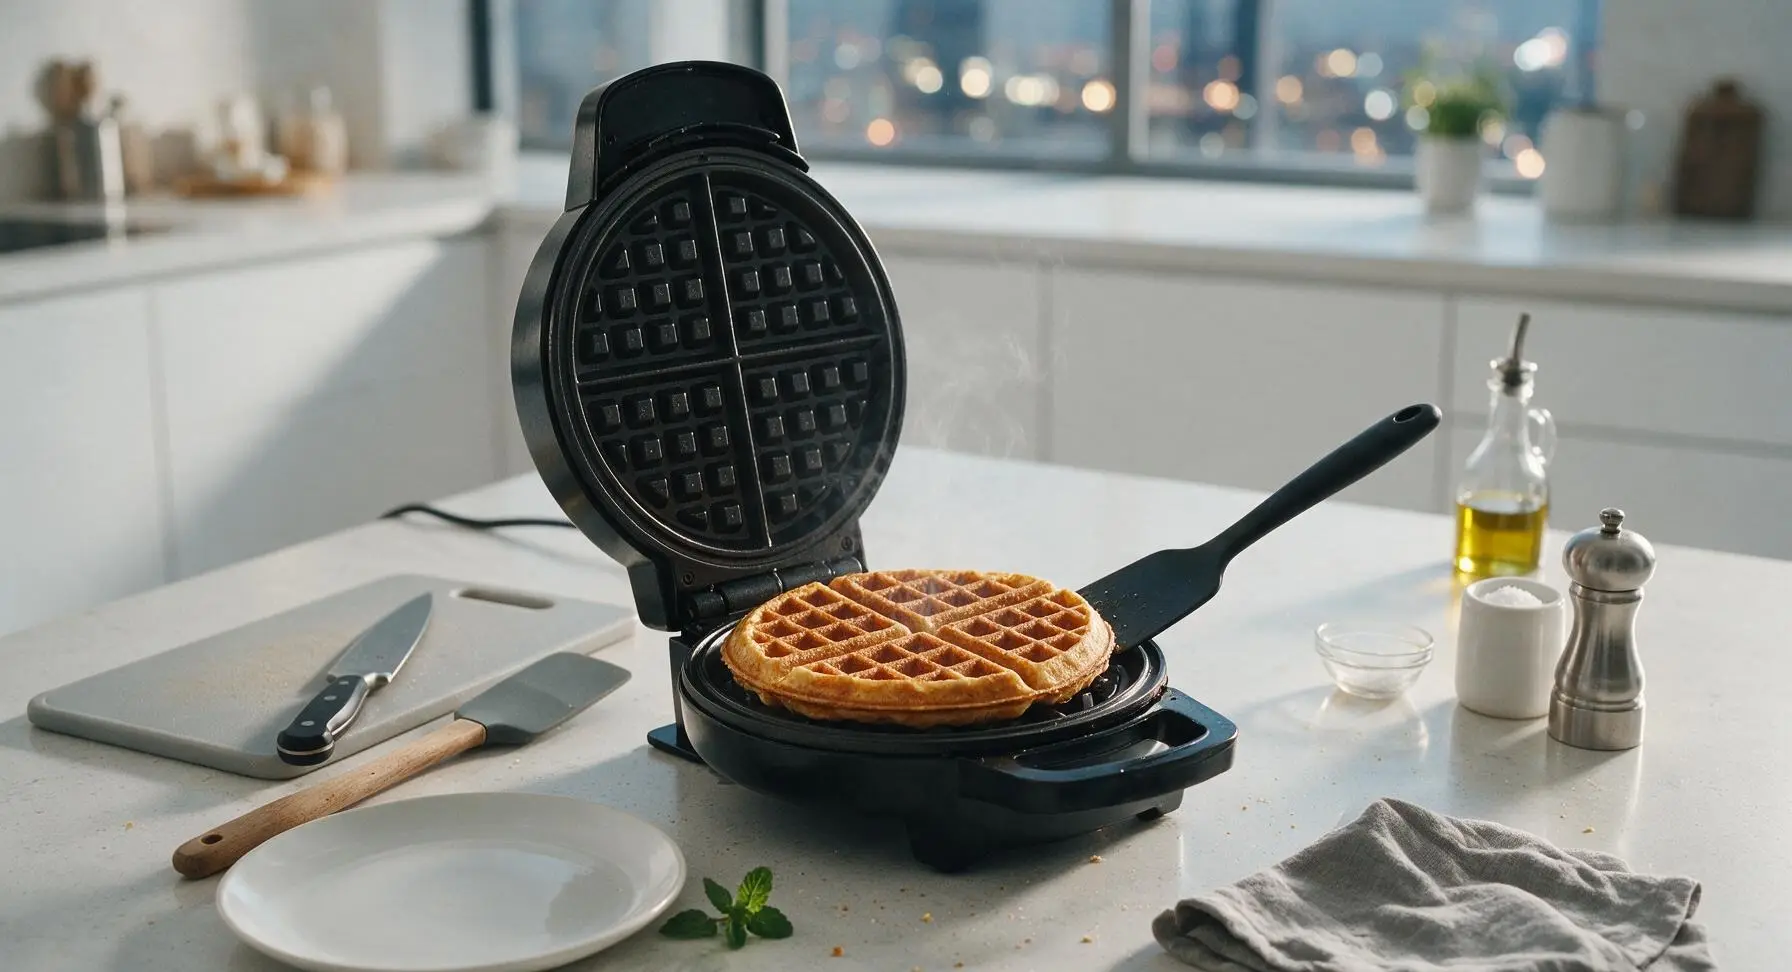
Use the black silicone 1-cup measuring cup to pour 3/4 cup of batter directly into the center of the greased bottom waffle plate. Close the lid gently—do not press down hard, as this will squeeze out batter and create flat, dense waffles. Cook for 3 to 4 minutes, until steam stops escaping from the edges of the waffle maker and the waffle is deep golden brown and crisp on the outside. Repeat with remaining batter, re-spraying plates lightly between waffles if needed.
Step 5
step5:Cook Waffles Until Golden
Step 5
step5:Cook Waffles Until Golden
6

Transfer Cooked Waffle

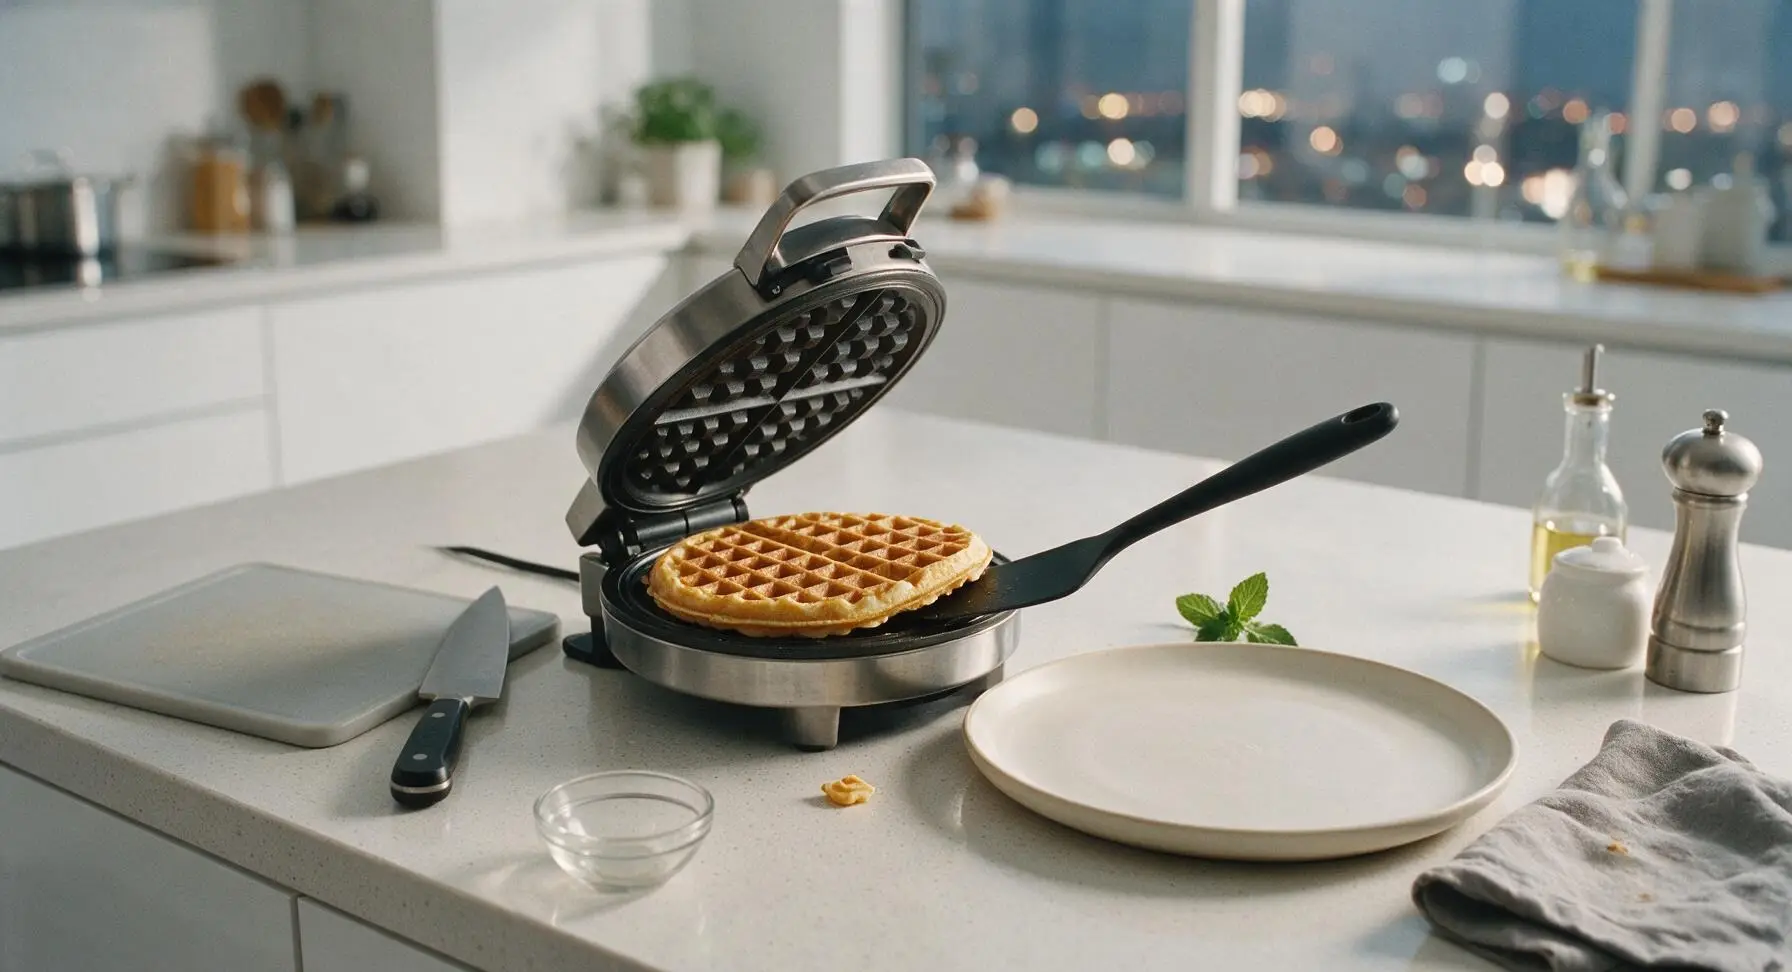
Use the heat-resistant black silicone spatula to gently lift the edge of the cooked waffle, then slide it out of the waffle maker and onto the matte cream white ceramic waffle plate positioned at front right. Do not stack waffles directly on top of each other if keeping batches warm; place them on a wire rack set in a 200°F (95°C) oven to stay crisp until serving.
Step 6
step6:Transfer Cooked Waffle
7

Garnish and Serve

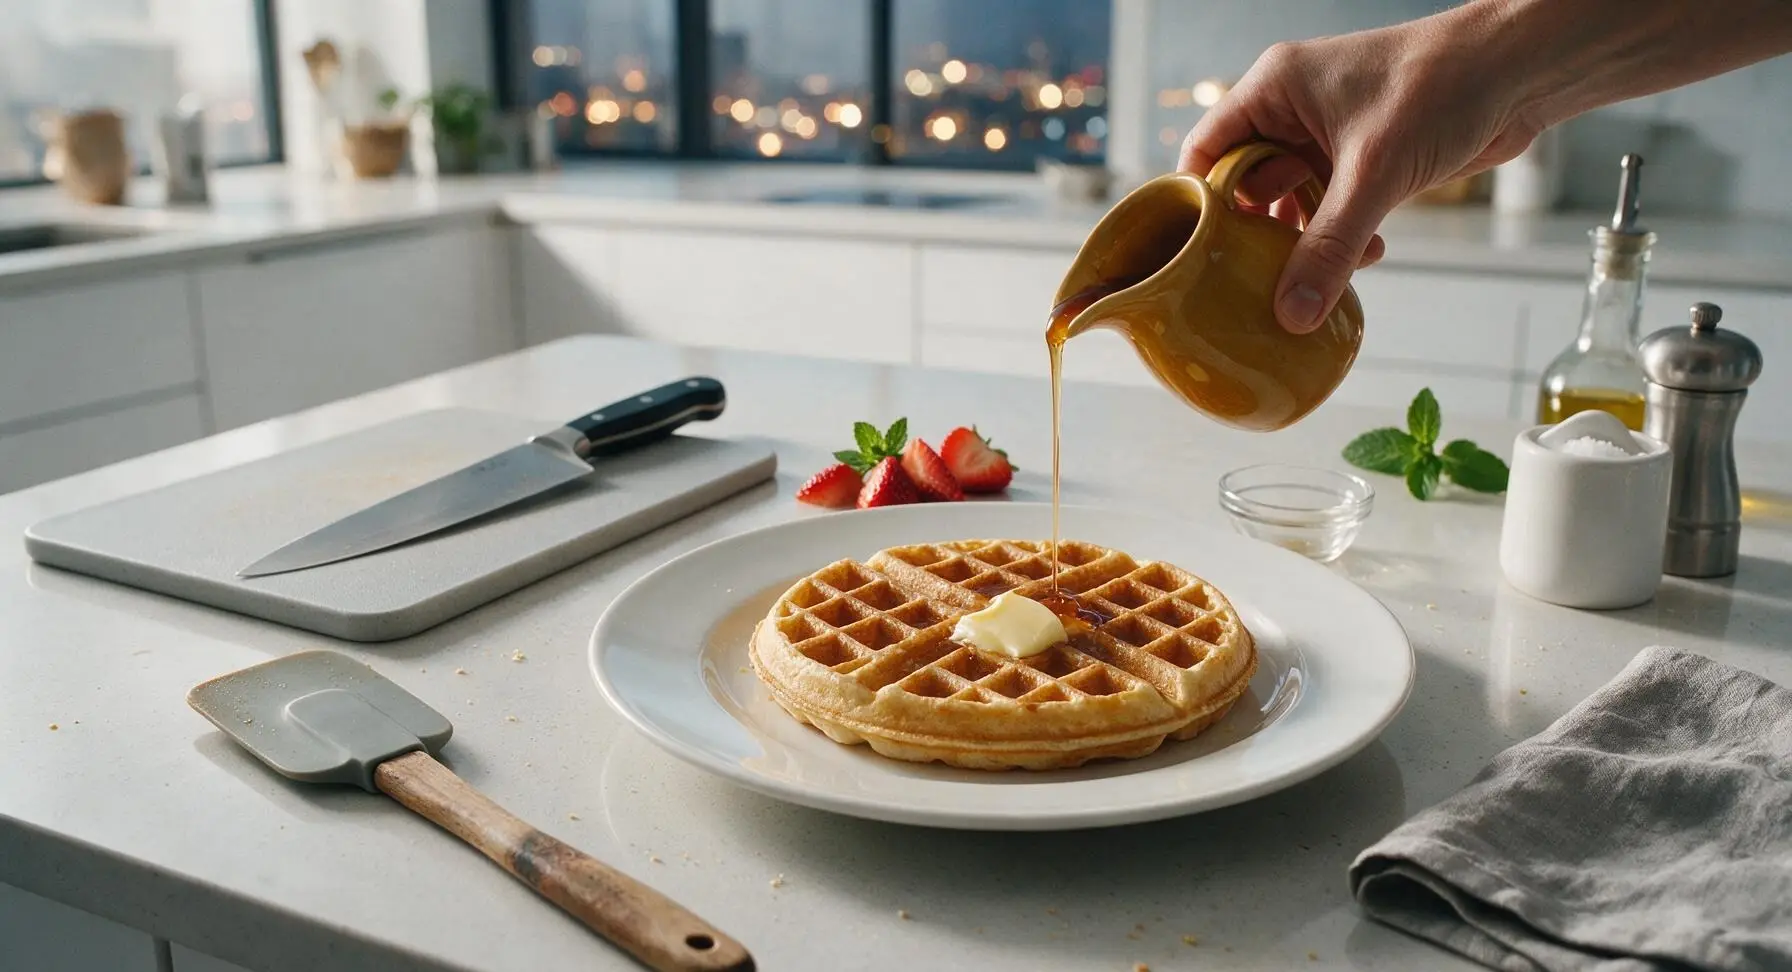
Top the warm waffle with a 1-tablespoon pat of unsalted butter, allowing it to melt slightly into the grid pockets. Drizzle with 2 tablespoons of pure maple syrup from the amber ceramic jug, then add 2 sliced fresh strawberries and a small sprig of mint for garnish. Serve immediately while hot and crisp.
Step 7
step7:Garnish and Serve

Tips

1.Cool melted butter for 2–3 minutes before adding to batter: Hot butter will partially cook the raw eggs as you mix, creating tiny, rubbery egg bits in the finished batter instead of a smooth, uniform texture.
2.Stop mixing batter as soon as dry flour patches disappear: Small, pea-sized lumps are ideal, as overmixing develops gluten in the self-rising flour and leads to tough, chewy waffles instead of light, fluffy centers with crisp edges.
3.Keep cooked waffles crisp by resting them on a wire rack set over a baking sheet in a 200°F (95°C) oven instead of stacking them on a plate: Stacking traps steam between waffle layers, turning crisp edges soft and soggy in as little as 2 minutes.


✨ You May Also Like

Breakfast
🍜 United States

Crisp-edged, fluffy lard griddle cakes are a nostalgic homestyle staple, with rich savoriness from rendered lard, perfect topped with maple syrup or savory gravy.

⏱️ 25 minuteBreakfast ★ 4.8
Breakfast
🍜 United States

Flaky, buttery homemade buttermilk biscuits smothered in creamy, peppery pork sausage gravy: a beloved, hearty Southern American comfort food classic.

⏱️ 35 minuteBreakfast ★ 4.8
Breakfast
🍜 United States

Golden, custardy brioche stuffed with sweet cream cheese and fresh berries, pan-fried to crisp perfection. An indulgent, cozy breakfast perfect for slow weekend mornings.

⏱️ 30 minuteBreakfast ★ 4.7
Breakfast
🍜 United States

Flaky, buttery Southern-style biscuits stuffed with savory salty country ham, a portable, satisfying classic perfect for casual on-the-go meals.

⏱️ 25 minuteBreakfast ★ 4.8
Breakfast
🍜 United States

Iconic puffy baked pancake popularized in Seattle, with crisp golden edges and soft custardy center, served warm with classic sweet toppings.

⏱️ 35 minuteBreakfast ★ 4.6
Breakfast
🍜 United States

Fluffy, golden pancakes studded with juicy peak-summer mixed berries, drizzled with maple syrup for a bright, comforting, crowd-pleasing family breakfast.

⏱️ 25 minuteBreakfast ★ 4.7

waffle recipe self rising flour:Frequently Asked Questions

1.Why didn’t my waffles turn out light and fluffy even when I used self-rising flour? ▾
The most common culprit is overmixing the batter—stir just until dry ingredients are moistened, even if a few small lumps remain, to avoid developing tough gluten. Also make sure your melted butter is fully cooled so it doesn’t curdle eggs, let the batter rest 5 minutes before pouring, and don’t peek at waffles for the first 2 minutes of cooking to let them rise properly.
2.Can I substitute low-fat or plant-based milk for the whole milk in this recipe? ▾
Whole milk adds rich moisture and fat for that tender crumb and crisp edge, but you can swap in 2% milk if that’s what you have on hand. For plant-based options, unsweetened oat milk works best because it has a similar thickness to whole milk; skip thin almond or skim milk, as those produce drier, less flavorful waffles that don’t crisp evenly.
3.Do I need to add extra baking powder or salt when using self-rising flour for these waffles? ▾
No extra leavening or salt is needed! Standard self-rising flour is pre-mixed with 1 ½ teaspoons of baking powder and ¼ teaspoon of fine salt per cup, which is exactly the ratio for that tall, fluffy rise. Adding extra baking powder leaves a bitter, metallic aftertaste, and extra salt throws off the waffles’ balanced sweet-savory flavor.
4.How do I get that perfectly crisp golden outside instead of soggy, soft waffles? ▾
First, make sure your waffle iron is fully preheated before pouring batter—test it by sprinkling a drop of water, which should sizzle and evaporate immediately. Don’t overload the iron with too much batter, and wait until steam stops billowing from the edges to pull waffles out. Hold finished waffles on a wire rack in a 200°F oven instead of stacking them to avoid sogginess.
5.Can I mix this waffle batter ahead of time for quick weekday mornings? ▾
You can pre-mix the dry ingredients and store them in an airtight container at room temperature for up to 3 months as a time-saving shortcut, but don’t mix the full wet and dry batter more than 30 minutes before cooking. The leavening in self-rising flour activates as soon as it hits wet ingredients, so pre-mixed batter will lose rise and turn dense if left too long.
6.What if I don’t have self-rising flour on hand? Can I make my own substitute? ▾
Absolutely! For every 1 cup of self-rising flour this recipe calls for, measure 1 cup of all-purpose flour, remove 2 teaspoons of it, then mix in 1 ½ teaspoons of baking powder and ¼ teaspoon of fine table salt. Whisk thoroughly to evenly distribute leavening and salt before adding wet ingredients, and you’ll get identical fluffy, well-seasoned results.
7.How should I store leftover waffles, and what’s the best way to reheat them? ▾
Let leftover waffles cool completely on a wire rack, then store them in a sealed zip-top bag in the fridge for up to 3 days, or freeze for up to 3 months separated by parchment paper to prevent sticking. Reheat in a toaster or toaster oven on medium instead of the microwave to bring back the crisp edge and fluffy interior, rather than chewy, soggy waffles.

Comments (13)

2 days ago

OMG these came out so FLUFFY I could cry! I’ve been messing up waffle recipes for months and this one was dead simple even on a busy school morning. My two kids begged for seconds before they even finished their first plate. 10/10 will be making these every Sunday from now on.

3 days ago

Total game changer for quick weekday breakfasts! 12 minute cook time is no joke — I mixed the batter while my coffee brewed and had hot waffles for me and my wife before we had to log on for work. Quick question: can I freeze the leftovers for toaster meals later in the week?

2 days ago

So glad these fit into your busy morning routine! Absolutely — let the cooked waffles cool completely, pop them in a freezer bag separated by parchment paper, and they’ll reheat perfectly in the toaster straight from frozen for 1-2 minutes. Great for meal prep!

1 week ago

Wait, I don’t have a fancy waffle maker, just the cheap $20 one I got at Target move-in week — will this recipe still work? I’ve had other waffle recipes come out super flat and rubbery on my cheap iron.

5 days ago

Girl I have that exact same cheap Target waffle maker and these came out perfect! Just make sure you don’t overmix the batter, lumps are totally fine, I learned that the hard way on my first batch.

3 days ago

Great question! This recipe works on absolutely any waffle iron, cheap or fancy. Just give your iron a quick spritz of nonstick spray, don’t overfill the grids, and you’ll get fluffy waffles every time, no fancy equipment needed.

1 week ago

Made these before heading out on an early morning trail run last weekend and they kept me full for HOURS. I topped mine with peanut butter and banana slices and it was chef’s kiss. So easy to throw together even when I’m half asleep at 6am.

2 weeks ago

Took these to my neighborhood potluck last weekend and everyone was asking for the recipe! I added a little dash of cinnamon and vanilla extract to the batter and it tasted exactly like the waffles my grandma used to make. SO good.

1 week ago

Oh the cinnamon addition sounds amazing! I’m making these for our next block party, I’m definitely stealing that tip. Thanks for sharing!

5 days ago

This looks so good! Is there a way to make this with gluten-free self-rising flour for my kid who has celiac? I don’t want to mess with a bunch of fancy flour blends if I don’t have to.

3 days ago

I made these last week with a store-bought gluten-free self-rising flour blend and they came out just as fluffy! I did add a tiny extra splash of milk because the GF flour soaked up a little more moisture than regular, but no other changes needed.

2 days ago

Thanks for sharing that great tip! You absolutely can swap in gluten-free self-rising flour 1:1 here — just add 1-2 extra tablespoons of milk if your batter feels too thick, and you’ll get the same light, fluffy result.

30 minutes ago

Made these at 1am after getting home from a concert and they hit DIFFERENT. Didn’t even have any fancy toppings, just a drizzle of maple syrup and they were better than any diner waffle I’ve ever paid $15 for. No notes.

yesterday

Obsessed with how simple this ingredient list is! I always have self-rising flour in my pantry so I didn’t even have to run to the grocery store to make these. Quick question: how long will the mixed batter last in the fridge if I want to prep it the night before?

5 minutes ago

Love that you already keep self-rising flour stocked — it’s such a versatile staple! The batter will keep well in an airtight container in the fridge for up to 2 days, just give it a quick gentle stir before pouring it into your waffle iron. No need to overmix!

3 days ago

Tried making these this morning and my 7 year old said they ‘taste like cloud happiness.’ I think that’s the highest review I’ve ever gotten for anything I’ve cooked, honestly. Win for dad today.

2 days ago

That is the sweetest review ever! My 6 year old is the pickiest eater on the planet, I’m testing these out tomorrow morning to see if I can get that same reaction. Fingers crossed!

2 hours ago

‘Cloud happiness’ is going to be my new standard for all baked goods from now on, that’s iconic. Congrats on the dad win, those are the best.

1 week ago

I made these for my roommate’s birthday brunch and they were a total hit! I set out a topping bar with whipped cream, berries, chocolate chips, and even fried chicken for people who wanted chicken and waffles. 10/10, so versatile.

5 days ago

The fried chicken and waffle bar idea is genius! I’m hosting a brunch for my friend group next month and I was scrambling for a main that’s easy to scale, this is perfect. Thanks for the inspo!

just now

First waffle recipe I’ve ever tried that didn’t come out burnt on the outside and raw in the middle! The easy difficulty rating is no lie, even someone as kitchen-clueless as me pulled these off on the first try. So proud of myself right now.

2 days ago

These are amazing plain but has anyone tried adding shredded cheddar and chives to the batter for a savory waffle? I feel like that would go so hard with eggs and bacon for breakfast.

yesterday

That savory twist sounds absolutely delicious! We’ve tested adding ½ cup shredded sharp cheddar and 2 tablespoons chopped fresh chives to this batter and it works beautifully — it makes the perfect base for a savory breakfast bowl with eggs, bacon, and a little hot sauce. Highly recommend giving it a try!

5 days ago

Wait, I accidentally used all-purpose flour instead of self-rising the first time I made these and they still came out pretty good? Don’t get me wrong, they were definitely less fluffy, but I added a little baking powder and salt and it worked in a pinch. Don’t be like me, check your flour before you start mixing y’all.

3 days ago

Oh I’ve so done that before! I once used cake flour for pizza dough because I wasn’t paying attention, so I feel your pain. Good to know it’s salvageable if I grab the wrong flour canister half asleep.

2 days ago

Great save! If you only have all-purpose flour on hand, you can make your own self-rising flour for this recipe by adding 1 ½ teaspoons baking powder and ¼ teaspoon salt per cup of all-purpose flour, which is exactly what you stumbled on. So glad they still turned out tasty!



