
waffle recipe with water instead of milk
intro
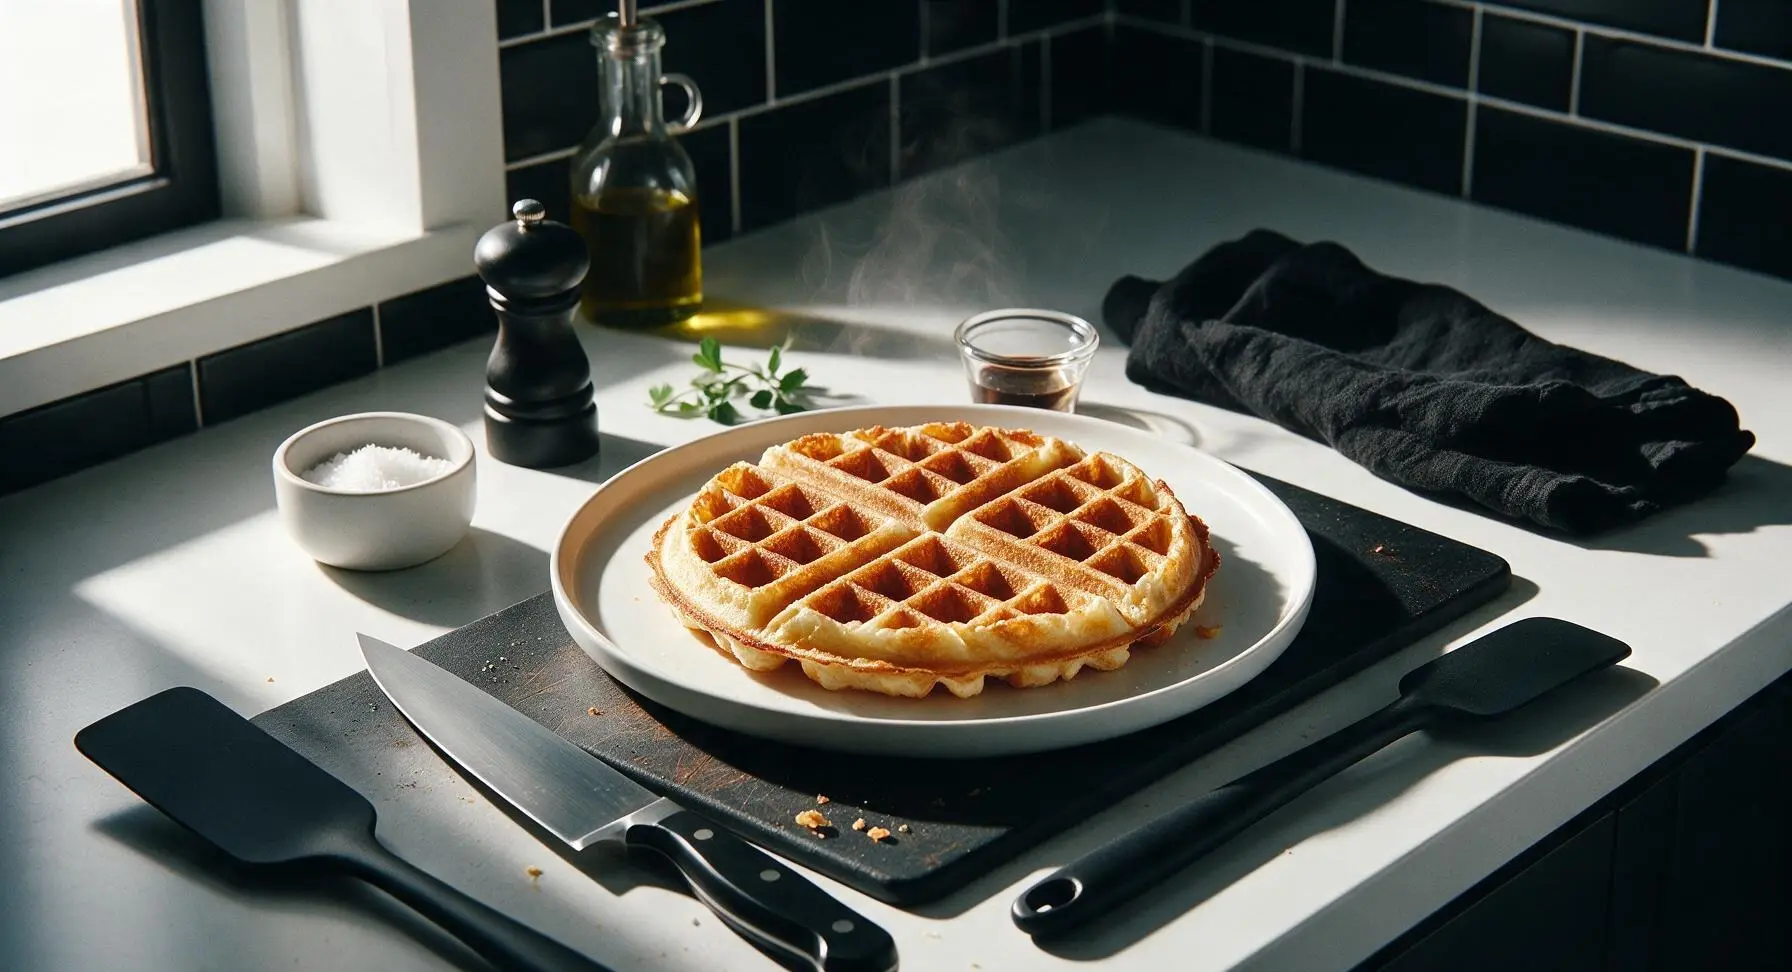
Crisp, golden, and fluffy inside, these dairy-free waffles use water instead of milk for a quick, pantry-staple meal that tastes as rich as classic milk-based waffles, no grocery run needed.
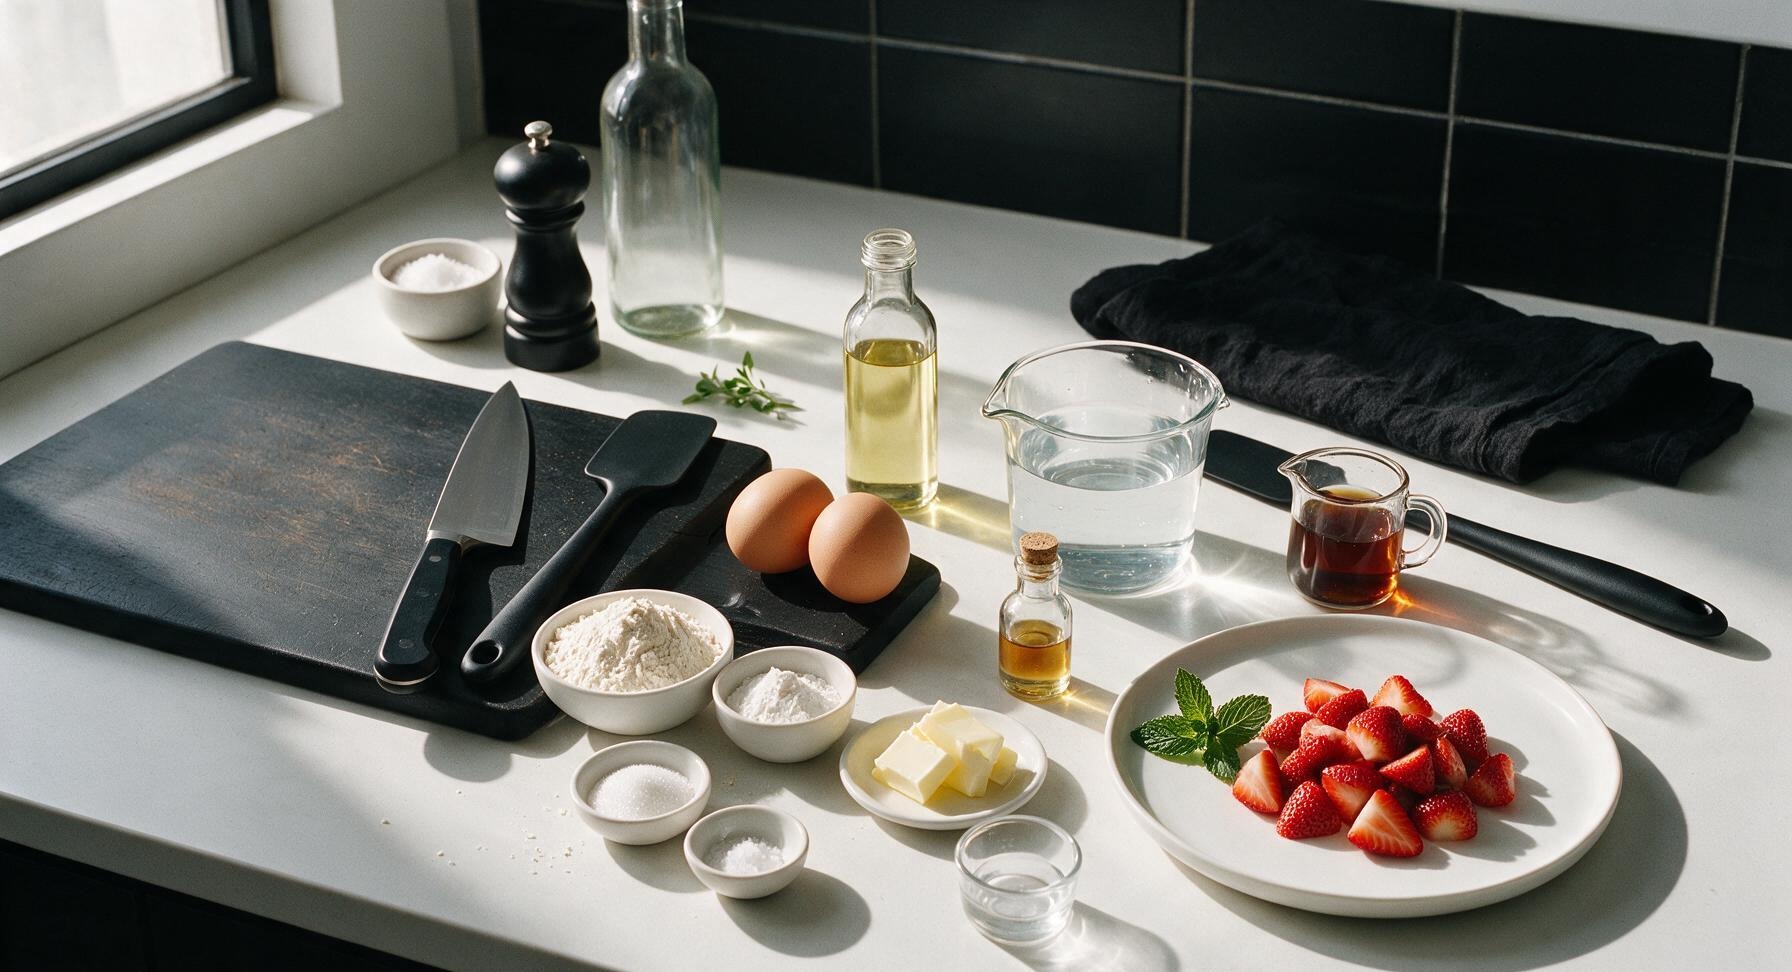
Ingredients
Steps
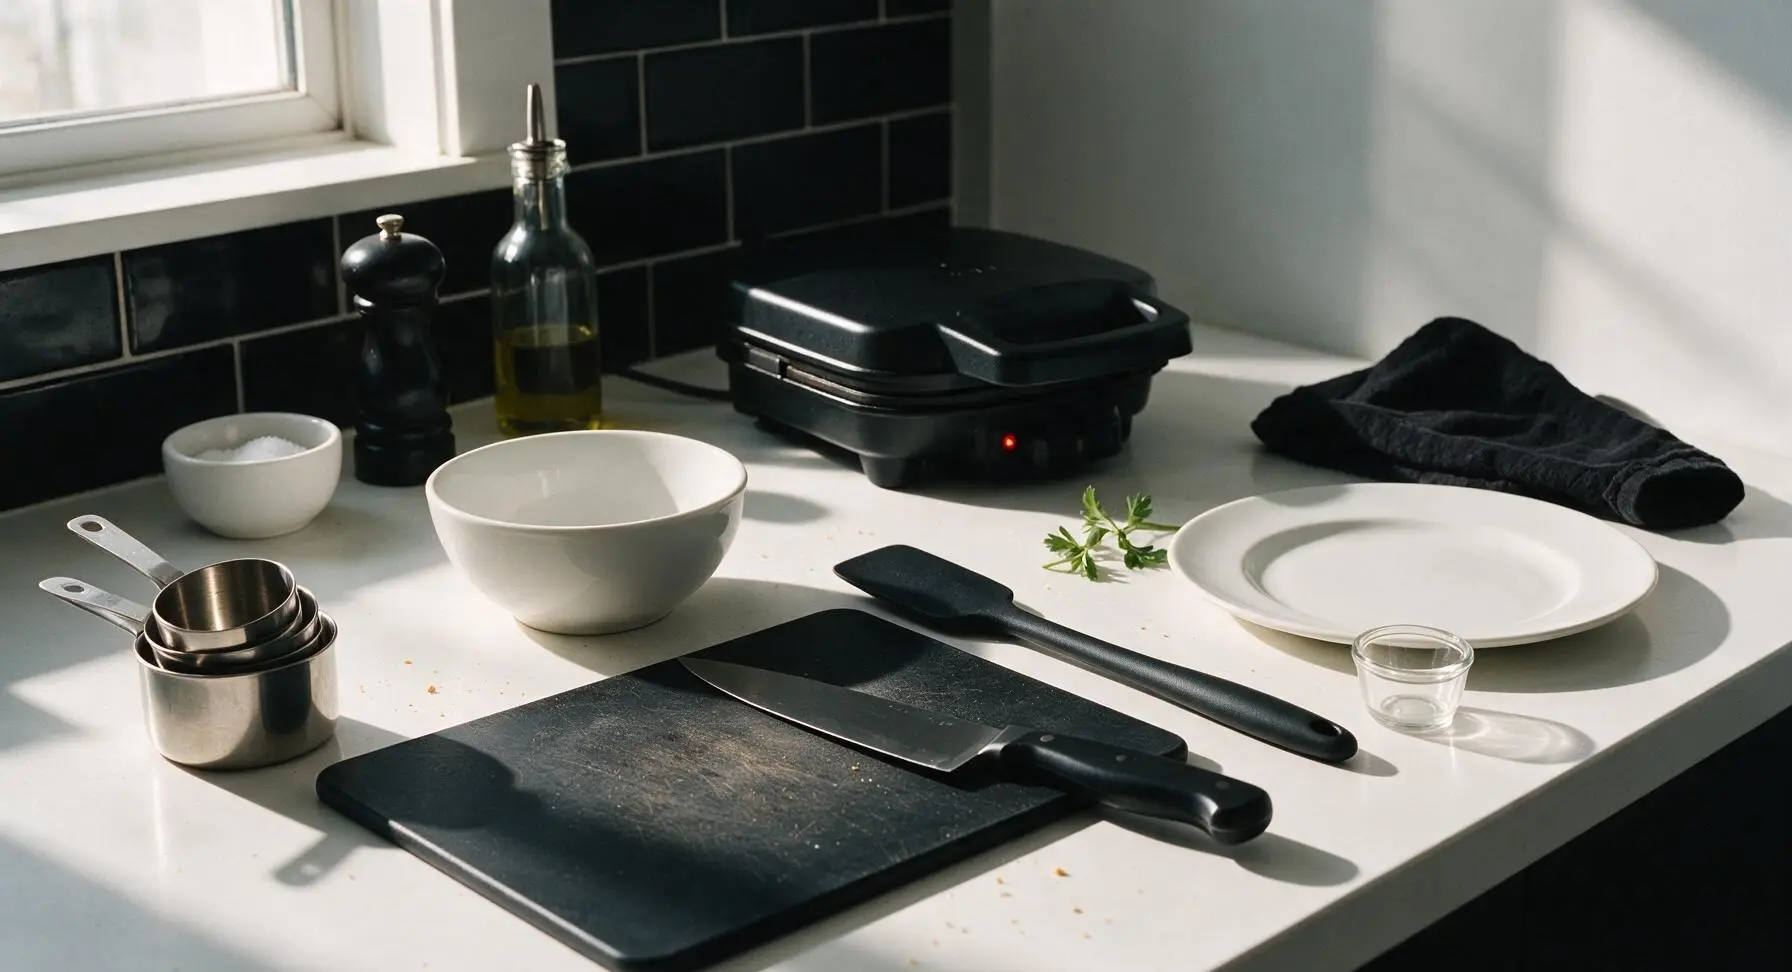
Preheat Waffle Maker
Preheat your electric waffle maker to medium-high heat (375°F / 190°C) while you mix the batter; most models indicate ready temperature when the built-in indicator light switches off. Lightly coat the cooking plates with a thin layer of neutral oil or non-stick spray if your model does not have a premium non-stick coating, to prevent waffles from sticking during cooking.
Whisk Dry Ingredients
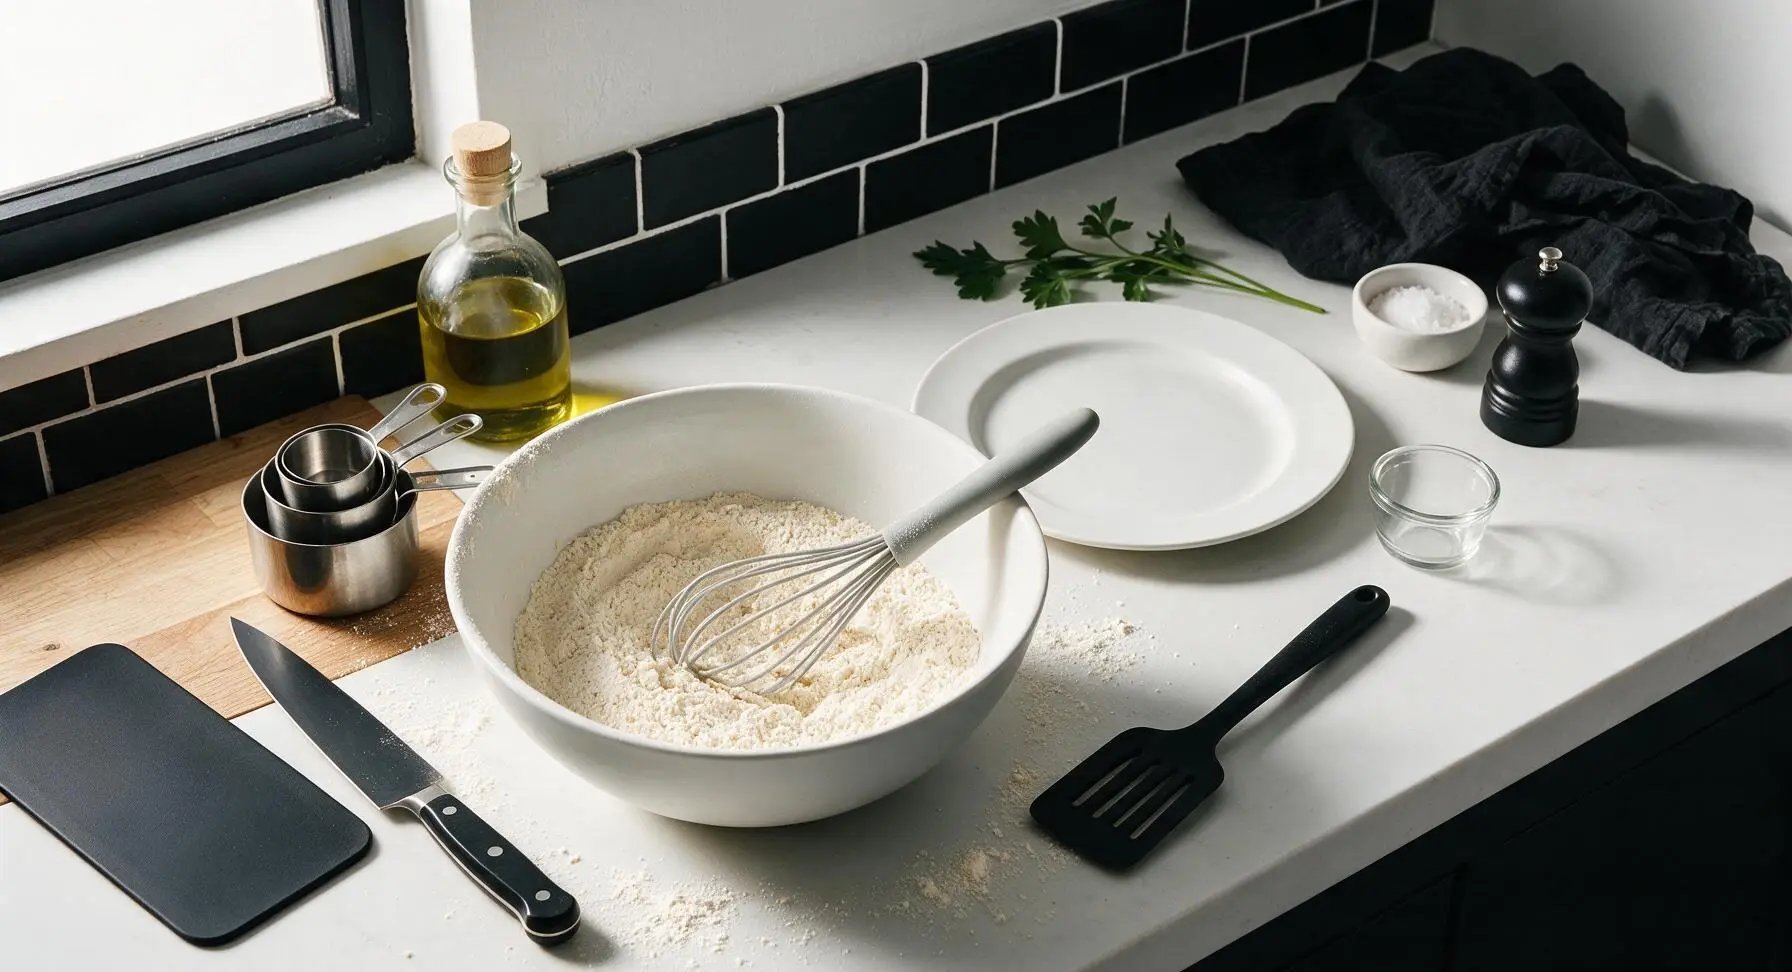
Add 2 cups (240g) all-purpose flour, 1 tablespoon baking powder, 1 tablespoon granulated sugar, and 1/2 teaspoon fine sea salt to the matte white ceramic mixing bowl. Use the light grey silicone whisk to stir the dry ingredients together for 30 seconds until fully combined, with no concentrated clumps of baking powder visible, creating a uniform pale flour mixture.
Add Wet Ingredients
Create a small 3-inch wide well in the center of the dry flour mixture. Crack the 2 room-temperature large eggs into the well, then add 1/4 cup neutral vegetable oil (canola or avocado work best), 1 3/4 cups cool tap water, and 1 teaspoon pure vanilla extract. Do not use hot water, as this will partially cook the eggs and create small, tough egg lumps in the finished batter.
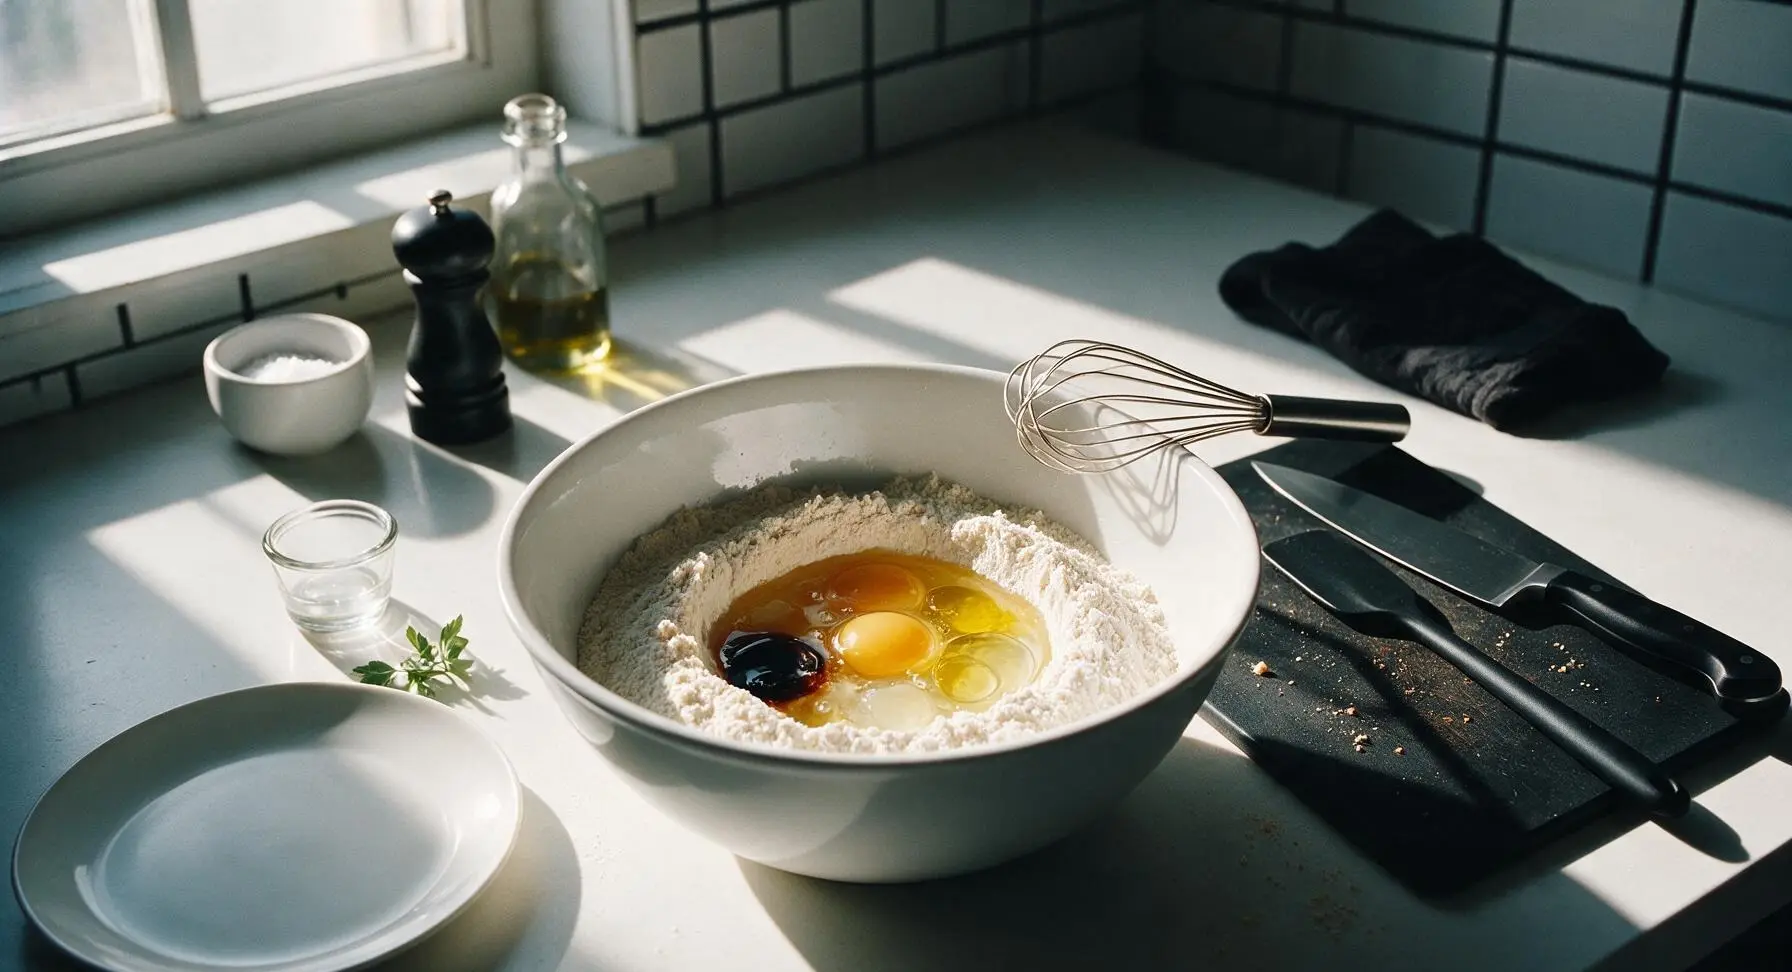
Mix and Rest Batter
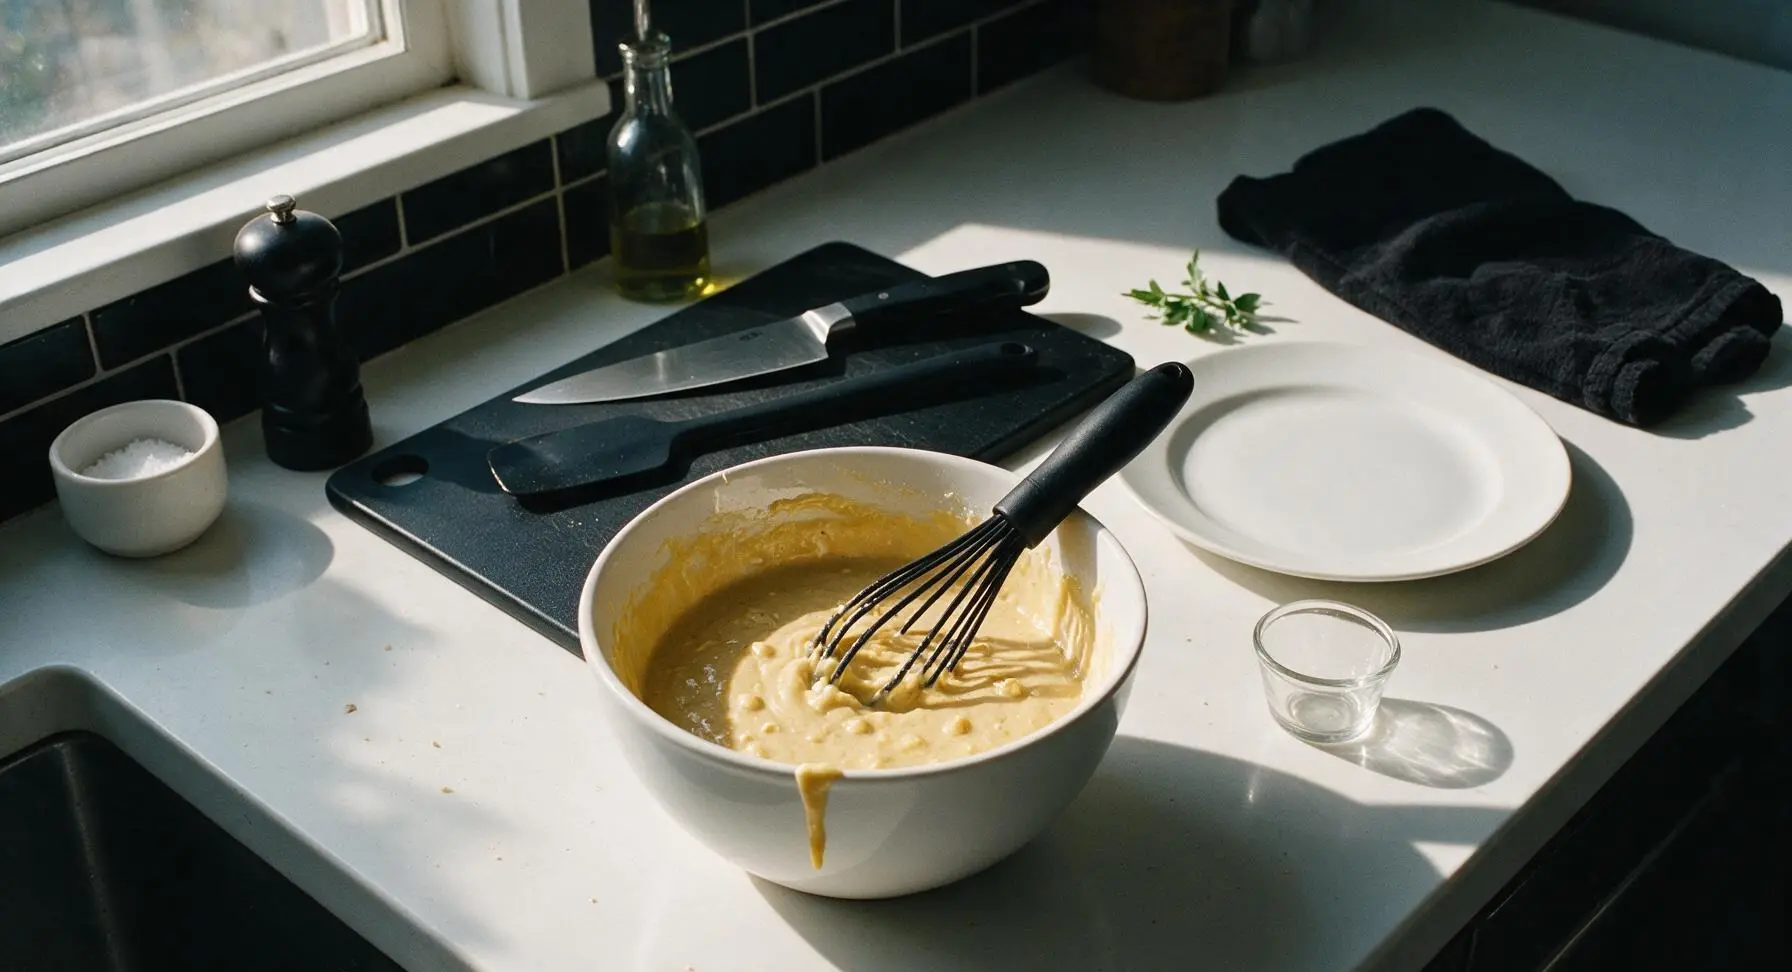
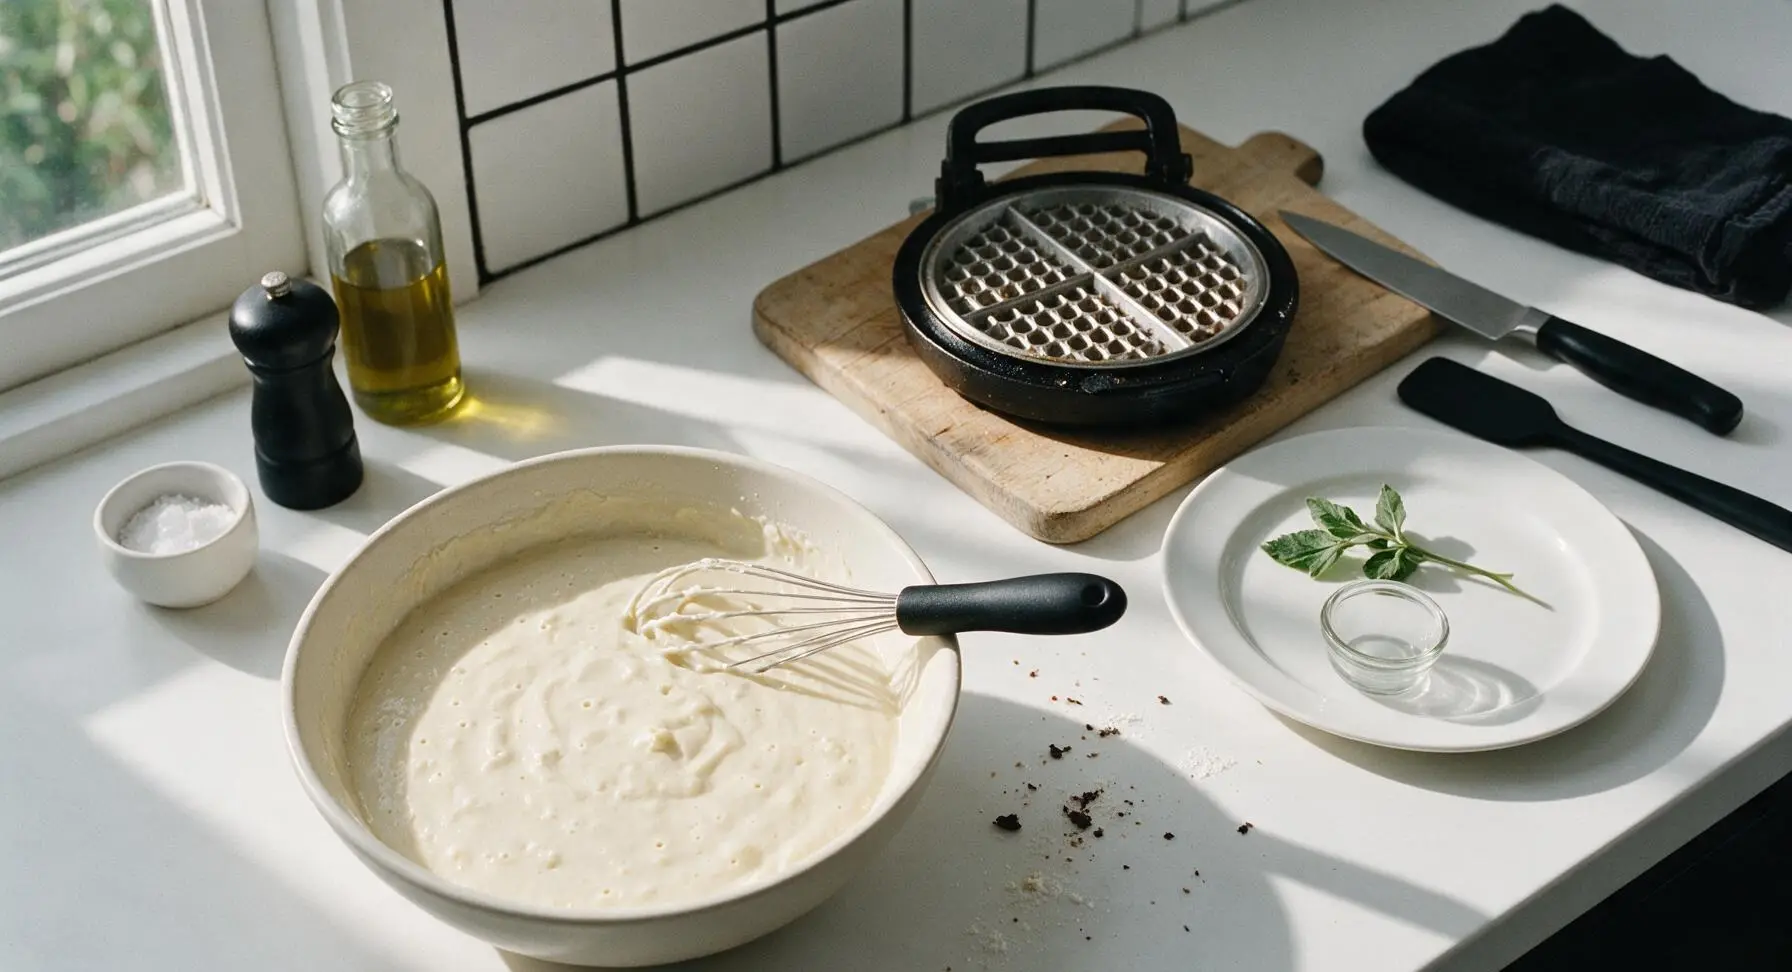
Use the silicone whisk to gently stir the wet and dry ingredients together, mixing just until no large pockets of dry flour remain. Stop stirring as soon as the batter comes together; the batter should be slightly lumpy, not perfectly smooth. Overmixing will develop wheat gluten and result in tough, chewy waffles instead of light, crisp ones. Let the batter rest for 5 minutes at room temperature to allow the baking powder to activate; you will see small air bubbles form across the batter surface when it is ready to use.
Pour Batter onto Plates
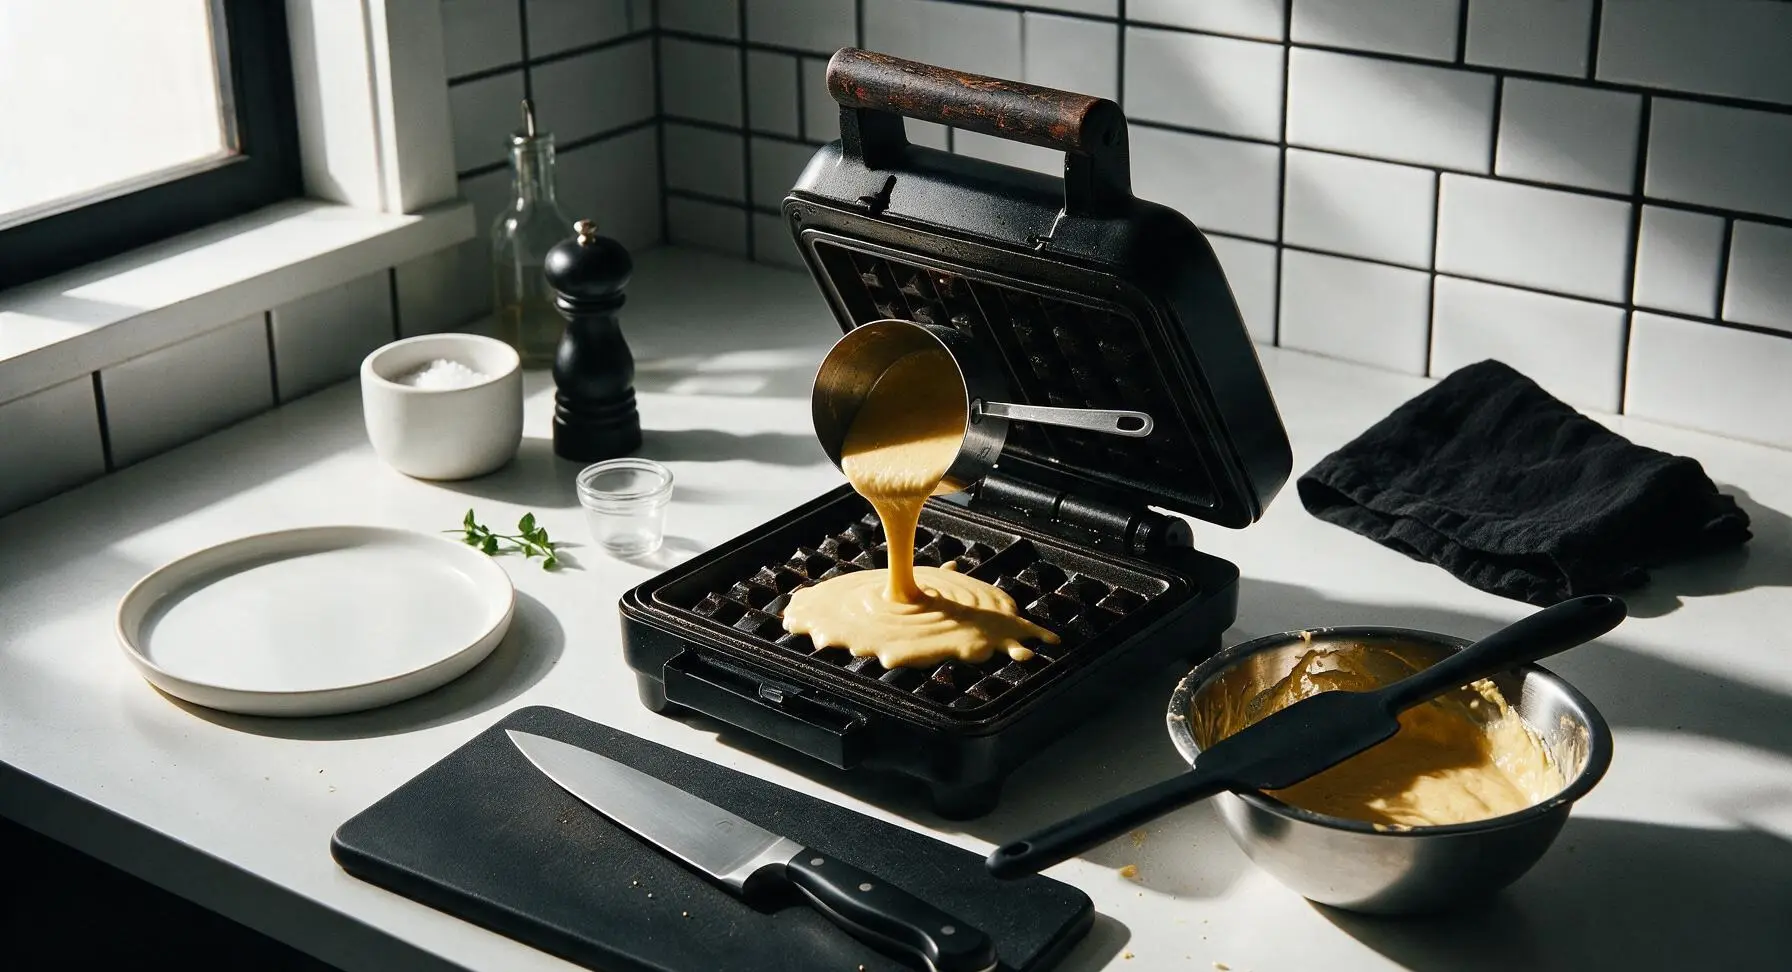
Once the waffle maker is fully preheated and the batter is rested, use the 1/2 cup stainless steel measuring cup to scoop batter and pour it evenly into the center of the hot lower waffle plate. Use the small light grey silicone spatula to gently spread the batter to within 1/2 inch of the plate edges; the batter will spread further as it cooks and rises, so do not overfill, which will cause batter to leak out the sides of the waffle maker and burn.
Cook Until Golden
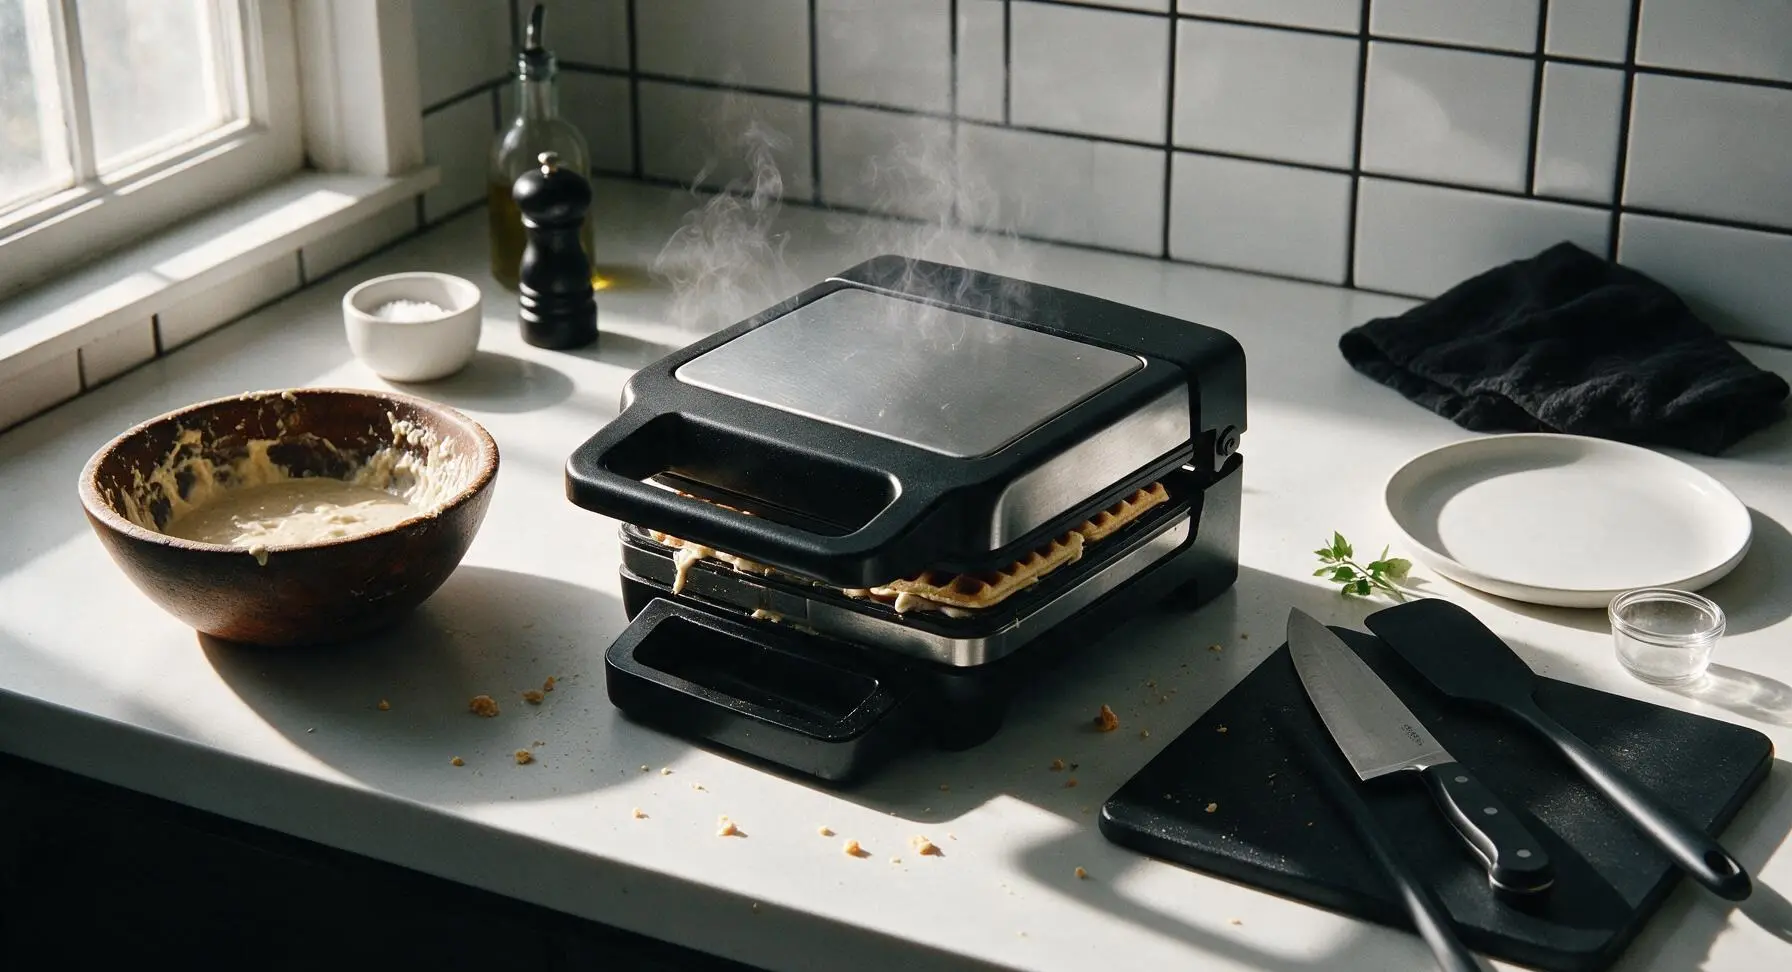
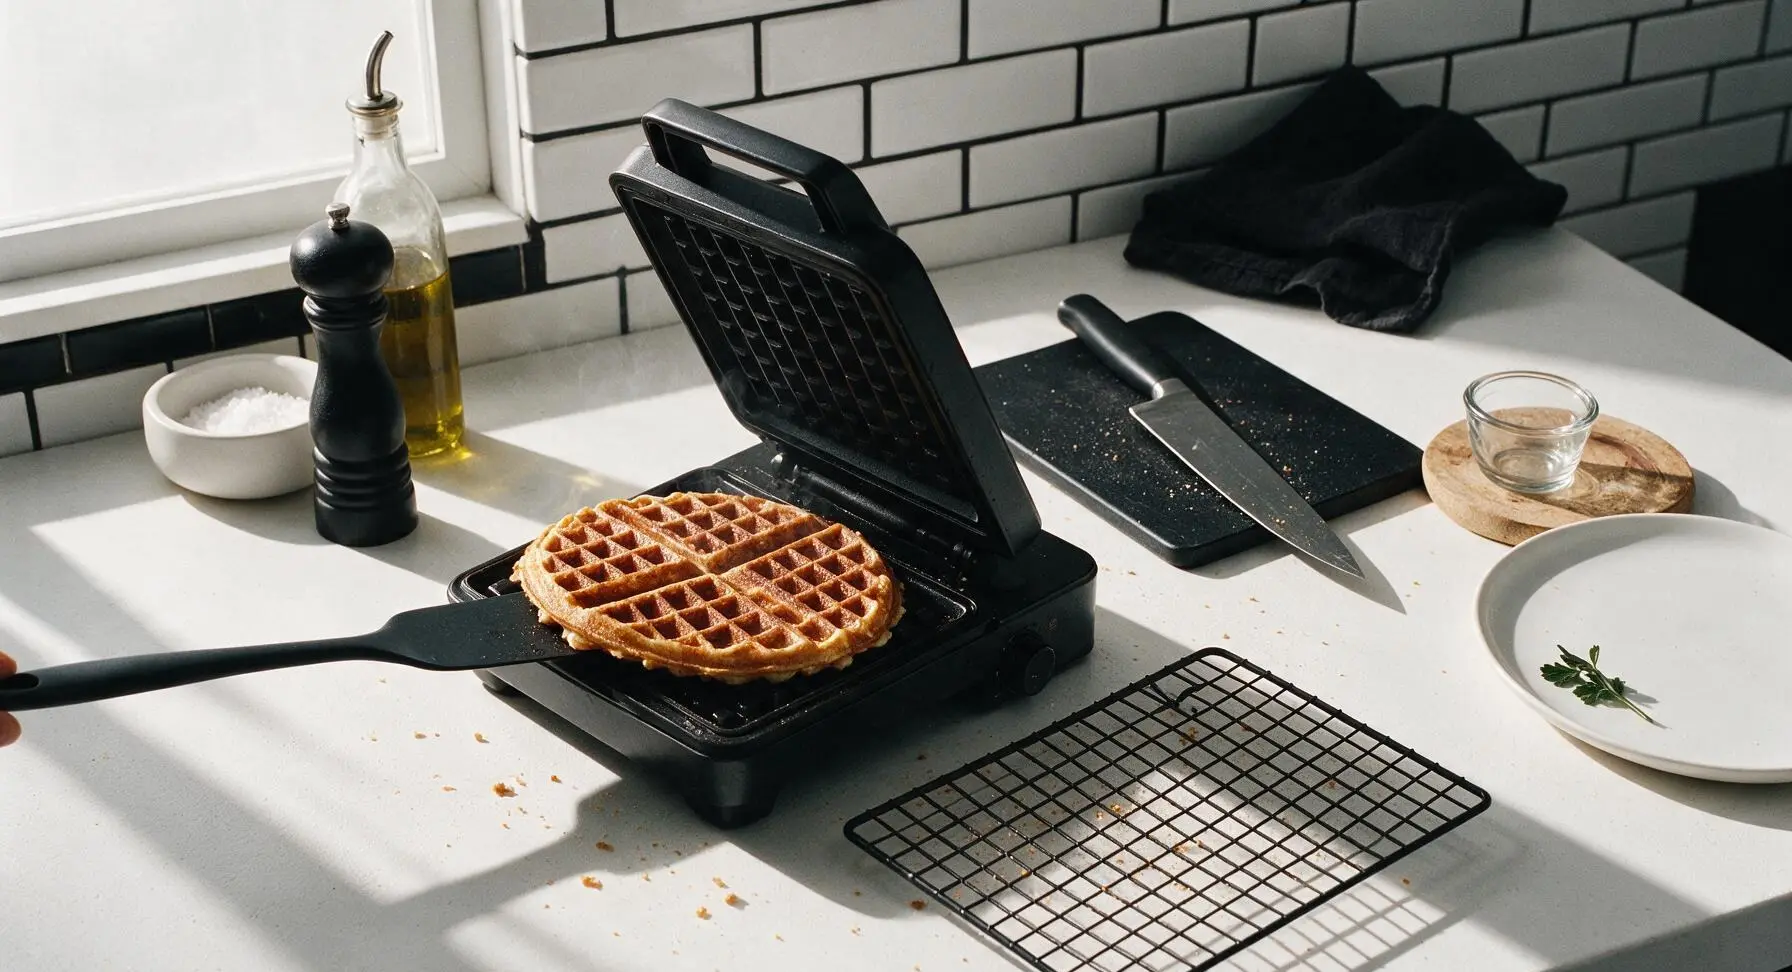
Close the waffle maker lid and cook for 3 to 4 minutes per waffle, resisting the urge to open the lid for the first 2 minutes to allow the waffle to rise fully. The waffle is done when it is deep golden brown, crisp on the outer edges, and pulls away easily from the non-stick plates with no sticking. Heavy billowing steam will slow to a faint, thin wisp when the waffle is fully cooked.
Rest Waffles on Rack
Transfer each cooked waffle to the chrome wire cooling rack positioned to the right of the waffle maker. Do not stack waffles directly on a plate immediately after cooking, as trapped steam will soften the crisp crust and make waffles soggy. Keep finished waffles warm on the rack in a 200°F (95°C) oven while you cook the remaining batter, making 4 total waffles.
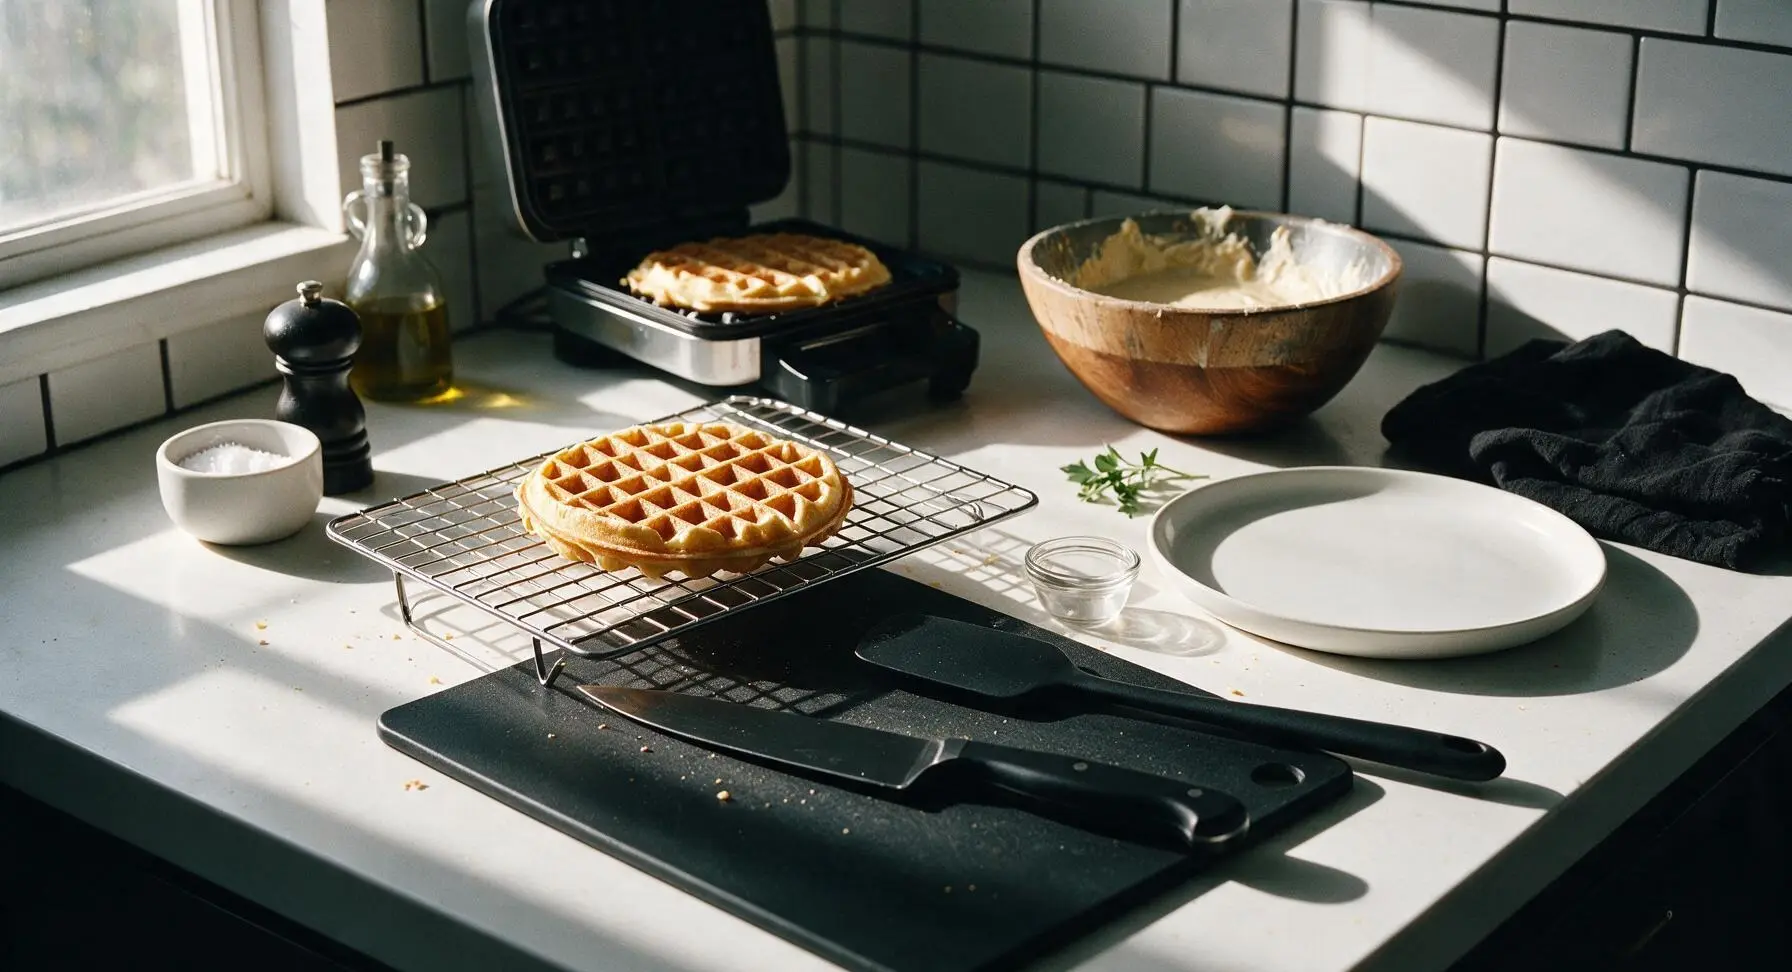
Plate and Serve
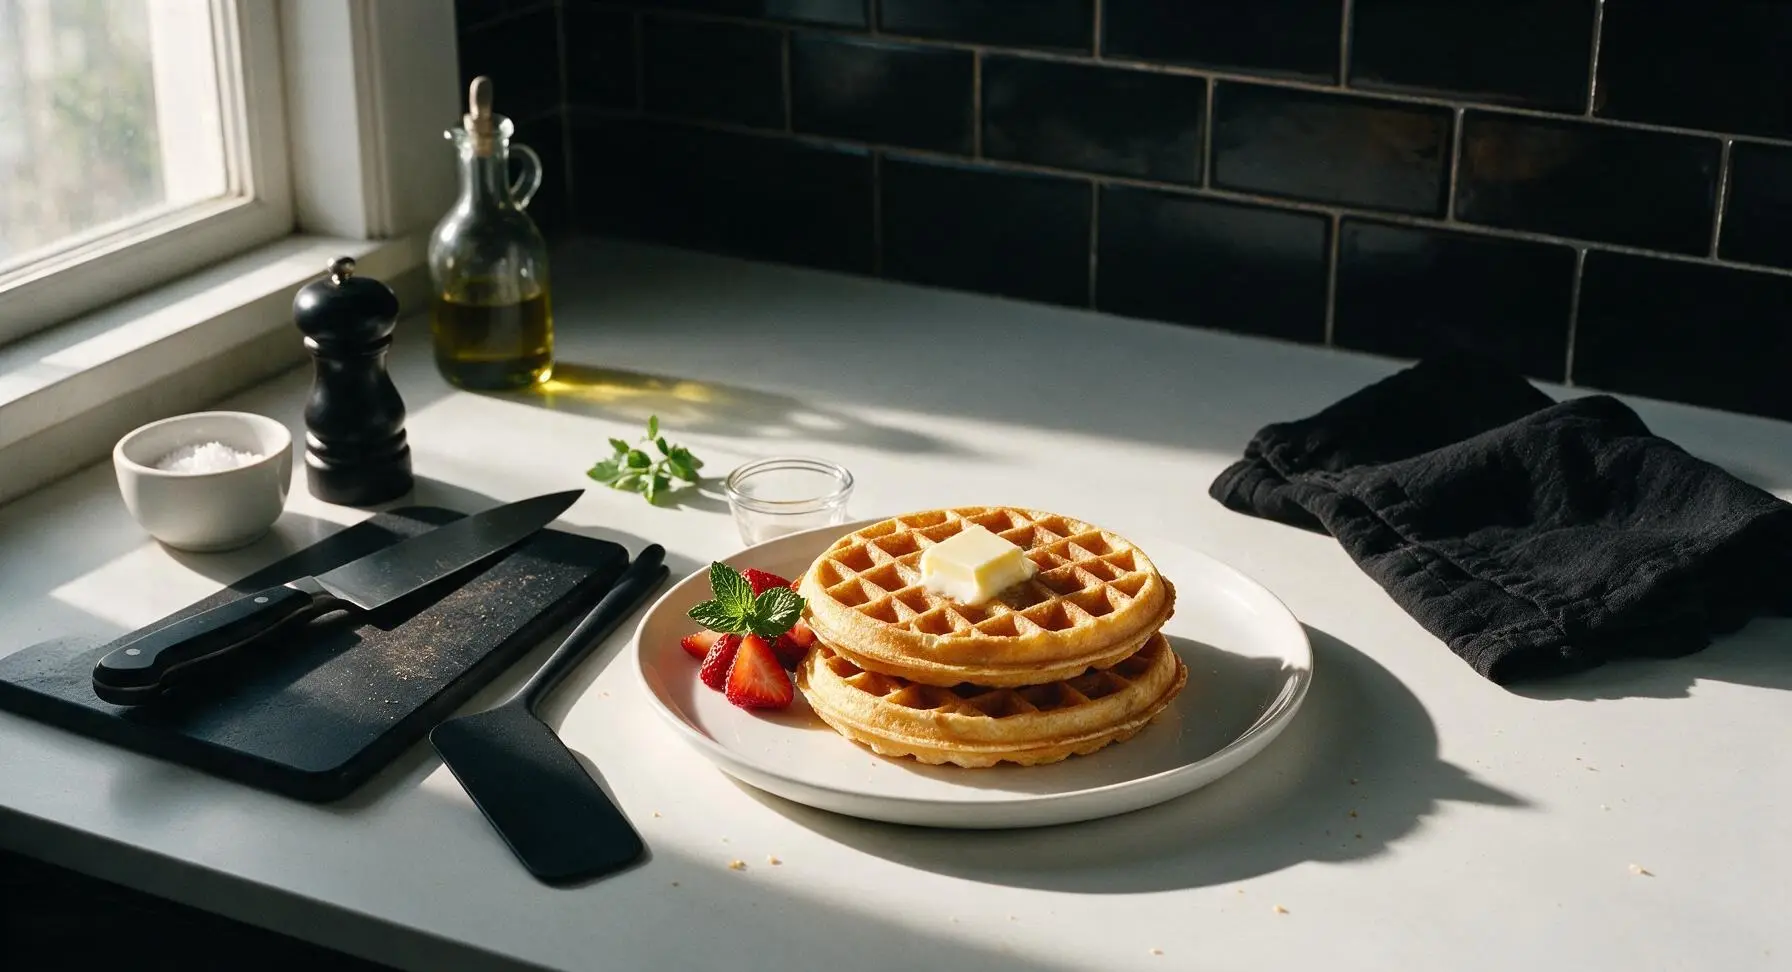
Stack one or two warm waffles on the cream white ceramic dinner plate. Top with a 1-tablespoon pat of unsalted butter, a light 1-tablespoon drizzle of maple syrup, and arrange the fresh strawberry halves alongside the stack, tucking the fresh mint sprig at the base for a bright garnish. Serve immediately while waffles are warm and crisp.
Tips
2.Avoid overmixing the batter. Small lumps are completely normal and desirable; overmixing develops excess wheat gluten, leading to tough, dense waffles even when using water instead of milk.
3.If you do not have a wire cooling rack, place cooked waffles directly on an oven rack set over a baking sheet (to catch crumbs) in a 200°F oven while cooking remaining batter. This allows air to circulate around all sides of the waffles to preserve crispness, rather than trapping steam that softens the crust when waffles are stacked on a solid plate.






Was super skeptical about water instead of milk in waffles? Like would they taste watery? Nope! These came out so crispy they held up even when I loaded them with syrup and whipped cream. Cook time was exactly 15 minutes total, perfect for a quick weekday breakfast before work. Will be making these again for sure.
I made these for our church potluck brunch last Sunday and people were asking for the recipe left and right! I didn’t tell anyone there was no milk until after they raved about how crispy they were, everyone was shocked. Only tweak I made was adding a dash of extra vanilla, chef’s kiss.
Meal prepped a batch of these for my backcountry camping trip, they held up so much better than regular milk waffles when I toasted them over the camp stove! Light, crispy, no weird soggy texture even after 3 days in the cooler. Absolute game changer for quick trail breakfasts.
I literally only have water, flour, and eggs in my dorm right now so this recipe saved my lazy Sunday. Didn’t even have vanilla, just added a little extra sugar, and these still came out crispy and good. Way better than the sad frozen waffles I usually buy, and way cheaper too.
Wait, hold up — I’ve tried other no-milk waffle recipes before and they always came out chewy and bland, not crispy at all. What’s the trick here? Do you have to use really hot water? Or let the batter rest? Mine never get that crunchy edge I love.
Y’all, I made these for my family’s Saturday breakfast and my picky 7 year old ate THREE waffles. I topped mine with fresh peaches and a drizzle of honey, SO good. I love that I don’t have to run to the store for milk last minute when we get a waffle craving. Easy peasy, no fancy steps.
Great base recipe! I swapped half the all purpose flour for whole wheat, added a scoop of vanilla protein powder, and they still got super crispy. Way lower in fat and calories than traditional waffles too since there’s no milk, perfect for my post-gym breakfast. Will keep this in my regular rotation.
Hosted a last minute brunch yesterday, realized I had no milk 20 minutes before guests showed up. Panicked, found this recipe, threw it together in 5 minutes, and everyone said these were the best waffles they’d ever had. The crispy edges are unreal. How did I not know water works this well??
Quick question — has anyone tried this with a 1:1 gluten free flour blend? I have a gluten sensitivity but I’ve been craving crispy waffles so bad, and all the GF waffle recipes I try come out super soggy. Hoping this one works since it’s designed to be crispy!
I was in charge of breakfast for my kid’s soccer team snack schedule this weekend, made a double batch of these in my big waffle maker. Cut them into sticks, served with syrup dips, and every single kid and parent ate them up. So easy, I didn’t even have to buy extra milk! 10/10 for team snacks.
As someone on a super tight grocery budget right now, this recipe is a lifesaver. Milk is so expensive these days! I can make a whole batch of waffles for pennies, and they taste better than the expensive cafe waffles I used to splurge on. Crispy, light, perfect. This is going to be a staple.
Made these at 1am after getting home from a concert, no milk in the fridge obviously. Threw the batter together while my waffle iron heated up, had crispy perfect waffles in 10 minutes total. Topped them with leftover Nutella and some banana slices, hit so much better than takeout. 10/10 drunk food approved.
Wait a second — this is accidentally vegan if you use oil instead of butter? I’ve been looking for an easy vegan waffle recipe that actually gets crispy, not soggy like all the ones I’ve tried. Ran out of oat milk yesterday so I tested this with water, and wow, crispier than any vegan waffle I’ve made before!
First time ever using a waffle iron! I was so nervous I’d mess it up, but this recipe was so easy, no fancy ingredients, and my first batch came out perfectly golden and crispy. I didn’t burn a single one! Even my roommate said they were restaurant quality. Total confidence boost for a beginner cook.