
waffle recipe without baking powder

title 1
waffle recipe without baking powder
⏱️ cook time 12 minutes
🍽️ servings 4
⚡ Difficulty easy

intro

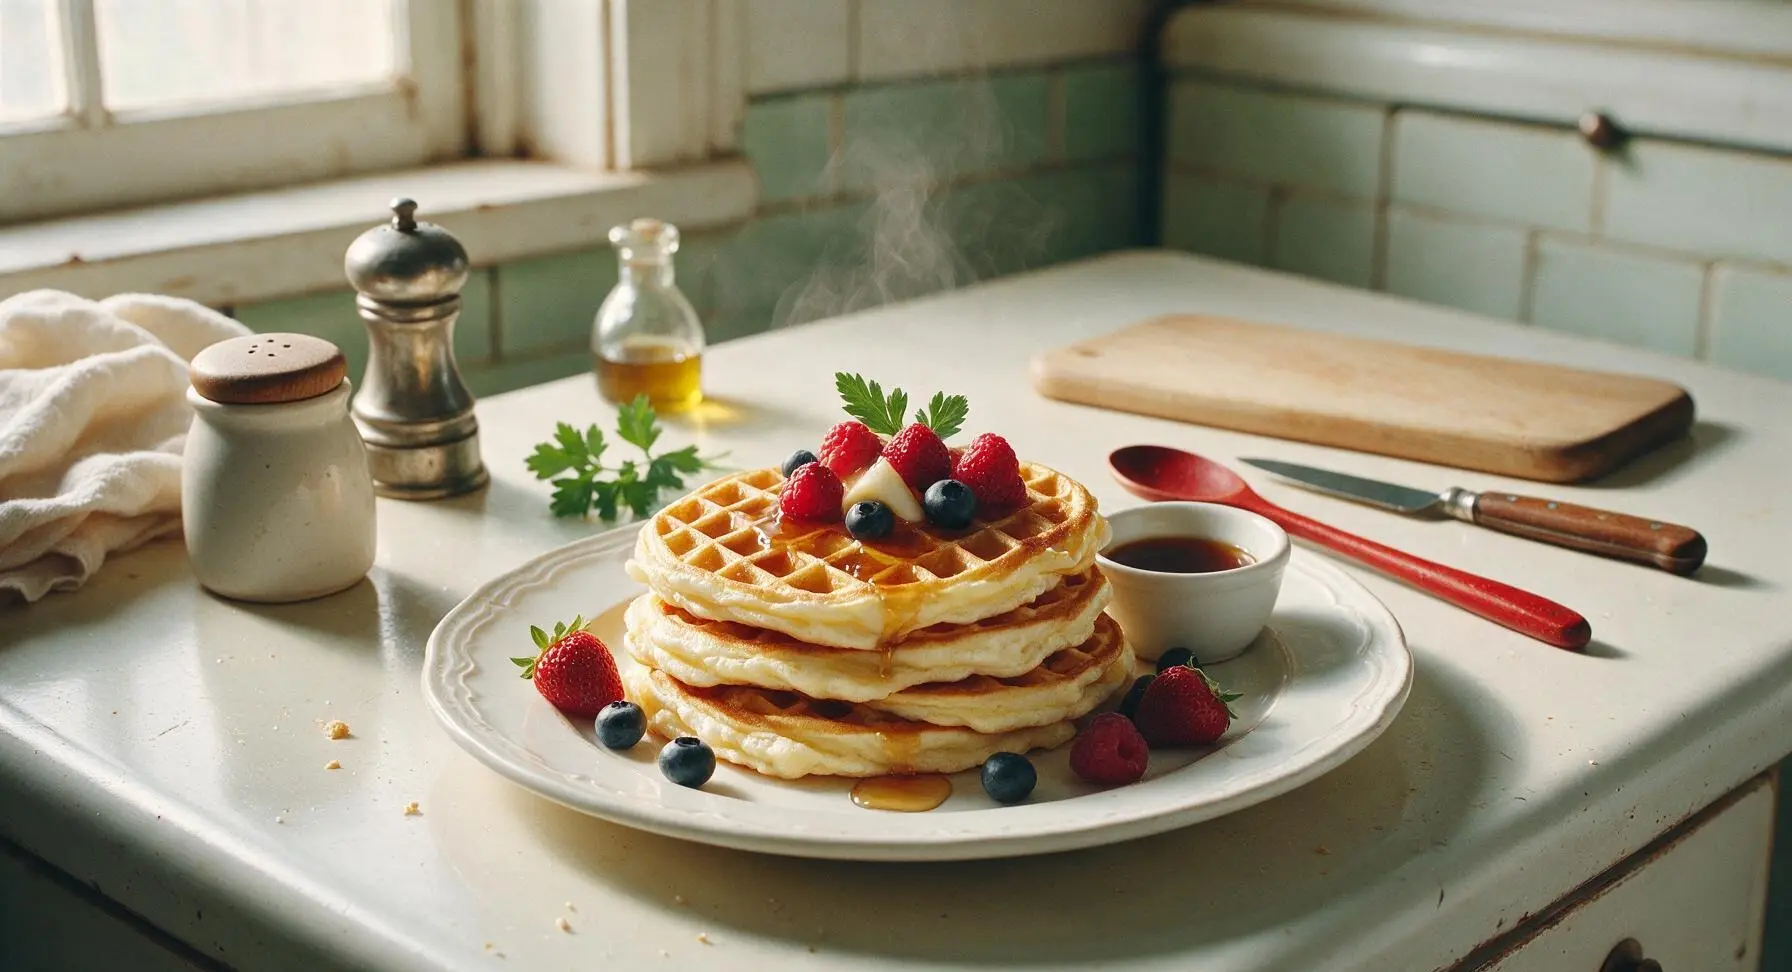
Light, crispy-edged, fluffy-centered waffles made without baking powder, leavened by softly whipped egg whites for classic texture, perfect for topping with maple syrup and fresh fruit.

Ingredients
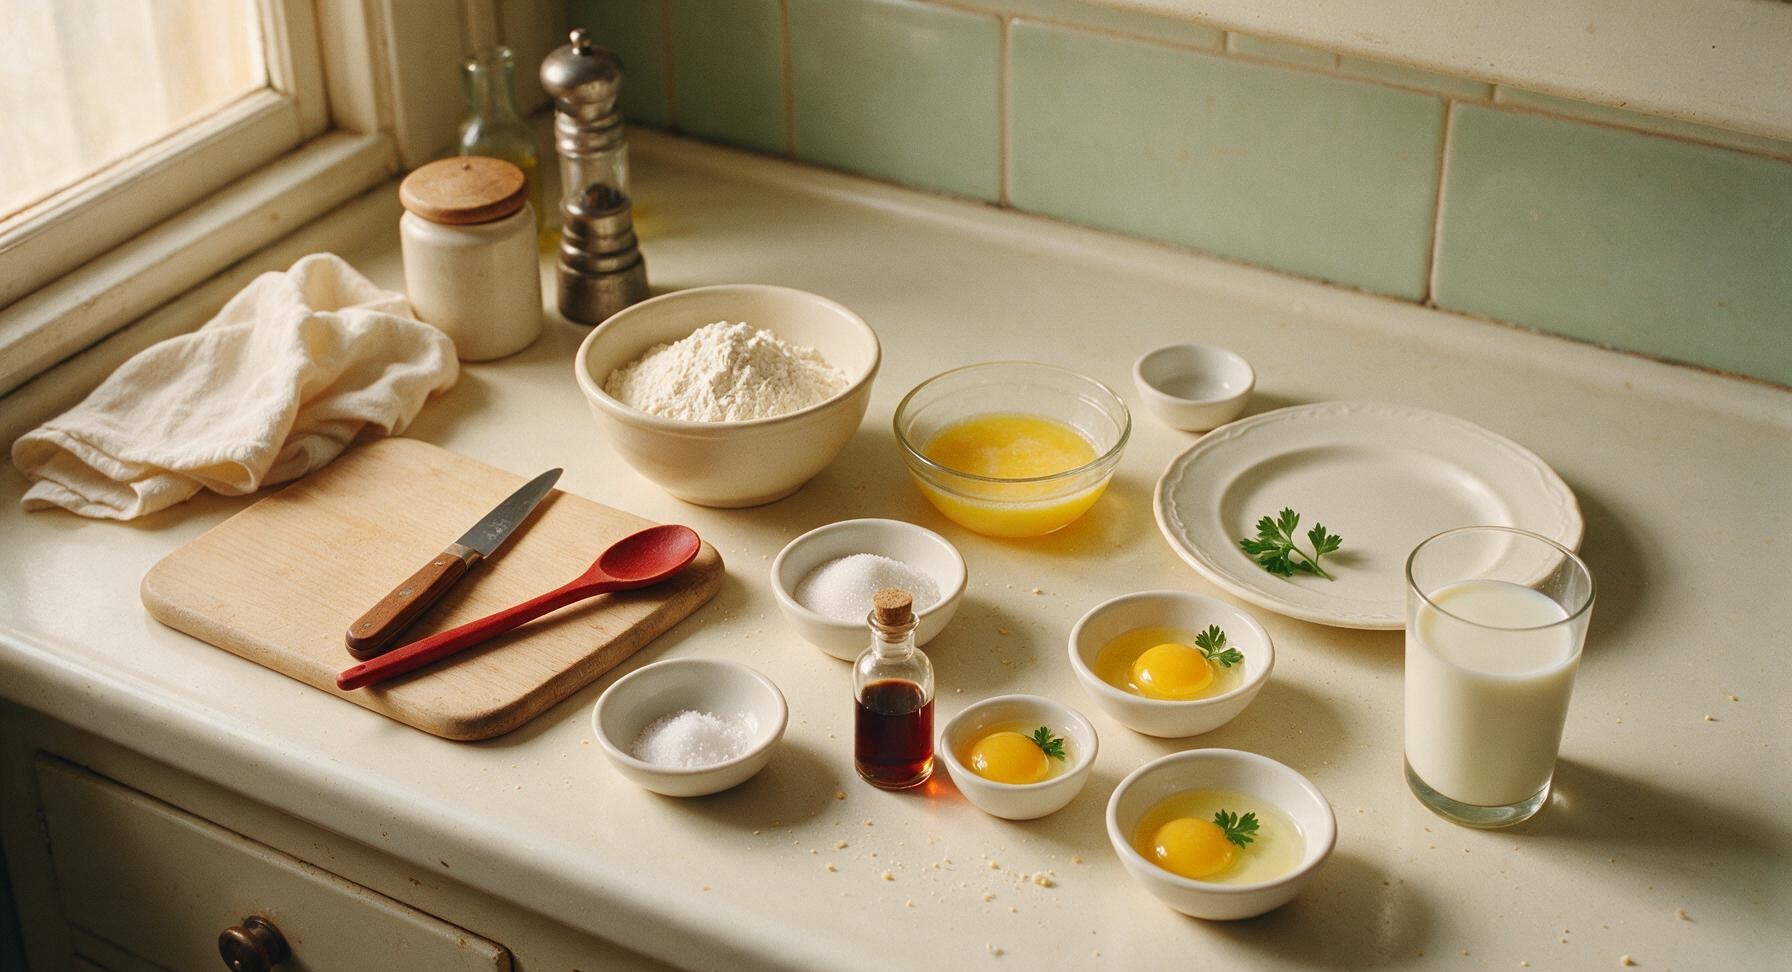
All-purpose flour 2 cups (240g)
Large eggs, separated 3 each
Whole milk 1 1/2 cups (360ml)
Unsalted butter, melted and cooled 4 tbsp (57g)
Granulated sugar 2 tbsp (25g)
Fine sea salt 1/2 tsp
Pure vanilla extract 1 tsp

Steps

1

Separate Eggs Precisely

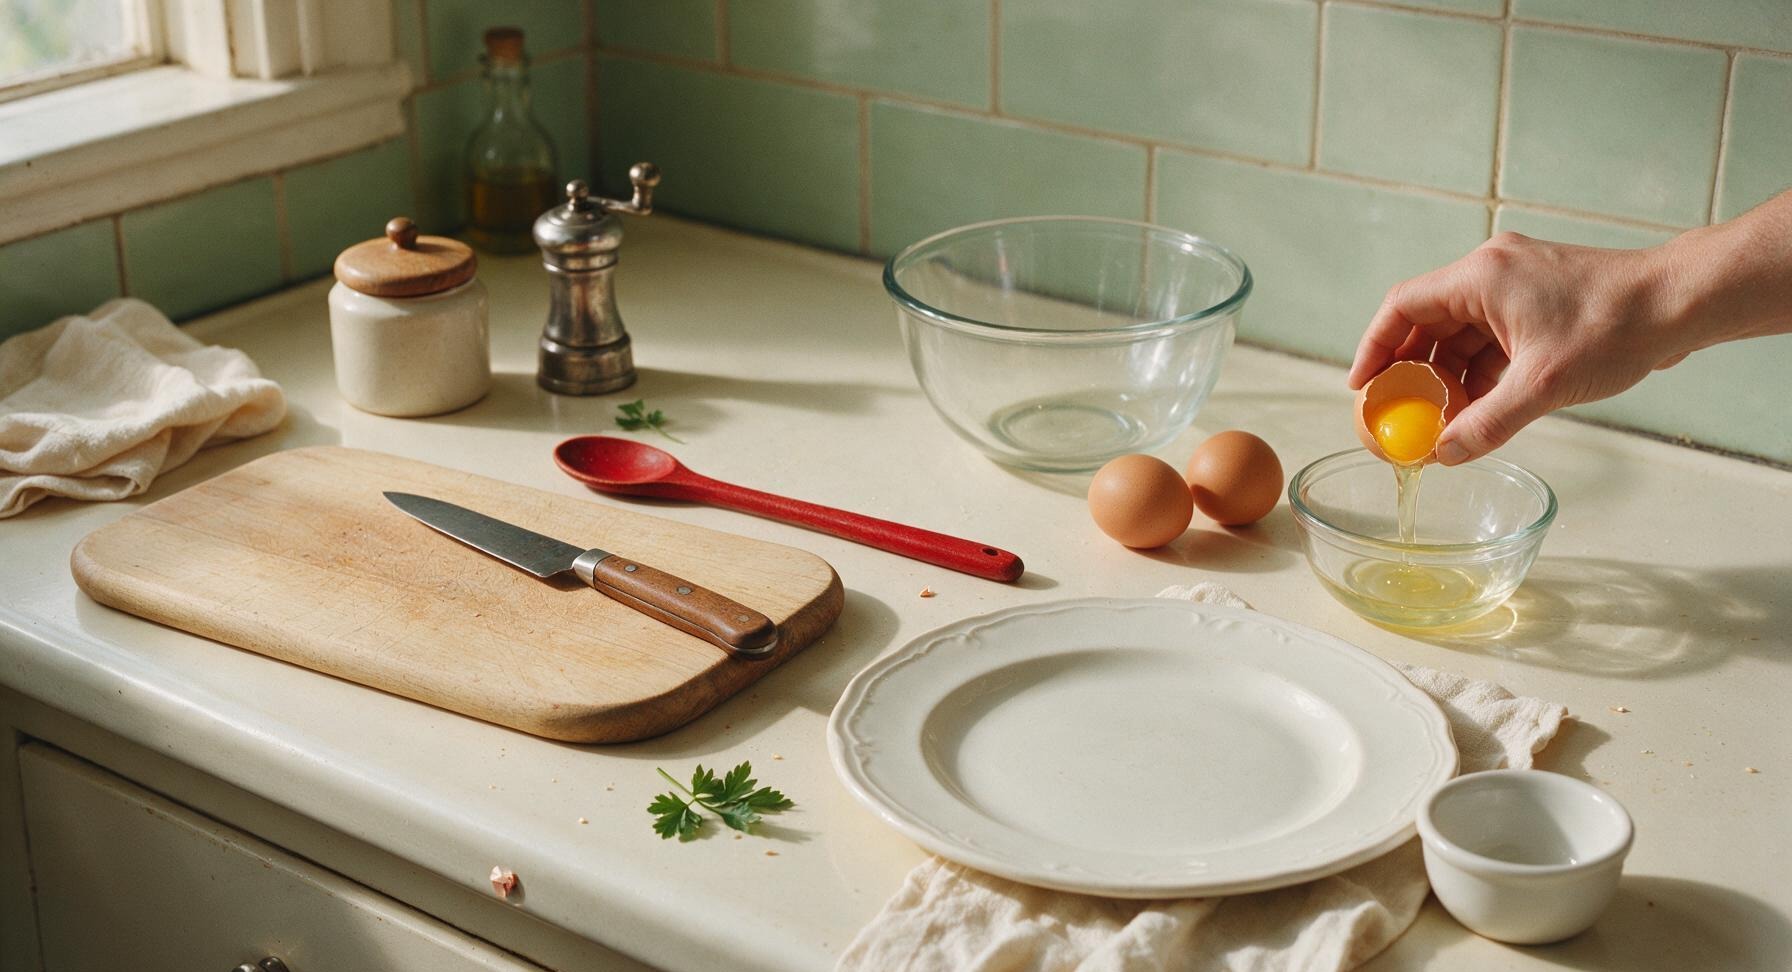
Crack each of the 3 large eggs one at a time, carefully separating yolks into the medium clear glass mixing bowl and egg whites into the smaller clear glass mixing bowl. Ensure no trace of yolk falls into the whites, as fat from yolk will prevent whites from whipping to full volume. Set bowls aside on the counter.
Step 1
step1:Separate Eggs Precisely
2

Whip Whites to Soft Peaks

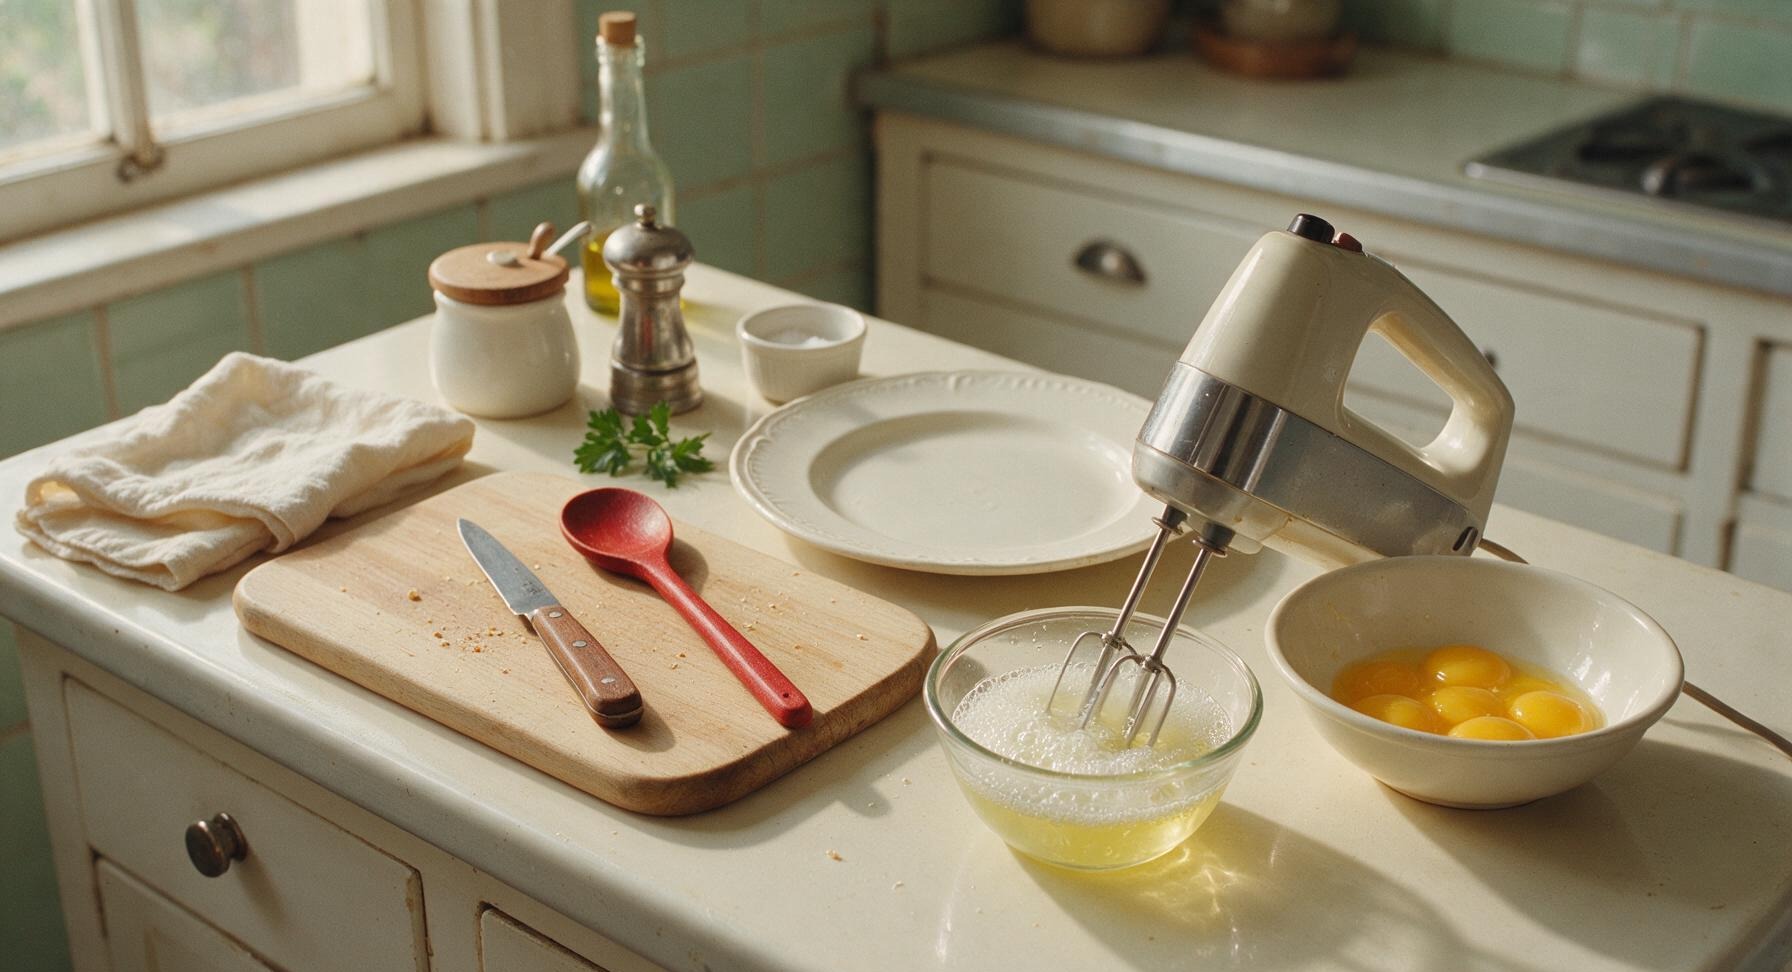
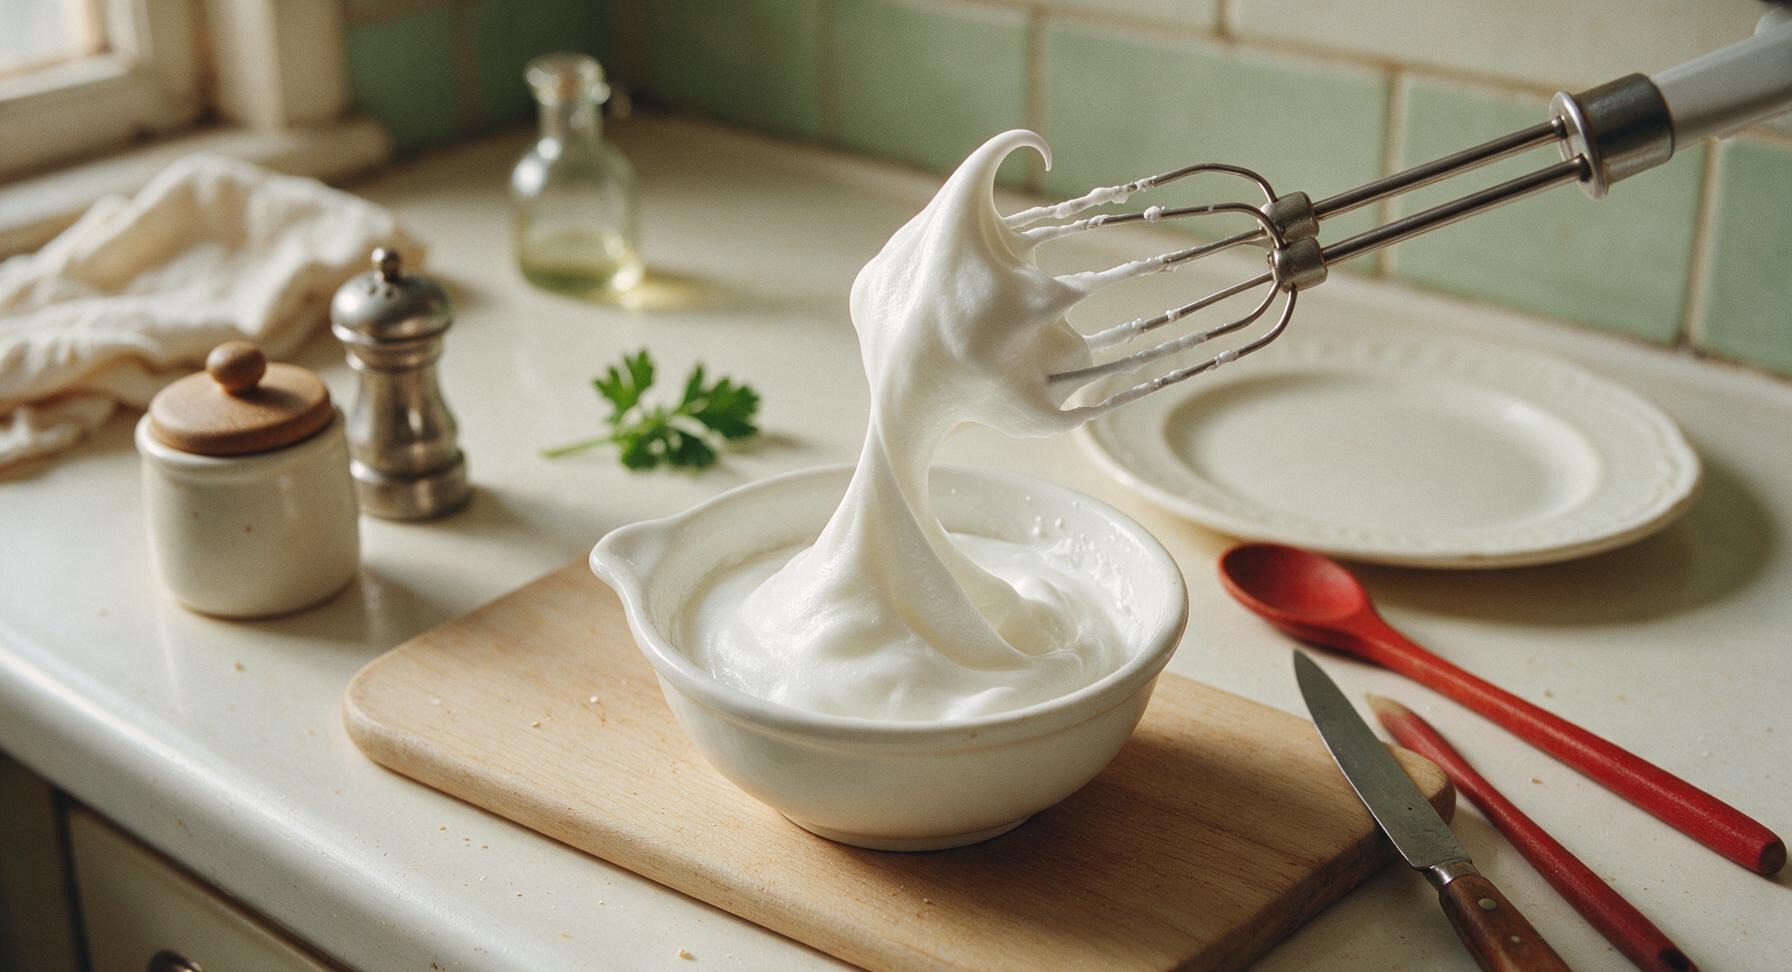
Attach beaters to the handheld electric mixer. Beat the egg whites in the small bowl on medium-high speed for 2-3 minutes, until glossy, bright white soft peaks form that curl over slightly when the beater is lifted. Do not overwhip to stiff, dry peaks, as this will create a dense final waffle texture.
Step 2
step2:Whip Whites to Soft Peaks
Step 2
step2:Whip Whites to Soft Peaks
3

Combine Yolk Base

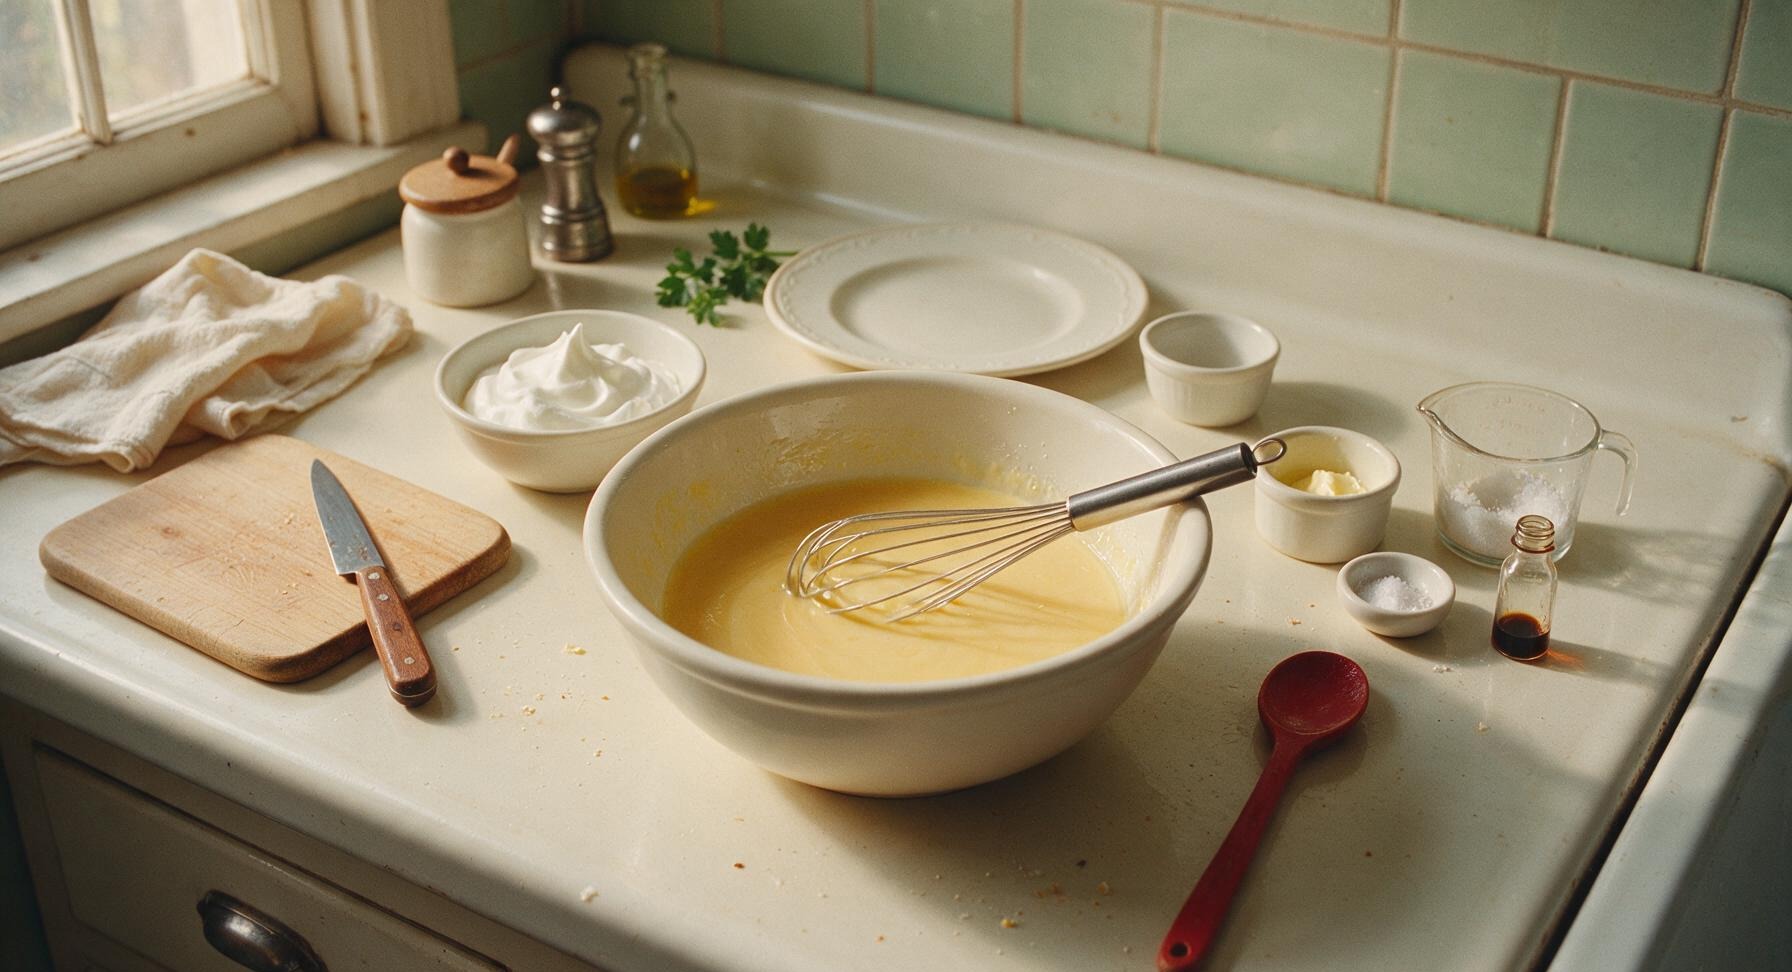
Add 1 1/2 cups whole milk, 4 tbsp melted cooled unsalted butter, 2 tbsp granulated sugar, 1 tsp vanilla extract, and 1/2 tsp fine sea salt to the medium bowl with the egg yolks. Use the stainless steel wire whisk (taken from its hook on the backsplash) to stir until completely smooth, with no streaks of yolk remaining, about 30 seconds.
Step 3
step3:Combine Yolk Base
4

Fold Flour Into Batter

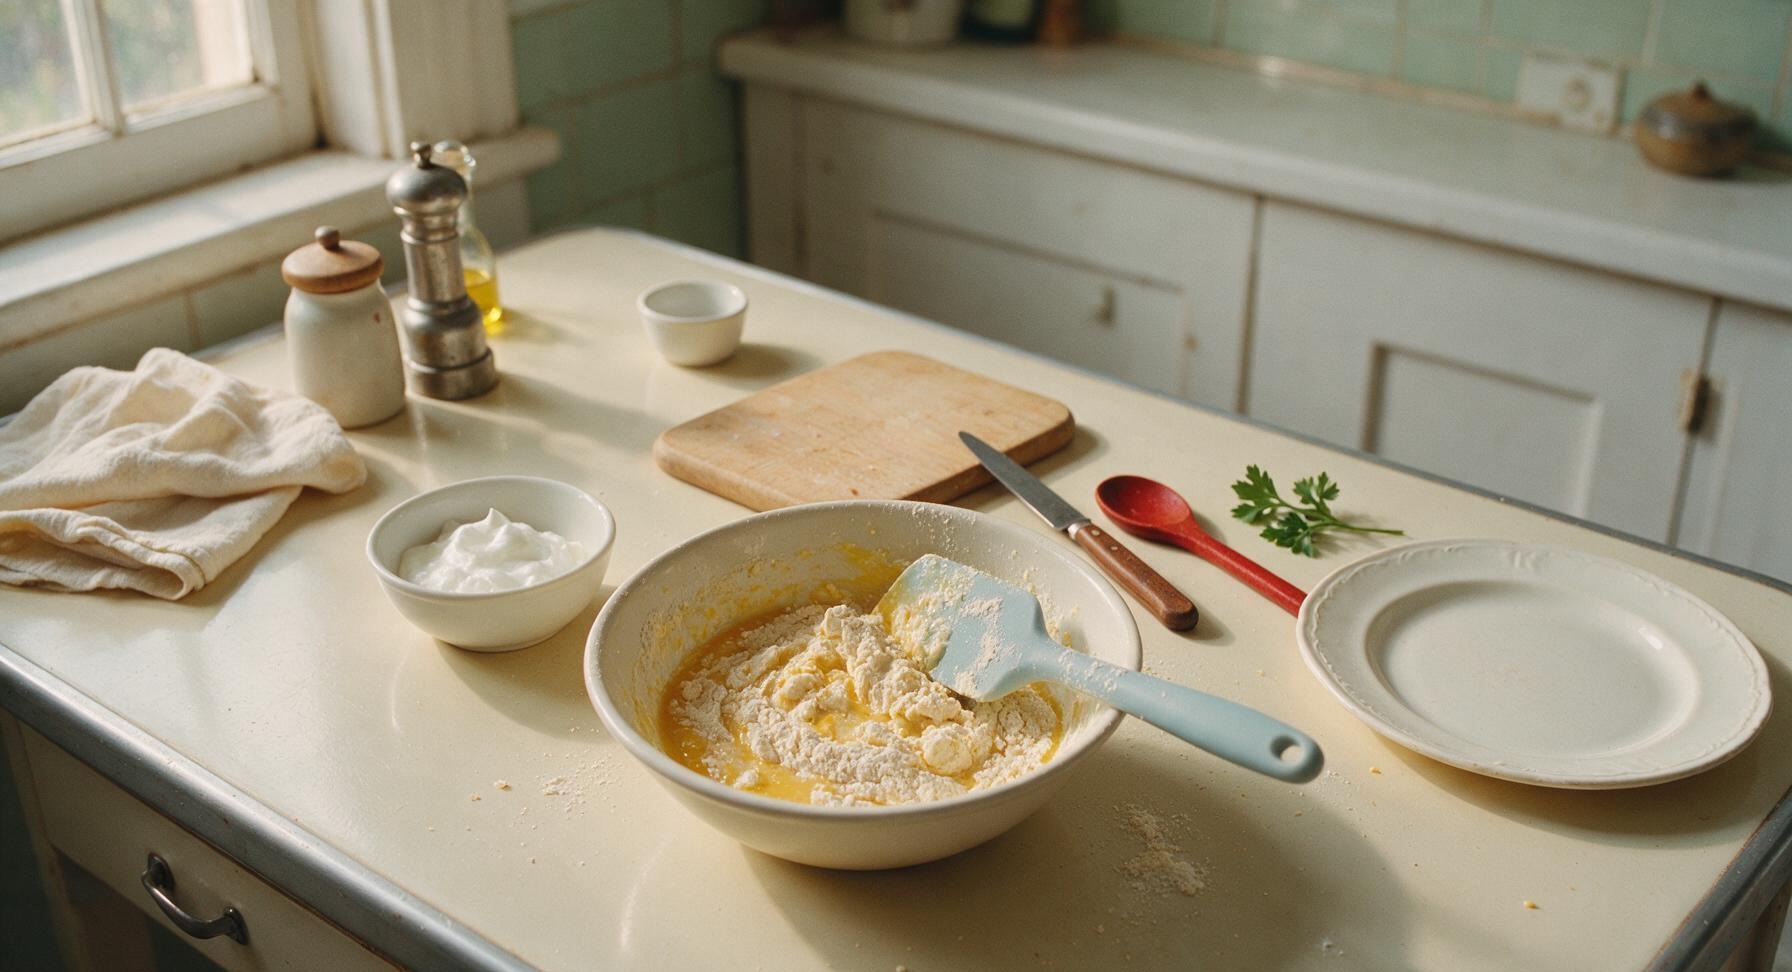
Add the 2 cups of all-purpose flour to the yolk mixture in the medium bowl. Use the pale blue silicone spatula to gently fold the flour into the wet ingredients, stirring only until no large dry flour clumps remain. The batter will be slightly lumpy—do not overmix, as this will develop gluten and make tough waffles.
Step 4
step4:Fold Flour Into Batter
5

Fold Whites Into Batter

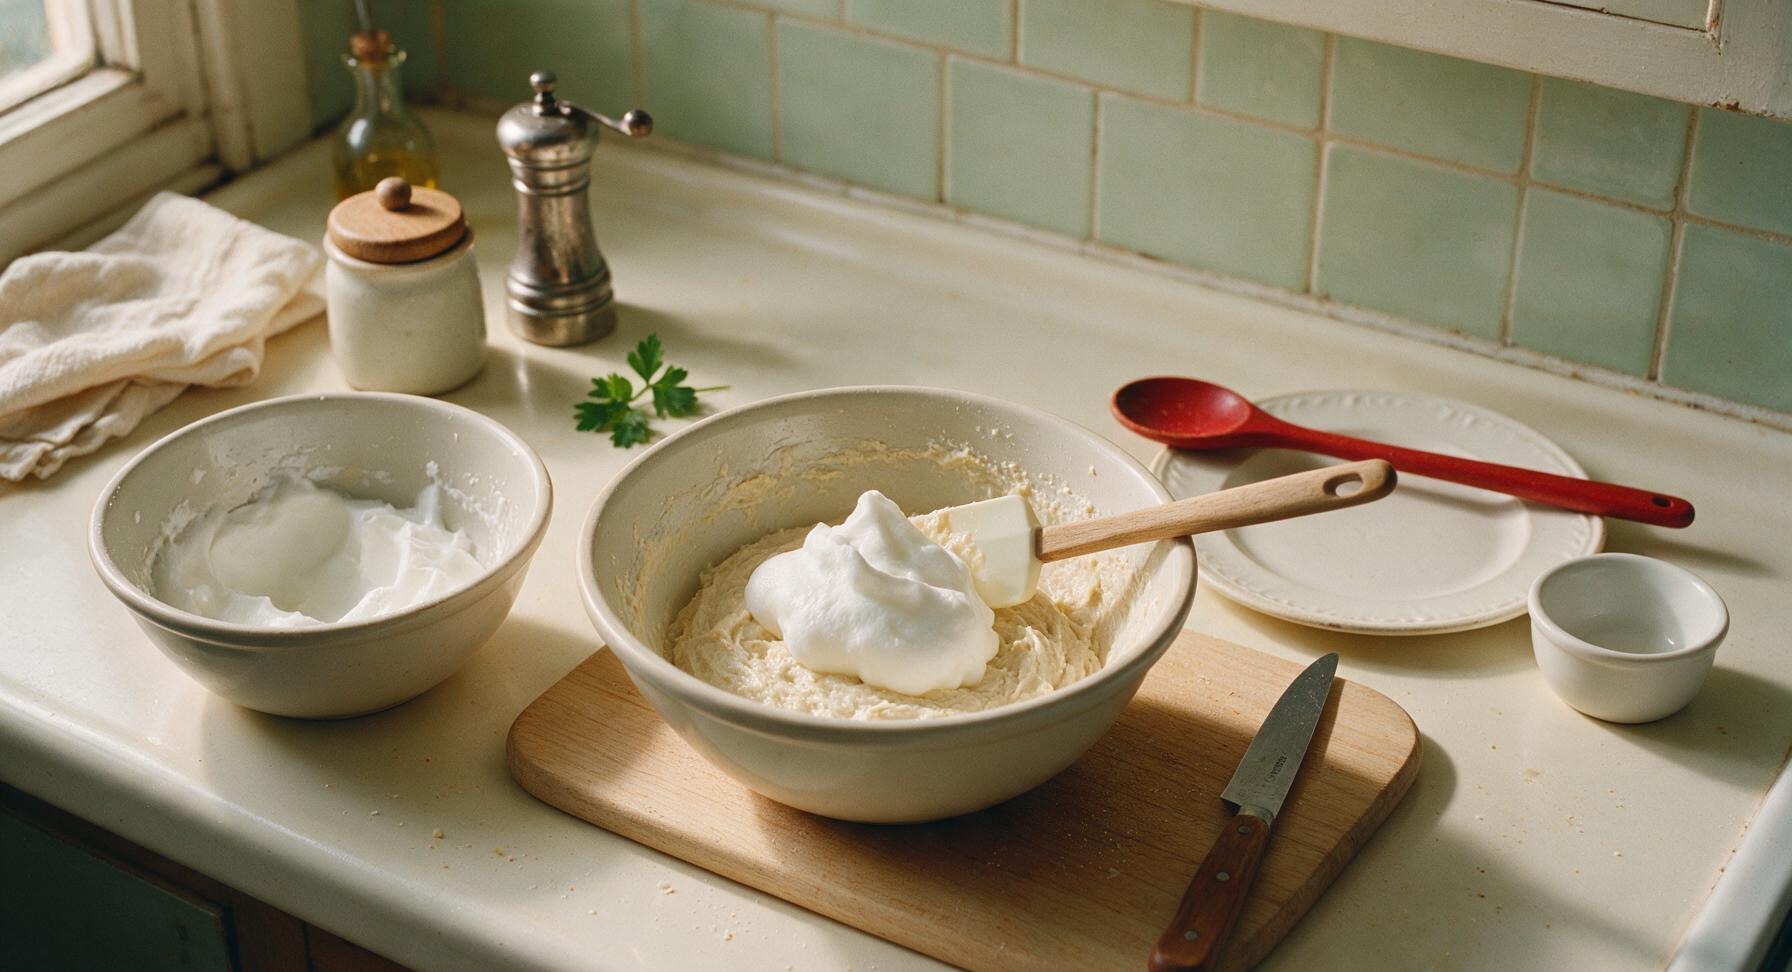
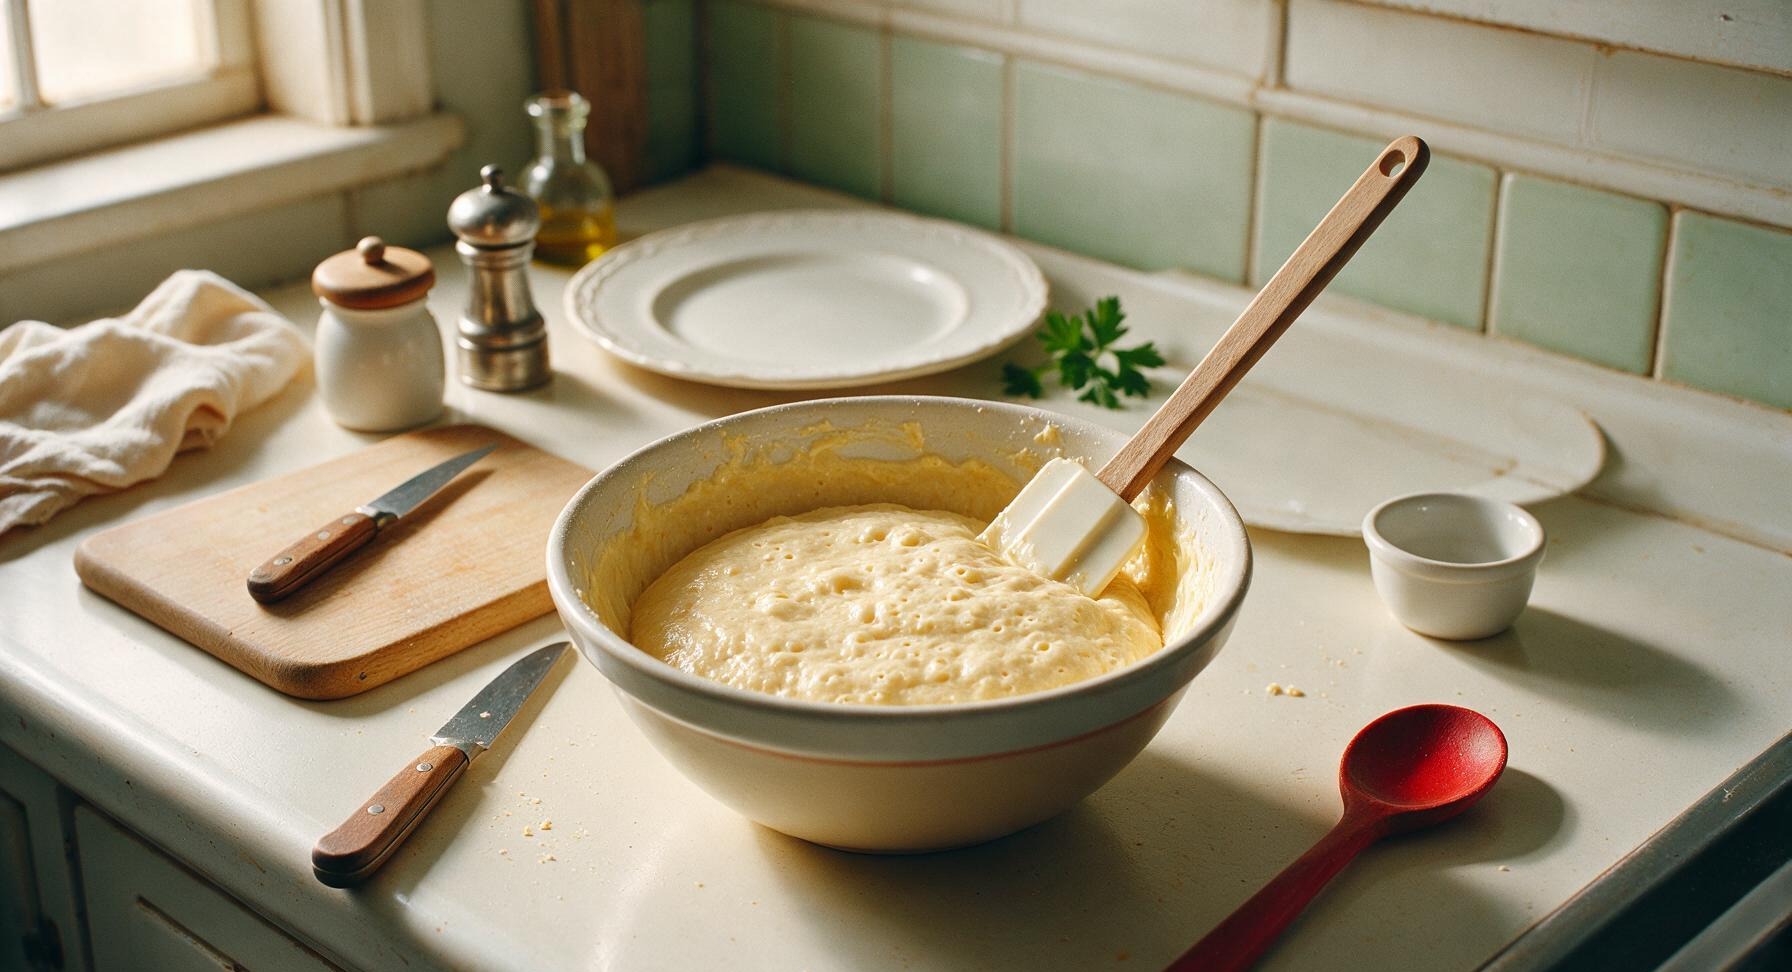
Scoop one third of the whipped egg whites into the flour batter, stirring gently with the silicone spatula to lighten the dense batter. Add the remaining whipped whites in two batches, folding with slow, sweeping motions from the bottom of the bowl up to preserve air bubbles, until no large streaks of white remain. The finished batter will be light, fluffy, and billowy, not thin or runny.
Step 5
step5:Fold Whites Into Batter
Step 5
step5:Fold Whites Into Batter
6

Preheat the Waffle Iron

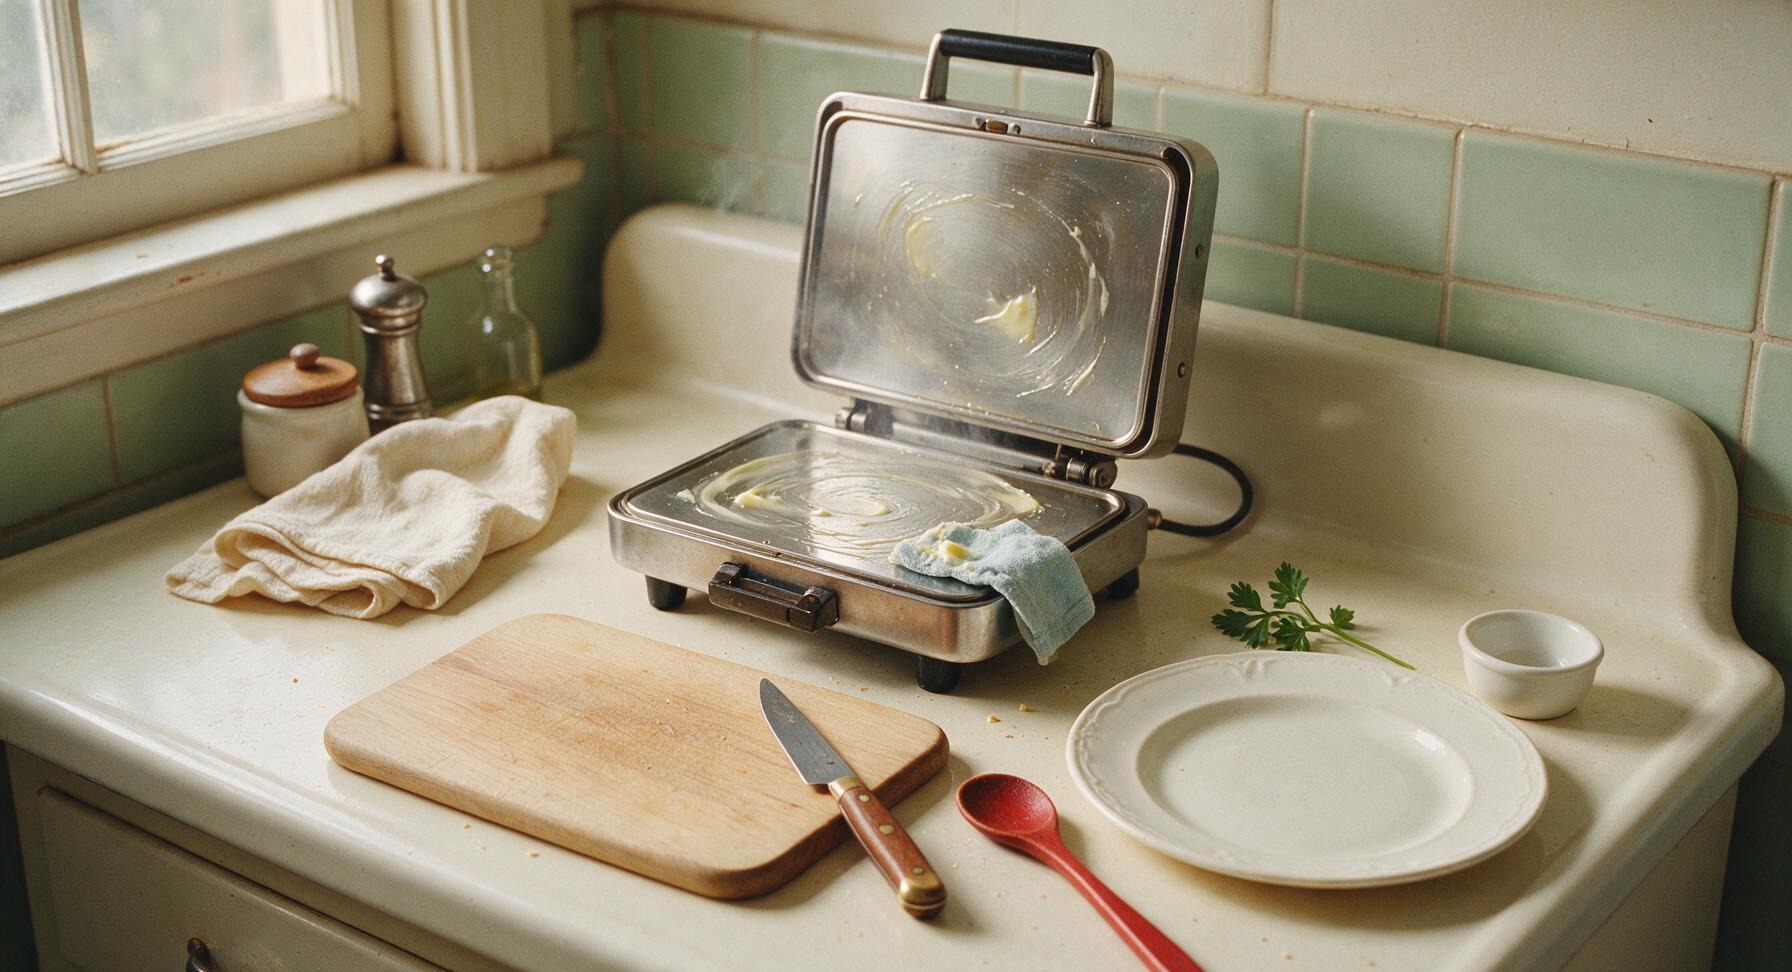
Turn on the waffle iron and preheat to medium-high setting (375°F / 190°C) for 3-4 minutes, until the surface is hot enough that a drop of water sizzles and dances across the plate when dropped. Lightly coat the cooking plates with a tiny amount of leftover melted butter using a corner of the linen towel to prevent sticking.
Step 6
step6:Preheat the Waffle Iron
7

Cook Golden Crisp Waffles

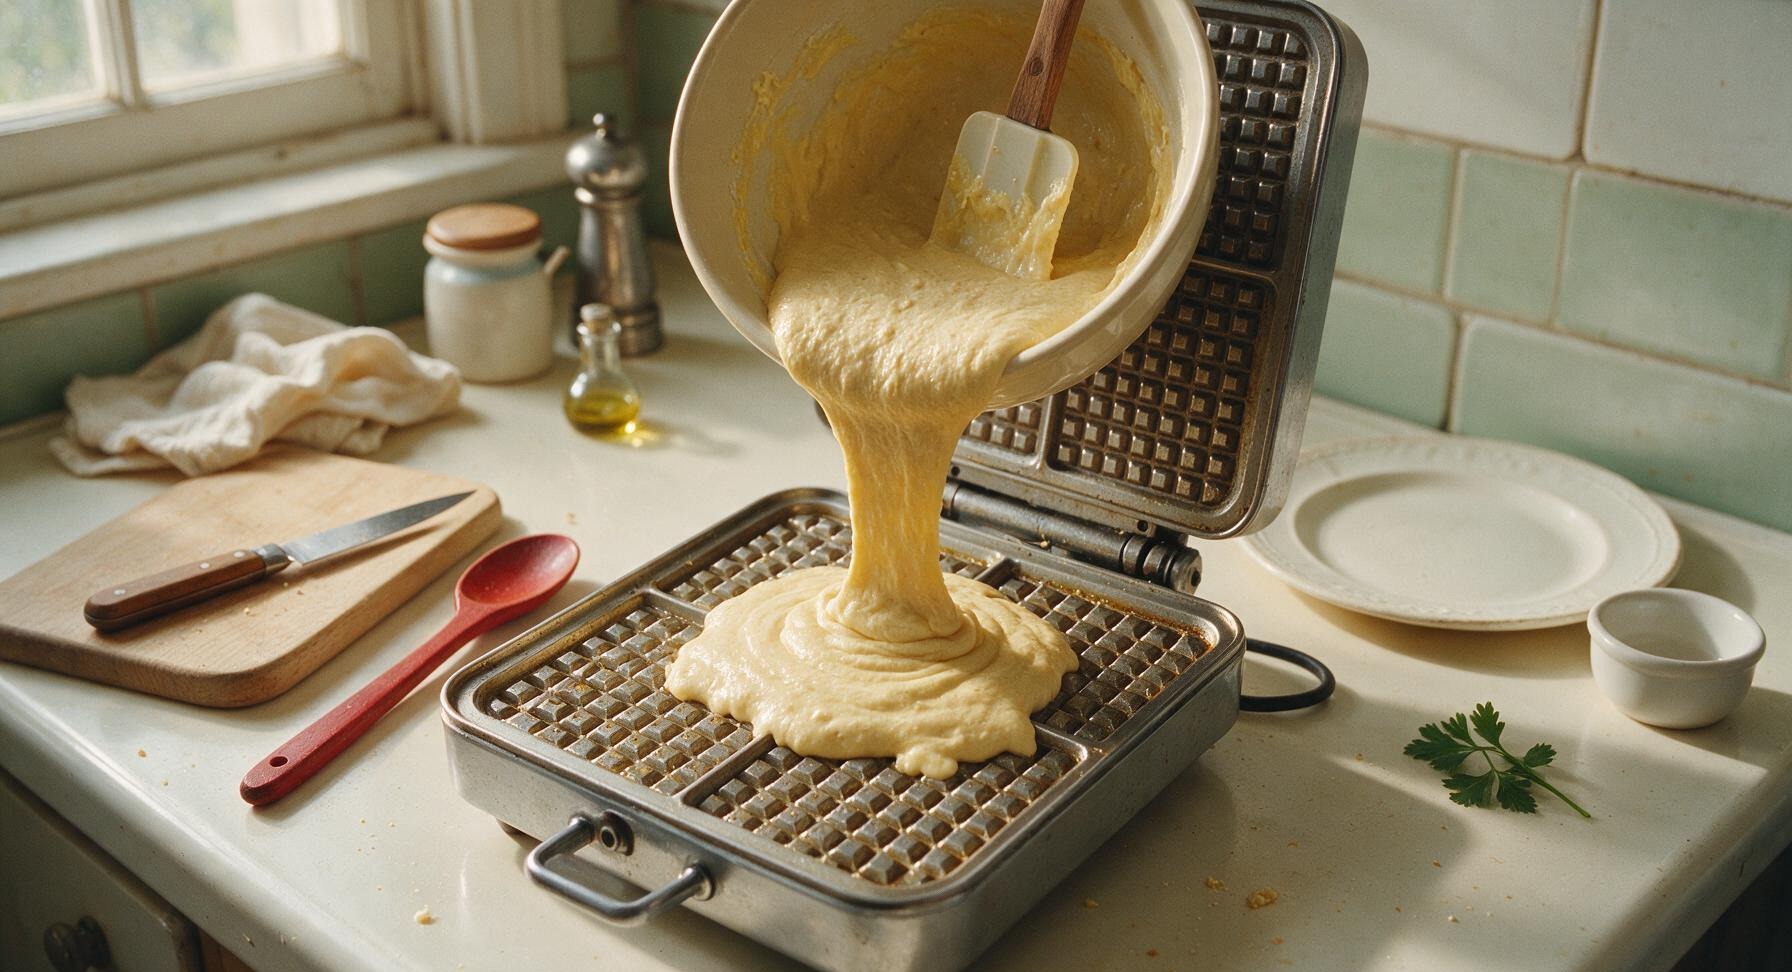
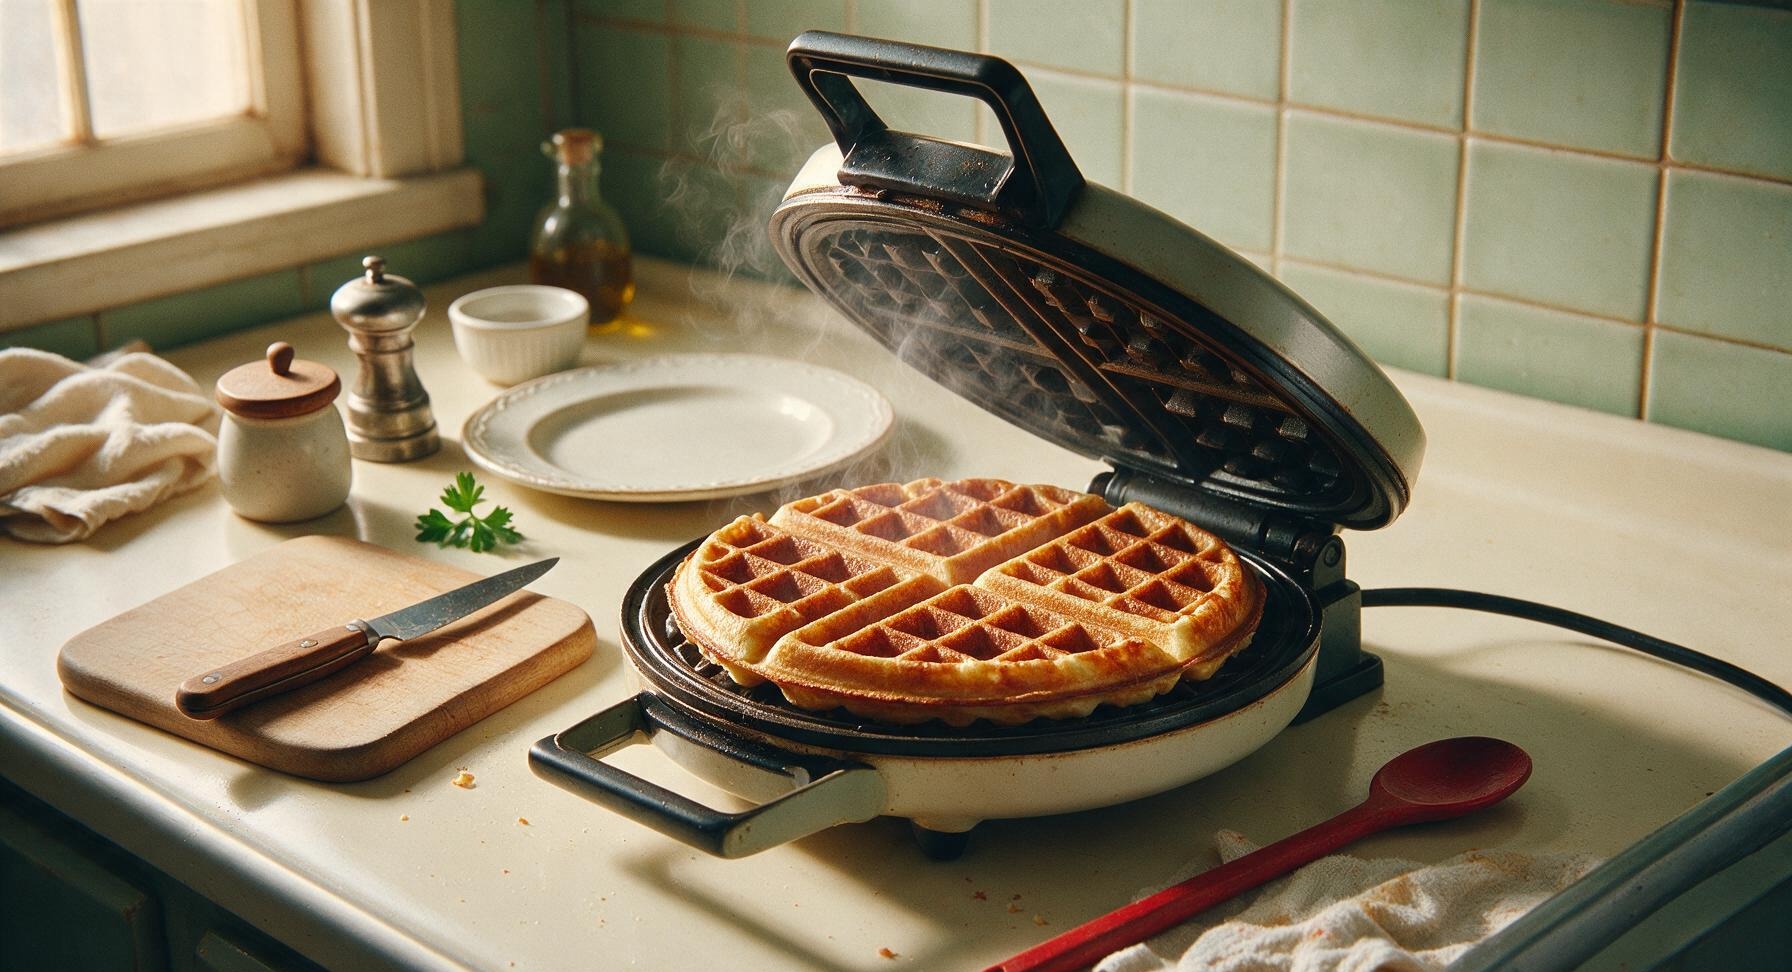
Pour 3/4 cup of the fluffy batter into the center of the preheated waffle iron, close the lid, and cook for 3-4 minutes, until steam stops escaping from the edges of the iron and the waffle is deep golden brown with crispy edges. Do not open the lid early, as this will cause the waffle to deflate.
Step 7
step7:Cook Golden Crisp Waffles
Step 7
step7:Cook Golden Crisp Waffles
8

Plate and Serve Warm

Use the silicone spatula to lift the finished waffle from the iron, transferring it to the matte cream ceramic dinner plate. Repeat the cooking process with remaining batter, stacking waffles on the plate as they finish. Top with a pat of butter, maple syrup, and fresh fruit as desired, serve immediately.
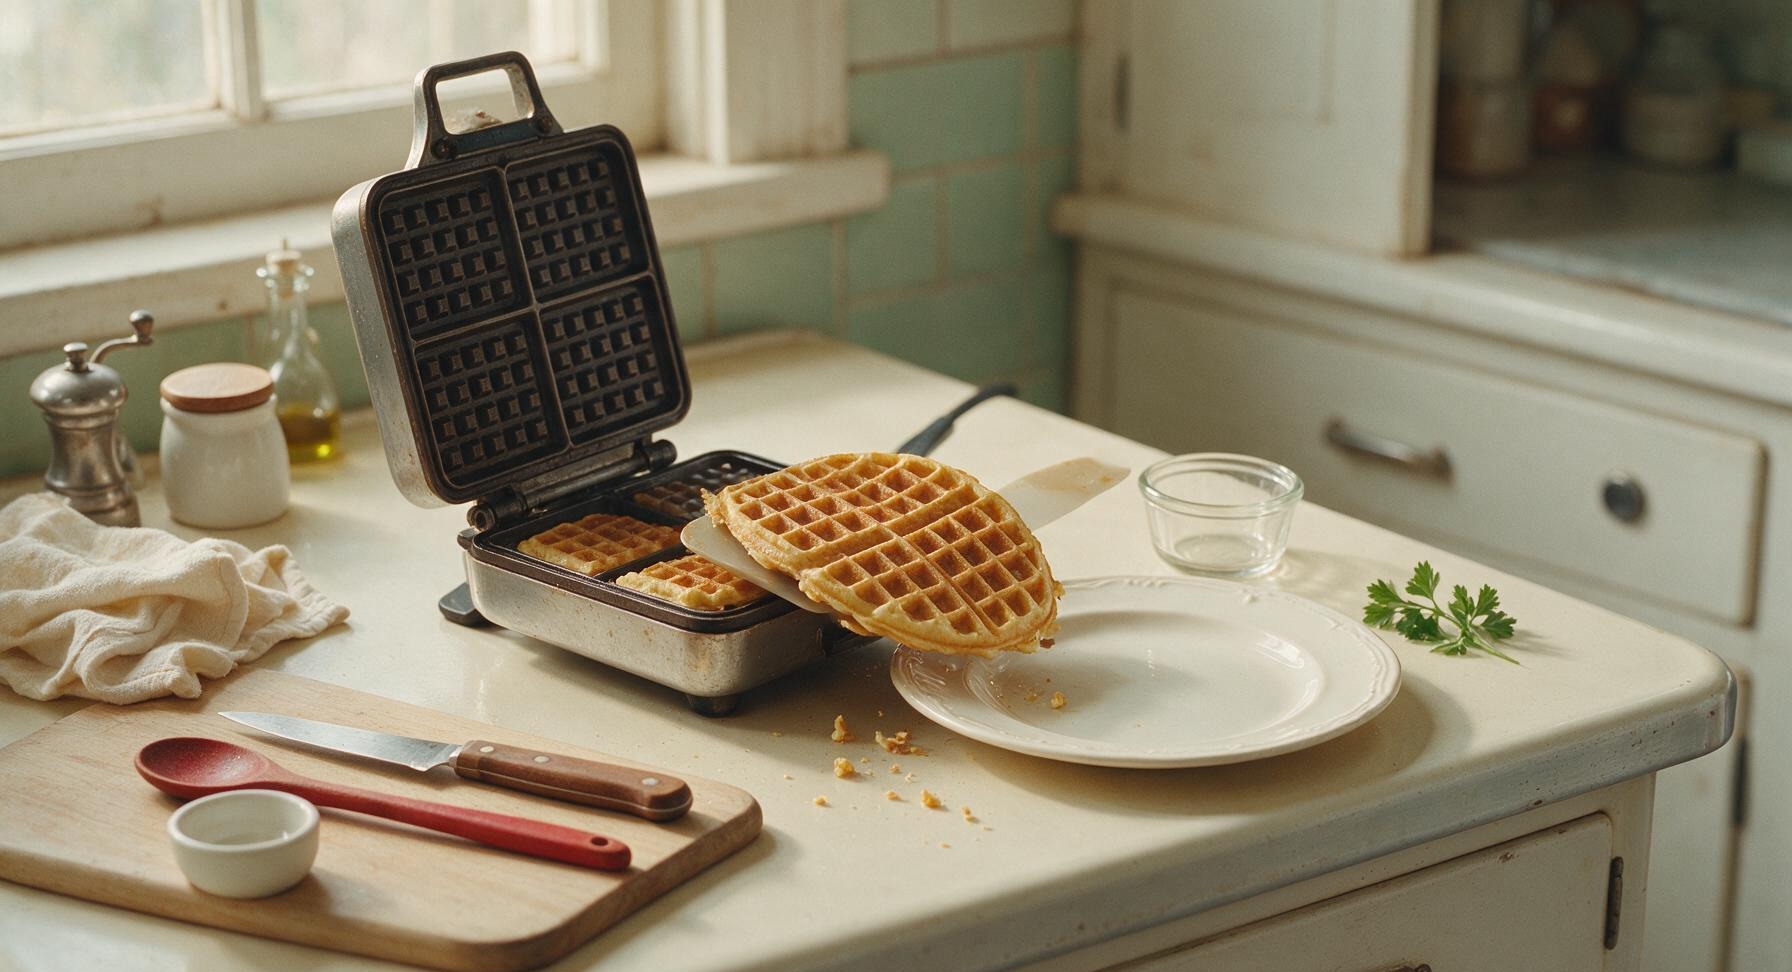
Step 8
step8:Plate and Serve Warm

Tips

1.Ensure no trace of egg yolk falls into the egg whites before whipping: fat from egg yolk breaks down the protein structure that traps air in whipped whites, leading to flat, dense waffles instead of light, fluffy ones.
2.Let melted butter cool for 2 full minutes before adding it to egg yolks: hot butter will partially cook the delicate yolks, creating small curdled lumps that lead to uneven, dense waffle texture.
3.Do not open the waffle iron lid before 3 minutes of cook time: opening early releases trapped steam and air from the whipped egg whites, causing the waffle to deflate, stick to the plates, and lose its crisp edge.


✨ You May Also Like

Breakfast
🍜 United States

Crisp-edged, fluffy lard griddle cakes are a nostalgic homestyle staple, with rich savoriness from rendered lard, perfect topped with maple syrup or savory gravy.

⏱️ 25 minuteBreakfast ★ 4.8
Breakfast
🍜 United States

Flaky, buttery homemade buttermilk biscuits smothered in creamy, peppery pork sausage gravy: a beloved, hearty Southern American comfort food classic.

⏱️ 35 minuteBreakfast ★ 4.8
Breakfast
🍜 United States

Golden, custardy brioche stuffed with sweet cream cheese and fresh berries, pan-fried to crisp perfection. An indulgent, cozy breakfast perfect for slow weekend mornings.

⏱️ 30 minuteBreakfast ★ 4.7
Breakfast
🍜 United States

Flaky, buttery Southern-style biscuits stuffed with savory salty country ham, a portable, satisfying classic perfect for casual on-the-go meals.

⏱️ 25 minuteBreakfast ★ 4.8
Breakfast
🍜 United States

Iconic puffy baked pancake popularized in Seattle, with crisp golden edges and soft custardy center, served warm with classic sweet toppings.

⏱️ 35 minuteBreakfast ★ 4.6
Breakfast
🍜 United States

Fluffy, golden pancakes studded with juicy peak-summer mixed berries, drizzled with maple syrup for a bright, comforting, crowd-pleasing family breakfast.

⏱️ 25 minuteBreakfast ★ 4.7

waffle recipe without baking powder:Frequently Asked Questions

1.How do these waffles get fluffy if there’s no baking powder in the recipe? ▾
The lift comes entirely from properly whipped, separated egg whites! When you beat egg whites to soft, glossy peaks, you trap thousands of tiny, stable air bubbles that expand as the waffle cooks, creating that light, fluffy center. Just avoid overmixing when folding whites into the base to keep those bubbles intact for great rise.
2.Can I use a different type of flour instead of all-purpose flour? ▾
You can swap in 1:1 gluten-free all-purpose baking flour for a gluten-free version, or swap half the all-purpose flour for whole wheat flour for a nuttier, heartier waffle. Avoid using bread flour or cake flour alone—bread flour makes waffles tough, while cake flour leads to a too-soft, crumbly texture that won’t hold toppings well.
3.Why do I need to separate the eggs for this recipe? ▾
Separating eggs lets you whip the whites into a light, airy foam that acts as your only leavener here, since there’s no baking powder. If you left eggs whole and mixed them directly into the batter, you wouldn’t get enough trapped air to create that signature fluffy, raised texture, and your waffles would turn out dense and flat instead.
4.How do I know when I’ve whipped the egg whites correctly? ▾
Stop whipping when your egg whites form soft, drooping peaks that curl over at the tip when you lift your mixer attachment out of the bowl. They should look glossy and bright white, not dry, clumpy, or curdled. Over-whipped whites break into grainy clumps that are hard to fold evenly, leading to uneven rise in your finished waffles.
5.Can I make this batter ahead of time and store it in the fridge? ▾
I don’t recommend making the full batter ahead, because the air bubbles in the whipped egg whites will deflate after 20-30 minutes, leading to flat, dense waffles. If you want to prep ahead, mix the dry ingredients and melted, cooled butter the night before, then whip and fold in your egg whites right before you’re ready to cook.
6.What waffle iron setting works best for these waffles? ▾
Set your waffle iron to medium-high heat, and let it fully preheat before pouring in batter. A properly preheated iron will immediately set the egg white air bubbles for maximum lift, and create that crispy, golden edge everyone loves. If your iron has a “crisp” setting, use that—avoid low heat, which leads to soggy, pale, slow-cooking waffles.
7.How much batter should I pour per waffle? ▾
Pour roughly ⅓ to ½ cup of batter per 4-inch waffle well, depending on your iron’s size. Don’t overfill! The batter will expand as it cooks thanks to the whipped egg whites, and overfilling leads to messy oozing out the sides of the iron, uneven cooking, and waffles that are too thick to cook evenly through the center.
8.Why did my waffles turn out dense instead of fluffy? ▾
Dense waffles almost always come from deflating your egg whites when folding them into the batter, or from not whipping the whites enough to form stable peaks. Other common culprits are using a waffle iron that wasn’t fully preheated, overmixing the base batter until it developed tough gluten, or letting the batter sit too long before cooking.
9.Can I use plant-based milk instead of whole milk? ▾
Absolutely! Unsweetened oat milk is the closest swap for whole milk in this recipe, as it has a similar creaminess and neutral flavor that won’t overpower the waffles. Almond, soy, or cashew milk work too, though you may want to add an extra teaspoon of melted butter to make up for their thinner consistency if you notice drier waffles.
10.Do I need to grease my waffle iron for these waffles? ▾
Yes, even if you have a non-stick waffle iron, give it a light coat of non-stick cooking spray or a quick brush of melted butter before pouring your first batch. The small amount of sugar in the batter can caramelize and stick to the iron plates, especially around the crispy edges, so a light grease ensures waffles lift out cleanly every time.
11.How do I keep cooked waffles crisp while I make the rest of the batch? ▾
Set cooked waffles directly on a wire rack set over a baking sheet in a 200°F oven instead of stacking them on a plate. Stacking traps steam between waffles, which turns crispy edges soggy fast. The low oven heat keeps waffles warm without drying them out, and the rack lets air circulate to preserve that perfect crisp-tender texture.
12.Can I add mix-ins like chocolate chips or blueberries to this batter? ▾
You can, but add them right before you pour batter into the iron, and toss them in a tiny pinch of flour first to keep them from sinking to the bottom. Don’t stir mix-ins directly into the full batter right after folding in egg whites—over-stirring will pop those delicate air bubbles and deflate your batter, leading to less fluffy waffles.
13.Can I use salted butter instead of unsalted butter? ▾
Yes, that’s an easy swap! Just cut any added pinch of salt (I always recommend a small pinch for depth of flavor) by ¼ teaspoon per stick of salted butter you use. Make sure your butter is fully melted and cooled to lukewarm before adding it—hot butter will cook bits of egg in your batter and deflate your whipped whites.
14.How long do these waffles take to cook? ▾
Most waffles will take 3 to 4 minutes to cook fully on medium-high heat. Resist the urge to lift the iron lid too early! Peeking before the 3-minute mark can tear the waffle or cause it to deflate before it sets. Your waffle is done when steam stops billowing out from the sides of the iron, and the waffle lifts out easily without sticking.
15.Can I freeze leftover waffles for quick breakfasts later? ▾
Absolutely! Let cooked waffles cool completely on a wire rack, then stack them between sheets of parchment paper and store in a sealed freezer bag for up to 3 months. Reheat them straight from frozen in a toaster or toaster oven on medium heat—they’ll crisp right back up, with the same fluffy center you get from fresh-cooked waffles.
16.What if I accidentally get egg yolk in my whites when separating eggs? ▾
A tiny speck of yolk won’t ruin your batch, but any larger amount of yolk (more than ⅛ teaspoon) will keep your whites from whipping up to full, stable volume, since fat in yolk breaks down air bubbles. If you get a big bit of yolk, use the edge of a clean eggshell to scoop it out completely before you start whipping for the best lift.
17.Can I make these waffles vegan? ▾
It’s tricky to replicate the exact fluffy texture without egg whites, since they’re the sole leavener here, but you can swap the eggs for 1 cup of aquafaba (the thick liquid from a can of chickpeas) whipped to soft peaks, use plant-based milk, and swap butter for melted vegan butter. The texture will be slightly less rich, but still light and crisp-edged.
18.Why are the edges of my waffles not getting crispy? ▾
Soggy edges usually mean your waffle iron wasn’t hot enough when you poured in the batter, or you took the waffle out too early before the sugar and butter had a chance to caramelize on the edges. If you prefer extra-crisp waffles, add 1 extra minute of cook time, and avoid piling cooked waffles on top of each other while they’re still hot.
19.Can I use a hand mixer instead of a stand mixer to whip the egg whites? ▾
Absolutely! A hand mixer works perfectly well for whipping egg whites to the right soft peak stage—it may just take 10 to 20 seconds longer than a stand mixer. You can even whip them by hand with a wire whisk if you don’t have an electric mixer, just budget 3 to 4 minutes of steady whisking to get those stable, glossy peaks.

Comments (8)

yesterday

OMG I thought I was out of luck when I realized we had zero baking powder left for Sunday brunch! This recipe was SO easy, 12 minutes total cook time? Unreal. My kids devoured these waffles, said they were fluffier than our usual boxed mix. Total game changer, will be making these on repeat!

2 hours ago

Wait did you top them with anything fun? I’m making these for a potluck next weekend and need ideas!

30 minutes ago

So glad your family loved them! For potlucks, a toppings bar with fresh berries, whipped cream, maple syrup, and even a little chocolate spread works perfectly with these fluffy waffles :)

3 days ago

These came out perfect for my weekly meal prep! I batch made them on Sunday, popped them in the toaster all week for quick breakfasts, and they stayed light and fluffy even after reheating. Love that I don’t have to keep baking powder stocked just for waffles now.

2 days ago

Awesome to hear they hold up for meal prep! Pro tip: let them cool completely before storing in an airtight container in the fridge for up to 5 days, or freeze for up to 3 months for longer storage.

5 days ago

Bro as a college student with a super bare pantry, this recipe saved my lazy Saturday. No fancy ingredients, no baking powder, took basically no time, and tasted better than the dining hall waffles. 10/10 would make again when I’m avoiding studying.

1 week ago

Wait, has anyone tried making these with a 1:1 gluten free all purpose flour? I have a waffle iron I haven’t broken out in months because every GF waffle recipe I try turns into a sad flat brick, and I don’t have baking powder right now.

5 days ago

I did! Used Bob’s Red Mill 1:1 GF flour, added an extra tablespoon of melted butter, and they came out so fluffy my husband didn’t even notice they were gluten free. Game changer!

3 days ago

Great question! The 1:1 GF flour swap works perfectly here, just make sure you don’t overfold the egg whites to keep that light, fluffy texture. So glad you’re giving the waffle iron a workout again!

2 days ago

Made these for my kid’s sleepover breakfast and every single kid asked for seconds! I added a dash of cinnamon to the batter and it was chef’s kiss. So easy to throw together even when a house full of 10 year olds is yelling for food.

yesterday

The cinnamon addition sounds genius! I’m making these tomorrow and will absolutely be stealing that tip.

5 minutes ago

Let me start by saying I am super picky about waffles—they have to be fluffy, not soggy, with crisp edges, and I’ve tried so many recipes that fall flat. This one? It delivers. The trick of separating the eggs and whipping the whites is what makes it work, no baking powder needed. I will never go back to my old recipe.

just now

We’re so happy this recipe won over a fellow waffle snob! The separated egg whites are definitely the secret to that perfect fluffy texture without any leavener like baking powder.

2 weeks ago

Made these over the camp weekend on our cast iron waffle iron over the campfire, and they were a hit with the whole group! Can’t beat a simple recipe that doesn’t require packing a bunch of random pantry staples like baking powder. We topped them with foraged blackberries and it was *chef’s kiss*.

30 minutes ago

Help! I tried making these this morning and my waffles stuck so bad to the waffle iron I had to scrub it for 20 minutes. Did I do something wrong? I sprayed it with nonstick spray before pouring the batter, I swear.

5 minutes ago

I had that happen the first time too! Turns out my waffle iron wasn’t fully preheated before I poured the batter in. Wait until the indicator light says it’s ready, and give it an extra little spritz of spray right before pouring, worked like a charm for me the second time.

just now

Oh no, sorry to hear about the sticking! Henry is totally right—making sure your waffle iron is fully preheated is key. We also recommend brushing the grids with a little melted butter instead of spray for extra non-stick insurance, especially if your iron is a little older. Hope you give them another try!



