
waffle stick
intro
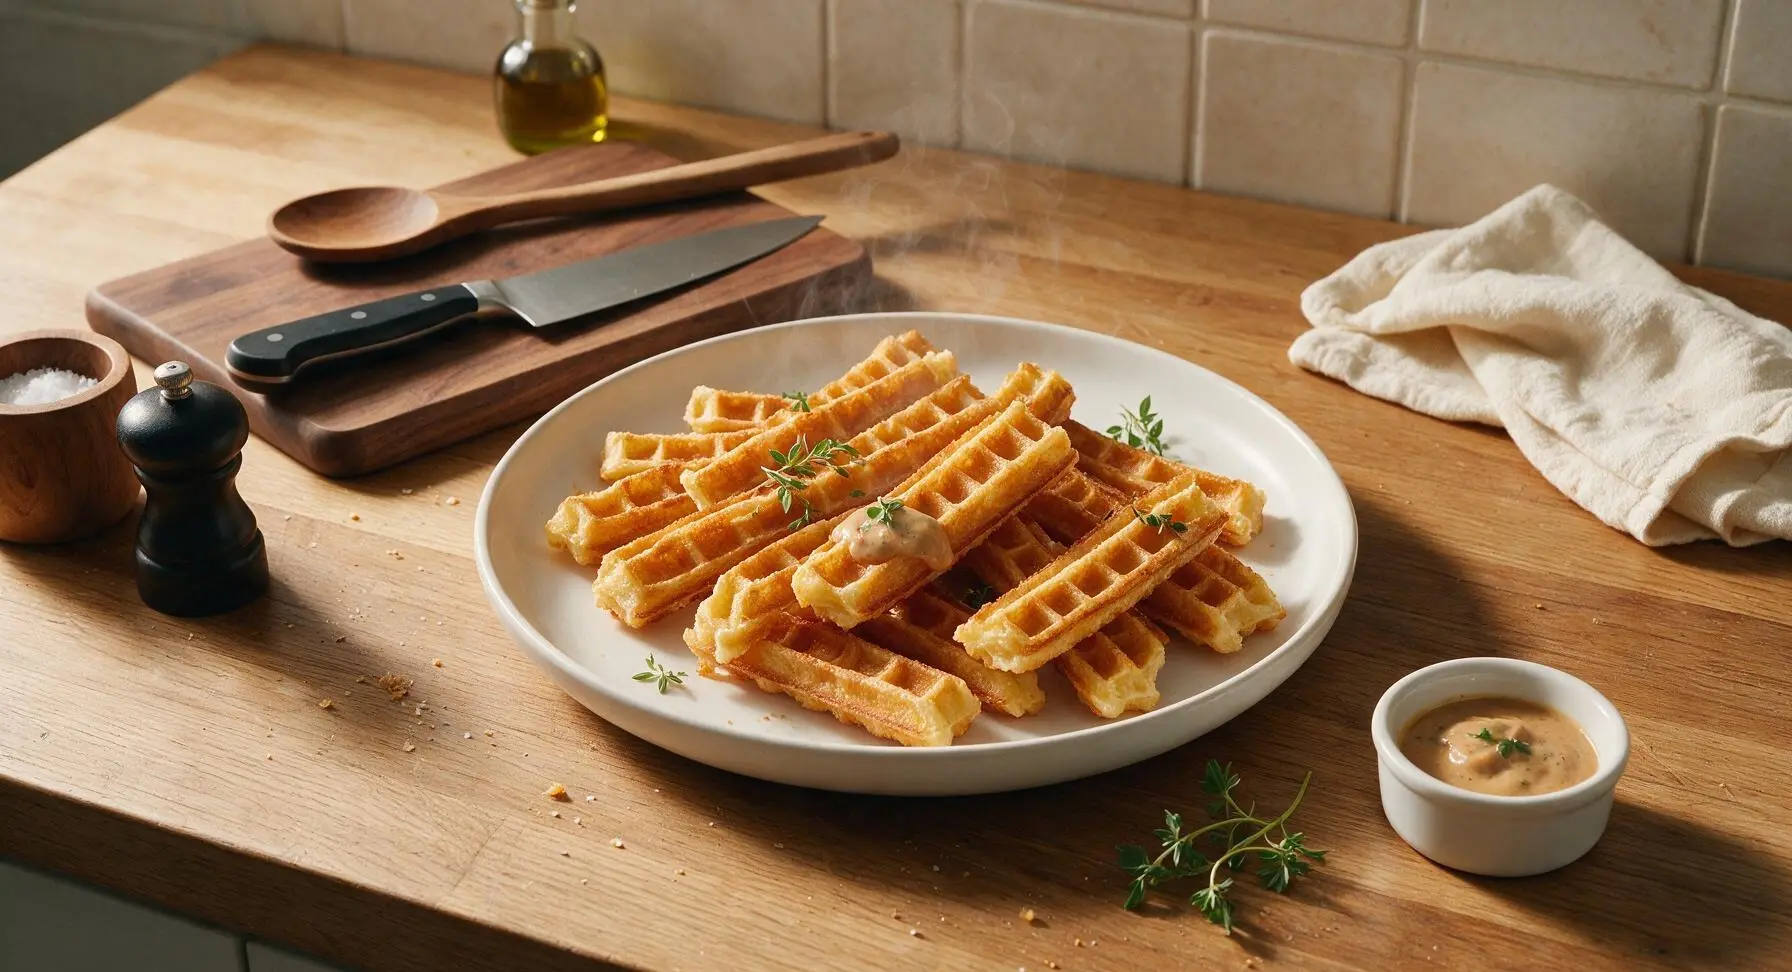
Crisp on the outside, fluffy inside, these portable golden waffle sticks are made for dipping, ideal for grab-and-go mornings or sunny summer picnic spreads.
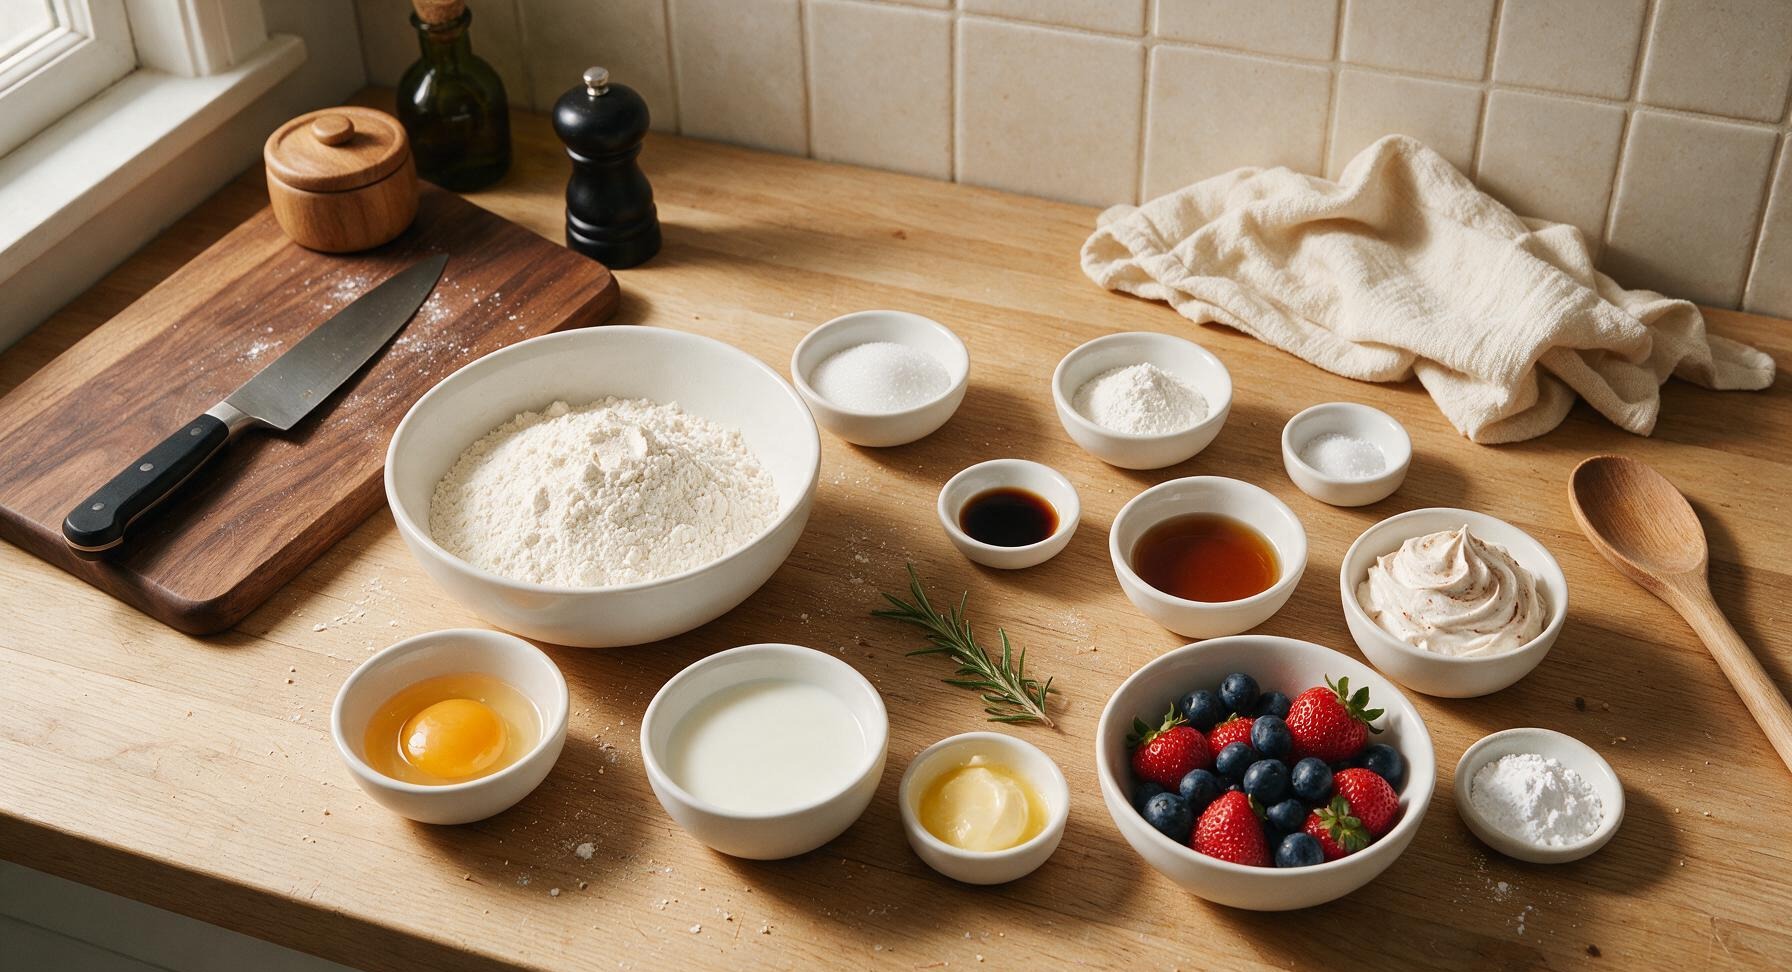
Ingredients
Steps
Mix Dry Ingredients
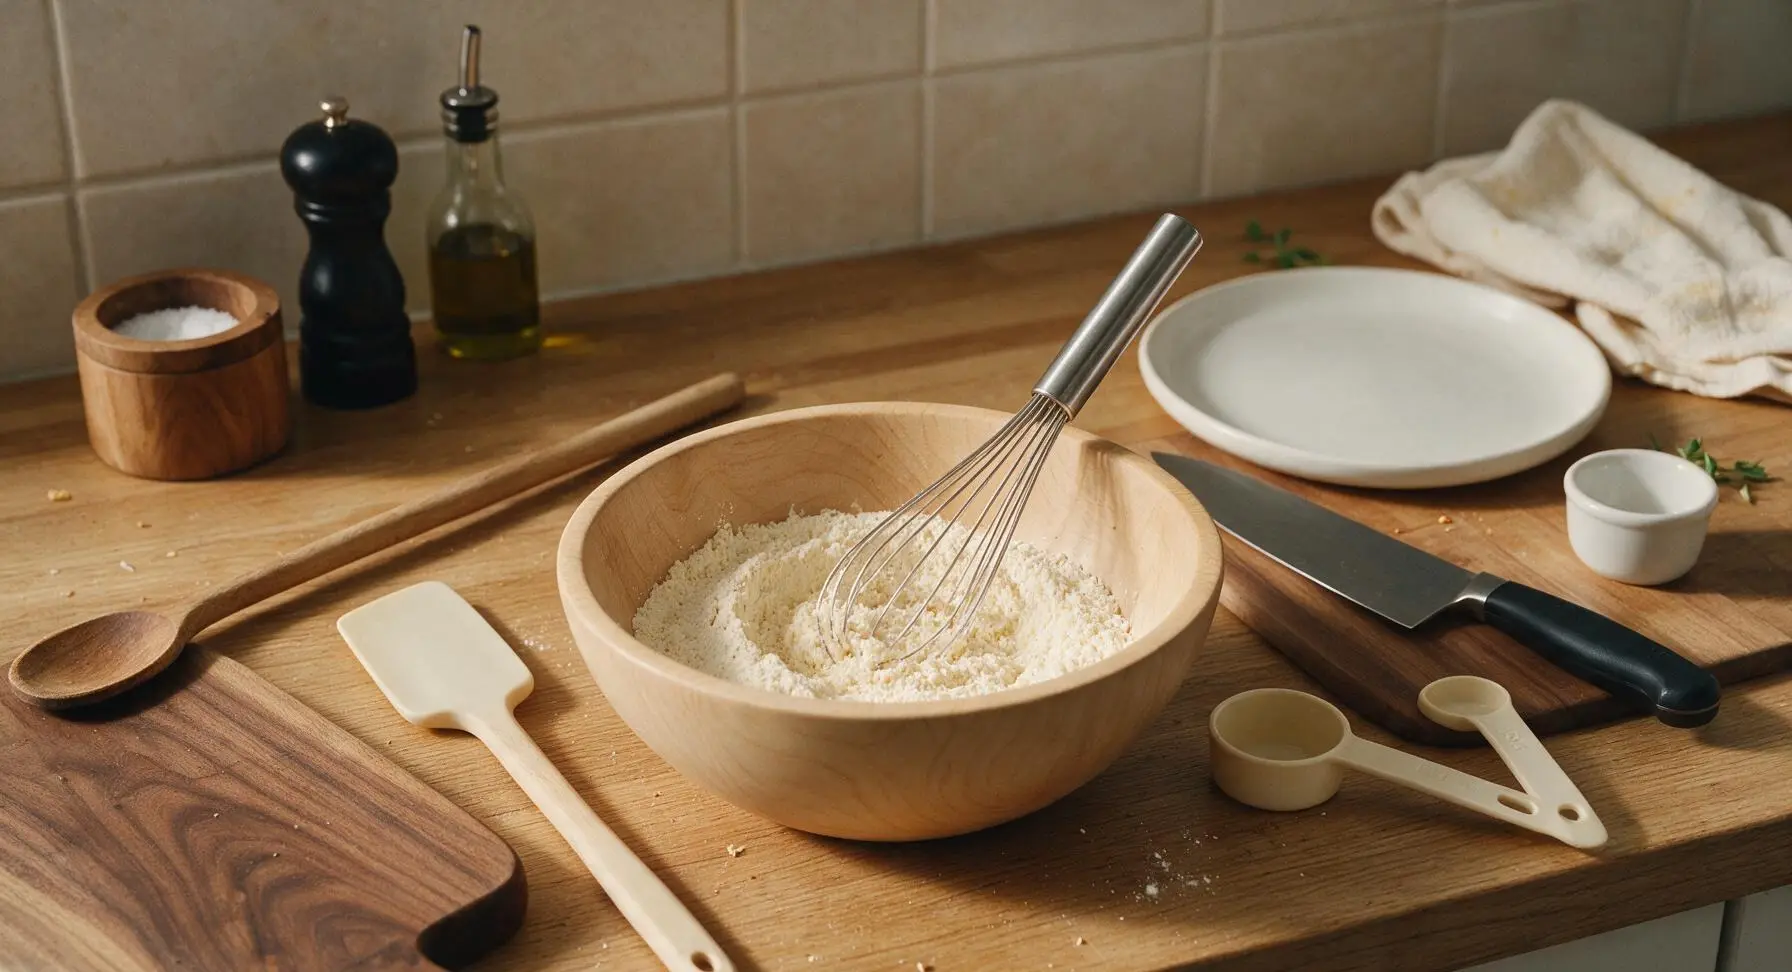
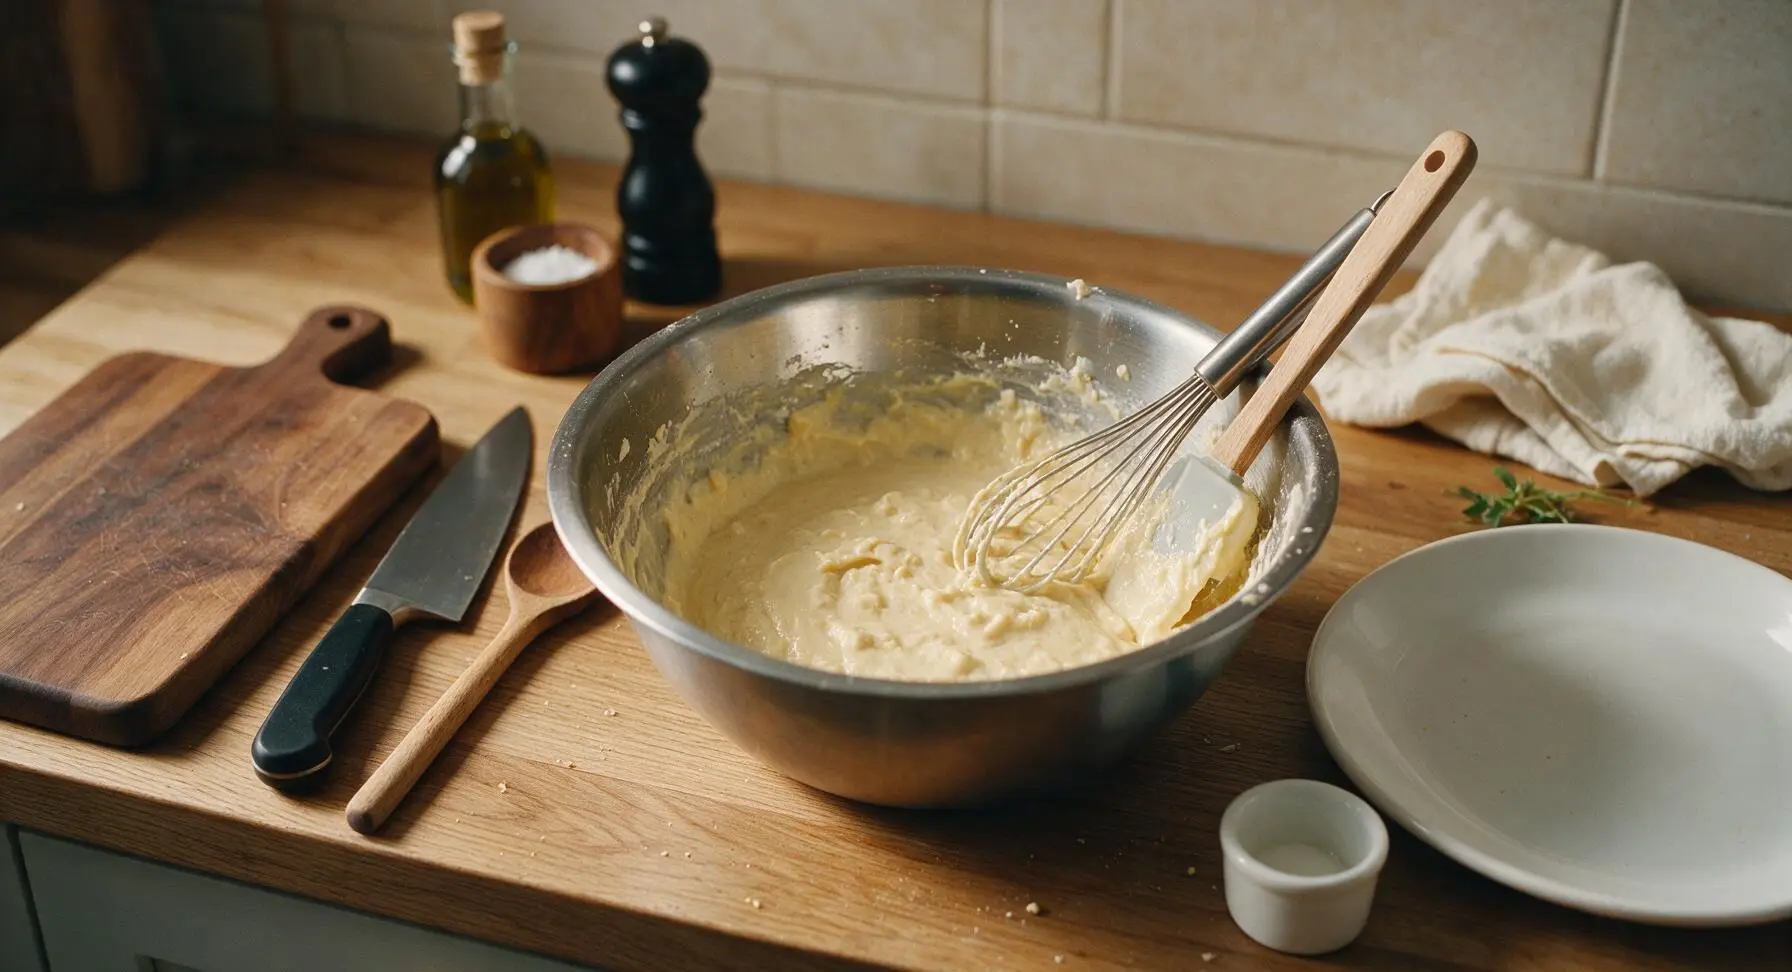
Add 180g all-purpose flour, 25g granulated sugar, 8g baking powder, and 1g fine sea salt to the light birch wood mixing bowl. Use the stainless steel wire whisk to stir the dry ingredients for 30 seconds until evenly combined, with no visible clumps of baking powder. Stop when the mixture is a uniform pale cream color.
Whisk Wet Ingredients
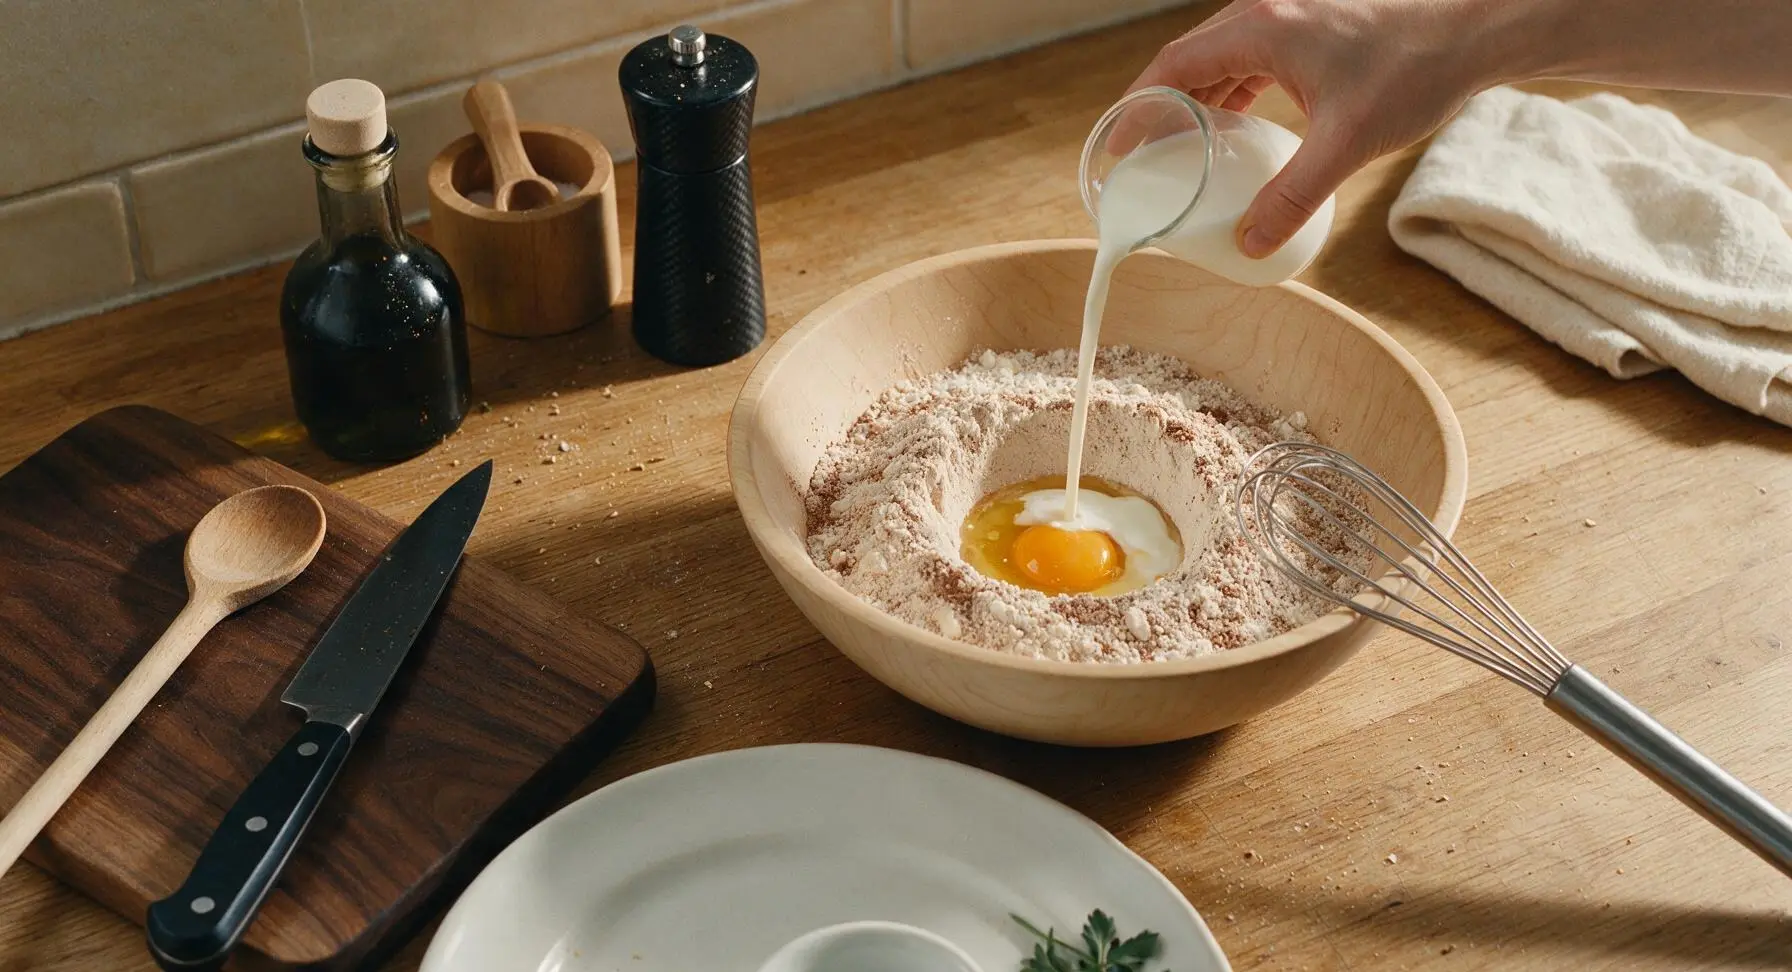
Create a small 5cm wide well in the center of the combined dry ingredients. Crack the large egg into the well, then pour in 240ml whole milk, 30g cooled melted unsalted butter, and 5ml vanilla extract. Starting from the center of the well, use the whisk to slowly incorporate dry ingredients into the wet, mixing just until no large dry flour streaks remain. The batter will be thick and slightly lumpy—do not overmix, as this creates tough waffles. Let the batter rest for 5 minutes while the waffle maker preheats.
Preheat Waffle Iron
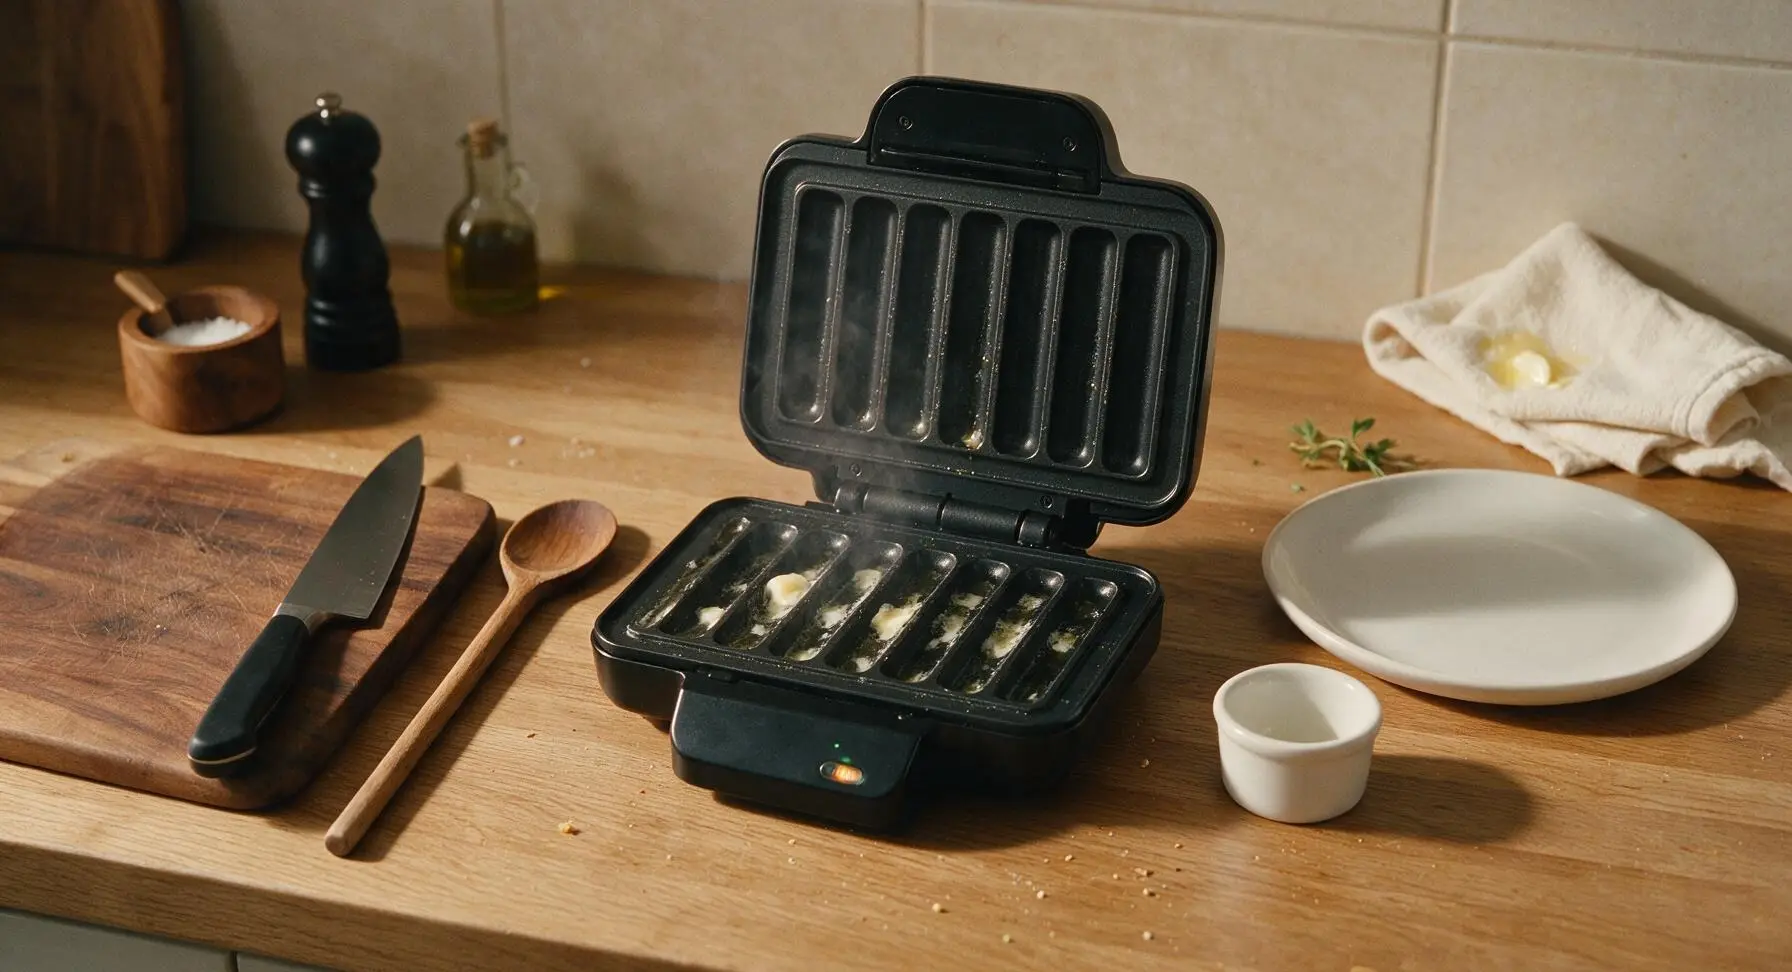
Close the matte black waffle stick maker and set it to medium-high heat (375°F / 190°C). Preheat for 4–5 minutes until the built-in ready indicator light illuminates, or a flicked drop of water sizzles and evaporates within 2 seconds. Use a folded corner of the fixed beige linen napkin to dab a thin, even layer of melted butter onto both top and bottom cooking plates, wiping away any excess butter to prevent burnt spots during cooking. Return the napkin to its fixed bottom-right position after greasing.
Cook Waffle Batches
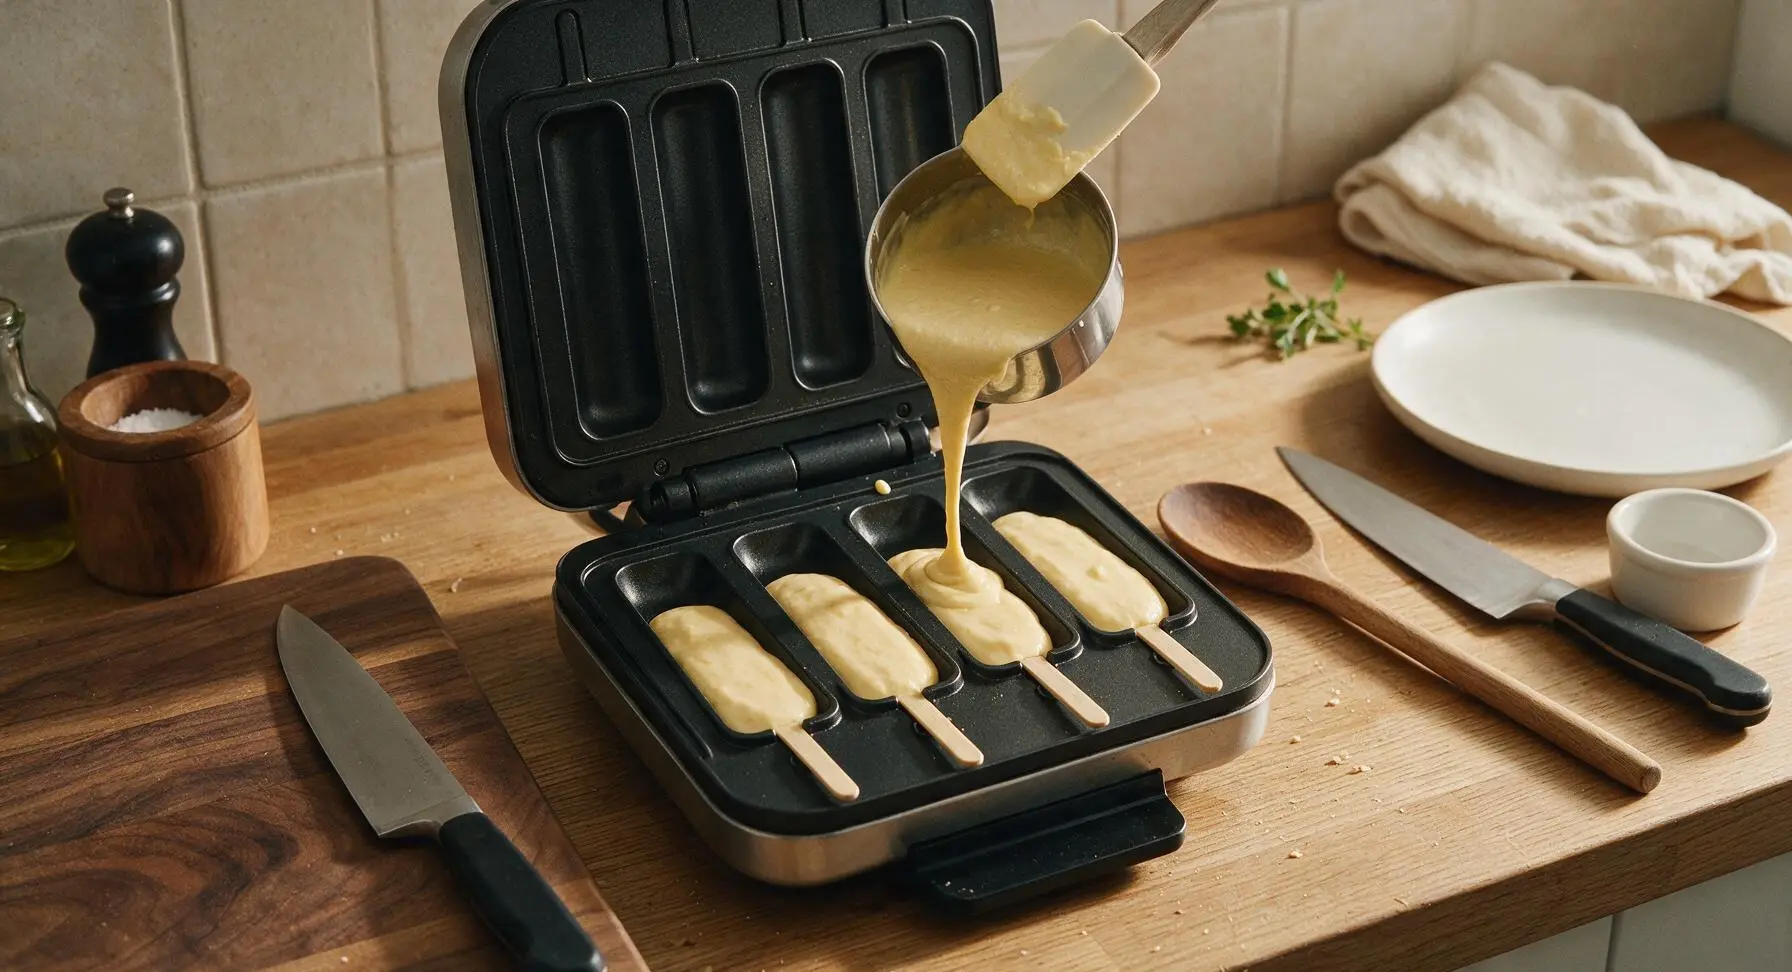
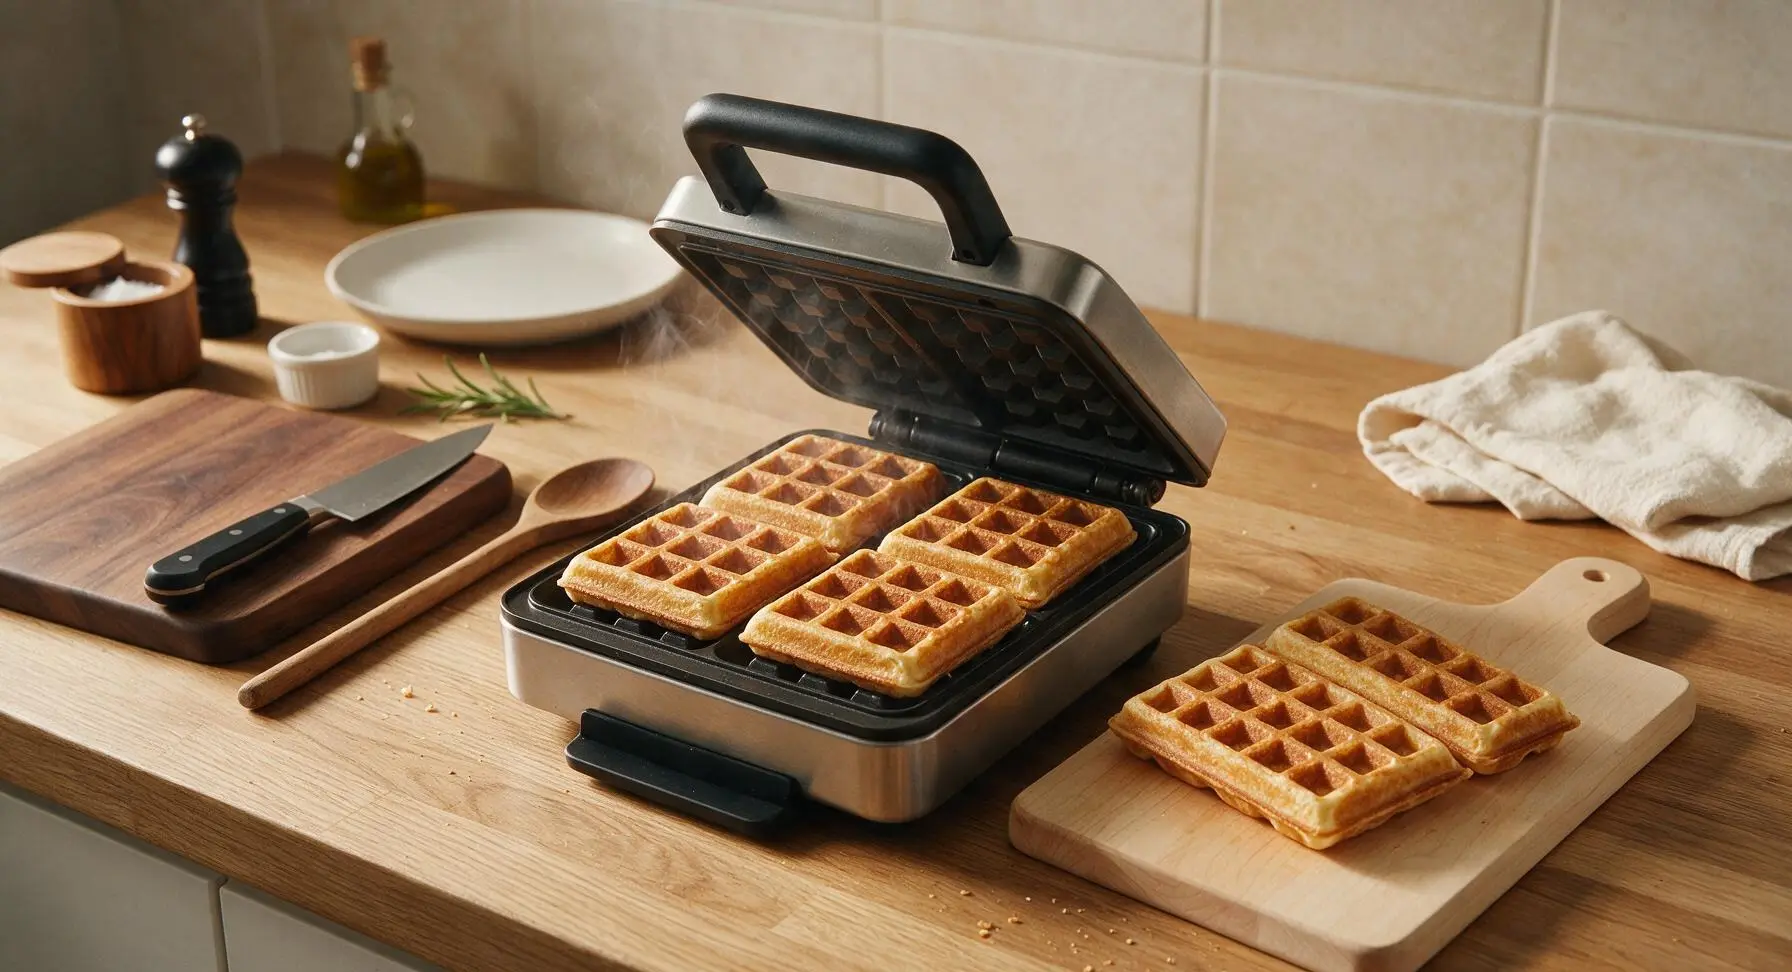
Use the stainless steel 1/4 cup measuring cup to pour batter evenly into each of the four waffle stick molds on the preheated iron, filling each mold 2/3 full to leave room for the batter to rise as it cooks. Close the lid and cook for 3–4 minutes per batch, until waffles are deep golden brown, crisp at the edges, and release easily from the non-stick plates. Do not press down on the lid while cooking, as this compresses the waffles and creates dense, chewy texture. Transfer cooked waffle sticks to the light birch cutting board to cool slightly, repeating with remaining batter to make 12 total sticks across 3 batches.
Insert Serving Picks
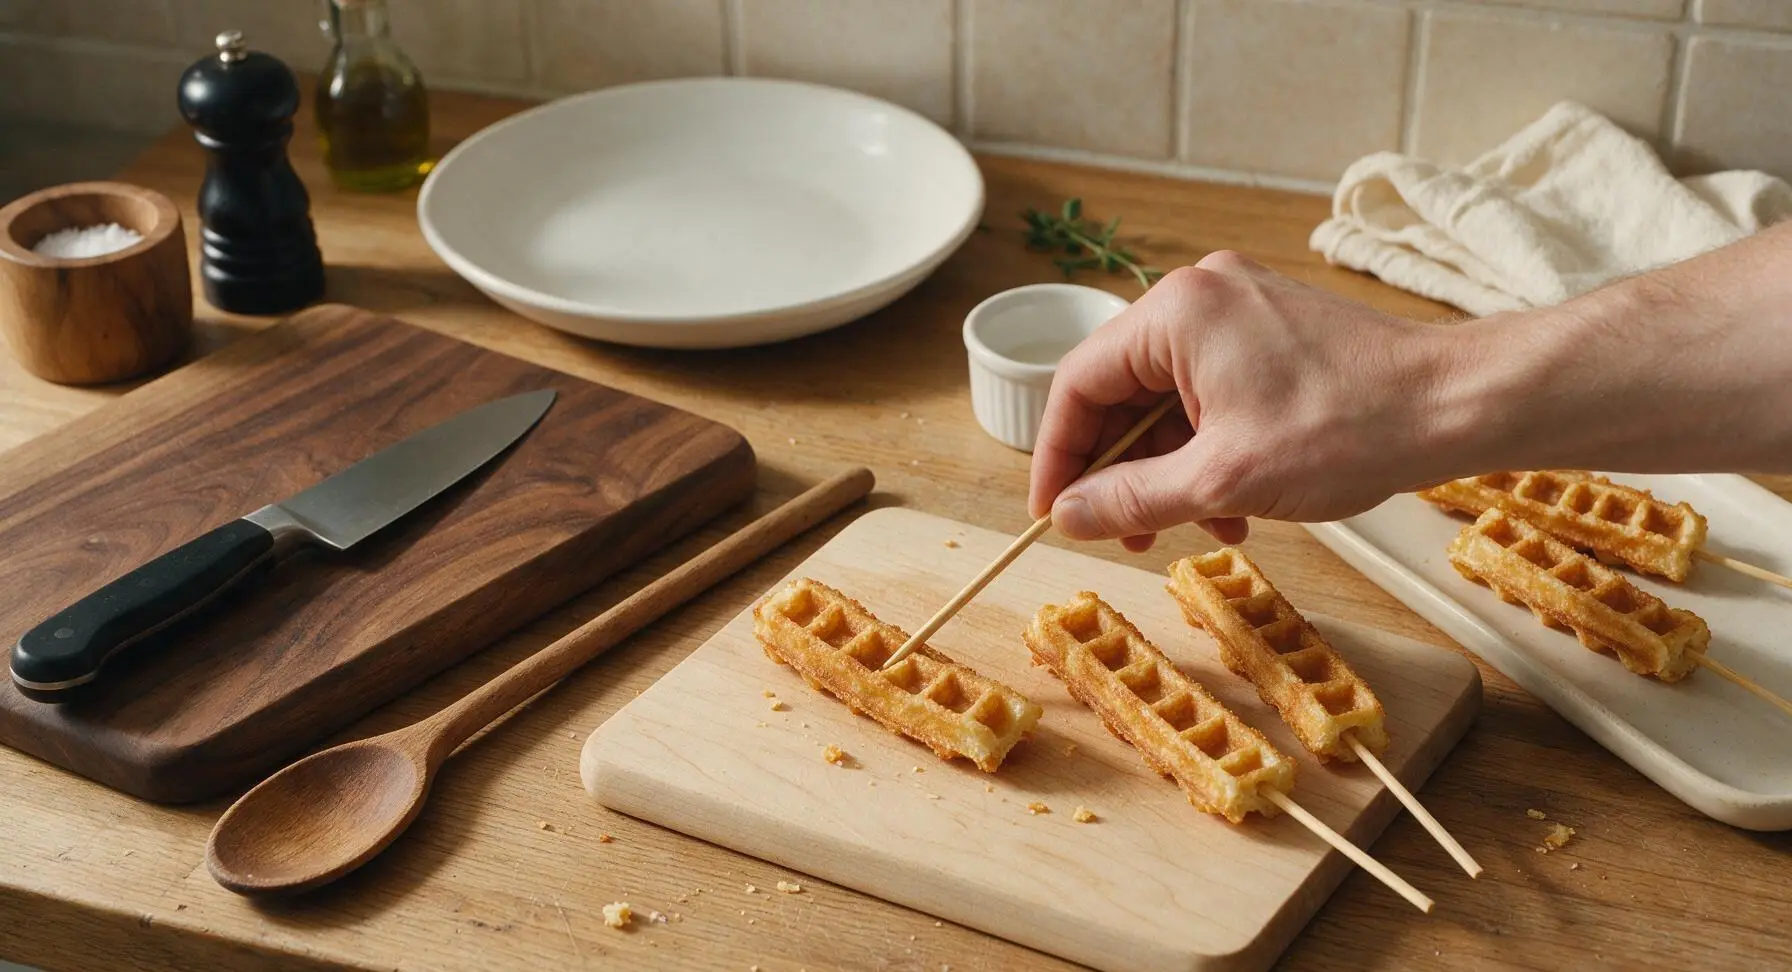
Let cooked waffle sticks rest on the birch cutting board for 2 minutes to cool just enough to handle, so their structure sets and they do not split or slip when picks are added. Insert one 15cm bamboo pick 2cm deep into the cut end of each waffle stick, pushing straight so the pick sits securely without poking through the opposite side. Loosely set assembled sticks on the off-white rectangular serving platter as you work.
Garnish and Plate
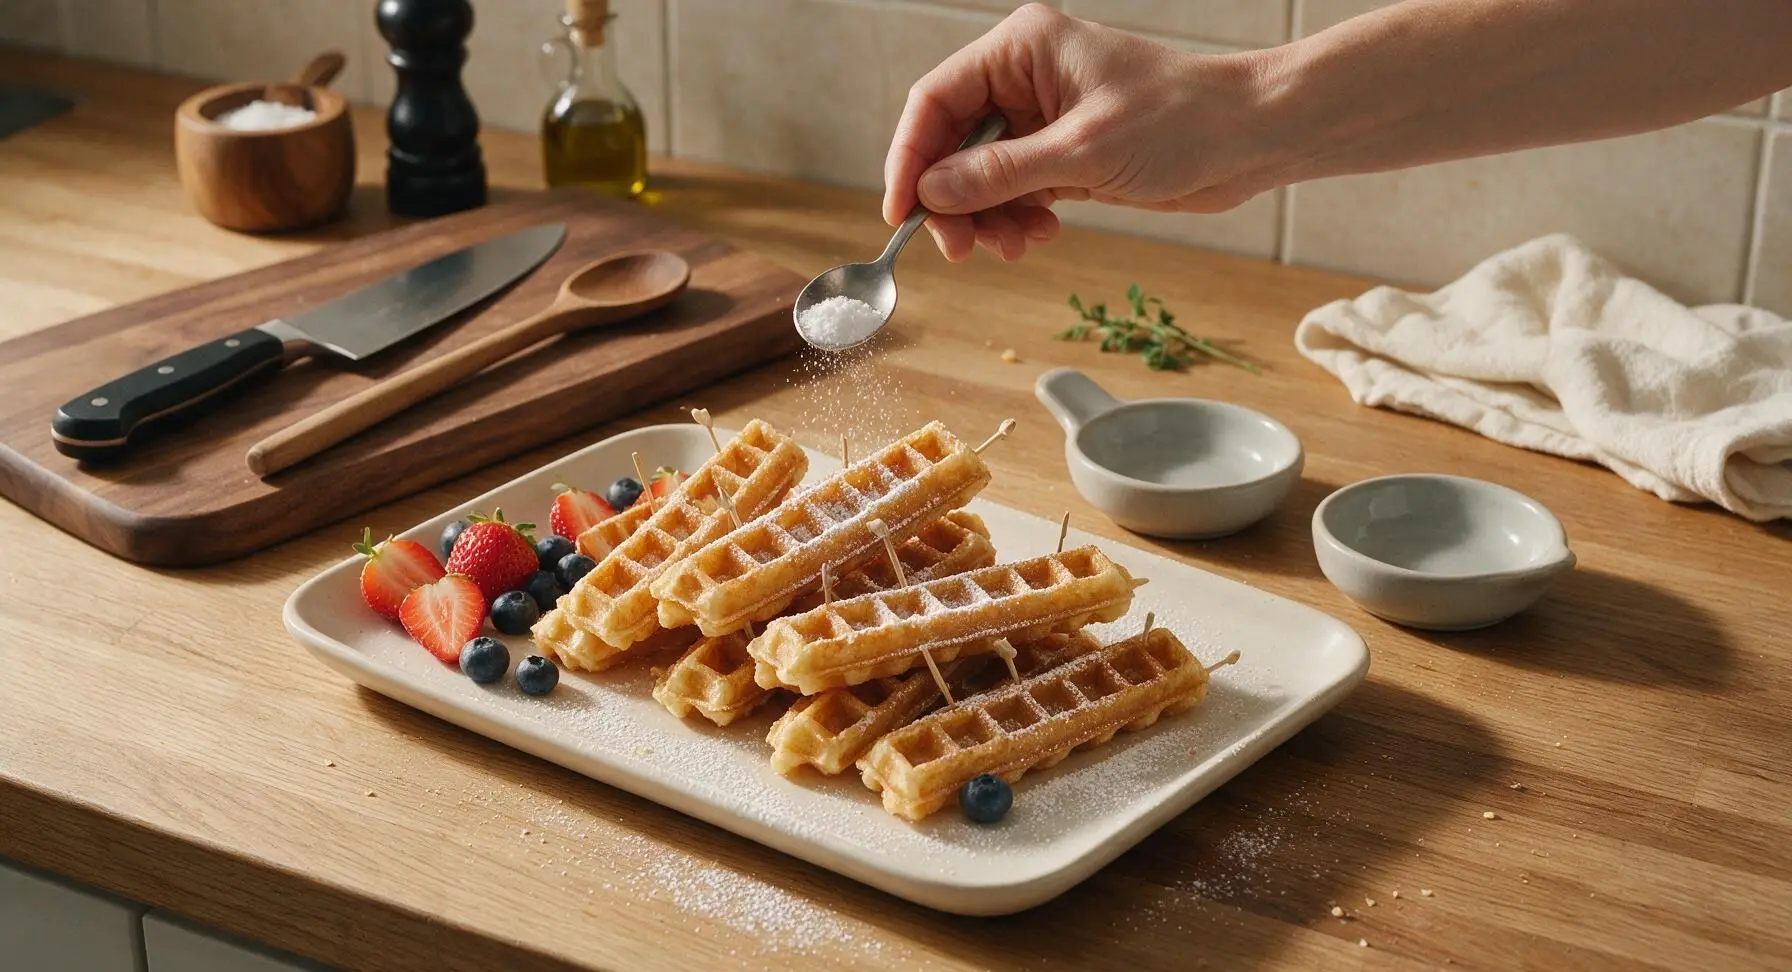
Arrange all 12 pick-speared waffle sticks in a slightly fanned stack on the off-white rectangular serving platter. Add halved strawberries and scattered blueberries from the cream berry bowl to one end of the platter for garnish. Use the small stainless steel teaspoon to tap a light, even dusting of powdered sugar over the waffle sticks, avoiding heavy clumps. Fill the two light grey sauce dishes, one with 60ml pure maple syrup and one with 80g cinnamon whipped cream, and set them beside the platter for dipping.
Tips
2.Let the batter rest for 5 minutes before cooking: this short pause allows baking powder to activate and flour to hydrate evenly, producing taller, crispier waffles that do not sink or turn soggy shortly after cooking.
3.Never press down on the waffle iron lid while cooking: squeezing the lid compresses the rising batter, forcing out trapped air and creating thin, chewy sticks instead of thick waffles with crisp exteriors and soft, fluffy interiors.






OMG these crispy golden waffle sticks are a total game changer for my weekday breakfast routine! I popped the batter together in 5 minutes flat, cooked em up, and my three boys devoured an entire batch before I even got a chance to sit down. My kids loved them so much they asked for seconds before they even finished their first stick! Perfect for dipping in maple syrup or Nutella on the way to school, zero mess! 10/10 will be making these every Sunday for meal prep.
Brought these to our neighborhood block party potluck last weekend and people were begging for the recipe! They’re so easy to grab and eat while standing around chatting, I dipped half in chocolate and sprinkled them with sea salt for a little fancy twist. SO good, even the pickiest eaters went back for seconds.
Wait as someone who only has a tiny countertop waffle maker in my dorm, this recipe was so forgiving! I didn’t even have a proper piping bag, just used a ziplock with the corner cut to squirt the stick shapes, and they turned out perfectly crispy. 15 minutes total from grabbing the flour to taking my first bite, no fancy equipment needed.
These were super tasty! I swapped the all-purpose flour for a 1:1 gluten free blend and they still got that perfect golden crisp, which is so rare for gluten free waffles. Only reason I’m not giving 5 stars is I wish the recipe noted how much batter to pour per stick—my first few came out a little wonky shaped before I got the hang of it.
Made these for our family brunch yesterday with my 7 year old, she had a blast helping dip them in sprinkles after they cooled. Way less messy than regular round waffles when little kids are serving themselves, and the crisp level is *chef’s kiss* even after you load em up with whipped cream.
Added these to my weekly breakfast rotation and I’m never going back to frozen waffles! They hold up so well in the fridge for 4 days, I just grab two on my way out the door for work and dip em in peanut butter for extra protein. So quick, so easy, way cheaper than buying the pre-made frozen ones at the grocery store.
Made these at 1am after getting home from a concert because I was craving something sweet and crispy, and they did NOT disappoint. I didn’t even have maple syrup so I dipped em in vanilla ice cream, 10/10 late night snack hack. Who knew waffle sticks were this easy?
Guys I can barely boil water without burning it and these came out perfect on the first try!!! I was so nervous making breakfast for my partner’s birthday, but these looked so fancy and crispy, they thought I ordered them from a fancy brunch spot. 15 minutes? No way, I was done even faster. 100% recommend for total newbies like me.