
Waffles

title 1
Waffles
⏱️ cook time 12 minutes
🍽️ servings 4
⚡ Difficulty easy

intro

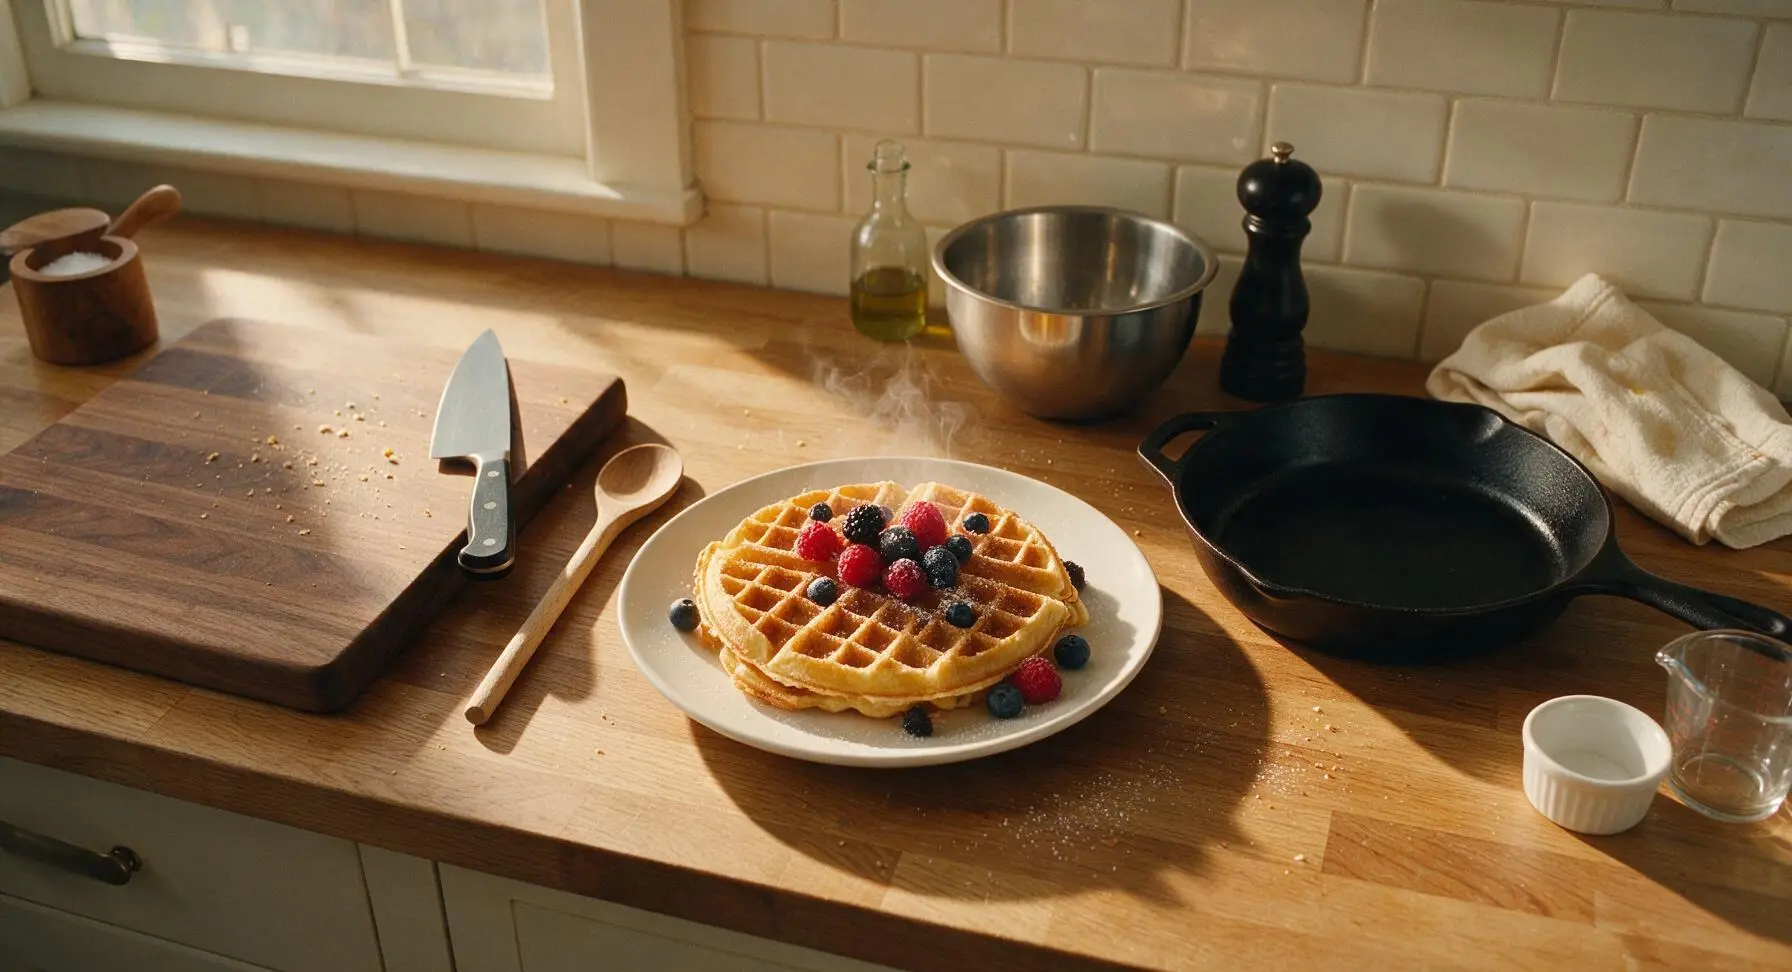
Crisp golden edges, fluffy tangy centers, these classic buttermilk waffles come together in 22 minutes for a cozy, crowd-pleasing meal perfect for any night of the week.

Ingredients
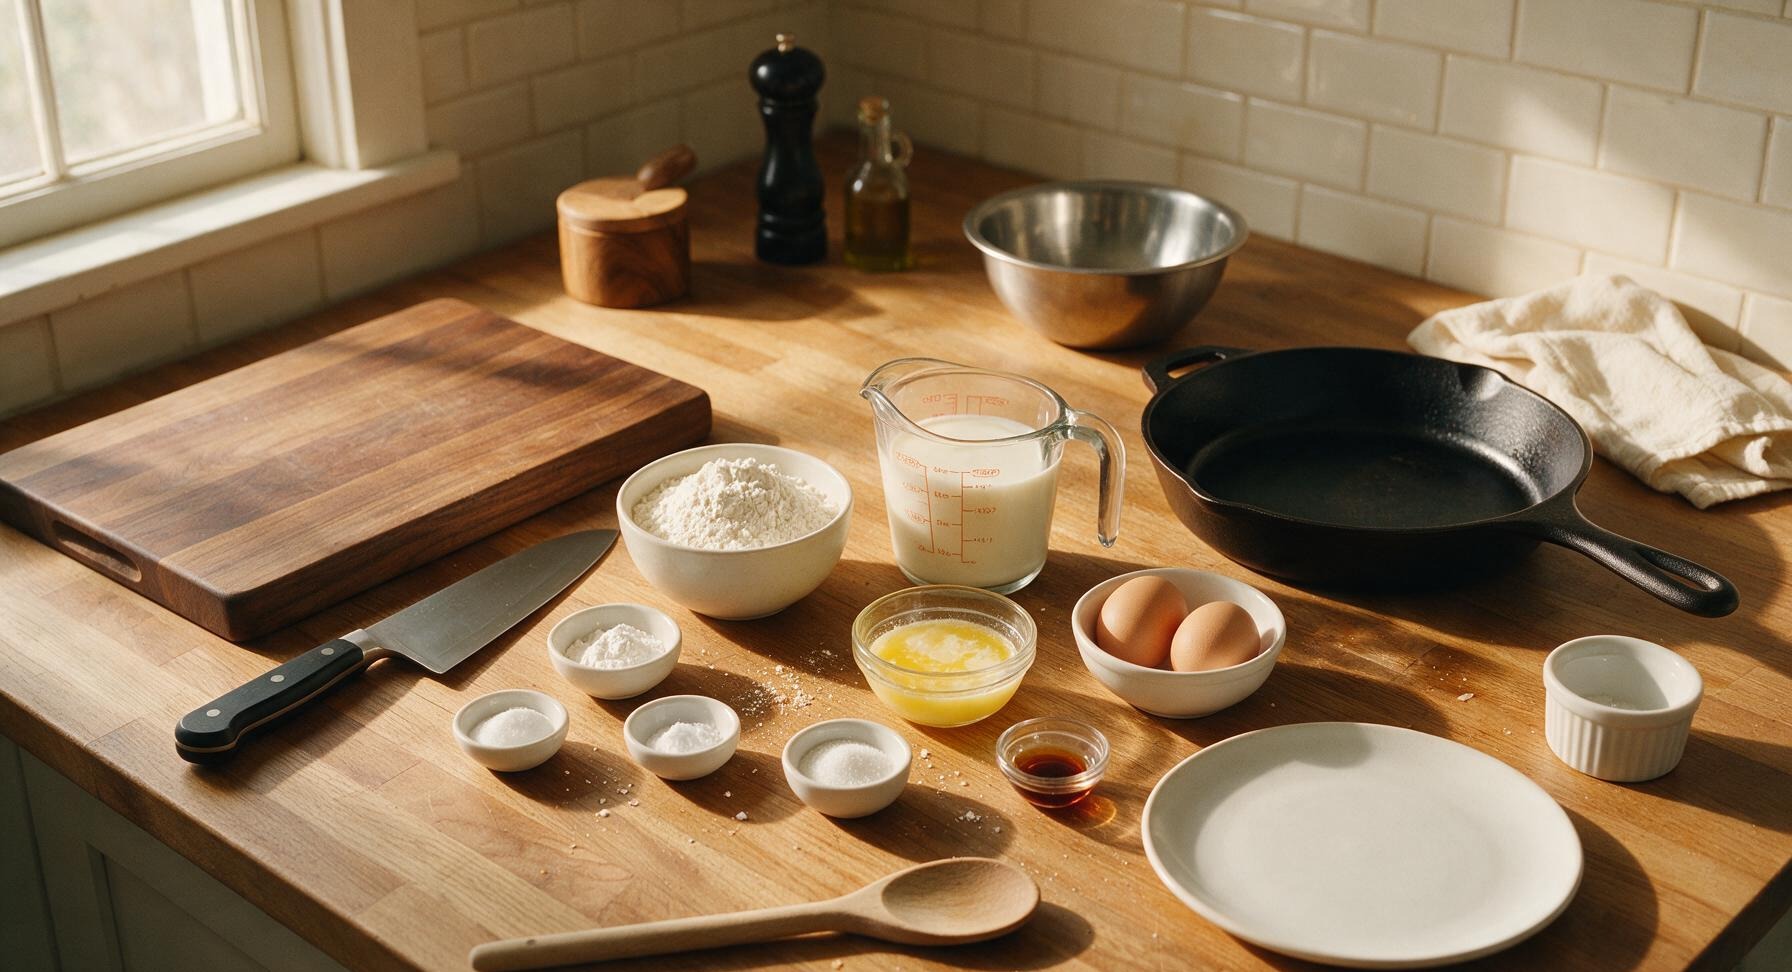
All-purpose flour 240g (2 cups)
Whole buttermilk 420ml (1 3/4 cups)
Large eggs 2 (100g total)
Unsalted butter 57g (1/4 cup, melted and cooled)
Baking powder 2 tsp (8g)
Baking soda 1/2 tsp (2.5g)
Granulated sugar 1 tbsp (12g)
Fine sea salt 1/2 tsp (2.5g)
Pure vanilla extract 1 tsp (5ml)

Steps

1

Preheat Waffle Iron

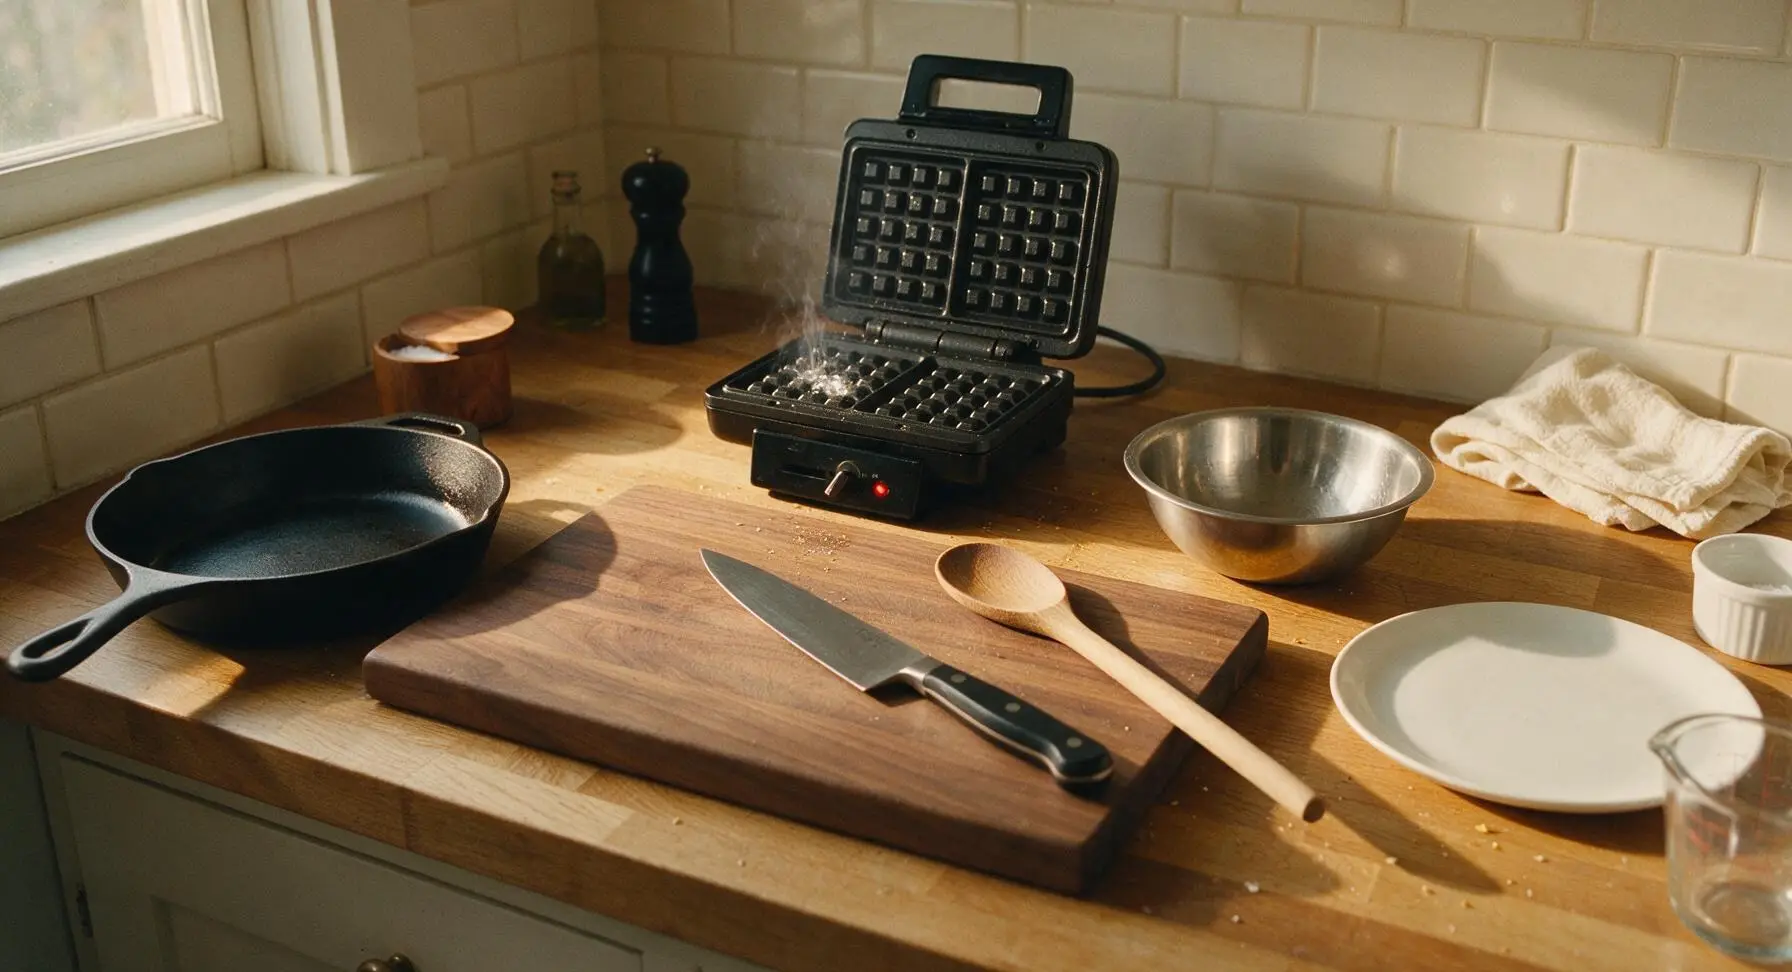
Plug in the matte black stainless steel waffle maker and set it to medium-high heat (375°F / 190°C). Allow it to preheat fully for 5 minutes, until the built-in ready indicator light illuminates. Test readiness by flicking a single drop of cold water onto the grid plate: the water should sizzle and dance across the surface, evaporating in 2-3 seconds. No extra greasing is needed for non-stick plates, as the butter in the batter will prevent sticking.
Step 1
step1:Preheat Waffle Iron
2

Whisk Dry Ingredients

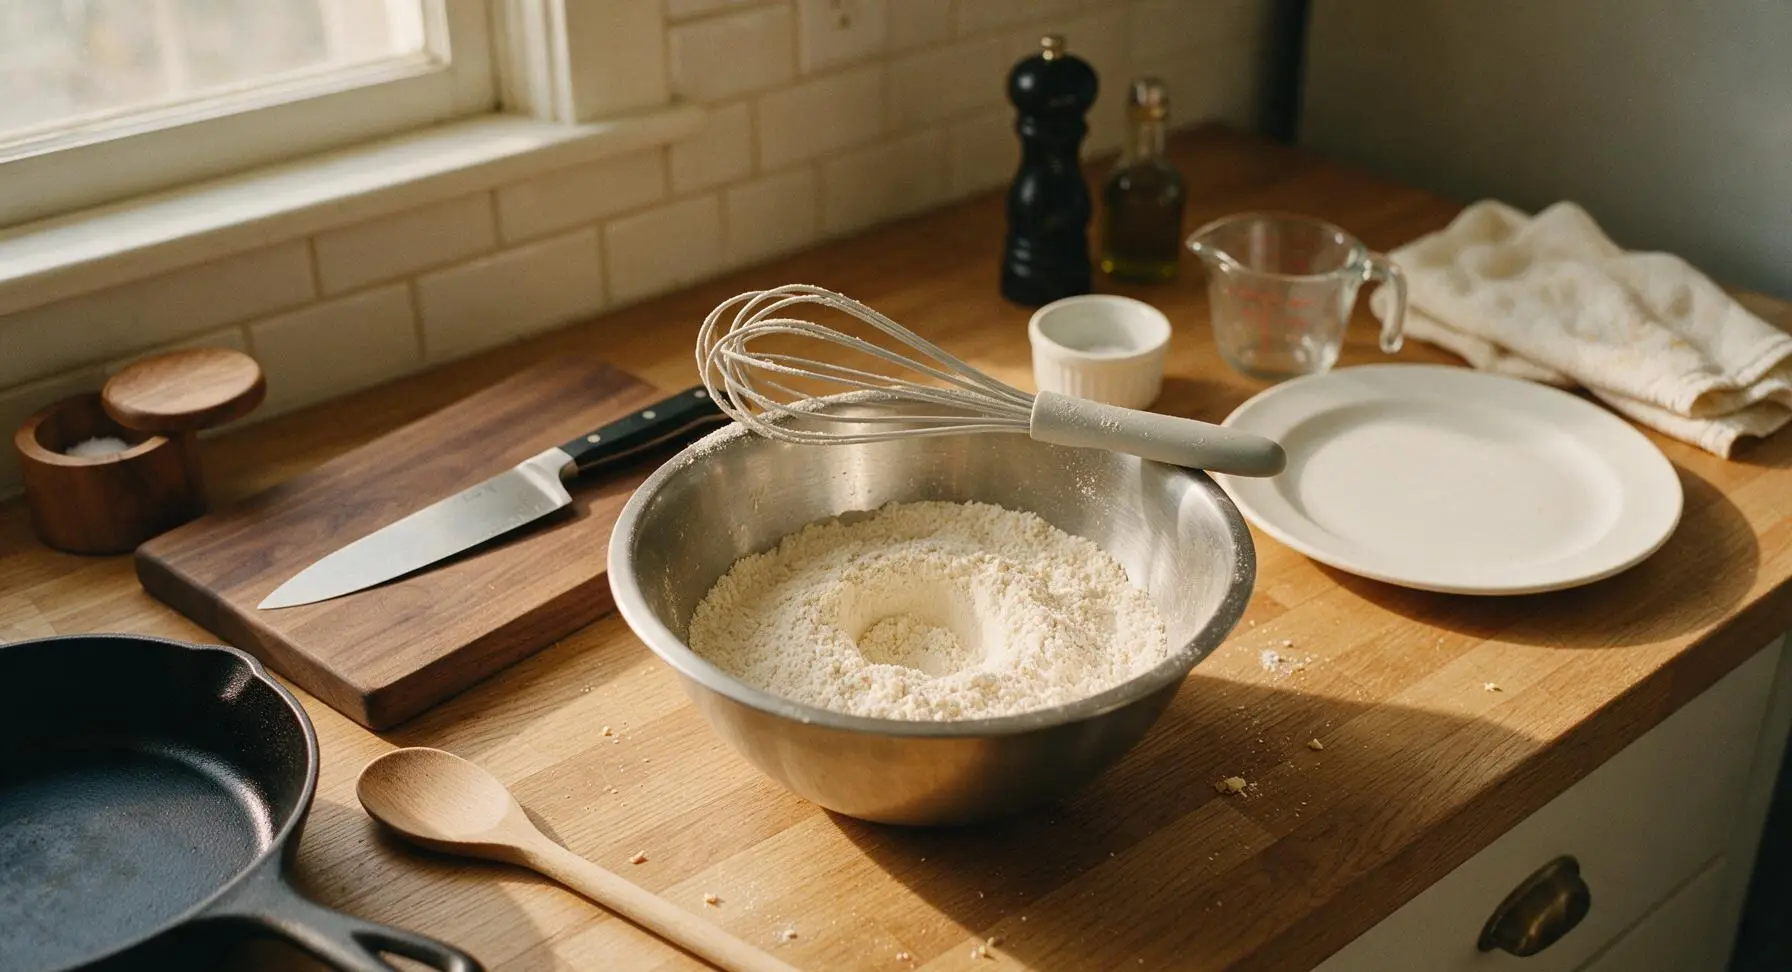
Add the all-purpose flour, baking powder, baking soda, granulated sugar, and fine sea salt to the medium brushed stainless steel mixing bowl. Use the light grey silicone whisk to stir the dry ingredients together for 30 seconds, until fully combined with no concentrated clumps of leavening. Press a small 5cm wide well into the center of the dry mixture to hold the wet ingredients in the next step.
Step 2
step2:Whisk Dry Ingredients
3

Combine Wet Ingredients

Crack the 2 large eggs into the smaller brushed stainless steel mixing bowl, and whisk lightly for 10 seconds until yolks and whites are fully blended with no streaks. Add the measured buttermilk, cooled melted butter, and vanilla extract, and whisk for another 20 seconds until the mixture is smooth, pale yellow, and completely homogeneous, with no visible flecks of separated egg.
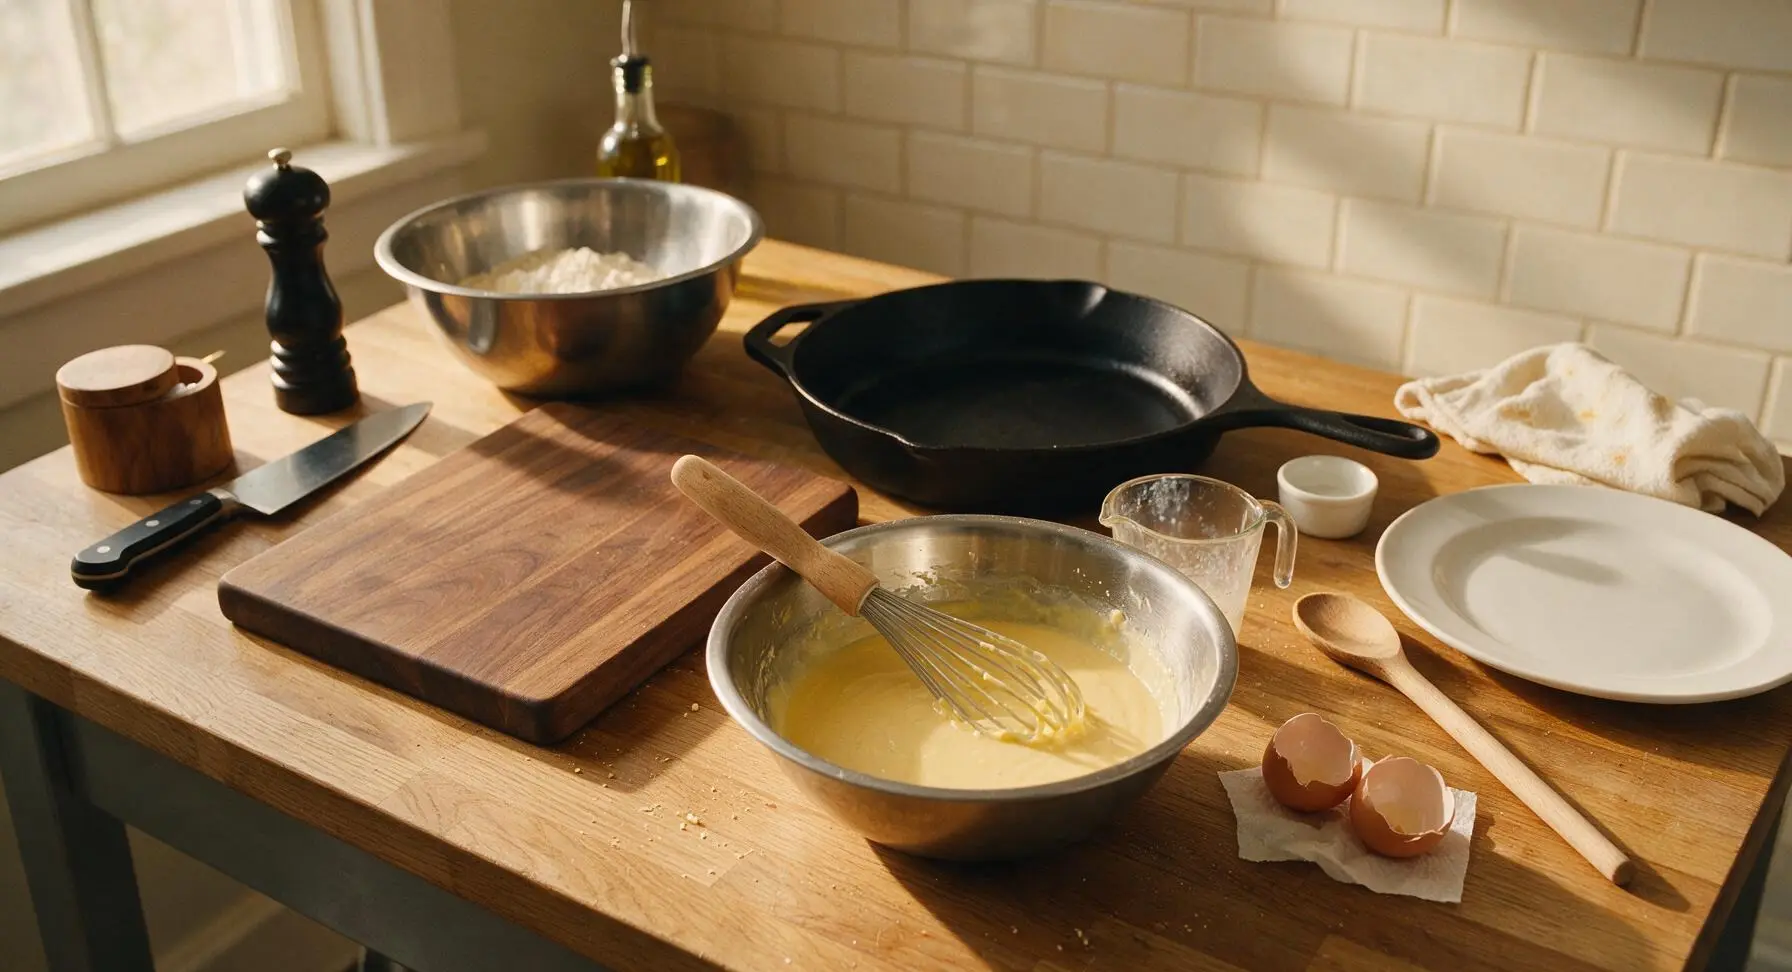
Step 3
step3:Combine Wet Ingredients
4

Fold Waffle Batter Gently

Pour the entire wet ingredient mixture into the well in the dry ingredient bowl. Use the cream silicone spatula to gently fold the ingredients together, cutting through the center of the mixture and scraping the bowl sides as you stir. Stop mixing as soon as no large pockets of dry flour remain; the batter should be thick and visibly lumpy, with a few small flour streaks still present. Overmixing will develop gluten and create tough, dense waffles. Let the batter rest for 3 minutes to allow leavening to activate, until tiny air bubbles start to pop across the surface.
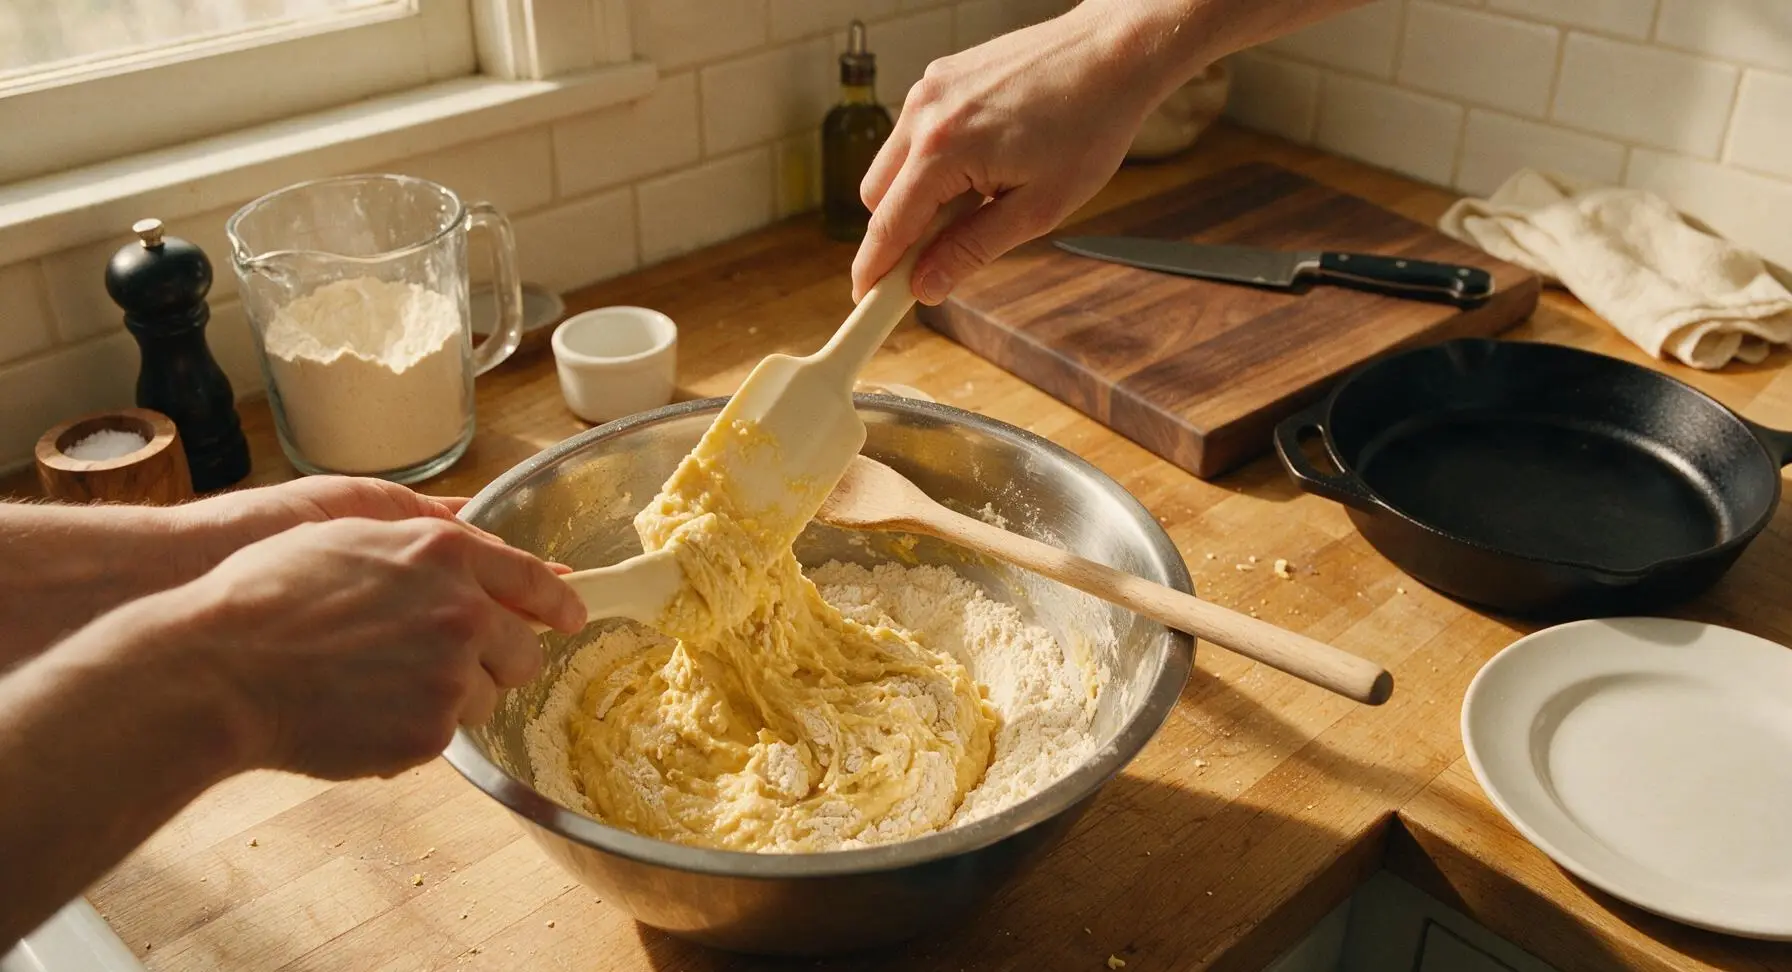
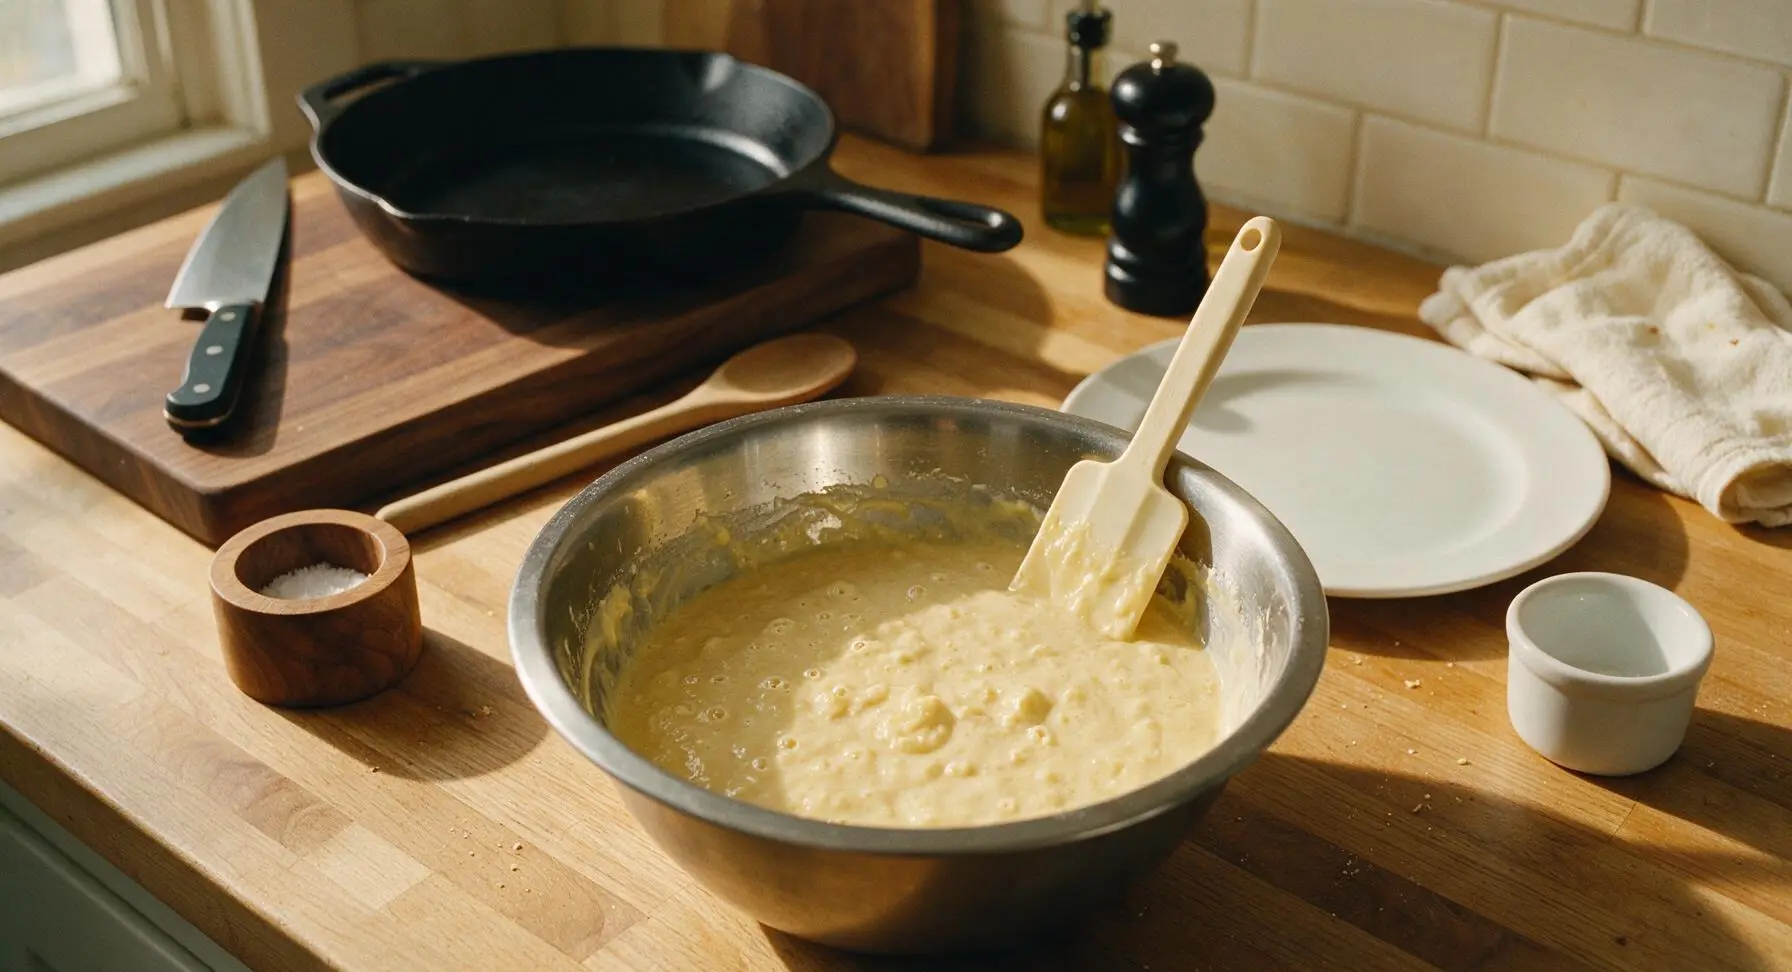
Step 4
step4:Fold Waffle Batter Gently
Step 4
step4:Fold Waffle Batter Gently
5

Cook Waffles Until Golden

Use the brushed stainless steel 1/4 cup measuring cup to scoop batter, pouring 1/2 cup (120ml) of batter onto the center of each waffle iron grid section. Close the lid and cook for 3 to 4 minutes, without lifting the lid early (lifting before the waffle sets will cause tearing and sticking). Waffles are done when they are deep golden brown, crisp at the edges, and no visible steam escapes from the sides of the waffle iron.
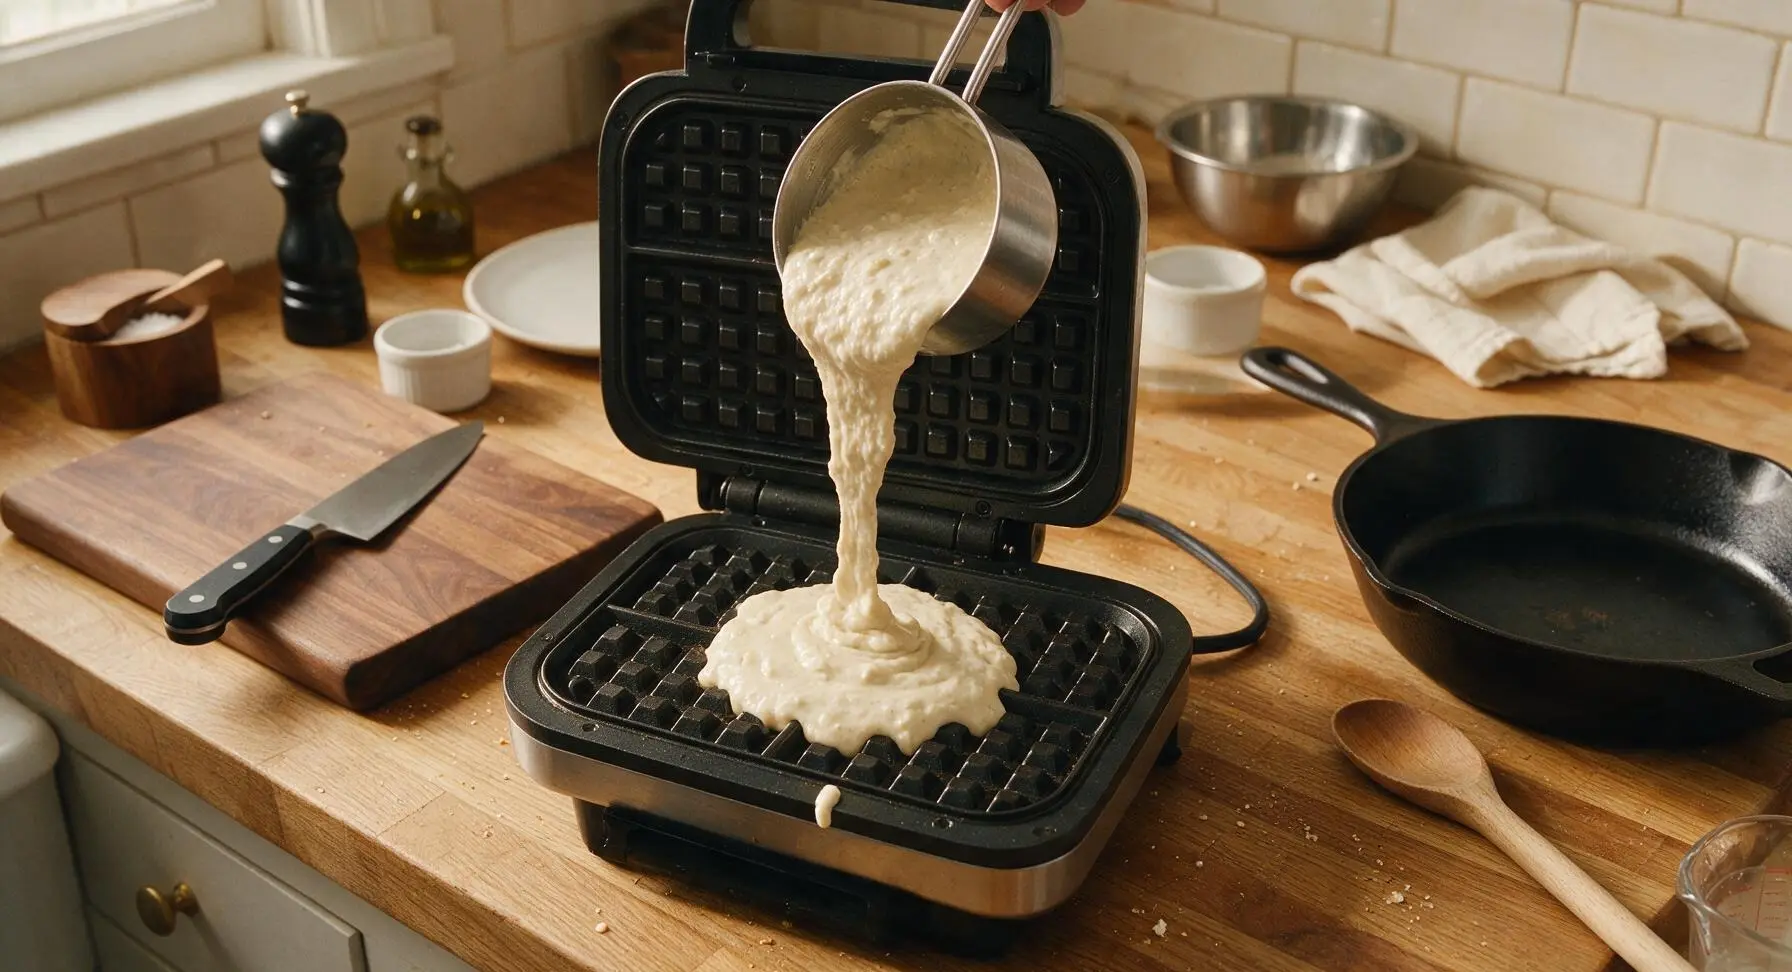
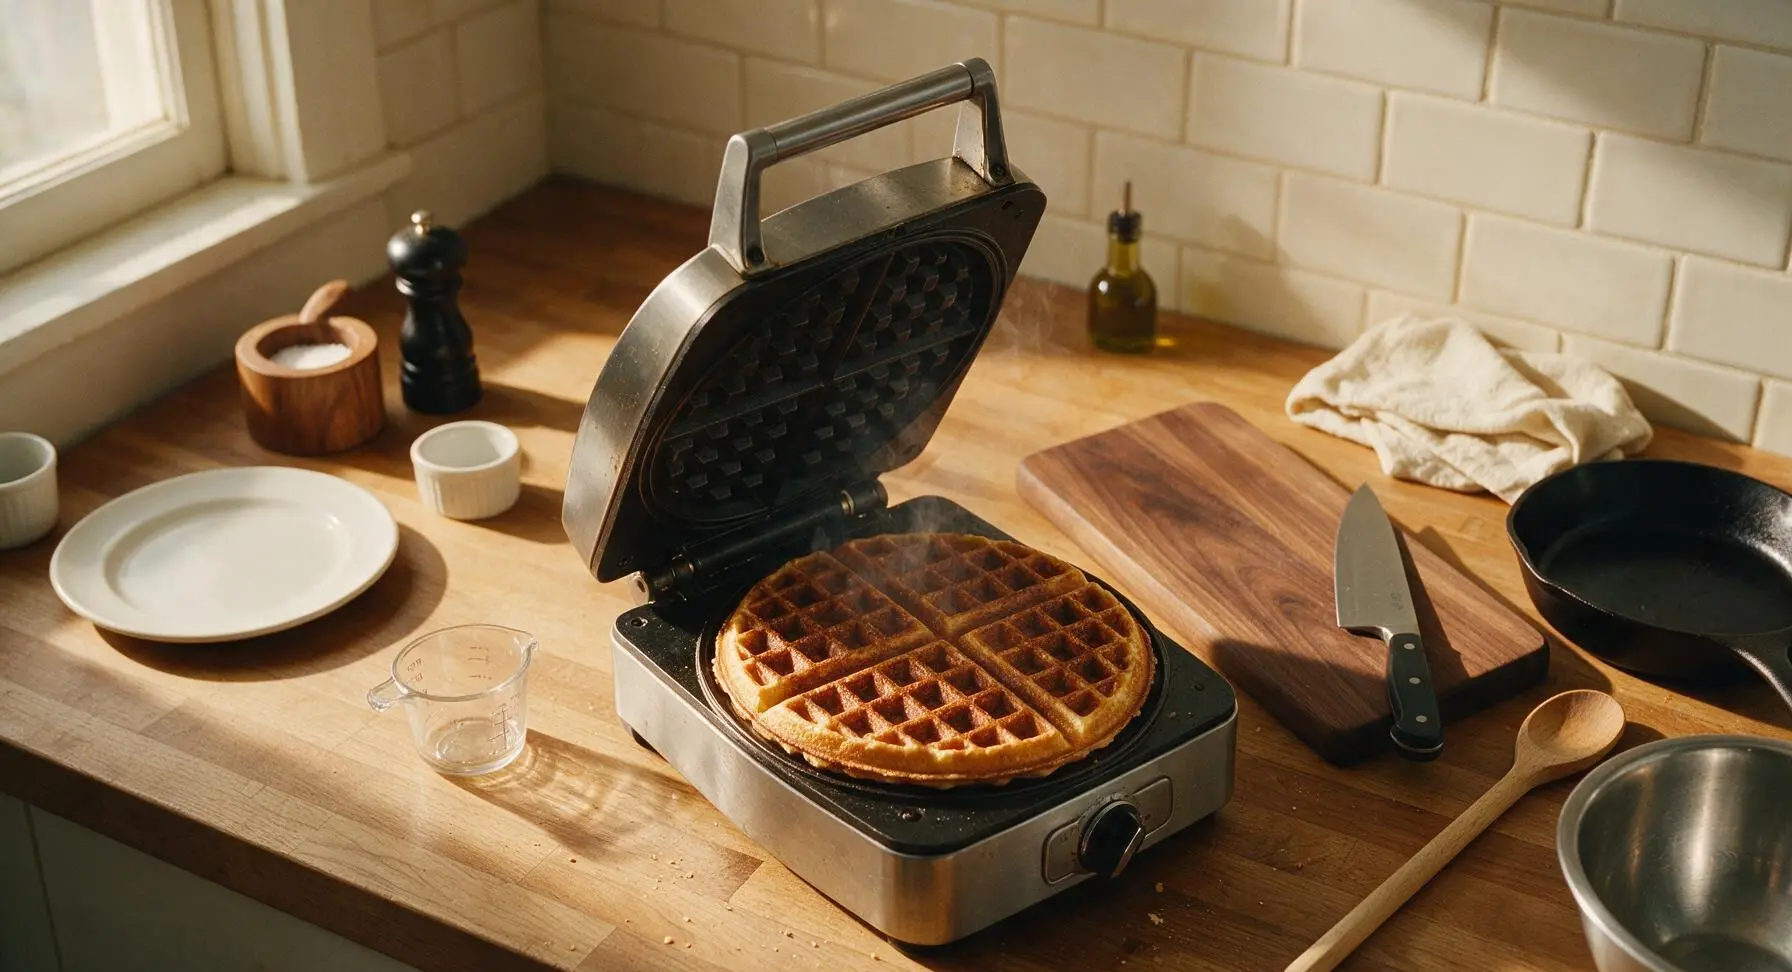
Step 5
step5:Cook Waffles Until Golden
Step 5
step5:Cook Waffles Until Golden
6

Rest Waffles On Rack

Use the cream silicone spatula to lift the cooked waffle from the iron, and transfer it in a single layer to the stainless steel wire cooling rack. Do not stack waffles immediately, as trapped steam will soften crisp edges and make waffles soggy. Keep finished waffles warm on the rack in a 200°F (95°C) oven while you cook the remaining batter, repeating the pour and cook process until all batter is used (yielding 8 total waffle sections, 2 per serving).
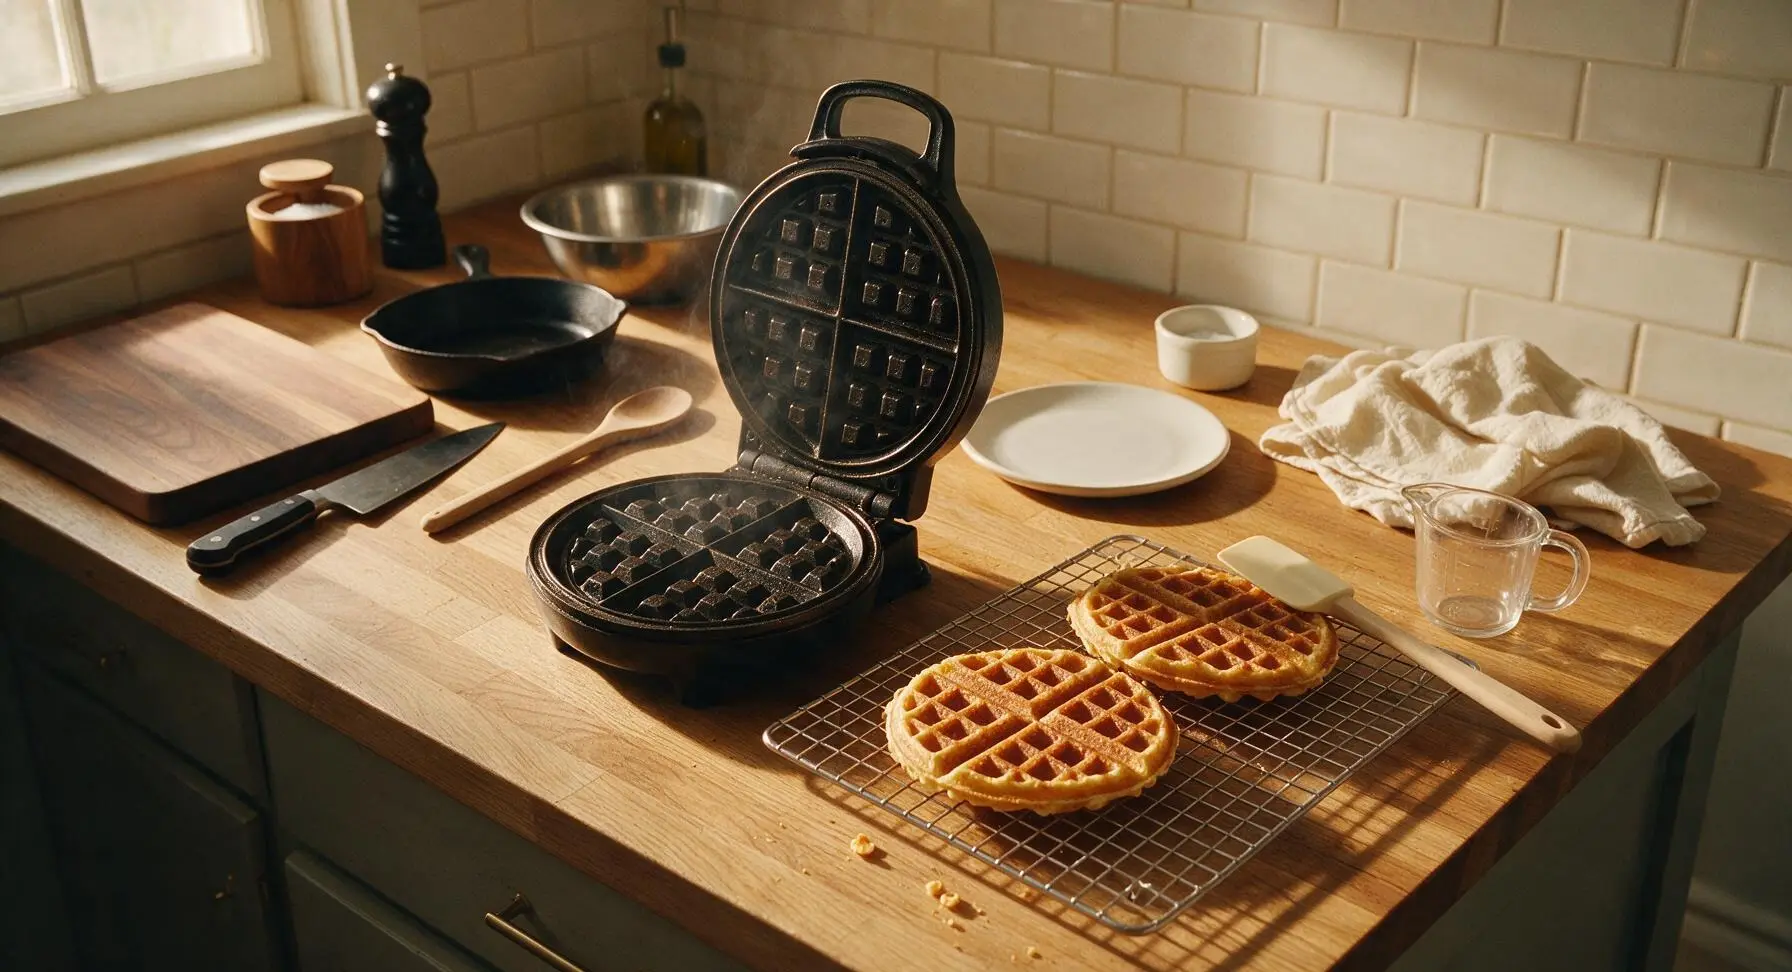
Step 6
step6:Rest Waffles On Rack
7

Plate And Top Waffles

Stack three warm waffles in the center of the matte cream stoneware dinner plate. Top with a 1 tbsp pat of salted butter, allowing it to melt slightly into the waffle grids, and drizzle with 2 tbsp of pure maple syrup. Add a small sprig of fresh thyme for a subtle, earthy garnish if desired, and serve immediately while waffles are hot and crisp.
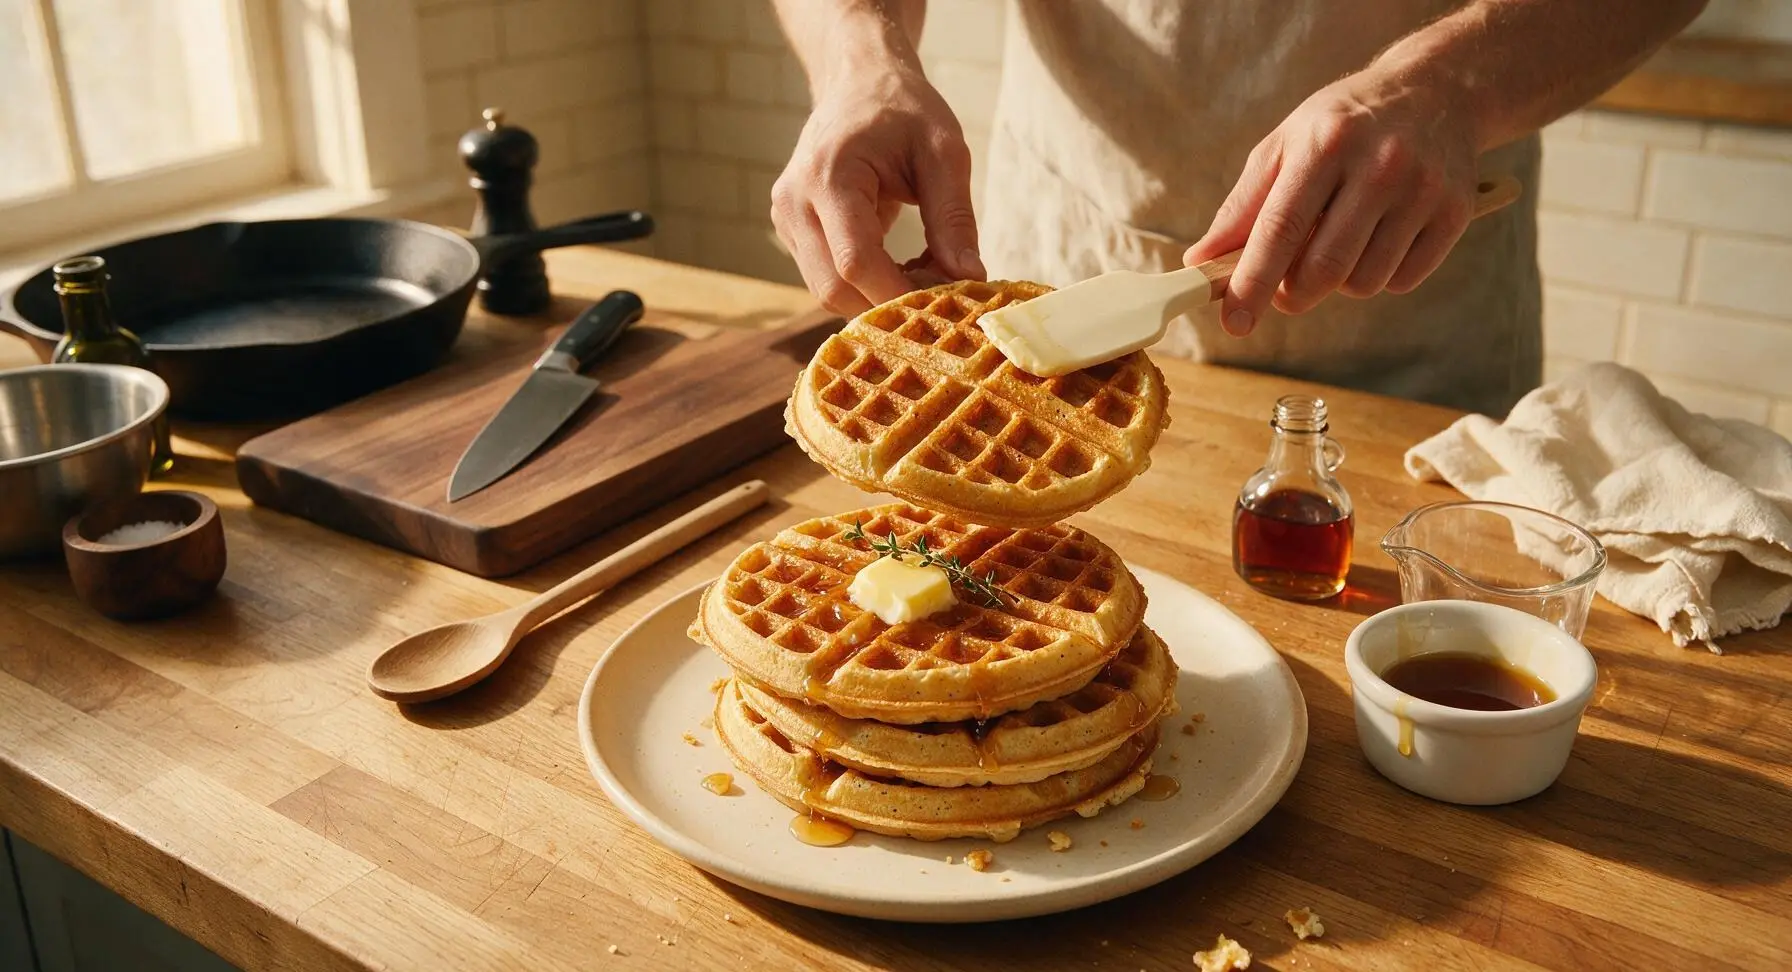
Step 7
step7:Plate And Top Waffles

Tips

1.Resist the urge to overmix your batter: lumps are not a flaw! Overstirring develops gluten in the flour, which results in tough, chewy waffles instead of light, fluffy centers with shatteringly crisp edges. Stop folding as soon as you no longer see large, dry pockets of flour.
2.Never place freshly cooked waffles directly on a plate or stack them immediately. Solid plates trap steam against the waffle’s crisp crust, turning edges soft and soggy in under 60 seconds. A wire rack allows air to circulate around the waffle, preserving crispness until serving.
3.For extra-fluffy, restaurant-style waffles, separate your egg whites before mixing: whip the whites to soft, billowy peaks with a tiny pinch of sugar, then gently fold them into the finished batter. This adds extra air lift for taller, lighter waffles with extra crisp texture, perfect for weekend brunches.


✨ You May Also Like

Breakfast
🍜 United States

Crisp-edged, fluffy lard griddle cakes are a nostalgic homestyle staple, with rich savoriness from rendered lard, perfect topped with maple syrup or savory gravy.

⏱️ 25 minuteBreakfast ★ 4.8
Breakfast
🍜 United States

Flaky, buttery homemade buttermilk biscuits smothered in creamy, peppery pork sausage gravy: a beloved, hearty Southern American comfort food classic.

⏱️ 35 minuteBreakfast ★ 4.8
Breakfast
🍜 United States

Golden, custardy brioche stuffed with sweet cream cheese and fresh berries, pan-fried to crisp perfection. An indulgent, cozy breakfast perfect for slow weekend mornings.

⏱️ 30 minuteBreakfast ★ 4.7
Breakfast
🍜 United States

Flaky, buttery Southern-style biscuits stuffed with savory salty country ham, a portable, satisfying classic perfect for casual on-the-go meals.

⏱️ 25 minuteBreakfast ★ 4.8
Breakfast
🍜 United States

Iconic puffy baked pancake popularized in Seattle, with crisp golden edges and soft custardy center, served warm with classic sweet toppings.

⏱️ 35 minuteBreakfast ★ 4.6
Breakfast
🍜 United States

Fluffy, golden pancakes studded with juicy peak-summer mixed berries, drizzled with maple syrup for a bright, comforting, crowd-pleasing family breakfast.

⏱️ 25 minuteBreakfast ★ 4.7

Waffles :Frequently Asked Questions

1.How long does it actually take to make these waffles from start to finish? ▾
This recipe clocks in at exactly 22 minutes total, as promised: 10 minutes to prep and mix your batter, and 12 minutes total to cook batches on a standard home waffle iron. You won’t need fancy equipment or long batter resting time, so it works equally well for quick weeknight brinner and lazy weekend brunch spreads.
2.Can I use low-fat or non-fat buttermilk instead of whole buttermilk? ▾
You can, but you’ll lose some of that rich, tangy depth and extra crisp edge that whole buttermilk delivers. If you only have low-fat on hand, stir in 1 tablespoon of melted, cooled unsalted butter per cup of low-fat buttermilk to make up for missing fat, and your results will be nearly identical to the original.
3.Why do my waffles come out dense instead of light and fluffy in the center? ▾
Dense waffles almost always come from overmixing the batter, or old baking powder that’s lost its leavening power. Mix dry ingredients first, then fold in wet ingredients just until no large dry all-purpose flour streaks remain—small lumps are totally fine. Double check that your baking powder is less than 6 months old for maximum lift.
4.Do I need to separate the eggs for extra fluffy waffles? ▾
You don’t need to for this classic recipe! The combination of fresh baking powder and acidic whole buttermilk creates enough gentle lift to give you that soft, fluffy tangy center without the extra work of whipping egg whites. Just whisk your large eggs lightly before folding them in to avoid overmixing.
5.How do I know when my waffle iron is hot enough to cook the batter? ▾
Skip the fancy temperature gauges: sprinkle 1 or 2 drops of cold water on the preheated iron surface. If the water beads up, sizzles, and evaporates in 2 to 3 seconds, it’s perfectly preheated. A too-cool iron will lead to pale, stuck, soggy waffles that never develop that signature crisp golden edge.
6.Can I make the batter ahead of time to save time on busy mornings? ▾
You can mix the dry ingredients (all-purpose flour, baking powder, a pinch of salt and sugar if using) and store them in an airtight container at room temp for up to 1 month. Wait to mix in wet ingredients (buttermilk, eggs, melted butter) until right before cooking, since the leavening reaction starts as soon as wet hits dry, and pre-mixed wet batter will go flat.
7.What if I don’t have store-bought buttermilk on hand? ▾
Make a quick DIY substitute that works perfectly for this recipe: for every 1 cup of whole buttermilk needed, pour 1 tablespoon of plain white vinegar or lemon juice into a liquid measuring cup, then top with whole milk to the 1-cup line. Let it sit 5 minutes at room temp until it curdles slightly, then use exactly as you would regular buttermilk.
8.Should I use salted or unsalted butter for this recipe? ▾
Stick with unsalted butter for the most consistent, controllable flavor, as called for in the ingredient list. Salted butter varies widely in salt content between brands, which can throw off the balance of tangy buttermilk and sweet, fluffy waffle base. If you only have salted butter, cut any added salt in the batter by half.
9.How do I keep cooked waffles crispy while I finish making all the batches? ▾
Don’t stack cooked waffles on a plate, which traps steam and makes them soggy! Instead, arrange cooked waffles in a single layer on a wire rack set over a baking sheet, and hold them in a 200°F oven while you cook the rest. This keeps air circulating so they stay crisp on the edges and soft in the center until serving.
10.Can I freeze leftover waffles for quick meals later? ▾
Absolutely! Let cooked waffles cool completely to room temperature, then stack them between small squares of parchment paper to prevent sticking, and store in a sealed freezer bag for up to 3 months. Reheat straight from frozen in a toaster or 350°F oven for 3 to 4 minutes, and they’ll crisp right back up with no sogginess.
11.Why do my waffles stick to the waffle iron even when I grease it? ▾
Sticking usually happens for one of three reasons: your iron isn’t fully preheated, you tried to lift the waffle too early before it set, or you didn’t apply a thin, even layer of grease. Brush the iron grids lightly with melted unsalted butter before the first batch, and wait until steam stops seeping out before lifting the lid.
12.Is there a way to make these waffles with whole wheat flour instead of all-purpose? ▾
You can swap up to half of the all-purpose flour for whole wheat pastry flour without making waffles dense or heavy. I don’t recommend swapping 100% of the AP flour for regular whole wheat flour, as it has too much tough bran that will dry out waffles and mute that bright buttermilk tang you want from the classic recipe.
13.How much batter should I pour per waffle to avoid messy overflow? ▾
For most standard 7-inch home waffle irons, ⅔ to ¾ cup of batter is the perfect amount. Pour it right in the center of the preheated, greased grid, then close the lid gently—don’t press it down hard, which will squeeze out batter and create thin, tough waffles instead of thick, fluffy ones with crisp edges.
14.Do these waffles work well for both sweet and savory toppings? ▾
They absolutely do! The subtle tang from the buttermilk and light, neutral base from unsalted butter and all-purpose flour pairs perfectly with sweet toppings like maple syrup, fresh berries, and whipped cream, or savory toppings like fried chicken, hot honey, or runny fried eggs for a crowd-pleasing brinner spread.
15.My baking powder is a little old—will that ruin the recipe? ▾
Test it first to be sure! Drop ¼ teaspoon of baking powder into a small cup of hot tap water. If it fizzes vigorously right away, it’s still active enough to give your waffles the lift they need. If it barely fizzes or doesn’t react at all, replace it—flat leavening will lead to dense, flat waffles no matter how well you mix.
16.Can I add mix-ins like chocolate chips or blueberries to the batter? ▾
Absolutely! Fold up to ½ cup of your favorite mix-ins into the finished batter right before cooking, so they don’t sink to the bottom or bleed too much color. Toss fruit or chocolate chips in a tiny pinch of all-purpose flour first to help them stay evenly suspended through the fluffy waffle center instead of sinking.
17.I thought most buttermilk recipes use baking soda—why does this one call for baking powder? ▾
Baking powder gives more consistent, reliable lift for waffles, since it contains both an acid and a base to react throughout mixing and cooking. The tangy whole buttermilk adds extra acid to activate the baking powder, creating a higher, fluffier rise without the soapy aftertaste you can get from using too much baking soda.

Comments (3)

5 days ago

OMG these waffles are SO good! I made them for Sunday brunch last weekend and my picky 7-year-old asked for seconds, then thirds! I was worried they'd get soggy because every other buttermilk waffle recipe I try turns mushy 2 minutes off the iron, but these stayed perfectly crispy the whole time we were eating. Total game changer for our weekend breakfast rotation.

2 days ago

Wait did you do anything special to keep them crispy? I’m making these for a neighborhood potluck next Saturday and don’t want them to get limp before everyone serves up!

yesterday

So glad your family loved the waffles! For potlucks, skip stacking waffles on a plate — set them on a wire rack over a baking sheet in a 200°F oven to hold them, and they’ll stay crispy for hours. Enjoy the potluck!

3 days ago

Such an easy, reliable recipe! Cook time is exactly 12 minutes per batch like it says, which was perfect for my Sunday meal prep. I made a double batch, stashed the extras in the freezer, and they toast up perfectly in the toaster all week for quick weekday breakfasts. No weird fancy ingredients required either — I only had to run to the store for buttermilk, everything else was already in my pantry. My roommate stole two of them yesterday and already texted me asking for the recipe, haha.

2 days ago

Love that you’re using these for meal prep! Quick pro tip: slip small squares of parchment paper between frozen waffles before you seal the freezer bag, so they don’t stick together when you grab one on busy mornings.

2 hours ago

Tried these this morning before my commute and wow, way easier than I expected! I was running late so I totally skipped separating the egg whites (I know, I know, the recipe says to) and they still came out crispy on the outside, fluffy on the inside. Drizzled with a little maple syrup and paired with crispy bacon, absolute chef’s kiss. I’m gonna follow the recipe to the letter next weekend when I don’t have to rush out the door to see if they’re even better!



