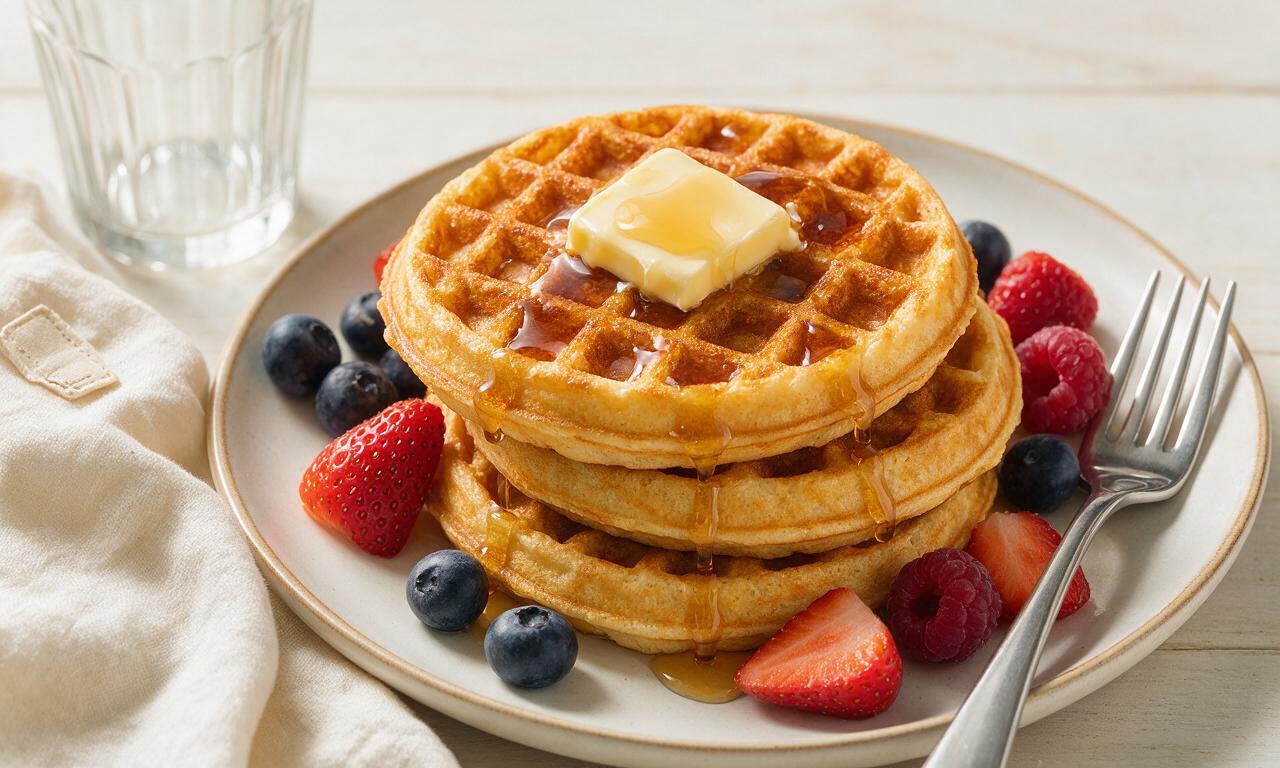
Waffles

Waffles
⏱️ cook time 25 minutes
🍽️ servings 4
⚡ Difficulty easy

intro

Crisp on the outside, light and fluffy inside, these classic diner-style buttermilk waffles pair perfectly with maple syrup, butter, and fresh fruit.

Ingredients

All-purpose flour 2 cups (240g)
Buttermilk 2 cups (480ml)
Granulated sugar 2 tablespoons (25g)
Baking powder 1 tablespoon (12g)
Baking soda 1/2 teaspoon (3g)
Fine sea salt 1 teaspoon (5g)
Large eggs 2, separated into yolks and whites
Unsalted butter, melted and slightly cooled 6 tablespoons (85g)
Pure vanilla extract 1 teaspoon (5ml)

Steps

1

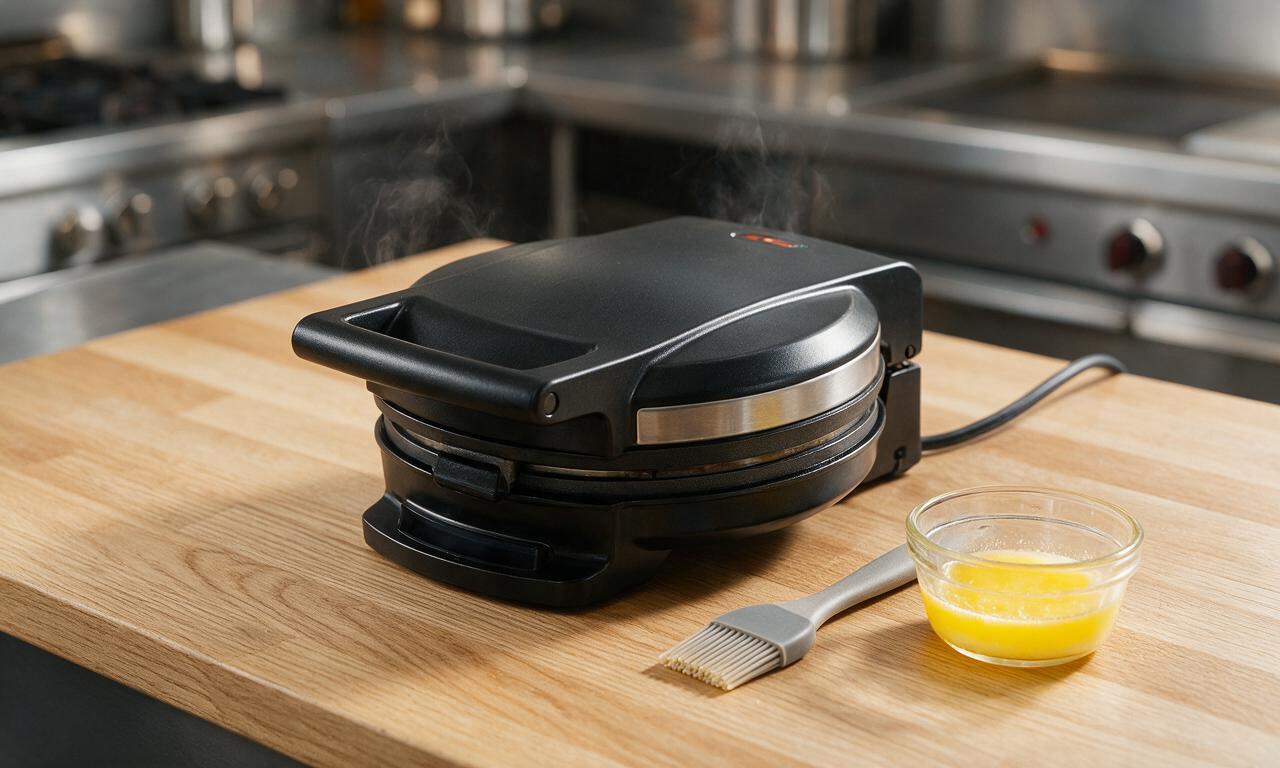
Preheat waffle iron

Plug in your standard 7-inch waffle iron and preheat it to medium-high heat (375°F / 190°C). Lightly coat the grid surfaces with non-stick cooking spray or a thin layer of melted butter using a pastry brush to prevent sticking. Preheating takes 3-5 minutes, until the iron’s built-in ready indicator light illuminates.
Step 1
step1:Preheat waffle iron
2

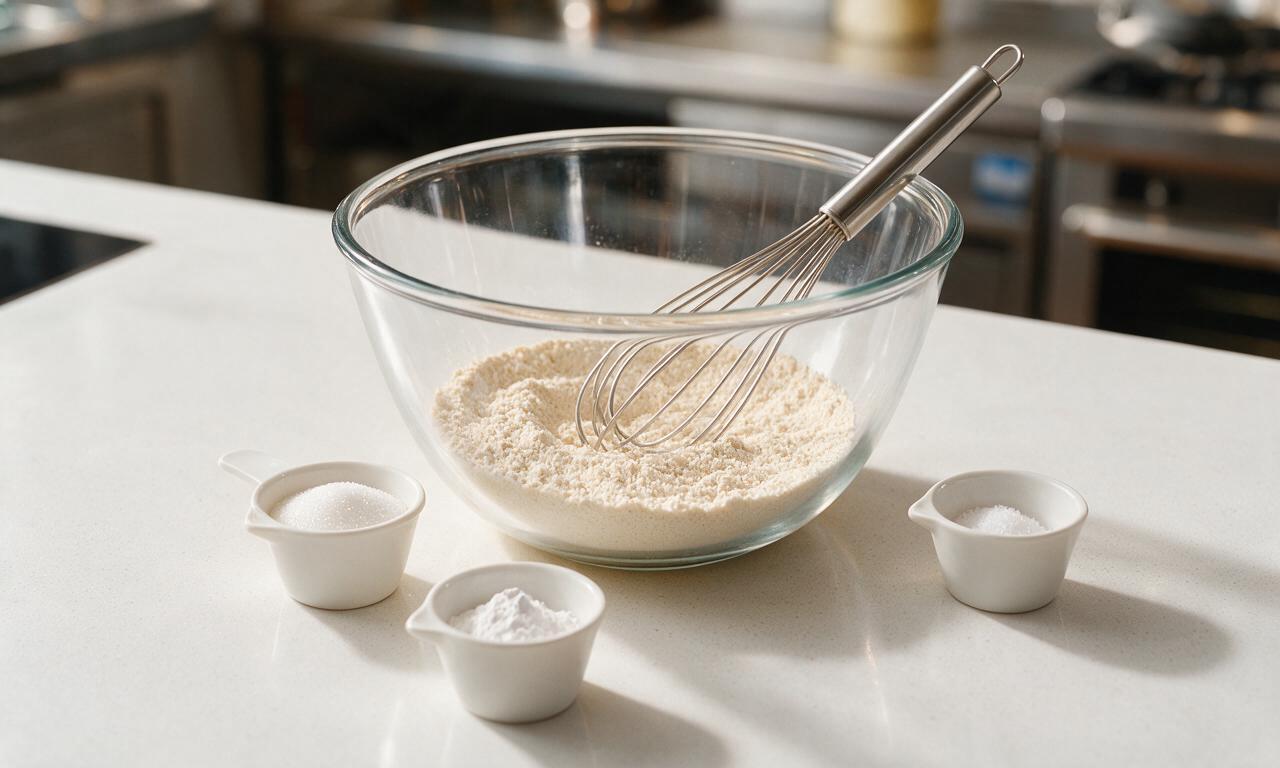
Whisk dry ingredients

In a large 3-quart mixing bowl, combine 2 cups (240g) all-purpose flour, 2 tablespoons (25g) granulated sugar, 1 tablespoon (12g) baking powder, 1/2 teaspoon (3g) baking soda, and 1 teaspoon (5g) fine sea salt. Whisk vigorously for 30 seconds until all dry ingredients are evenly distributed, with no concentrated clumps of leavening remaining.
Step 2
step2:Whisk dry ingredients
3

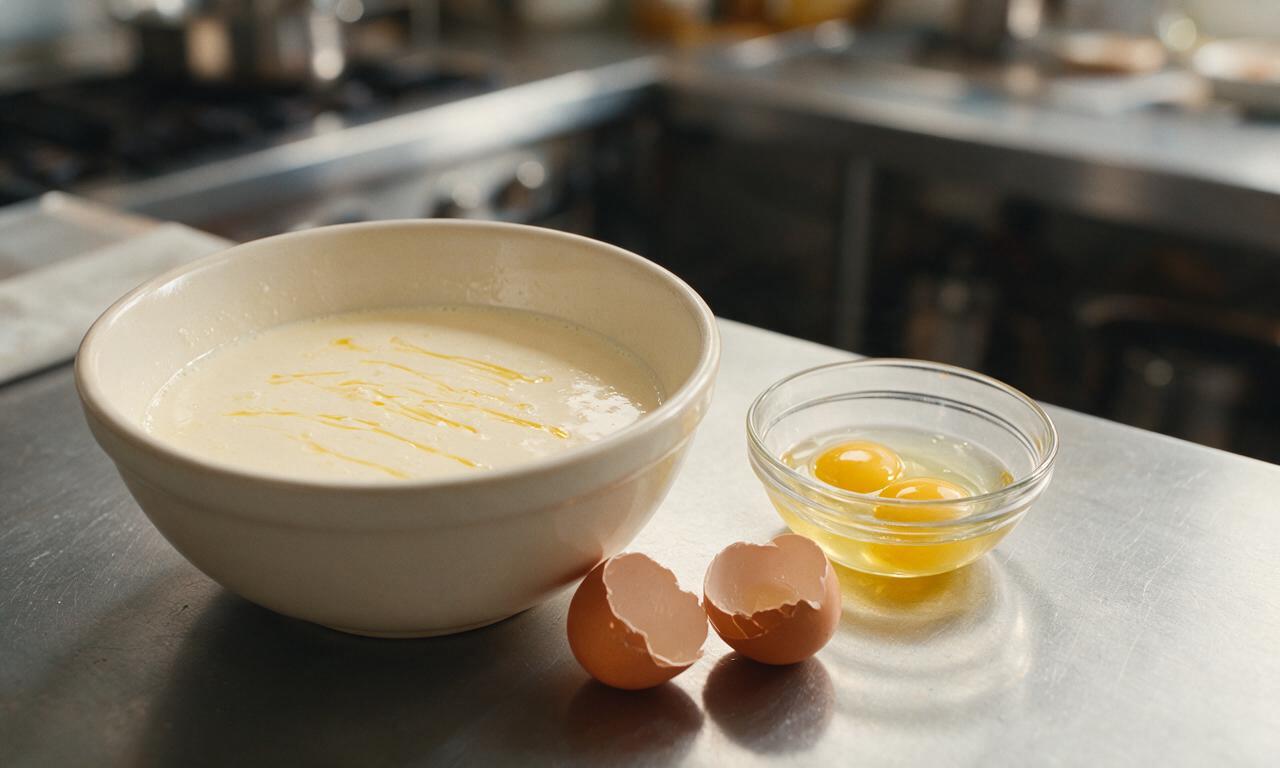
Mix wet base

In a separate medium 1.5-quart bowl, whisk together 2 cups (480ml) cold buttermilk, 2 large egg yolks (reserve the whites in a small, completely clean dry bowl), 6 tablespoons (85g) slightly cooled melted unsalted butter, and 1 teaspoon (5ml) vanilla extract until fully smooth, about 20 seconds of gentle mixing. Avoid over-whisking to prevent incorporating excess air at this stage.
Step 3
step3:Mix wet base
4

Whip egg whites

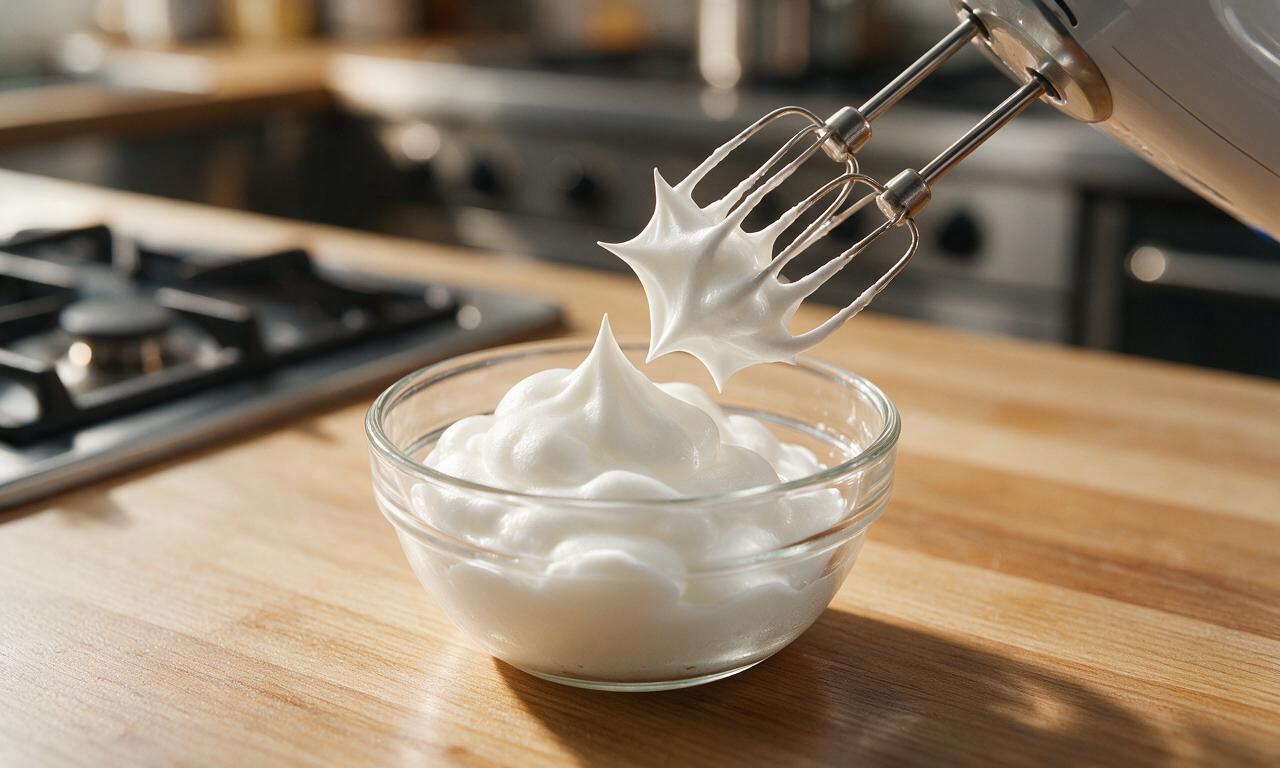
Using a clean hand whisk or electric hand mixer on medium speed, beat the reserved 2 egg whites for 1-2 minutes until they form stiff, glossy peaks that hold their sharp shape when the whisk or beater is lifted straight up. Do not overbeat to the point of dry, crumbly peaks, as this will create dense, uneven spots in the finished waffles.
Step 4
step4:Whip egg whites
5

Fold waffle batter

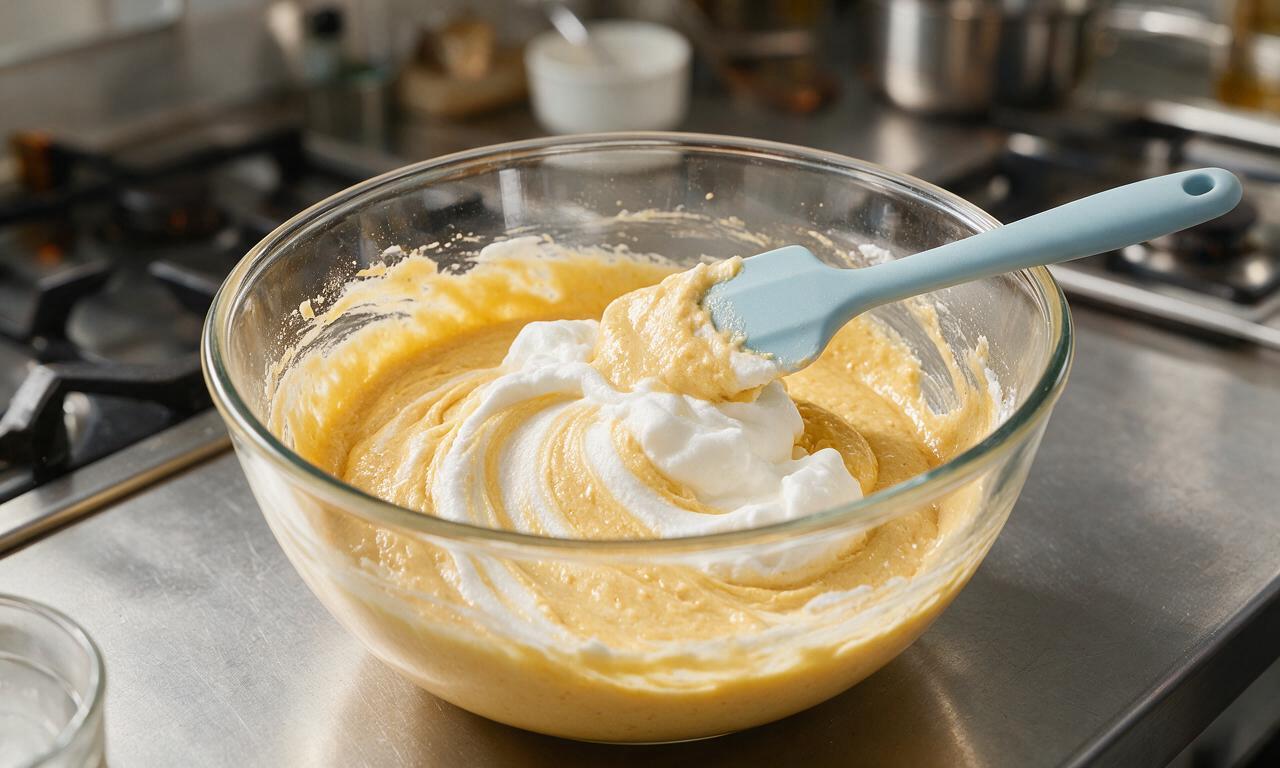
Pour the wet buttermilk mixture into the large bowl of dry ingredients, and stir with a flexible silicone spatula just until no large dry flour streaks remain—small lumps in the batter are expected and desirable, as over-stirring creates tough waffles. Gently fold the whipped egg whites into the batter in 2 equal additions, taking 30 seconds total to fold, to preserve the light, airy structure from the whipped whites.
Step 5
step5:Fold waffle batter
6

Cook waffles fully

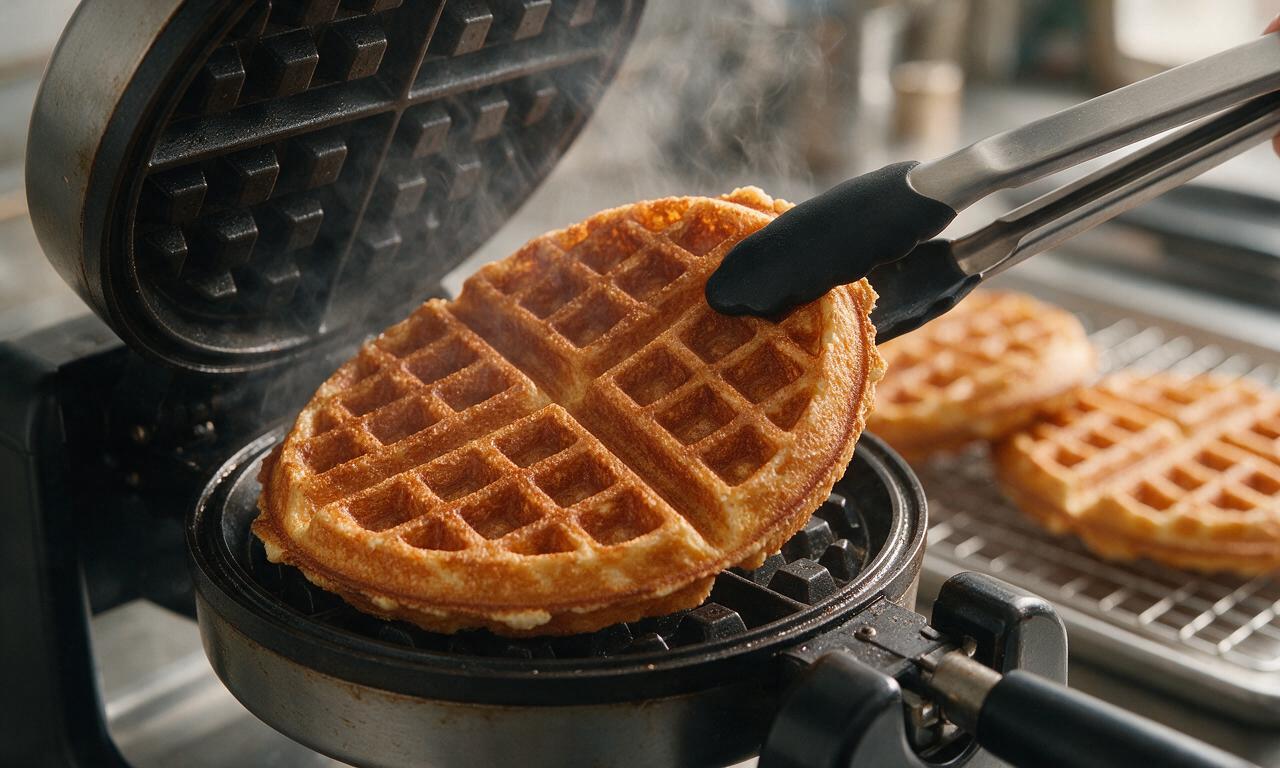
Pour 3/4 cup (180ml) of batter onto the exact center of the preheated waffle iron grid, close the lid, and cook for 3-4 minutes per waffle, until deep golden brown and crisp on the outside, and no more steady steam escapes from the iron edges. Do not open the lid for the first 2 minutes of cooking, as this can cause the waffle to split and stick. Transfer cooked waffles to a wire rack set over a baking sheet in a 200°F (95°C) oven to stay crisp and warm while cooking the remaining 3 waffles.
Step 6
step6:Cook waffles fully

Tips

1.Never stack cooked waffles directly on a plate while waiting to serve, as trapped steam will quickly turn crisp waffles soft and soggy. A wire rack allows air to circulate around each waffle to maintain crunch.
2.If you do not have buttermilk on hand, make a quick substitute by stirring 2 tablespoons (30ml) of white vinegar or fresh lemon juice into 2 cups (480ml) of regular whole milk, then let it rest for 5 minutes at room temperature until slightly curdled before use.
3.Add mix-ins like 1/2 cup (85g) semi-sweet chocolate chips, fresh blueberries, or chopped toasted pecans to the batter right before folding in the egg whites to avoid sinking or discoloring the batter.
✨ You May Also Like

Breakfast
🍜 United States

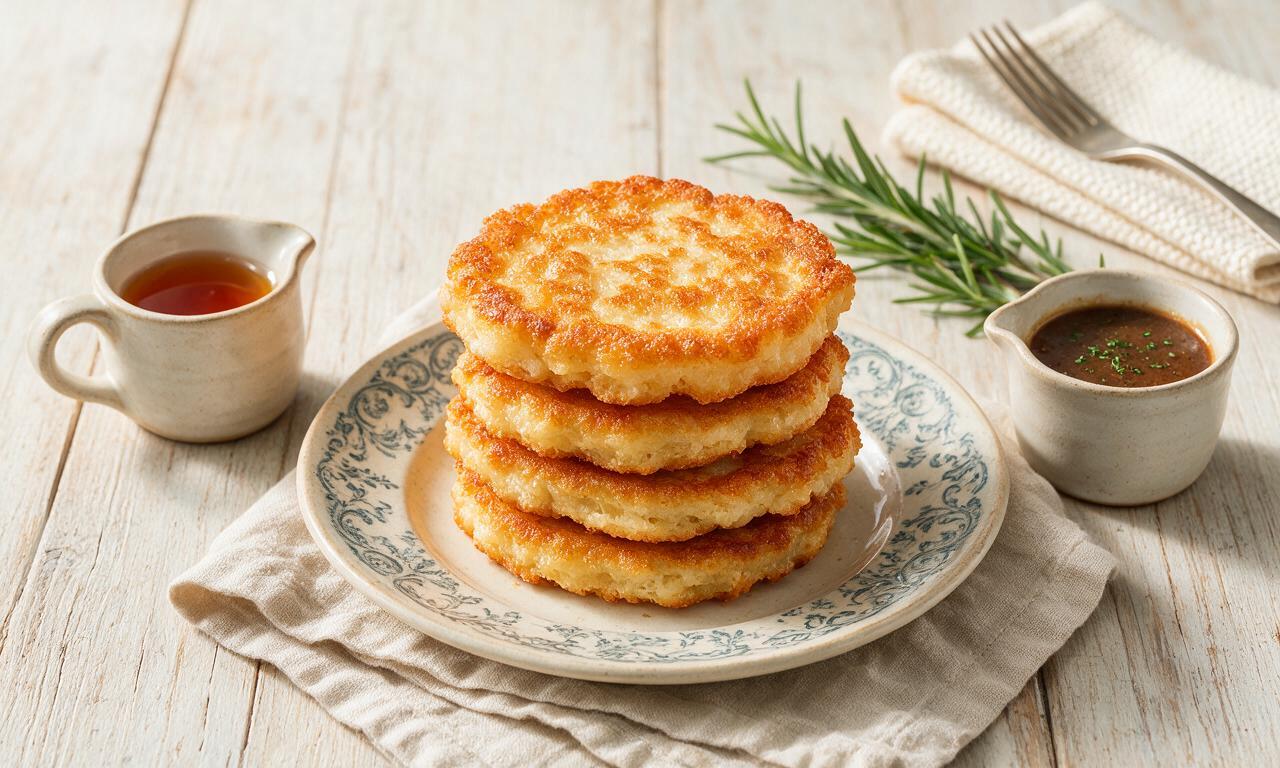
Crisp-edged, fluffy lard griddle cakes are a nostalgic homestyle staple, with rich savoriness from rendered lard, perfect topped with maple syrup or savory gravy.

⏱️ 25 minuteBreakfast ★ 4.9
Breakfast
🍜 United States

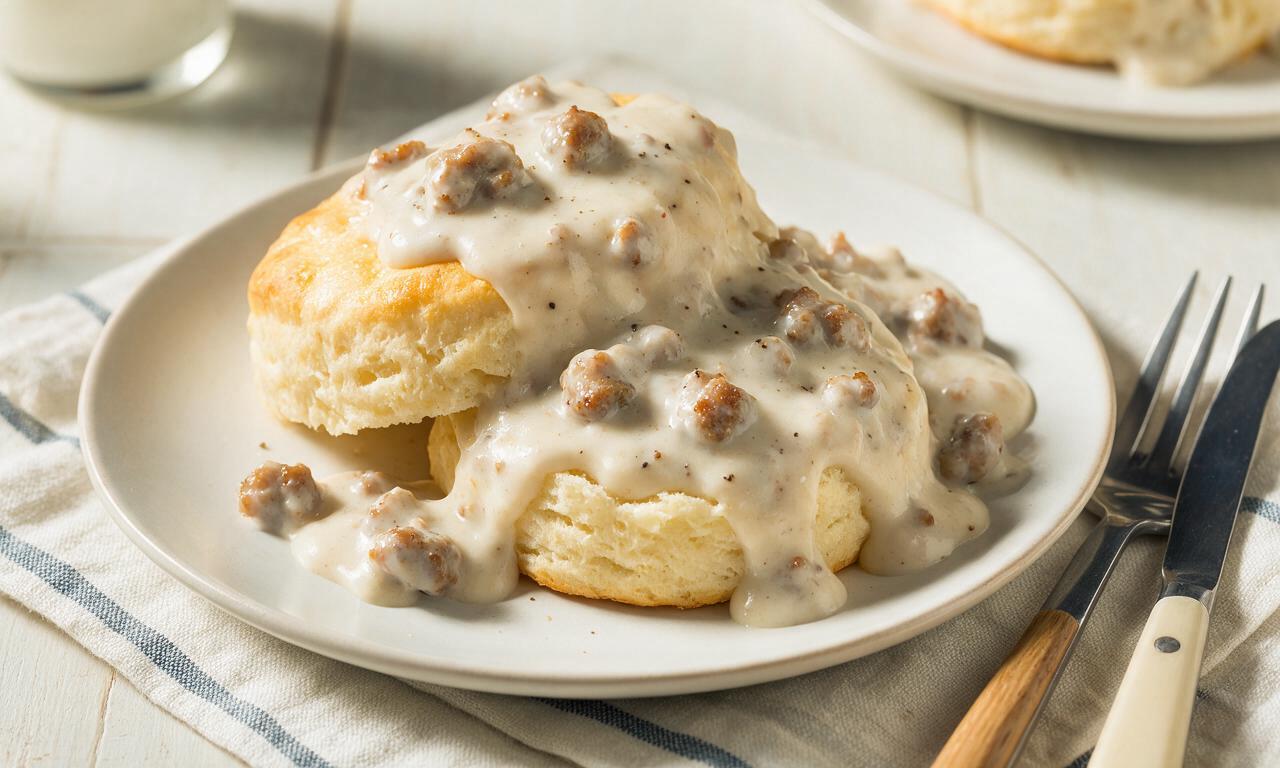
Flaky, buttery homemade buttermilk biscuits smothered in creamy, peppery pork sausage gravy: a beloved, hearty Southern American comfort food classic.

⏱️ 35 minuteBreakfast ★ 5
Breakfast
🍜 United States

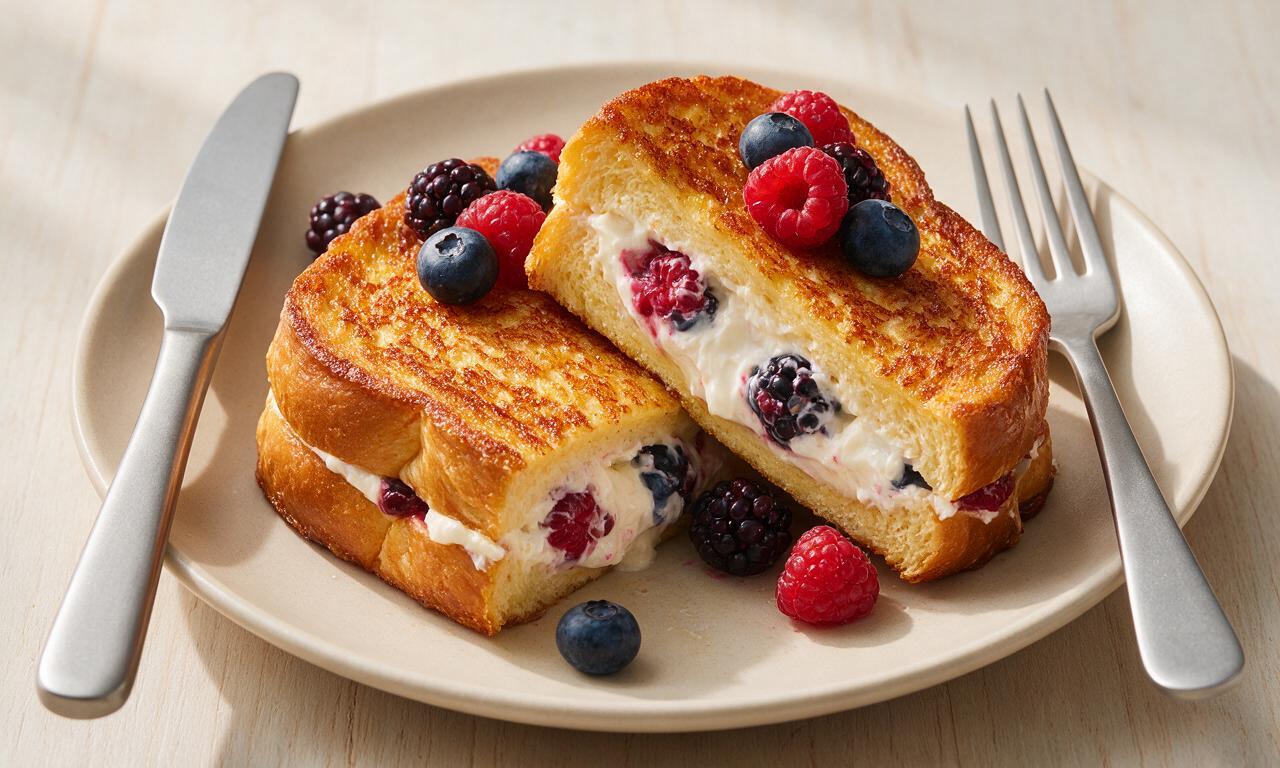
Golden, custardy brioche stuffed with sweet cream cheese and fresh berries, pan-fried to crisp perfection. An indulgent, cozy breakfast perfect for slow weekend mornings.

⏱️ 30 minuteBreakfast ★ 4.7
Breakfast
🍜 United States

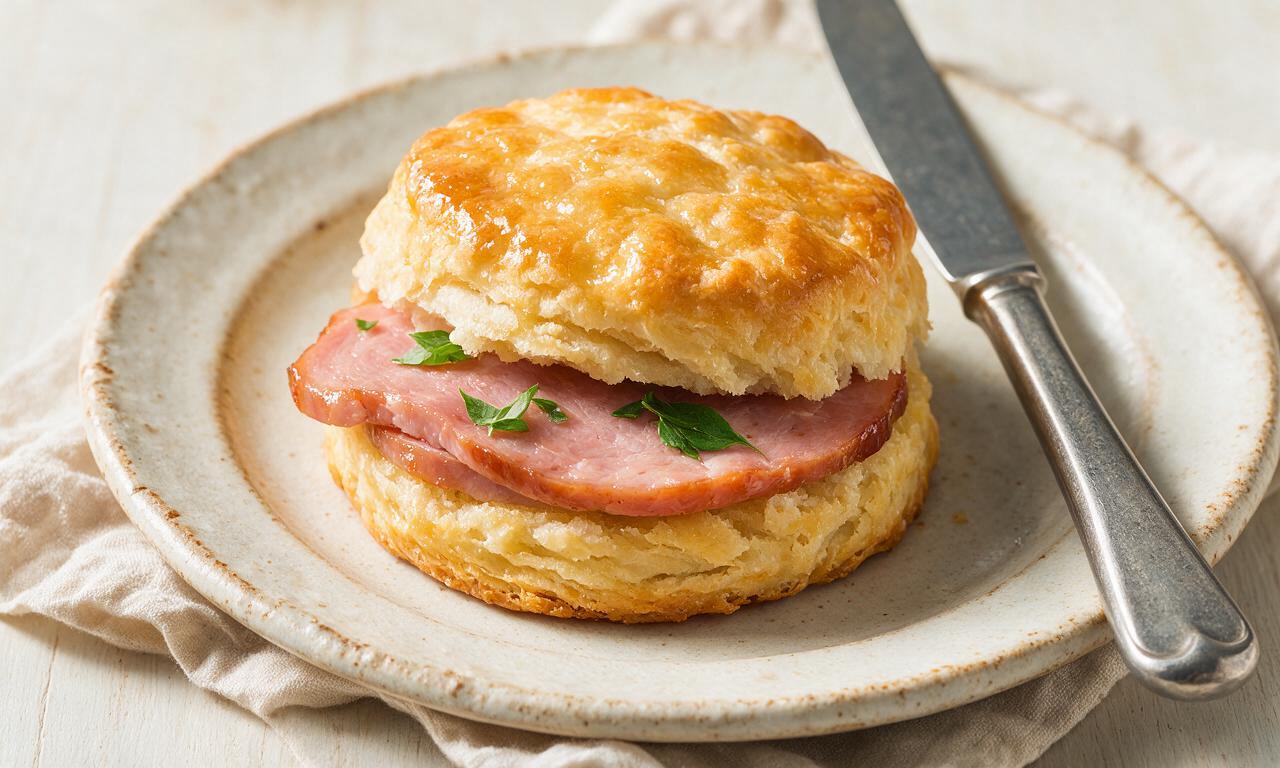
Flaky, buttery Southern-style biscuits stuffed with savory salty country ham, a portable, satisfying classic perfect for casual on-the-go meals.

⏱️ 25 minuteBreakfast ★ 4.8
Breakfast
🍜 United States

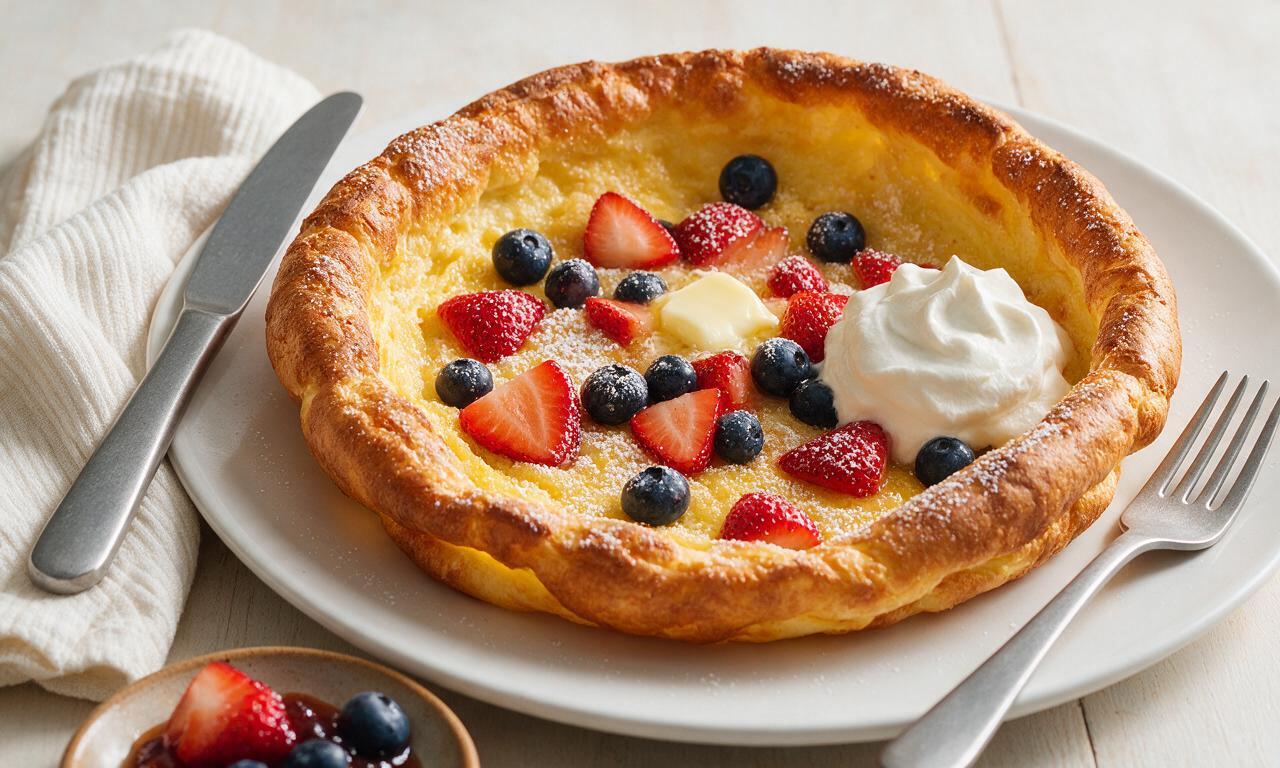
Iconic puffy baked pancake popularized in Seattle, with crisp golden edges and soft custardy center, served warm with classic sweet toppings.

⏱️ 35 minuteBreakfast ★ 4.6
Breakfast
🍜 United States

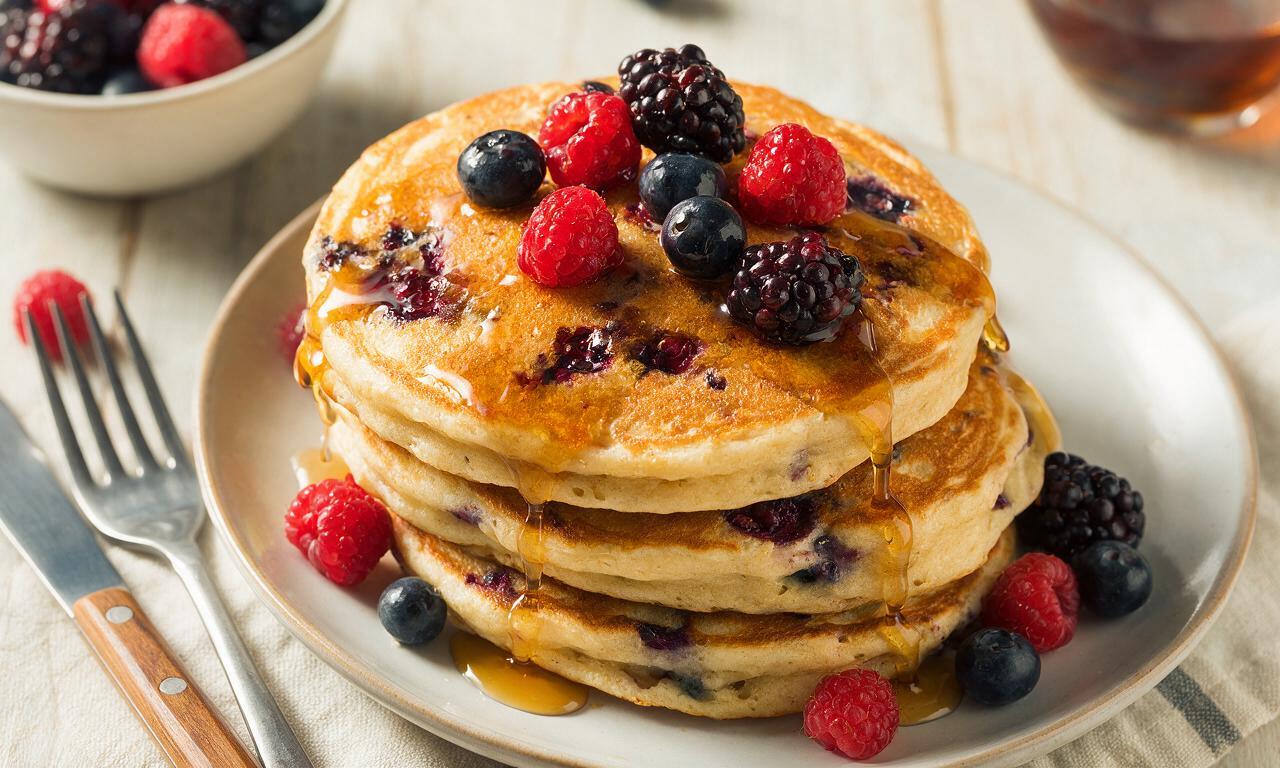
Fluffy, golden pancakes studded with juicy peak-summer mixed berries, drizzled with maple syrup for a bright, comforting, crowd-pleasing family breakfast.

⏱️ 25 minuteBreakfast ★ 4.8

Waffles:Frequently Asked Questions

1.Why aren’t my waffles getting that signature crispy outer layer?
Great question! The most common culprits are a not-fully-preheated waffle iron, overmixed batter, or opening the iron too soon. Let your iron preheat to 375°F fully, leave small lumps in your batter instead of stirring it smooth, and wait until steam stops billowing out (3-4 minutes per waffle) before lifting the lid.
2.Can I substitute regular milk for buttermilk if I don’t have it on hand?
Absolutely! For every 1 cup of buttermilk the recipe calls for, add 1 tablespoon of white vinegar or lemon juice to a liquid measuring cup, then top with whole regular milk to the 1-cup line. Let it sit 5 minutes until it curdles slightly, and it will work exactly like cultured buttermilk for that tangy flavor and fluffy lift.
3.How do I keep my waffles light and fluffy instead of dense and heavy?
The top trick is to avoid overmixing your batter, and confirm your leaveners are fresh! Stir wet and dry ingredients only until just combined—small, floury lumps are totally fine, as overworking the flour’s gluten will make waffles tough. Replace baking soda or powder open longer than 6 months for maximum, even rise.
4.Can I make this batter ahead of time for busy weekend mornings?
You can pre-mix and store the dry ingredients in an airtight container for up to a month for quick prep, but avoid mixing wet ingredients and leavening into the batter until right before cooking. Pre-mixed wet batter will lose its leavening power in the fridge overnight, leading to flat, dense waffles instead of fluffy ones.
5.Why does the recipe use both baking powder and baking soda?
Great catch! The two leaveners work as a team here. Baking soda reacts immediately with acidic buttermilk to create fast lift for a tender, fluffy interior, while double-acting baking powder creates extra rise both when mixing and on the hot iron, for tall waffles with crisp, golden edges.
6.How do I keep cooked waffles crispy while I finish making a full batch?
Skip stacking waffles on a paper-towel-lined plate—that traps steam and turns them soggy fast. Instead, set cooked waffles in a single layer on a wire rack set over a baking sheet, and hold them in a 200°F oven while you cook the rest to let air circulate and keep crusts crisp.
7.Do I need to grease my waffle iron even if it has a non-stick coating?
It’s always a smart move, even with high-quality non-stick surfaces! A light coating of melted butter (skip cooking spray, which leaves a sticky, hard-to-clean residue on iron plates over time) applied with a pastry brush before adding batter gives an extra crisp crust and prevents sticking in grid crevices.
8.Can I freeze leftover waffles for quick weekday breakfasts?
Absolutely! Let cooked waffles cool completely to room temperature first, then stack them between small squares of parchment paper to prevent sticking, and store in a sealed freezer bag for up to 3 months. Reheat straight from frozen in a toaster for 2-3 minutes, and they’ll crisp right back up like fresh.
9.Can I cut back on the granulated sugar to make less sweet waffles?
The small amount of sugar in this recipe isn’t just for sweetness! It helps the exterior caramelize to that perfect golden crisp on the hot iron, and balances the bright tang of buttermilk. You can cut it by half for a less sweet waffle, but don’t omit it entirely or you’ll lose that signature crisp crust.
10.Why did my waffles stick to the iron and tear when I tried to remove them?
This almost always traces back to one of three easy fixes: your iron wasn’t fully preheated, you skipped the light layer of greasing, or you tried to open the iron too early. If the lid tugs when you lift it, close it and cook 30-60 seconds longer—waffles release cleanly on their own once their exterior is fully crisp and set.

Comments (9)

2 hours ago

OMG these waffles are a total game changer for our Saturday breakfasts! My three kids devoured a whole batch in 10 minutes flat, no syrup even needed because the buttermilk flavor is so perfect. Crispy on the outside, fluffy as a cloud inside—exactly what I’ve been trying to nail for years. So easy too, I didn’t even need a fancy mixer!

5 days ago

Made a double batch of these for meal prep this week and they freeze SO well! Pop one in the toaster straight from the freezer on busy weekday mornings and it tastes just as fresh as the day I made it. Way better than the frozen grocery store waffles I used to buy, and way cheaper too. 10/10 will be a staple in our house.

yesterday

Brought these to our neighborhood potluck brunch last weekend and everyone was begging for the recipe! I set out a little toppings bar with fresh berries, whipped cream, chocolate chips, and maple syrup, and people went back for seconds and thirds. So easy to throw together even when you’re running late to an event, they turn out perfect every single time.

30 minutes ago

Made these for the first time this morning and they were really good! Crispy edges, nice tang. Quick question though—do I need to separate the egg whites and whip them for this recipe? I’ve seen some buttermilk waffle recipes that say that’s required for next-level fluff, but I’m super lazy on weekend mornings lmao, so I skipped that step. Wondering if that’s why mine were just a little less fluffy than the photos look?

5 minutes ago

Great question! No need to separate egg whites for this recipe— the combination of buttermilk and a little baking soda gives you that perfect fluffy texture without the extra work. Just mix the wet and dry ingredients until just combined (lumps are totally okay!) and you’re good to go. If yours were a little less fluffy, you might have overmixed the batter, which can deflate the leavening!

1 week ago

These are SO good but I accidentally used regular milk instead of buttermilk the first time and they were a little flat. Oops! Still tasted great, though, just not as tall and crispy as the photos look.

5 days ago

Pro tip if you don’t have buttermilk! Add a tablespoon of white vinegar or lemon juice to a cup of regular milk, let it sit 5 minutes, and it works exactly the same. I do this all the time when I forget to pick up buttermilk from the store!

2 days ago

Just tested this recipe with my go-to 1:1 gluten free flour blend and it worked perfectly! My husband who has celiac said these are the best gluten free waffles he’s ever had. Quick question though—can I substitute the melted butter for coconut oil?

2 days ago

So glad the gluten free flour swap worked for you! Yes, you can absolutely swap melted butter for refined coconut oil in equal measure if you prefer— it’ll give a subtle coconut flavor if you use unrefined, which is actually delicious with fresh mango and lime zest as a topping!

3 days ago

Bro I made these in my tiny dorm waffle maker last night after my late study session and they slapped. I didn’t even have buttermilk so I used that milk + vinegar trick someone mentioned earlier and it worked like a charm. 10/10, way better than the dining hall waffles.

2 days ago

Wait how messy is the batter? I have the tiniest $10 waffle maker from Target and I’m scared it’ll overflow all over my desk lol

2 days ago

So glad these worked out for dorm cooking! Pro tip to avoid overflow: only fill the waffle iron about ⅔ full, and let the batter sit for 2-3 minutes after mixing to let the leavening activate a little before pouring. No messy desk required!

2 weeks ago

Honey, I’ve been making buttermilk waffles for 40 years and this recipe is the best one I’ve ever tried. That little pinch of cinnamon in the dry mix? *Chef’s kiss.* My grandkids request these every time they come to visit, and I don’t blame them one bit. Crispy edges, soft center, perfect tang from the buttermilk.

1 week ago

Wait can you leave the cinnamon out? I can’t stand cinnamon in my breakfast food, it ruins it for me. Hoping this recipe still works without it!

5 days ago

What a sweet compliment, thank you so much! You can absolutely leave the cinnamon out if it’s not your vibe— the recipe will still turn out perfectly crispy and fluffy, no adjustments needed. You could even swap in a little nutmeg or vanilla bean paste if you want a different warm flavor note!

5 minutes ago

Made these this morning with whole wheat pastry flour, added a scoop of vanilla protein powder, and they were still so fluffy and crispy! I topped mine with Greek yogurt, blueberries, and a drizzle of peanut butter for a high protein post-workout breakfast. Absolute win.

just now

Wait how much protein powder did you add? I’ve tried adding protein to waffle recipes before and they always come out super dense and rubbery. Would love to nail a high protein version!

just now

I only added 1/4 cup of unflavored whey protein, and made sure to add an extra splash of buttermilk to keep the batter the right thickness! If you add too much protein it definitely gets rubbery, so less is more here.