
waffles and mochi
intro
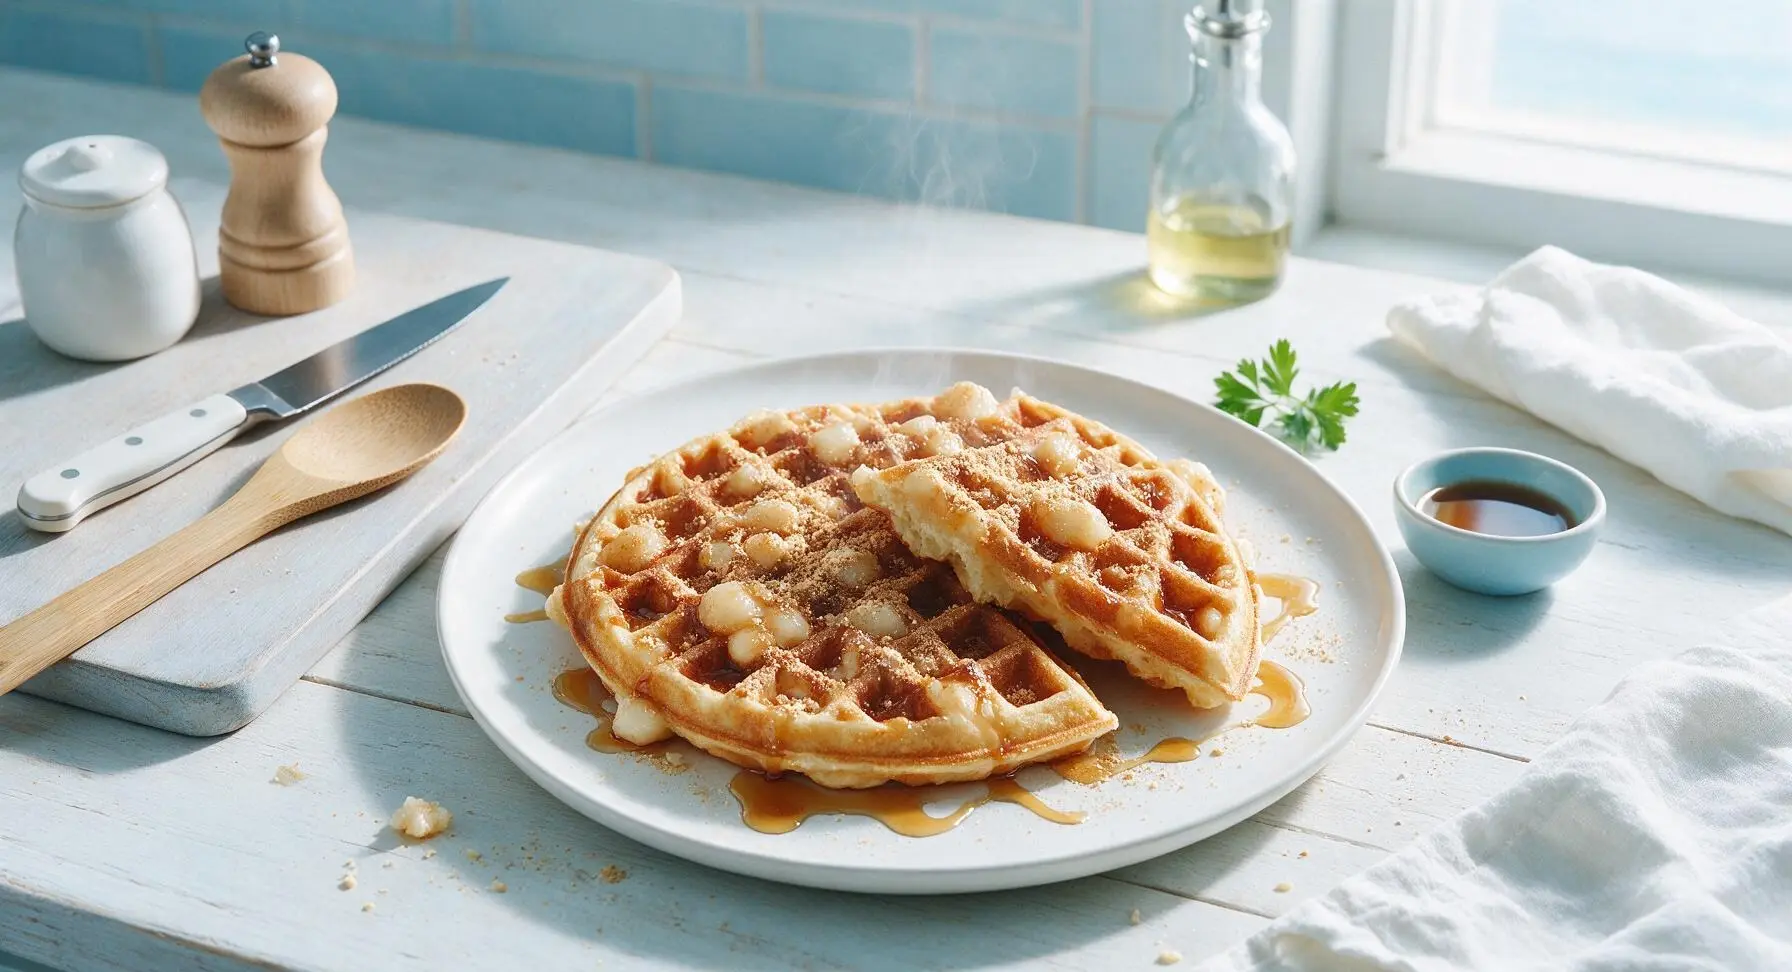
Crisp-edged, fluffy buttermilk waffles studded with gooey chewy mochi bits, dusted with nutty kinako and drizzled with maple syrup: a cozy textural dream for cold days.
Ingredients
Steps
Cut Mochi into Cubes
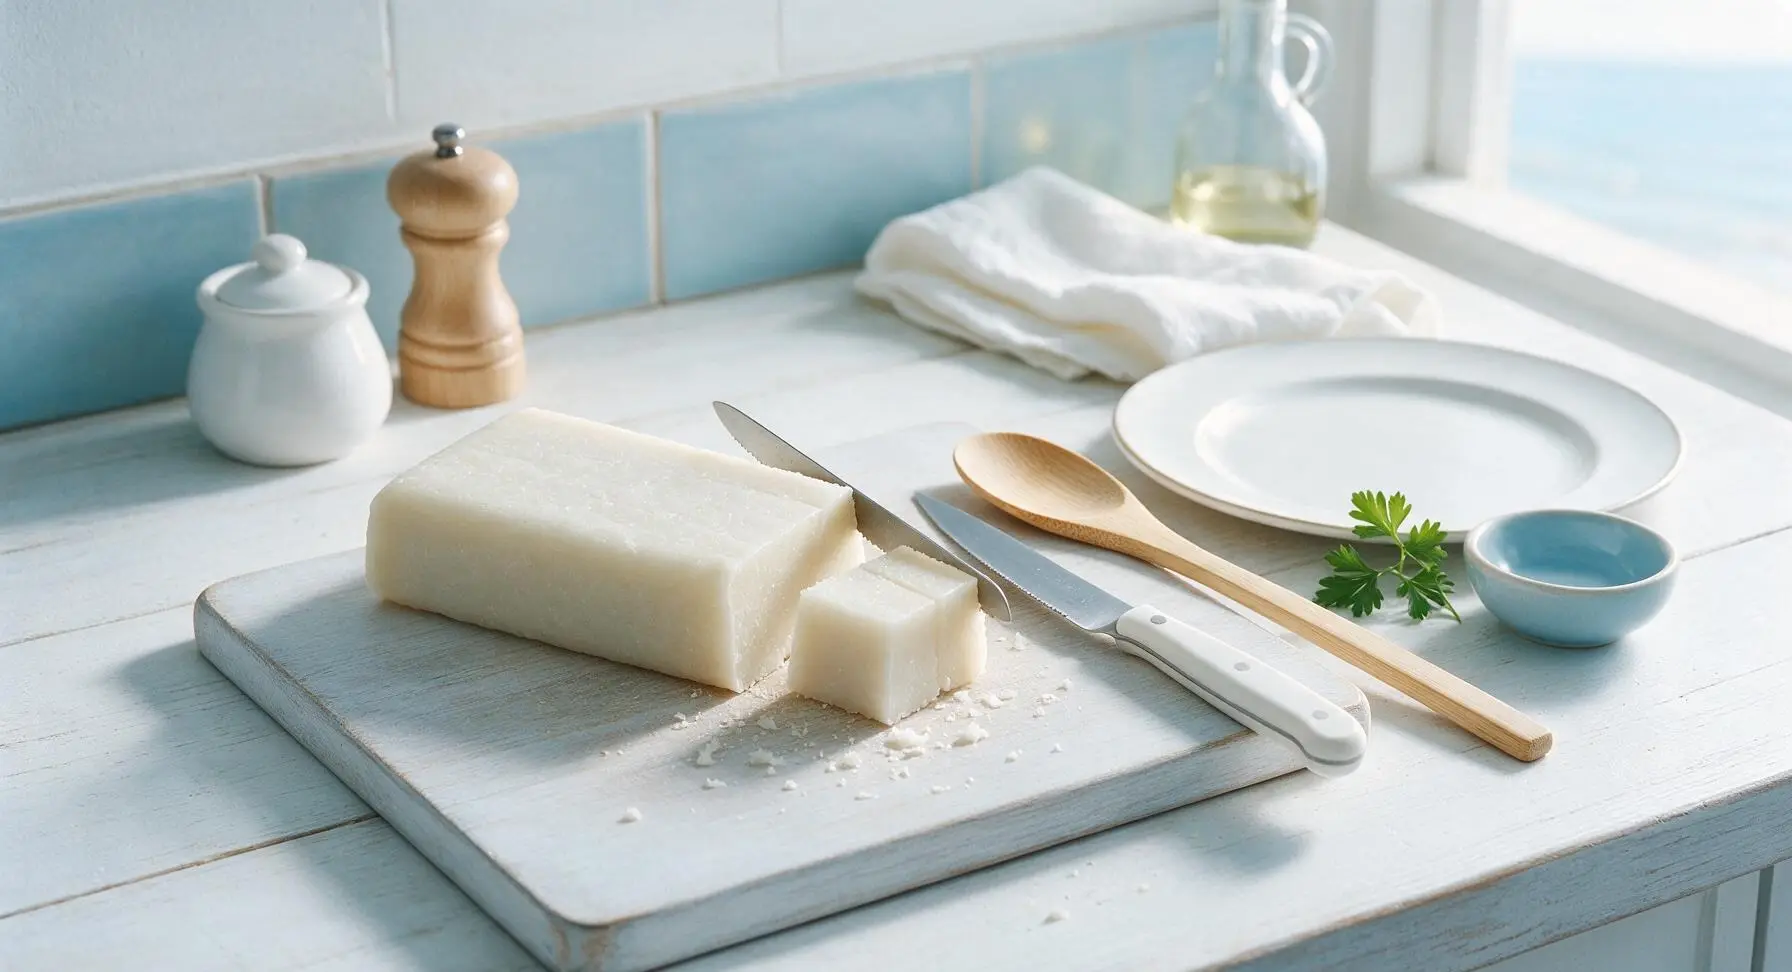
Place the 100g block of dried kirimochi on the light oak cutting board. Use the small serrated utility knife to cut the firm mochi into uniform 1cm (3/8 inch) cubes. Set cut cubes aside in the small matte cream ceramic pinch bowl. Apply steady, even pressure when cutting: dried mochi is firm at room temperature, and cutting too quickly may cause the block to slip. Do not cut mochi larger than 1cm, as it will expand during cooking and leak out of the waffle iron.
Preheat Waffle Iron
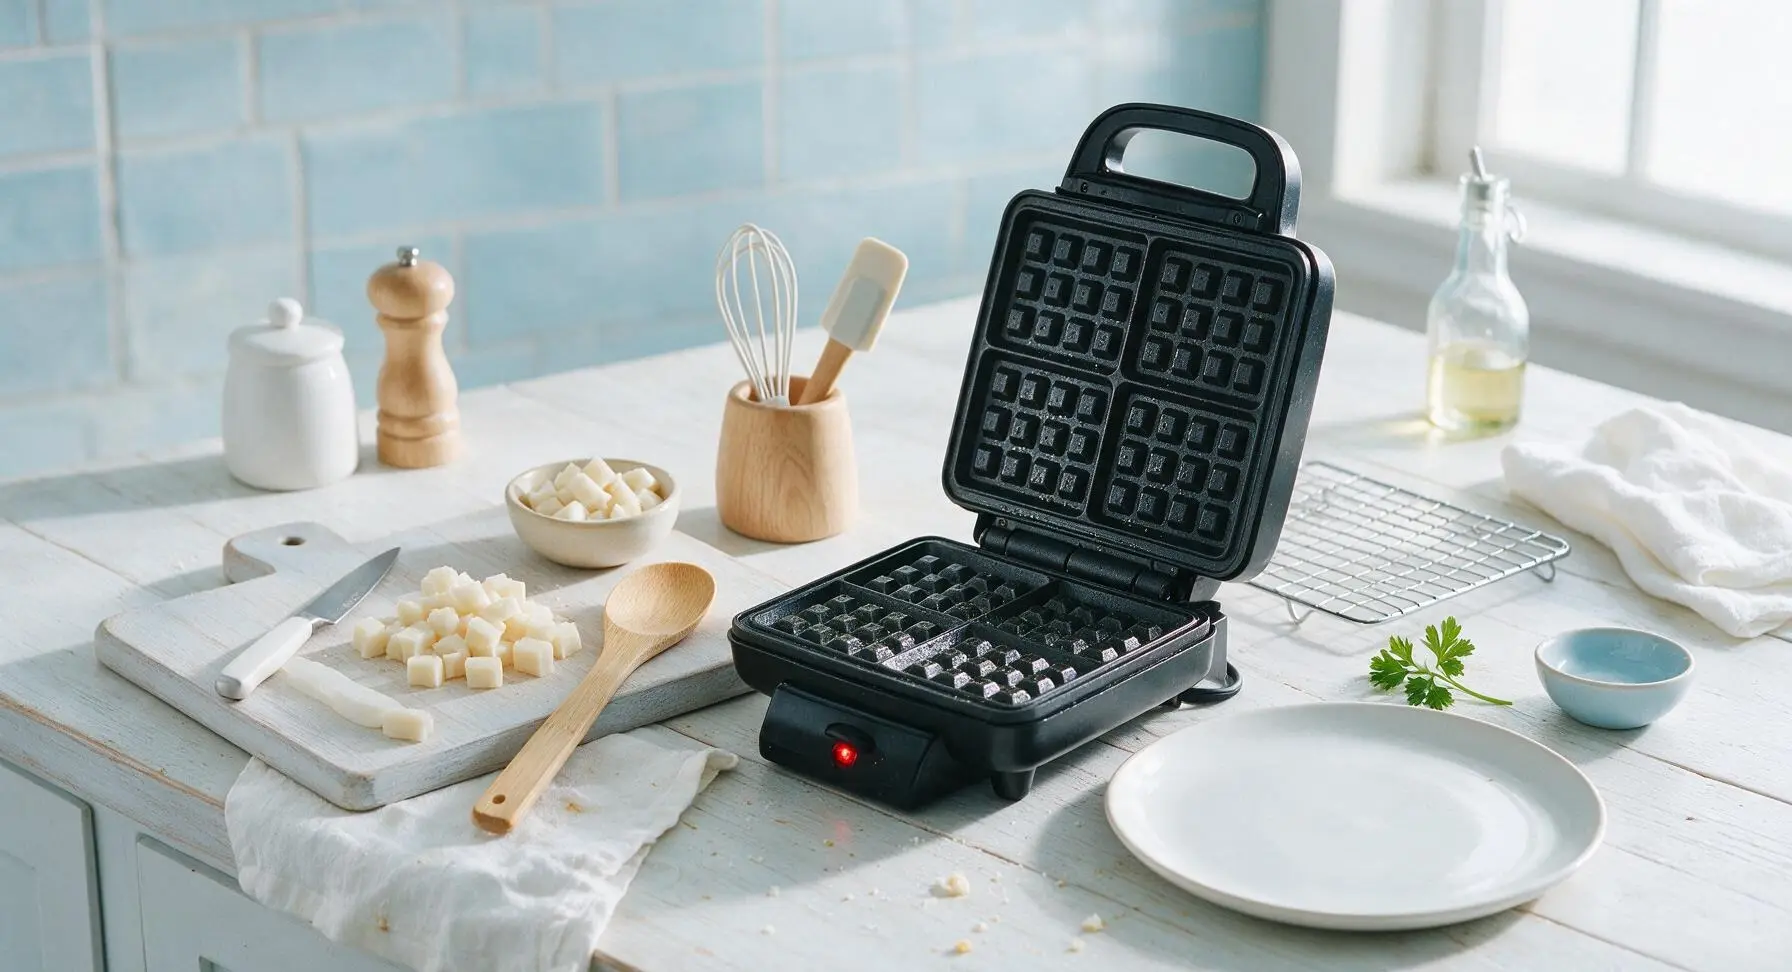
Place the matte black waffle iron in its fixed center-right counter position. Plug it in and preheat to medium-high (190C / 375F). Once the iron’s indicator light shows it is fully heated, lightly coat the grid plates with 1 tsp neutral non-stick cooking spray. Wait 30 seconds after spraying before adding batter to prevent oil from burning and sticking to waffles.
Whisk Dry Ingredients
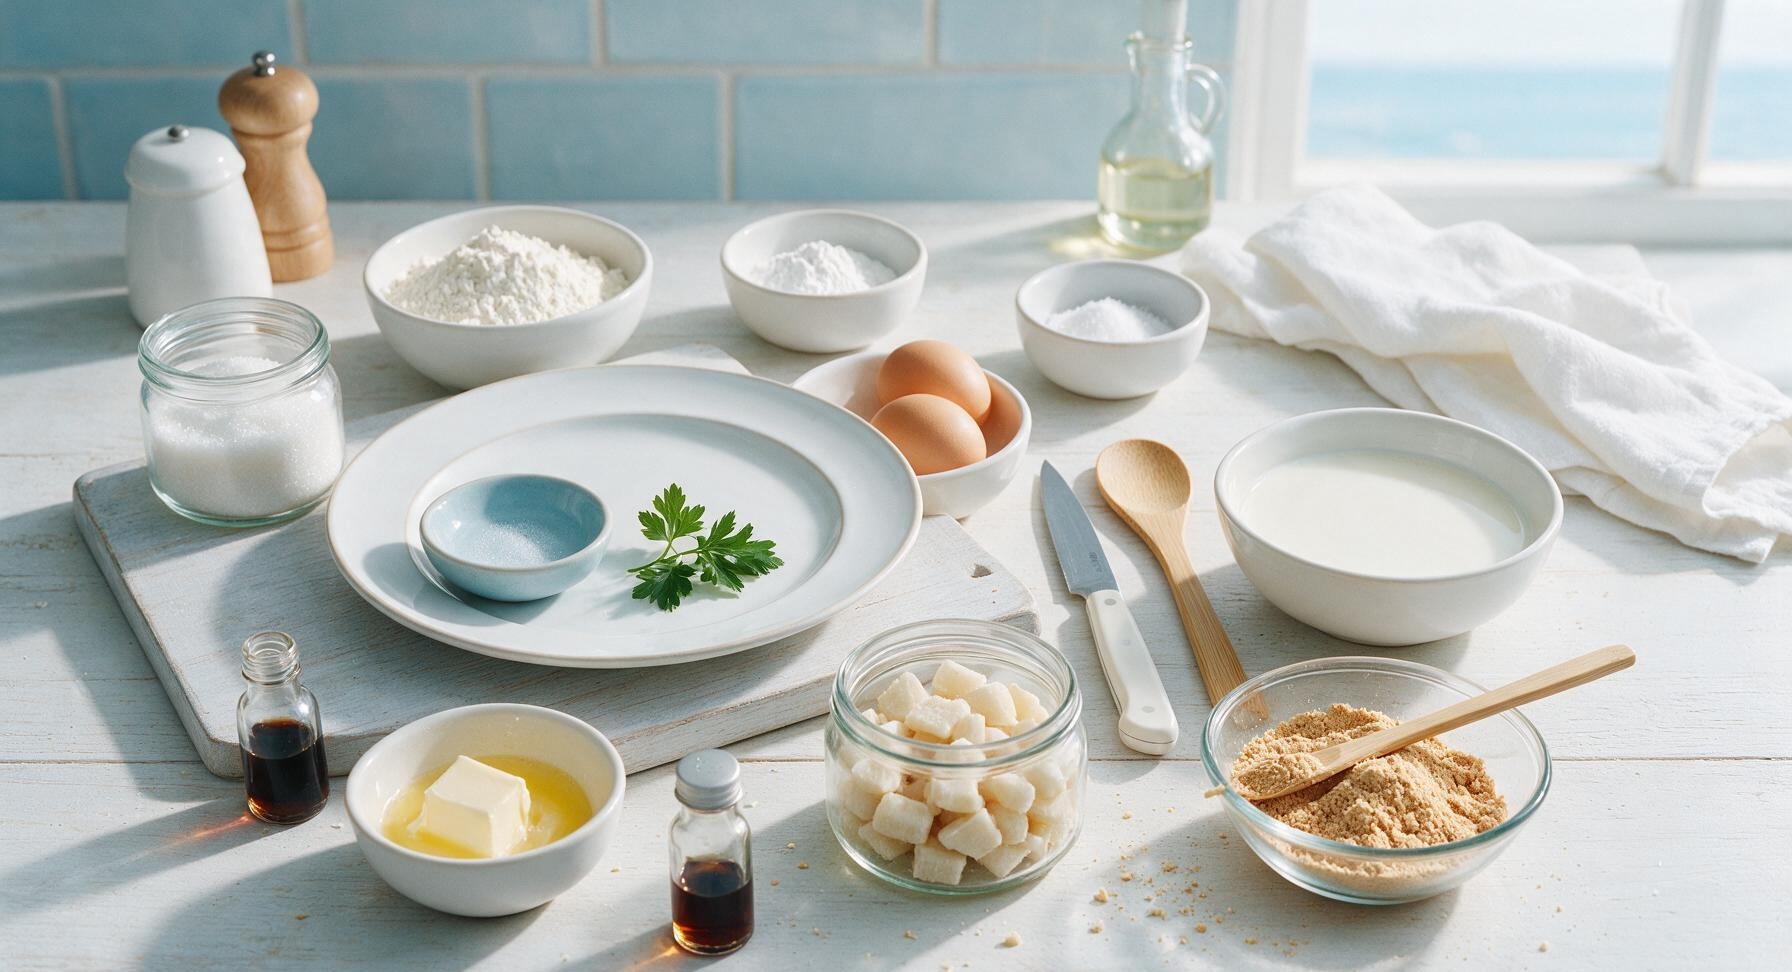
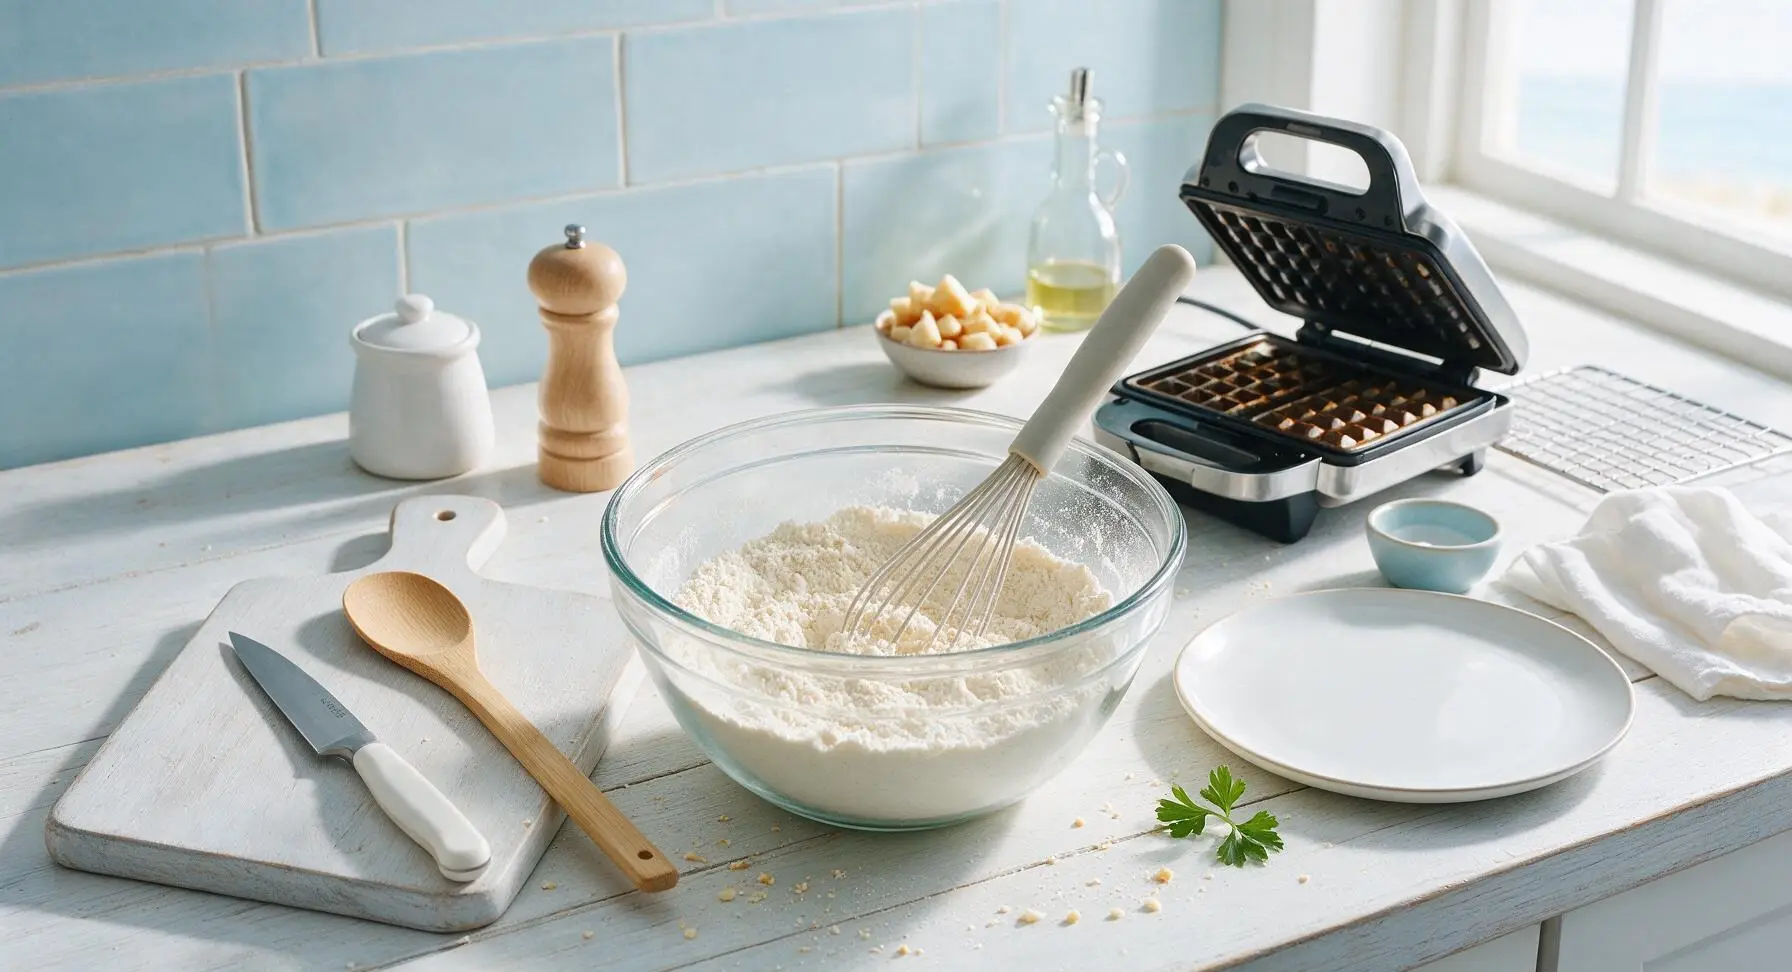
Place the 1.5L clear tempered glass mixing bowl in the center of the counter. Add 2 cups all-purpose flour, 2 tsp baking powder, 1/2 tsp fine sea salt, and 2 tbsp granulated sugar to the bowl. Use the silicone whisk to stir the dry ingredients for 30 seconds until fully combined, with no visible clumps of baking powder or salt. The finished mixture should be a uniform pale off-white color.
Combine Wet Ingredients
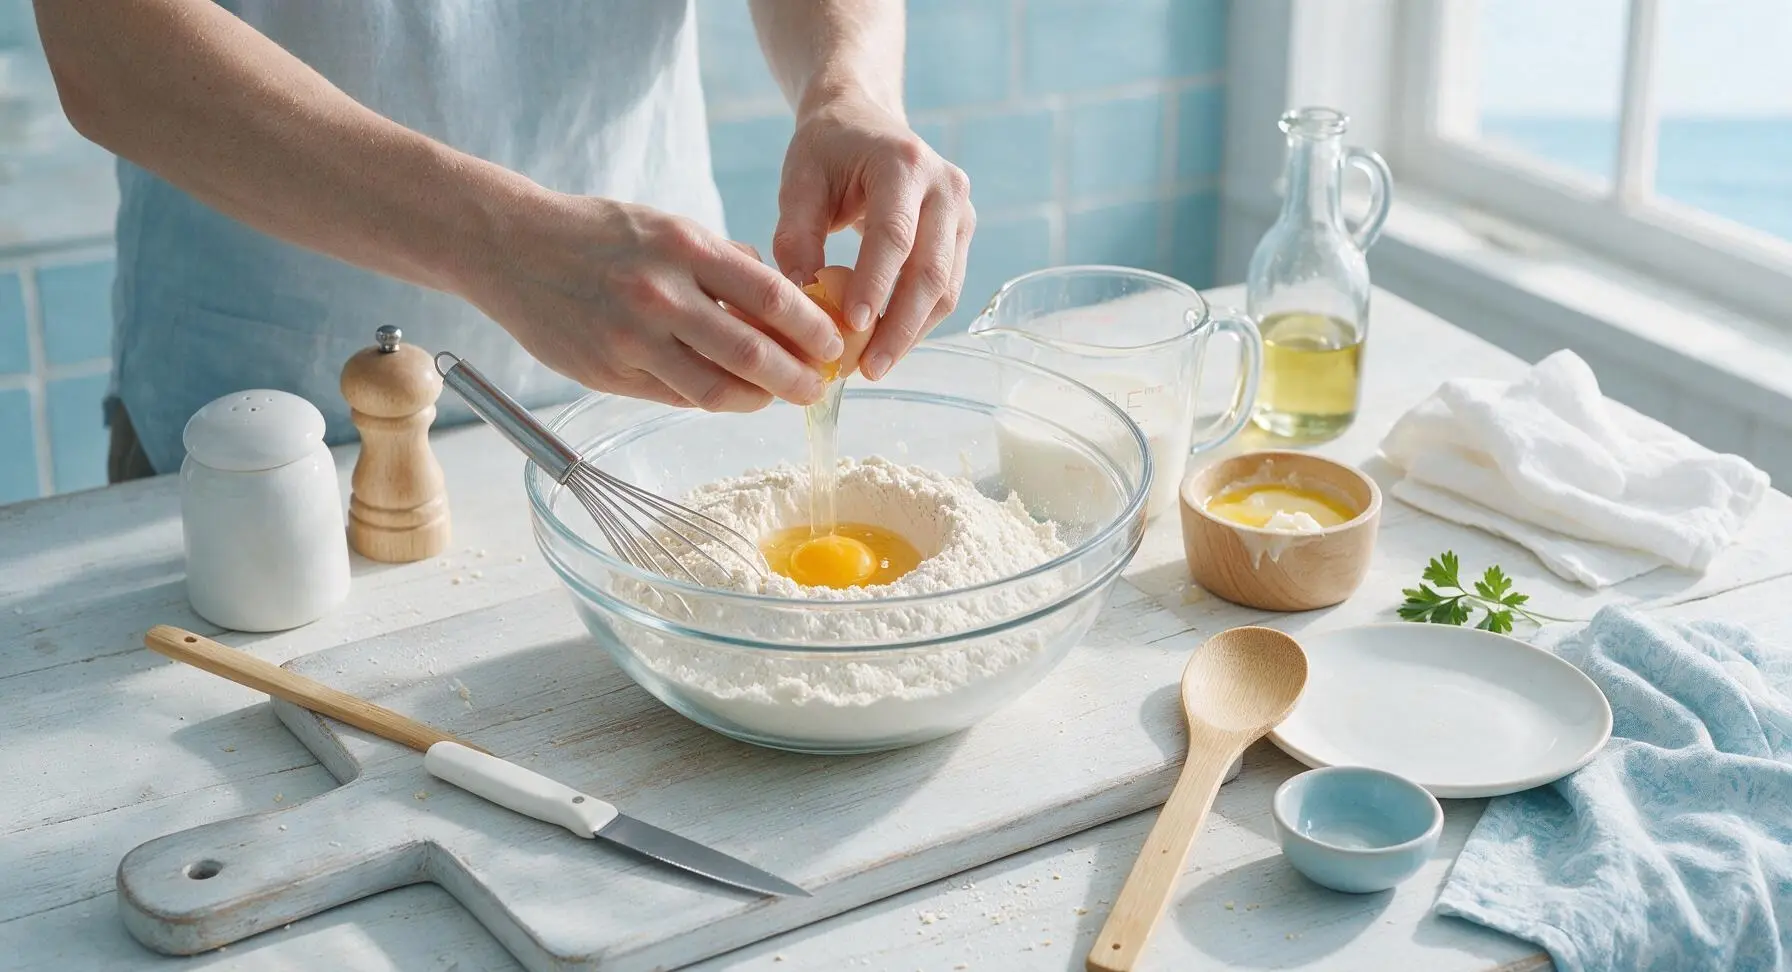
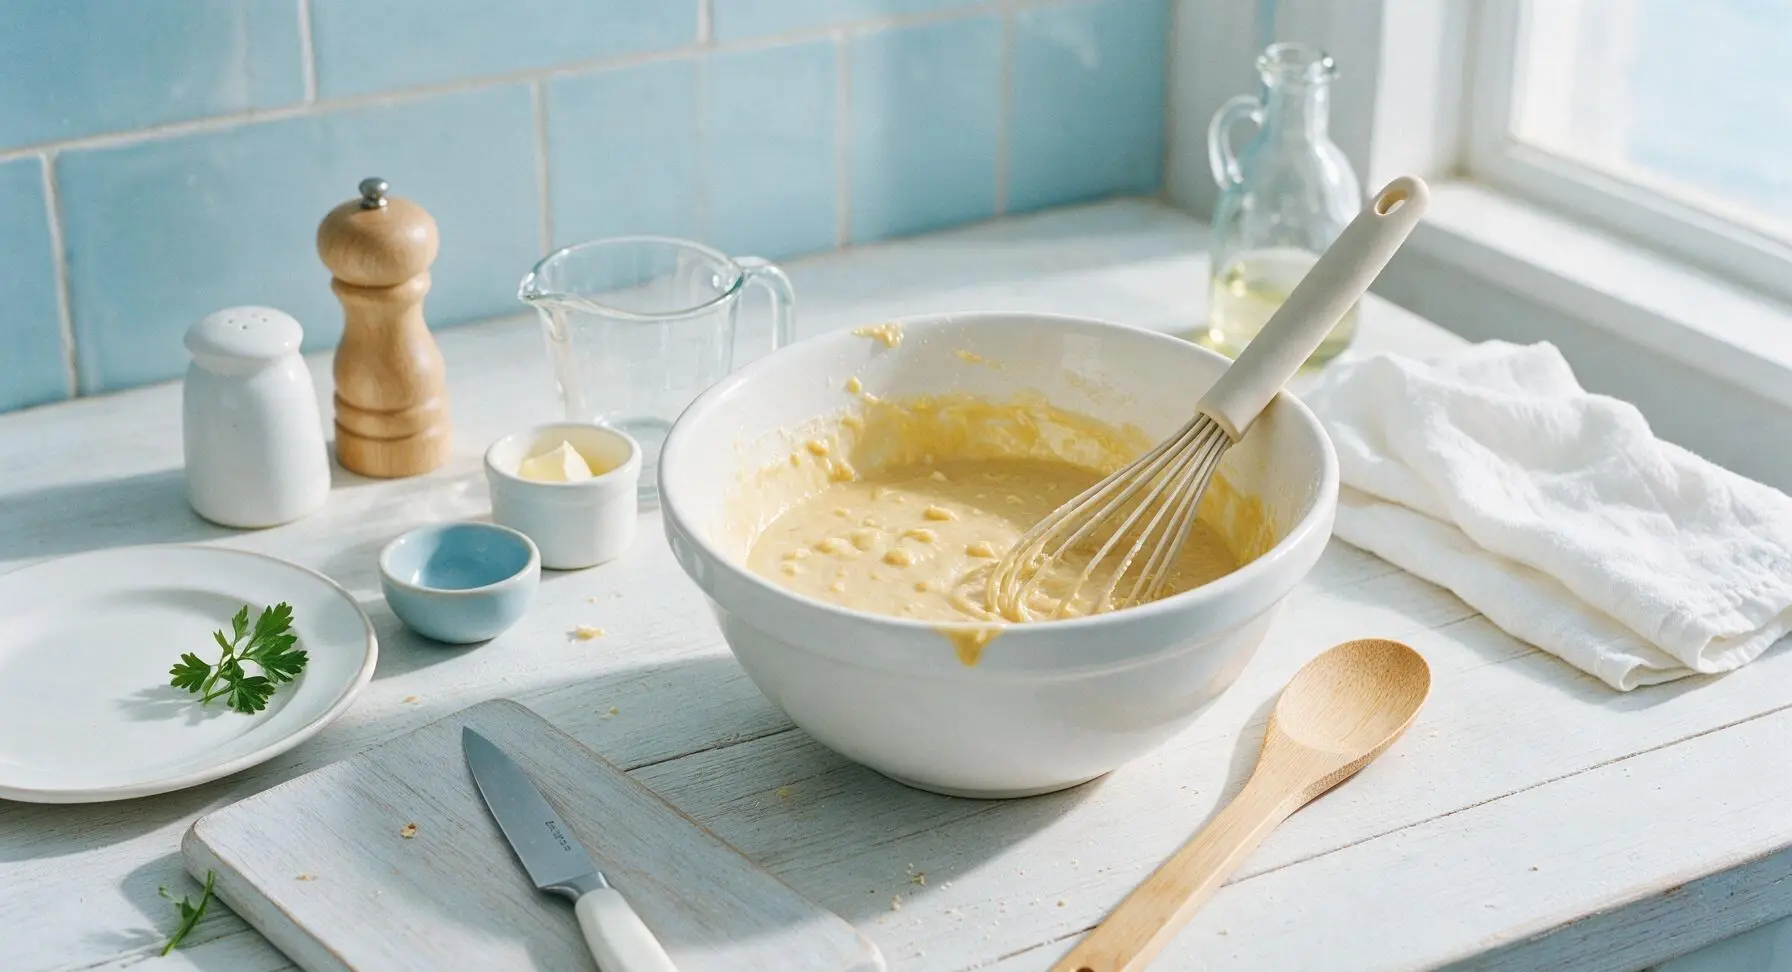
Make a 5cm wide well in the center of the dry ingredient mixture. Crack 2 large eggs into the well, then pour in 1 3/4 cups whole buttermilk, 4 tbsp cooled melted unsalted butter, and 1 tsp vanilla extract. Whisk slowly from the center outwards, incorporating dry ingredients gradually to avoid lumps. Stop mixing as soon as no dry flour remains — small lumps in the batter are normal and create fluffier waffles; overmixing will develop gluten and make waffles tough.
Fold Mochi into Batter
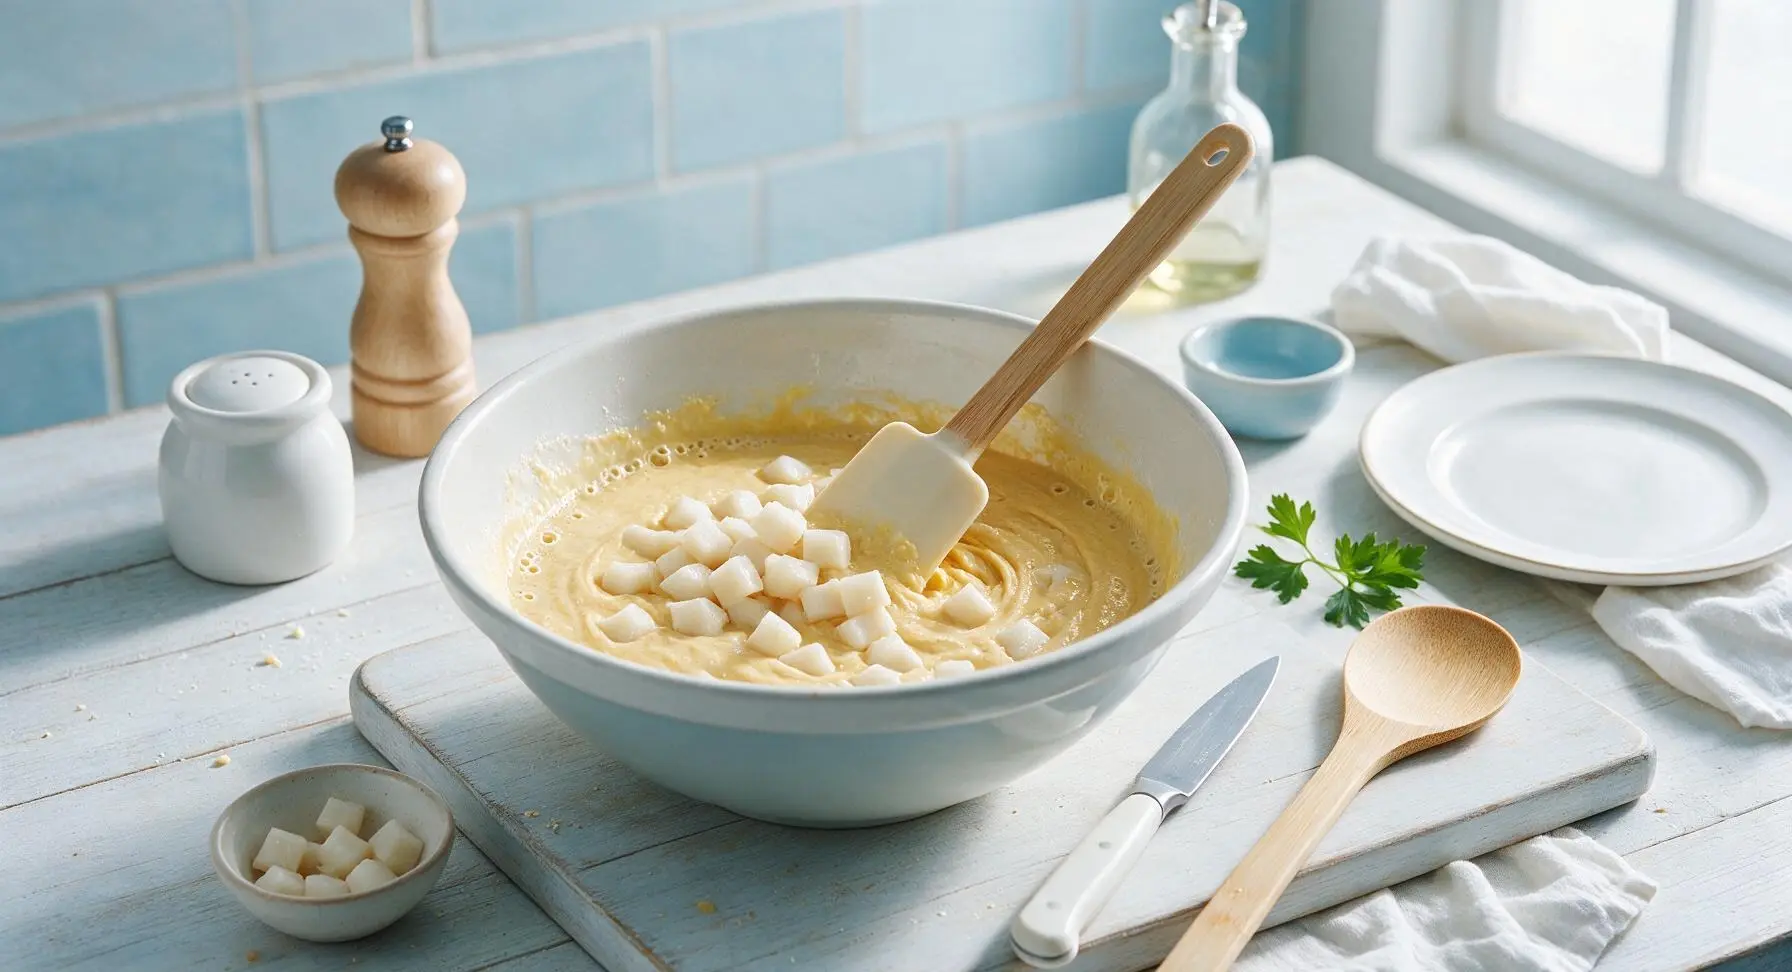
Add the cut 1cm mochi cubes to the waffle batter. Use the matte cream silicone spatula to gently fold the cubes into the batter, taking 3-4 slow turns to distribute mochi evenly throughout. Do not over-stir, as this will deflate the air bubbles created by the baking powder and lead to dense waffles. Let the batter rest for 5 minutes at room temperature to activate the baking powder; small bubbles will form on the batter surface when it is ready to cook.
Cook Waffles Until Golden
Use the 1/4 cup polished stainless steel measuring cup to scoop batter and pour it evenly onto the center of the preheated waffle iron grid. Close the lid and cook for 3.5 to 4 minutes, until the waffle is deep golden brown on the outside, crisp at the edges, and embedded mochi pieces are soft and translucent. Do not open the waffle iron before 3 minutes, as this will cause the waffle to split and stick to the plates. Repeat with remaining batter to make 4 total waffles, stacking cooked waffles on the chrome wire cooling rack for 1 minute to keep edges crisp before plating.
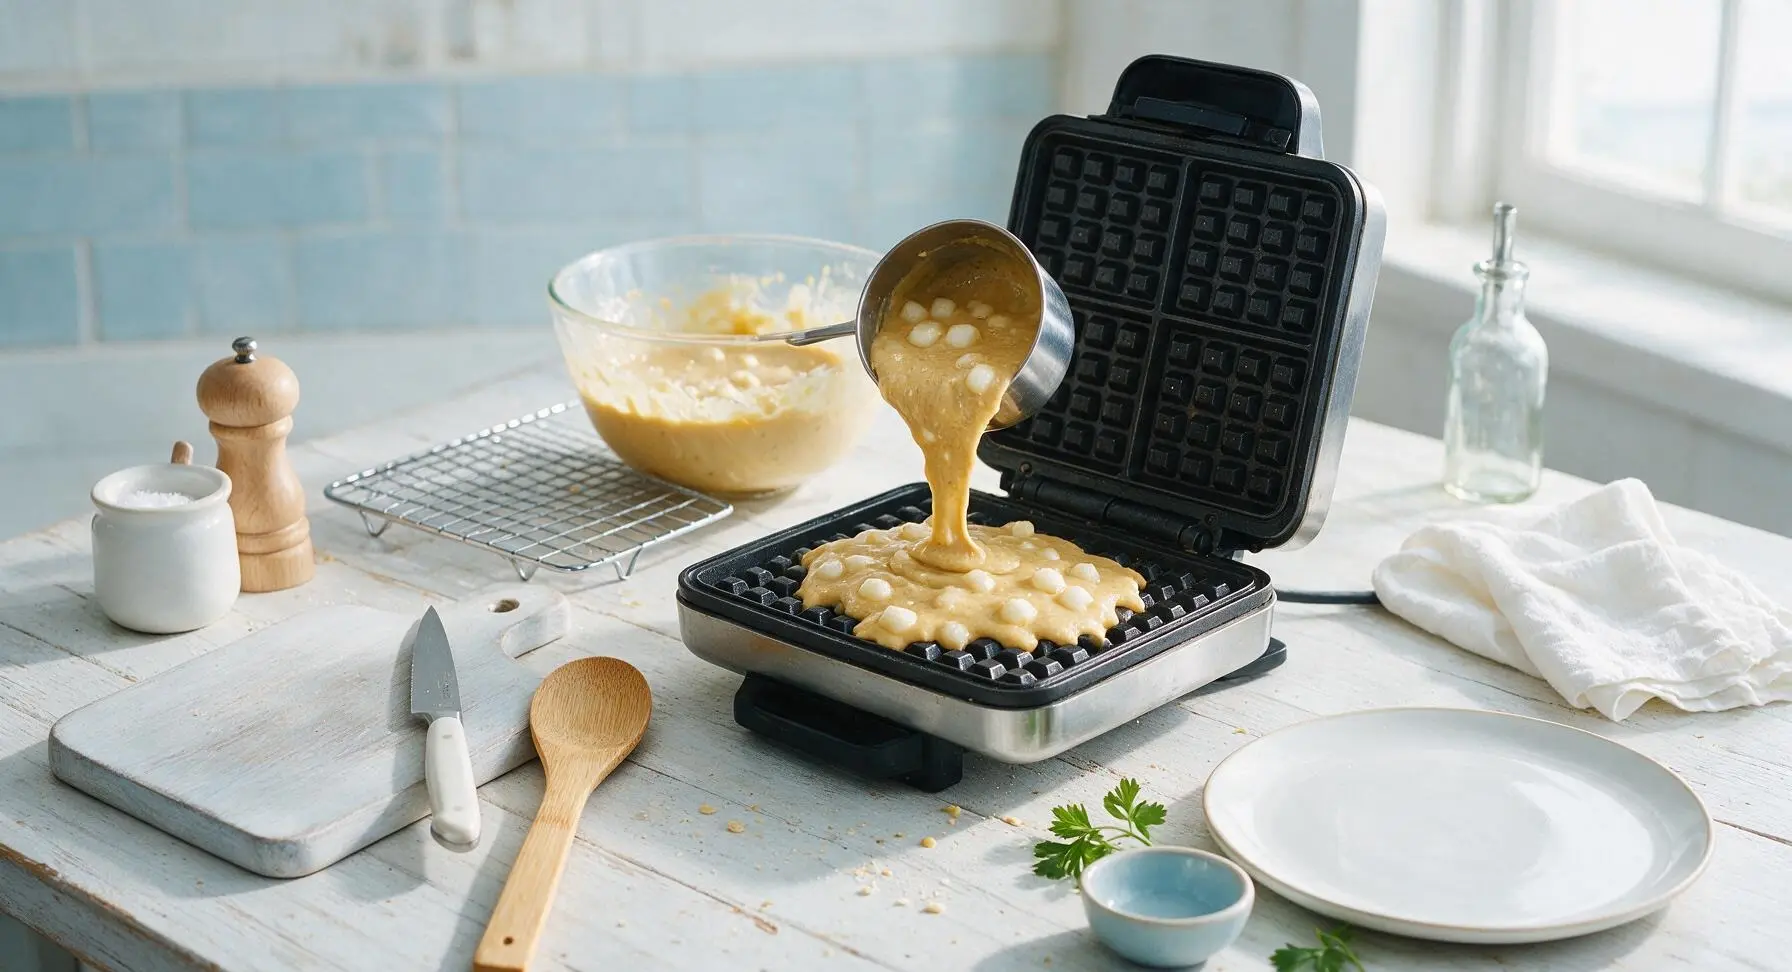
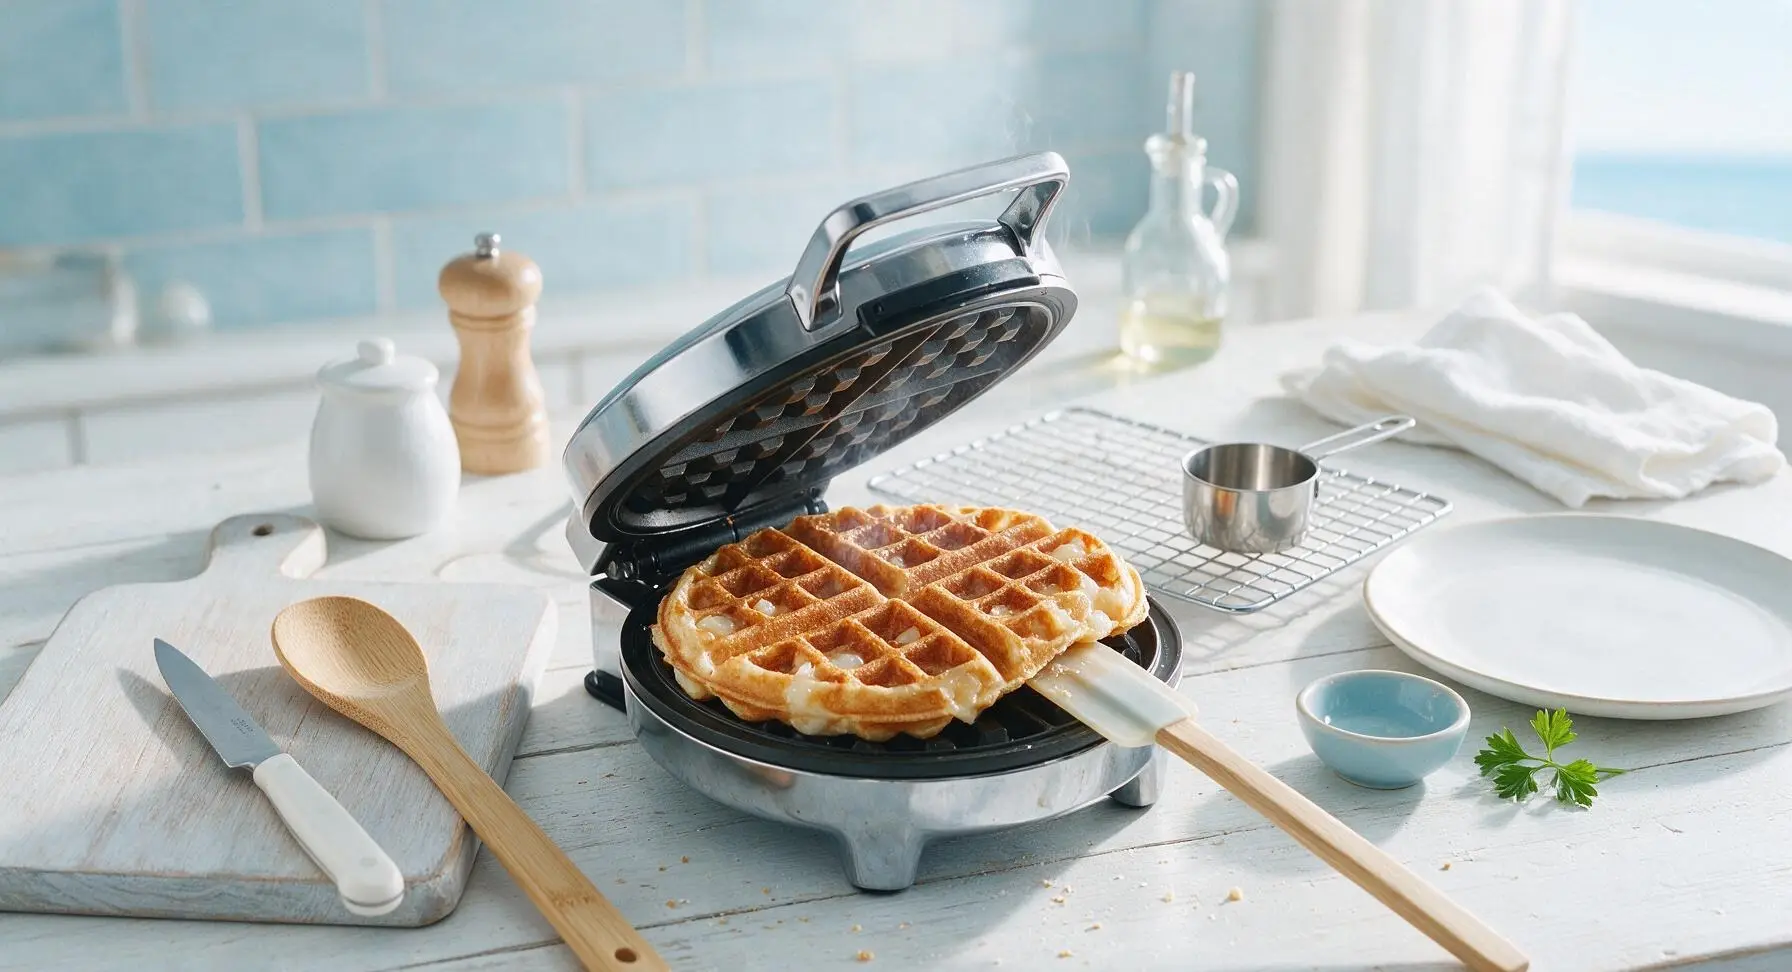
Plate and Garnish Waffles
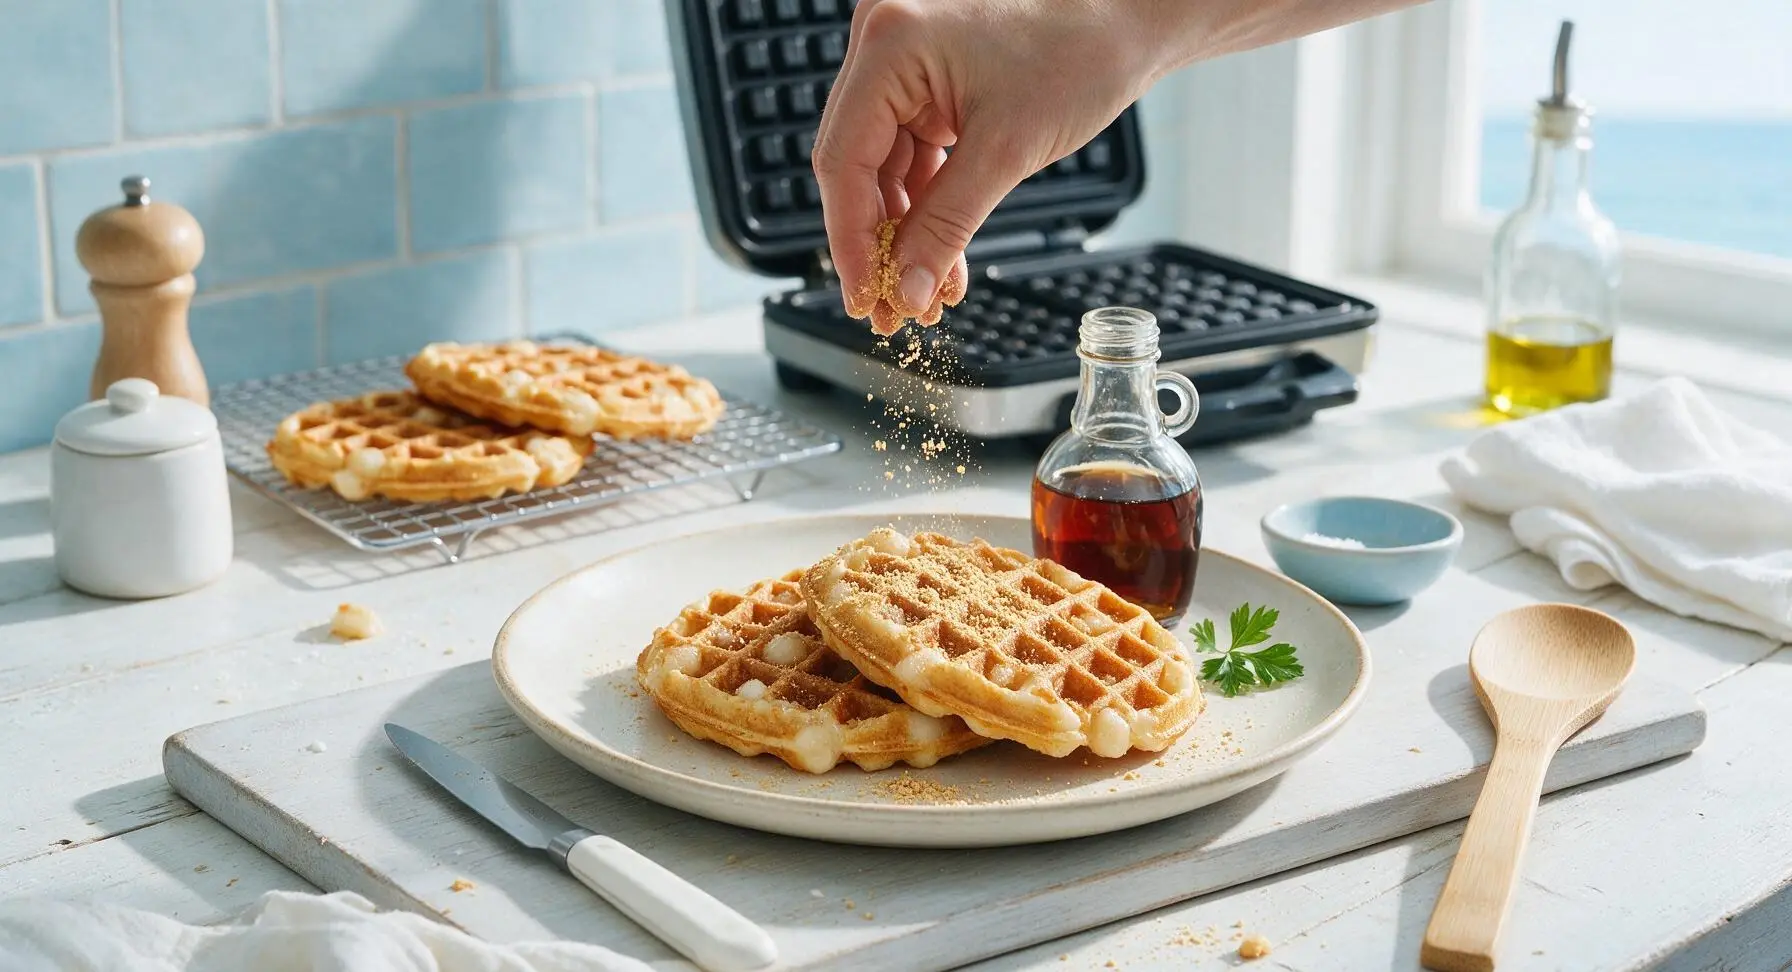
Transfer two cooked waffles to the creamy off-white hand-thrown ceramic dinner plate, stacking them slightly offset. Dust the top of the waffles evenly with 2 tbsp toasted kinako powder, then drizzle with pure maple syrup, letting it run down the waffle edges into the grid pockets. Serve immediately while waffles are hot and crisp, and mochi pieces are soft, chewy, and slightly stretchy.
Tips
2.Use firm dried kirimochi blocks instead of soft fresh mochi: fresh mochi has high moisture content that will turn runny and leak out of the waffle iron during cooking, while dried kirimochi melts into perfectly chewy, stretchy bits without creating a sticky mess.
3.Rest cooked waffles on a wire rack for 1 minute instead of stacking them directly on a plate: trapping steam between hot stacked waffles will make crisp edges turn soggy quickly, while air circulation under the waffles keeps edges crisp until you are ready to serve.






OMG these are INSANE. I’ve been looking for a way to use up the leftover mochi bits I had from making mochi ice cream last weekend and this recipe did NOT disappoint. The edges are perfectly crispy, the mochi gets all chewy in the middle, and the buttermilk tang cuts the sweetness so well. My 7 year old asked for seconds before she even finished her first waffle!
Game changer for weekend brunch. I was skeptical mochi would work in waffles but man, that chewy contrast against the crispy buttermilk crust? Chef’s kiss. Made these for my buddy’s potluck last Saturday and people were asking me for the recipe before they even took their second bite. Only note: make sure you spray the waffle iron really well between batches, I had a little stickage on my third round.
SO good and so easy for meal prep! I made a double batch on Sunday, popped the leftover waffles in the freezer, and just toast them up for 2 minutes in the toaster during the week. The mochi stays chewy even after toasting, I was shocked. Way better than the frozen Eggo waffles I used to buy. 10/10 will be making these monthly.
Wait, can I make these with gluten free all purpose flour? My partner has celiac and I’ve been searching for fun brunch recipes that don’t feel like “diet food” ya know? The mochi bits sound like such a fun textural twist.
I’ve made a lot of buttermilk waffle recipes in my day and this one is top tier. The mochi bits don’t get weirdly hard or gummy like I was worried they would—they turn into these perfect little chewy pockets. I topped mine with a drizzle of salted caramel and toasted coconut and I’m never going back to regular waffles again.
Super easy to throw together even when I’m half asleep on a Sunday morning. 15 minute cook time is no joke, I had these on the table faster than I could brew my pot of coffee. The mochi adds such a fun surprise, my roommate thought I ordered fancy takeout brunch when she walked into the kitchen.
Made these for my niece’s birthday breakfast and they were a total hit. The kids went crazy for the chewy mochi bits, I even let them add sprinkles to the batter for extra fun. Only thing I changed was I added a teaspoon of vanilla extract because I love vanilla in waffles, worked like a charm.
Wait, do I need to use fresh mochi? I have a bag of the dried mochi cubes you use for hot pot in my pantry, would those work if I soak them first? Don’t wanna make a special trip to the grocery store if I don’t have to.
Shoutout to this recipe for making my post-long run brunch feel like a special treat without a ton of work. I topped mine with Greek yogurt and fresh berries instead of syrup to keep it a little higher protein, and the chewy mochi made it feel way more indulgent than it actually was. Will be making these every Saturday after my long runs from now on.
I’ve had mochi waffles at that fancy brunch spot in Brooklyn that charges $18 a plate and these taste EXACTLY like them, if not better. Cannot believe how easy they are to make at home for a fraction of the cost. My roommate and I ate the entire batch in one sitting, no regrets.
Total newbie here, first time making waffles from scratch ever! How big should I cut the mochi pieces? I don’t wanna cut them too big and have them make a mess in my waffle maker, or too small that I can’t taste them.
My kids are so picky and they DEVOURED these. I thought the mochi would be a weird texture for them but they kept calling them “bubble waffles” and asking if we could have them for dinner too. I served them with a side of scrambled eggs and fruit and it was the easiest weeknight breakfast for dinner win I’ve had in months.
The texture contrast is unreal. Crispy, buttery outside, fluffy buttermilk inside, chewy mochi bits scattered throughout? I ate mine with a big dollop of whipped cream and a drizzle of matcha syrup and it was pure heaven. So easy to make too, I don’t know why I didn’t think to add mochi to waffles sooner.