
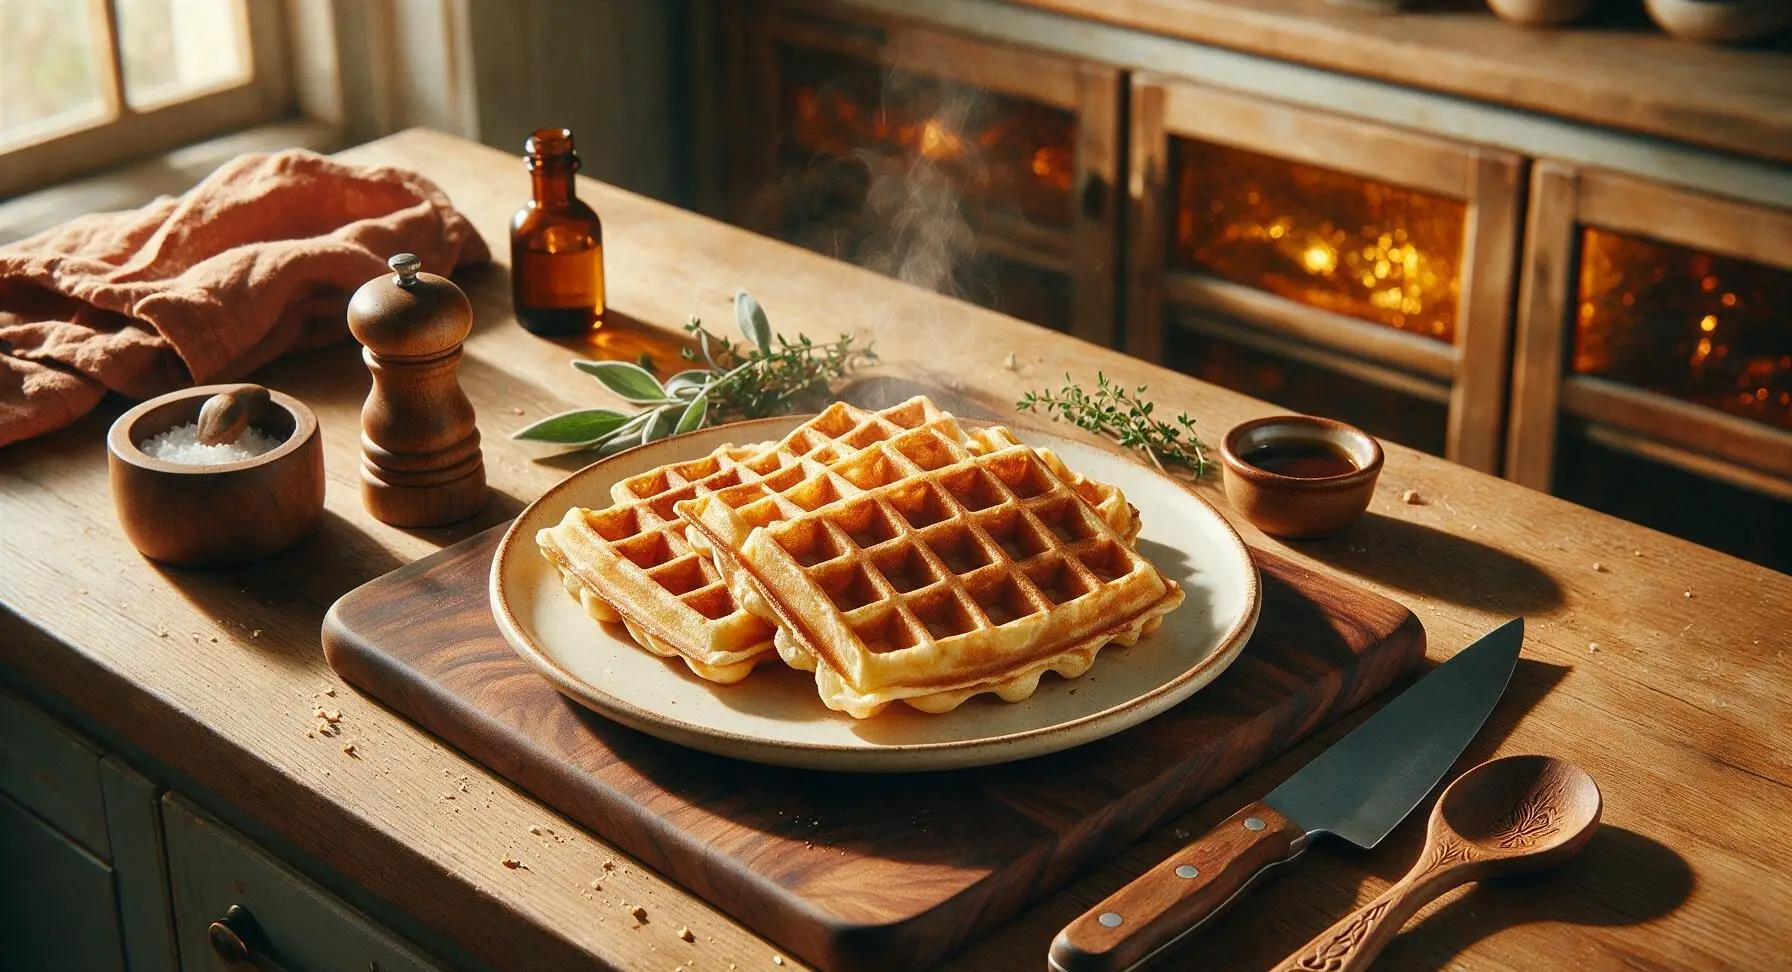
waffles are made of

title 1
waffles are made of
⏱️ cook time 15 minutes
🍽️ servings 4
⚡ Difficulty easy

intro

Crisp at the edges, light and fluffy inside, these classic homemade waffles are a quick, customizable staple perfect for busy mornings or easy weeknight brinner.

Ingredients
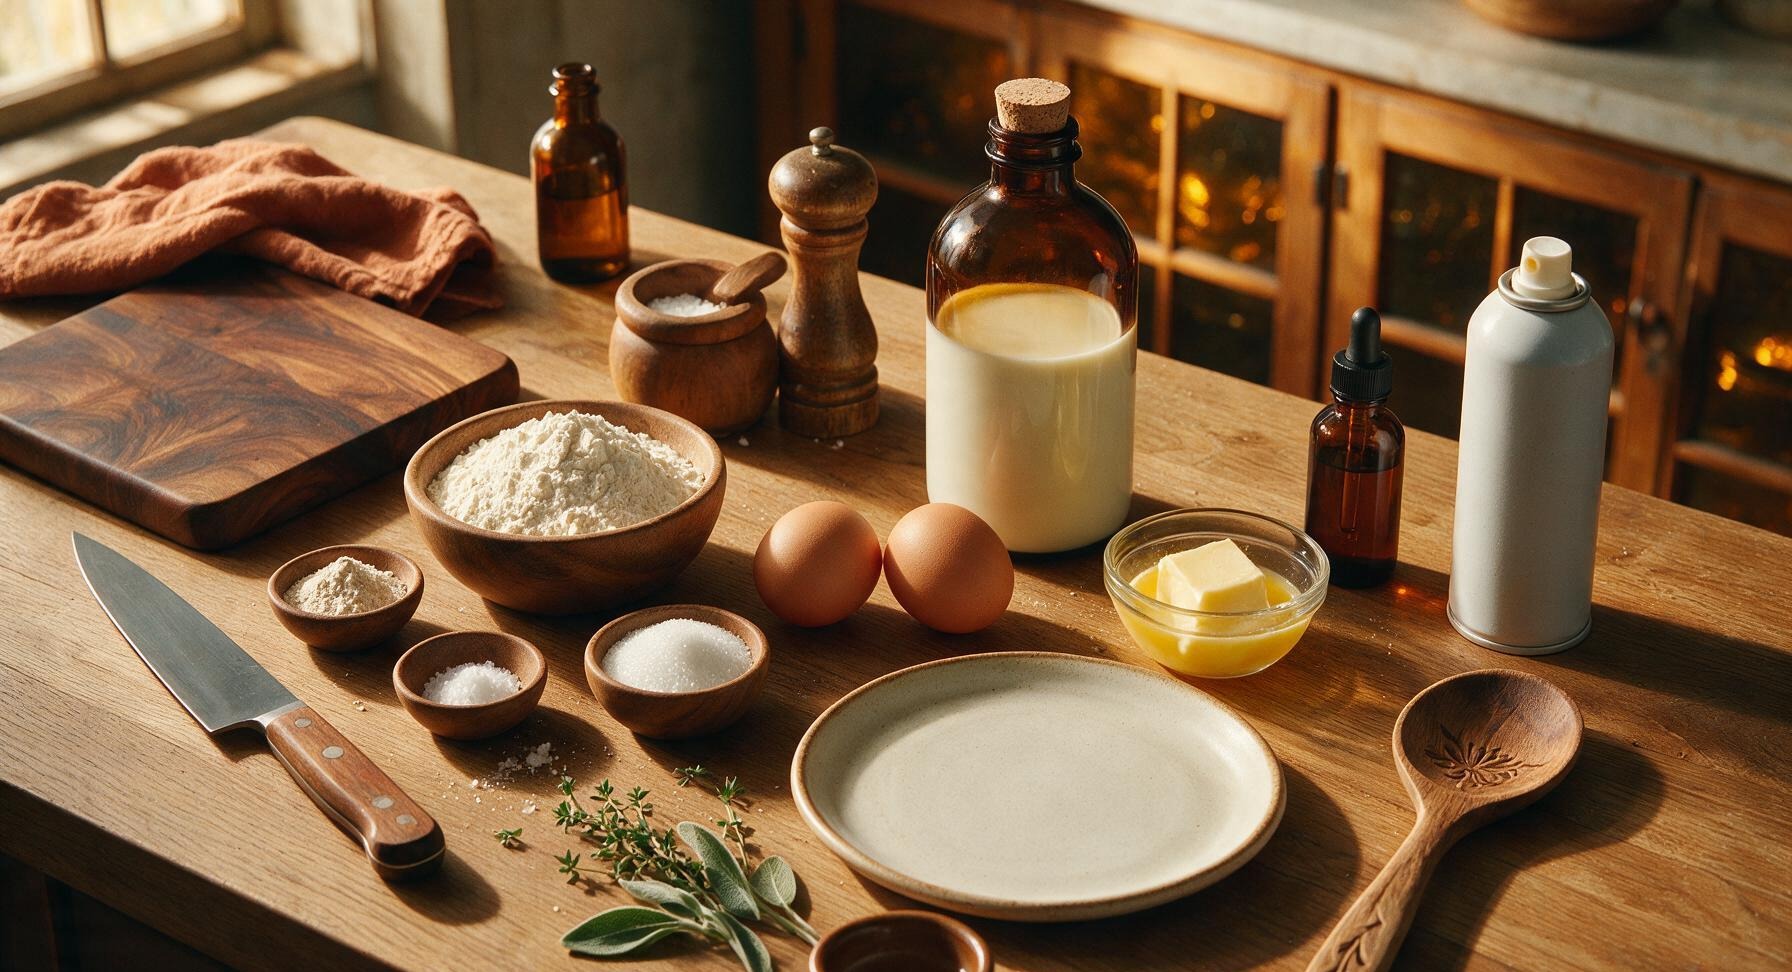
All-purpose flour 2 cups (240g)
Baking powder 1 tablespoon
Fine sea salt 1/2 teaspoon
Granulated sugar 2 tablespoons
Large eggs 2
Whole milk 1 3/4 cups (420ml)
Unsalted butter 1/4 cup (57g), melted and cooled
Vanilla extract 1 teaspoon
Non-stick cooking spray 1-second spray

Steps

1

Preheat Waffle Maker

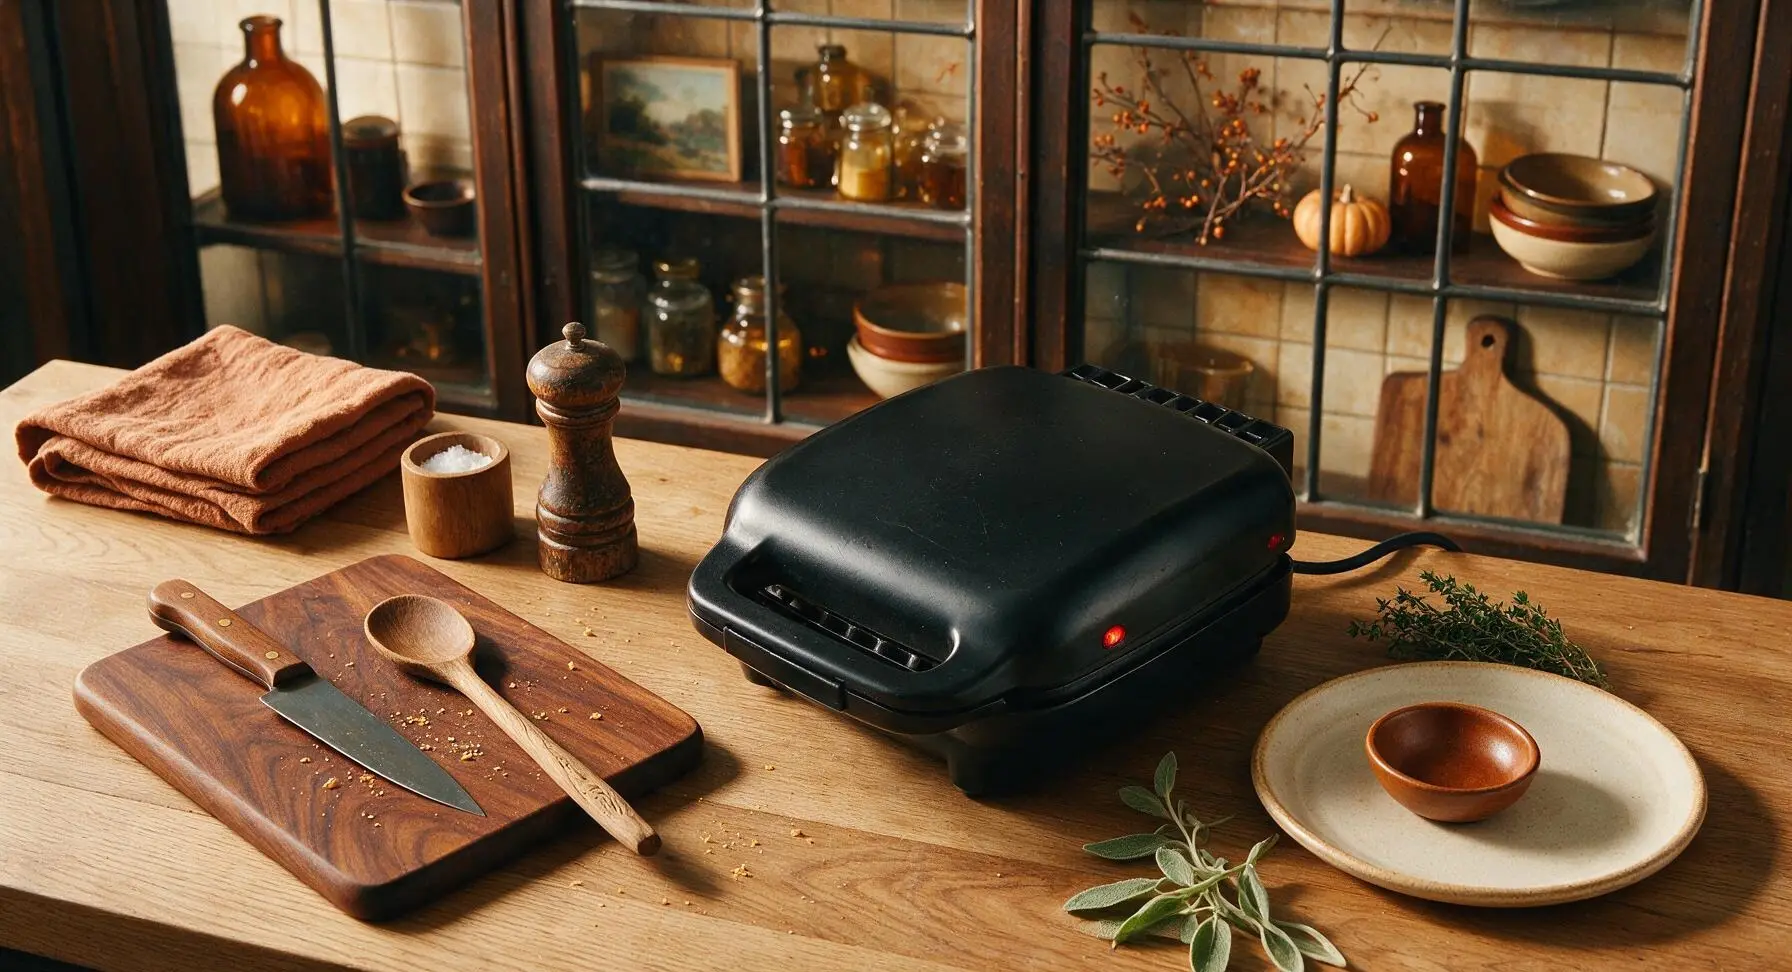
Pull the matte black stainless steel waffle maker from under-counter storage to the right-center counter position, plug it in, and preheat to medium-high heat (375°F / 190°C). Close the lid while it preheats; it is ready when a drop of water sizzles and evaporates immediately on the plate surface, about 5 minutes.
Step 1
step1:Preheat Waffle Maker
2

Whisk Dry Ingredients

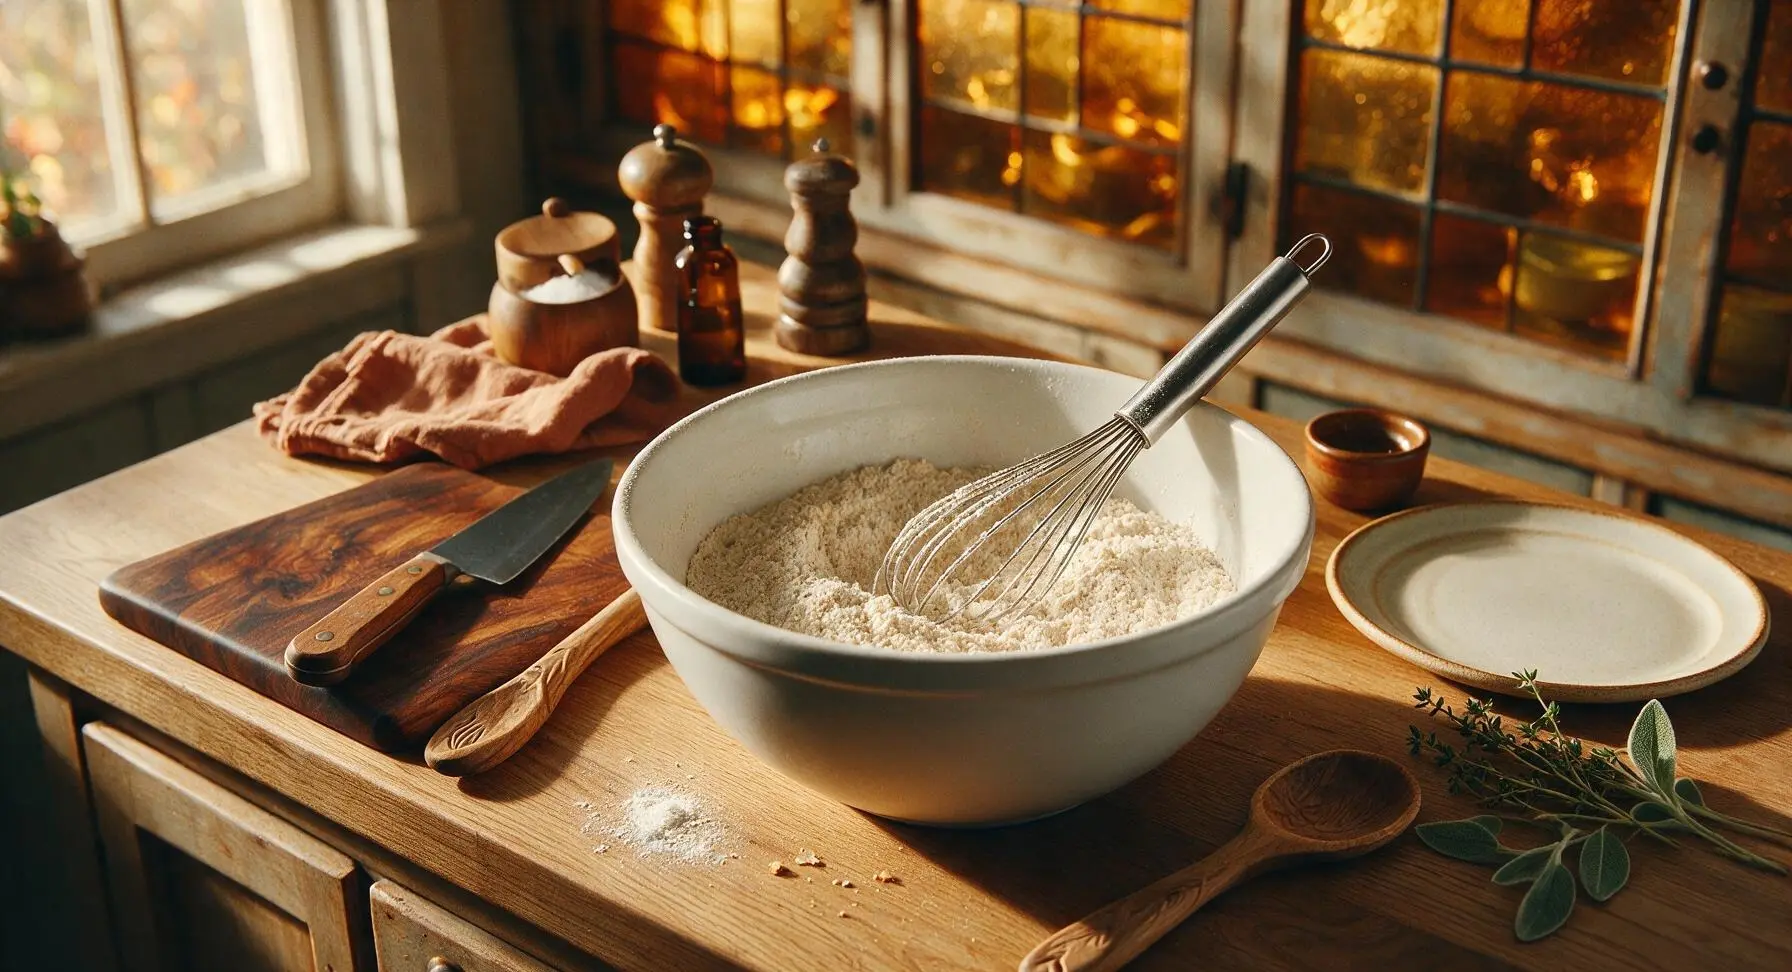
Place the large matte white ceramic mixing bowl at center counter. Add 2 cups (240g) all-purpose flour, 1 tablespoon baking powder, 1/2 teaspoon fine sea salt, and 2 tablespoons granulated sugar to the bowl. Use the stainless steel wire whisk to stir the dry ingredients for 30 seconds until fully combined, with no clumps of baking powder visible.
Step 2
step2:Whisk Dry Ingredients
3

Combine Wet Ingredients

Crack the 2 large eggs into the small polished stainless steel mixing bowl, and whisk lightly for 10 seconds until yolks and whites are fully blended. Add 1 3/4 cups (420ml) whole milk, 1/4 cup (57g) cooled melted butter, and 1 teaspoon vanilla extract to the eggs, and whisk for another 20 seconds until the mixture is smooth and pale yellow, with no streaks of unblended egg visible.
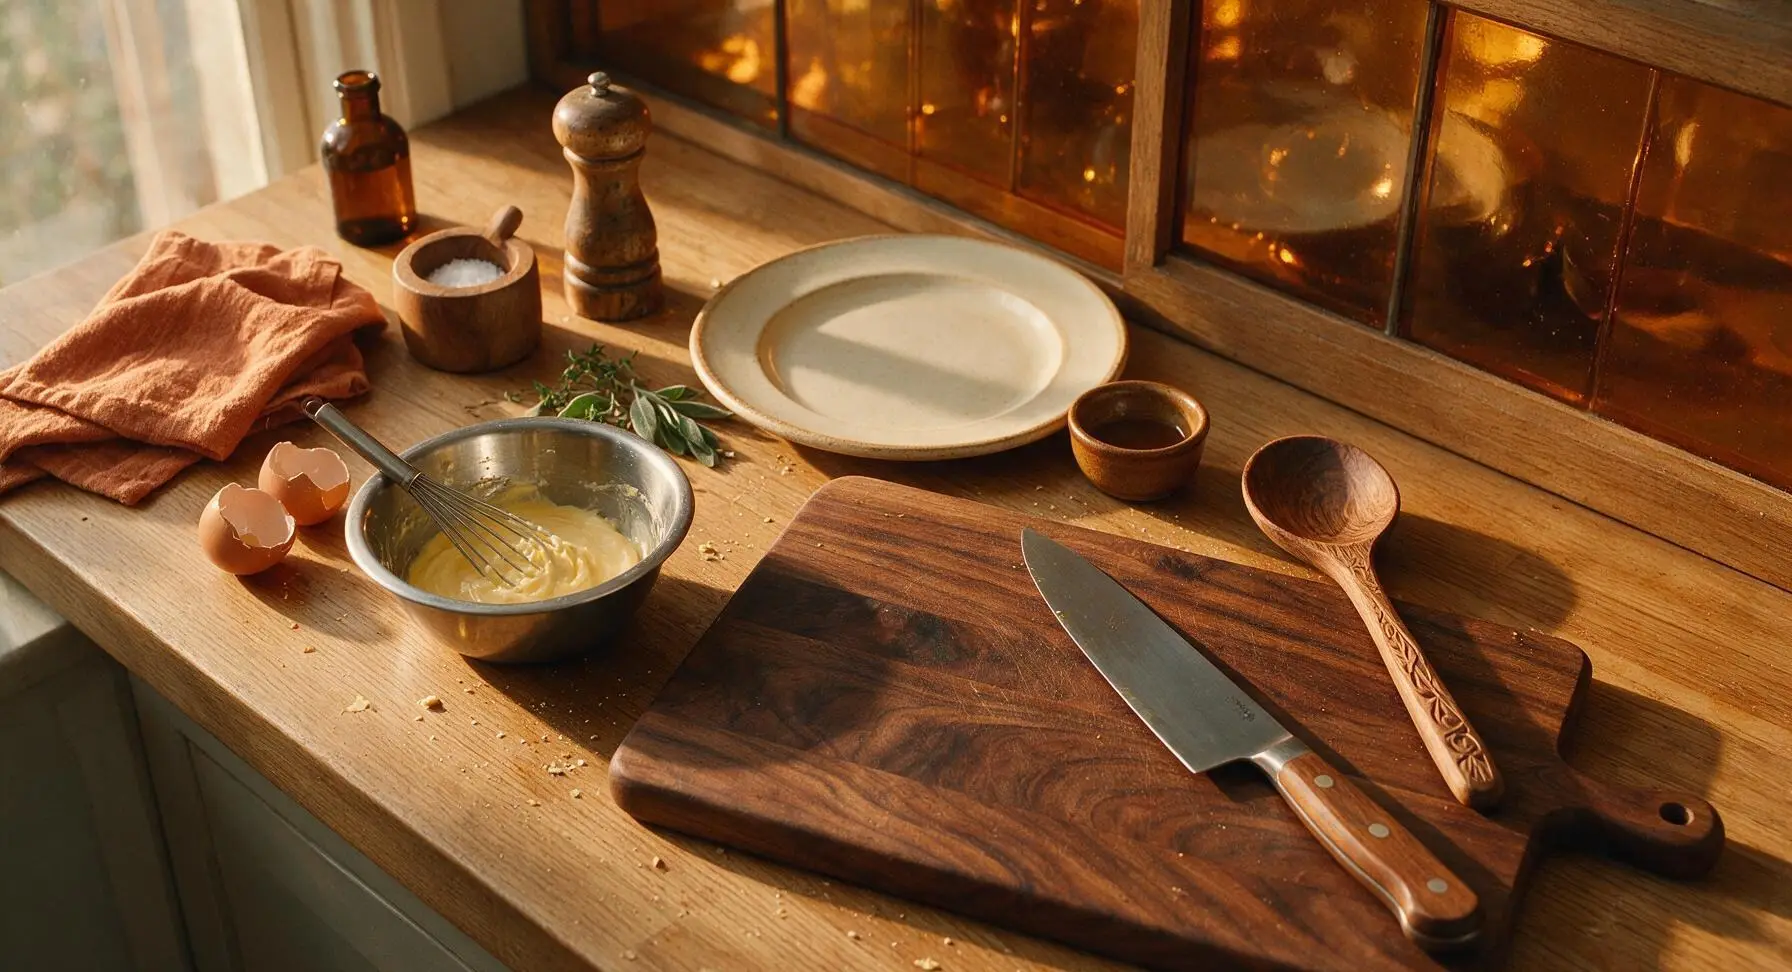
Step 3
step3:Combine Wet Ingredients
4

Mix Waffle Batter

Pour the entire wet ingredient mixture into the large mixing bowl with the dry ingredients. Use the sky blue silicone spatula to gently fold the ingredients together, stirring only until no large pockets of dry flour remain. Stop mixing as soon as the batter comes together; the batter will be slightly lumpy, and overmixing will result in tough waffles.
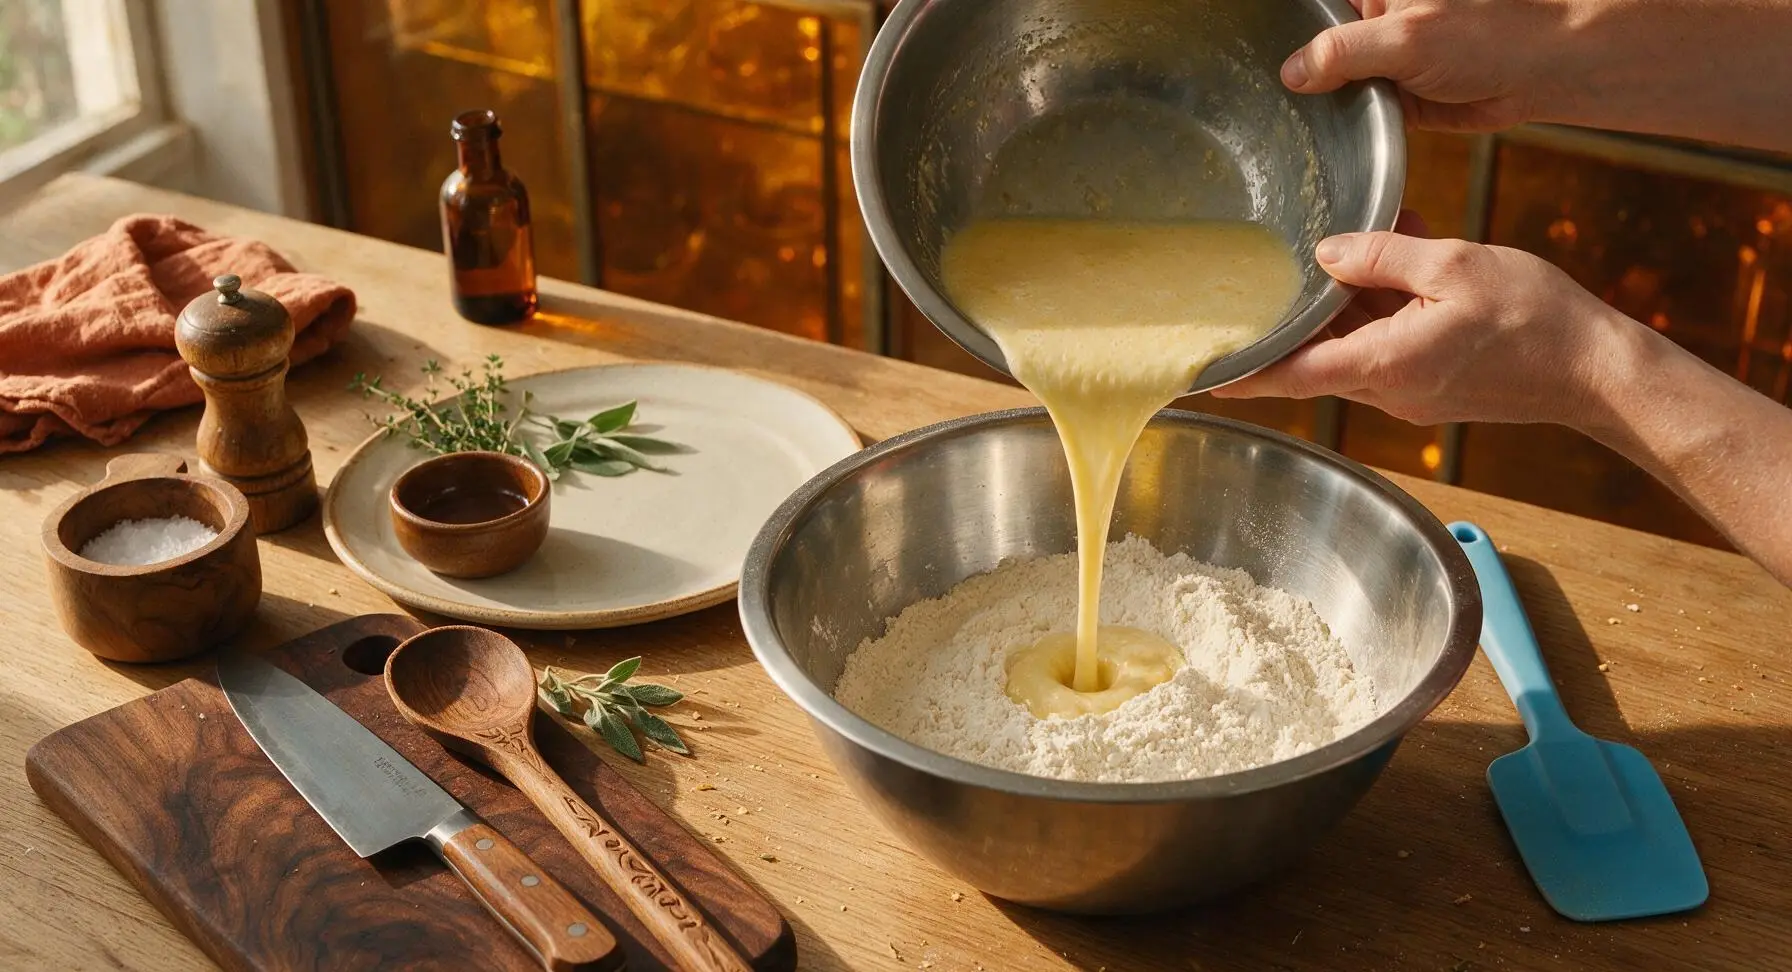
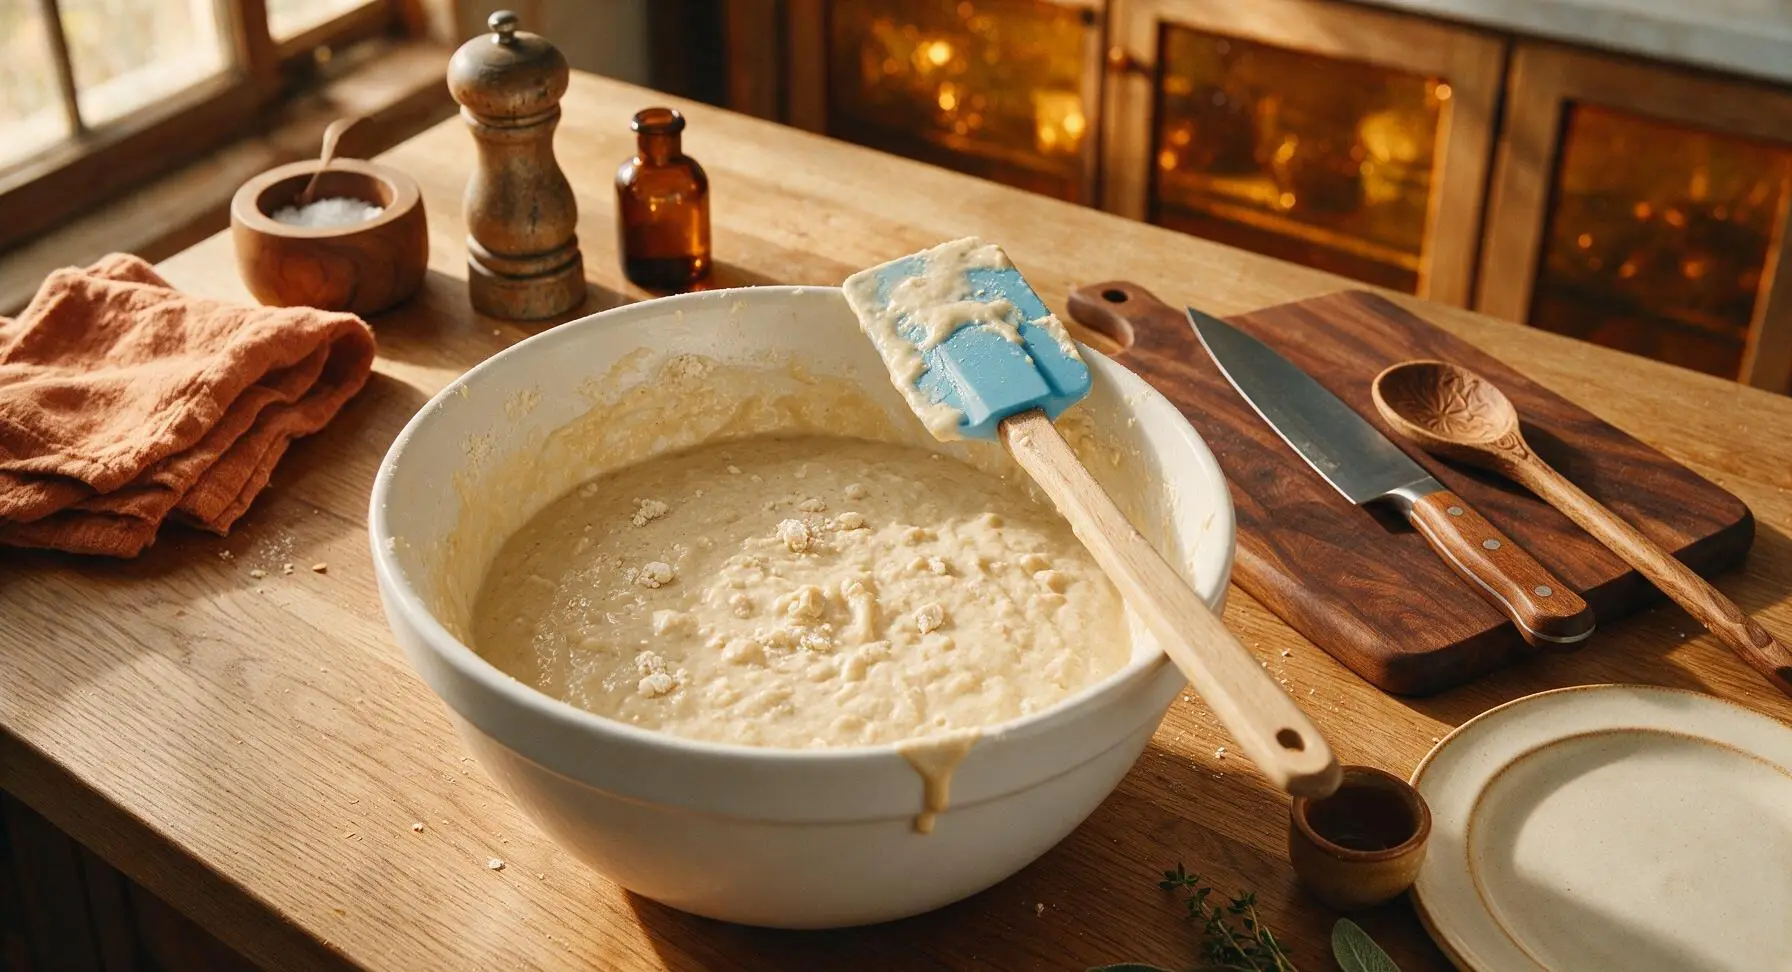
Step 4
step4:Mix Waffle Batter
Step 4
step4:Mix Waffle Batter
5

Prep Waffle Plates

Once the waffle maker is fully preheated, open the lid and lightly coat both top and bottom grid plates with a 1-second spray of non-stick cooking spray. Wipe any excess spray from the outer edges of the waffle maker with a corner of the striped cotton kitchen towel to prevent burning as the waffles cook.
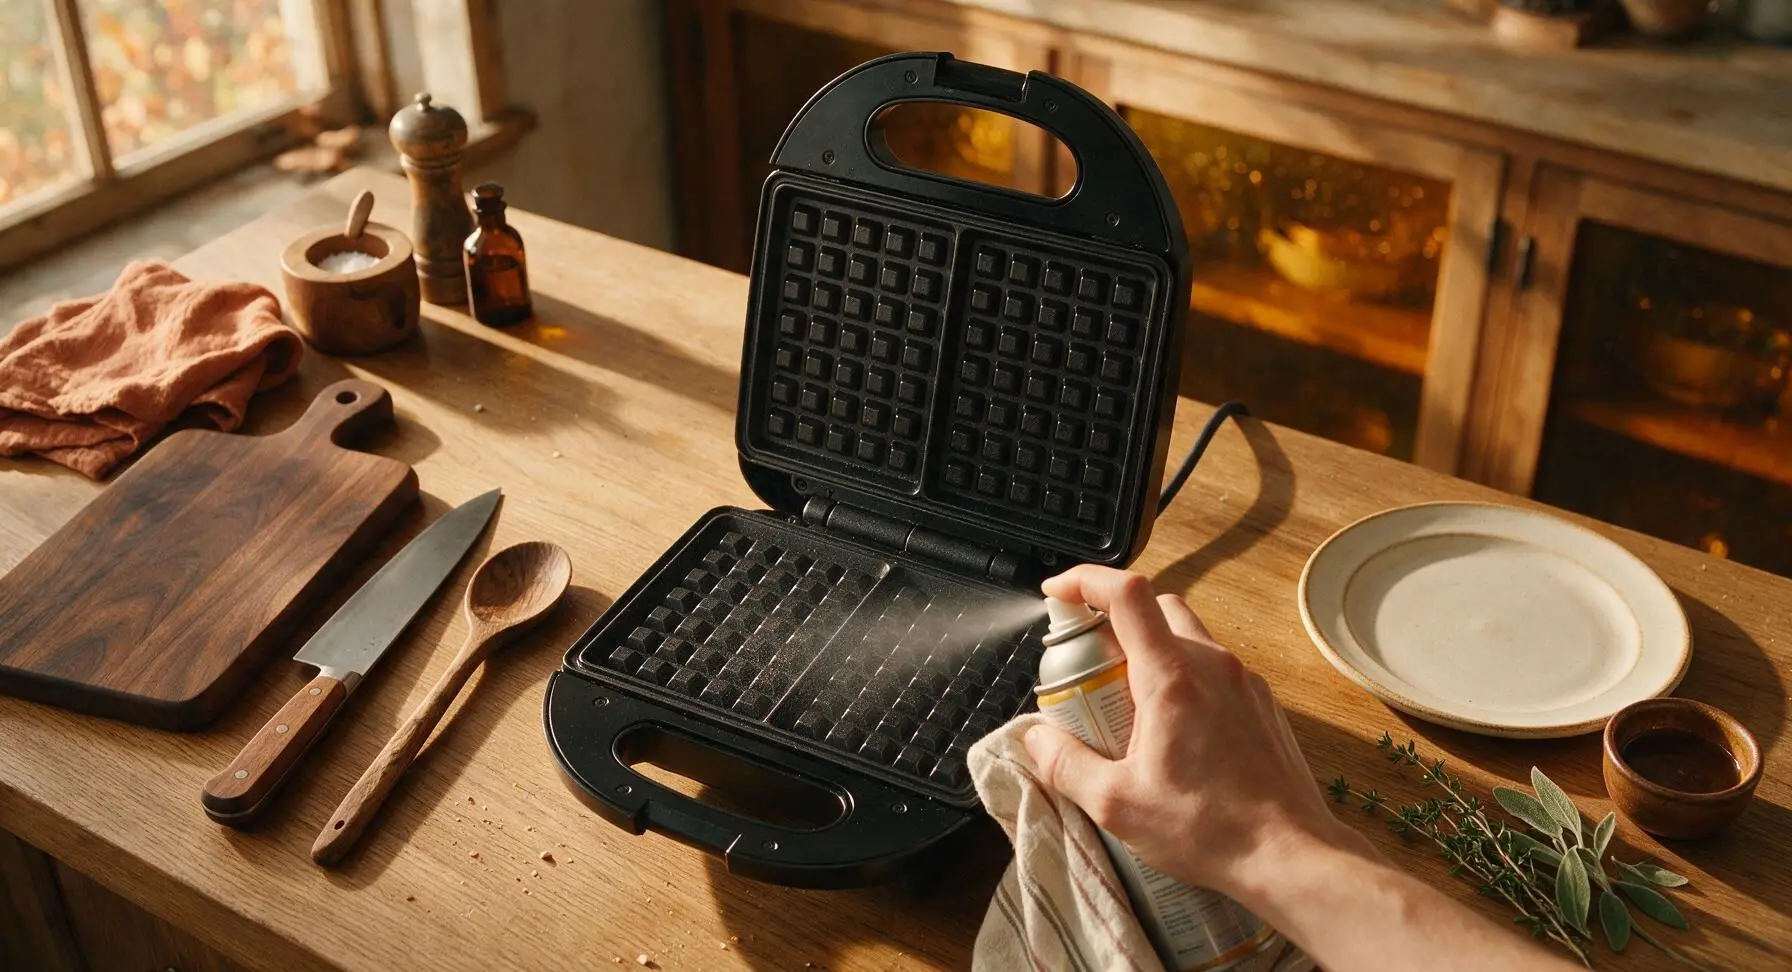
Step 5
step5:Prep Waffle Plates
6

Pour Batter Onto Iron

Use the 1/2 cup stainless steel measuring cup to scoop batter, pouring it slowly into the center of the preheated waffle maker’s bottom plate. Use the tip of the measuring cup to gently spread the batter 1/2 inch away from the grid edges, as it will spread and rise as it cooks. Close the waffle maker lid immediately after pouring.
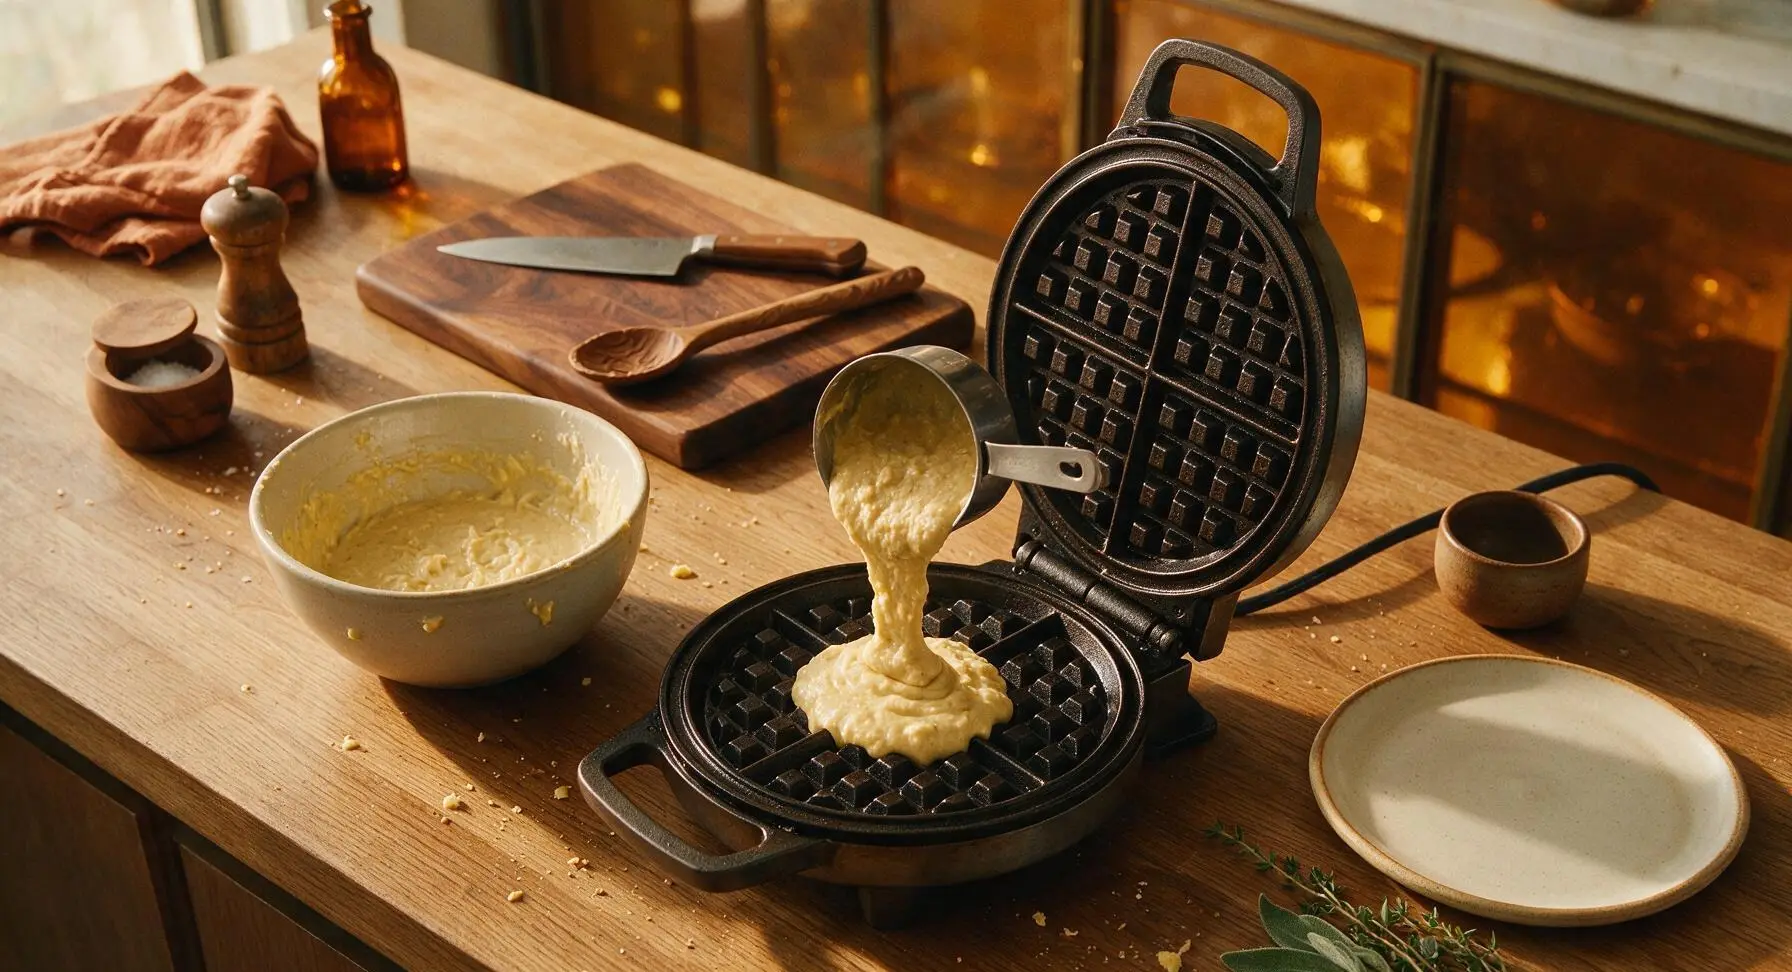
Step 6
step6:Pour Batter Onto Iron
7

Cook Until Golden

Cook the waffle for 3 to 4 minutes, without lifting the lid for the first 2 minutes, until steam stops escaping from the edges of the waffle maker. The waffle is done when it is deep golden brown, crisp on the outside, and releases easily from the non-stick plates when you lift the lid. Repeat with remaining batter to make 4 total waffles.
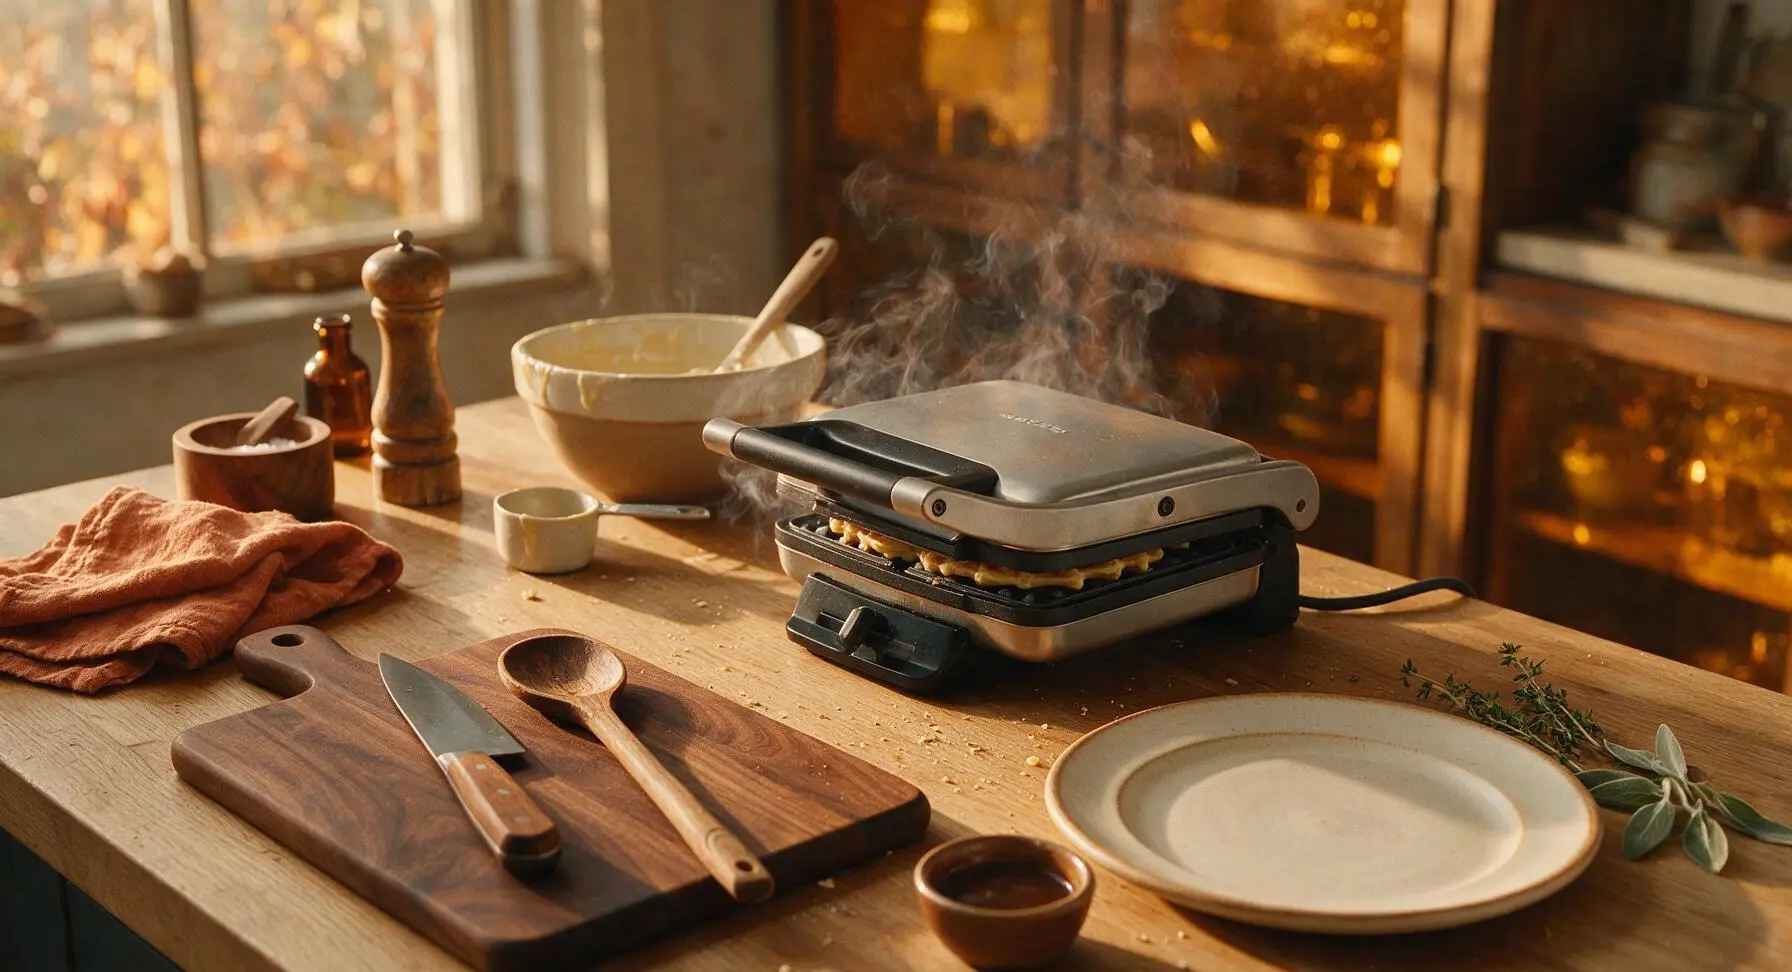
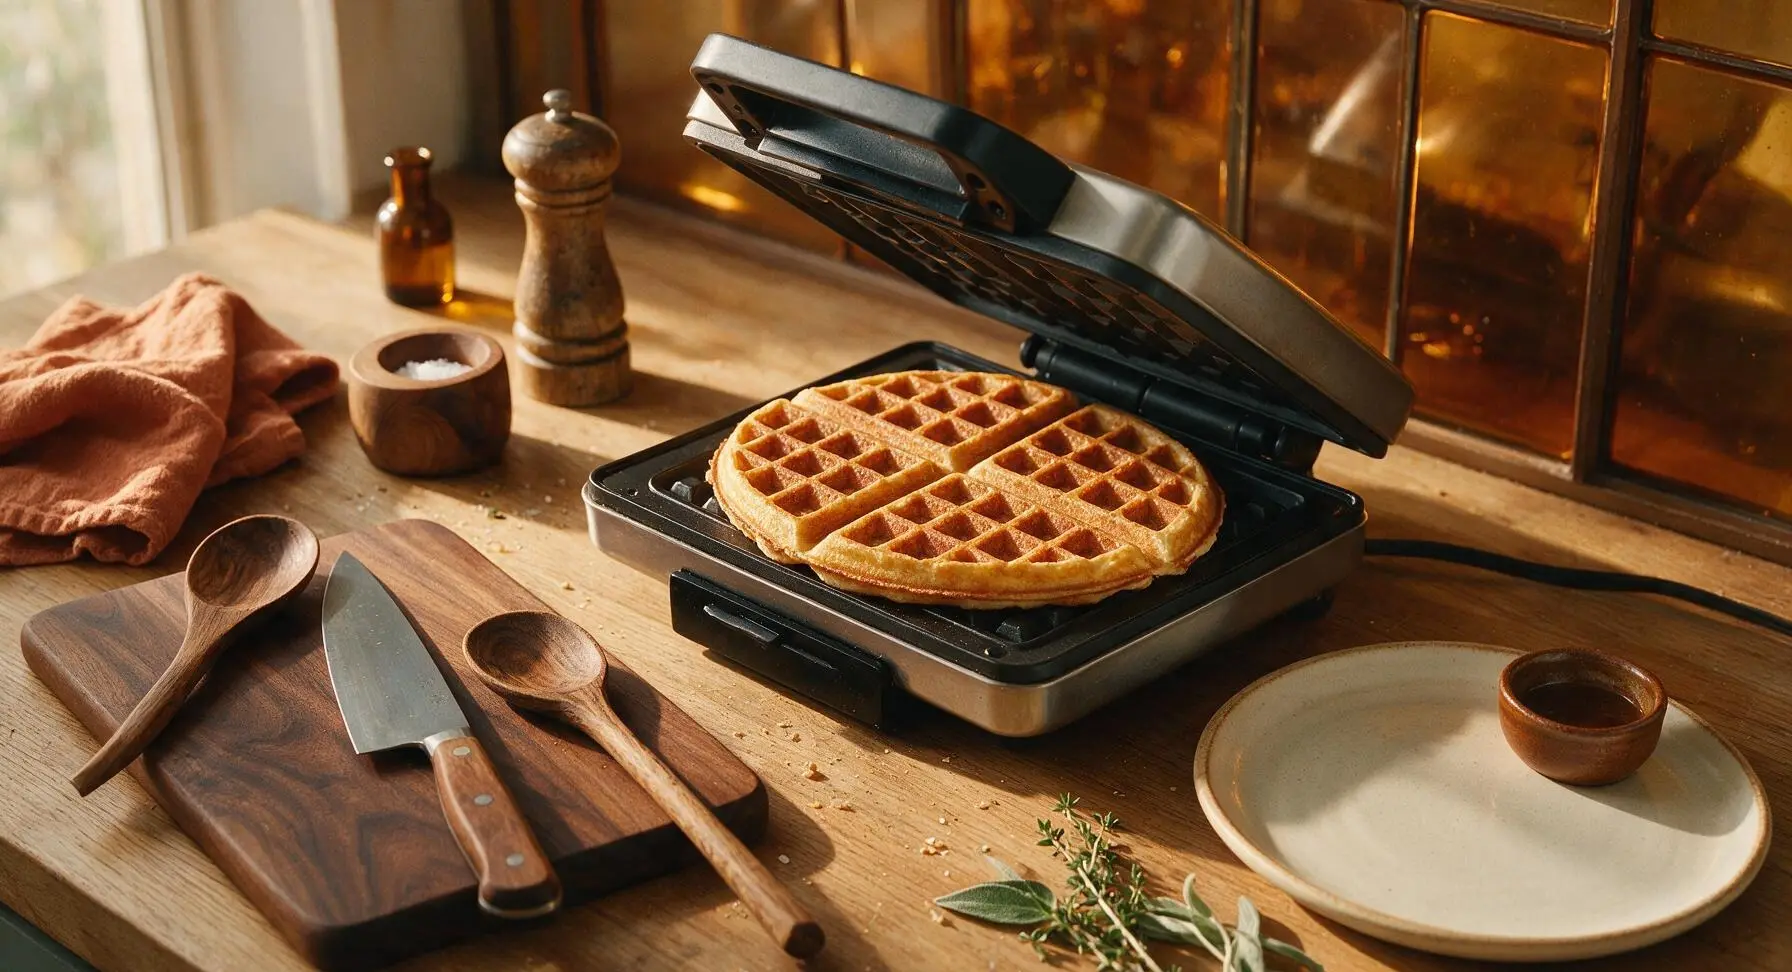
Step 7
step7:Cook Until Golden
Step 7
step7:Cook Until Golden
8

Plate and Serve Hot

Use the sky blue silicone spatula to lift the finished waffle from the waffle maker, transferring it to the center of the waiting matte off-white stoneware dinner plate. Top with softened salted butter, a light drizzle of pure maple syrup, and fresh fruit or whipped cream if desired. Serve immediately while hot and crisp.
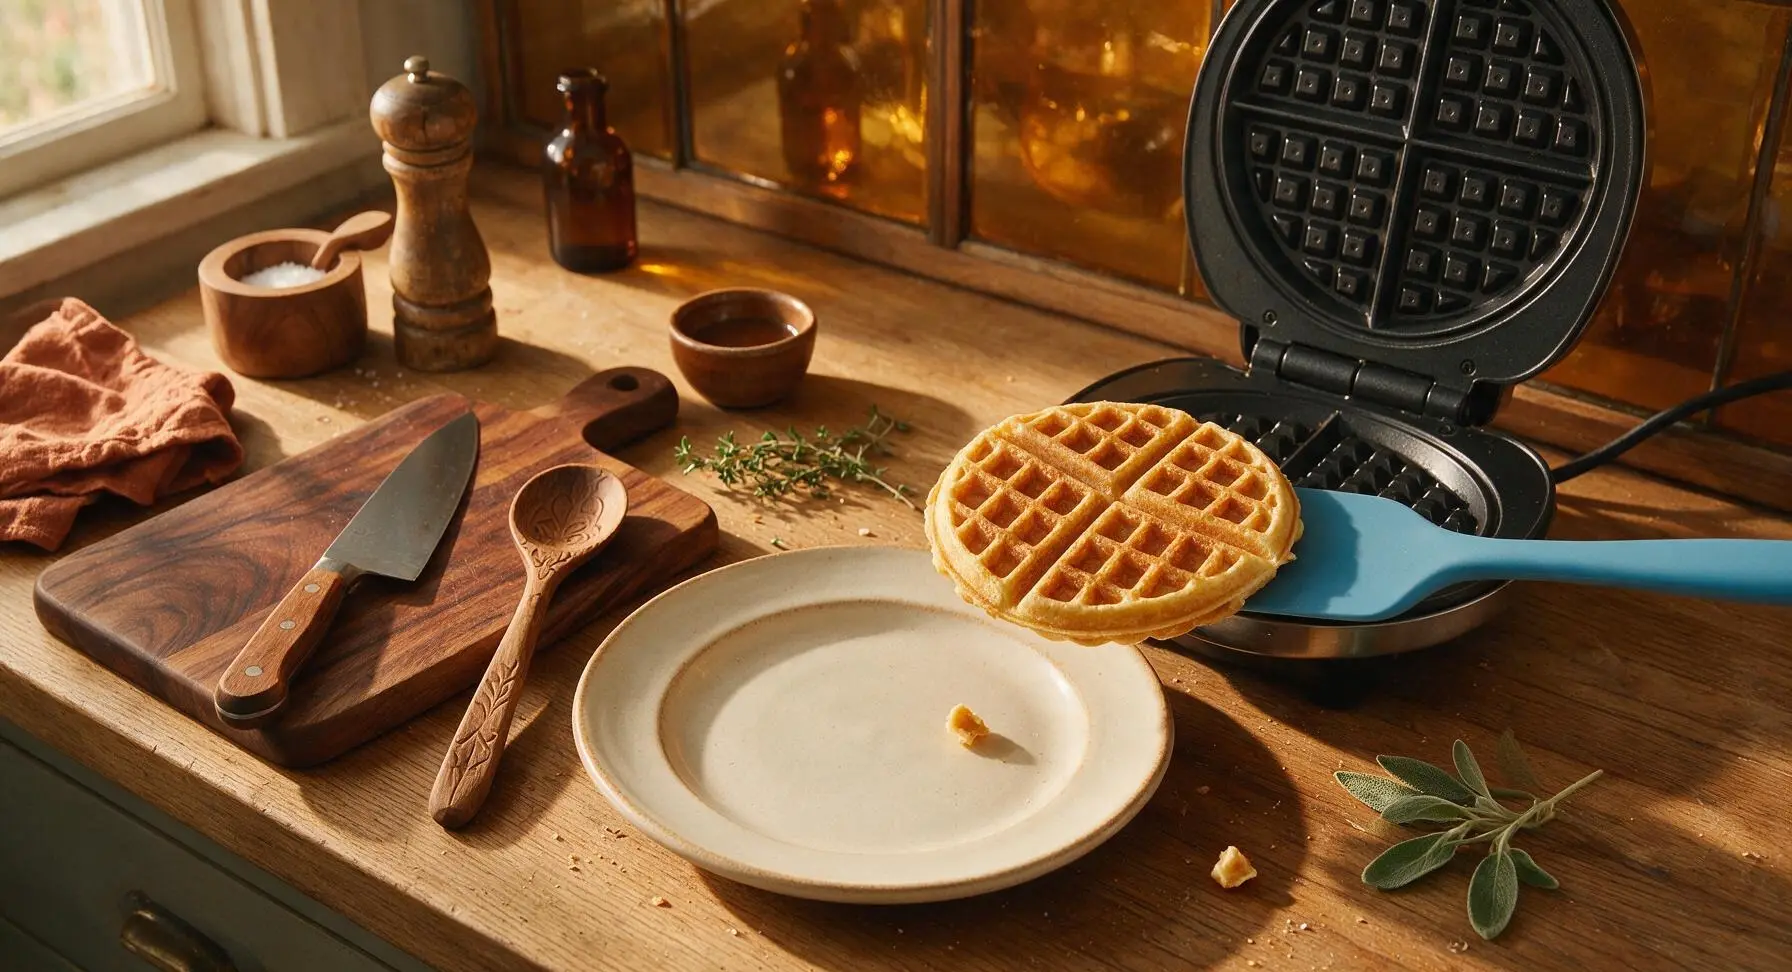
Step 8
step8:Plate and Serve Hot

Tips

1.Resist overmixing the batter: Small lumps are completely normal, and over-stirring develops gluten in the flour that leads to tough, dense waffles instead of light, fluffy ones. Stop folding as soon as no large pockets of dry flour remain.
2.Don’t peek at the waffle too early: Wait until steam stops curling from the waffle maker edges before lifting the lid. Opening the iron before the waffle sets can cause it to split, stick to the plates, and lose its crisp grid texture.
3.Keep waffles crisp between batches: Instead of stacking cooked waffles on a plate (which traps steam and sogs out edges), place them on a wire rack set over a baking sheet in a 200°F (95°C) oven until ready to serve. Cooked waffles also freeze perfectly for up to 3 months, reheat in a toaster for quick weekday breakfasts.


✨ You May Also Like

Breakfast
🍜 United States

Crisp-edged, fluffy lard griddle cakes are a nostalgic homestyle staple, with rich savoriness from rendered lard, perfect topped with maple syrup or savory gravy.

⏱️ 25 minuteBreakfast ★ 4.8
Breakfast
🍜 United States

Flaky, buttery homemade buttermilk biscuits smothered in creamy, peppery pork sausage gravy: a beloved, hearty Southern American comfort food classic.

⏱️ 35 minuteBreakfast ★ 4.8
Breakfast
🍜 United States

Golden, custardy brioche stuffed with sweet cream cheese and fresh berries, pan-fried to crisp perfection. An indulgent, cozy breakfast perfect for slow weekend mornings.

⏱️ 30 minuteBreakfast ★ 4.7
Breakfast
🍜 United States

Flaky, buttery Southern-style biscuits stuffed with savory salty country ham, a portable, satisfying classic perfect for casual on-the-go meals.

⏱️ 25 minuteBreakfast ★ 4.8
Breakfast
🍜 United States

Iconic puffy baked pancake popularized in Seattle, with crisp golden edges and soft custardy center, served warm with classic sweet toppings.

⏱️ 35 minuteBreakfast ★ 4.6
Breakfast
🍜 United States

Fluffy, golden pancakes studded with juicy peak-summer mixed berries, drizzled with maple syrup for a bright, comforting, crowd-pleasing family breakfast.

⏱️ 25 minuteBreakfast ★ 4.7

waffles are made of:Frequently Asked Questions

1.Why do my waffles turn out dense instead of light and fluffy? ▾
This almost always stems from three easy-to-fix missteps: using expired baking powder (it loses leavening power 6 months after opening), overmixing the batter (small lumps are ideal—overmixing develops tough, dense gluten), or pressing the waffle iron lid down too hard while cooking, which squeezes out the air that creates that fluffy rise. Letting batter rest 5 minutes before cooking also helps boost lift.
2.Can I prep this waffle batter ahead for busy weekday mornings? ▾
Absolutely, with one key rule to keep waffles fluffy: keep dry and wet ingredients separate until right before cooking. Pre-mix your dry ingredients (flour, baking powder, salt, sugar) in an airtight container the night before, and store whisked eggs, milk, and melted butter in a sealed jar in the fridge. Combined batter loses leavening power fast, so mix them only when you’re ready to pour.
3.How do I get crisp edges instead of soggy, limp waffles? ▾
Two simple chef tricks fix soggy waffles every time. First, wait until your waffle iron is fully preheated (most models have a ready light) before pouring batter—a too-cool iron steams batter instead of searing it. Second, don’t stack finished waffles on a plate; rest them on a wire rack over a baking sheet in a 200°F oven while you cook batches to let air circulate and keep edges crisp.
4.Can I make these waffles gluten-free without ruining the fluffy texture? ▾
Yes, as long as you use the right flour swap. Replace the all-purpose flour with a 1:1 gluten-free all-purpose baking blend that includes xanthan gum to mimic the structure of wheat flour. Avoid using single gluten-free flours like almond or coconut flour on their own—those create crumbly, dense waffles that won’t hold that classic light, crisp, fluffy texture.
5.What are easy, low-effort ways to customize these classic waffles? ▾
These neutral, fluffy waffles are endlessly adaptable! Stir ½ teaspoon of cinnamon or a splash of vanilla extract into the batter for warm, cozy depth, fold in ½ cup of blueberries or mini chocolate chips right before cooking, or top them with fried chicken for brinner, fresh fruit, maple syrup, or even a scoop of ice cream for a quick, fun dessert. Skip heavy mix-ins that weigh down the batter.

Comments (4)

2 days ago

OMG these are SO good!!! I’ve tried like 4 other homemade waffle recipes and they always came out dense or soggy, but these were perfectly fluffy with that crispy edge I crave. My kids devoured half the batch before I even got the syrup on the table 😂 Will 100% be making these every Sunday brunch from now on!

yesterday

Wait did you separate the egg whites like the recipe says? I almost skipped that step last time and I’m curious if that’s the fluff secret!

yesterday

Hi there! Separating the egg whites and folding them in gently really is the trick to that cloud-like fluff—so glad you and your kids loved the waffles, Lizzie! Don’t forget you can freeze leftover waffles for quick weekday breakfasts too, just pop them in the toaster to reheat.

1 week ago

Total game changer for our weekend camping prep! I made a double batch ahead of time, froze them, and they reheated perfectly over the camp stove. Super easy to throw together even when you’re half asleep making coffee before a hike, no fancy ingredients needed. Only note is I added a tiny extra dash of cinnamon and it slapped.

5 days ago

Love the camping hack, Mike! That cinnamon addition sounds fantastic, I’ll have to try that on my next batch. So stoked these worked out for your trip!

30 minutes ago

So easy to make between classes! Cook time was exactly 15 minutes like it says, no weird steps, and the waffles taste way better than the sad dining hall ones. I topped mine with peanut butter and banana for meal prep this week, held up great in the fridge for 3 days. Only tiny knock is I wish they were just a touch sweeter out of the iron, but that’s an easy fix with extra syrup or fruit. 10/10 would recommend to anyone who doesn’t have a ton of time or fancy kitchen gear.

5 days ago

Made these for my niece’s birthday brunch potluck last weekend and everyone was asking for the recipe! I used my old beat-up waffle iron that’s probably from the 90s and they still came out perfectly fluffy, no sticking or anything. Only thing I wish is I’d made a triple batch instead of a double—they were gone in 10 minutes flat!

3 days ago

Oh good to know they work on old waffle irons! Mine is a hand-me-down from my mom and I’ve been scared to test new recipes on it, I’ll have to give these a go this weekend.



