
Waffles From Scratch
intro
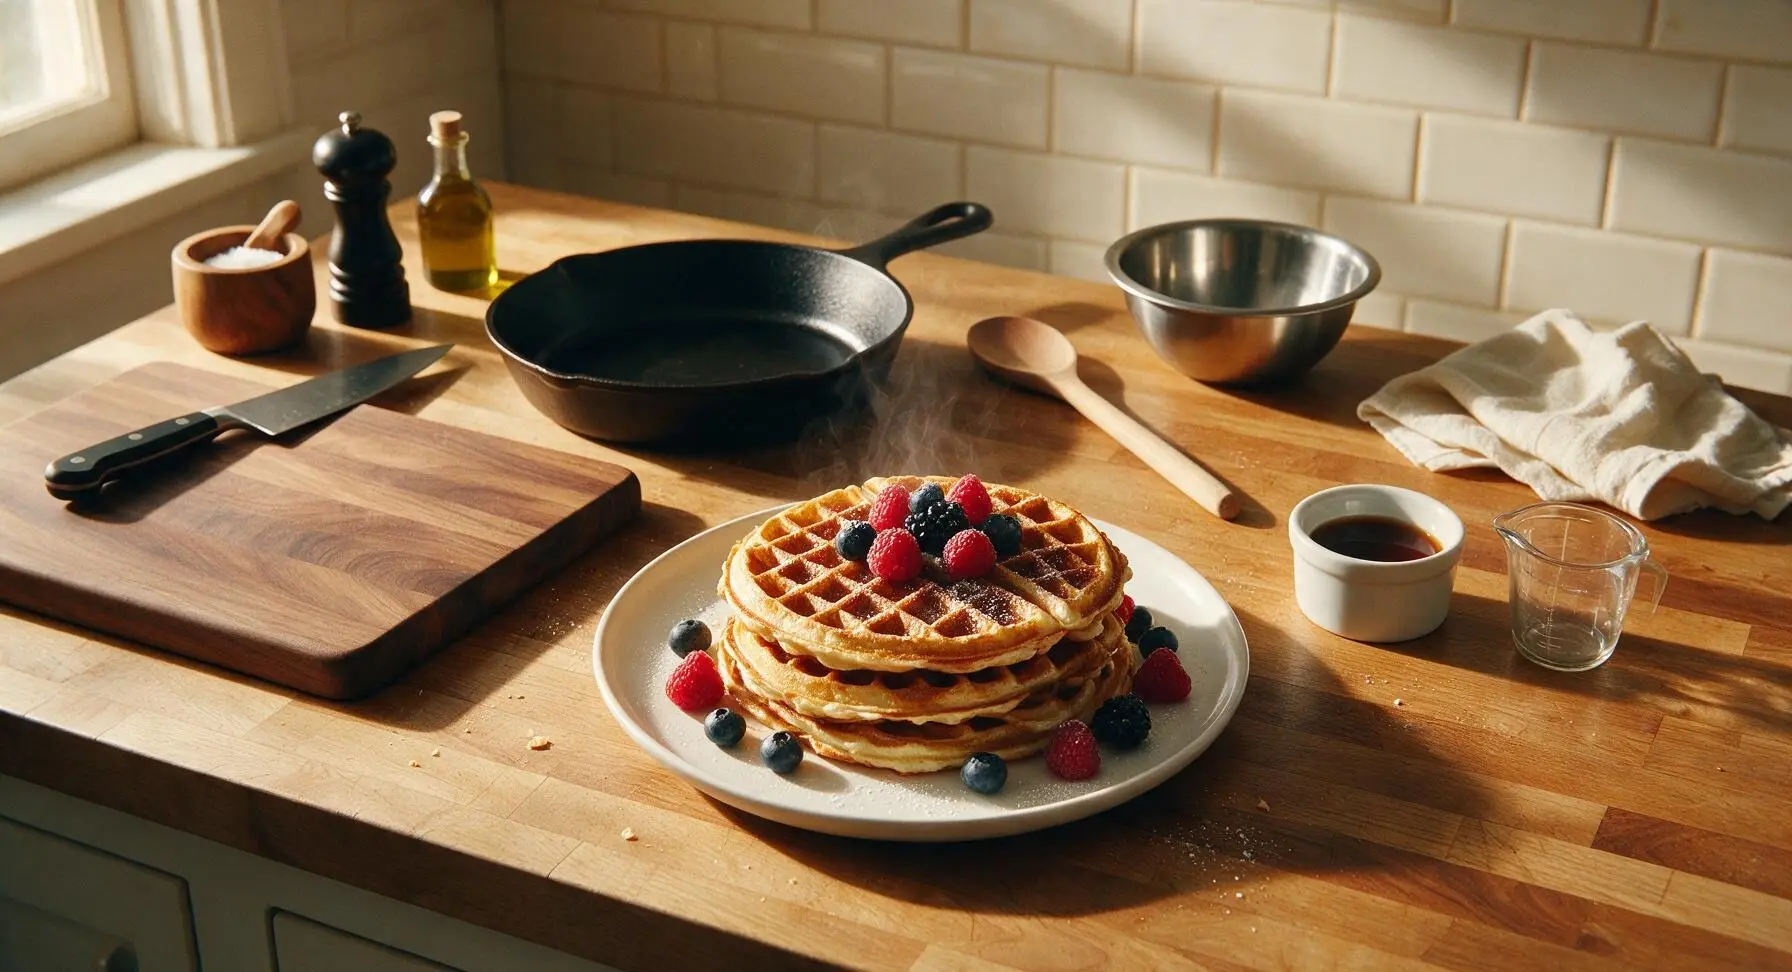
Crisp, caramelized edges give way to light, fluffy centers in these homemade scratch waffles, the ultimate customizable weekend treat for lazy family mornings.
Ingredients
Steps
Preheat Waffle Iron
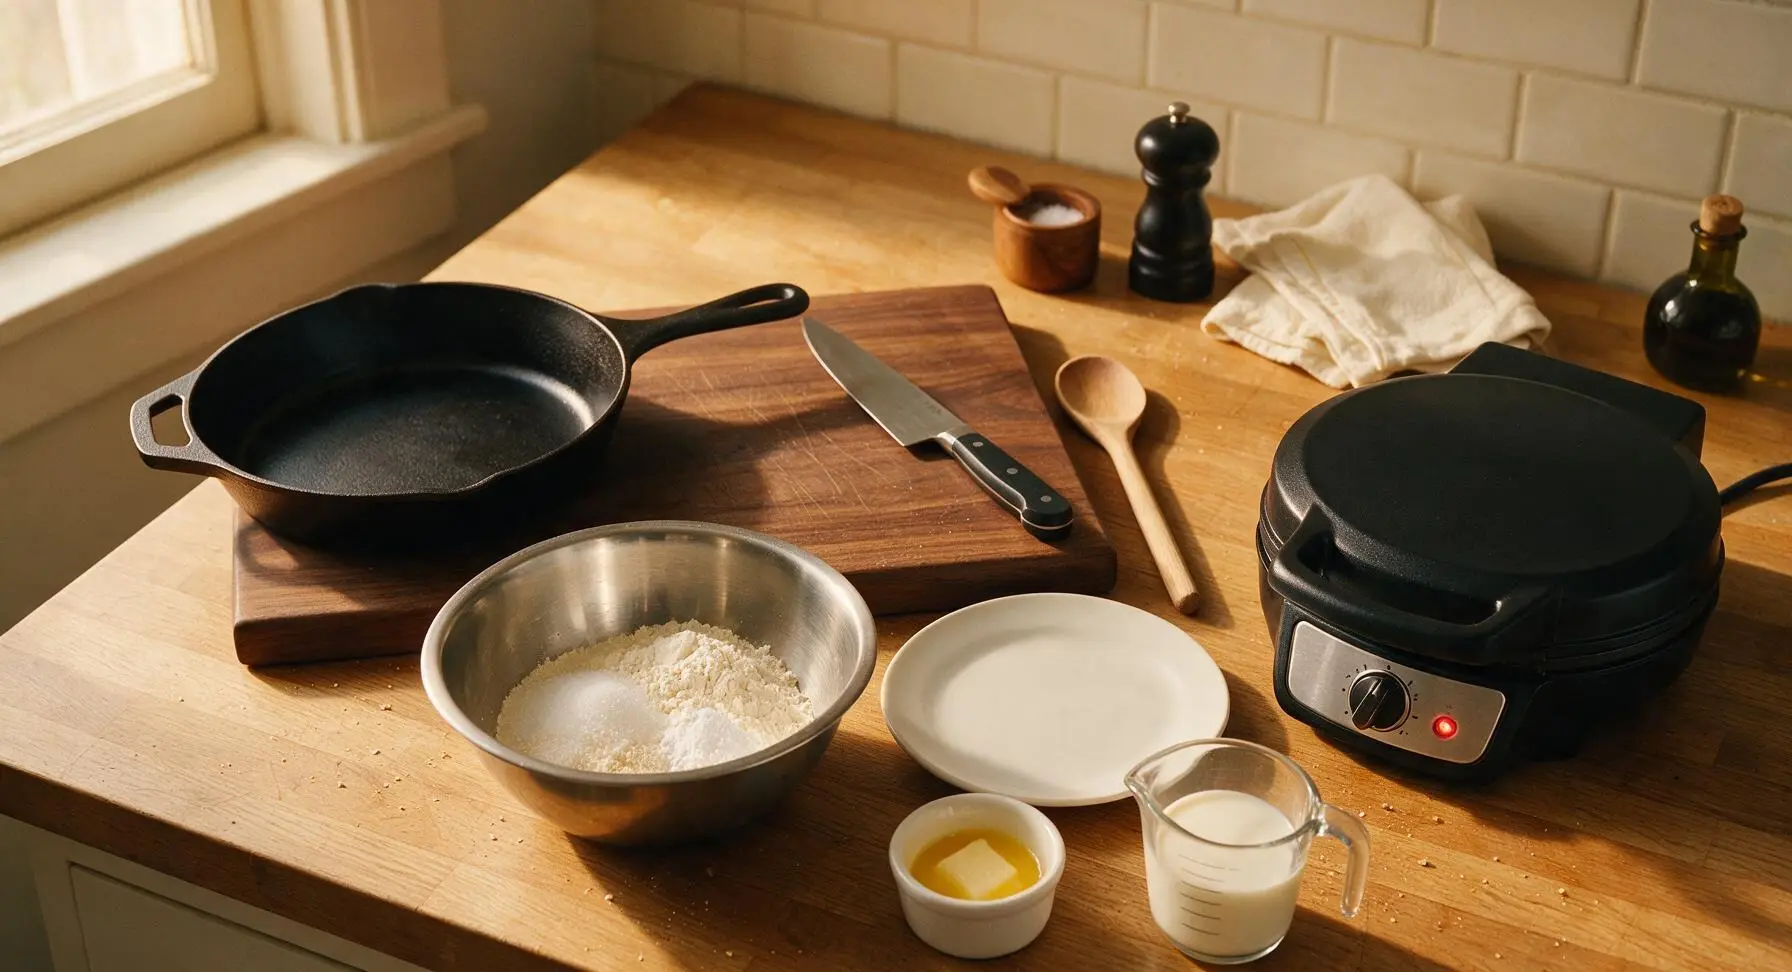
Plug in the 7-inch non-stick electric waffle iron, set the browning dial to the medium-high (4th) position, and allow it to preheat fully for 5 minutes until it reaches 375°F (190°C), signaled when the green ready indicator light illuminates. Preheating while you mix the batter cuts down on total cook time and ensures even, crisp browning.
Whisk Dry Ingredients
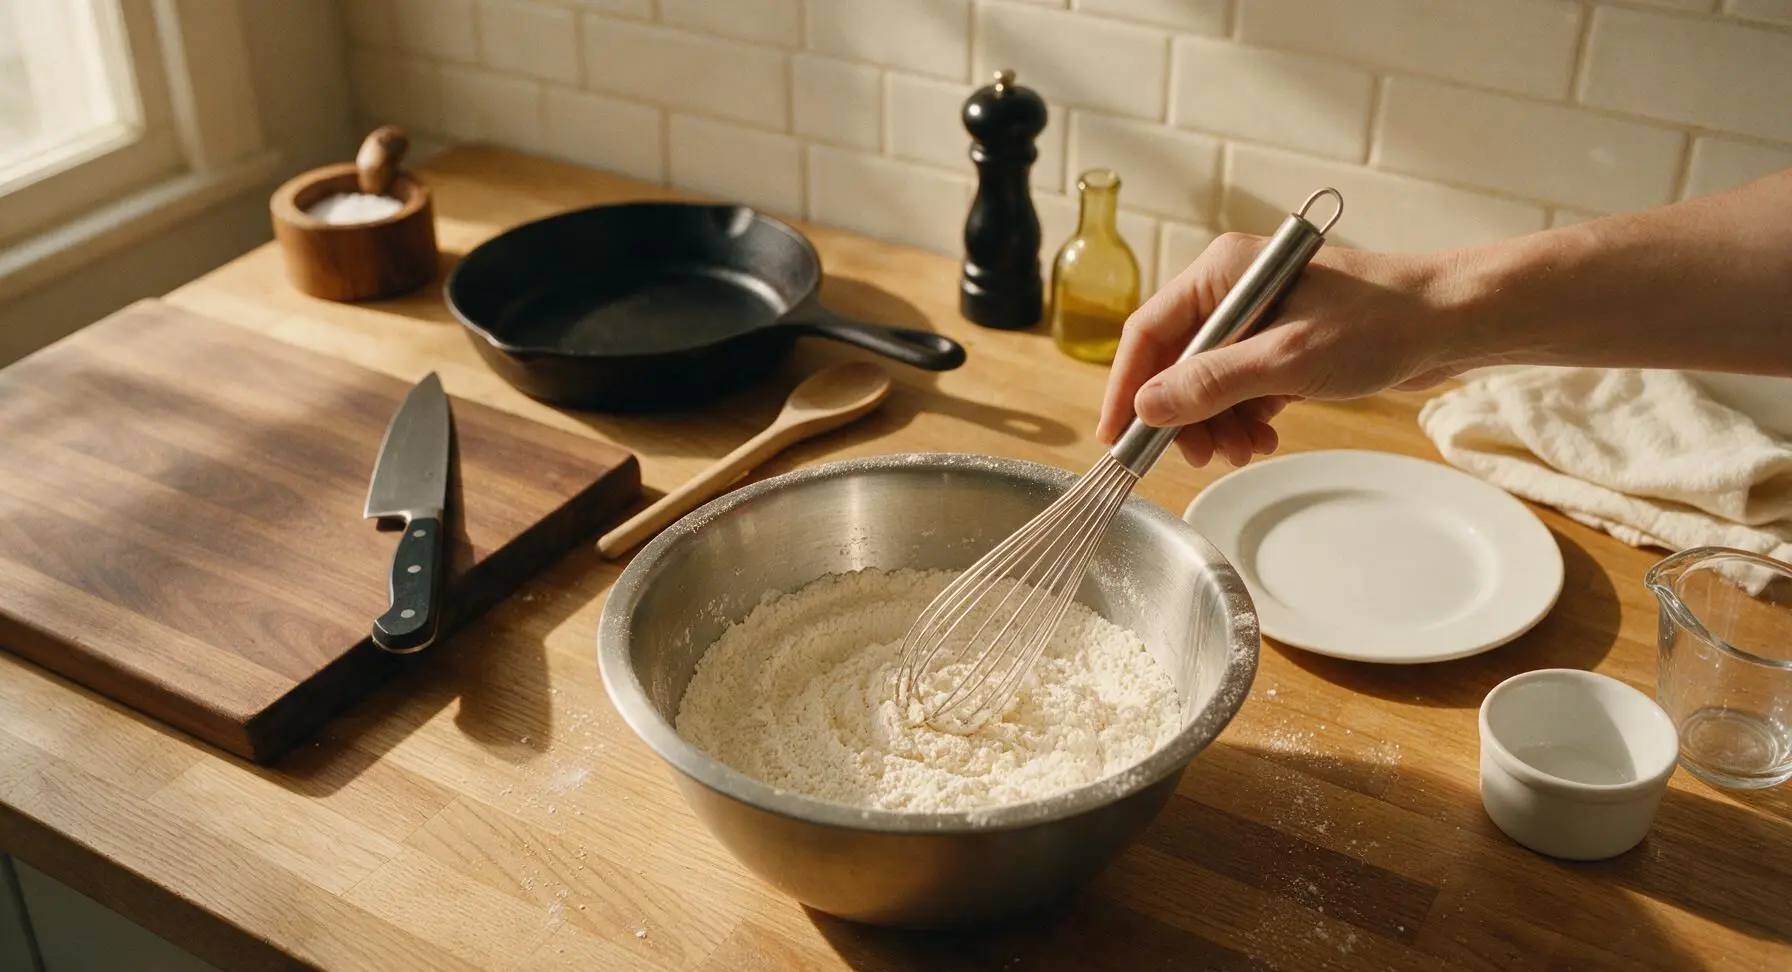
Add the measured all-purpose flour, baking powder, granulated sugar, and fine sea salt to the medium brushed stainless steel mixing bowl. Use the stainless steel wire whisk to stir the dry ingredients for 30 seconds, until fully combined with no clumps of baking powder visible, creating a uniform pale off-white mixture.
Combine Wet Ingredients
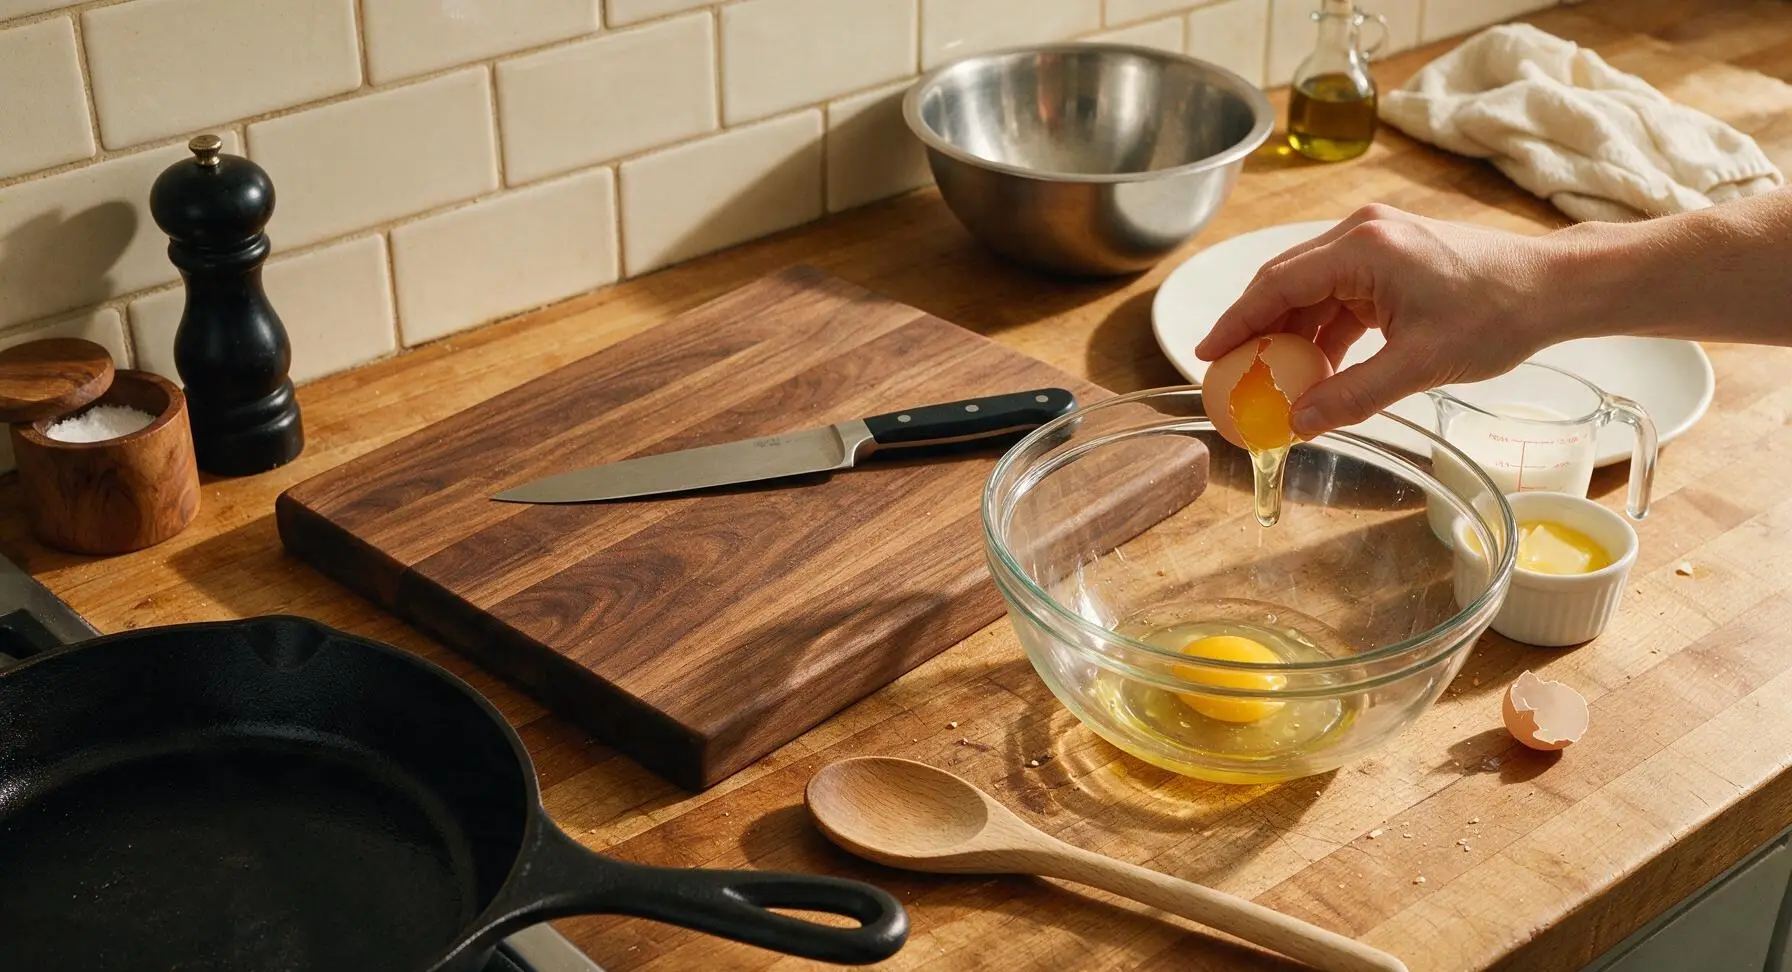
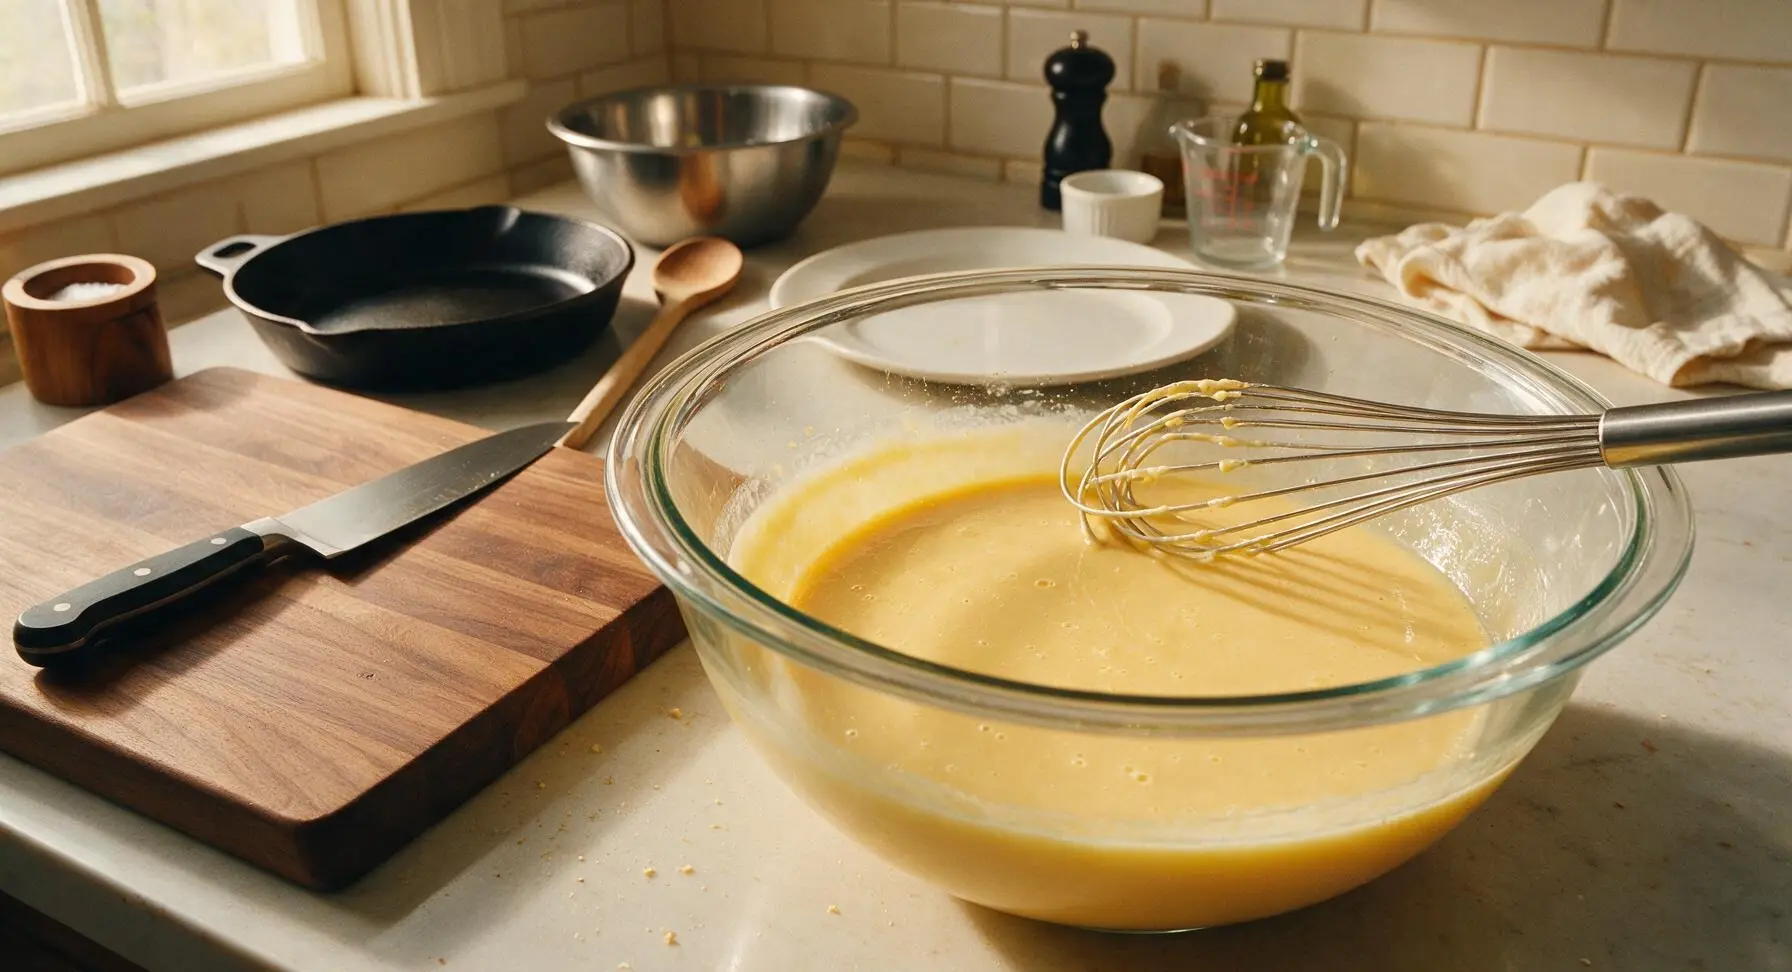
Crack the 2 room-temperature large eggs into the large clear tempered glass mixing bowl, whisking lightly for 20 seconds until yolks and whites are fully blended with no streaks of clear white remaining. Add the whole milk, cooled melted butter, and vanilla extract, then whisk for another 30 seconds until the wet mixture is smooth, pale golden, and completely homogeneous.
Fold Batter Gently
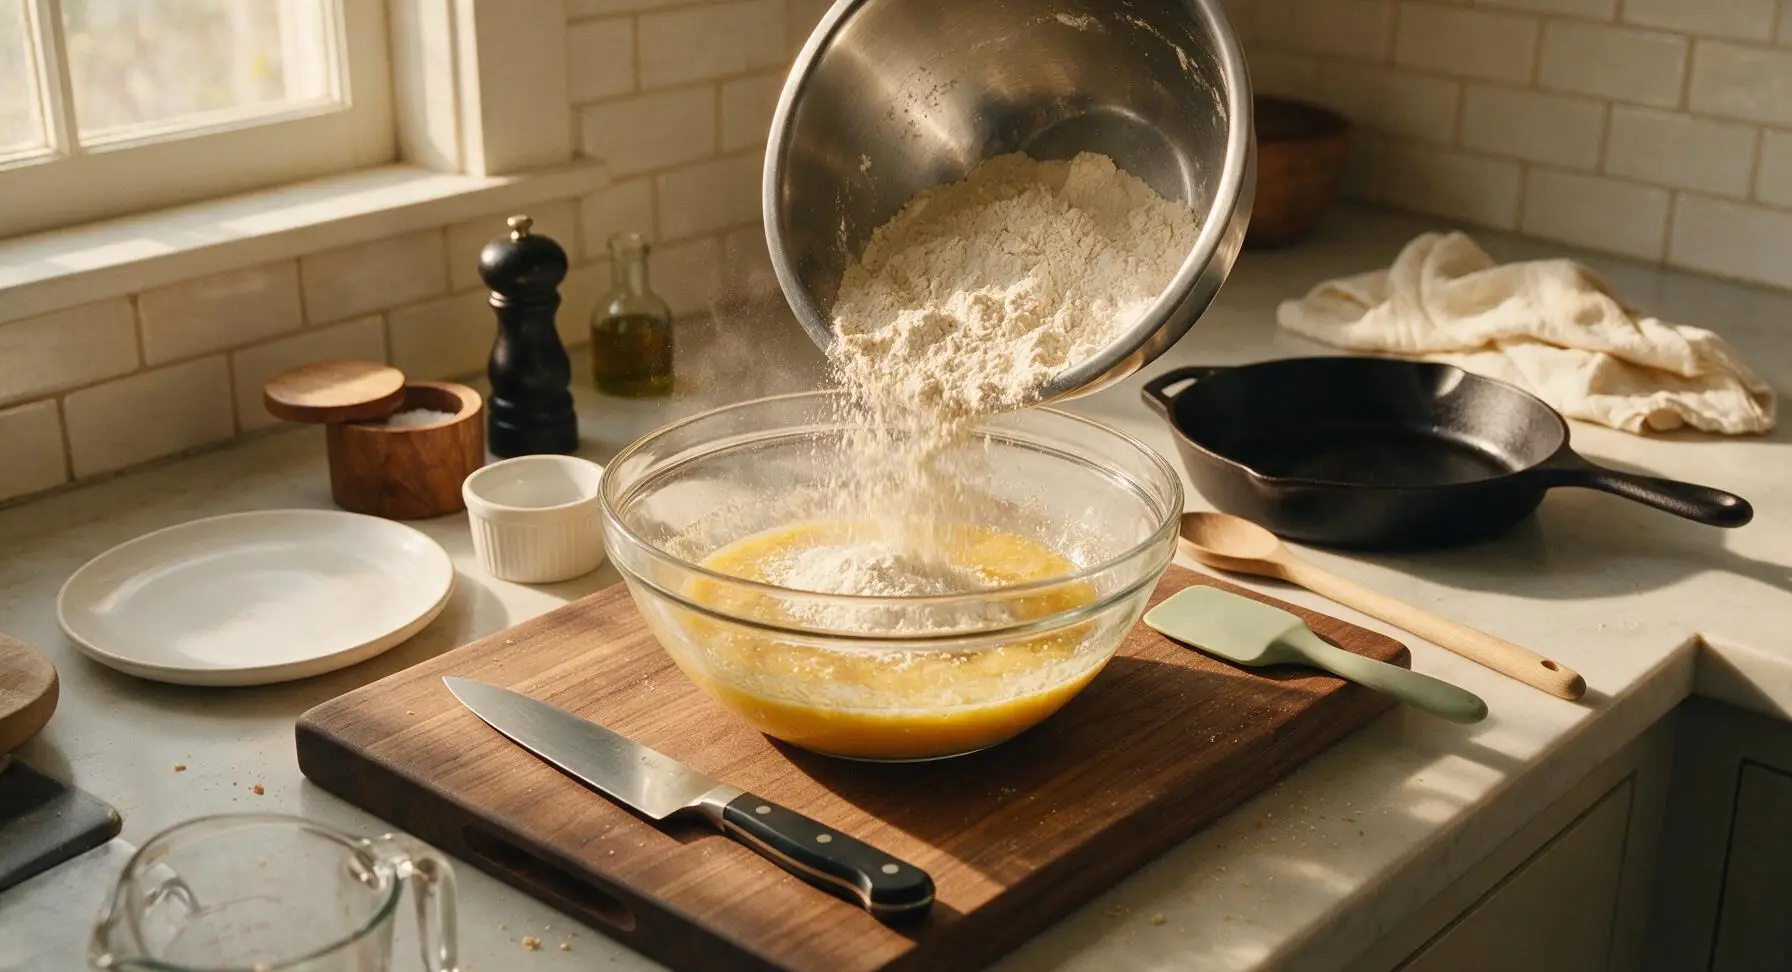
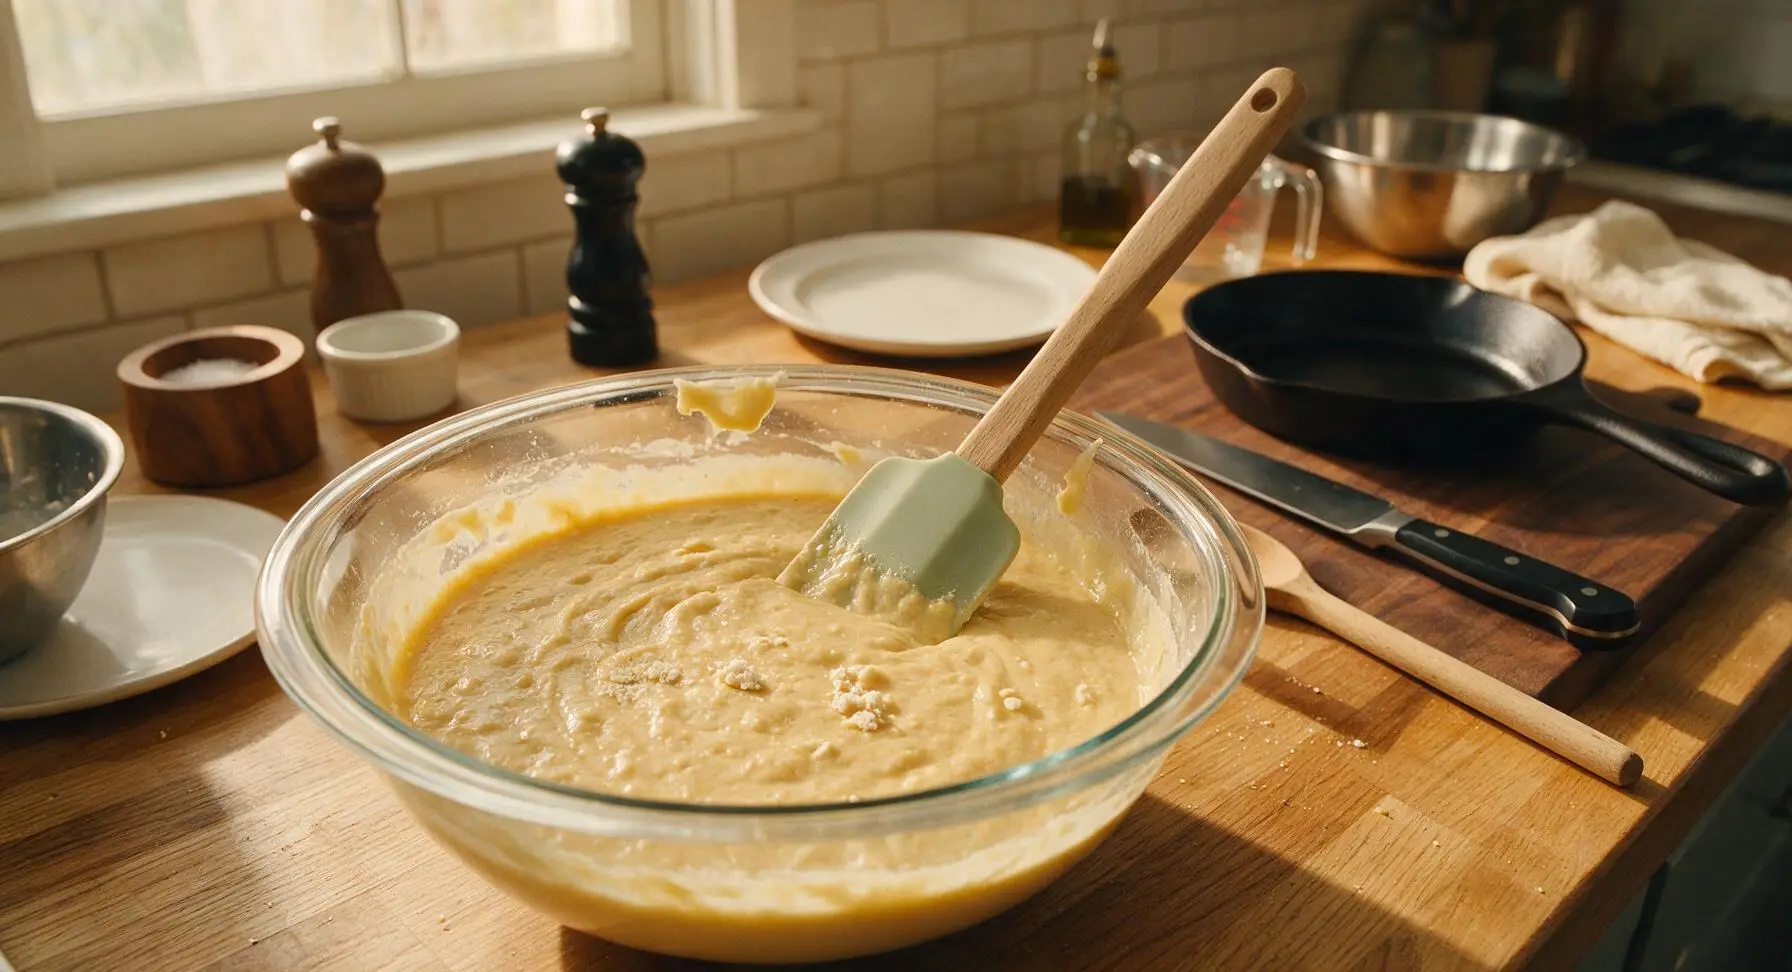
Pour the entire dry ingredient mixture from the stainless steel bowl into the large glass bowl of wet ingredients. Use the matte light sage green silicone spatula to gently fold the ingredients together, stirring only just until no large streaks of dry flour remain. Stop mixing as soon as the batter comes together; the finished batter will be thick and slightly lumpy, with a few small remaining flour clumps. Do not overmix, as this develops gluten and results in tough, dense waffles.
Grease Hot Waffle Iron
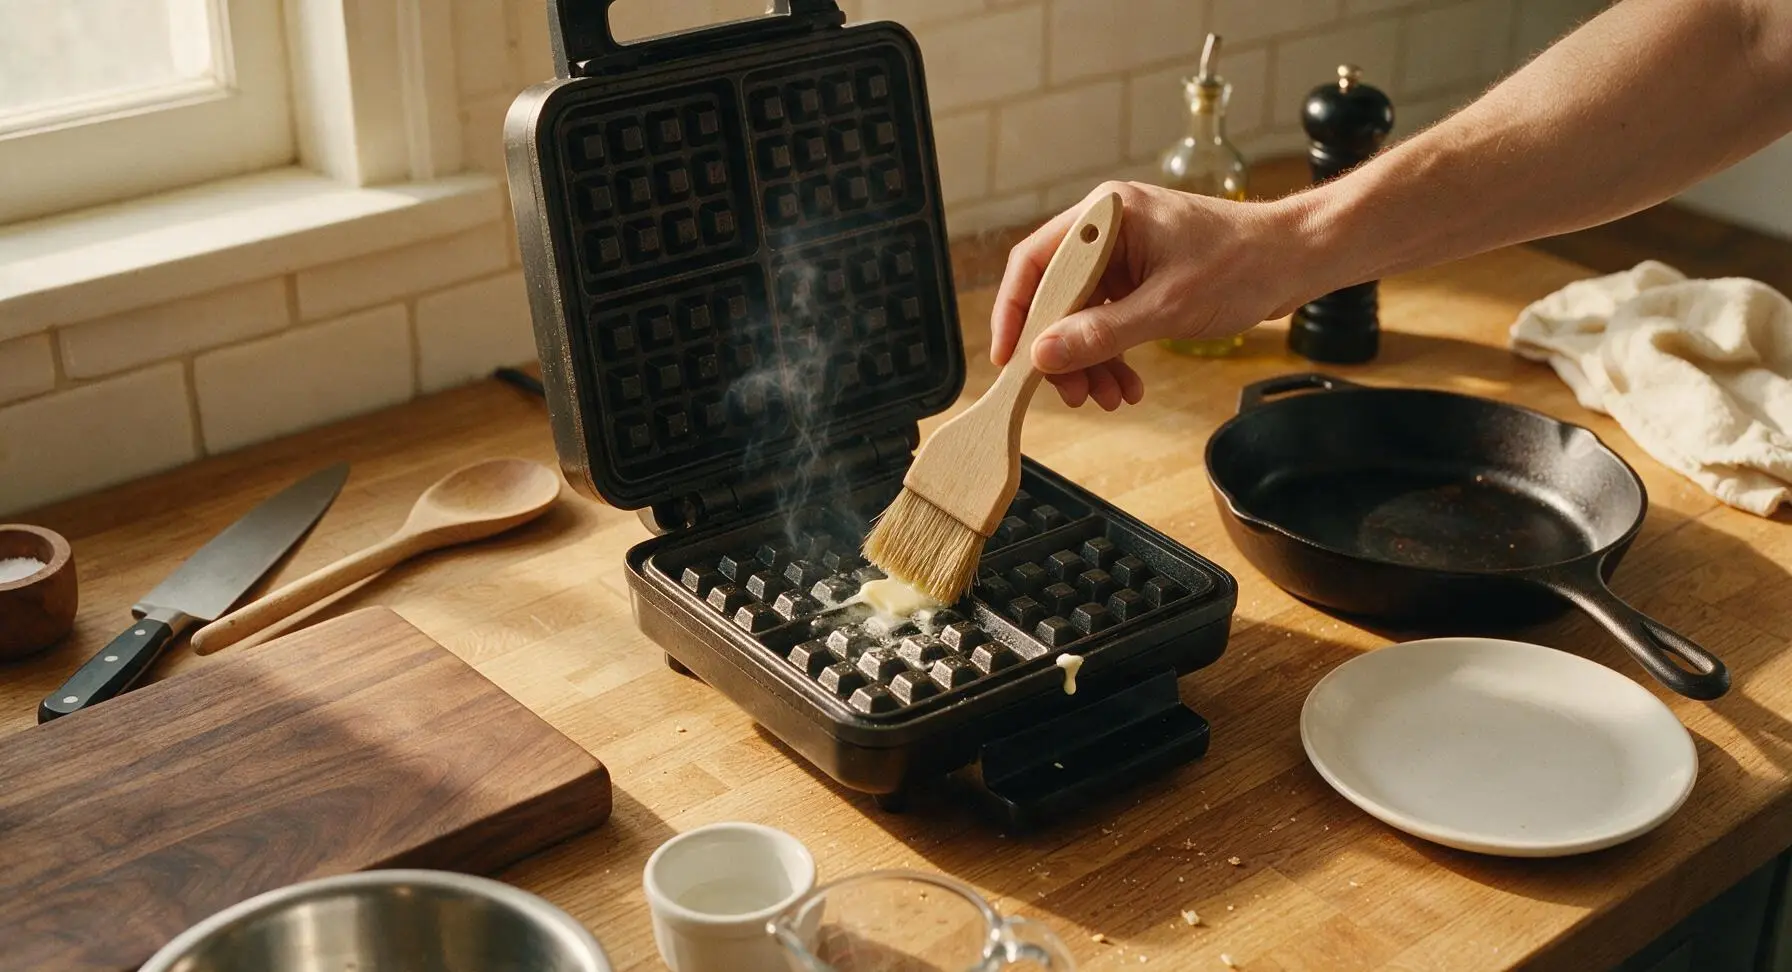
Once the waffle iron is fully preheated (the green ready light will illuminate), dip the natural boar bristle pastry brush in the reserved 1 teaspoon of melted butter, and brush a thin, even coat over both the top and bottom metal grid surfaces. This prevents sticking and adds extra crispness to waffle edges; avoid cooking spray, as it leaves a sticky residue on non-stick surfaces over time.
Cook Waffles Until Crisp
Use the 1-cup stainless steel measuring cup to ladle 3/4 cup of batter directly onto the center of the greased bottom waffle grid. Close the lid gently without pressing down firmly, and cook for 3 to 4 minutes, until steam stops escaping from the iron edges and the waffle is deep golden brown and crisp. Carefully lift the finished waffle out with the silicone spatula, and transfer it to the chrome wire cooling rack for 1 minute before serving to keep the exterior crisp (trapped steam from stacking will make waffles soggy). Repeat with remaining batter, greasing the iron lightly between batches.
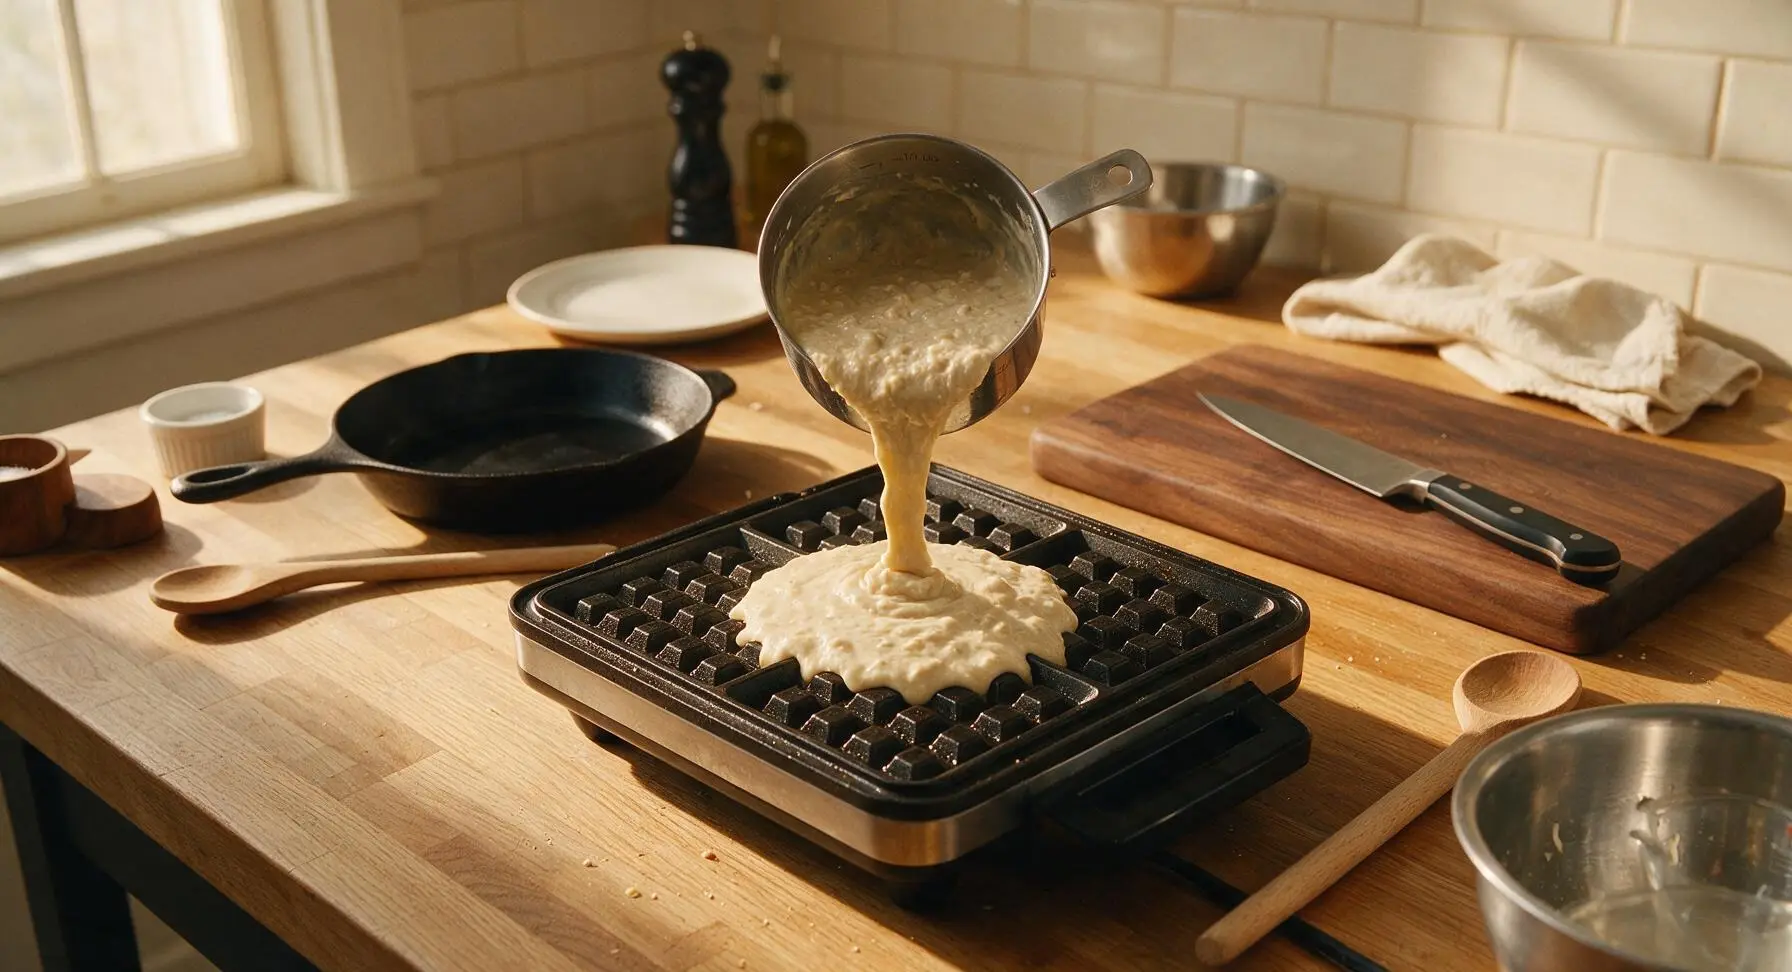
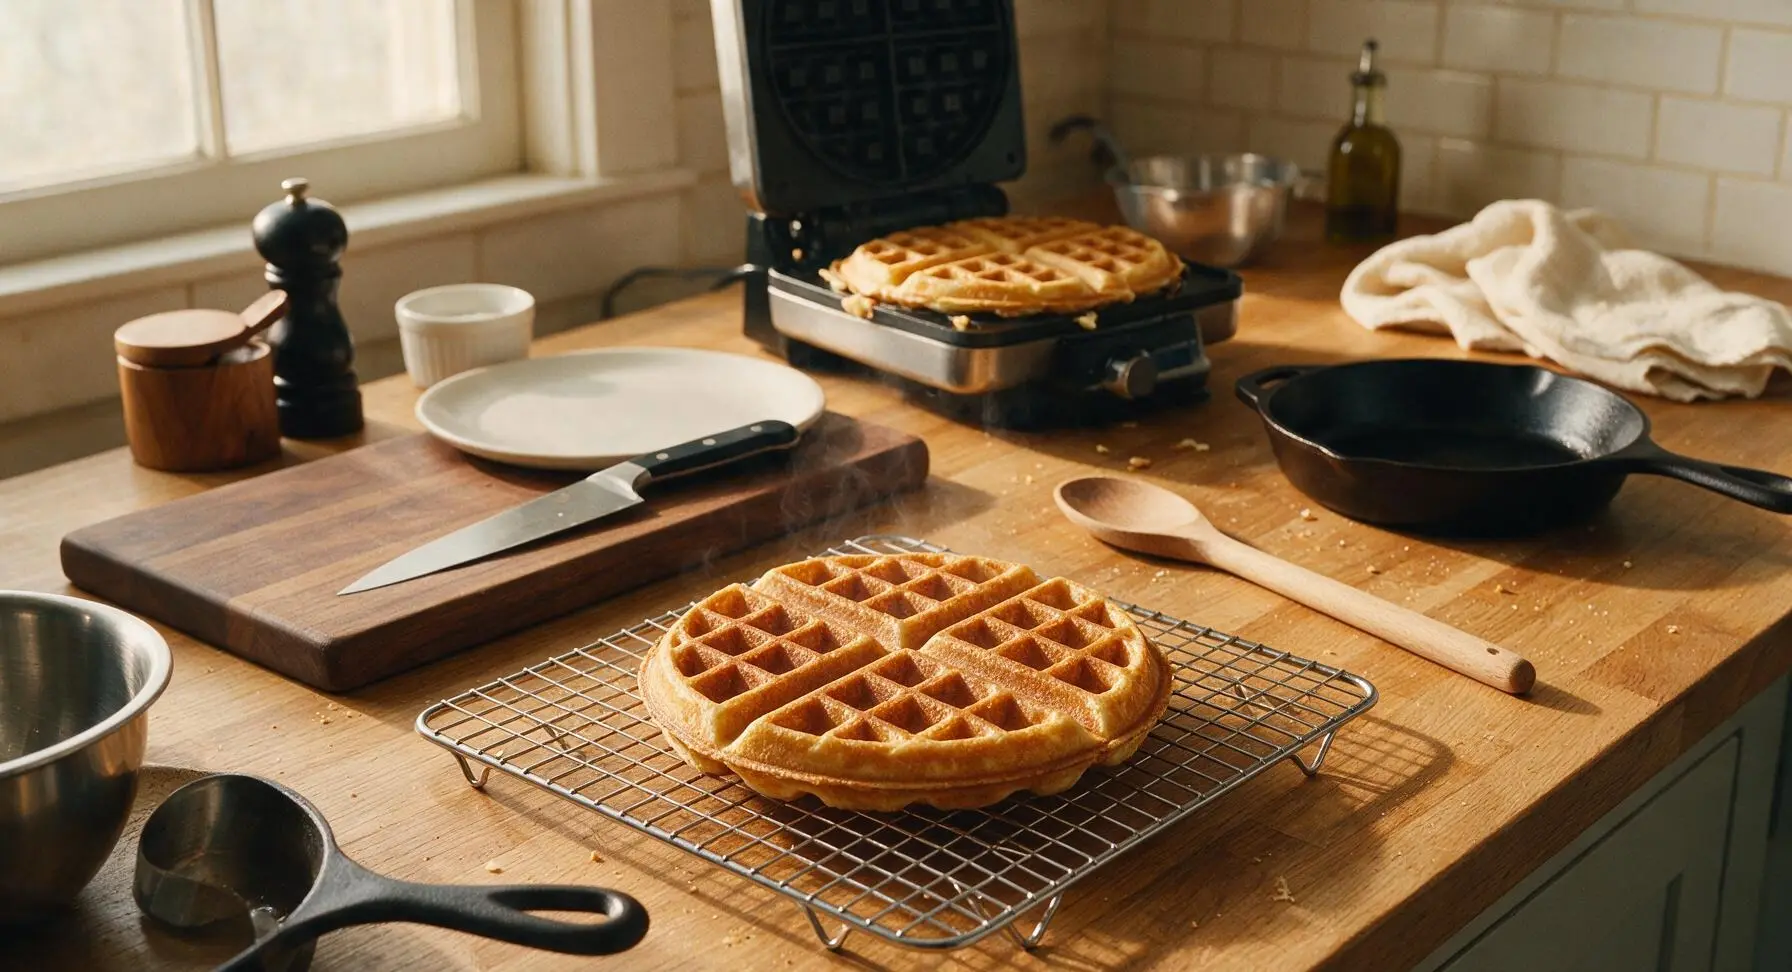
Plate and Serve Hot
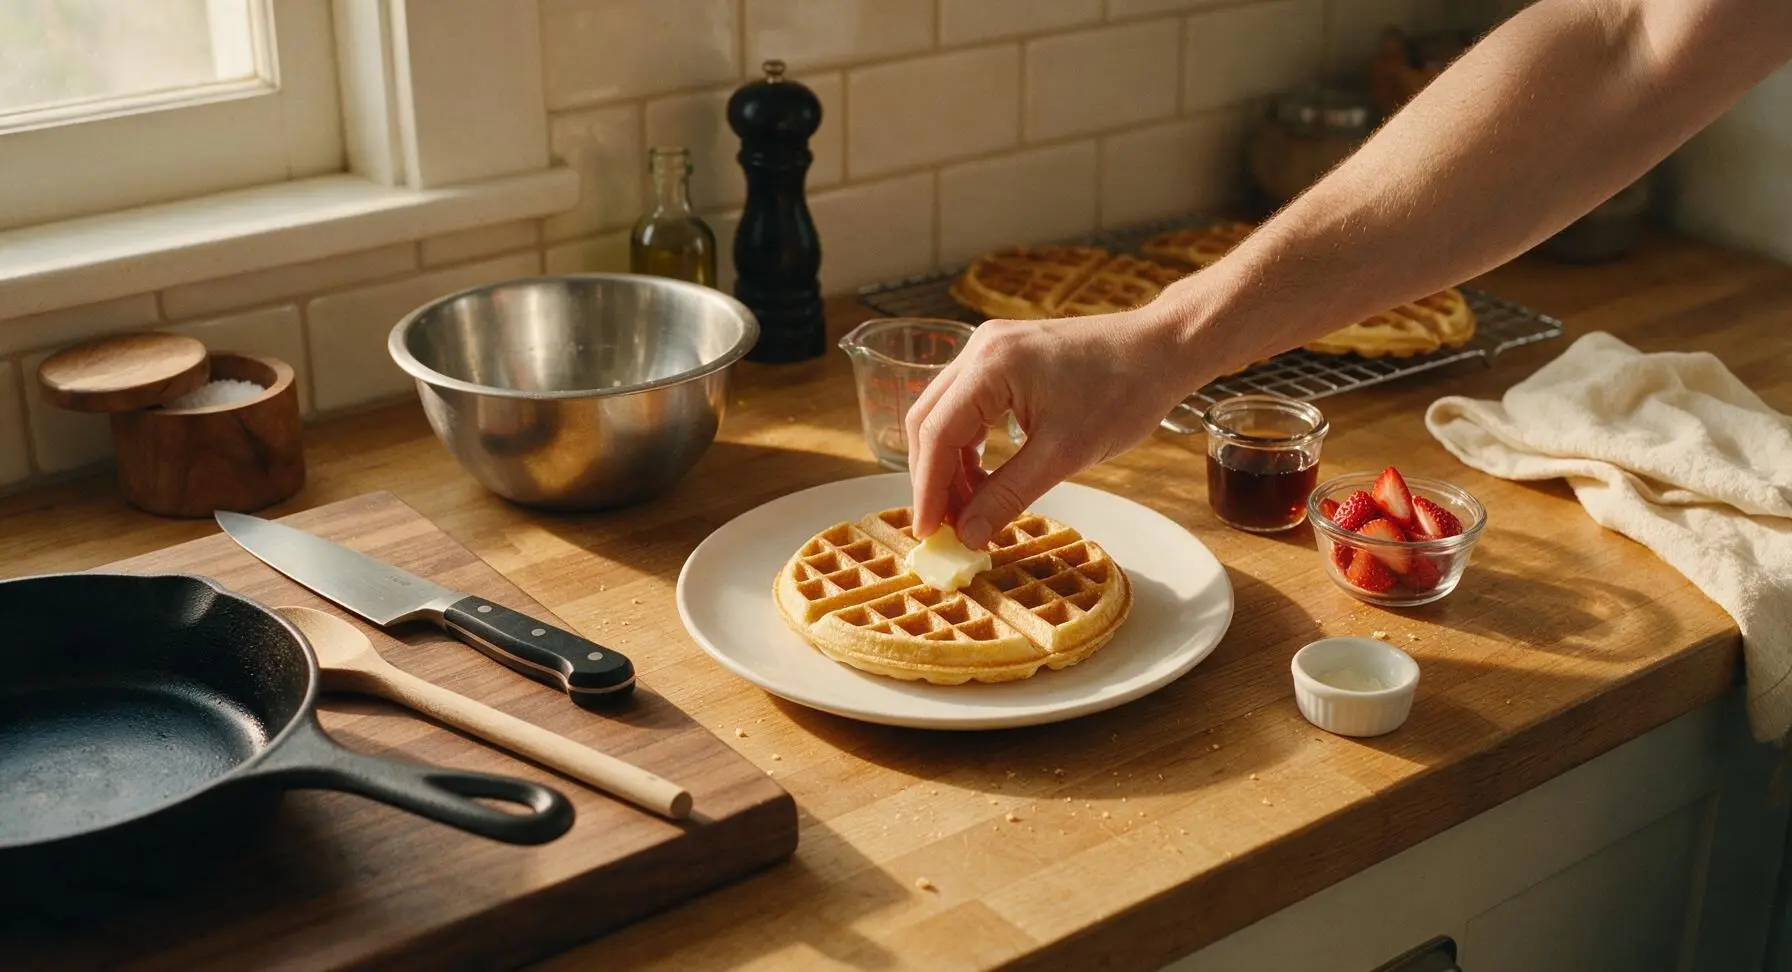
Transfer one warm, crisp waffle from the cooling rack to the cream white ceramic dinner plate. Top with a pat of butter, a light drizzle of maple syrup, and fresh sliced strawberries and mint if desired. Serve immediately while hot for the best texture.
Tips
2.Rest cooked waffles on a wire rack instead of stacking them on a plate: Stacking traps hot steam between waffle layers, which softens the crisp exterior and leads to soggy waffles. Resting waffles on the open rack for 1 minute lets excess steam escape, keeping edges shatteringly crisp.
3.Use room-temperature eggs: Cold eggs do not incorporate as smoothly into the wet mixture, and can cause melted butter to re-solidify into small clumps, leading to uneven batter texture. Pull eggs out of the refrigerator 15 minutes before mixing for the most consistent, smooth batter.






OMG these waffles are a GAME CHANGER for Saturday morning breakfast! My kids devoured an entire batch in 15 minutes flat, even my super picky 7-year-old asked for thirds. I tossed a handful of mini chocolate chips into half the batter and it was chef’s kiss. So crispy on the outside, fluffy on the inside, way better than the boxed mix I’ve been buying for years. 10/10 will be making these every weekend from now on!
Super easy recipe, came out great for my first time making waffles not from a frozen box! Only issue is my first batch stuck a little to my waffle iron — did I not spray it enough? Taste was 10/10 though, my roommates were obsessed.
I made these for a potluck brunch with my friend group last weekend and everyone was begging for the recipe! I topped them with fresh strawberries, whipped cream, and a little drizzle of maple syrup, and they looked like they came straight from a fancy diner. Can’t believe how simple the ingredient list is, I already had everything in my pantry.
These freeze SO well! I made a double batch on Sunday, popped the leftover waffles in the freezer, and now I’ve got quick, easy breakfasts for the whole work week. Just 30 seconds in the toaster and they taste just as fresh as the day I made them. Total meal prep win.
I’ve been making waffles for over 40 years and this recipe is easily one of the best scratch versions I’ve ever tried. The ratio of flour to milk to leavening is perfect, no weird sogginess even after sitting on the plate for 10 minutes. I added a teaspoon of vanilla extract and a pinch of cinnamon to the batter like I always do, and it paired beautifully. Great work on this recipe!
Taste was great, but my waffles came out a little denser than I expected? I followed the recipe exactly, measured everything out with measuring cups, not sure where I went wrong. Still edible, just not as light and fluffy as the photos look.
Made these for my daughter’s birthday breakfast a couple days ago and she was over the moon! We set up a little waffle topping bar with sprinkles, chocolate syrup, banana slices, and peanut butter, and it was so fun watching her build her own waffle. Cook time was way faster than I thought it would be, which was perfect for a chaotic school morning.
I swapped the all-purpose flour for a 1:1 gluten free baking mix and these came out so good! I was nervous they’d be gummy or fall apart, but they had that perfect crisp edge just like regular waffles. My husband who eats gluten didn’t even notice the difference, which is the highest compliment in my book.
Who knew scratch waffles were this easy? I always thought you needed a bunch of fancy ingredients or special skills, but this took me 10 minutes to mix up and 5 minutes to cook. Topped mine with fried chicken and a little hot honey for a savory-sweet brunch, and it slapped. 10/10 would make again for game day.
Veganized these by swapping the eggs for flax eggs and using oat milk instead of dairy, and they came out fantastic! Crispy edges, fluffy middle, no weird aftertaste. I was worried the swaps would mess up the texture, but you really can’t tell. Perfect for my vegan brunch coming up next month.
I’ve tried so many scratch waffle recipes over the years and this is the only one that doesn’t come out soggy or flat! The trick of letting the batter rest for 5 minutes before pouring is a total game changer, I never used to do that. Made these for my parents when they visited a couple weeks back and my mom asked for the recipe before she even left the table.