
wafflizer

title 1
wafflizer
⏱️ cook time 20 minutes
🍽️ servings 4
⚡ Difficulty easy

intro

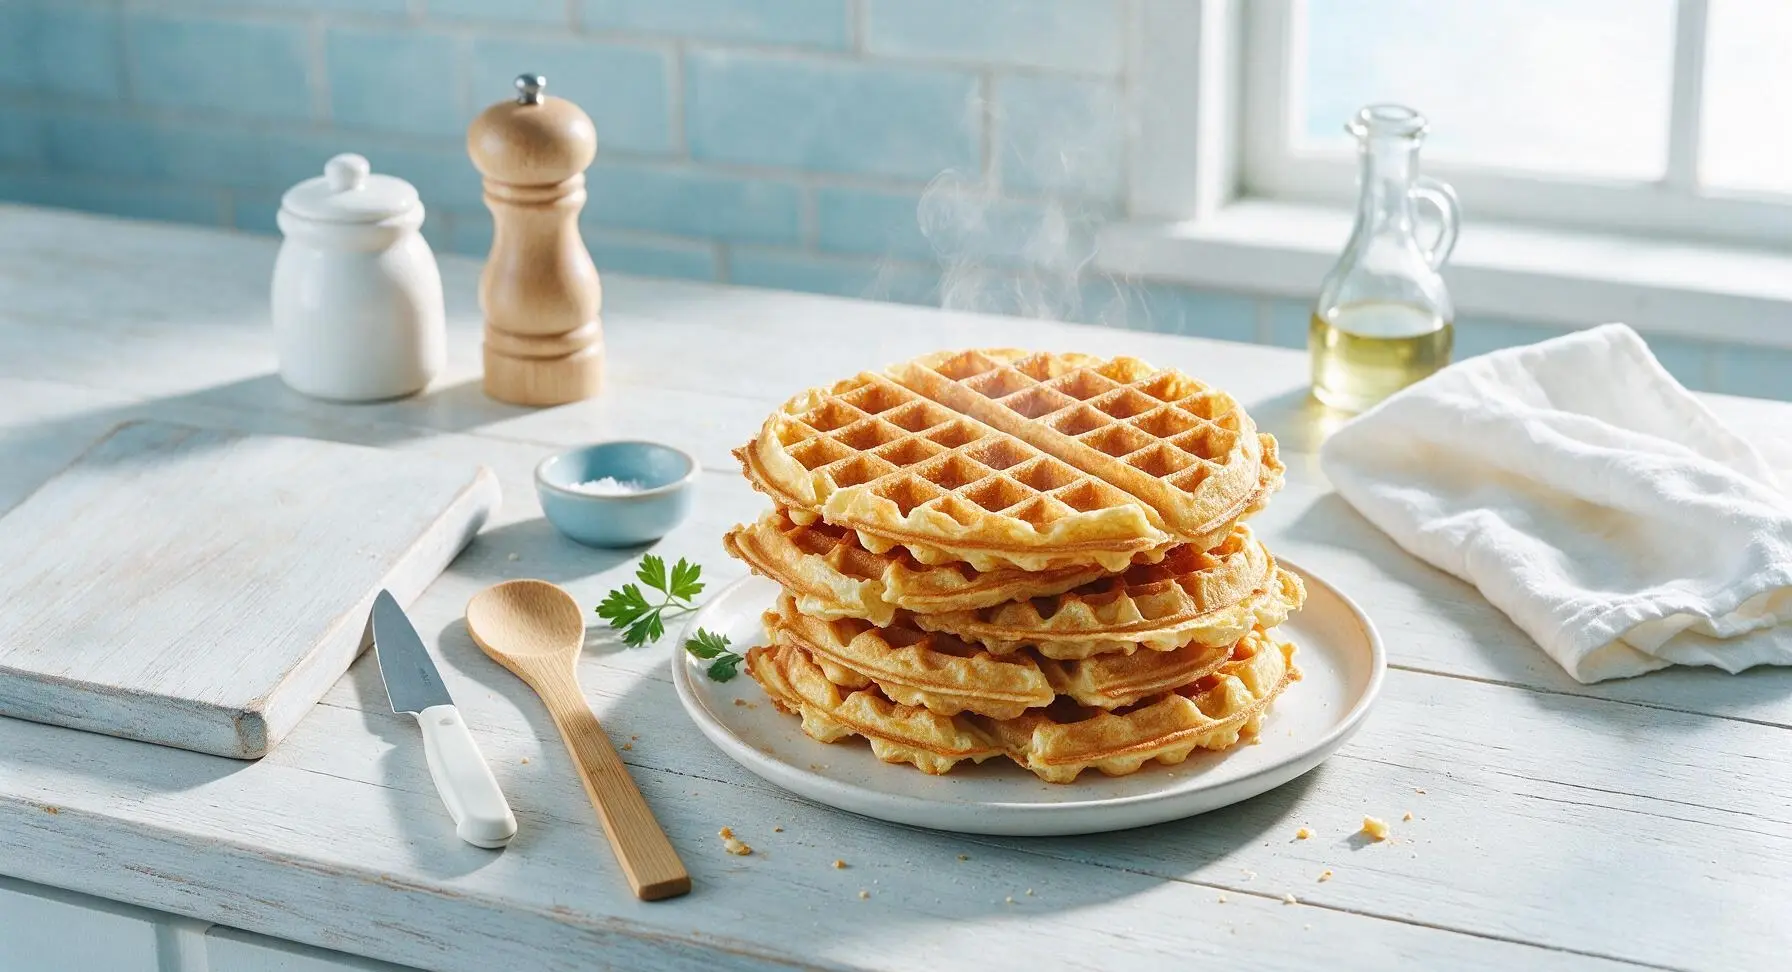
Crisp at the edges, light and fluffy inside, these golden buttermilk waffles made in a countertop wafflizer are a cozy, customizable crowd-pleaser perfect for relaxed family meals.

Ingredients
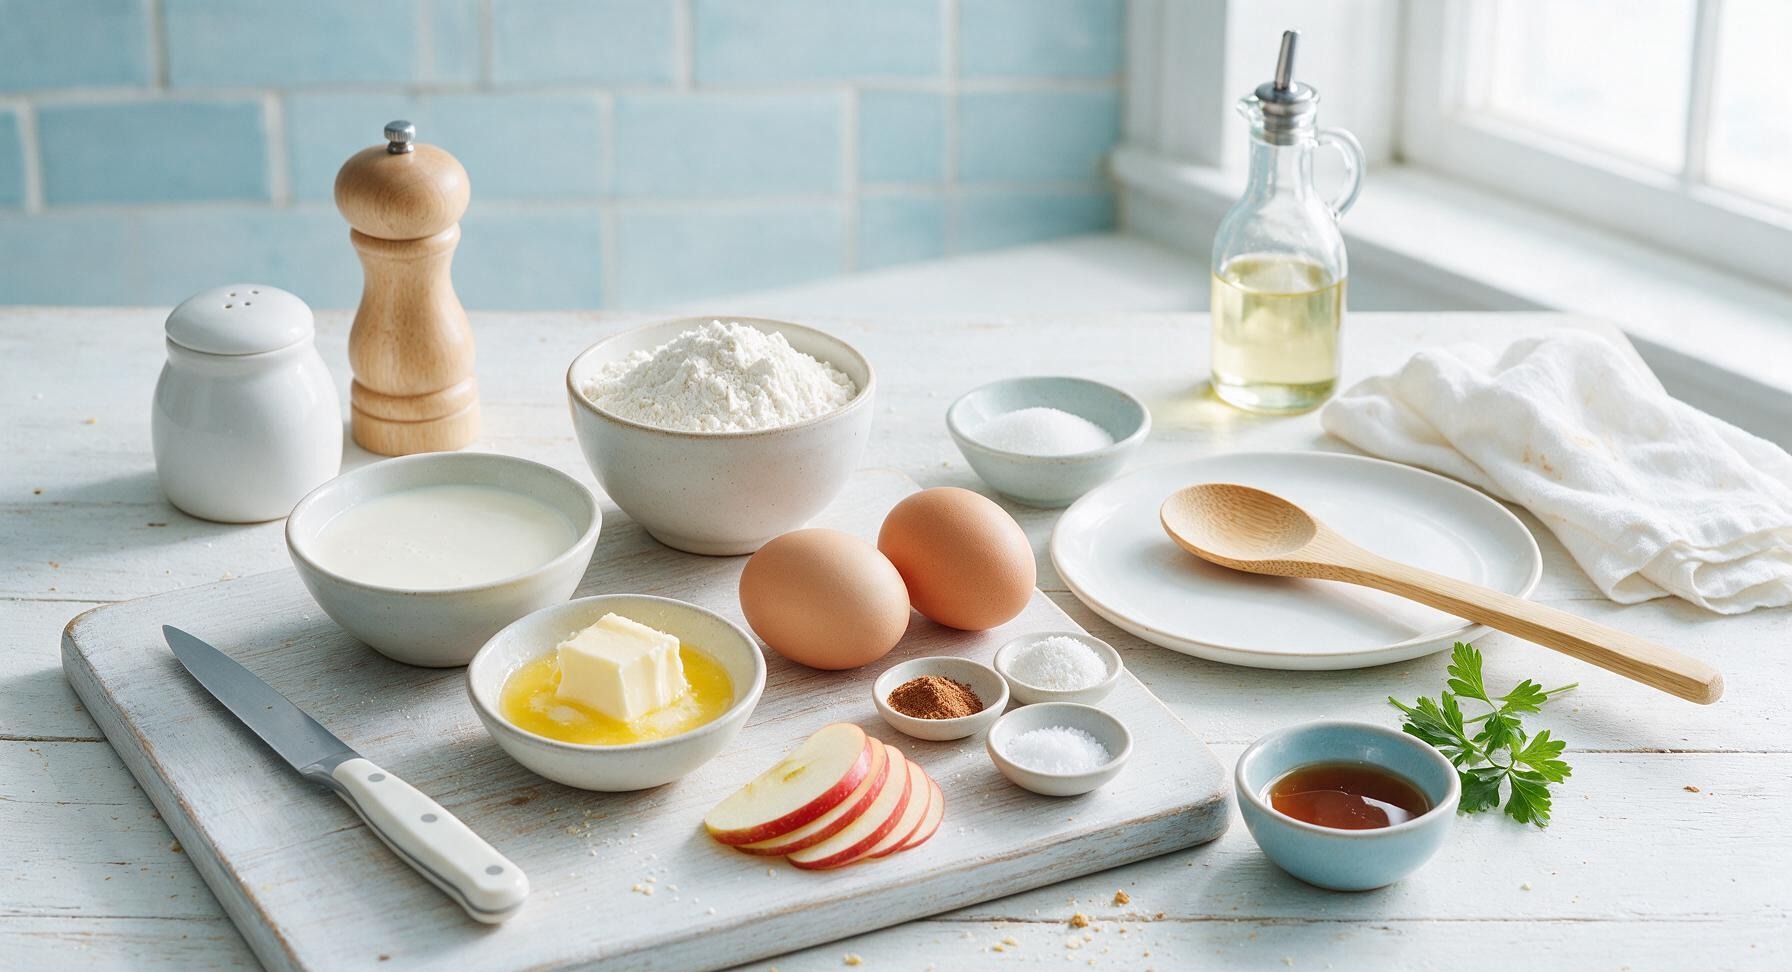
All-purpose flour 2 cups (240g)
Whole buttermilk 1 3/4 cups (420ml)
Large eggs 2, room temperature
Unsalted butter 1/4 cup (57g), melted and cooled
Baking powder 2 tsp
Granulated sugar 1 tbsp
Fine sea salt 1/2 tsp
Ground cinnamon 1/4 tsp
Nonstick cooking spray 1-second burst
Pure maple syrup 1/2 cup, for serving
Fresh Honeycrisp apple 1 small, thin sliced for garnish

Steps

1

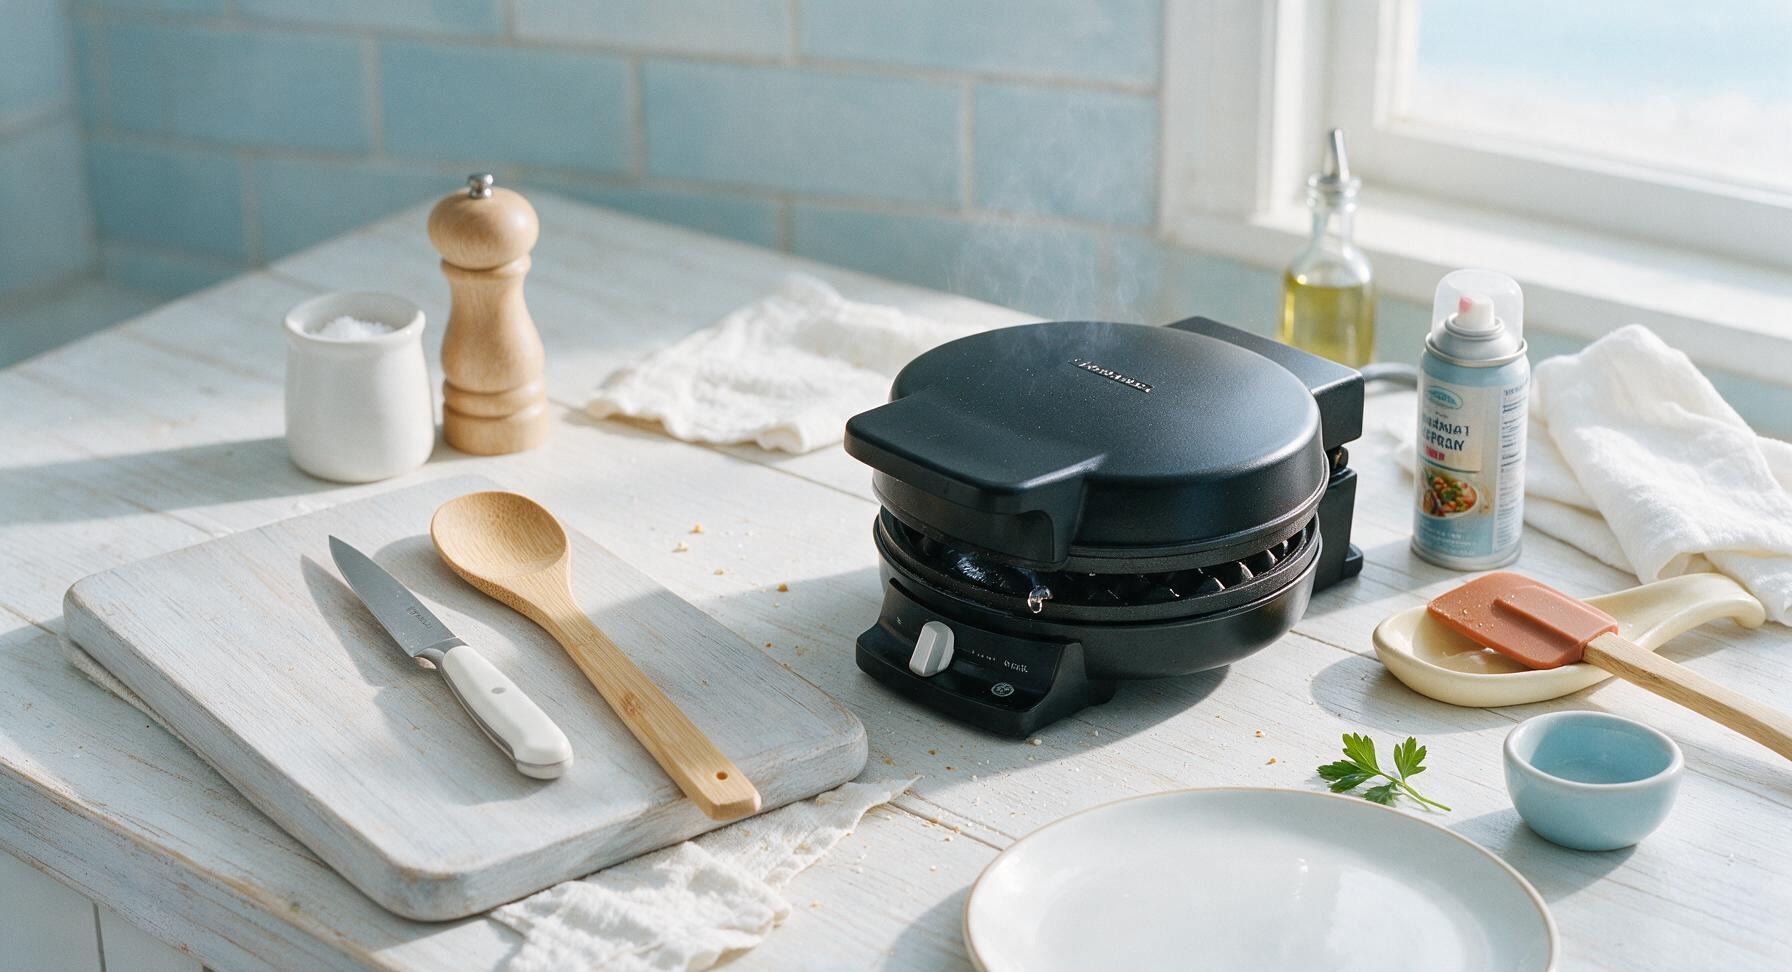
Preheat the Wafflizer

Plug in the 7-inch electric wafflizer and set it to medium-high heat (375°F / 190°C). Close the lid and allow it to preheat for 5 minutes, until the surface is hot enough that a drop of water sizzles and evaporates immediately on contact. Lightly coat the top and bottom grid plates with a 1-second burst of nonstick cooking spray to prevent sticking.
Step 1
step1:Preheat the Wafflizer
2

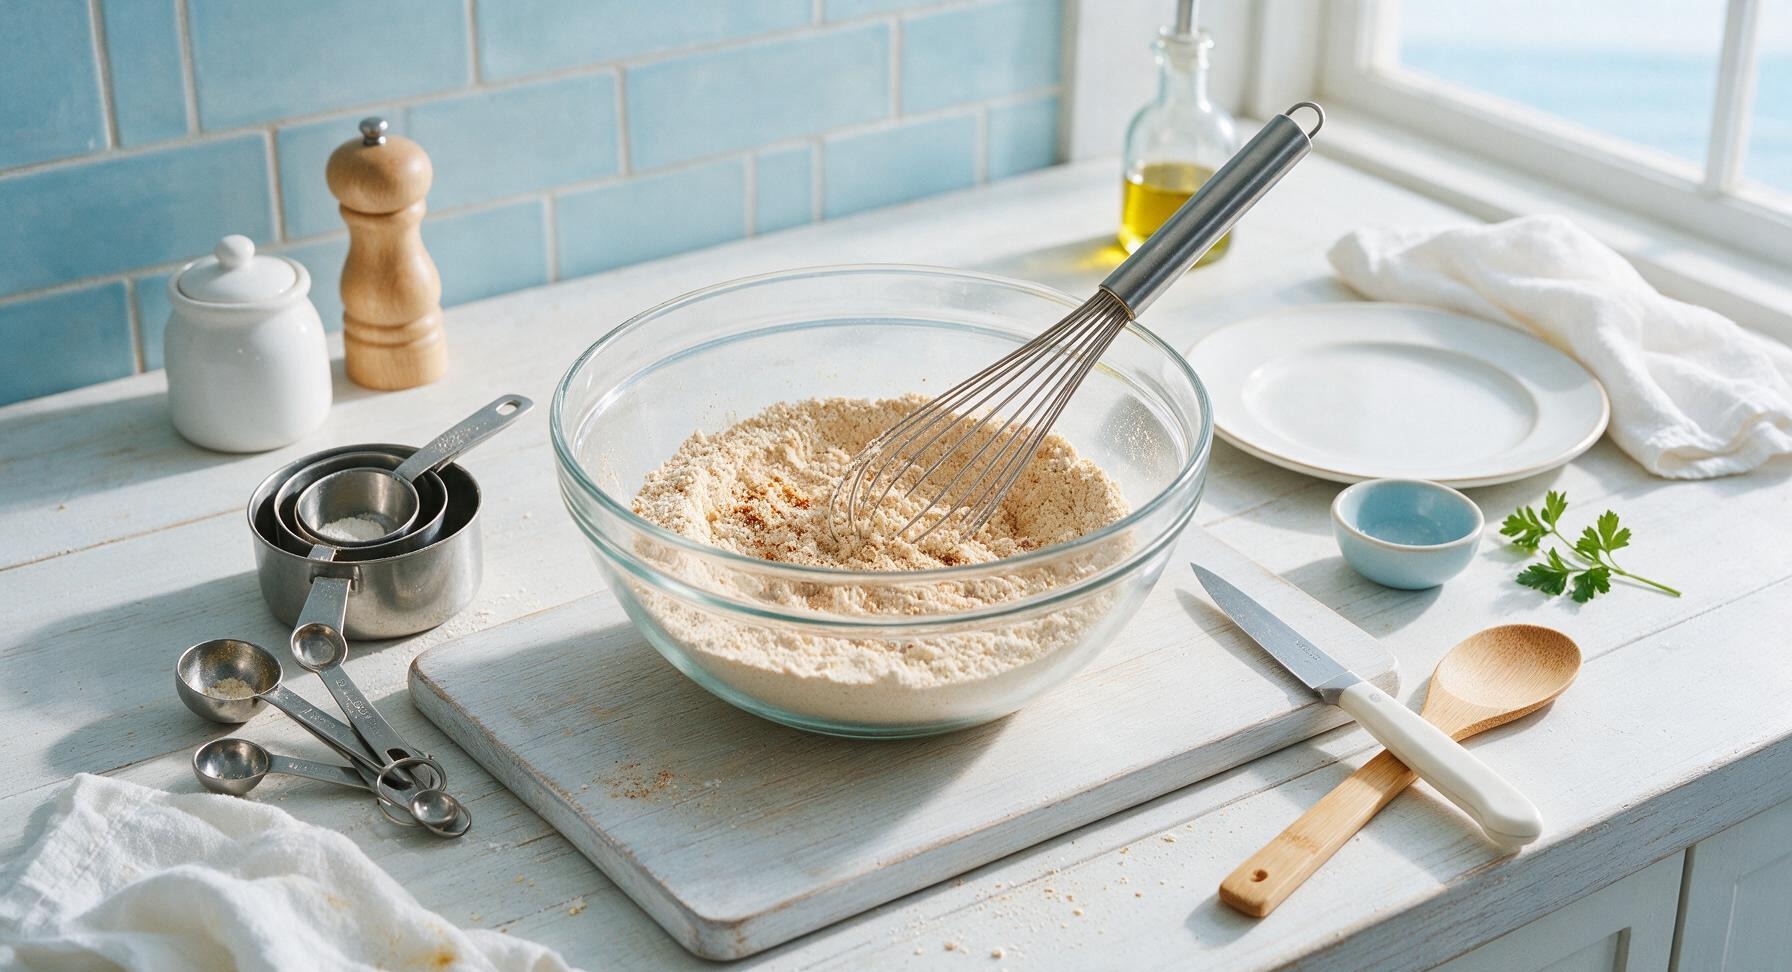
Whisk Dry Ingredients

Add the 2 cups all-purpose flour, 2 tsp baking powder, 1 tbsp granulated sugar, 1/2 tsp fine sea salt, and 1/4 tsp ground cinnamon to the 2L medium glass mixing bowl. Use the stainless steel wire whisk to stir the dry ingredients for 30 seconds, until fully combined and evenly colored, with no clumps of baking powder or cinnamon visible.
Step 2
step2:Whisk Dry Ingredients
3

Mix Wet Ingredients

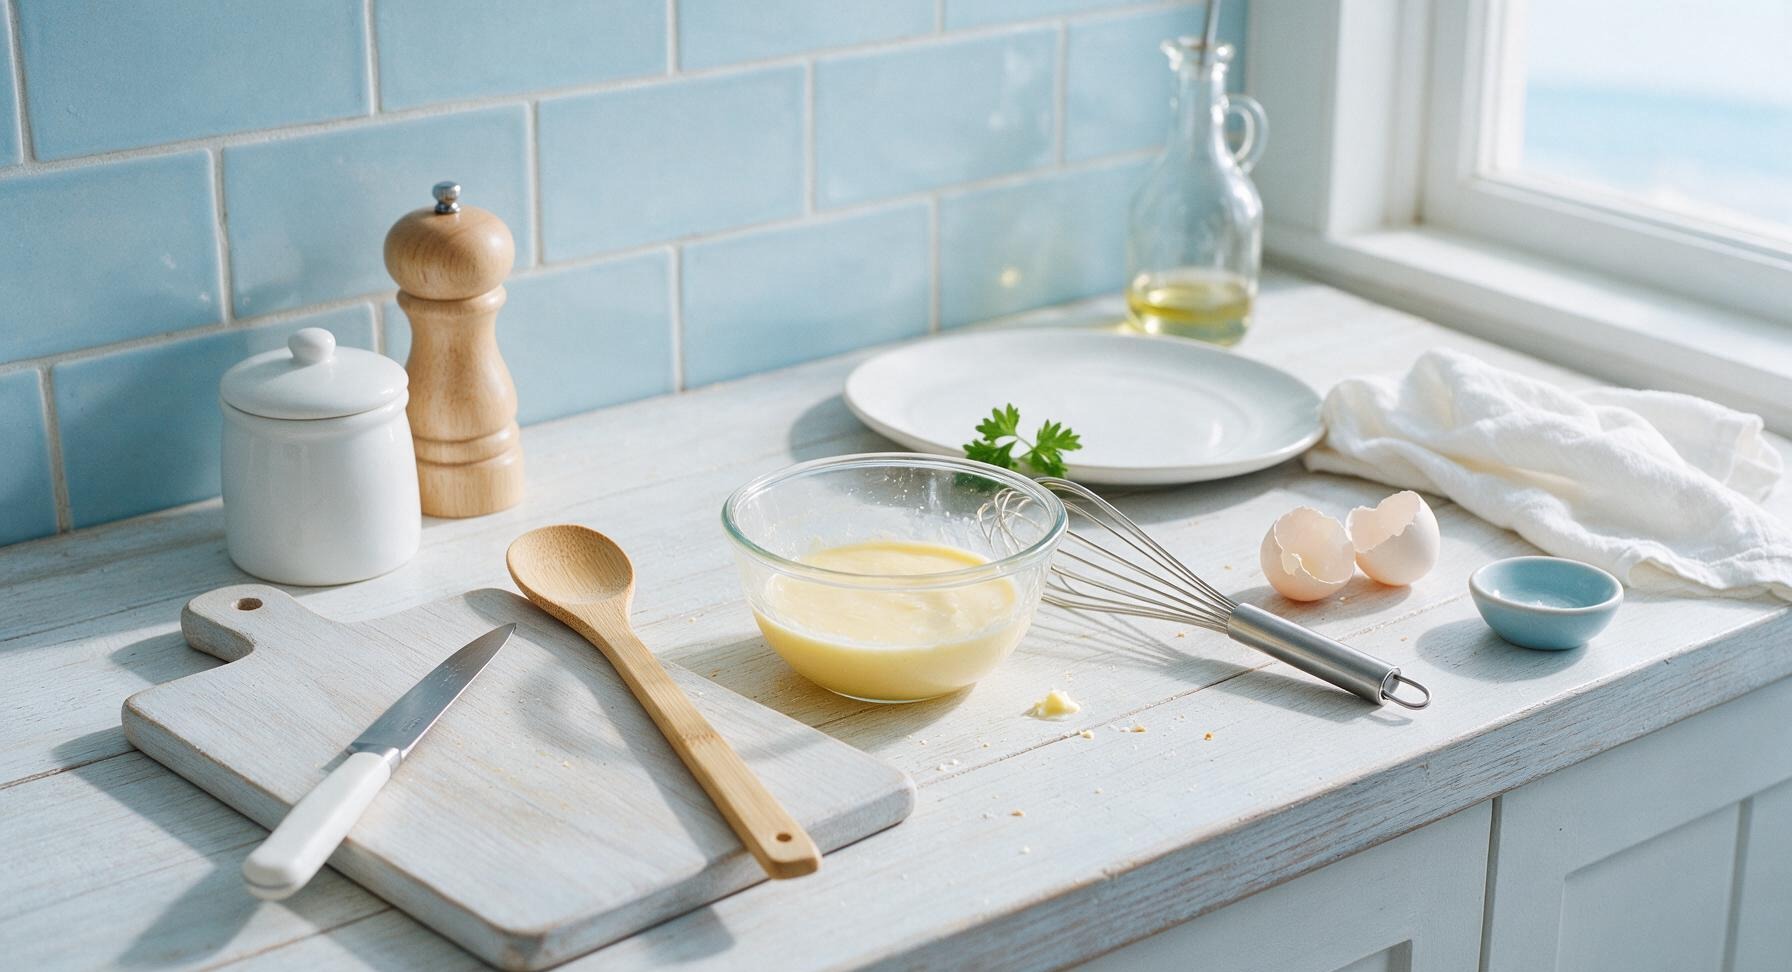
Crack the 2 room-temperature eggs into the 500ml small glass mixing bowl, and whisk lightly until the yolks and whites are fully combined. Add the 1 3/4 cups buttermilk and 1/4 cup cooled melted butter, and whisk for 20 seconds until the mixture is smooth and pale yellow, with no streaks of unincorporated egg visible.
Step 3
step3:Mix Wet Ingredients
4

Fold Waffle Batter

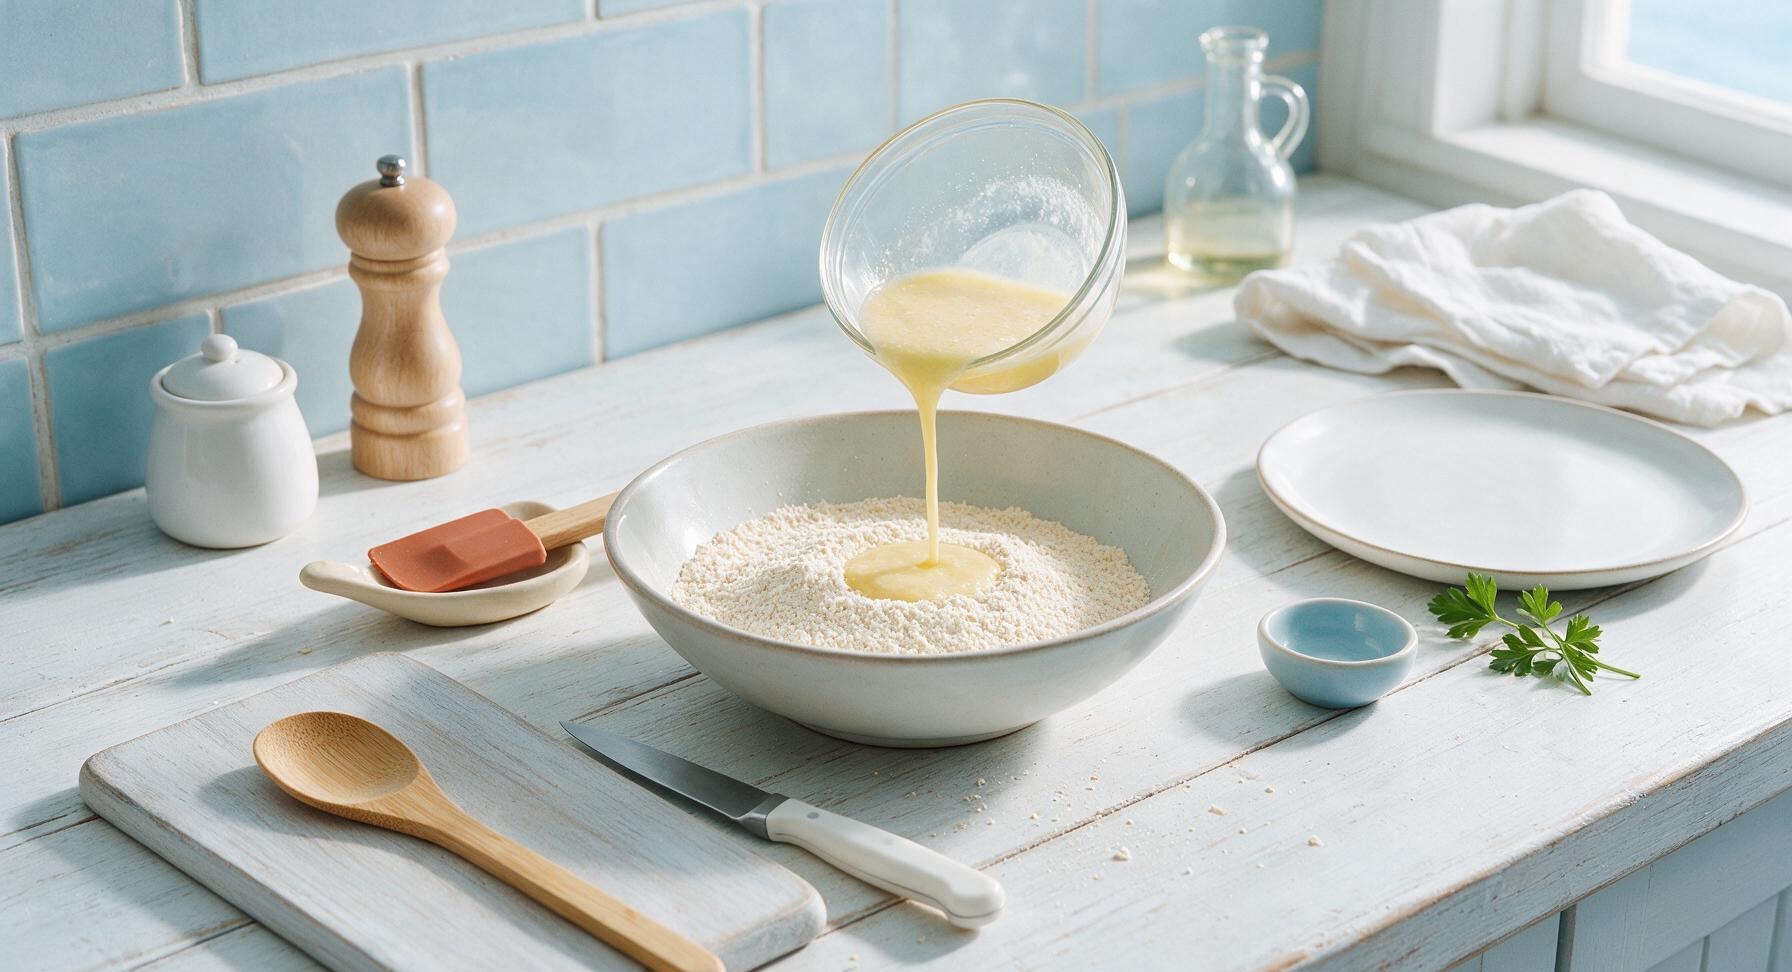
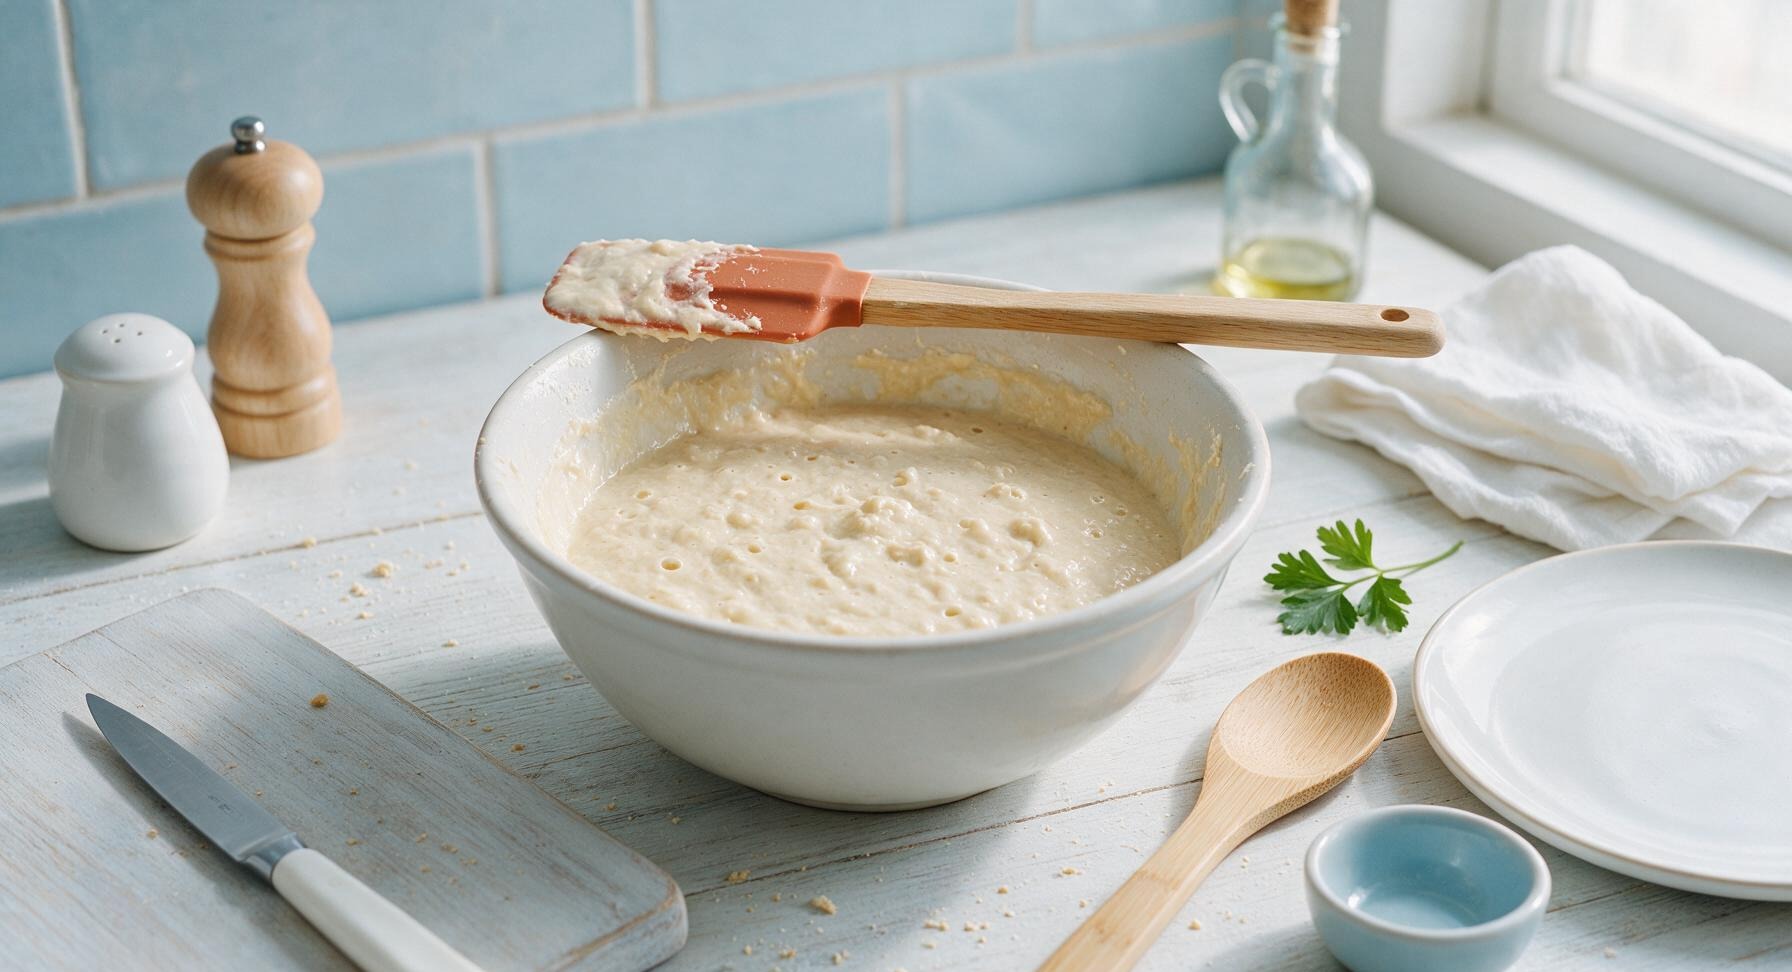
Pour the entire wet ingredient mixture into the medium bowl with the dry ingredients. Use the terracotta silicone spatula to gently fold the ingredients together, stirring only just until no large pockets of dry flour remain. Stop mixing as soon as the batter comes together; lumps the size of small peas are totally normal and will keep waffles tender—overmixing will develop gluten and make waffles tough. Let the batter rest for 3 minutes to allow the leavening to activate, until small bubbles start to form on the surface.
Step 4
step4:Fold Waffle Batter
Step 4
step4:Fold Waffle Batter
5

Pour Batter onto Grids

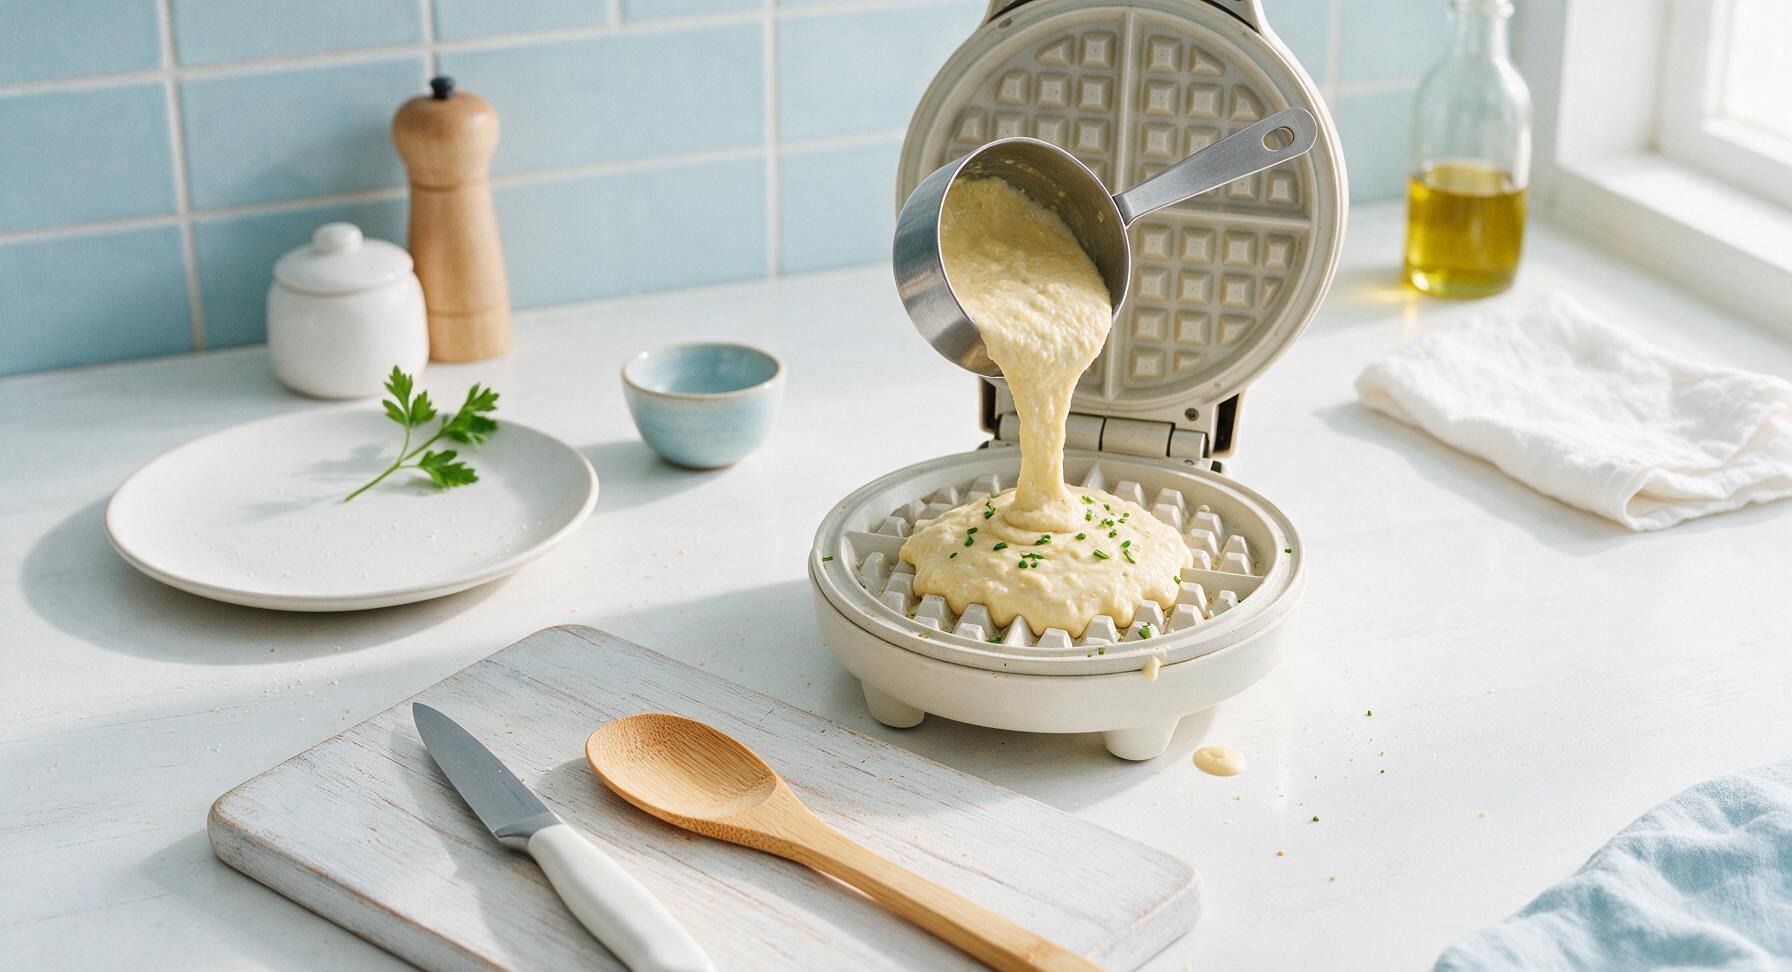
Open the preheated wafflizer lid. Use the 1/2 cup measure from the stainless steel measuring cup set to scoop exactly 1/2 cup of rested batter, pouring it directly into the center of the lower waffle grid. Do not spread the batter; it will spread evenly on its own when the lid is closed. Close the lid gently, and do not press down hard, as this will squeeze out batter and create thin, tough waffles.
Step 5
step5:Pour Batter onto Grids
6

Cook Waffles Until Crisp

Cook the waffle for 3 to 4 minutes, until steam stops escaping from the edges of the wafflizer, and the lid lifts easily without the waffle sticking to the plates. The finished waffle should be deep golden brown, with crisp edges and fully set grid pockets. Transfer the cooked waffle to the top of the stacked cream stoneware plates, and repeat with the remaining batter, respraying the grids only if waffles start to stick.
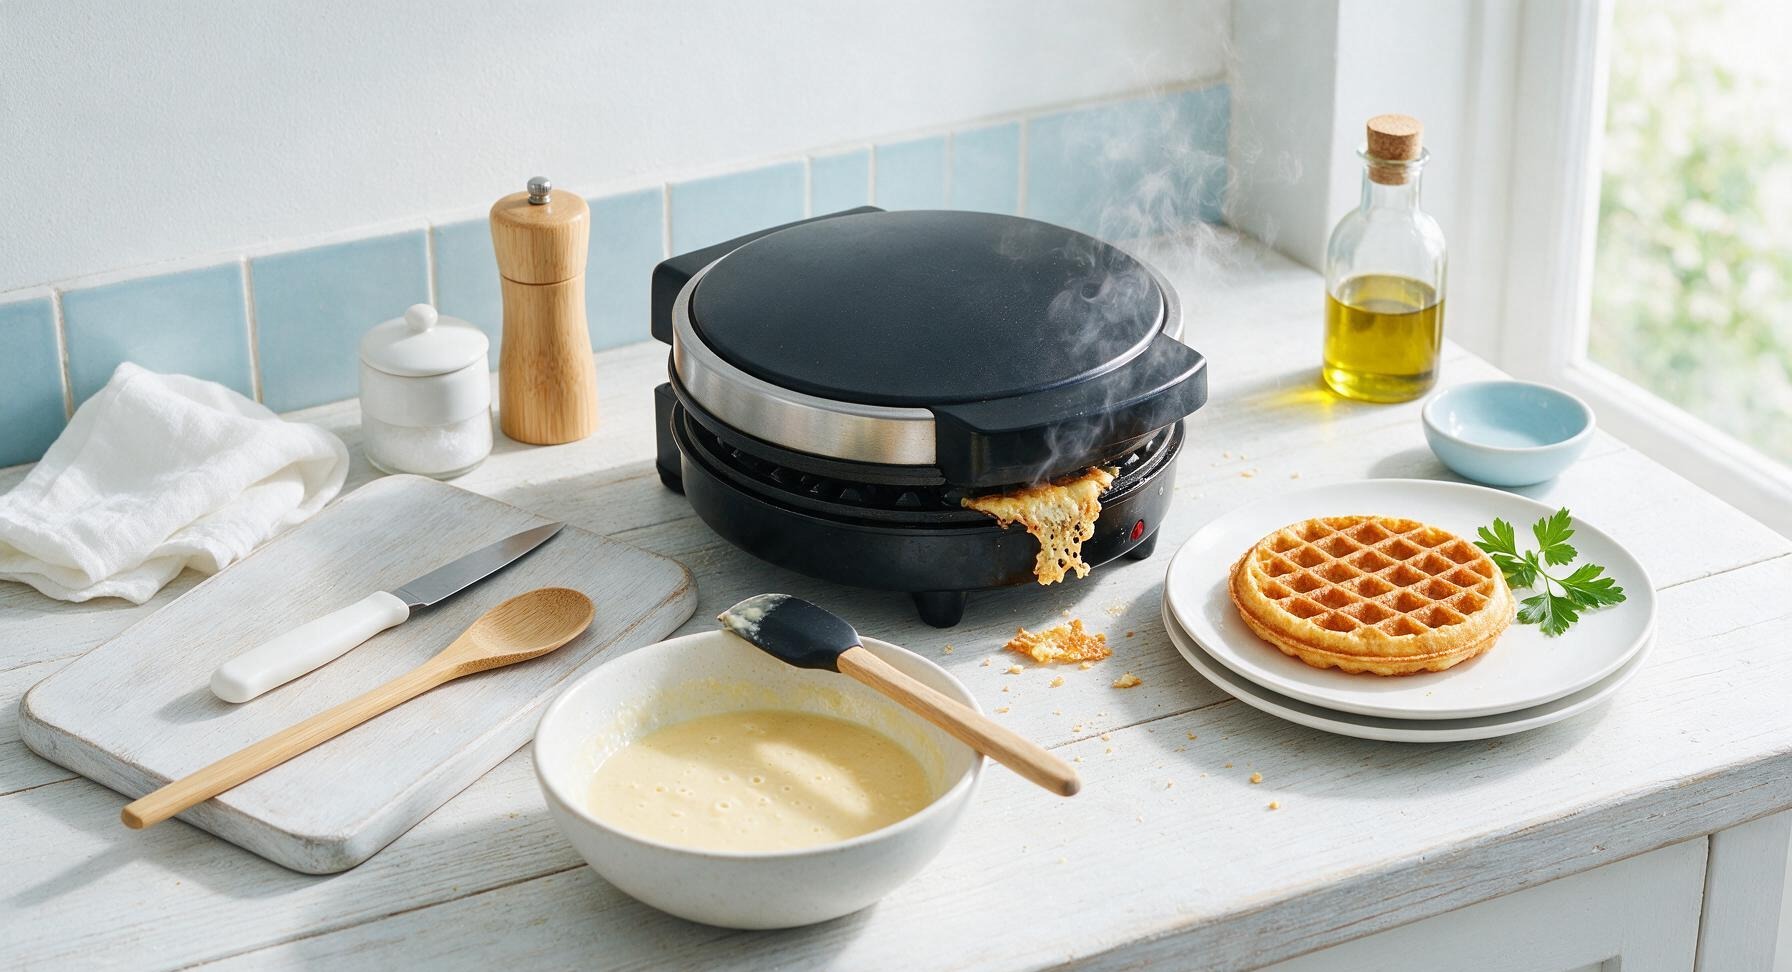
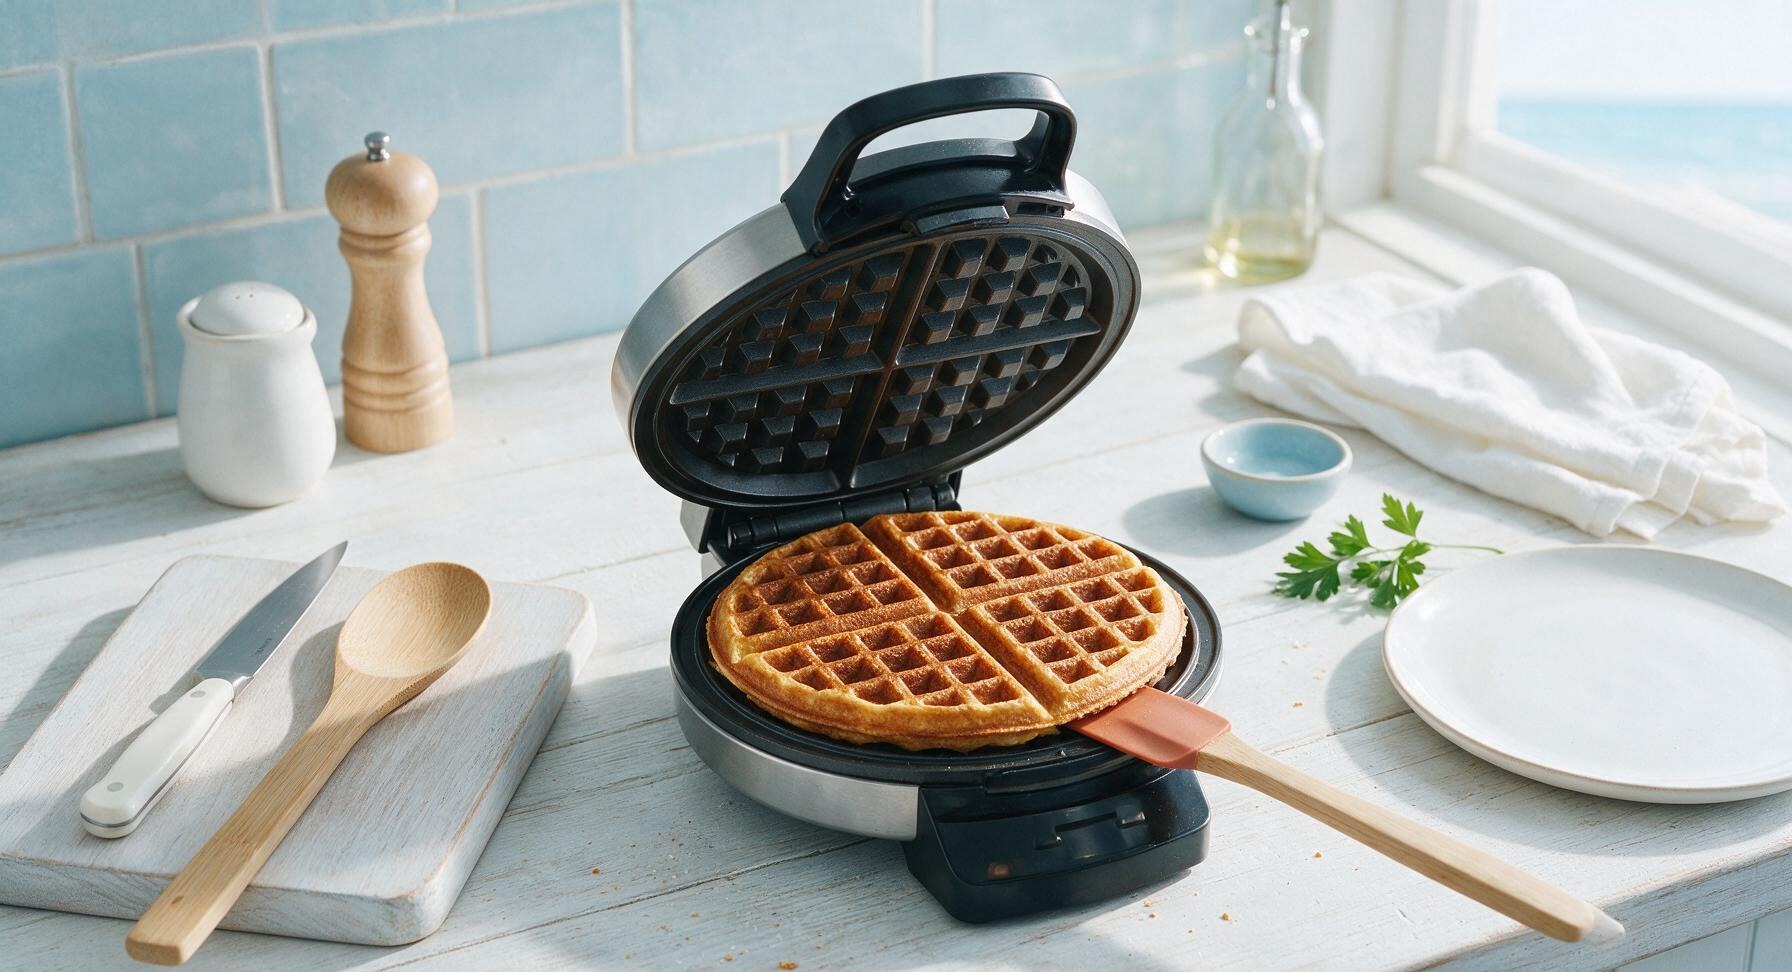
Step 6
step6:Cook Waffles Until Crisp
Step 6
step6:Cook Waffles Until Crisp
7

Plate and Garnish Waffles

Place one warm waffle centered on the pulled-forward matte cream stoneware dinner plate. Drizzle 1 tsp of melted butter from the terracotta ramekin over the waffle top, then drizzle 2 tbsp of maple syrup diagonally across the surface, and dust with a pinch of ground cinnamon. Lean one thin Honeycrisp apple slice against the waffle edge for garnish. Serve immediately while hot and crisp, as waffles will turn soggy if left to sit for more than 5 minutes.
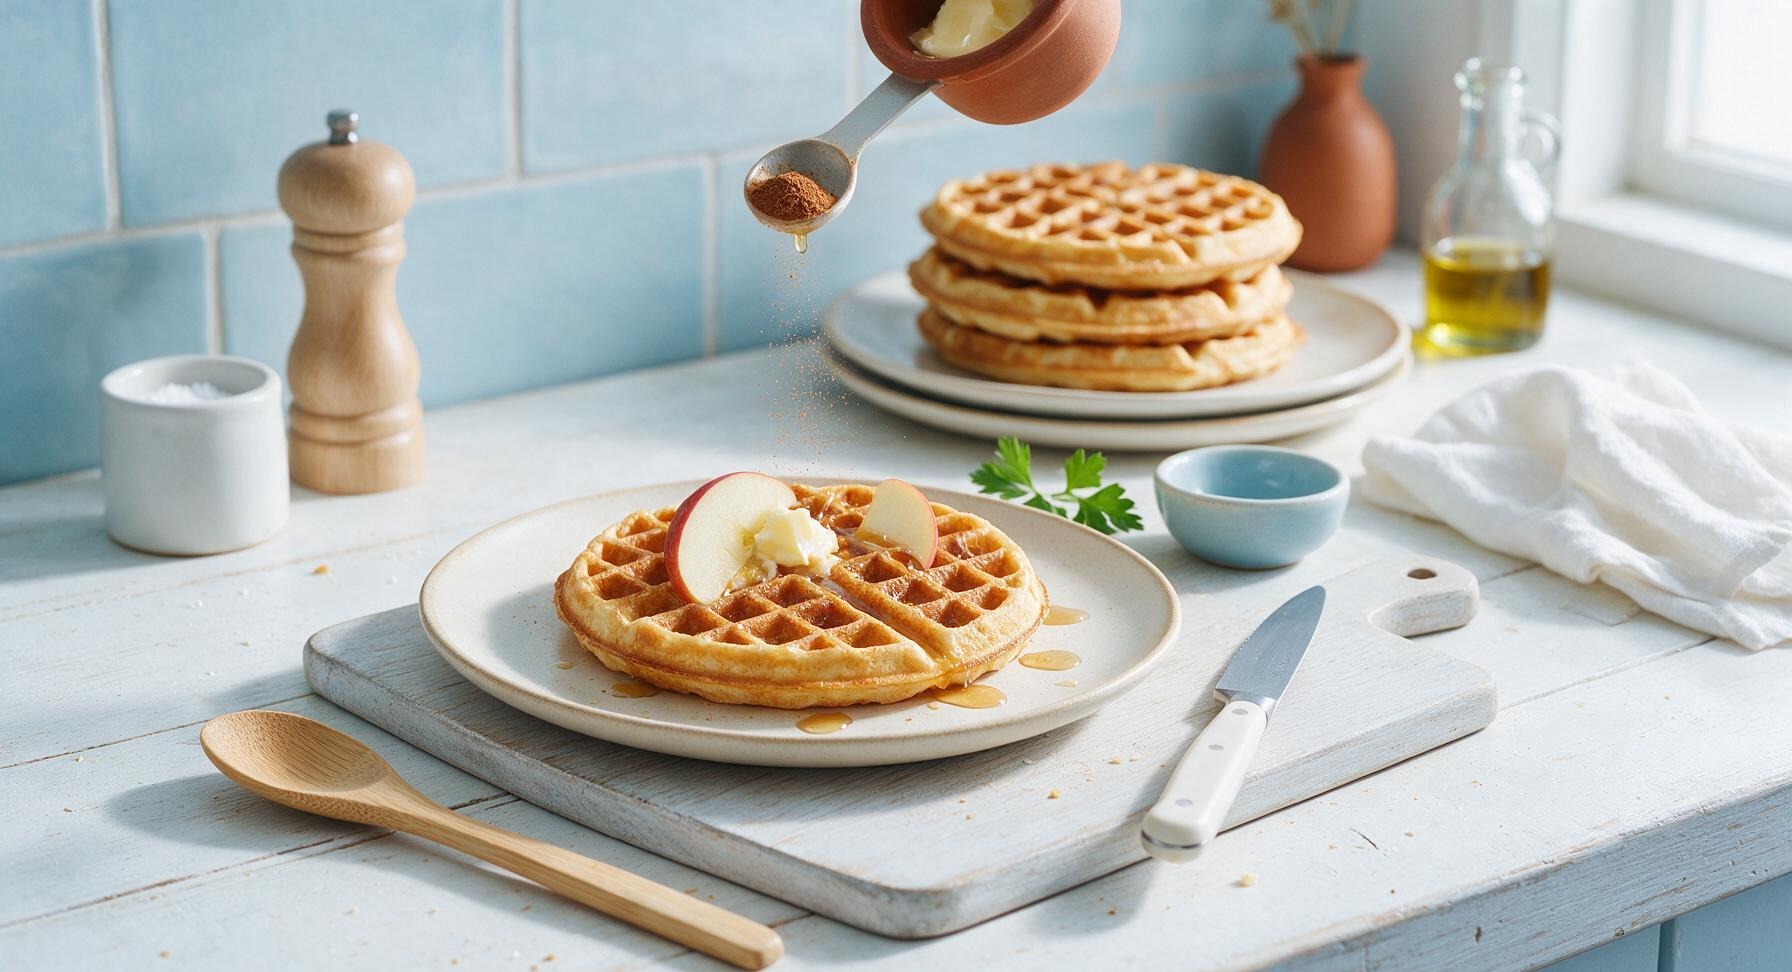
Step 7
step7:Plate and Garnish Waffles

Tips

1.Don’t overmix the batter: Small pea-sized lumps are intentional, as overworking the gluten in the flour will create dense, chewy waffles instead of light, crisp ones. Stop folding as soon as you no longer see large patches of dry flour.
2.Let the batter rest 3 minutes before cooking: This short rest gives the baking powder time to activate and create small air bubbles, which produce taller, fluffier waffles with a lighter crumb.
3.Wait for steam to stop before opening the wafflizer: If you open the lid too early, the half-set waffle will stick and tear. When steam stops escaping from the edges, the waffle exterior is crisp enough to release cleanly from the nonstick plates.


✨ You May Also Like

Breakfast
🍜 United States

Crisp-edged, fluffy lard griddle cakes are a nostalgic homestyle staple, with rich savoriness from rendered lard, perfect topped with maple syrup or savory gravy.

⏱️ 25 minuteBreakfast ★ 4.8
Breakfast
🍜 United States

Flaky, buttery homemade buttermilk biscuits smothered in creamy, peppery pork sausage gravy: a beloved, hearty Southern American comfort food classic.

⏱️ 35 minuteBreakfast ★ 4.8
Breakfast
🍜 United States

Golden, custardy brioche stuffed with sweet cream cheese and fresh berries, pan-fried to crisp perfection. An indulgent, cozy breakfast perfect for slow weekend mornings.

⏱️ 30 minuteBreakfast ★ 4.7
Breakfast
🍜 United States

Flaky, buttery Southern-style biscuits stuffed with savory salty country ham, a portable, satisfying classic perfect for casual on-the-go meals.

⏱️ 25 minuteBreakfast ★ 4.8
Breakfast
🍜 United States

Iconic puffy baked pancake popularized in Seattle, with crisp golden edges and soft custardy center, served warm with classic sweet toppings.

⏱️ 35 minuteBreakfast ★ 4.6
Breakfast
🍜 United States

Fluffy, golden pancakes studded with juicy peak-summer mixed berries, drizzled with maple syrup for a bright, comforting, crowd-pleasing family breakfast.

⏱️ 25 minuteBreakfast ★ 4.7

wafflizer:Frequently Asked Questions

1.What makes these Wafflizer-style buttermilk waffles crispier than standard homemade waffles? ▾
The Wafflizer’s deep, evenly heated grid pockets create more surface area for crisping, while the acid in whole buttermilk reacts with baking powder for light rise. Melted butter in the batter coats flour proteins to cut sogginess, and fully preheating the iron locks in shatteringly crisp edges without dense, gummy centers.
2.Can I use low-fat or non-fat buttermilk instead of whole buttermilk? ▾
You can, but you’ll lose some of the rich, tender crumb and crisp edge that makes these waffles special. If you only have low-fat buttermilk, stir in 2 tablespoons of melted, cooled unsalted butter per cup of low-fat buttermilk to replace missing fat, so your waffles don’t turn out dry or bland once cooked.
3.How do I know when my wafflizer is preheated enough to cook waffles properly? ▾
Most countertop wafflizers have a ready indicator light, but I always do a quick drop test: flick one drop of cold water onto the center grid. If it sizzles immediately, dances across the surface, and evaporates in 2 to 3 seconds, it’s perfectly preheated for golden, non-stick results without batter sticking.
4.Why are my waffles soggy in the middle even when the edges are nicely browned? ▾
That almost always traces back to one of three common issues: you’re pouring too much batter so the thick center never cooks through, you’re opening the wafflizer too early (wait a full 3 minutes before your first peek!), or your baking powder is expired, so the batter can’t rise and stays dense and gummy.
5.Can I make this waffle batter ahead of time for busy weekday mornings? ▾
You can prep the dry ingredients (flour, baking powder) in an airtight container up to 1 week ahead, and mix the wet ingredients (eggs, buttermilk, melted butter) the night before to store in the fridge. Wait to combine wet and dry until right before cooking, though—mixing too early deflates leavening for flat, dense waffles.
6.How much batter should I pour per waffle to avoid messy overflow from the wafflizer? ▾
For most standard countertop wafflizers, ⅓ to ½ cup of batter poured right in the center of the lower grid is perfect. Resist the urge to spread it with a spatula; closing the lid will press batter evenly into all grid pockets, and leaving a ½-inch border around edges prevents burnt, messy overflow as waffles rise.
7.Can I substitute all-purpose flour with a gluten-free flour blend for this recipe? ▾
Absolutely! Use a 1:1 gluten-free all-purpose flour blend that contains xanthan gum for the best texture, as it mimics the structure-building gluten in regular all-purpose flour. You may need to add 1 extra tablespoon of buttermilk if the batter feels overly thick, to keep the inside light instead of crumbly.
8.How do I keep cooked waffles crispy while I make batches for a crowd? ▾
Skip stacking waffles on a plate—that traps steam and turns them soggy fast. Instead, arrange cooked waffles in a single layer on a wire rack set over a baking sheet, and hold them in a 200°F oven while you cook the rest. This lets air circulate to keep edges crisp until you’re ready to serve.
9.My waffles keep sticking to the wafflizer grids—what am I doing wrong? ▾
First, make sure you’re preheating the iron fully, as cold grids cause sticking even on non-stick models. If you have an older wafflizer without reliable non-stick coating, brush grids lightly with melted butter right before pouring batter; never use cooking spray, which leaves sticky residue that builds up and causes more sticking over time.
10.Can I freeze leftover waffles for quick, easy weekday breakfasts? ▾
Definitely! Let cooked waffles cool completely to room temperature first, then stack them between sheets of parchment paper to prevent sticking, and seal in a freezer-safe zip-top bag for up to 3 months. Reheat straight from frozen in a toaster or toaster oven to bring back crisp edges—skip the microwave, which makes them chewy.
11.Do I need to separate egg whites and whip them for extra fluffy waffles? ▾
You don’t have to for this Wafflizer-style recipe—the combination of whole buttermilk and fresh baking powder creates plenty of light, fluffy lift without the extra step. If you want even airier, restaurant-style crumb, you can separate whites, whip to soft peaks, and fold into batter right before cooking for extra height.
12.How long should I cook each waffle to get that perfect golden, crispy finish? ▾
For most standard wafflizers set to medium-high heat, 3 ½ to 4 minutes per waffle is ideal. Wait until you see almost no more steam escaping from the sides of the iron before checking—if you open it too early, the tender waffle will tear. Finished waffles should be deep golden, lifting easily from the grids.
13.Can I use homemade soured milk instead of store-bought whole buttermilk? ▾
You can! To make a quick substitute, stir 1 tablespoon of white vinegar or fresh lemon juice into a 1-cup measuring cup, then top with whole milk to the 1-cup line. Let it sit 5 minutes at room temperature until it curdles slightly, and it will work just like store-bought buttermilk to react with baking powder for that tangy, light crumb.
14.What are the best toppings to serve with these buttermilk waffles? ▾
These waffles are super customizable! Classic picks include warm maple syrup, a pat of salted butter, fresh berries, or a dollop of whipped cream. For savory twists, try fried chicken and hot honey, shredded cheddar and crumbled bacon, or cream cheese and sliced avocado—their tangy, neutral base pairs well with almost any flavor.
15.Why does the recipe call for unsalted butter instead of salted butter? ▾
Using unsalted butter lets you control exactly how much sodium goes into your batter, so waffles don’t end up overly salty, especially if you pair them with salty toppings like bacon or salted butter at serving. If you only have salted butter on hand, skip any added pinch of salt in the dry mix to keep flavors perfectly balanced.
16.My waffles are coming out dense and flat instead of light and fluffy—what’s the fix? ▾
The most common culprit is overmixing the batter! Stir wet and dry ingredients just until combined—lumps are totally okay, and overstirring develops gluten in the flour that leads to tough, dense waffles. Double check that your baking powder is fresh (it fizzes when dropped in hot vinegar) too, as expired leavening won’t create light, airy pockets.

Comments (6)

2 days ago

OMG these are SO good!!! I made them for my friend’s potluck brunch last weekend and everyone was begging for the recipe. The outside is perfectly crispy and the inside is so fluffy, not soggy at all like every other buttermilk waffle recipe I’ve tried. Total game changer. I added a handful of blueberries to half the batch and that slapped too. 10/10 will be making these every Sunday from now on.

1 day ago

Wait did you toss the blueberries in flour first so they don’t sink? I tried adding blueberries to waffles once and they all oozed and made the waffles soggy 😭

18 hours ago

So stoked these were a hit at your potluck, Mia! Quick tip for anyone adding blueberries or chocolate chips: toss them in a tiny bit of all-purpose flour before folding into the batter to keep them evenly distributed and prevent sogginess, just like OhioMom2021 asked about!

yesterday

Made these for my kids before school this morning and they both asked for seconds! Usually they douse their waffles in so much syrup you can’t taste the actual waffle, but these were crispy enough that they didn’t get soggy even after all the syrup. Super easy to throw together too, I didn’t even have to run to the store for ingredients, I had everything in the pantry/fridge already. Will be adding this to our weekly rotation.

12 hours ago

Love to hear the whole family approves! There’s nothing better than a quick, kid-approved breakfast that holds up to all the syrup toppings — thanks for giving the recipe a try!

3 days ago

I was skeptical these would stay crispy after freezing because I meal prep a month of breakfasts at a time, but WOW. I reheated them in the toaster straight from the freezer this morning and they tasted just as fresh as the day I made them. No sad soggy frozen waffles here! I will say I cooked them an extra 30 seconds on my old waffle iron to get that extra crunch, which worked perfectly.

2 hours ago

Tried this last night in my tiny $15 dorm waffle iron from Target move-in and it came out pretty crispy, which is way better than my usual mush! Wild. Only reason I’m not giving 5 stars is I burned the first one because I didn’t realize how hot my iron runs, totally my bad. Quick question: I didn’t have actual buttermilk so I used the milk + white vinegar trick and it worked for the non-burned ones, but has anyone tried it with powdered buttermilk? I want to keep this on regular rotation but don’t go to the grocery store that often.

1 hour ago

I used powdered buttermilk for this exact recipe last week! Just follow the mixing directions on the powdered buttermilk container first and it turns out exactly the same, no taste difference at all. I also have that cheap Target waffle maker and spraying it with a little avocado oil before pouring batter helped with sticking for me!

30 minutes ago

Great question! The milk + vinegar substitute works perfectly here (1 tbsp white vinegar per cup of milk, left to sit 5 minutes) and powdered buttermilk is a great shelf-stable swap too, just like DormChefKy mentioned. For small cheap waffle irons, just make sure you preheat it fully before adding batter and you’ll get that perfect crisp every time!

1 week ago

I’ve been making waffles for over 40 years and I have to say, this recipe knocked my old go-to right out of the park. The tip about letting the batter rest for 5 minutes before pouring? Total game changer for fluffiness. I served these with fresh peaches and a dollop of whipped cream for my bridge club and everyone wanted the recipe. I did cut the salt just a tiny bit for my taste, but that’s just personal preference.

5 days ago

Oh the fresh peach topping sounds incredible! I’ve only done berries and syrup so far, I need to pick up some peaches at the farmers market this weekend to try that combo. Thanks for the idea!

2 weeks ago

I made these before an early morning hike last weekend and they kept me full for almost 4 hours, no mid-hike crash! I packed them in a tupperware with a little side of maple syrup for dipping and they stayed crispy even after being tossed in my backpack. So much better than the sad energy bars I usually bring. Next time I’m adding a little cinnamon to the batter for extra warmth.



