
wendy's italian chicken

title 1
wendy's italian chicken
⏱️ cook time 25 minutes
🍽️ servings 4
⚡ Difficulty easy

intro

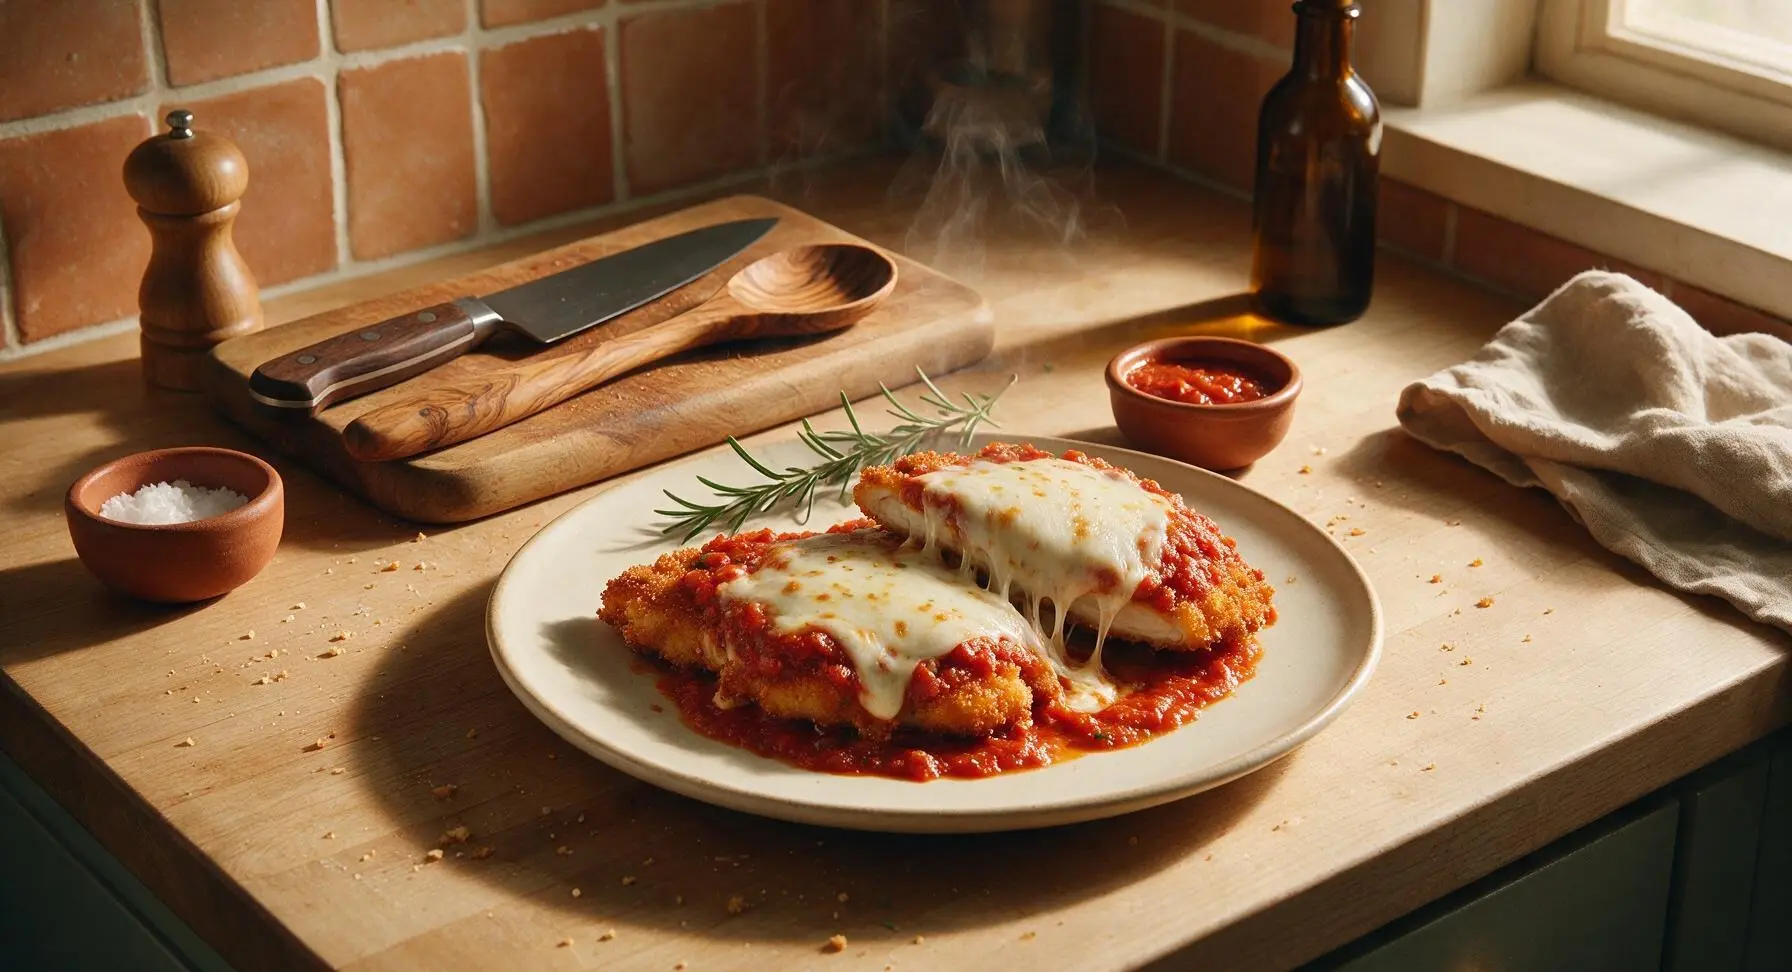
Crispy breaded chicken cutlets smothered in zesty marinara and stretchy melted mozzarella, this easy copycat of Wendy’s Italian Chicken delivers cozy comfort in under 35 minutes.

Ingredients
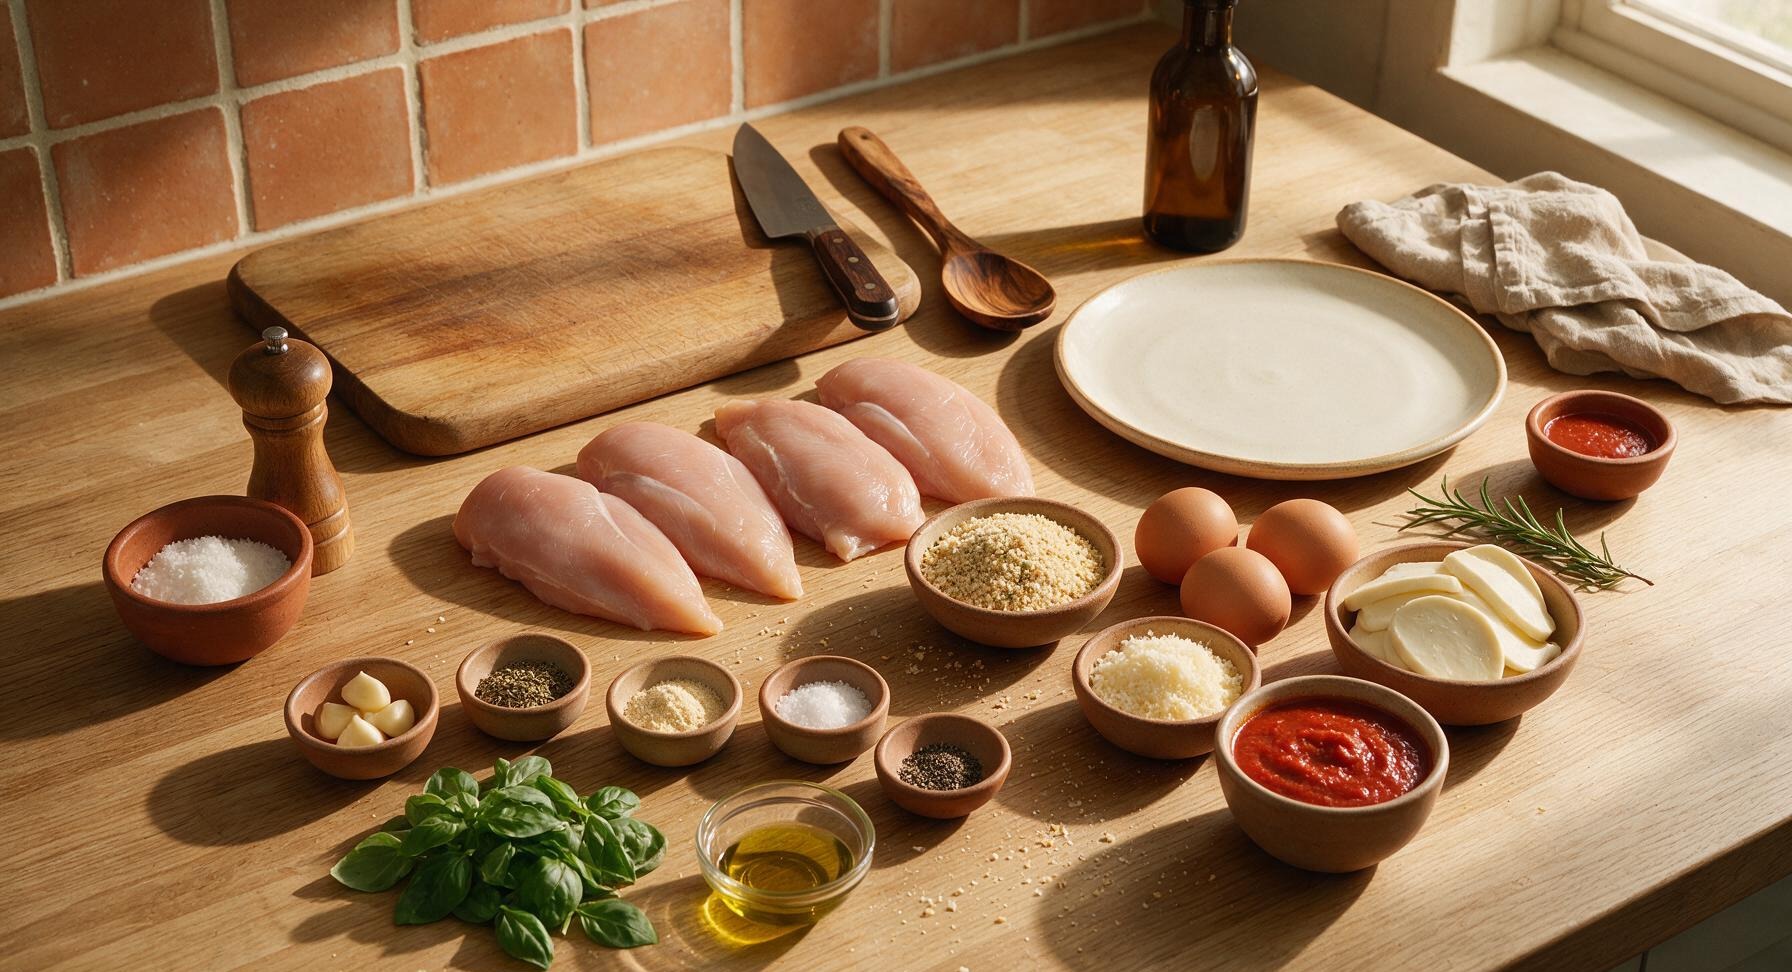
Boneless skinless chicken breasts (pounded to 1/2-inch thickness) 600g (4 x 150g cutlets)
Italian-seasoned breadcrumbs 100g
Large eggs 2
Low-moisture mozzarella cheese (sliced 1/4-inch thick) 120g
Grated parmesan cheese 30g
Unsweetened marinara sauce 250ml
Garlic cloves (minced) 3
Dried oregano 1 tsp
Garlic powder 1 tsp
Kosher salt 1 tsp
Freshly ground black pepper 1/2 tsp
Fresh basil 1/4 cup loosely packed, plus extra for garnish
Olive oil 2 tbsp

Steps

1

Pound Chicken Cutlets

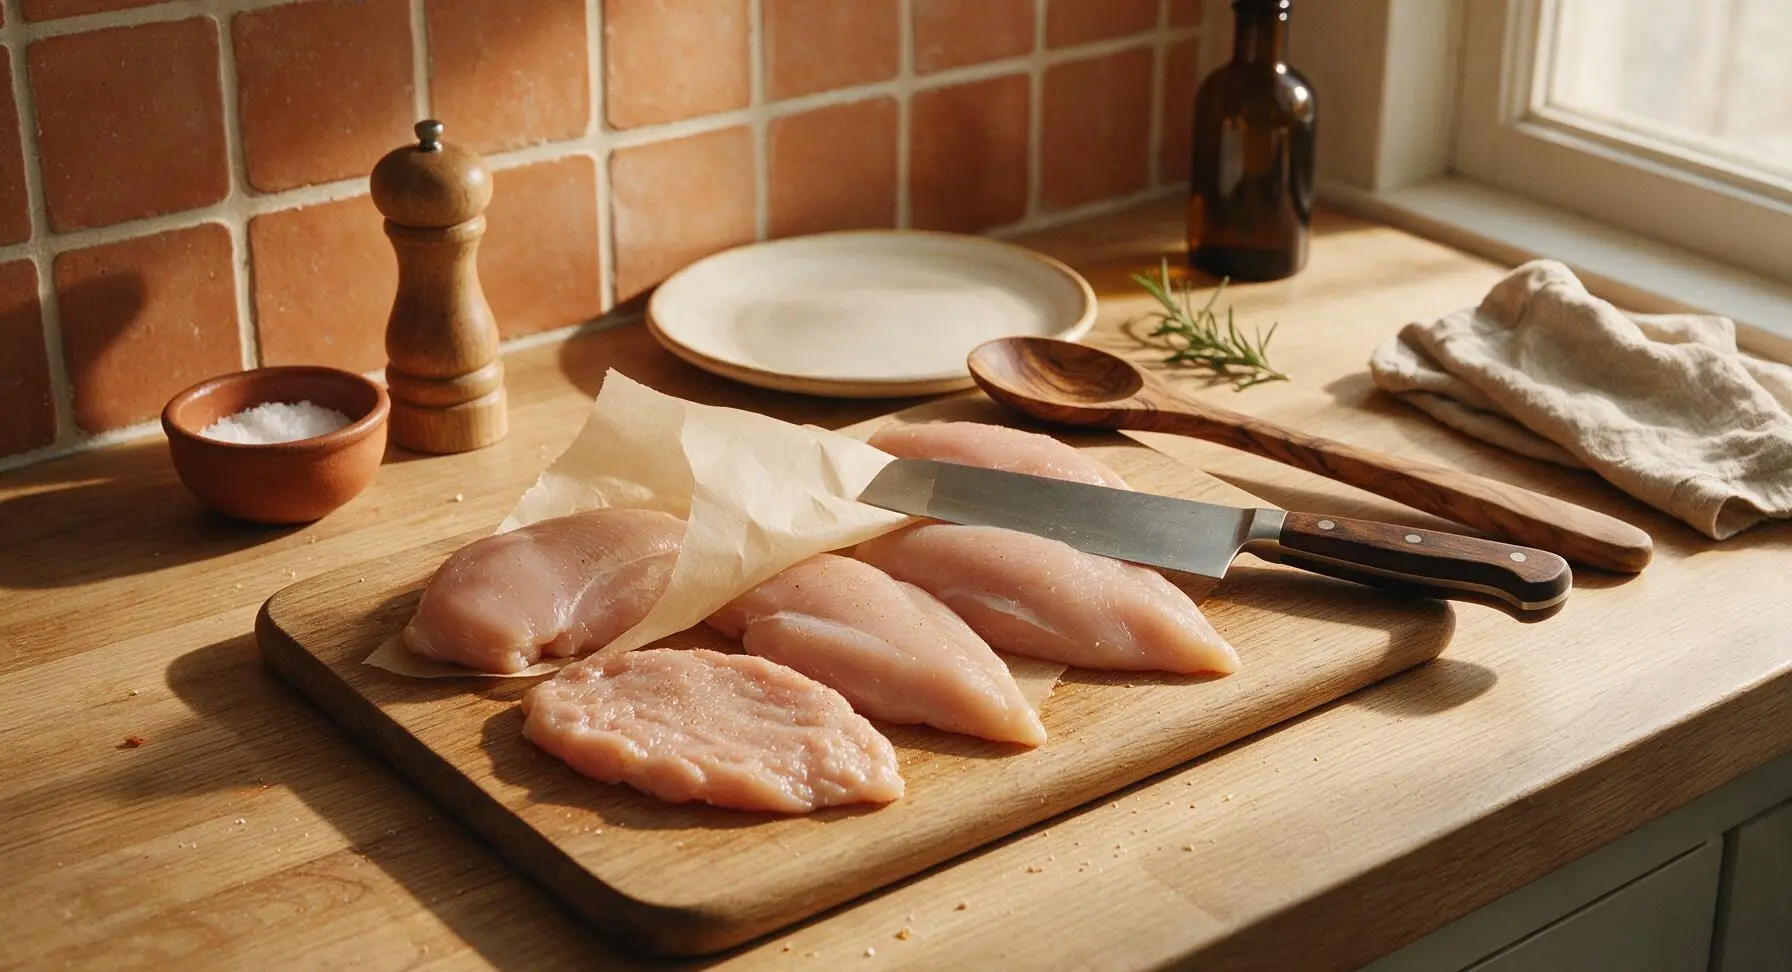
Place the 4 boneless, skinless chicken breasts on the acacia wood cutting board. Cover loosely with a small sheet of parchment paper to prevent splatter, then use the flat side of the 8-inch chef’s knife to pound each breast to a uniform 1/2-inch thickness. Season both sides of each pounded cutlet with 1/2 tsp kosher salt and 1/4 tsp freshly ground black pepper. Uniform thickness ensures even cooking and eliminates dry, overcooked edges.
Step 1
step1:Pound Chicken Cutlets
2

Assemble Breading Station

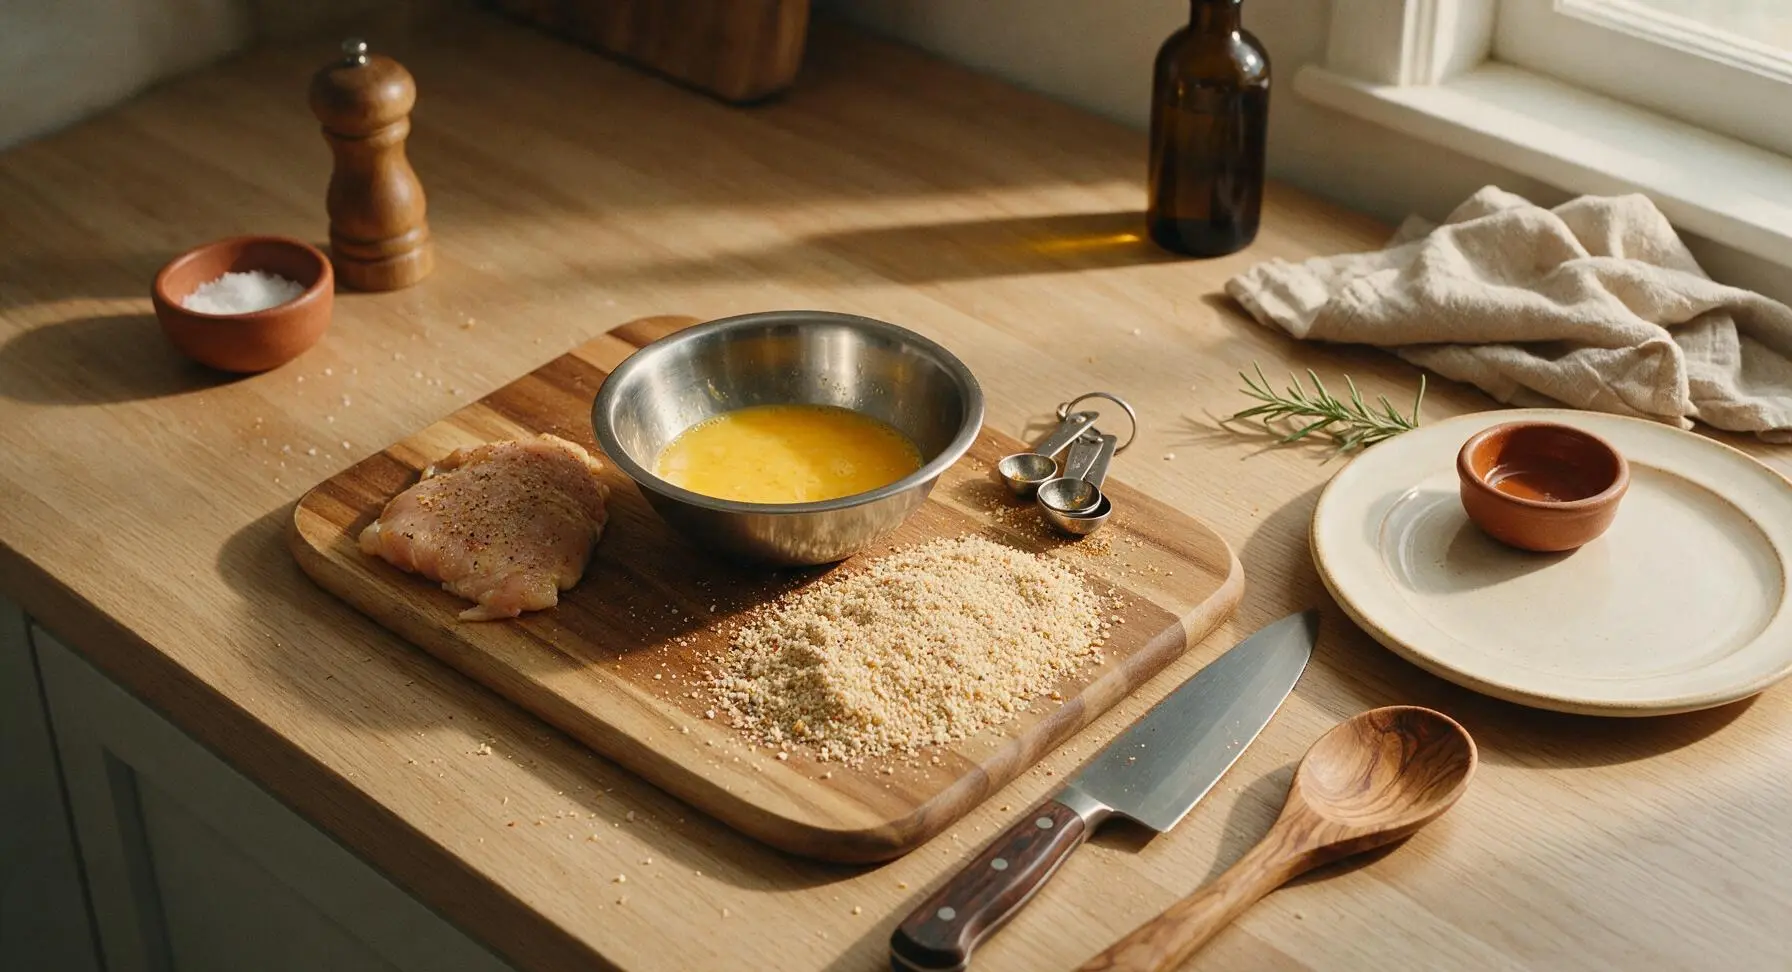
Crack the 2 large eggs into the stainless steel mixing bowl, whisk until fully smooth with no streaks of separated white. Clear the right half of the acacia cutting board, and spread the 100g Italian-seasoned breadcrumbs mixed with 1 tsp garlic powder, 1 tsp dried oregano, remaining 1/2 tsp kosher salt, and 1/4 tsp black pepper into an even, shallow layer. Arrange the prep flow in a straight line: seasoned pounded chicken first, then egg bowl, then breadcrumb mixture, to make breading fast and mess-free.
Step 2
step2:Assemble Breading Station
3

Coat Chicken Cutlets

Working one cutlet at a time, dip a chicken piece fully into the beaten egg, letting excess egg drip back into the bowl for 2 full seconds to avoid gummy breading. Press the egg-washed chicken firmly into the breadcrumb mixture, turning to coat both sides completely, pressing crumbs into the surface to ensure full adhesion with no bare chicken spots. Set fully breaded cutlets on the clean empty edge of the cutting board while you coat all four pieces.
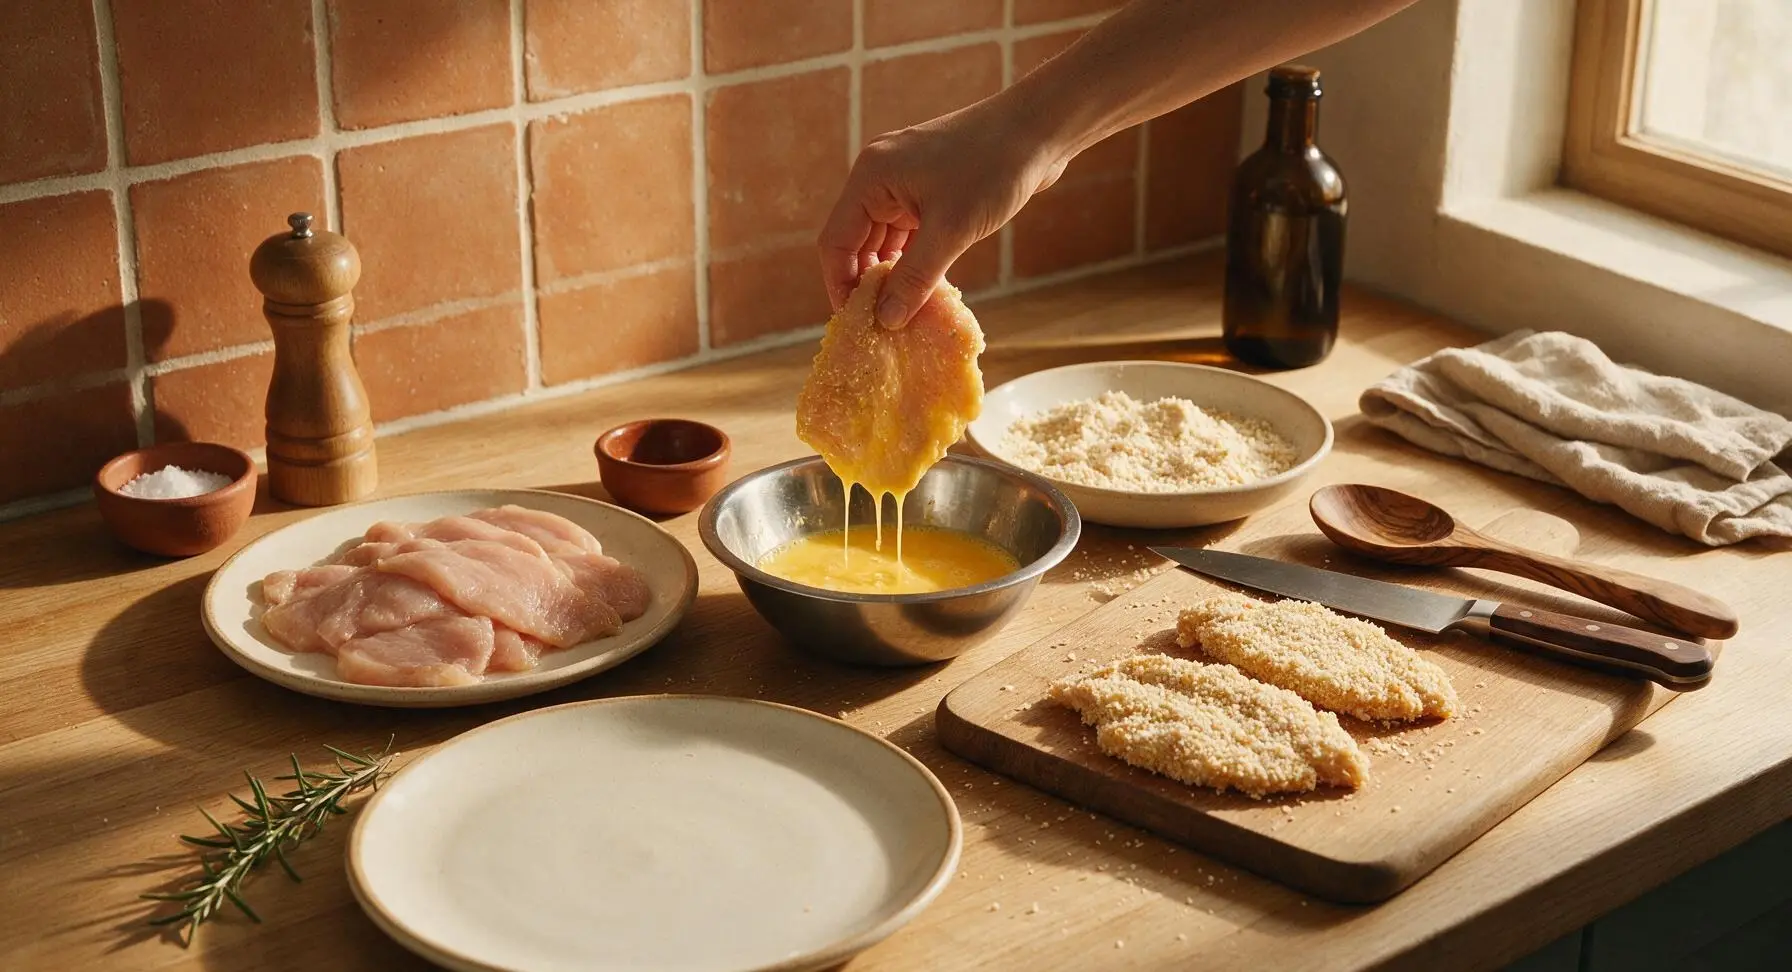
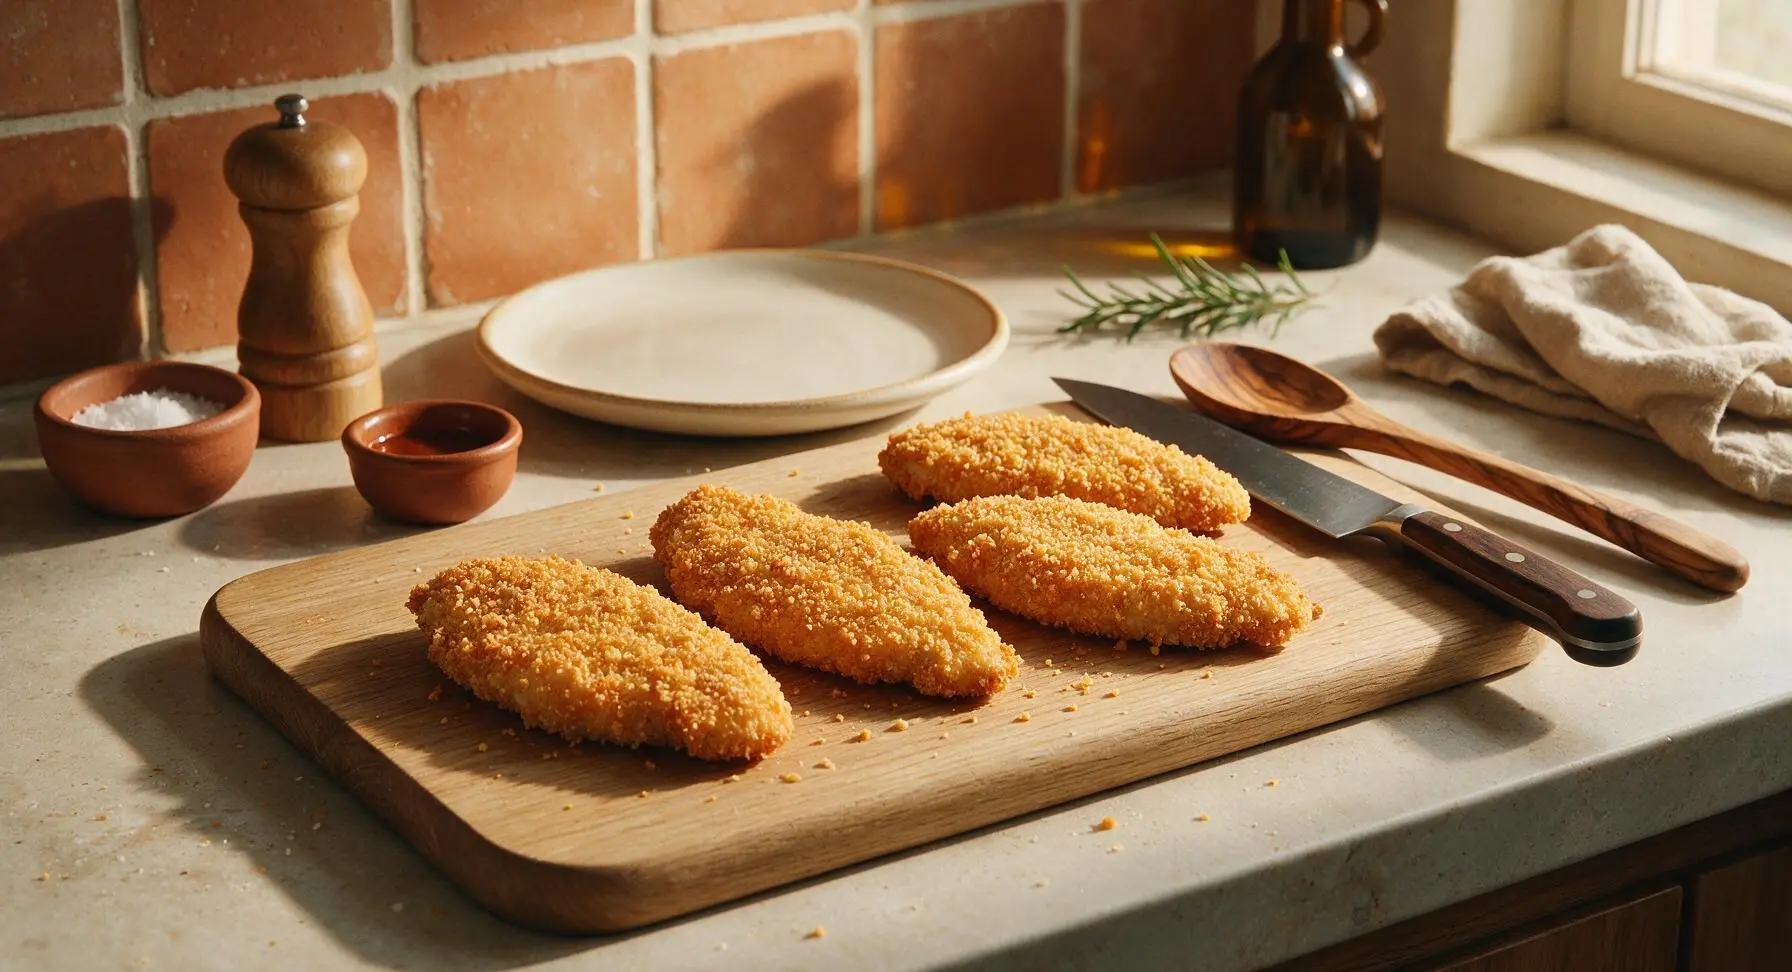
Step 3
step3:Coat Chicken Cutlets
Step 3
step3:Coat Chicken Cutlets
4

Sear Chicken Until Crisp

Bring the 10-inch stainless steel skillet to its fixed center-right position on the counter over the stovetop burner, add 2 tbsp olive oil, and heat over medium heat until the oil shimmers (approximately 2 minutes, 350°F/175°C). Use the silicone-tipped stainless steel tongs to carefully place 2 breaded cutlets in the hot oil, taking care not to overcrowd the pan. Sear for 3 minutes per side until the crust is deep golden and crispy, then transfer seared cutlets to a temporary clean spot on the cutting board while searing the remaining two cutlets.
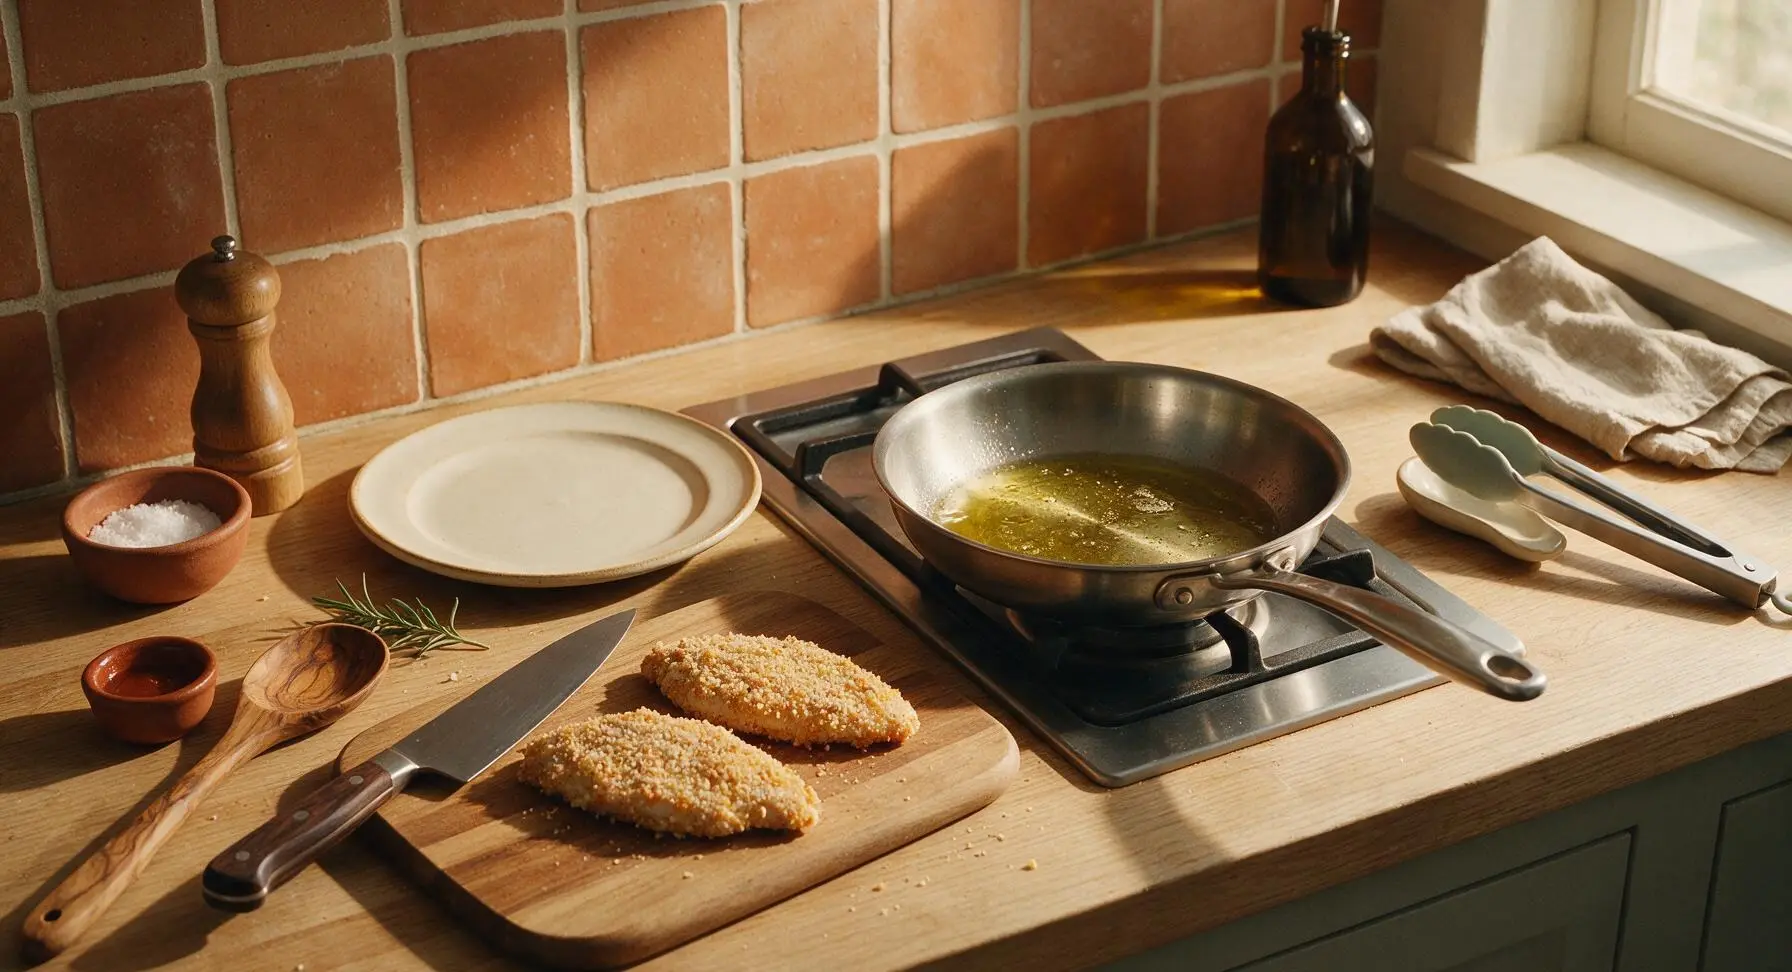
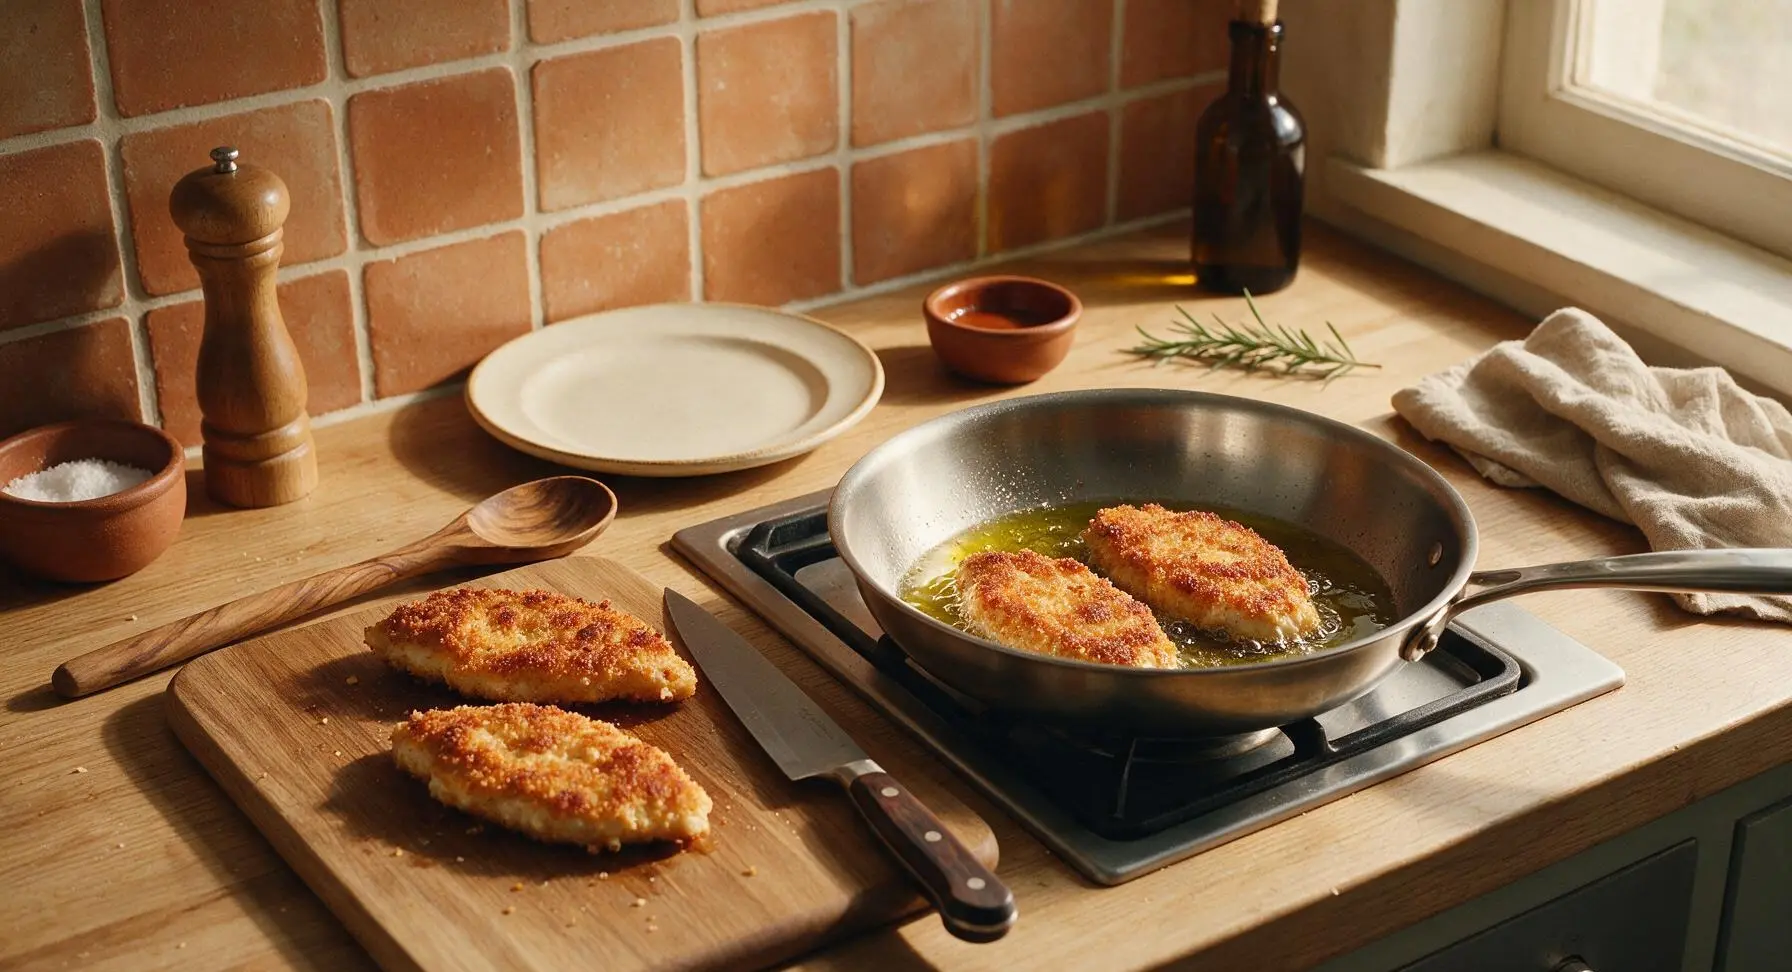
Step 4
step4:Sear Chicken Until Crisp
Step 4
step4:Sear Chicken Until Crisp
5

Add Sauce and Cheese

Once all four cutlets are seared to a golden crisp, return them to the skillet in a single, even layer. Spoon 2 tbsp of marinara sauce over the top of each cutlet, spreading it into a thin layer and leaving a 1/4-inch border of crispy crust exposed around each edge. Divide the 120g sliced low-moisture mozzarella evenly across the sauced cutlets, then sprinkle the 30g grated parmesan and minced garlic over the cheese layer.
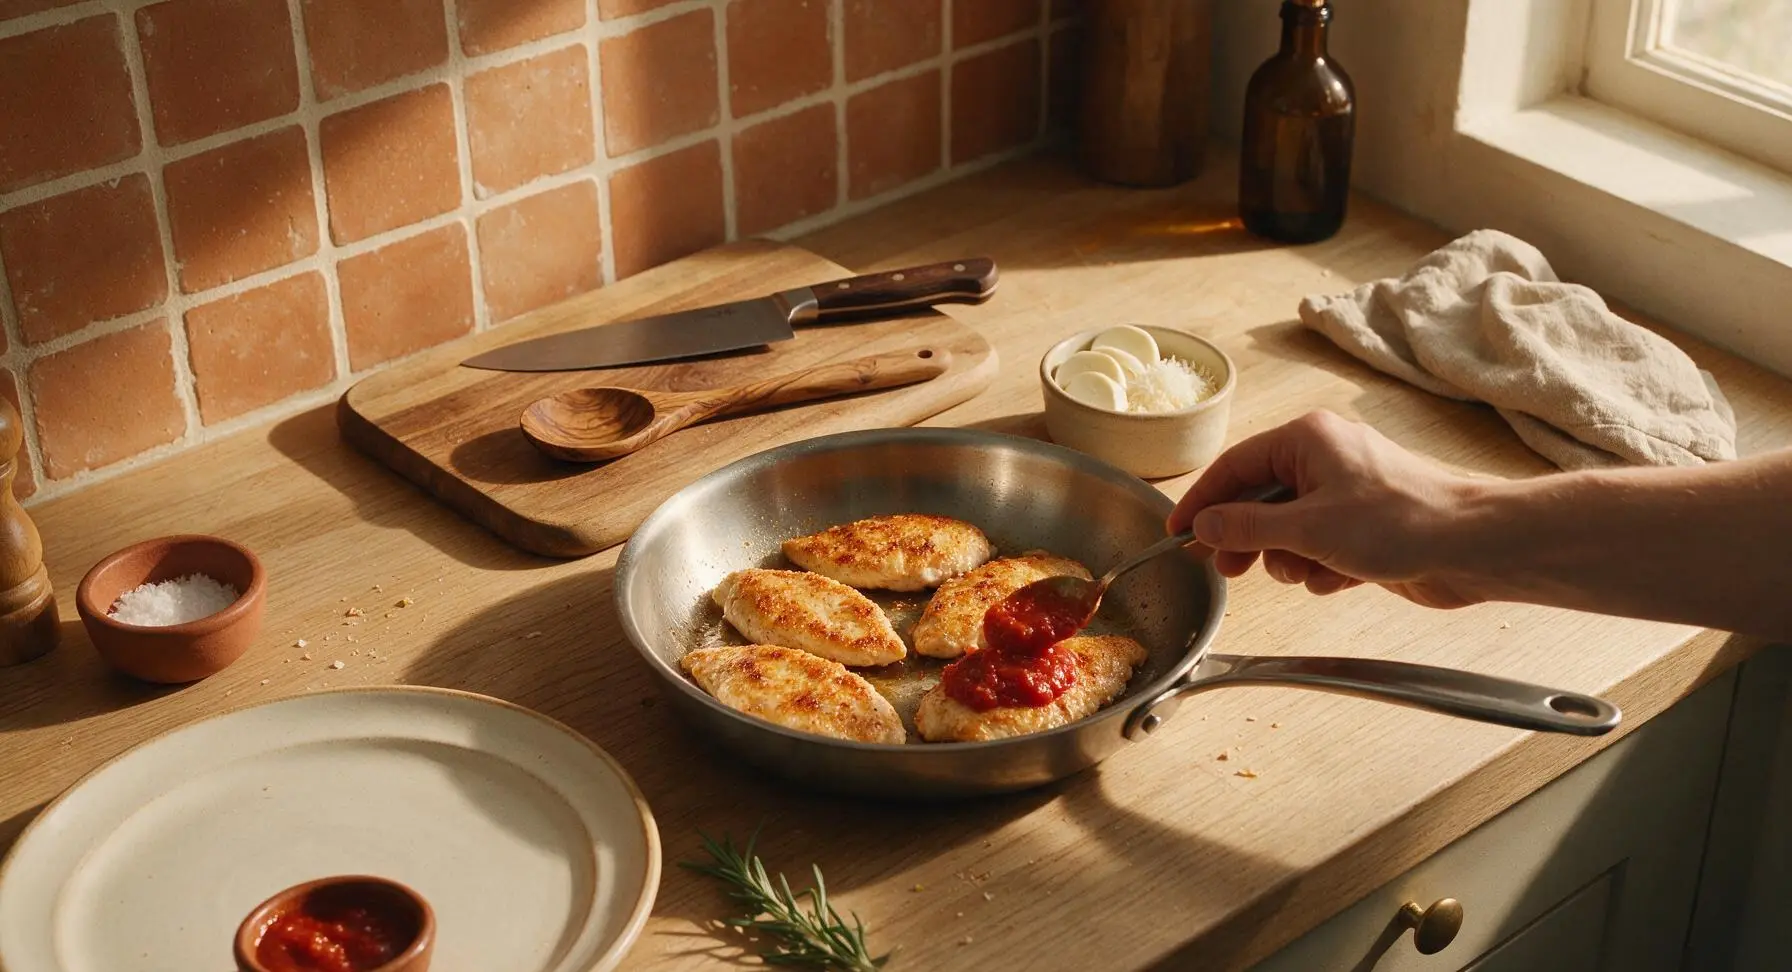
Step 5
step5:Add Sauce and Cheese
6

Melt Cheese Through

Reduce stovetop heat to low, place a tight-fitting lid on the skillet, and cook for 4-5 minutes until the mozzarella is fully melted, bubbly, and stretchy. Verify chicken is cooked through by checking that the internal temperature reaches 165°F/74°C at the thickest point. For a lightly browned cheese top, remove the lid and broil on high for 1 minute, watching closely to prevent burning.
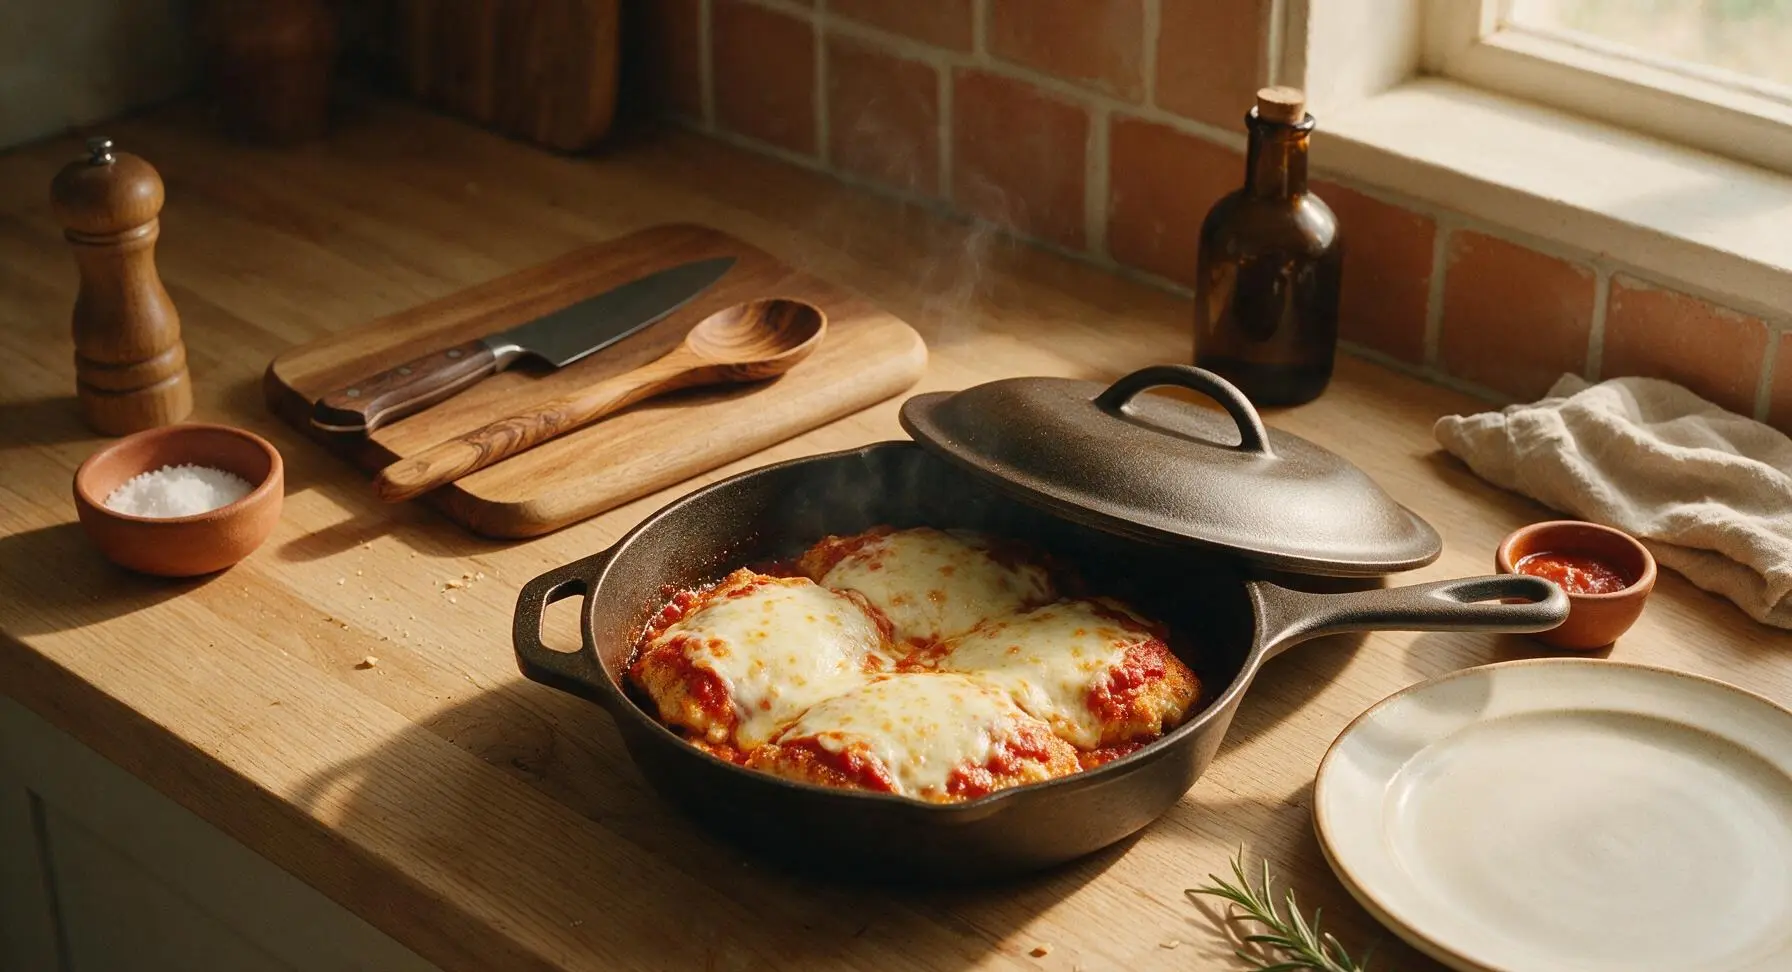
Step 6
step6:Melt Cheese Through
7

Garnish and Rest Chicken

Turn off the heat, move the skillet off the burner, and let the chicken rest for 2 full minutes to allow internal juices to redistribute. Top each cutlet with a few torn fresh basil leaves, adding a light extra sprinkle of parmesan if desired. Avoid cutting into the chicken immediately, as this will cause flavorful juices to run out and leave the meat dry.
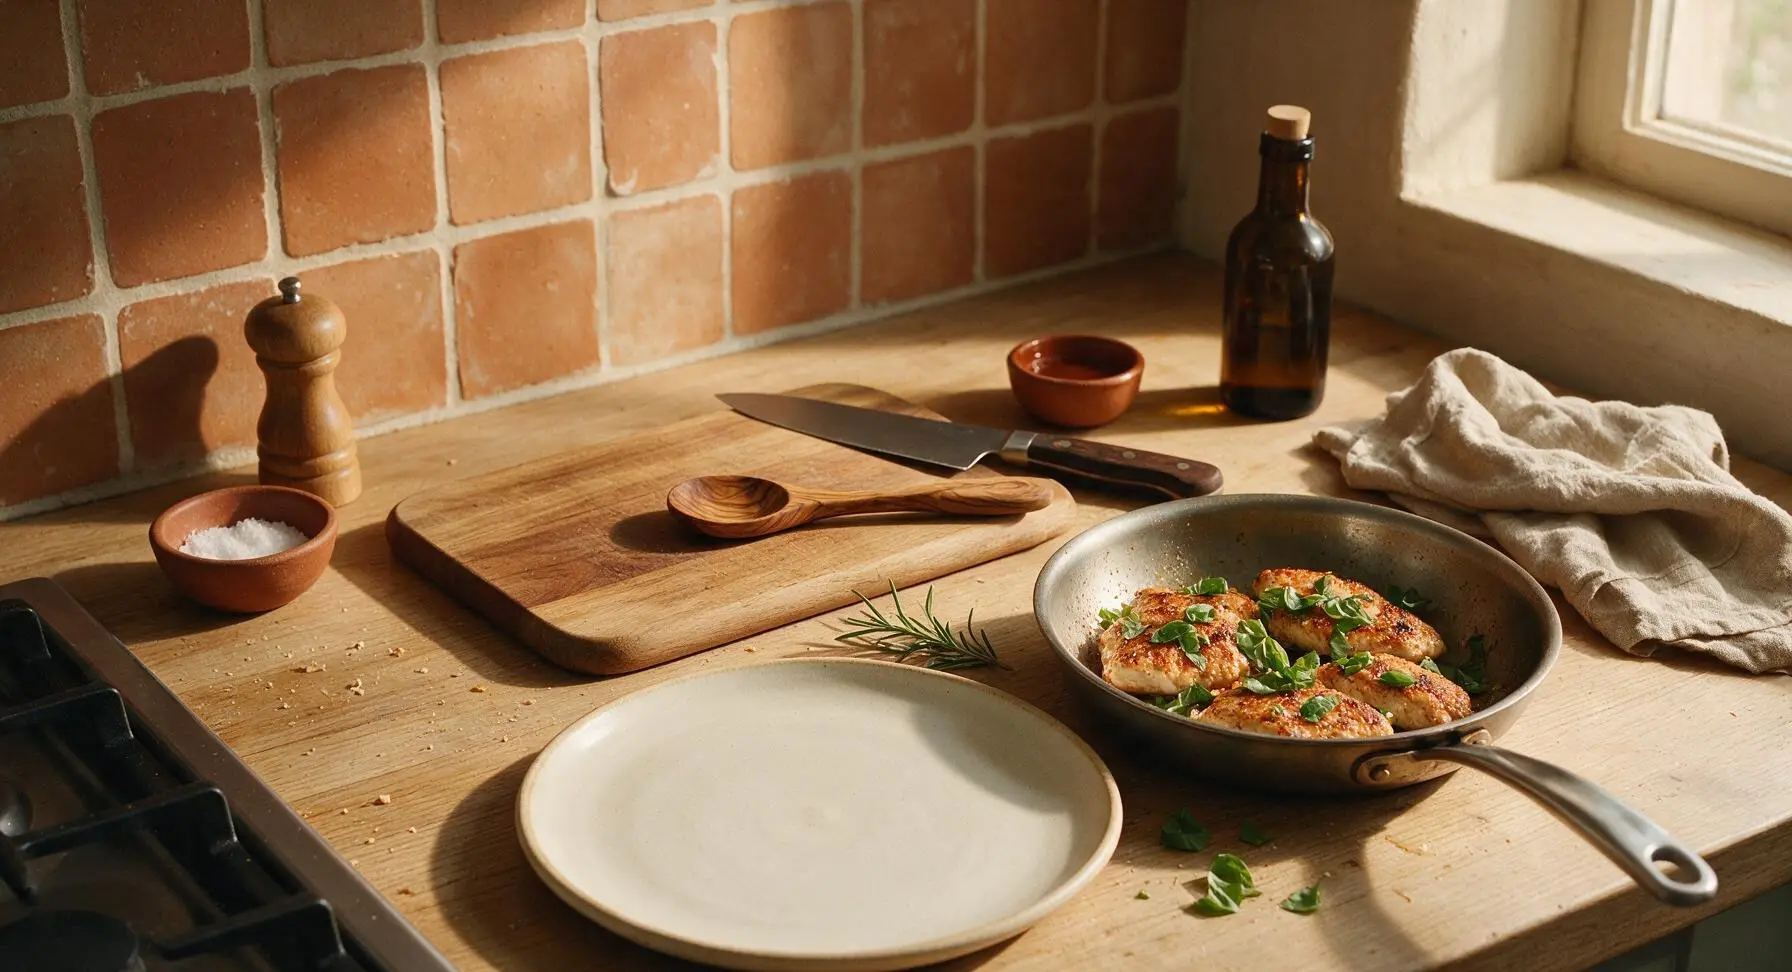
Step 7
step7:Garnish and Rest Chicken

Tips

1.Pound chicken to an exact 1/2-inch uniform thickness to eliminate overcooked, dry thin edges and undercooked thick centers; this also cuts total cooking time by nearly half for fast weeknight prep.
2.Press breadcrumbs firmly into the egg-washed chicken rather than sprinkling crumbs on top — this creates a tight, adherent crispy crust that won’t slide off during searing, even when topped with sauce and cheese.
3.Use low-moisture mozzarella instead of fresh mozzarella for this recipe: fresh mozzarella has a high water content that will sog out your crispy crust, while low-moisture mozzarella melts into a smooth, stretchy, golden layer without excess moisture.


✨ You May Also Like

Main Course
🍜 United Kingdom

A showstopping classic of tender seared beef, savory mushroom duxelles, and crisp prosciutto wrapped in flaky golden puff pastry, baked to juicy perfection.

⏱️ 2 hours 1Main Course ★ 4.7
Main Course
🍜 India

Tender charred marinated chicken simmered in a rich, spiced creamy tomato sauce, this iconic Anglo-Indian curry pairs perfectly with basmati rice or warm naan.

⏱️ 50 minuteMain Course ★ 4.6
Main Course
🍜 Thailand

Classic tangy, sweet, and savory Thai stir-fried rice noodles with shrimp, tofu, and crunchy garnishes, balancing all five core Thai flavor profiles.

⏱️ 30 minuteMain Course ★ 4.5
Main Course
🍜 United Kingdom

Crispy golden beer-battered cod and fluffy double-fried chips, served with tangy tartar sauce and malt vinegar: the timeless, beloved British pub comfort classic.

⏱️ 45 minuteMain Course ★ 4.7
Main Course
🍜 Mexico

Smoky, chile-marinated pork tacos with caramelized pineapple, fresh cilantro, and lime: a beloved classic Mexican street food perfect for casual summer gatherings.

⏱️ 1 hour 45Main Course ★ 4.8
Main Course
🍜 United States

Crunchy Fritos corn chips layered with savory beef chili and melted cheddar, topped with cool, zesty fixings for a beloved, cozy Tex-Mex comfort food.

⏱️ 35 minuteMain Course ★ 4.8

wendy's italian chicken:Frequently Asked Questions

1.How long does this Wendy’s Italian Chicken copycat take to make from start to finish? ▾
This recipe comes together in just 30 to 35 minutes total, making it ideal for busy weeknight dinners. Most of that time goes to breading and pan-frying the chicken cutlets, with only 1 to 2 minutes of broil time at the end to melt the mozzarella perfectly. No long marinating or slow simmering is required.
2.Why do I need to pound chicken breasts to a ½-inch thickness specifically? ▾
Pounding chicken to an even ½-inch thickness serves two key purposes: first, it guarantees even cooking so you don’t end up with dry, overcooked thin edges and raw, undercooked thick centers. Second, it creates the tender, thin cutlet base that matches the original Wendy’s texture for an authentic copycat bite.
3.Can I use pre-sliced store-bought chicken cutlets instead of pounding whole breasts myself? ▾
Absolutely! Pre-sliced chicken cutlets are a great time-saver for this recipe. Just double-check they’re a consistent ½-inch thick; if any sections are thicker, give them a quick pound with a meat mallet (or a heavy cast-iron pan wrapped in plastic) to even them out before you start breading.
4.Can I use plain breadcrumbs instead of Italian-seasoned breadcrumbs? ▾
You can definitely use plain breadcrumbs if that’s what you have in your pantry! Just stir in 1 teaspoon of dried Italian seasoning, ¼ teaspoon garlic powder, and a pinch of salt and black pepper per cup of plain crumbs to match the recipe’s zesty, herby coating. Panko works too if you prefer extra crispiness.
5.Why does the recipe call for low-moisture mozzarella instead of fresh mozzarella? ▾
Low-moisture mozzarella is specified because it melts into that iconic stretchy, gooey texture without releasing excess water that would turn your crispy breaded coating soggy. Fresh mozzarella has a much higher water content, so it will make cutlets mushy if you use it without patting it extremely dry first.
6.How do I get the breadcrumb coating to stick to the chicken instead of falling off while frying? ▾
Stick to the no-shortcut three-step breading station: first pat chicken completely dry, dip in beaten egg to fully coat, let excess egg drip off, then press firmly into the breadcrumb-parmesan mix for an even layer. Let coated cutlets rest 5 minutes before frying to help the coating set and stay put.
7.What type of oil should I use to fry the chicken cutlets? ▾
Use a neutral, high-smoke-point oil like canola, vegetable, or light olive oil for frying. You only need about ¼ inch of oil in the pan, heated to 350°F, so cutlets crisp up evenly without burning or absorbing too much excess grease. Skip extra-virgin olive oil here, as its low smoke point creates bitter, burnt flavors.
8.How do I tell when the chicken cutlets are fully cooked before adding sauce and cheese? ▾
Cutlets pounded to ½-inch thick will cook in roughly 3 to 4 minutes per side in 350°F oil. They’re done when the internal temperature hits 165°F on an instant-read thermometer, the coating is deep golden brown, and juices run clear when you pierce the thickest part. Don’t overcook them, or they’ll turn dry.
9.Can I bake the cutlets instead of pan-frying them for a lighter version? ▾
Absolutely! For a baked swap, arrange breaded cutlets on a wire rack set over a baking sheet, spritz both sides lightly with cooking spray, and bake at 425°F for 15 to 18 minutes, flipping halfway, until golden and cooked through. The wire rack keeps the coating crispy on all sides instead of soggy.
10.Do I need to make homemade marinara, or is store-bought marinara acceptable? ▾
Store-bought marinara works perfectly here and is part of what makes this recipe so fast for weeknights! Pick a zesty, robust marinara you enjoy, and warm it slightly before spooning it over cooked cutlets so it doesn’t cool the chicken down. Homemade marinara works beautifully too if you have it on hand.
11.How thick should I slice the mozzarella to get that perfect stretchy cheese pull? ▾
Slice low-moisture mozzarella to a consistent ¼-inch thick for the best results. This thickness melts fully in just a couple of minutes under the broiler, creates that iconic stretchy cheese pull when you take a bite, and doesn’t slide off the cutlet the way thicker, heavier slices tend to do.
12.Do I add the grated parmesan to the breading or sprinkle it on top of the chicken? ▾
For the best flavor and extra-crispy coating, mix half of your grated parmesan right into the Italian breadcrumbs before breading the chicken, then sprinkle the remaining half over the mozzarella right before broiling. That gives you nutty parmesan flavor in every layer, from the crispy coating to the melted top.
13.Why do you recommend broiling instead of baking to melt the cheese? ▾
Broiling uses high, direct top heat that melts and slightly browns the mozzarella in 1 to 2 minutes flat, without making the crispy chicken coating soggy from extended time in the oven. If you bake the cheese on for 5+ minutes, trapped steam will soften that perfect crispy breading you worked to create.
14.Can I make this recipe gluten-free for friends or family with gluten sensitivities? ▾
Absolutely! Swap regular Italian-seasoned breadcrumbs for gluten-free Italian breadcrumbs (or make your own from toasted gluten-free bread blitzed with Italian seasoning) and double-check that your marinara and parmesan are certified gluten-free, as hidden gluten can sneak into pre-shredded cheeses and jarred sauces.
15.How do I keep fried cutlets crispy while I finish cooking the rest of the batch? ▾
As you finish frying each cutlet, set it on a wire rack set over a baking sheet instead of piling it on a paper-towel-lined plate. Piling cutlets or setting them directly on a flat surface traps steam, which makes the coating soggy. You can keep them warm in a 200°F oven on that rack while you work.
16.What sides pair best with this Wendy’s Italian Chicken copycat? ▾
This cozy, comforting dish pairs perfectly with simple sides like crispy french fries (to match the original fast-food vibe), buttery garlic bread, a crisp side salad with Italian dressing, roasted broccoli, or buttered pasta. Keep sides simple so the chicken, marinara, and gooey cheese stay the star of the meal.
17.Can I prep components of this recipe ahead of time for faster weeknight meals? ▾
You can prep a few components ahead to cut down on cook time: pound and bread the chicken cutlets 1 day in advance, stored covered in the fridge, and pre-slice your mozzarella. Wait to fry the chicken and melt the cheese until right before serving, though, to keep the coating as crispy as possible.
18.How should I store leftovers, and how do I reheat them without soggy coating? ▾
Store leftover chicken in an airtight container in the fridge for up to 3 days. For the best crispy texture when reheating, skip the microwave—set leftovers on a wire rack over a baking sheet and reheat at 375°F for 8 to 10 minutes, until the chicken is warmed through and the cheese is bubbly again.

Comments (6)

2 weeks ago

OMG this was SO good! I first made it for a quick family dinner after seeing the 25 minute cook time, and my kids loved it so much I made a double batch for my neighborhood potluck last weekend. People were begging me for the recipe! It’s so easy to throw together, juicy chicken, perfect herby tomato flavor, not too heavy. 10/10, will be making this again for our next game night.

1 week ago

Wait did you serve it with pasta or veggies? I’m making this for my office potluck next week and can’t decide what side pairs best!

5 days ago

Great question! Both roasted veggies and buttery pasta pair beautifully, but garlic bread is always a fan favorite for potlucks too if you want an easy add-on.

3 days ago

This is perfect for my Sunday meal prep! I made a big batch on Sunday, portioned it out with roasted broccoli and quinoa, and it held up amazing all week for lunches. The flavor didn’t get soggy or weird like some chicken recipes do when you reheat them. Super easy too, I didn’t even break a sweat making it after my long run. Total game changer for my work lunch routine!

2 days ago

So glad this worked for your meal prep! Pro tip: if you’re storing it for the week, keep a little extra of the tomato-herb sauce on the side to drizzle when you reheat for an extra pop of flavor.

2 hours ago

Look, I can barely cook toast without burning it half the time, so when I saw this was marked easy I decided to give it a shot. Followed the directions exactly, it came out perfect! My wife thought I ordered takeout from our local Italian spot, no joke. Only reason it’s not 5 stars is I wish I’d added a little extra parmesan on top, but that’s 100% on me for forgetting to pick some up at the store. Total win for my very limited cooking skill set.

yesterday

I made this gluten free by swapping the regular breadcrumbs for GF Italian breadcrumbs and it turned out incredible! My whole family loved it, even my teen who turns his nose up at every ‘modified’ recipe I make. Will absolutely be adding this to our regular rotation.

30 minutes ago

Oh thank you for sharing the GF swap! I’ve been looking for new chicken recipes that don’t require a million weird specialty GF ingredients, this sounds perfect.

5 minutes ago

Love that GF swap! We’ve tested it with GF panko too and it comes out just as crispy, for anyone else looking to make this gluten free.

5 days ago

Wait a second, this tastes exactly like the Italian chicken my nana used to make! I was not expecting that level of nostalgia from a quick online recipe. The only tweak I made was adding a sprinkle of red pepper flakes for a little gentle kick, and it was chef’s kiss. So easy, so flavorful, zero complaints.

3 days ago

The red pepper flakes addition sounds genius! I’m always looking to add a little heat to my meals, I’ll definitely be trying that when I make this tomorrow.

just now

Made this in my tiny dorm kitchen with just two pans and very limited supplies, and it absolutely slapped. Took exactly 25 minutes like the recipe said, I didn’t have to run to any fancy grocery store for ingredients either—everything was available right at the campus market. 10/10 for broke college students who are sick of ramen and sad dining hall food.



