
White Chocolate Coffee Creamer
intro
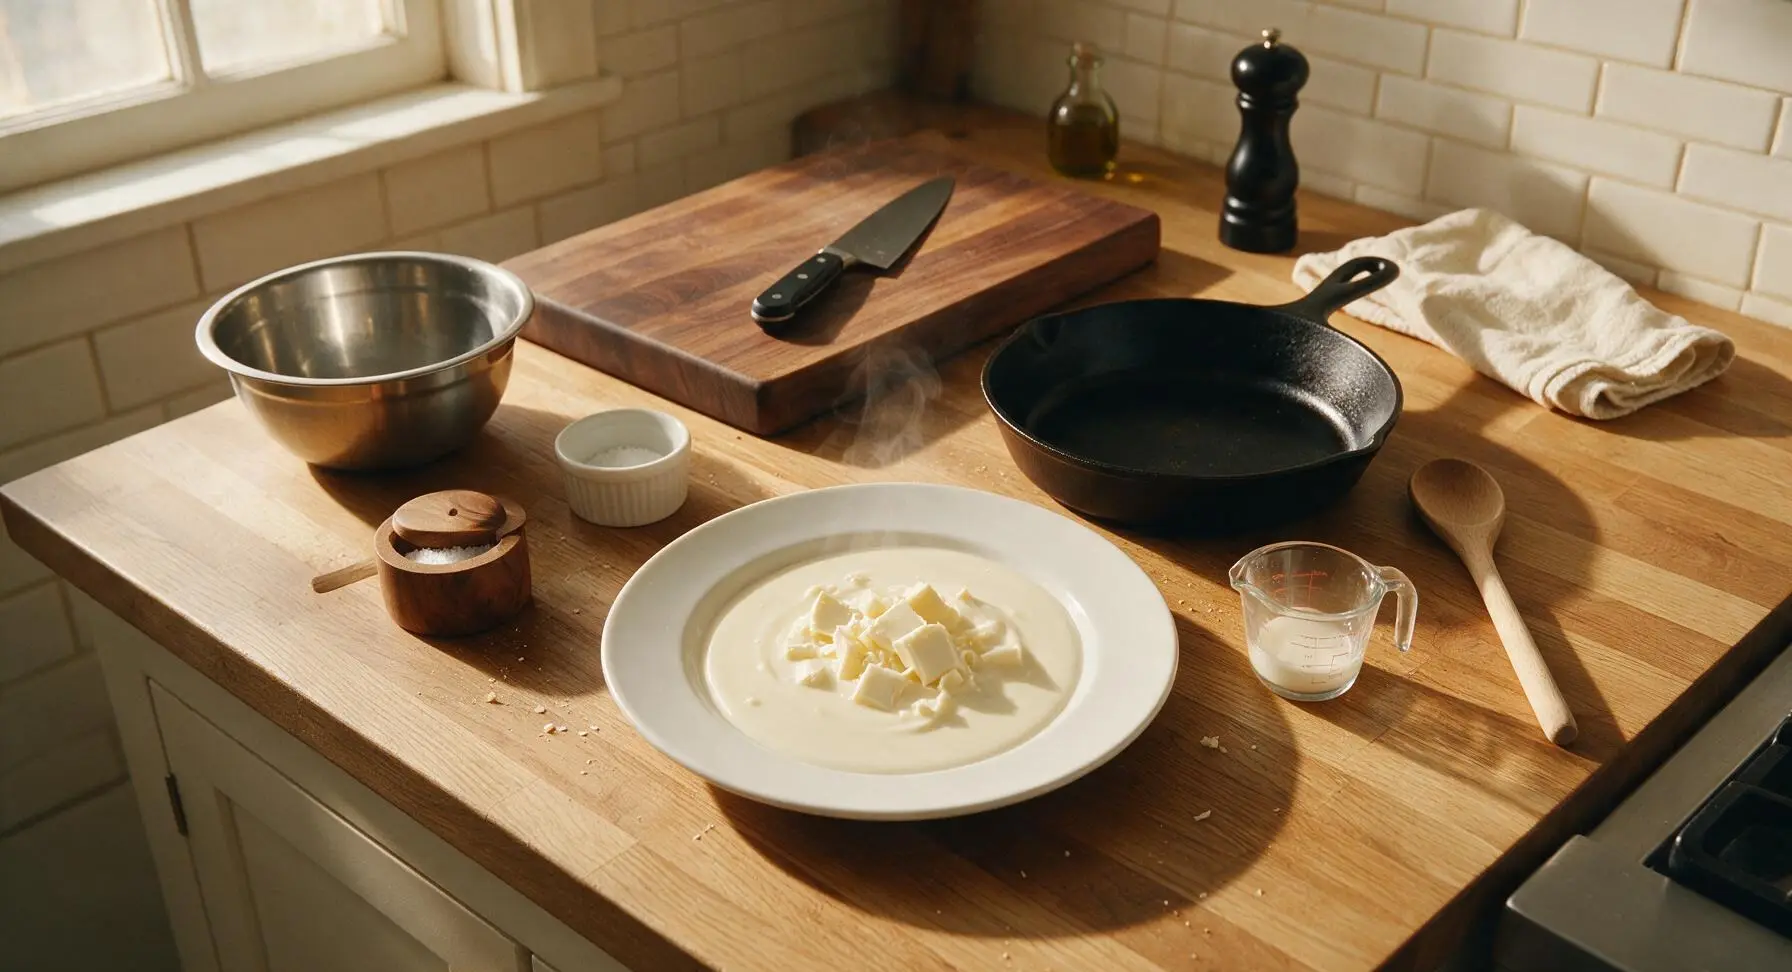
Silky, rich homemade white chocolate coffee creamer that elevates every morning mug, with warm vanilla notes and zero artificial additives, ready in under 15 minutes.
Ingredients
Steps
Measure All Ingredients
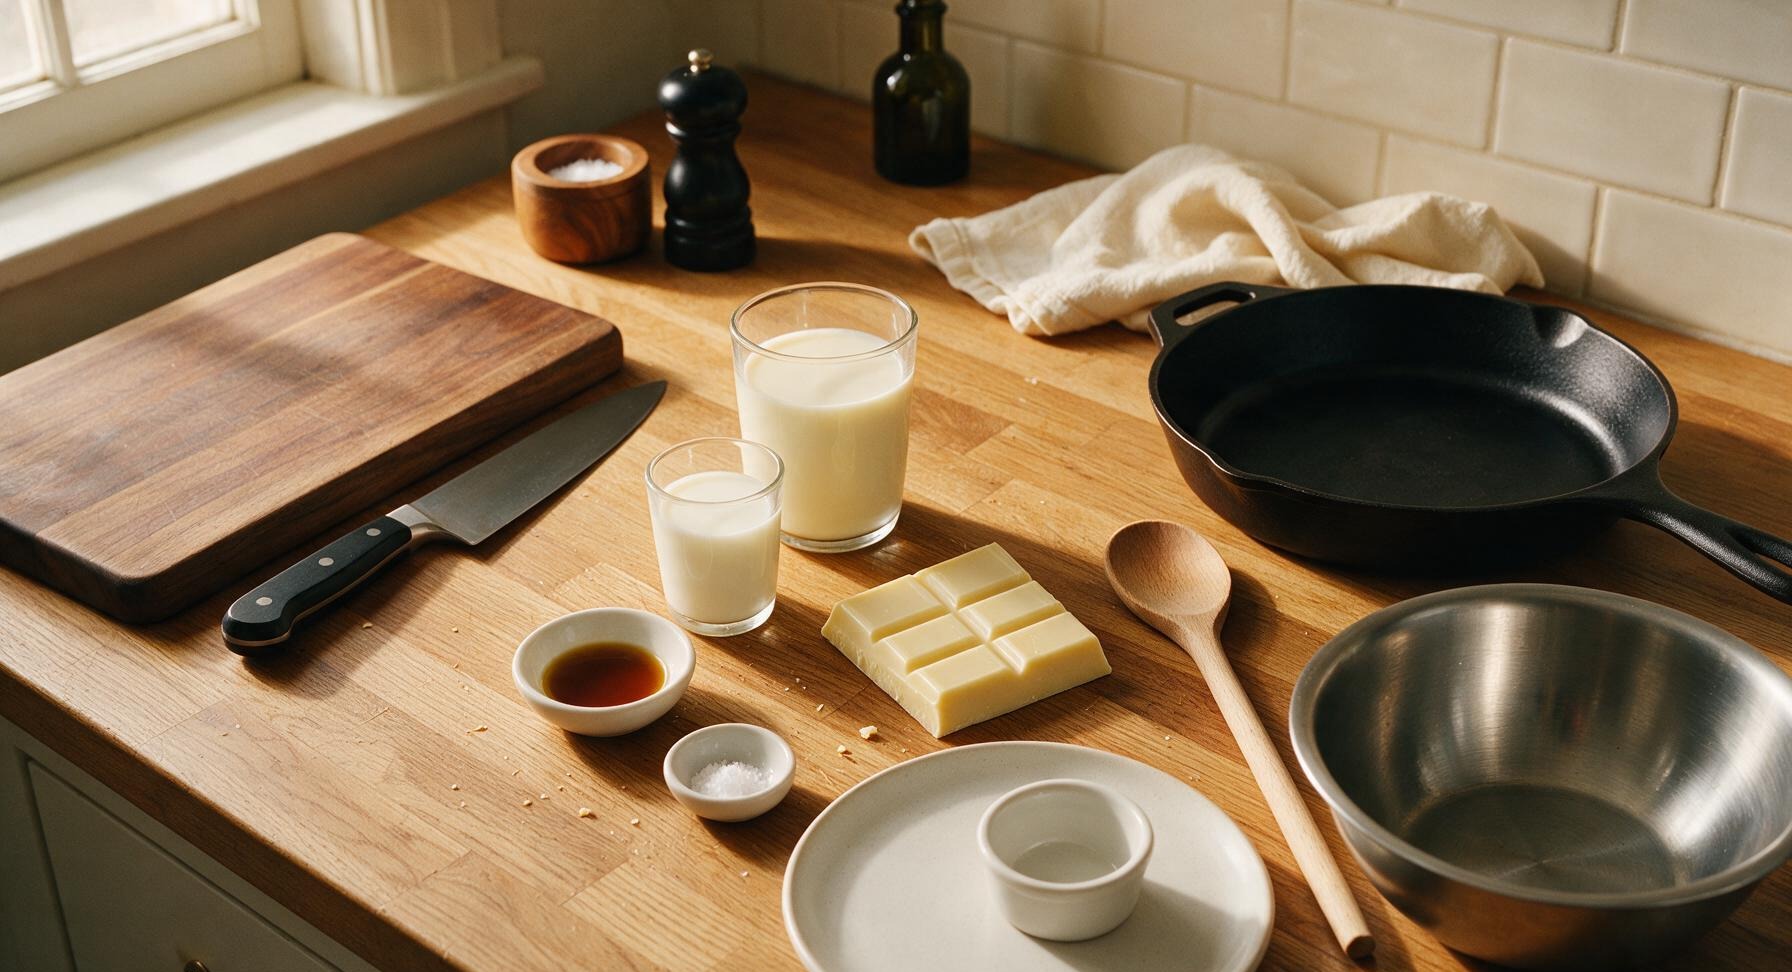
First, finely chop the white chocolate bar into uniform 5mm pieces to ensure fast, even melting; avoid using white chocolate chips, which contain stabilizers that prevent smooth melting. Measure half-and-half into the 250ml glass measuring cup, whole milk into the 60ml glass pour cup, and sea salt into the 6cm glass pinch bowl, so all ingredients are pre-portioned before heating begins. This prevents burning from fumbling with measurements while the pan is hot, and ensures you do not overheat the dairy base.
Warm Dairy Base
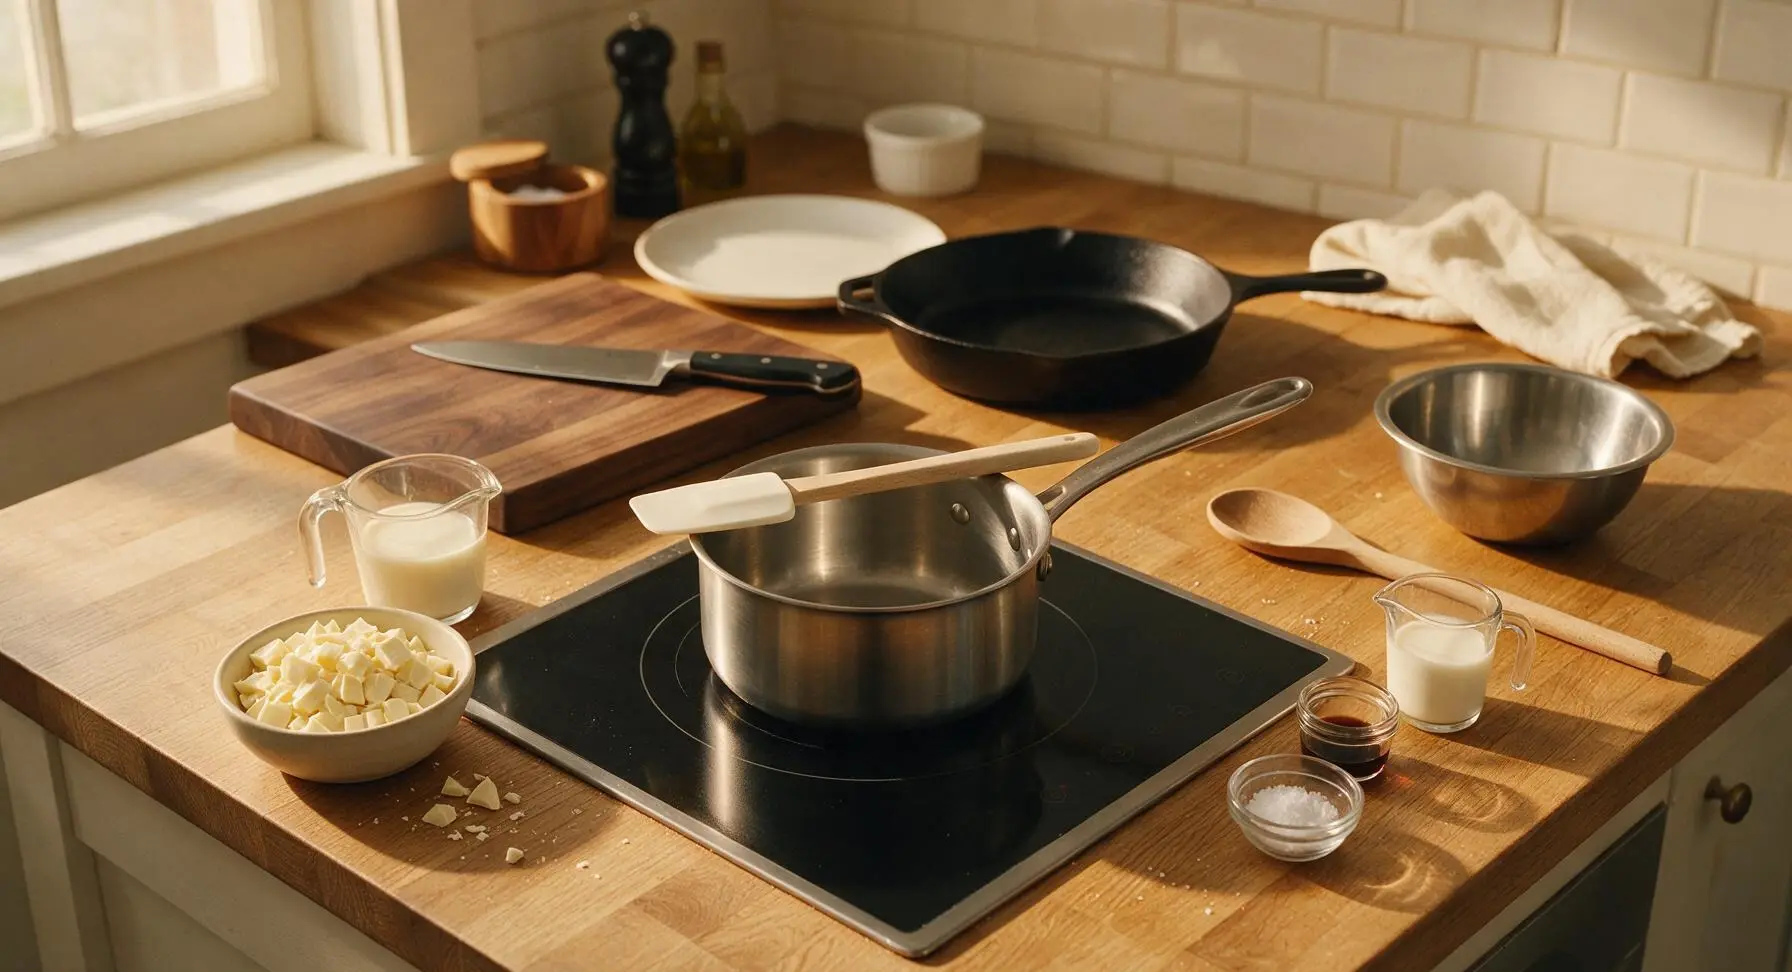
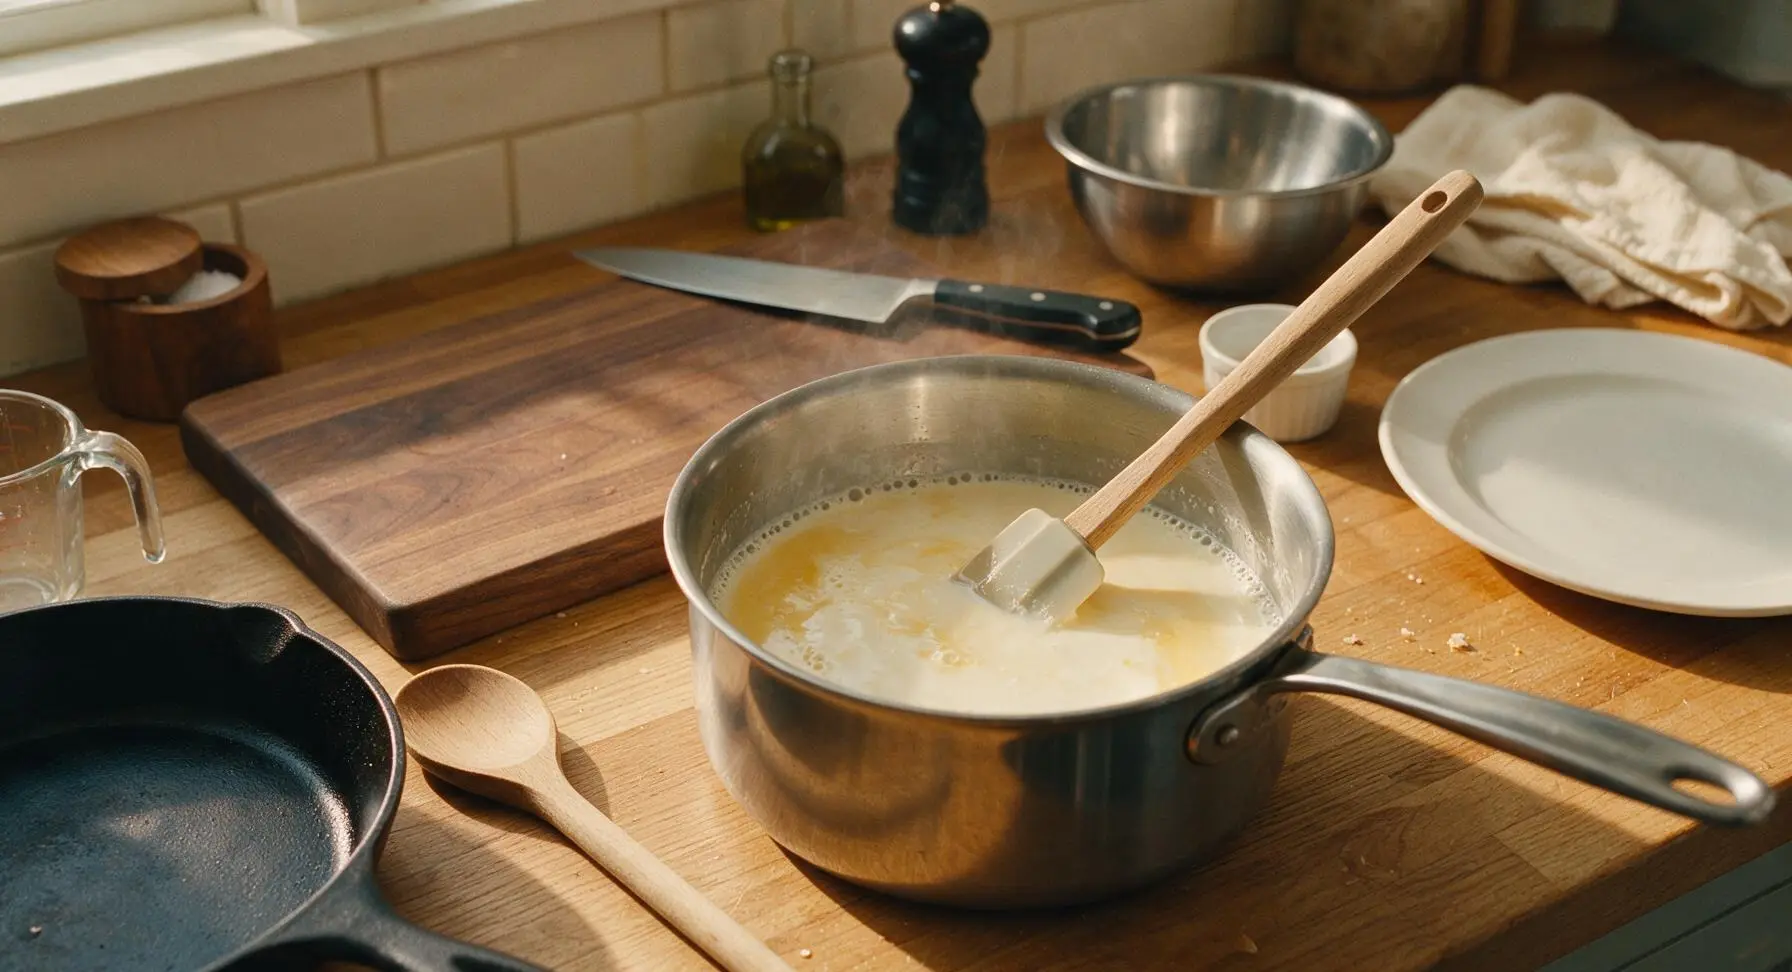
Pour the measured half-and-half and whole milk into the stainless steel saucepan. Turn the induction burner to medium-low heat, warming the dairy slowly until it reaches 160°F (71°C). The mixture is at the correct temperature when it is steaming gently, with tiny pinprick bubbles forming around the inner edges of the pan; do NOT bring to a rolling boil, as boiling will cause dairy proteins to curdle and ruin the smooth texture. Stir occasionally with the silicone spatula to prevent scalding on the pan bottom, about 4-5 minutes total heating time.
Melt White Chocolate
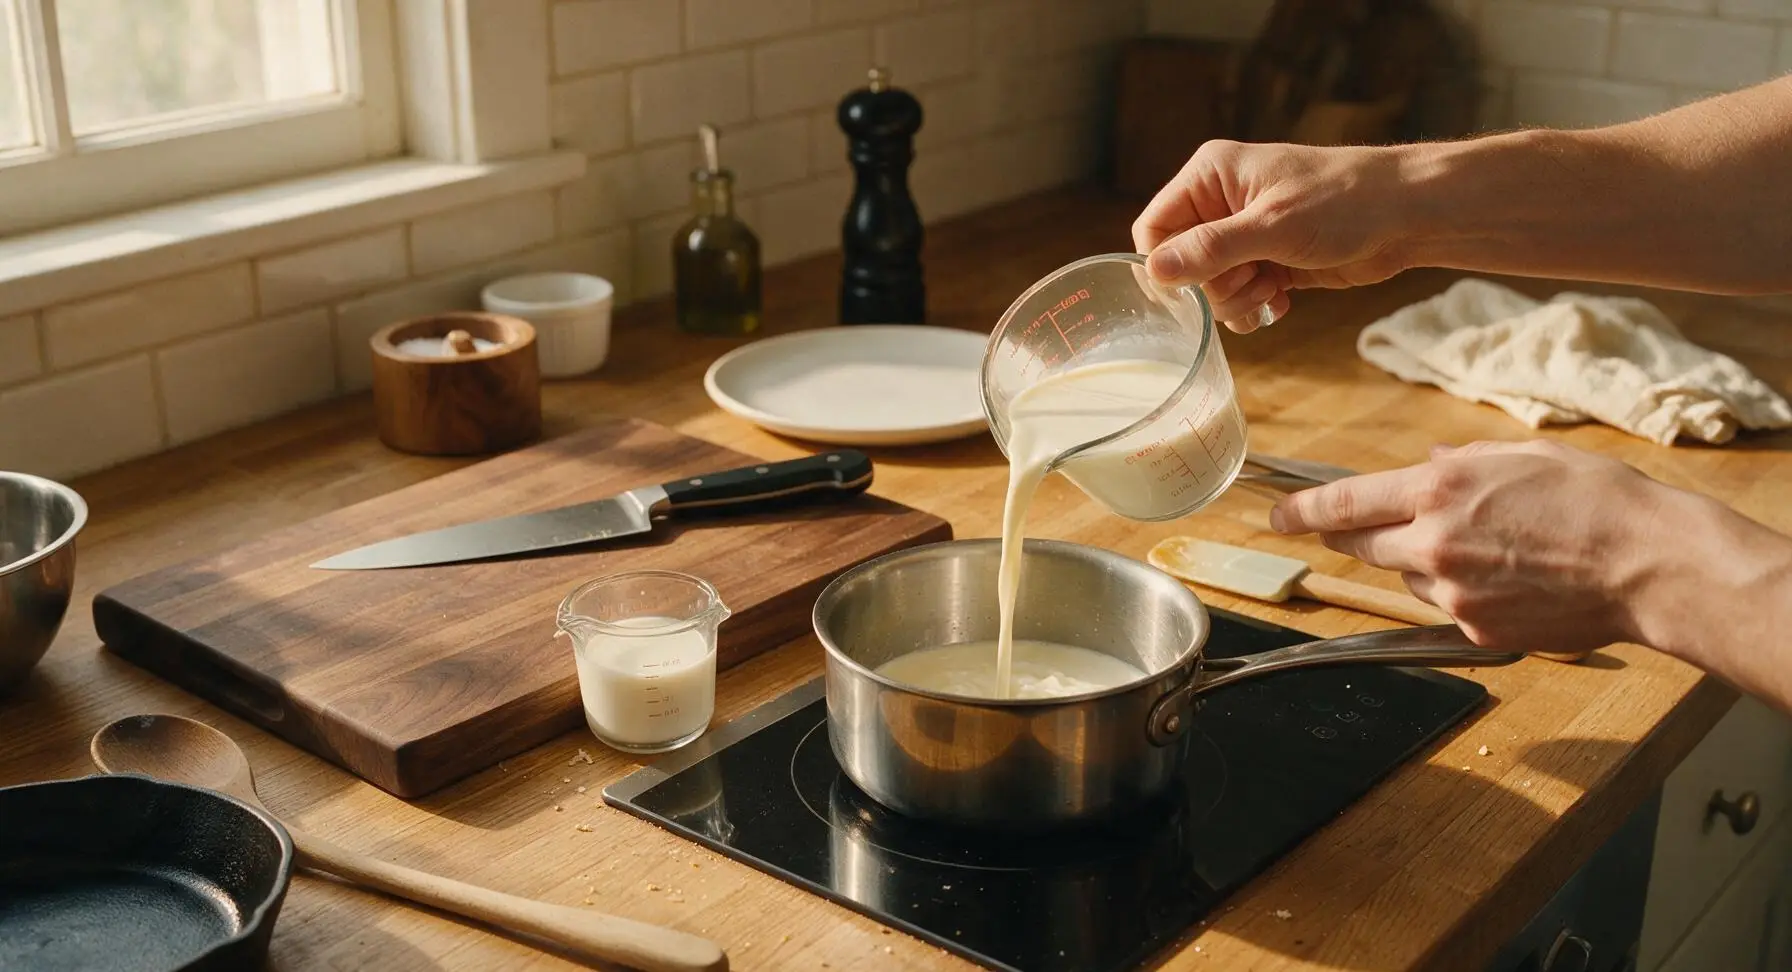
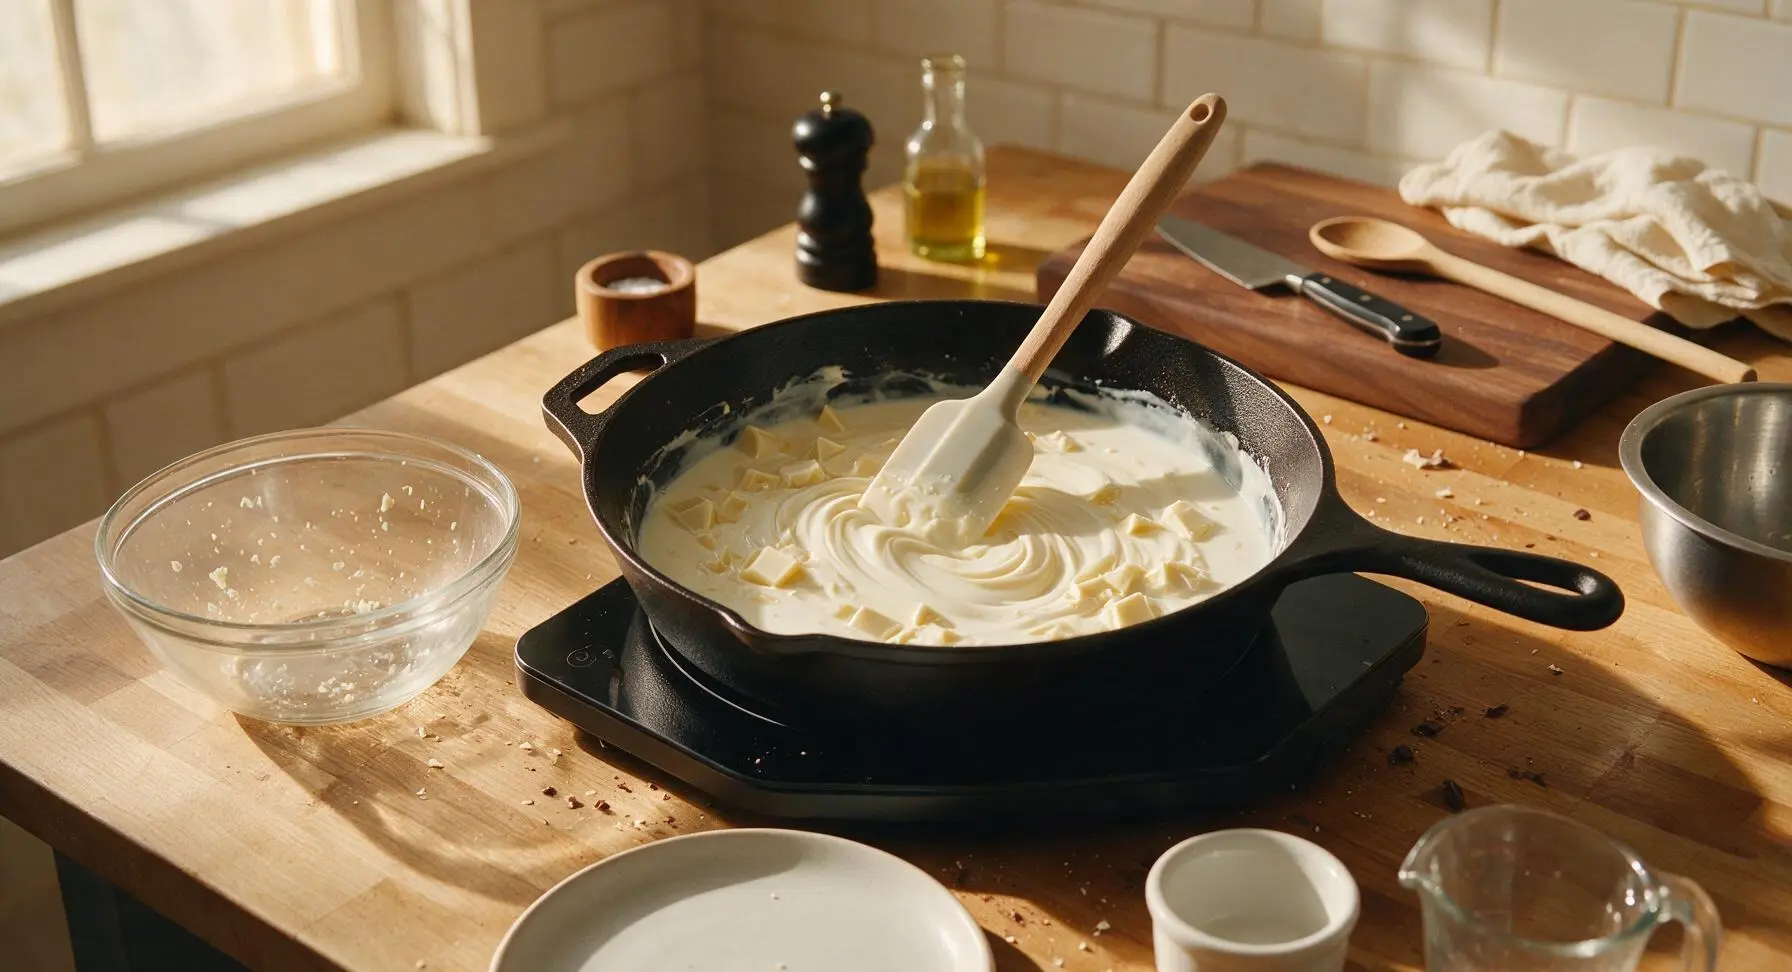
Turn the induction burner to the lowest setting, then add all of the finely chopped white chocolate to the warm dairy base. Let the chocolate sit undisturbed for 30 seconds to soften from the residual heat of the dairy, which prevents the chocolate from seizing up. Stir slowly and constantly with the silicone spatula in gentle figure-8 motions, scraping the bottom and sides of the pan to avoid any chocolate sticking and burning, until no visible chocolate lumps remain, about 2 minutes.
Stir in Flavorings
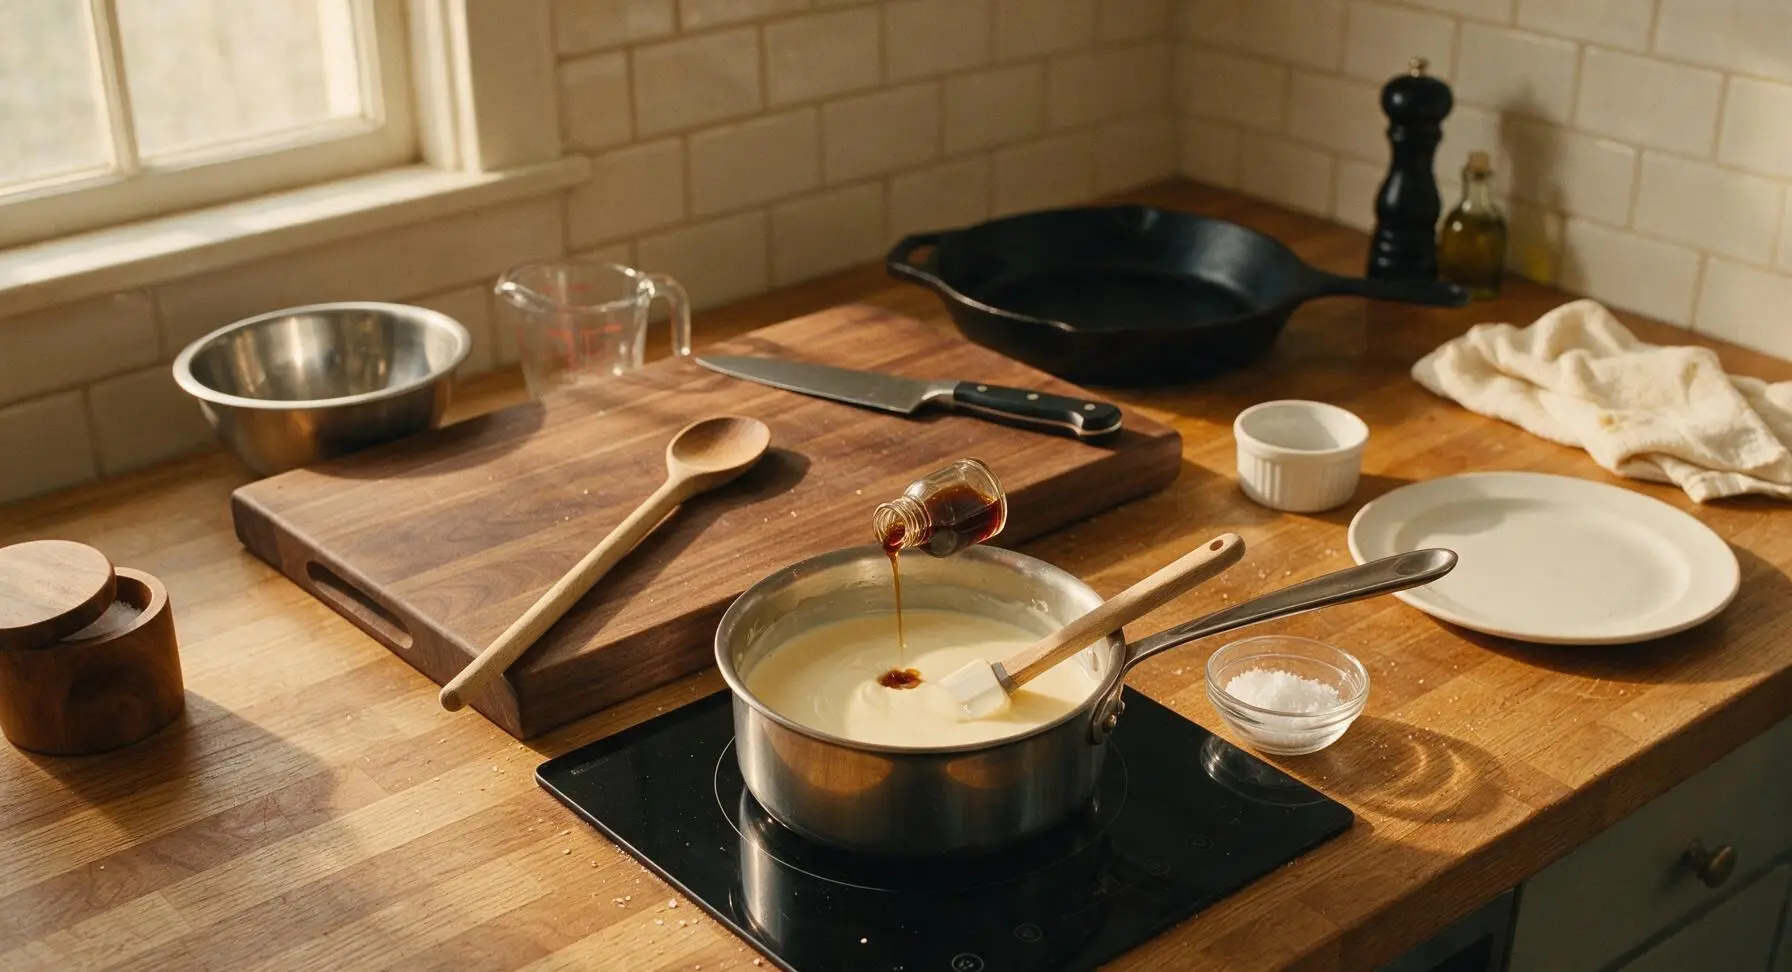
Once the chocolate is fully melted and the mixture is completely smooth (no lumps visible when you lift the spatula from the pan), stir in the 1 teaspoon pure vanilla extract and 1/8 teaspoon fine sea salt. Stir for 30 seconds to fully incorporate, then immediately turn off the induction burner. Do not continue to cook the mixture after adding vanilla, as high heat will cook off the delicate, aromatic vanilla compounds and dull the flavor.
Check Smooth Consistency
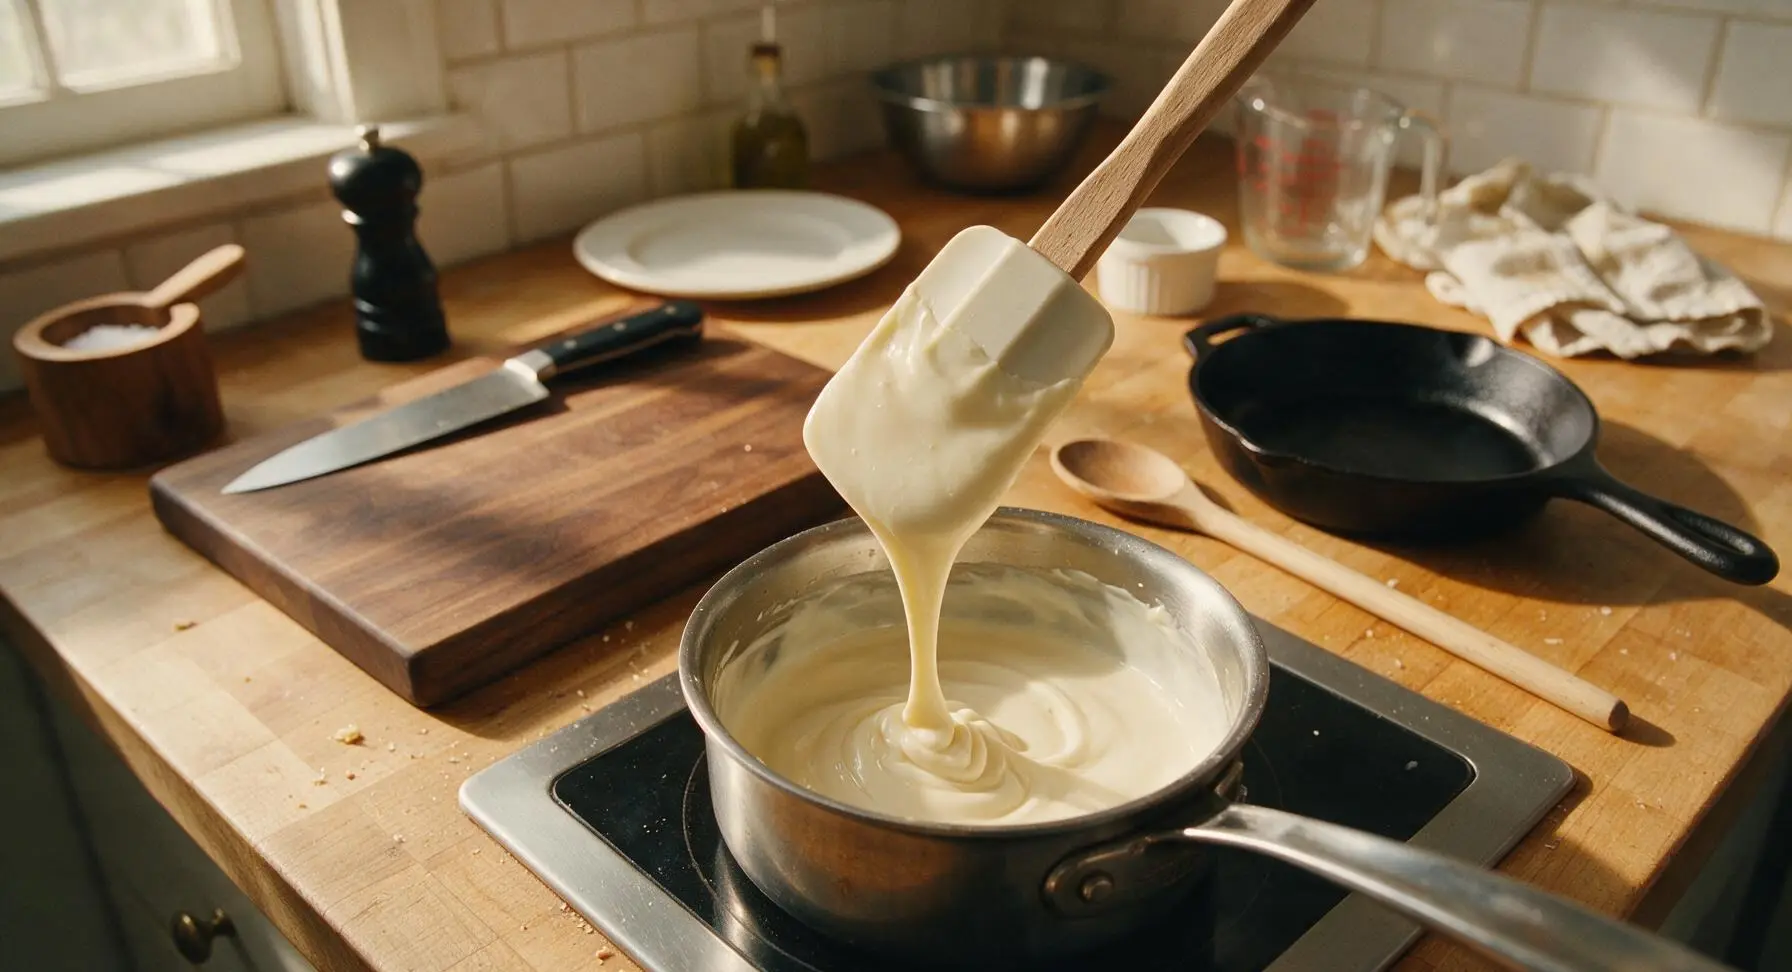
Continue stirring the off-heat mixture for 1 full minute, ensuring no lumps of chocolate remain, and the salt and vanilla are fully distributed. The final mixture should be completely uniform, pale creamy ivory, with a thin, pourable consistency that coats the back of the spatula in a smooth, even layer when lifted. If any tiny lumps remain, place the fine-mesh stainless steel sieve over the mouth of the 500ml glass storage jar to strain them out.
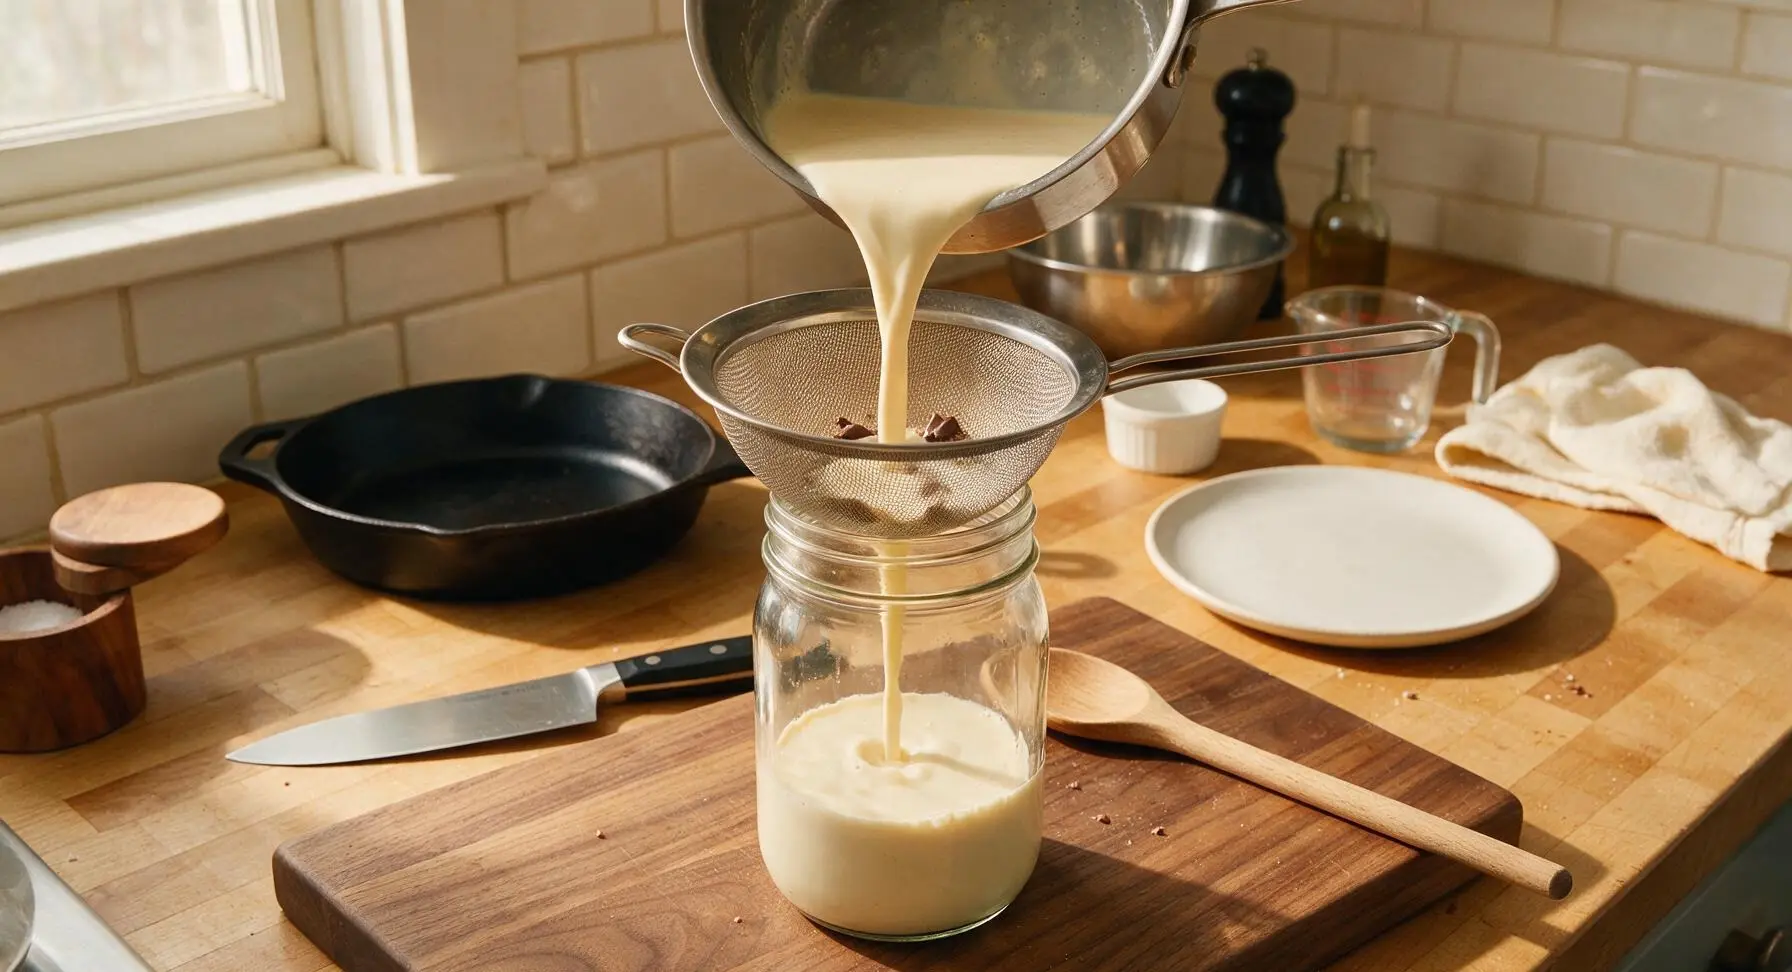
Cool to Room Temperature
Once strained, leave the creamer in the glass storage jar with the lid resting loosely on top (not sealed) to cool to room temperature on the counter for 20 minutes. Sealing the lid while the creamer is warm will cause condensation to form inside the jar, which can lead to faster spoilage and a watery, diluted texture. Follow food safety guidelines and do not leave the creamer at room temperature for longer than 2 hours.
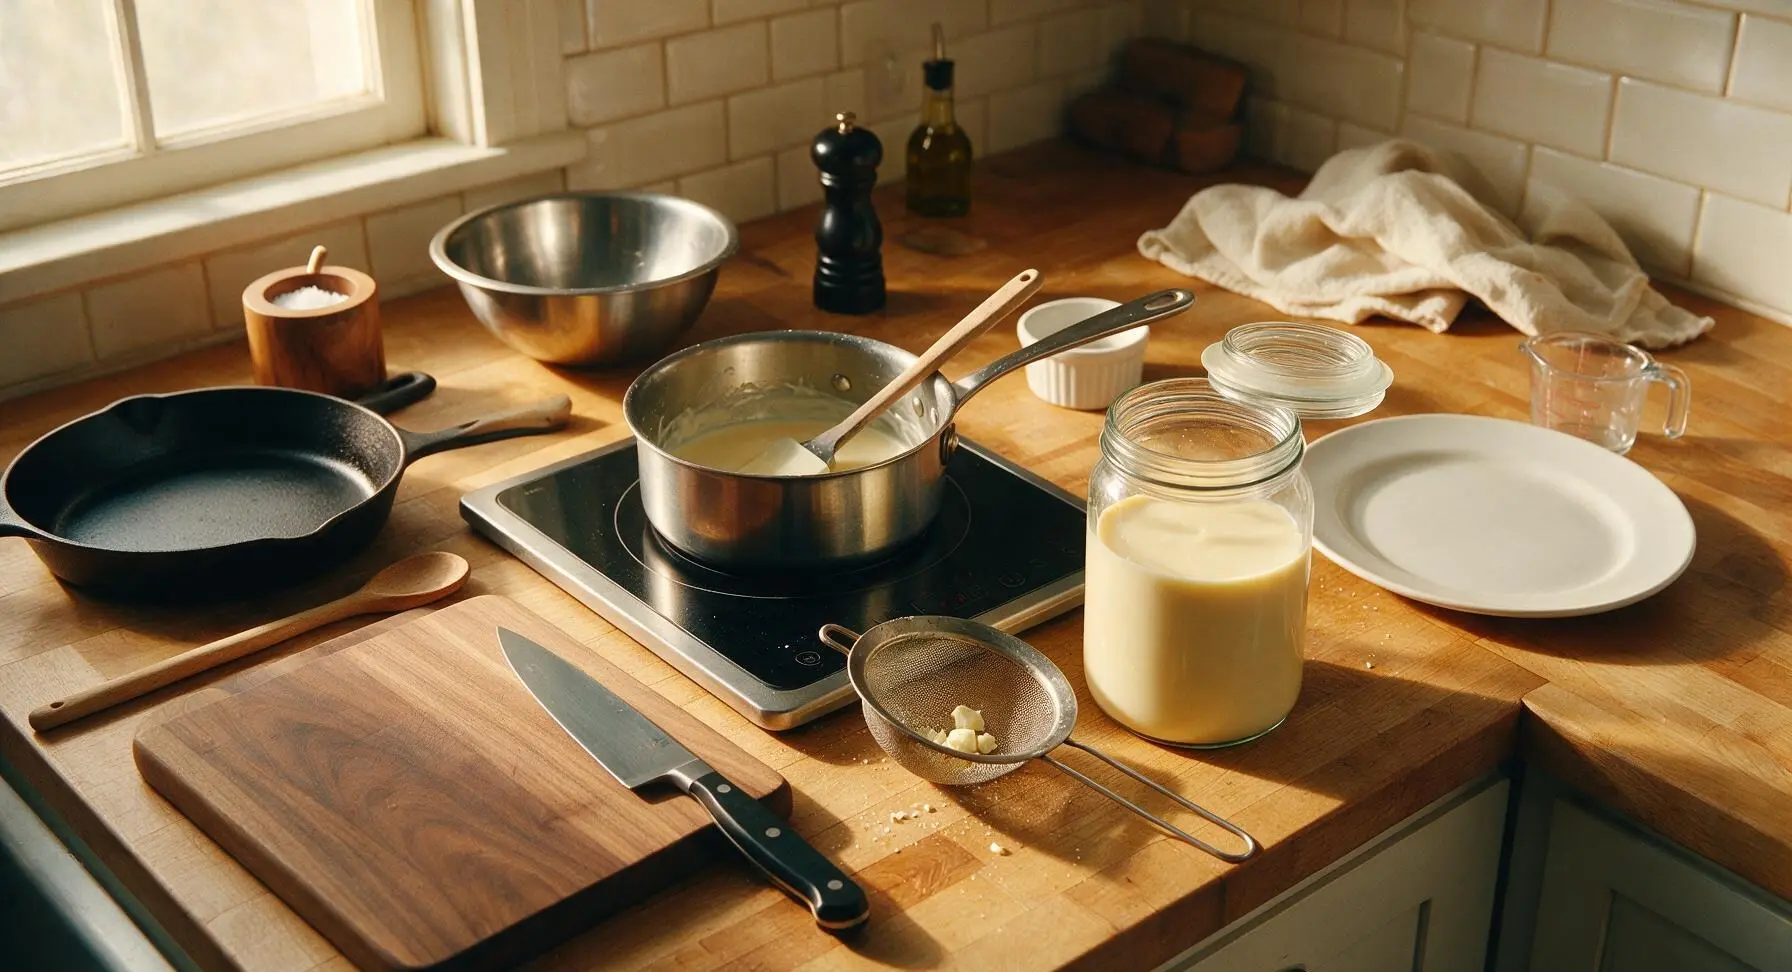
Seal and Store
Once the creamer is fully cooled to room temperature, press the glass lid firmly onto the jar to create an airtight seal, then refrigerate for up to 7 days. Shake the jar vigorously for 5 seconds before each use, as natural separation of dairy and chocolate may occur during storage. Use 2-3 tablespoons per 8oz mug of hot or iced coffee, adjusting to taste for desired creaminess and sweetness.
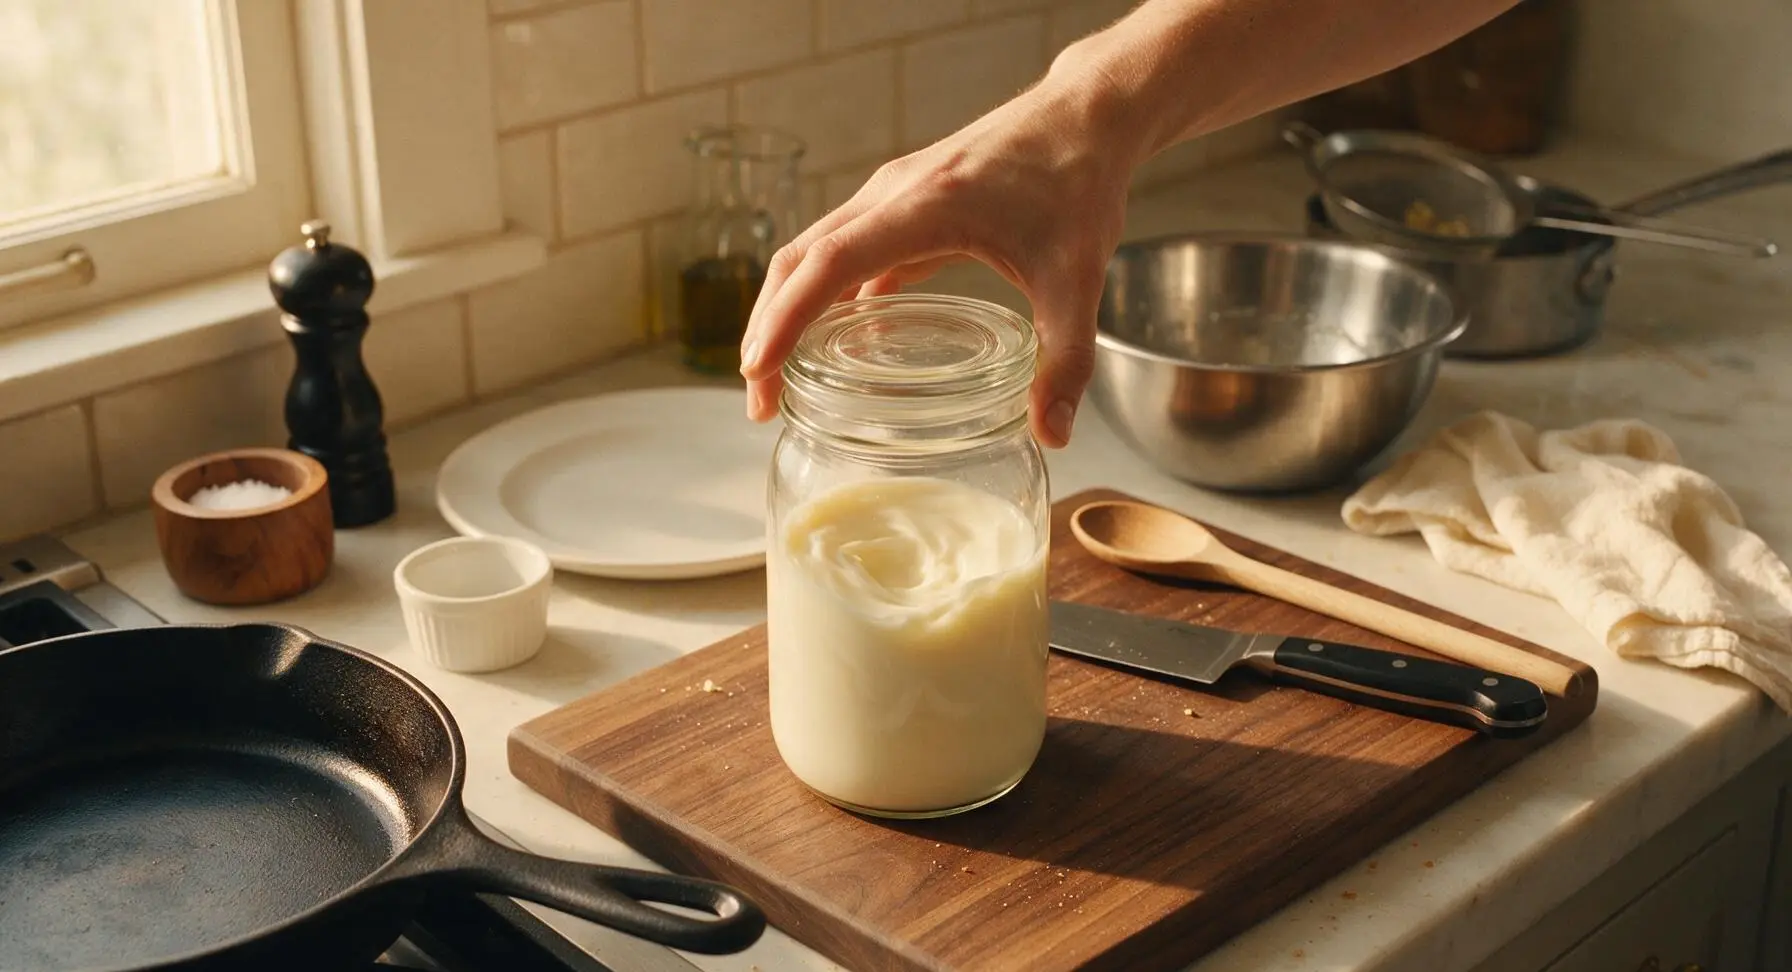
Tips
2.Never heat the dairy base to a full rolling boil: boiling causes milk proteins to curdle, creating irreversible lumps that even straining cannot fully remove. Keep heat on medium-low and watch for gentle steam and tiny bubbles at the pan edges as your cue to add chocolate, rather than waiting for a boil.
3.For extra depth of flavor that pairs perfectly with coffee, stir 1/4 teaspoon of instant espresso powder into the warm dairy base before adding chocolate. The espresso amplifies the rich, toasty notes of the white chocolate and complements brewed coffee, without adding a strong bitter coffee taste to the creamer itself.






OMG this white chocolate coffee creamer is a total game changer!!! I was sick of paying $6 a bottle for the fancy grocery store stuff, and this comes together in 10 minutes flat? Are you kidding? It’s so rich and creamy, not cloyingly sweet like the store bought versions. My kids even asked for a splash in their hot cocoa this morning! 10/10 will be making this every Sunday for meal prep for the work week.
Super easy to make, but I messed up the first batch because I heated the white chocolate too fast and it seized up. Oops! Second batch I kept the heat super low and stirred constantly, turned out perfect. Tastes exactly like the white mocha syrup they use at my local coffee shop, saved me so much money on my morning latte runs.
Okay I am NOT a good cook at all, and even I nailed this on the first try? 10 minutes total time, no fancy equipment, just a saucepan and a jar to store it. It’s SO good in iced coffee, doesn’t get clumpy when you pour it over cold ice like the cheap powdered creamer I used to buy. Will absolutely be making this again.
Made this for our weekend cabin trip with friends, and everyone was begging me for the recipe by the second morning. We used it in pour over coffee, and even mixed a little into our evening bourbon cocktails for a fun twist. Only note: I added a tiny pinch of sea salt on top, it cuts the sweetness so nicely, highly recommend that little upgrade!
Meal prep win over here! I made a double batch on Sunday, and it’s lasted me all work week so far. My morning commute coffee tastes like a fancy coffee shop treat now, and I don’t have to stop and wait in the drive thru line for 20 minutes every day. Only thing I’ll change next time is maybe add a tiny dash of cinnamon for a little extra warmth.
So happy this recipe uses simple, clean ingredients! I’ve been struggling to find a store bought creamer that doesn’t have a ton of weird preservatives and fillers, and this fits the bill perfectly. It’s smooth, creamy, has the perfect amount of white chocolate flavor, and doesn’t upset my sensitive stomach at all. 10/10 for anyone with dietary weirdness like me.
Wait, has anyone tried making this with sugar free white chocolate chips? I’m cutting back on added sugar right now and would love to tweak this to fit that, but I don’t want to waste a whole batch if it doesn’t turn out right!
I brought this to our office potluck last week, set it up next to the coffee station, and it was GONE by the end of the first hour. Three different coworkers texted me over the weekend asking for the recipe! It’s so easy to whip up, tastes way fancier than it is, and it’s totally customizable. I added a little vanilla extract last time and it was chef’s kiss.