
wow waffles

intro
Crisp golden edges, cloud-fluffy centers, and a secret malted kick make these wow waffles an unforgettable treat, piled high with fresh spring toppings for family meals.
Ingredients
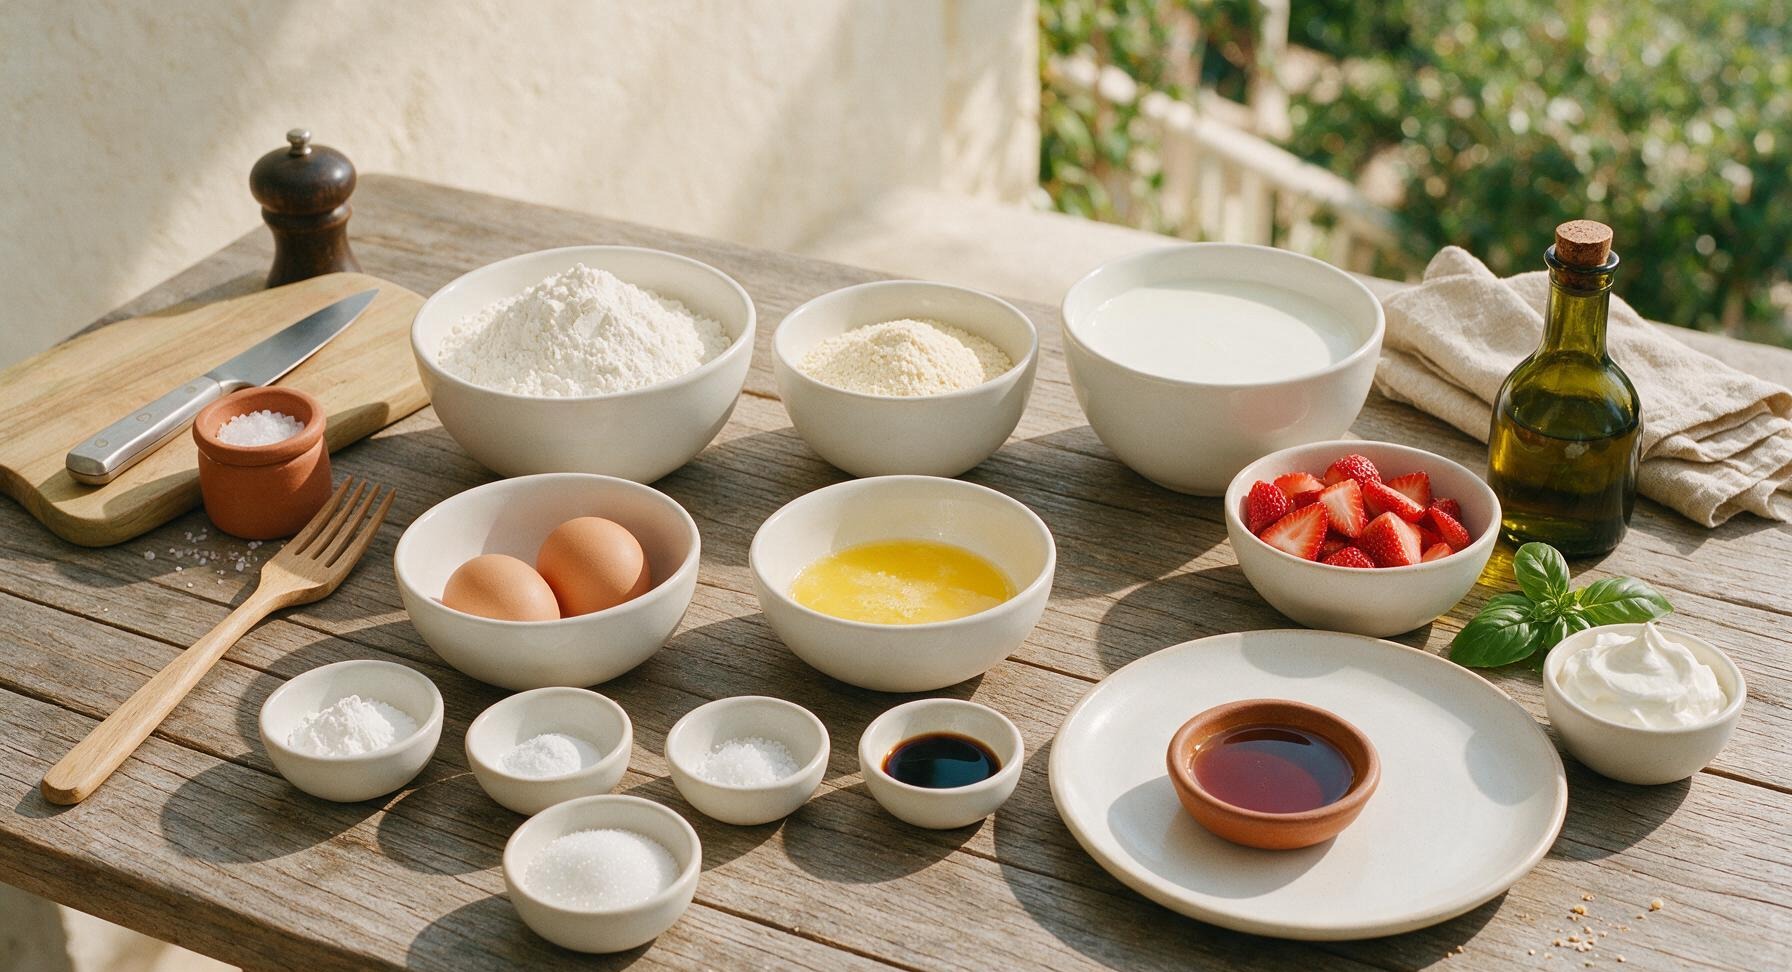
Steps
Preheat Waffle Iron
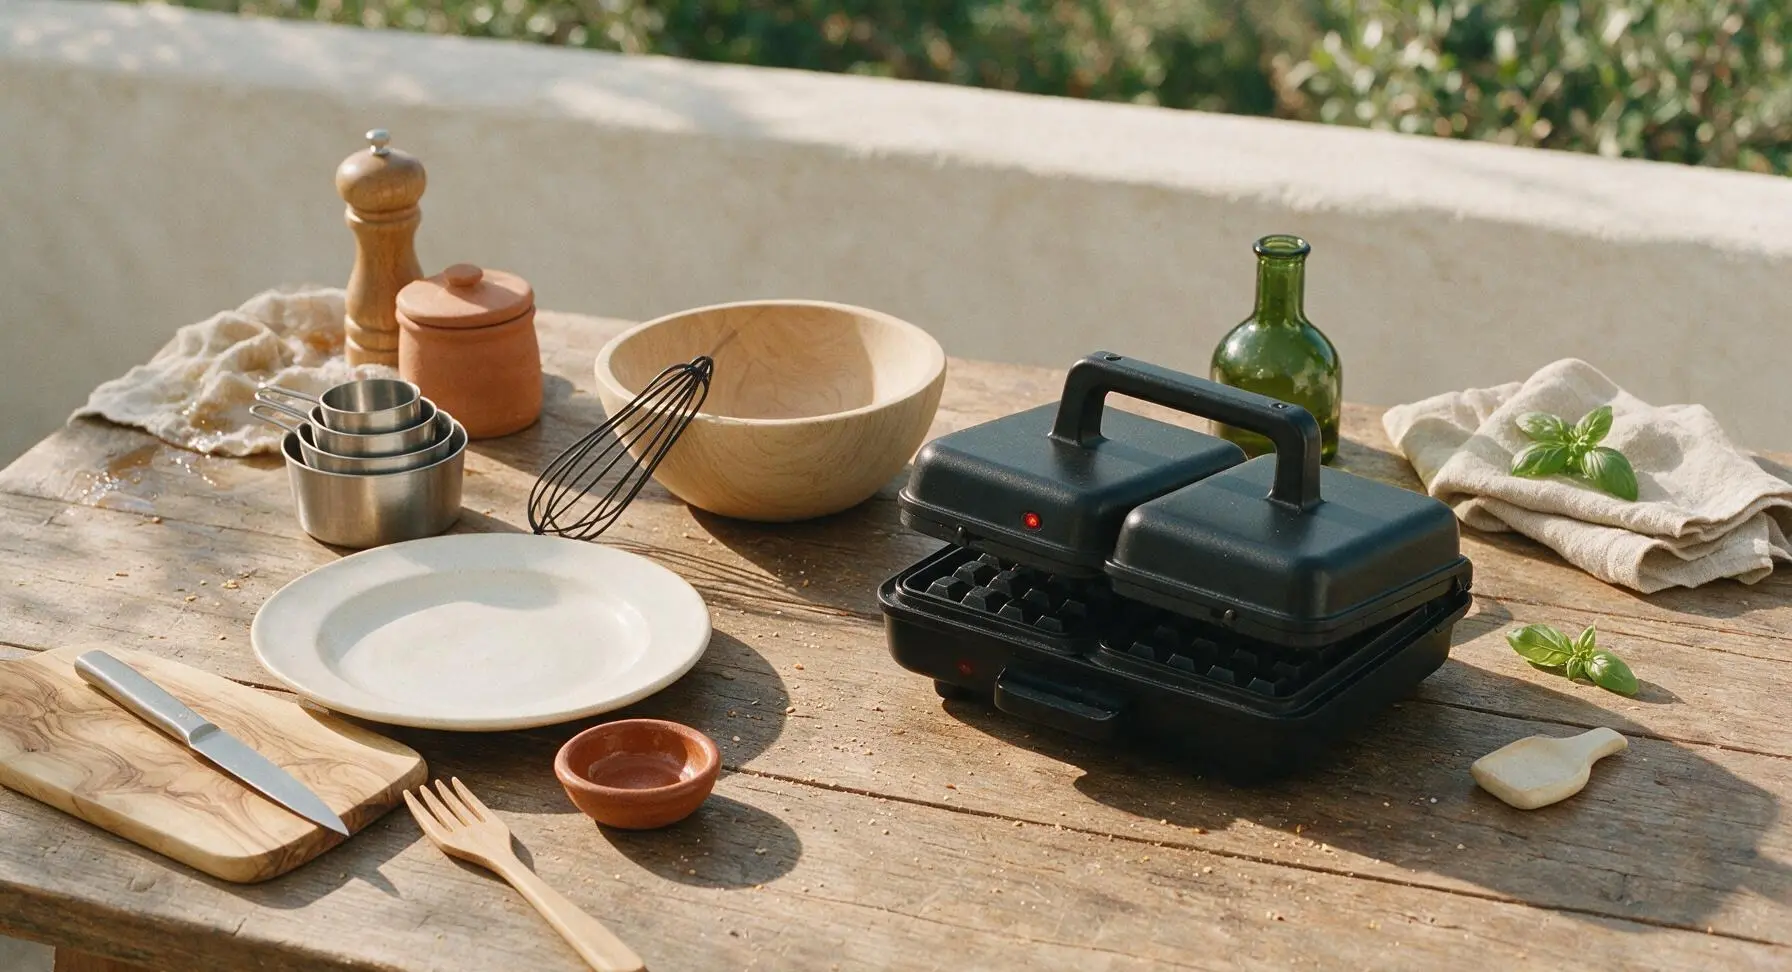
Plug in the 12-inch matte black waffle iron positioned center-right on the counter, and set it to medium-high heat (375°F/190°C). Allow it to preheat fully for 5 minutes, until the indicator light shows it is ready; a drop of water flicked onto the surface should sizzle and dance immediately before evaporating. Do not grease the plates yet.
Whisk Dry Ingredients
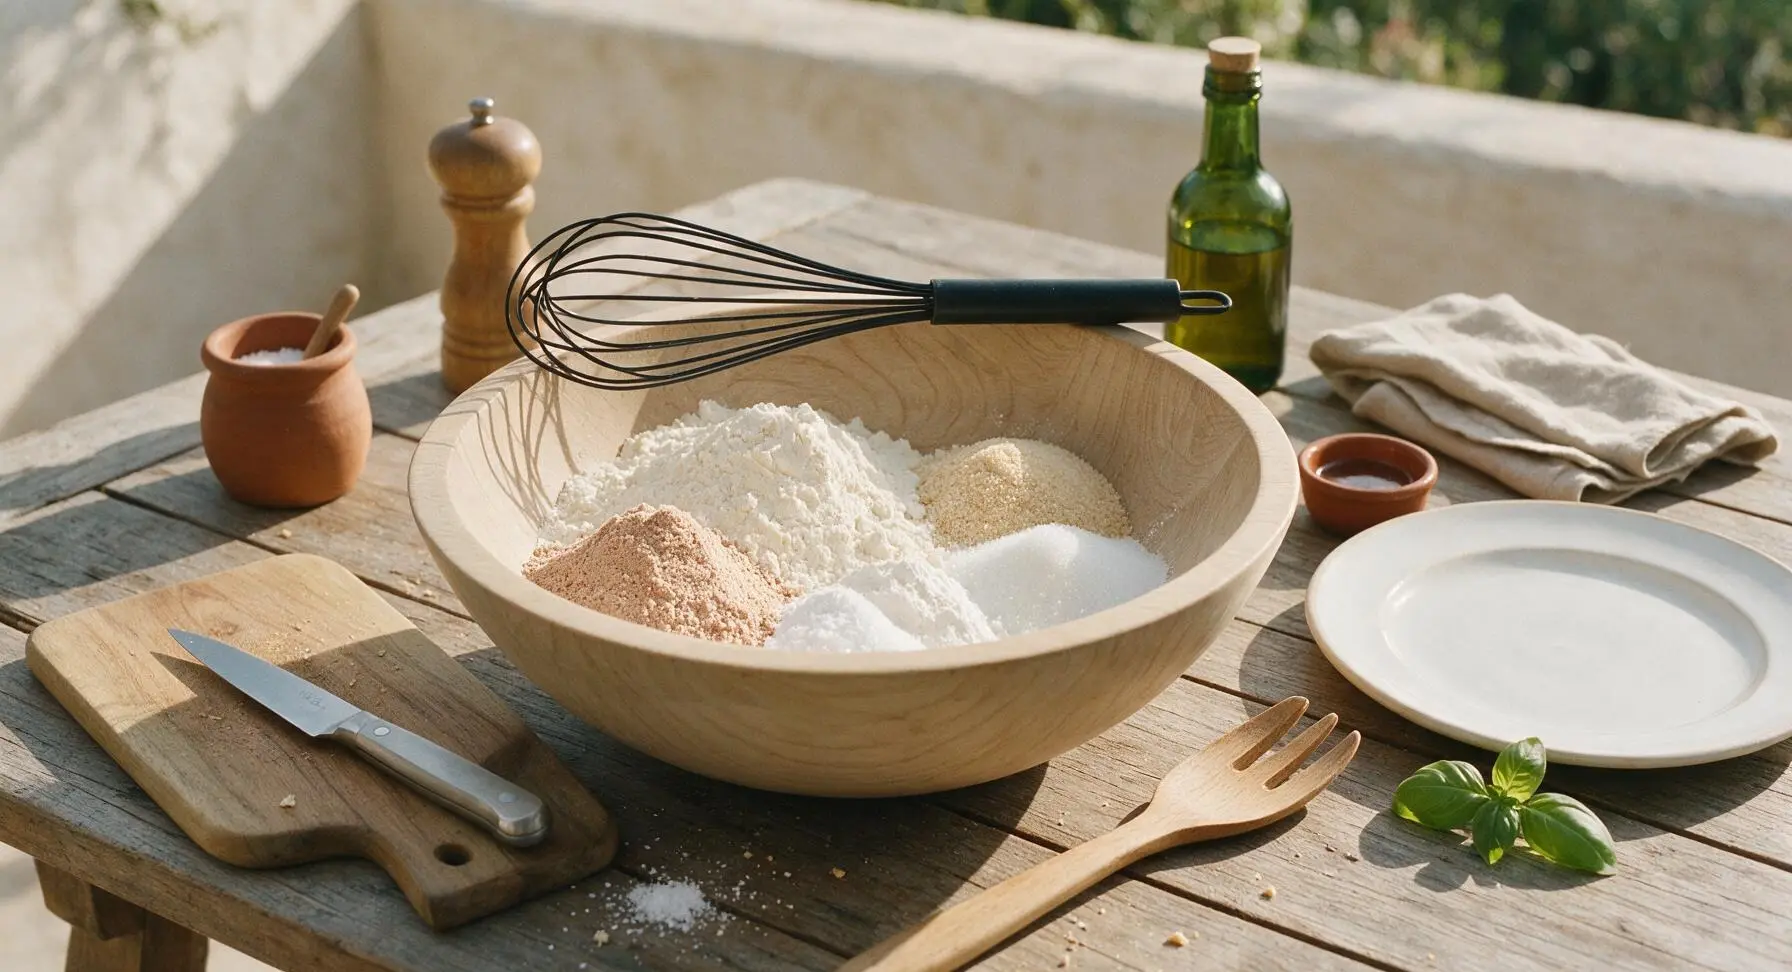
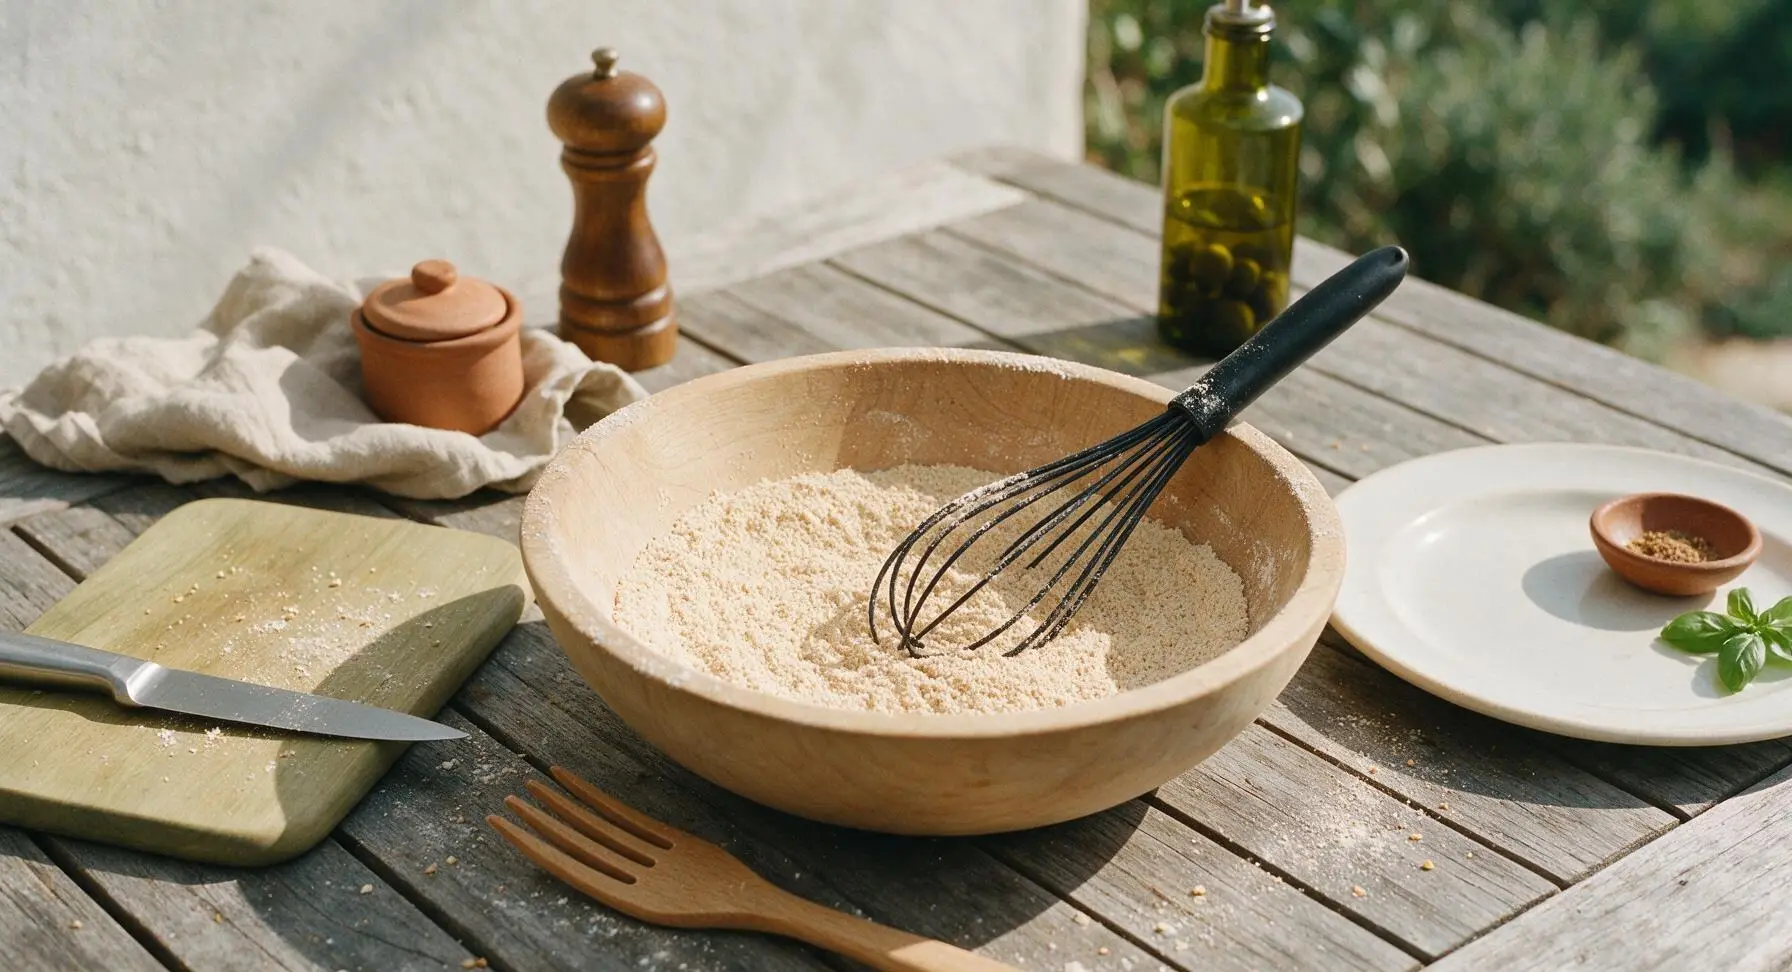
Into the large light ash wood mixing bowl, add 2 cups all-purpose flour, ¼ cup malted milk powder, 2 tbsp granulated sugar, 2 tsp baking powder, ½ tsp baking soda, and ½ tsp kosher salt. Use the matte black wire whisk to stir the dry ingredients together for 30 seconds, until fully combined and uniform in pale tan color, with no clumps of baking powder or malt powder visible.
Mix Wet Ingredients
Make a 4-inch wide well in the center of the combined dry ingredients in the ash wood mixing bowl. Crack the 2 large eggs directly into the well, pour in the measured buttermilk, cooled melted butter from the small glass ramekin, and vanilla extract. Let the wet ingredients settle in the well for 10 seconds before mixing.
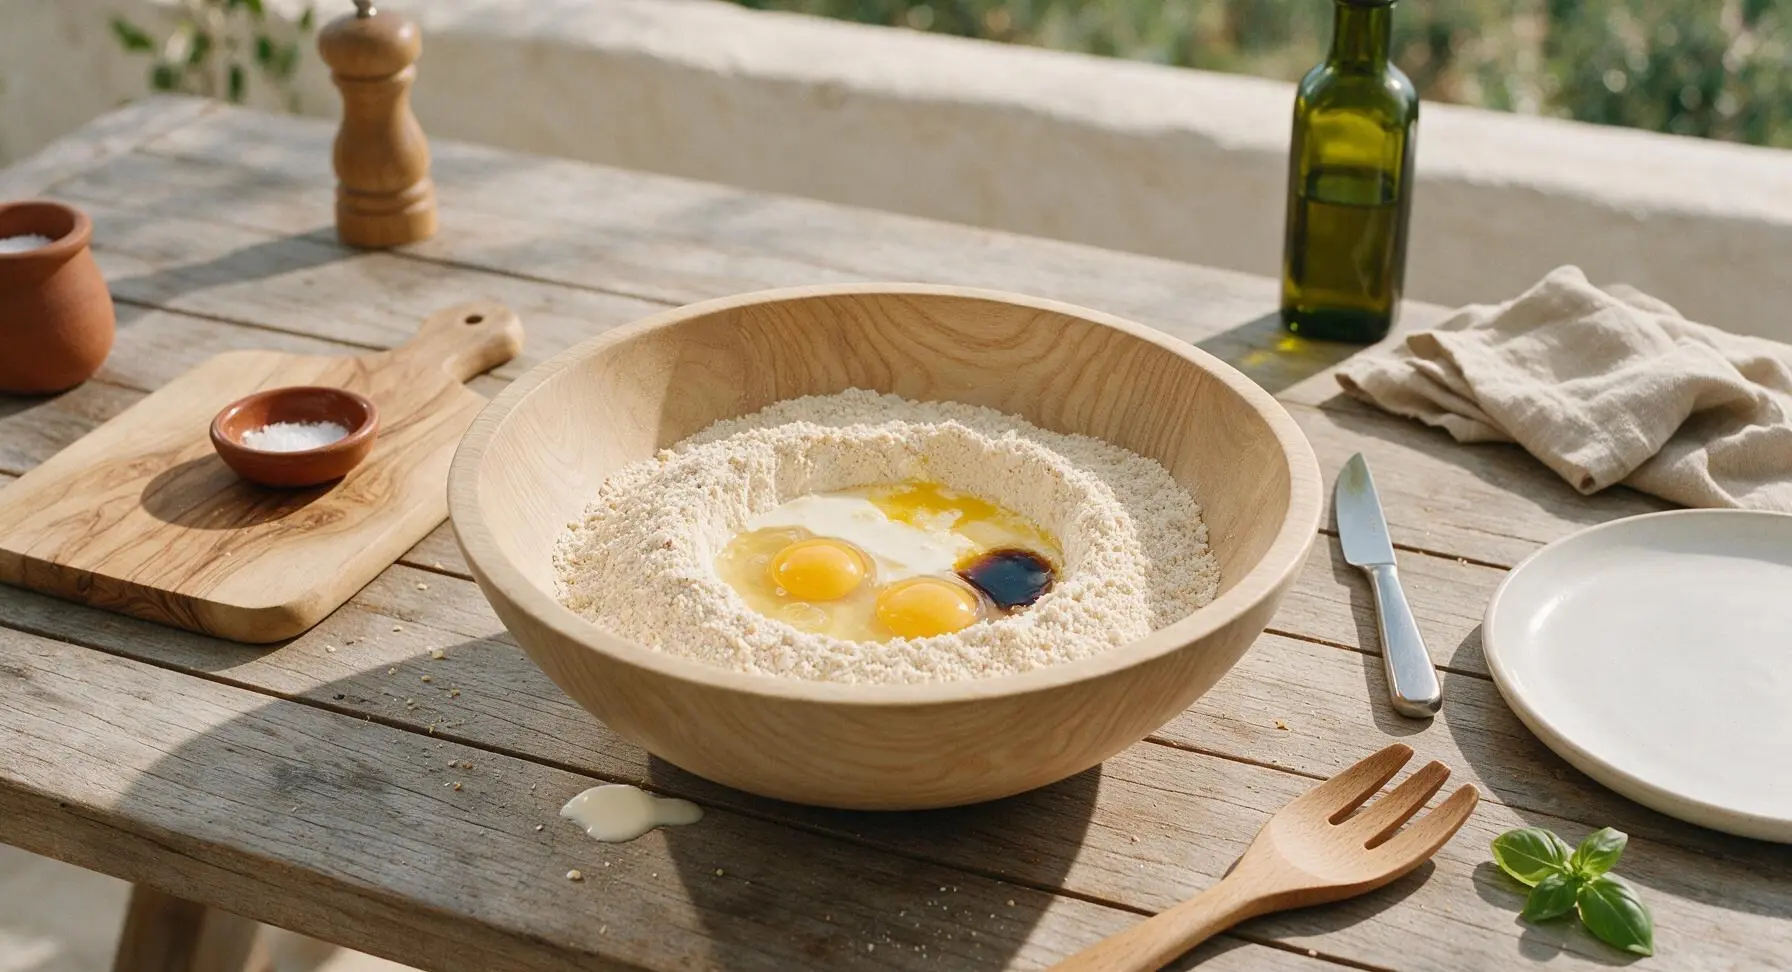
Mix Waffle Batter
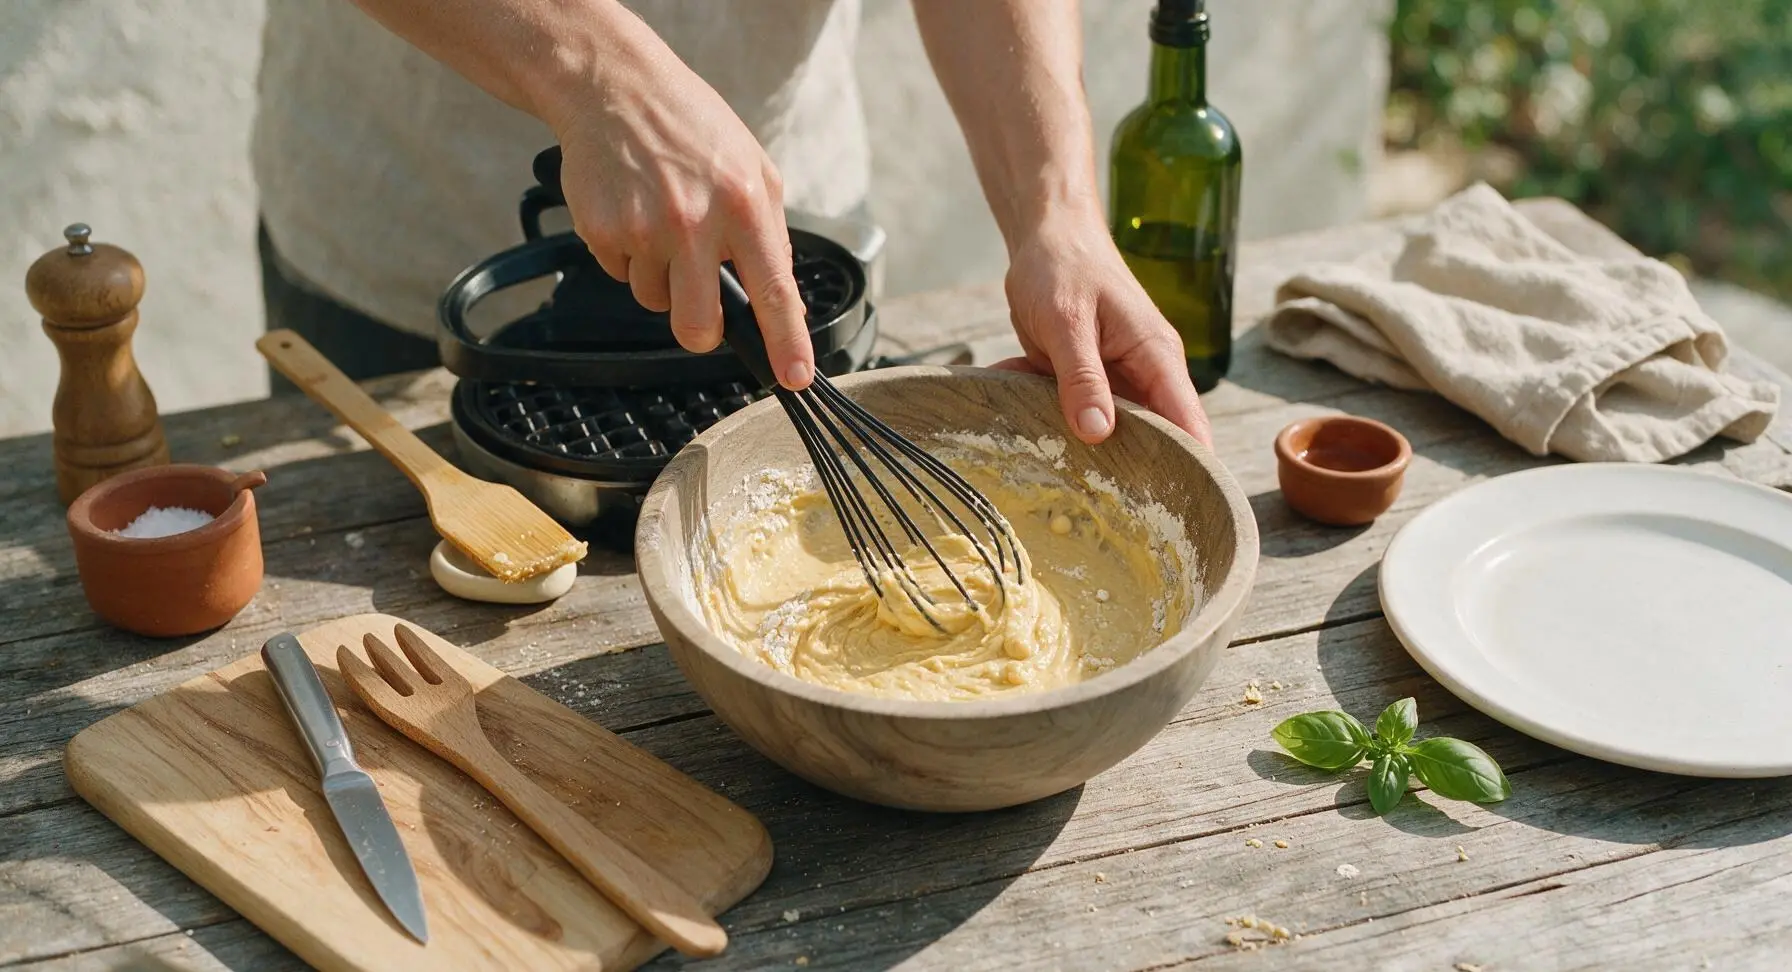
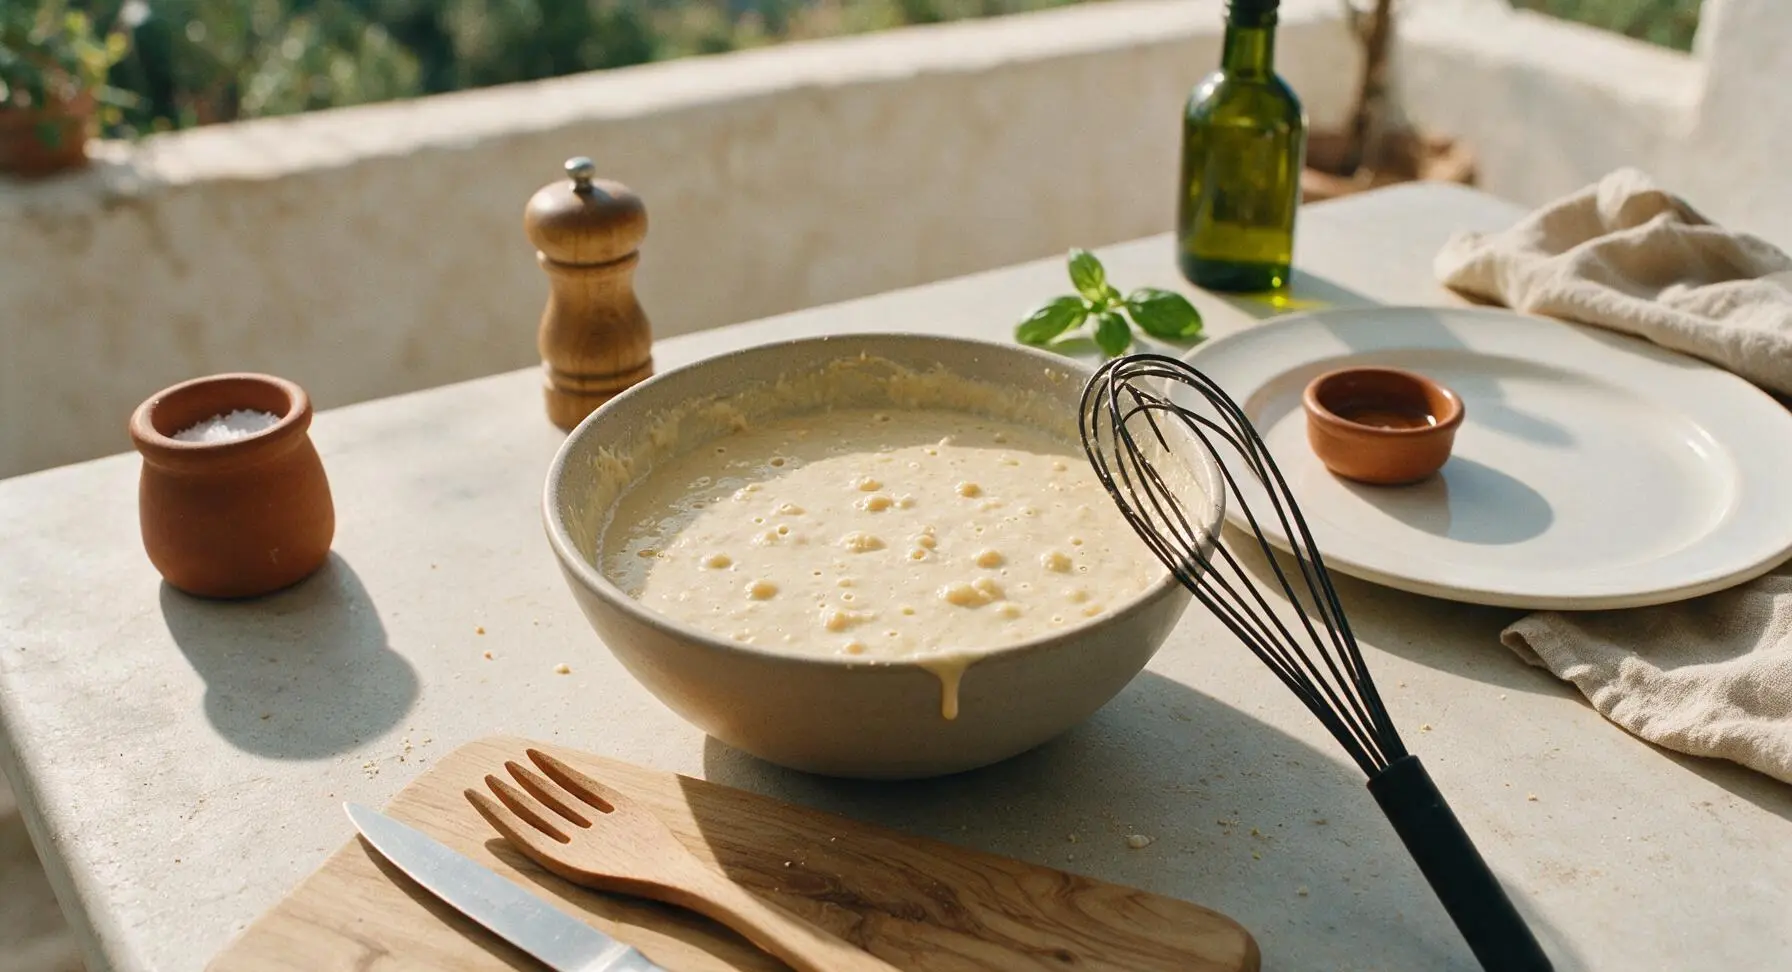
Use the matte black wire whisk to gently stir the wet and dry ingredients together, moving from the center of the well outward to incorporate flour gradually. Mix only until no large dry flour streaks remain; the batter will be thick and slightly lumpy, with small pea-sized lumps visible. Do not overmix—overmixed batter makes tough, dense waffles, and lumps are completely normal and desired. Let the batter rest for 3 minutes to allow the leavening to activate; small bubbles will start to pop on the surface.
Grease Waffle Plates
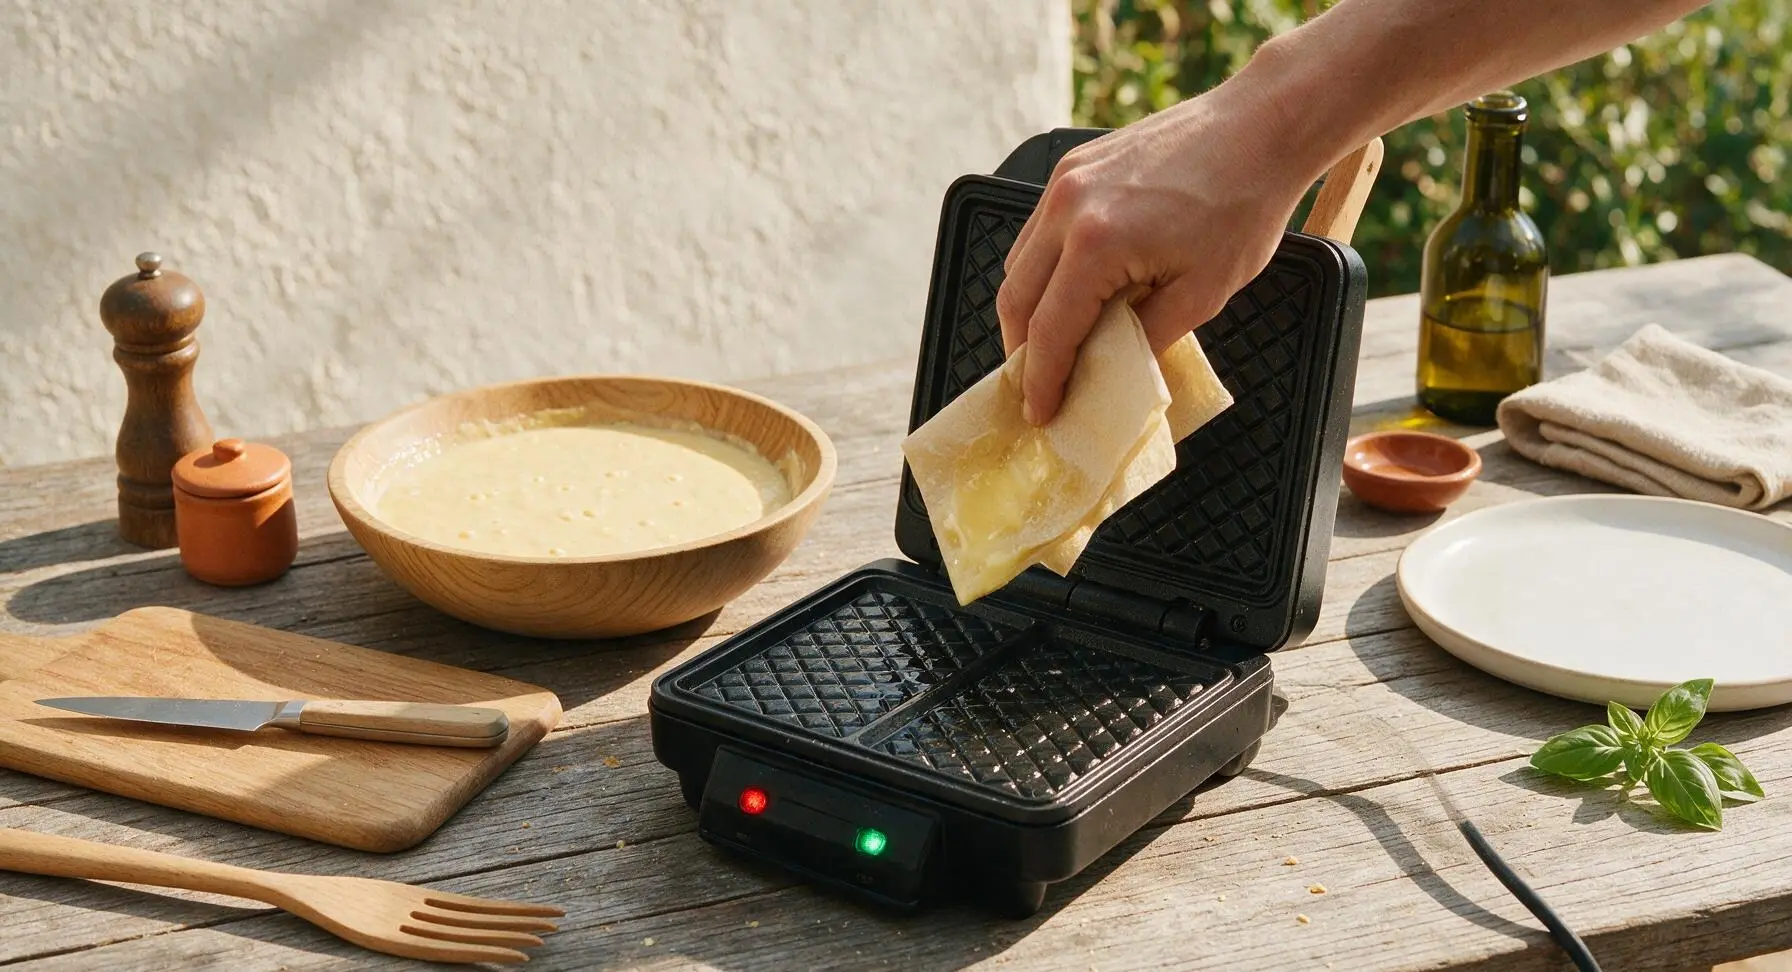
Fold a small section of paper towel from the roll at the far right counter, dip it lightly into a tiny amount of reserved melted butter, and wipe a thin, even coating across both top and bottom plates of the preheated waffle iron. Do not use cooking spray—it leaves a sticky residue that builds up on non-stick plates over time.
Cook Waffles Until Crisp
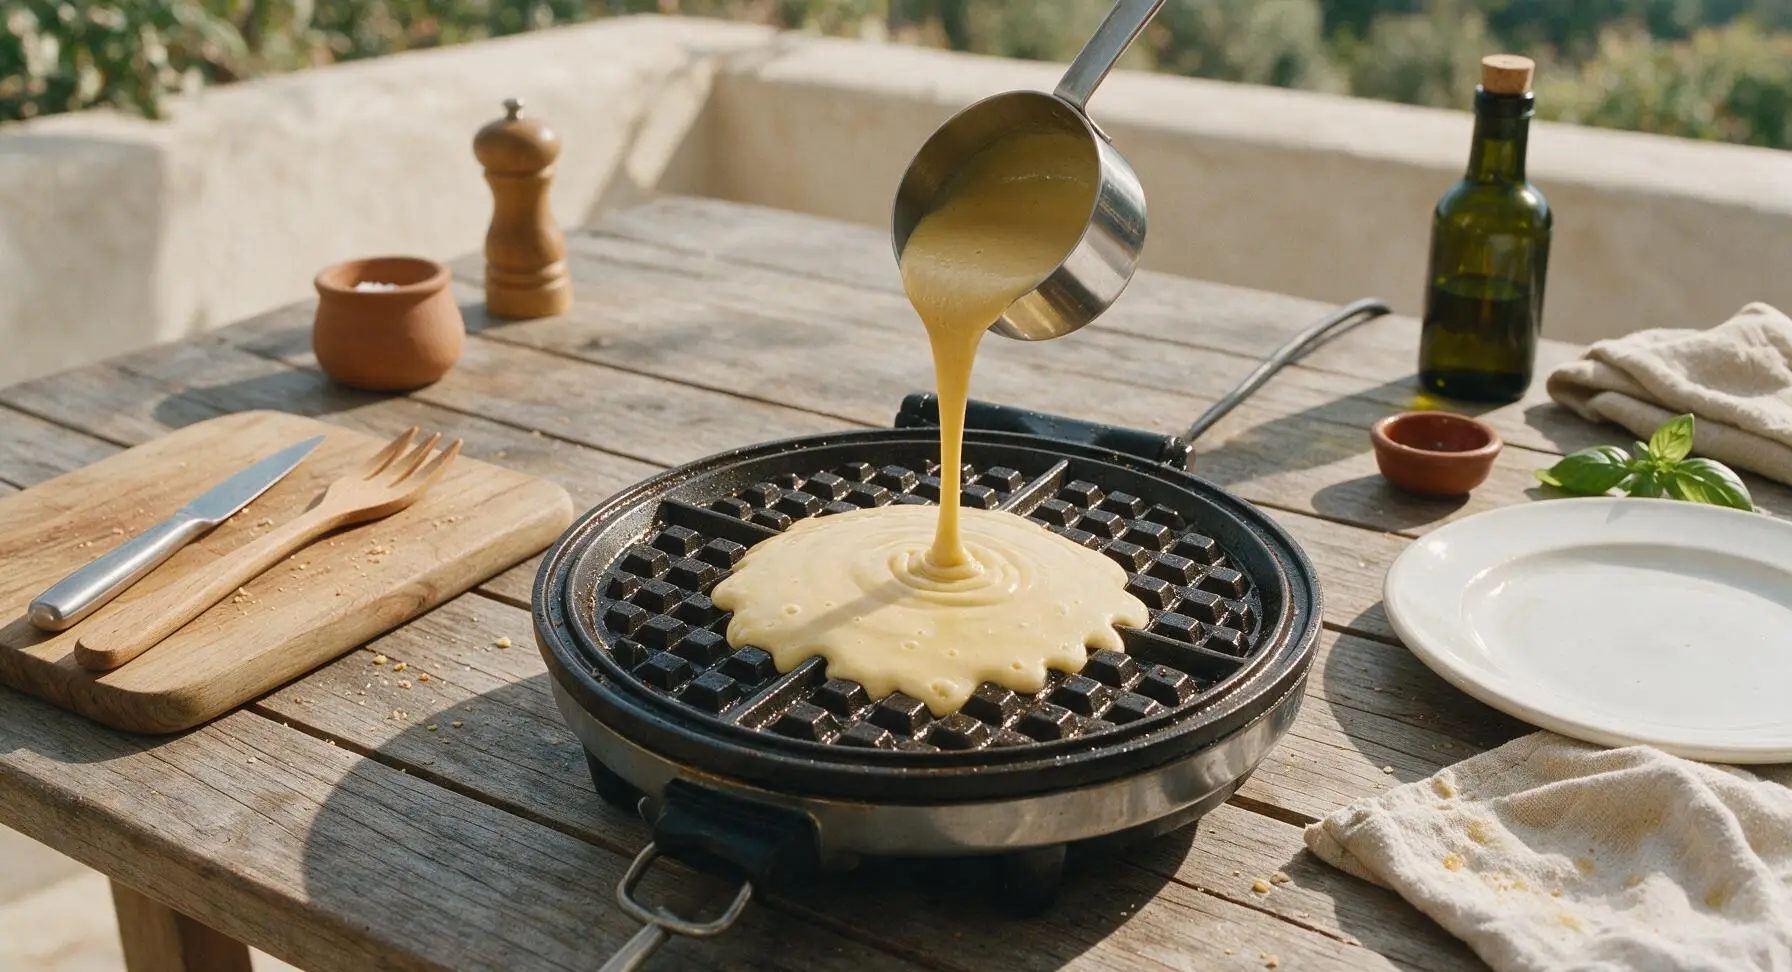
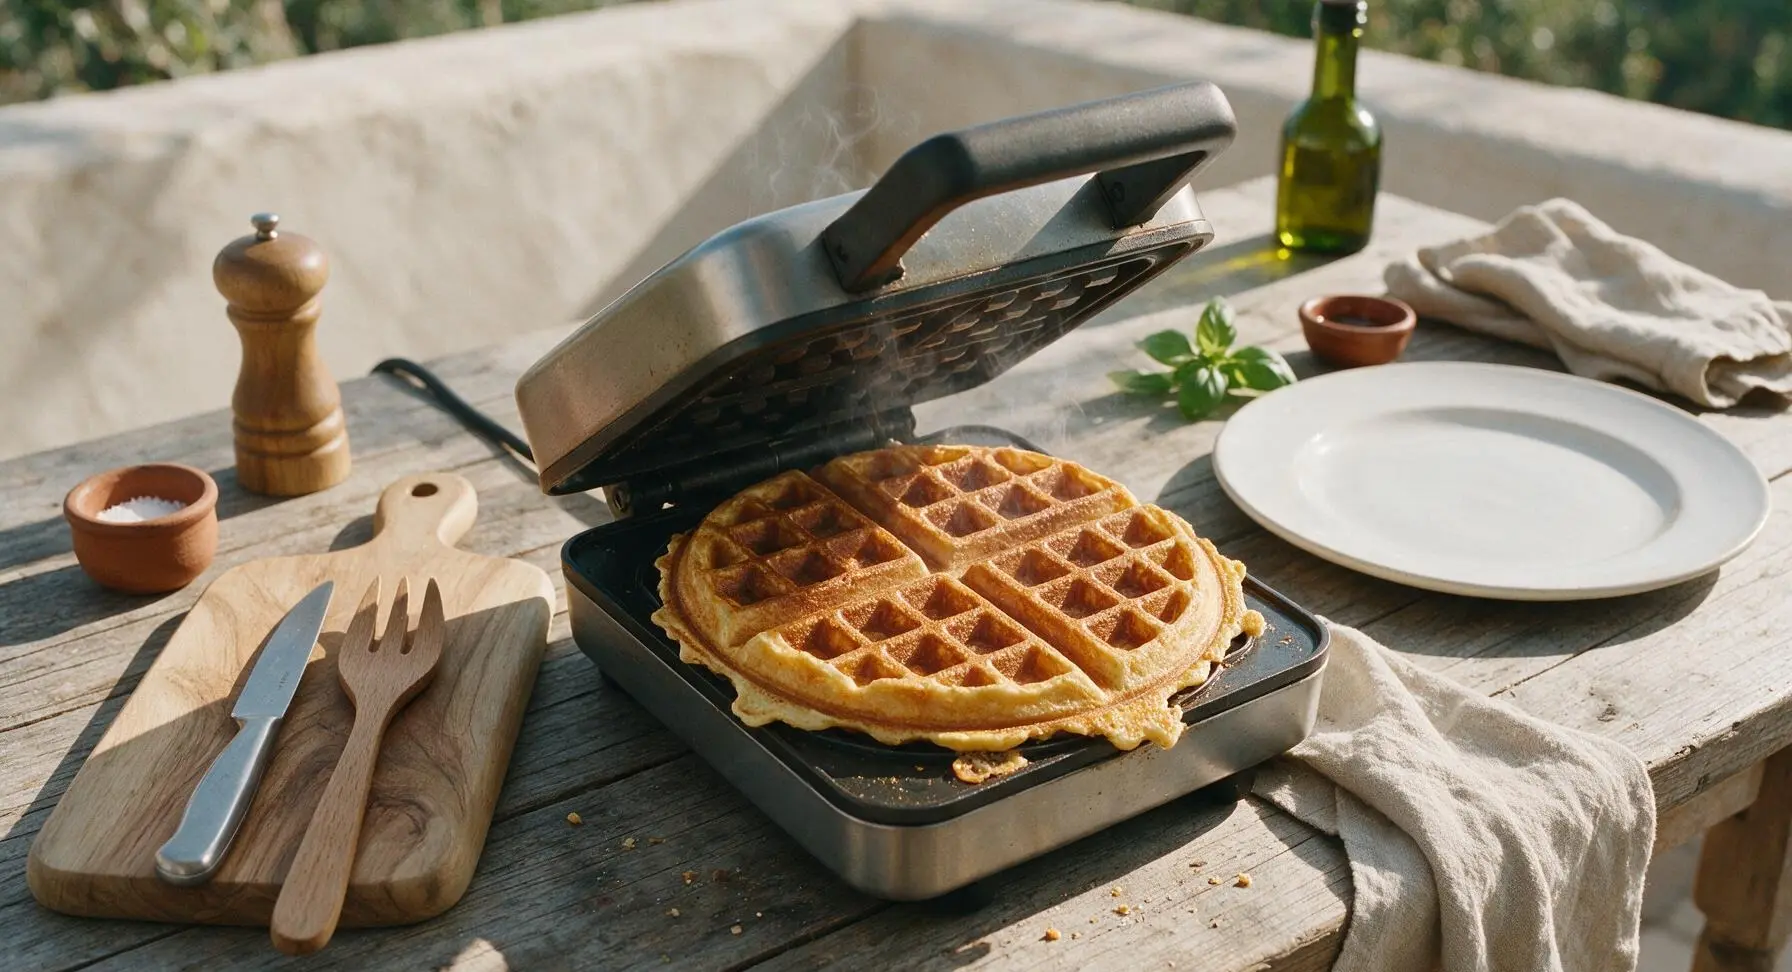
Use a ½ cup measuring cup to scoop batter from the mixing bowl, and pour it directly into the center of the greased waffle iron plate. Close the lid gently, and cook for 3 ½ to 4 minutes, until steam stops escaping from the edges of the waffle iron, and the waffle is deep golden brown with crisp edges. Do not lift the lid for the first 3 minutes of cooking—lifting early causes the waffle to split and stick.
Rest Cooked Waffles
Use the thin flexible bamboo spatula to lift the cooked waffle gently from the iron, and transfer it to the top matte cream ceramic dinner plate at the back right. Do not stack waffles directly on top of each other immediately—rest them in a single layer for 1 minute to keep edges crisp, rather than letting them get soggy from trapped steam. Repeat the cooking process with remaining batter, greasing the plates lightly between batches as needed, until all batter is used (8 small waffles total, 2 per serving).
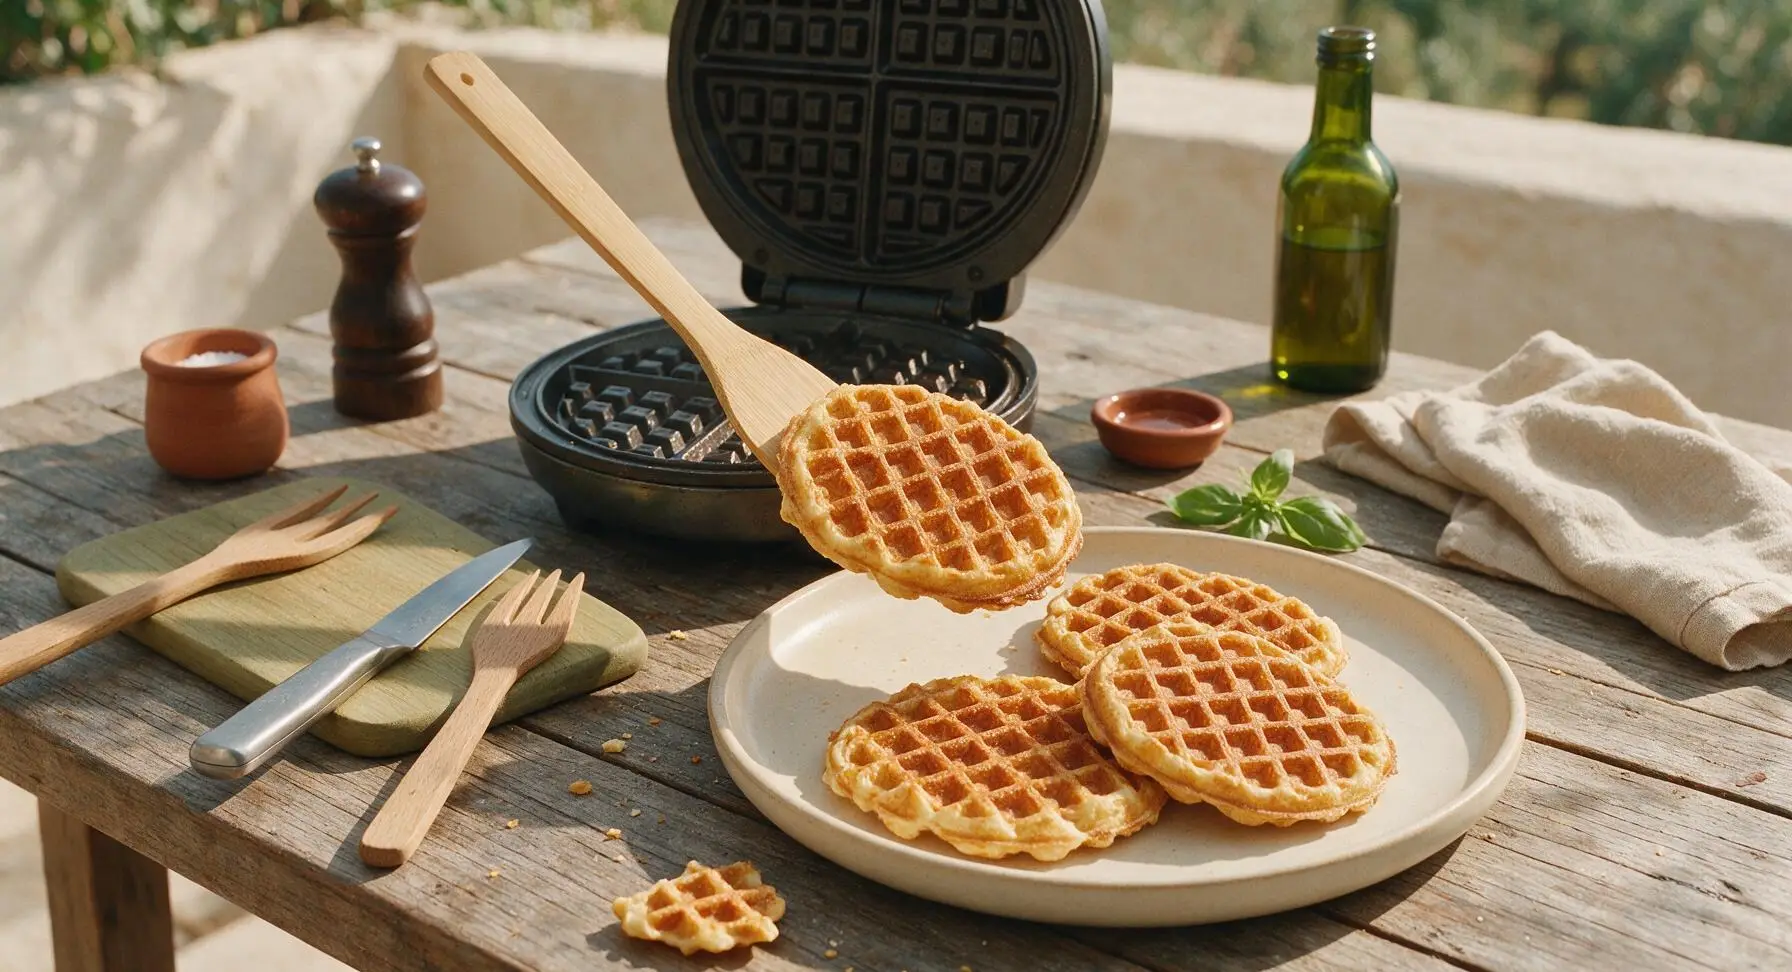
Plate and Add Toppings
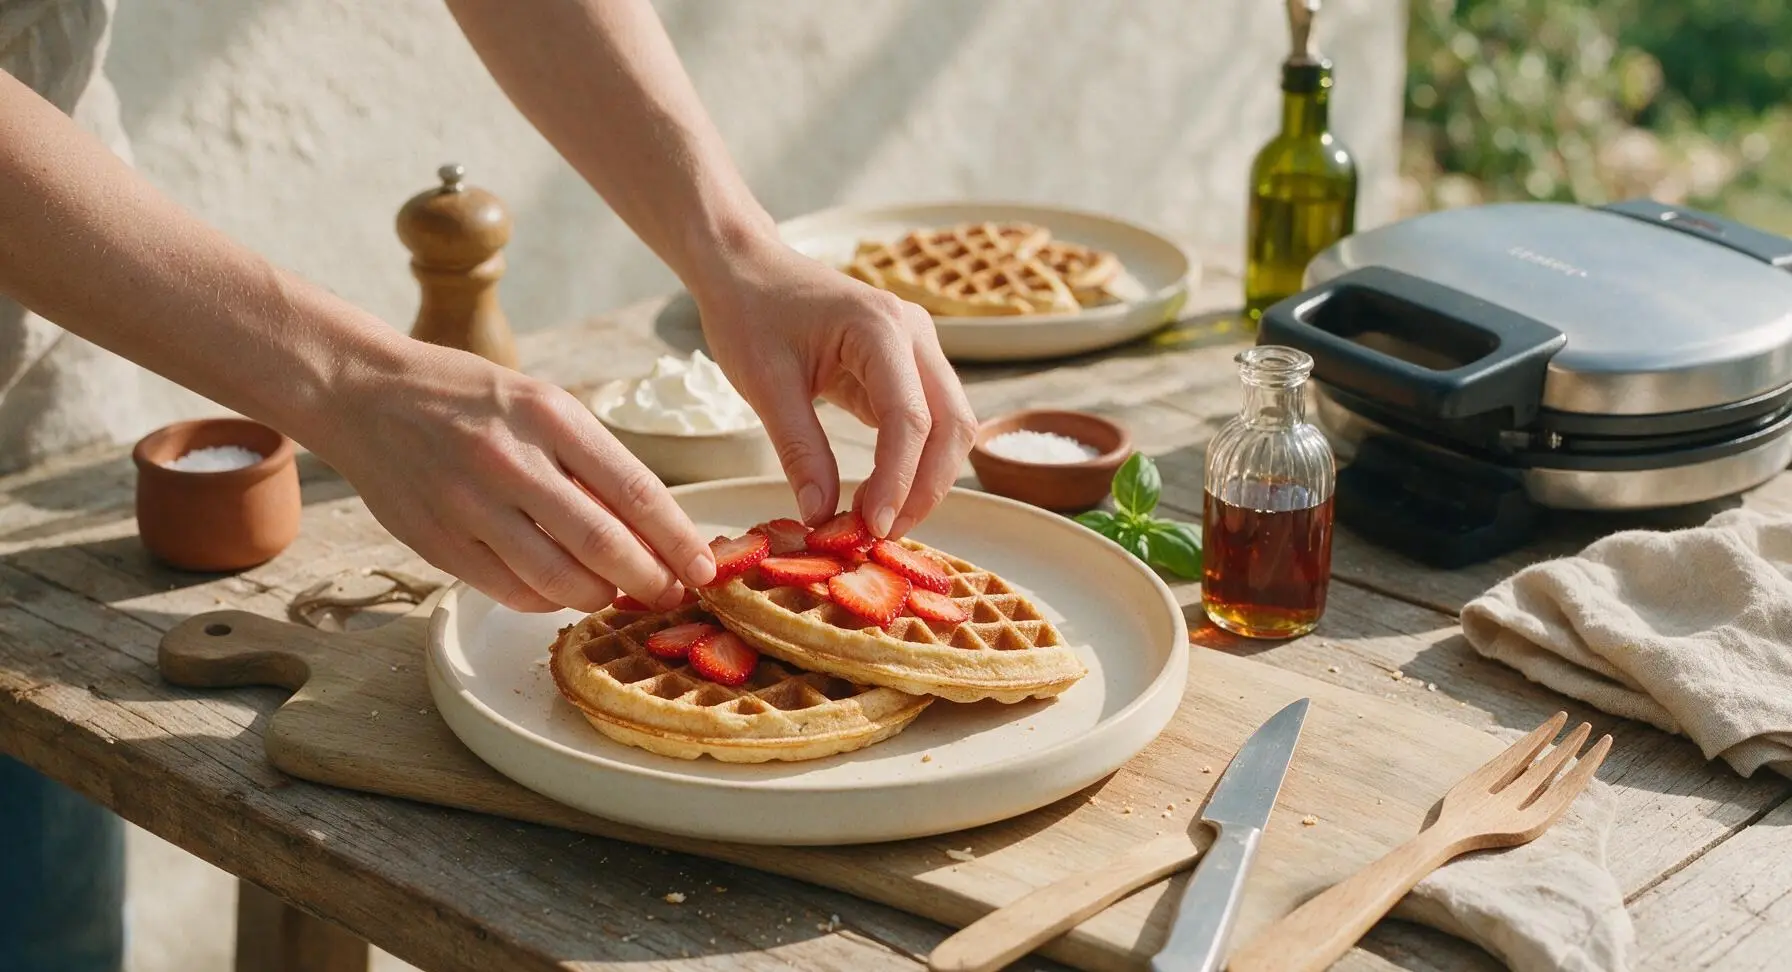
Stack two waffles slightly offset on the matte cream dinner plate. Top with sliced fresh strawberries, a 2-tbsp dollop of whipped cream, a drizzle of maple syrup, and a single sprig of fresh mint plucked from the terracotta pot at the far left counter. Serve immediately while warm and crisp.
Tips
2.Let the batter rest 3 minutes before cooking: This short rest gives baking powder and baking soda time to activate and create tiny air bubbles, which deliver the waffles’ signature cloud-like lift and shatteringly crisp edges.
3.Skip aerosol cooking spray on your waffle iron: Sprays leave a hard, sticky polymer residue on non-stick plates over time that is nearly impossible to remove; a light wipe of melted butter prevents sticking without buildup and adds extra nutty, browned edge flavor.






OMG these were such a hit at our Saturday brunch! My kids usually turn their noses up at anything that isn’t covered in sprinkles, but they devoured two waffles each and asked for seconds. The malt flavor is chef’s kiss, not too strong, just perfect. SO good, will be making these every weekend from now on!
Game changer! I’ve tried so many homemade waffle recipes that turn out soggy or bland, but these are crispy on the outside, fluffy on the inside, and that malted buttermilk tang? Unreal. I added a handful of mini chocolate chips to half the batch for my roommate and she said they’re better than our local diner’s waffles.
Made these for our church potluck last Sunday and people were asking me for the recipe before we even finished dessert! I did sub regular milk for buttermilk once because I ran out, and it was fine, but the buttermilk version is 100% better. Don’t skip the malted milk powder, y’all — that’s the secret.
Super easy recipe, 20 minute cook time is no joke! I made a double batch on Sunday, popped the leftover waffles in the toaster all week for quick breakfasts before work, and they held up perfectly. Way better than the frozen waffles I used to buy, saves me so much time in the morning rush.
My grandkids are visiting for spring break and I made these for their first morning here. The oldest said these are “the best waffles I’ve ever had in my whole life” — high praise from a 7 year old! I topped ours with fresh strawberries and whipped cream, just like my mom used to make when I was little.
Wait, is it normal that my batter was a little lumpy? I was worried I overmixed it, but the waffles still turned out amazing? I’m a total beginner so I was panicking a little, but my roommates all said these slap. 10/10 will make again even if I messed up the batter a little.
I swapped the all-purpose flour for a 1:1 gluten free baking flour and these still came out perfectly fluffy! I was worried the texture would be off, but my husband (who eats gluten) didn’t even notice a difference. Game changer for our weekend brunches since I have to eat GF now.
Took these camping last weekend and made them on our cast iron waffle iron over the campfire. Absolute hit! The malt flavor smelled so good cooking that the family in the campsite next to us came over to ask what we were making. 10/10, will be adding these to our regular camping meal rotation.
Made these for my girlfriend’s birthday brunch and they were a total showstopper! I served them with a side of crispy bacon, fresh fruit, and a little malted whipped cream on top. The only issue I had was my waffle iron runs a little hot, so the first batch got a touch darker than I wanted, but I turned the heat down and the rest were perfect.