
Xoi
intro
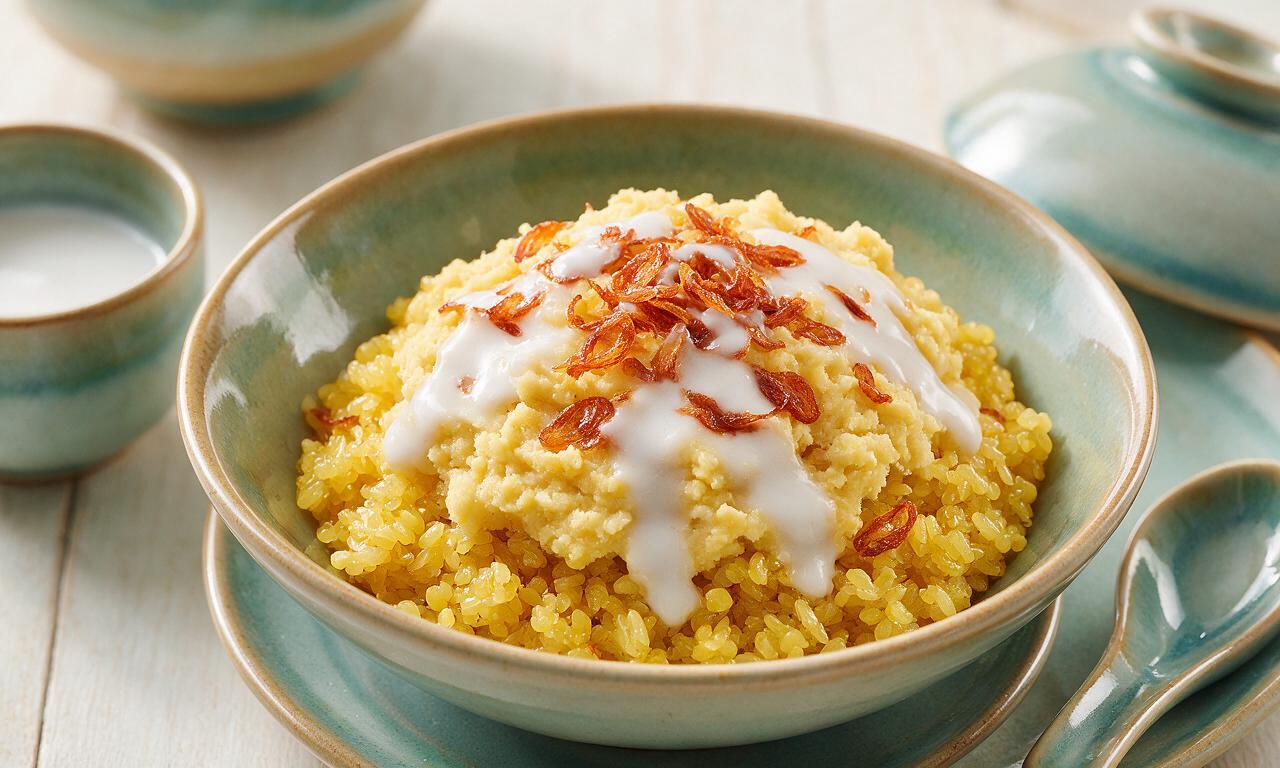
Chewy golden glutinous rice topped with creamy mung bean, crispy shallots, and rich coconut sauce: Vietnam’s beloved cozy, satisfying everyday staple.
Ingredients
Steps
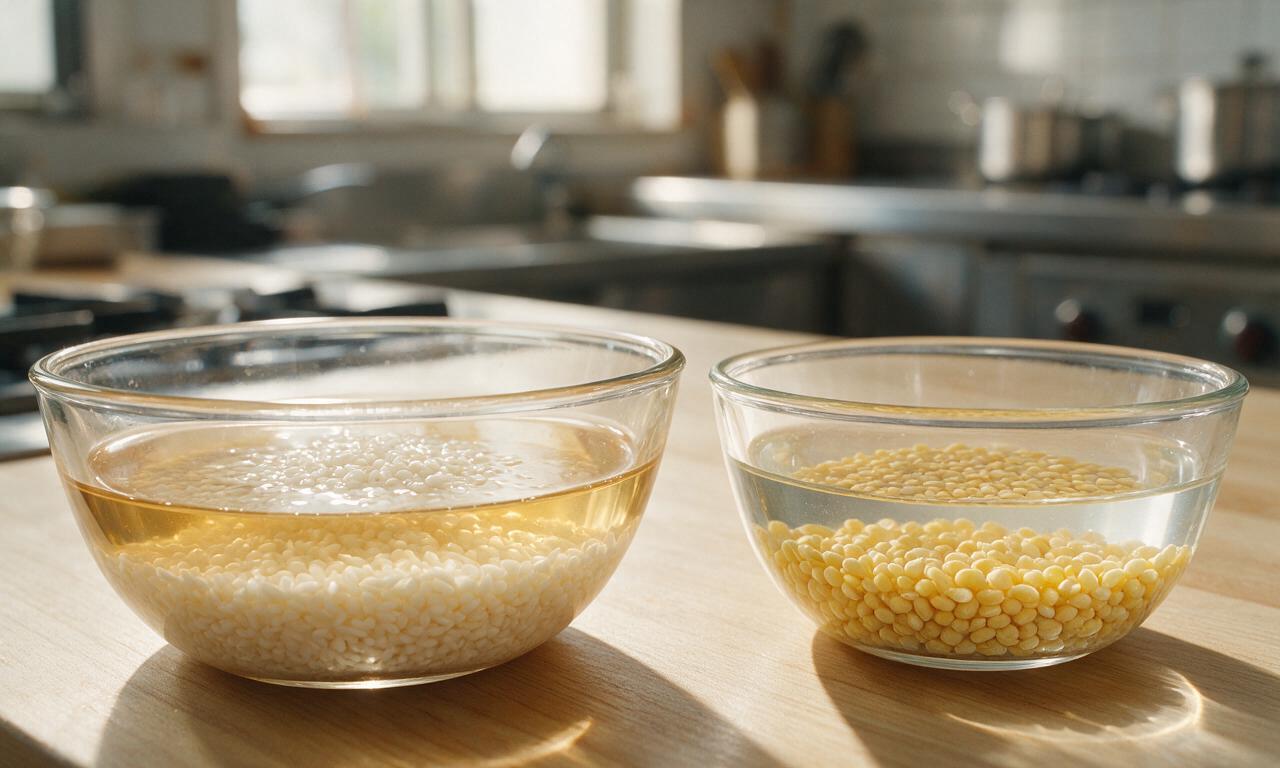
Place 400g glutinous sweet rice in a large glass bowl, cover with 10cm (4 inches) of cool tap water, and stir in 1.5g (1/2 tsp) ground turmeric until the water is a uniform pale golden color. Place 200g peeled split mung beans in a second separate bowl, cover with 7.5cm (3 inches) of cool tap water. Let both soak for 4 hours at room temperature (or 8 hours in the refrigerator) until grains are plump and break easily when pinched between two fingers. Drain both thoroughly in a fine-mesh sieve after soaking, shaking off all excess water.
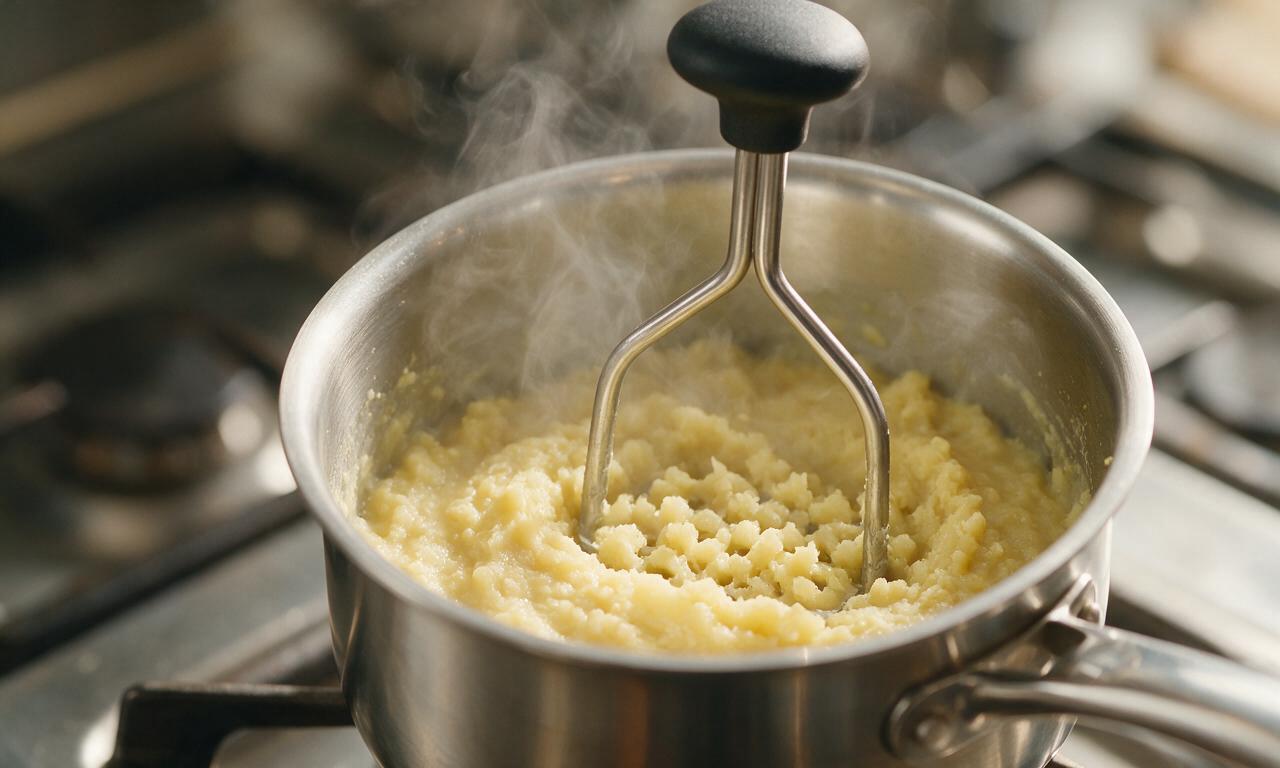
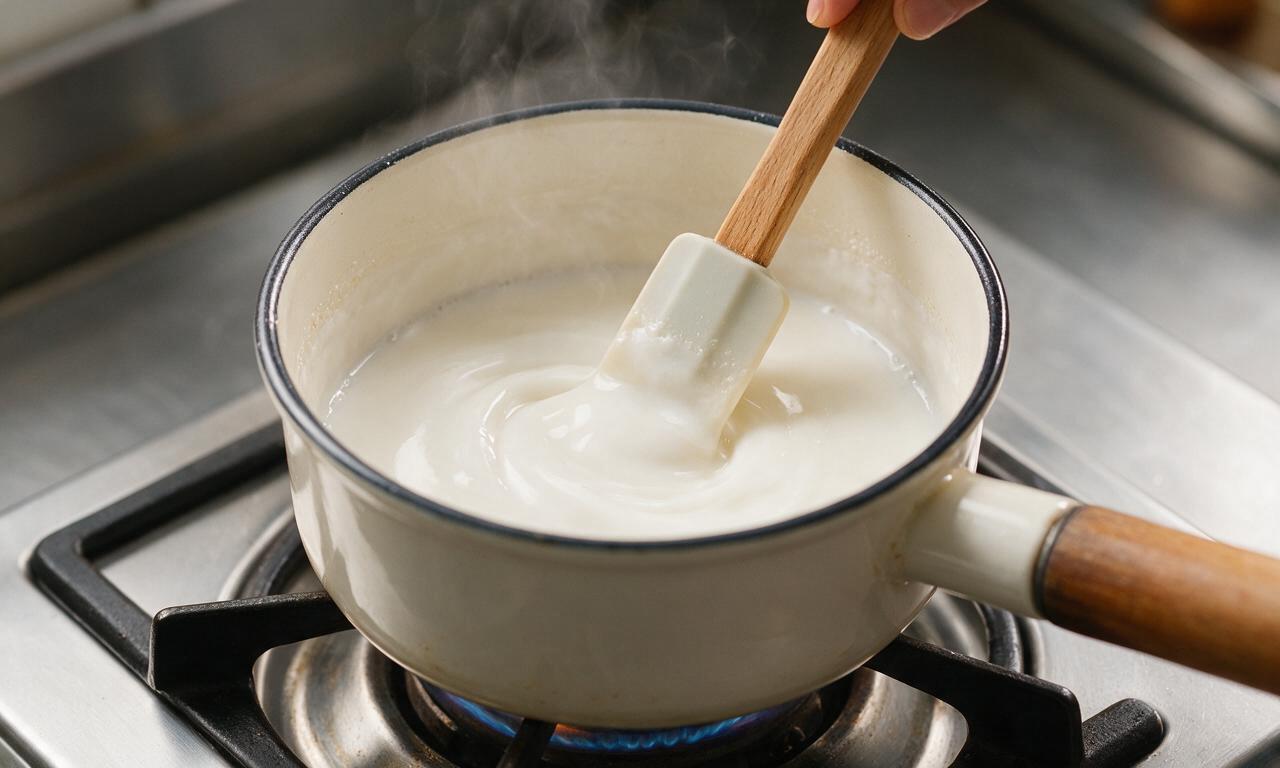
Transfer the drained mung beans to a small 1.5L saucepan, add 2.5g (1/2 tsp) fine sea salt and 240ml (1 cup) cool water, and bring to a rolling boil over medium-high heat (heat setting 7 out of 10). Once boiling, reduce heat to low (heat setting 2 out of 10), cover the pan with a tight-fitting lid, and simmer for 18-20 minutes until beans are completely tender and crush smoothly when pressed with the back of a spoon. Remove from heat, mash into a thick, lump-free paste with a potato masher or fork, stir in 4g (1 tsp) white sugar, cover, and set aside to keep warm.
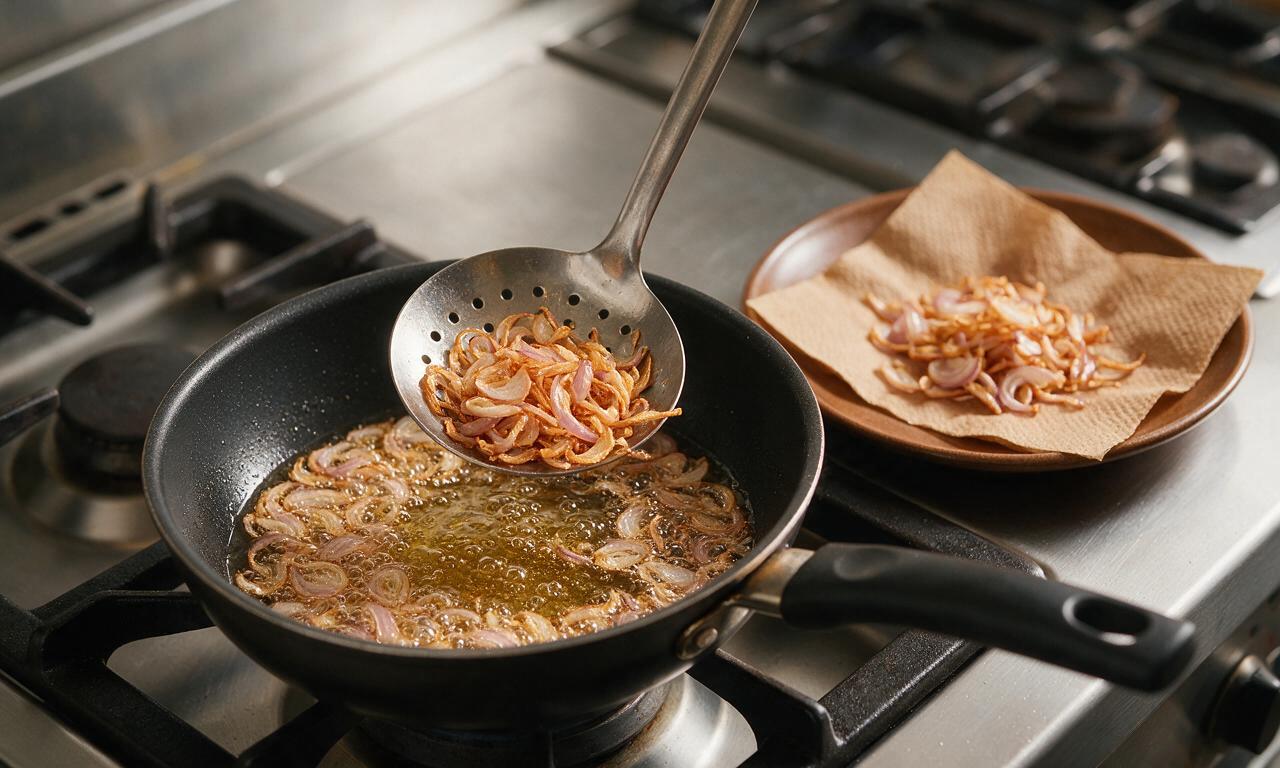
Heat 45ml (3 tbsp) vegetable oil in a small 20cm skillet over medium-low heat (heat setting 4 out of 10). Add the thinly sliced shallots, stir to coat fully in oil, and fry for 7-9 minutes, stirring every 1 minute with a heatproof spatula, until shallots turn a pale, even golden brown and turn crisp. Watch closely during the final 2 minutes of cooking to prevent burning, as shallots can turn bitter quickly. Use a slotted spoon to transfer the crispy shallots to a paper-towel lined plate to drain, and reserve the shallot-infused oil left in the pan.
Line a 30cm bamboo steamer basket with a layer of clean cheesecloth, then spread the drained, turmeric-tinted glutinous rice in an even 2.5cm (1-inch) layer across the cheesecloth. Cover the steamer, and set it over a wok filled with 5cm (2 inches) of gently boiling water over medium heat (heat setting 5 out of 10), ensuring the water level never touches the bottom of the steamer basket. Steam the rice for 25-30 minutes total, lifting the lid every 10 minutes to fluff the rice with a fork to ensure even cooking. Halfway through the steaming time (at the 15 minute mark), drizzle 30ml (2 tbsp) of the reserved shallot-infused oil and 1.25g (1/4 tsp) salt over the rice, tossing gently to coat evenly. The rice is done when it is chewy, translucent, and has no hard white core at the center of each grain.
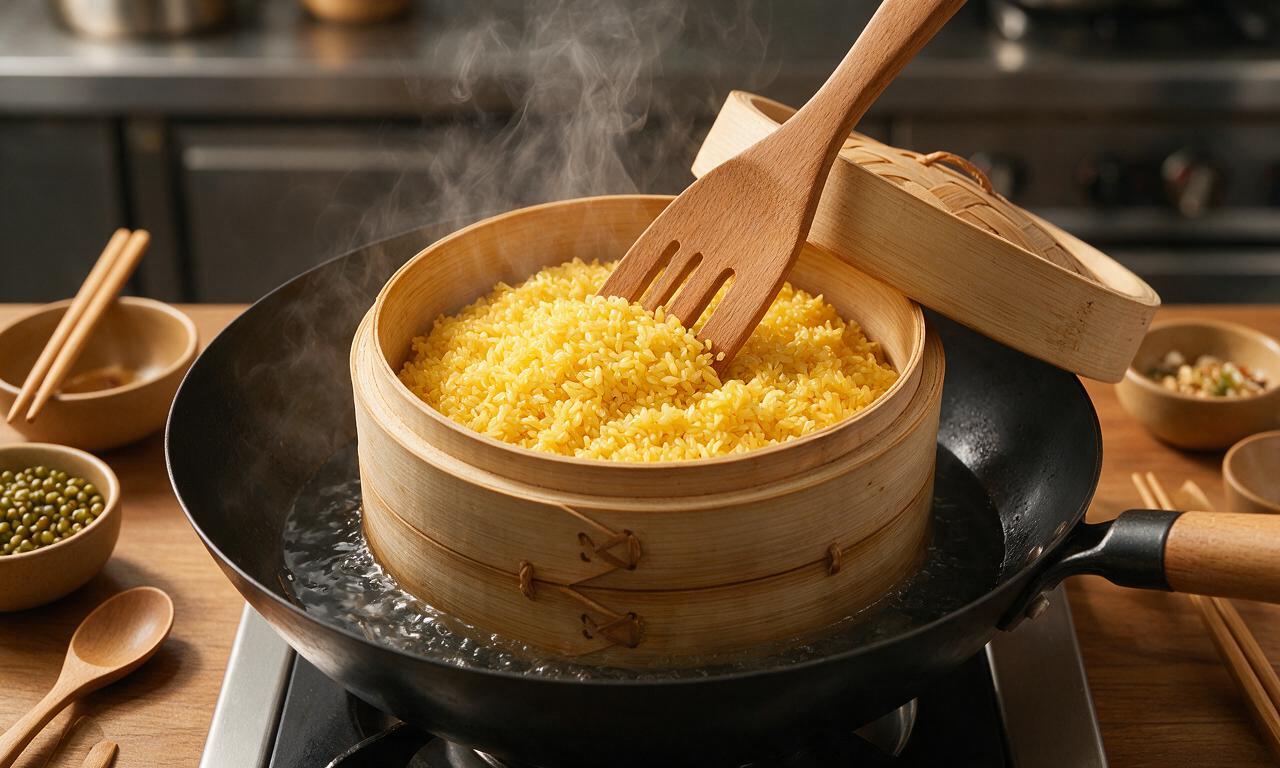
While the rice steams, pour 240ml (1 cup) full-fat coconut milk into a small saucepan, add the remaining 1.25g (1/4 tsp) fine sea salt, and warm over low heat (heat setting 2 out of 10) for 3-4 minutes, stirring occasionally with a small spoon, until the coconut milk is smooth, fully combined, and just starting to bubble at the edges. Do not bring the coconut milk to a rolling boil, as this can cause it to separate and become grainy. Remove from heat and set aside.
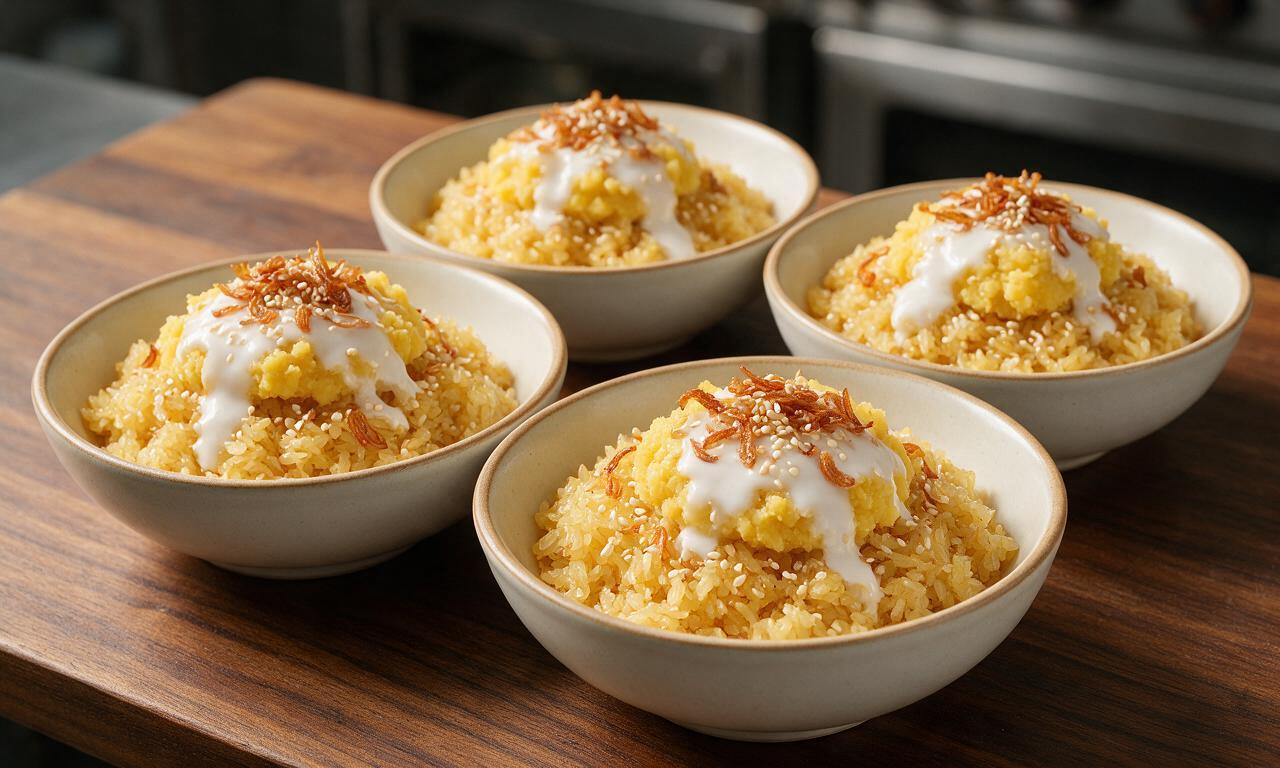
Once the rice is fully steamed, divide it evenly between 4 warm serving plates. Top each plate of rice with a 60g (1/4 cup) scoop of the warm mashed mung bean, a 60ml (1/4 cup) drizzle of warm coconut sauce, a sprinkle of crispy fried shallots, and a pinch of roasted white sesame seeds. Serve immediately while the dish is hot for the best texture and flavor.
Tips
2.Remove fried shallots from hot oil when they are pale golden, not deep brown—they will continue to cook and darken for 30 seconds after being removed, which prevents bitter, burnt shallots.
3.For an extra layer of traditional fragrance, add a 5cm (2-inch) knotted pandan leaf to the steamer basket with the rice while it cooks, discarding it before serving.





OMG I made this for my family dinner last night and everyone went back for seconds!!! I was so nervous I’d mess up the mung bean texture since I’ve only ever gotten xoi xeo from the little Vietnamese shop down the street, but this recipe was so straightforward even for a total beginner. Sprinkled extra fried shallots on top like my grandma used to, CHEF’S KISS. 10/10 will be adding this to my weekly meal prep rotation for sure.
This was such a game changer for my work week lunches! I batch cooked this on Sunday, portioned it out with some grilled chicken and pickled veggies, and it held up perfectly all 5 days in the fridge. I was worried sticky rice would get hard in the fridge but a quick 30 second zap in the microwave and it tasted just as fresh as day one. Easy, cheap, filling — what more could you ask for?
Brought this to my office potluck last week and people were hounding me for the recipe before I even set the dish down! I added a little side of fried pork rinds to crumble on top for folks who wanted extra crunch, and the whole pan was gone in 15 minutes flat. So easy to make for a crowd too, I just doubled the recipe and it steamed perfectly in my big bamboo steamer. SO good.
As a broke college student who’s been surviving off instant noodles for a month, this recipe was actually life changing. Ingredients were super cheap at my local Asian market, total cook time was way shorter than I thought it would be, and it tastes way better than any takeout I’ve gotten around campus. Only thing I messed up was burning the first batch of fried shallots, oops. Next time I’ll watch those closer lmao
First time ever making any kind of Vietnamese savory sticky rice and this did NOT disappoint! I was intimidated at first because I thought xoi was super complicated, but the steps were so easy to follow even for someone who’s never touched sticky rice before. My roommate who grew up eating xoi xeo said it tasted just like his mom’s, which is the highest compliment I could’ve gotten tbh
My kids are so picky when it comes to new foods, so I was fully expecting them to turn their noses up at this — but they both ate two full bowls and asked if I could make it again for their school lunches next week! I skipped the fried shallots on their portions since they hate crunchy bits, and ate all the extra crispy shallot topping on my own serving, zero regrets. Will absolutely be making this again soon
Made this to pair with grilled lemongrass pork and pickled daikon for my Sunday cookout this past weekend, and it was such a hit! The savory, creamy mung bean coating on the sticky rice is so perfectly balanced, I didn’t even need extra soy sauce on my portion. Loved that it was easy enough to throw together while I was manning the grill, no fancy equipment required. Will be making this for every family cookout from now on