
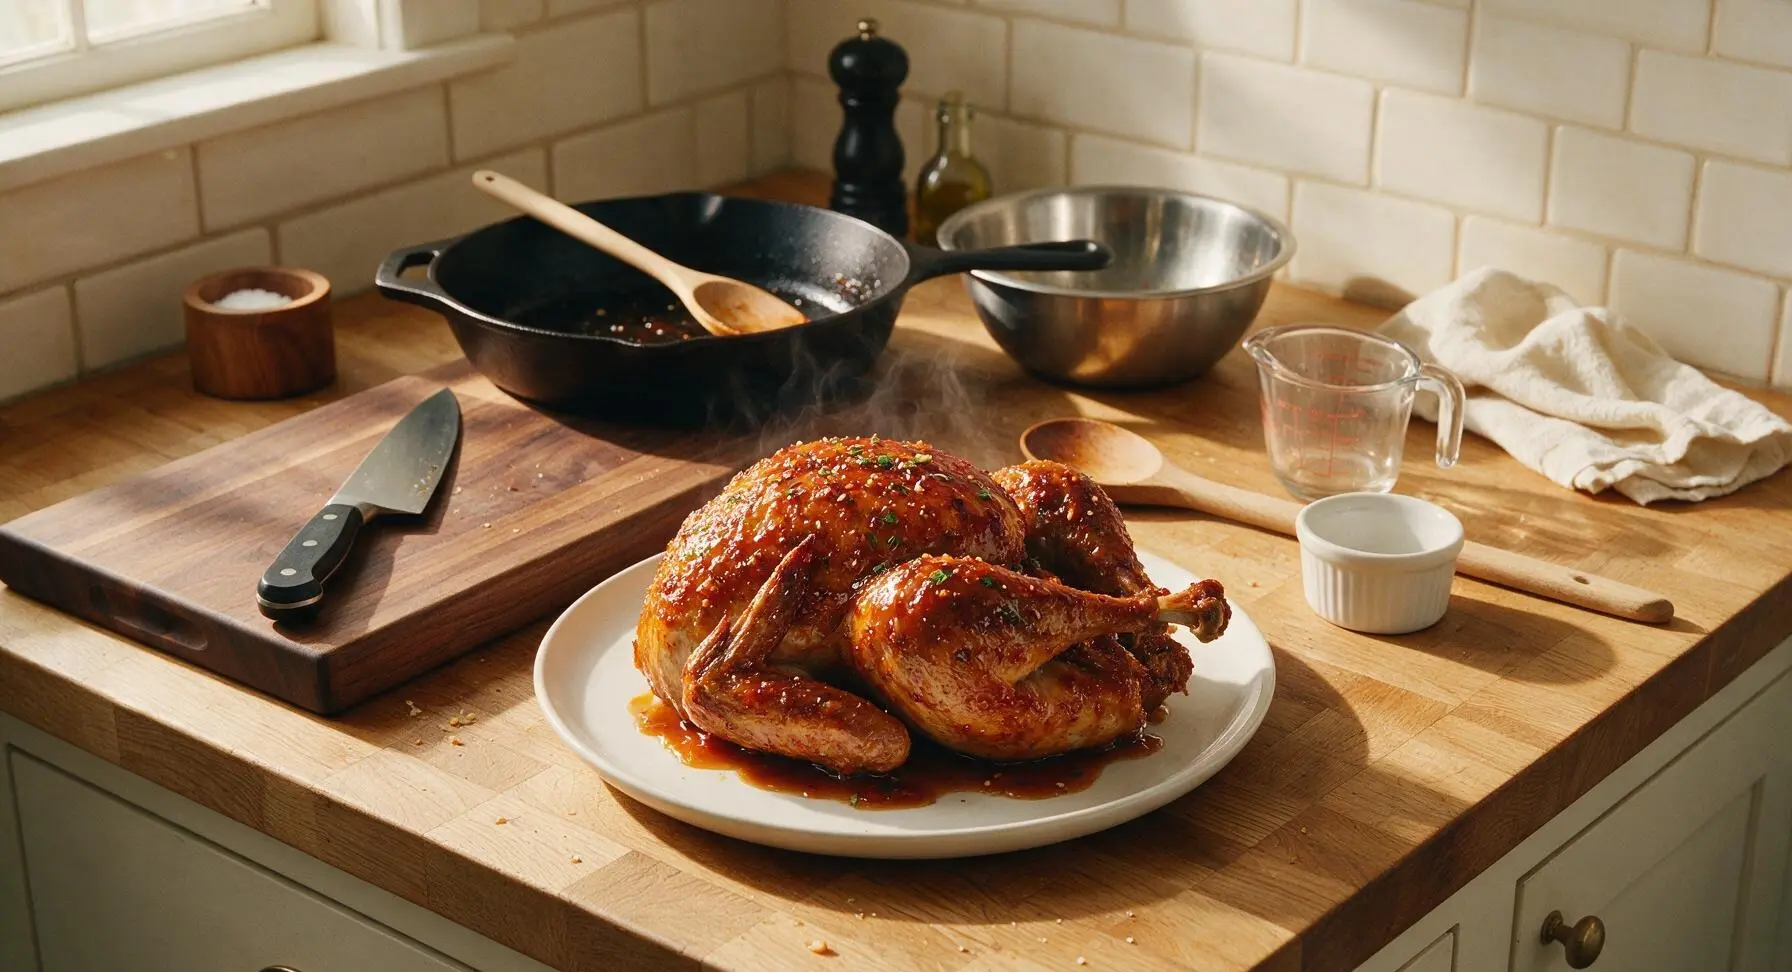
Yangnyeom Turkey

title 1
Yangnyeom Turkey
⏱️ cook time 1 hour 25 minutes
🍽️ servings 4
⚡ Difficulty medium

intro

Juicy, crisp-skinned roasted turkey coated in sticky, sweet-spicy Korean yangnyeom glaze— a bold, crowd-pleasing fusion twist on classic holiday turkey.

Ingredients
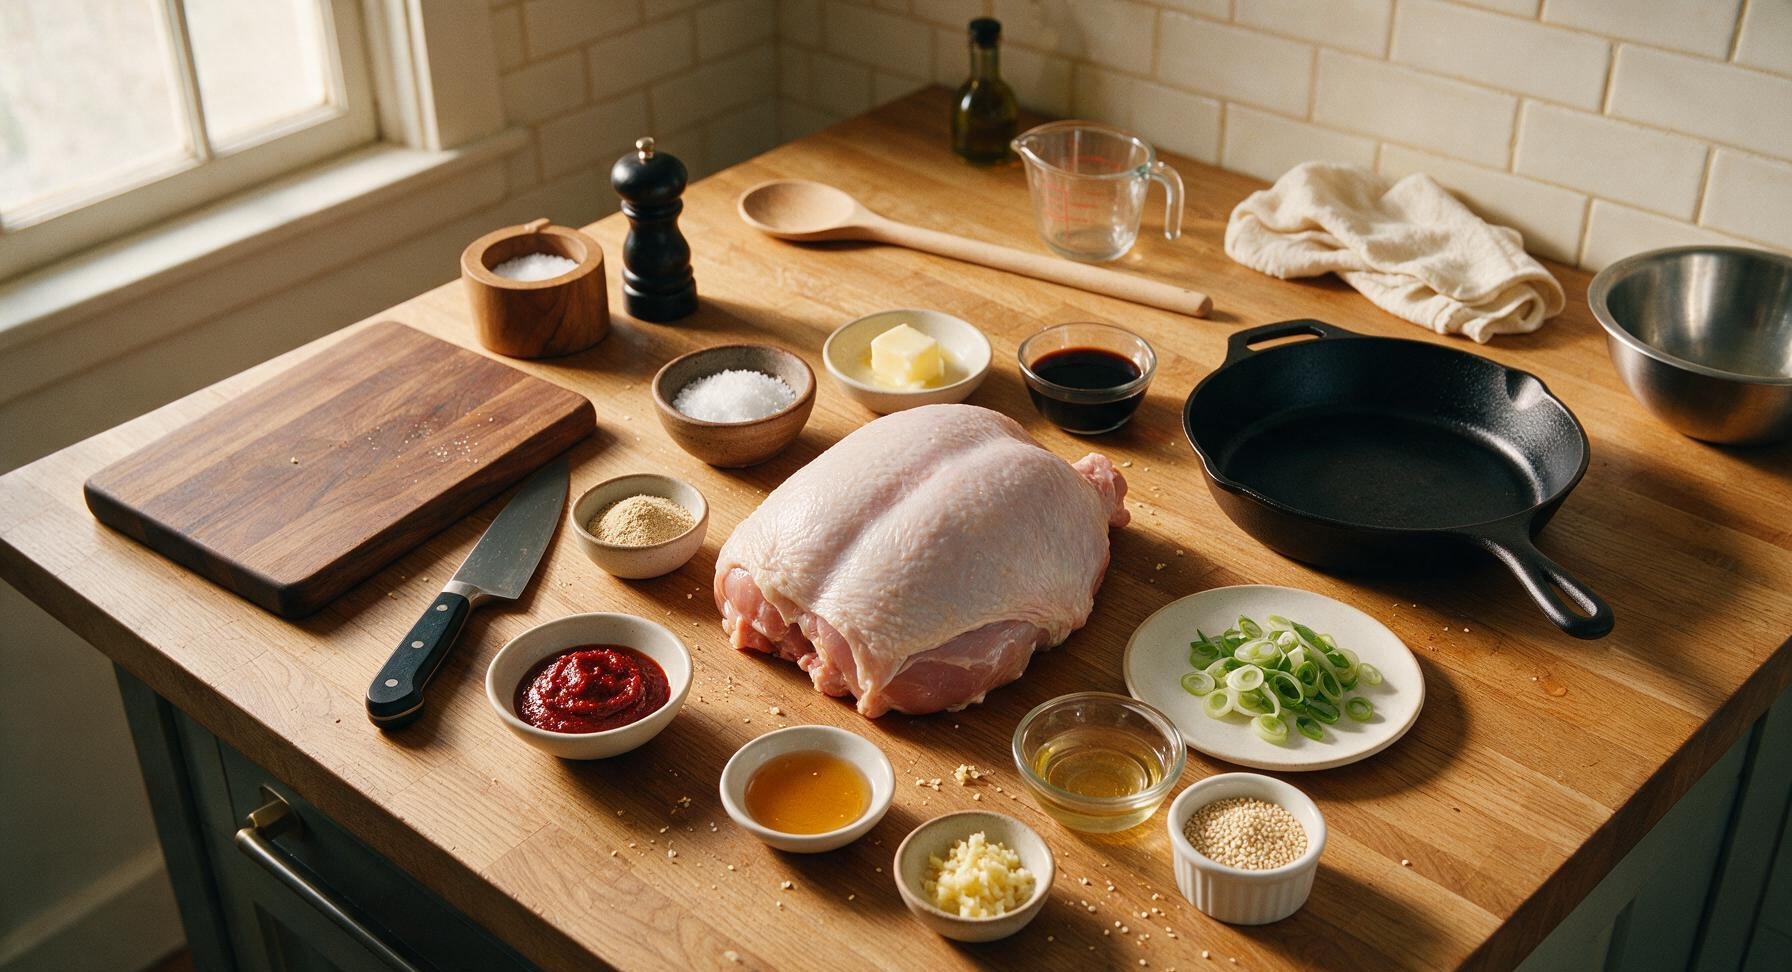
Bone-in skin-on turkey breast 1.8kg (4lb)
Coarse kosher salt 1 tbsp
Freshly ground black pepper 1 tsp
Garlic powder 1 tsp
Unsalted butter, melted 1 tbsp
Gochujang (Korean red chili paste) 1/3 cup
Raw honey 1/4 cup
Low-sodium soy sauce 2 tbsp
Unseasoned rice vinegar 1 tbsp
Fresh ginger, grated 2 tsp
Garlic cloves, minced 3 cloves
Toasted sesame oil 1 tbsp
Green onions, thinly sliced (garnish) 2 whole
Toasted white sesame seeds (garnish) 1 tsp

Steps

1

Prep and Season Turkey

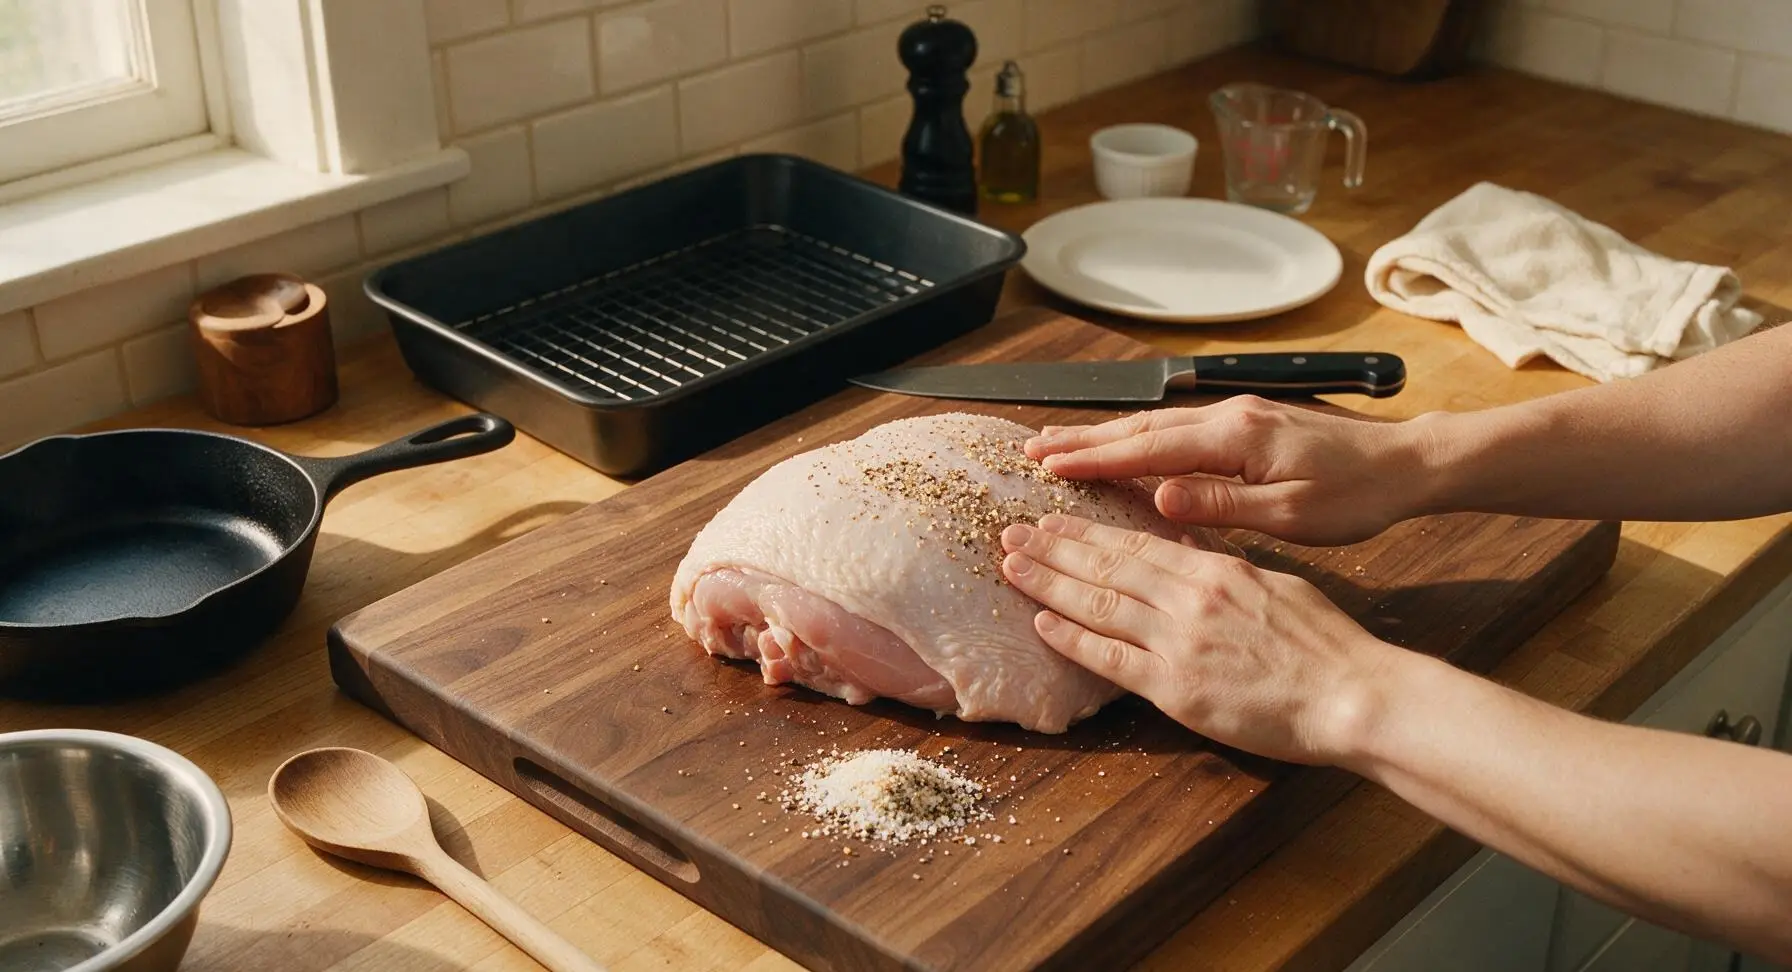
Pat the turkey breast completely dry all over with paper towels, then place it skin-side up on the maple cutting board. Mix the kosher salt, black pepper, and garlic powder in a small pile, then rub the seasoning evenly all over the turkey skin and gently under the skin where it meets the breast meat, taking care not to tear the delicate skin. Let the seasoned turkey rest at room temperature for 20 minutes to allow the salt to penetrate the meat for even seasoning.
Step 1
step1:Prep and Season Turkey
2

Roast Turkey First Stage

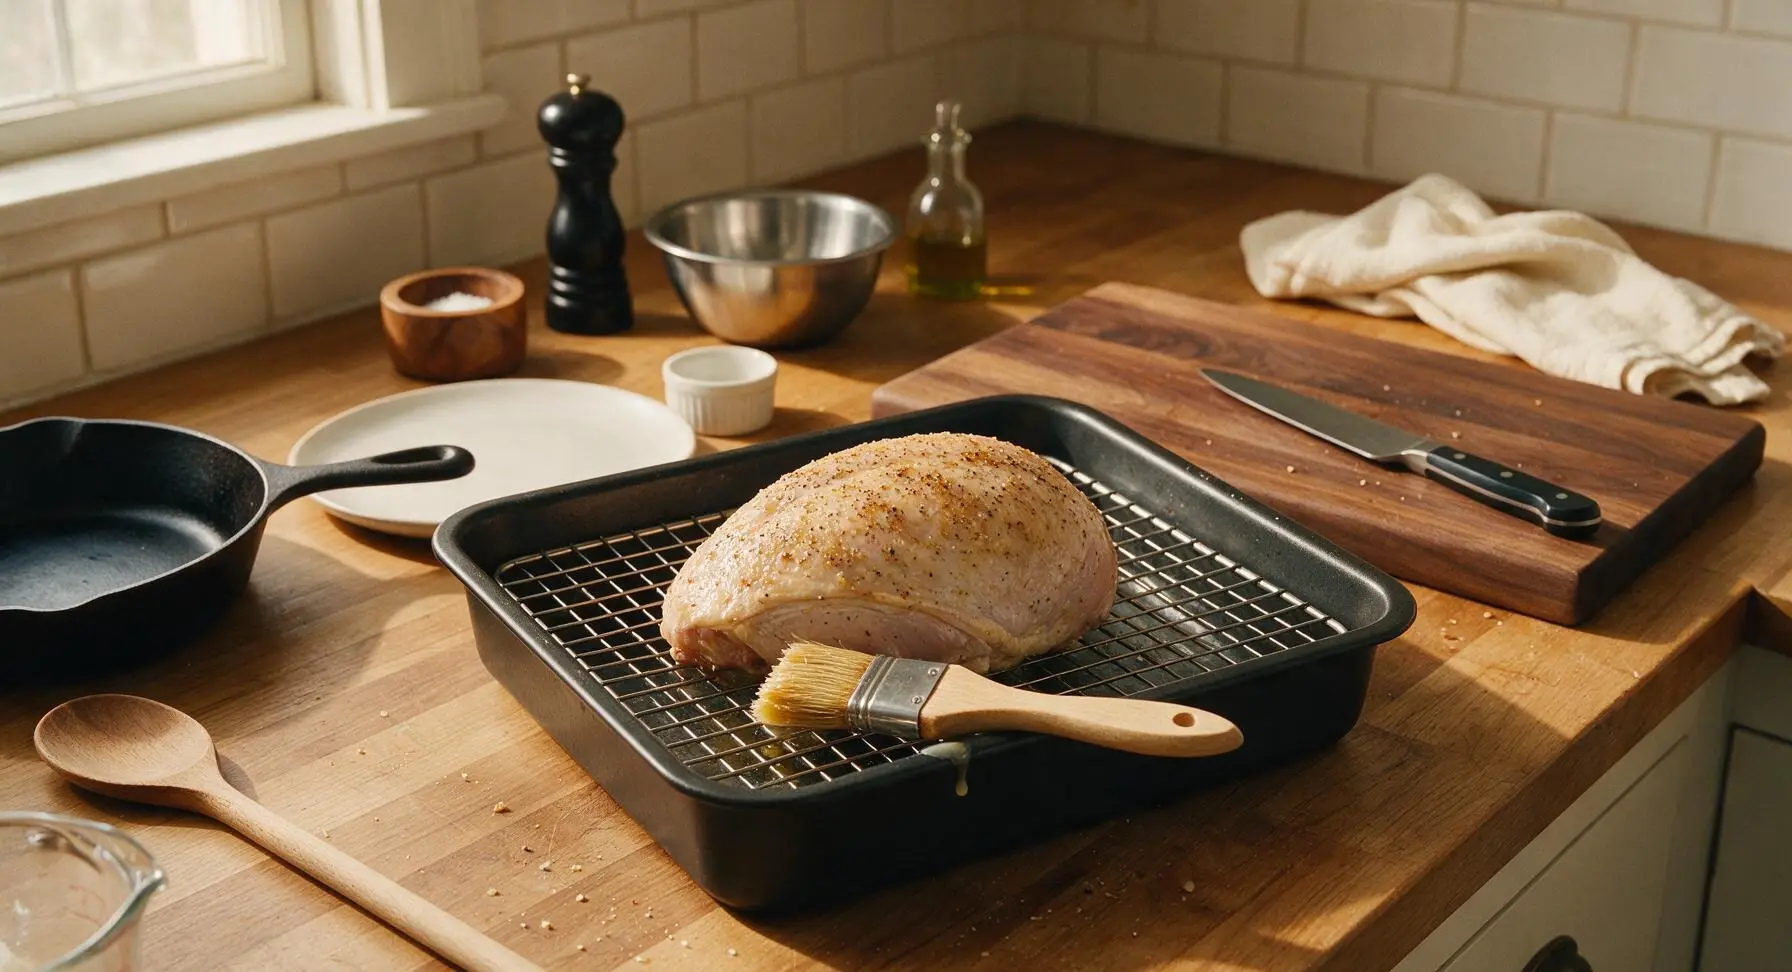
Adjust the oven rack to the middle position and preheat oven to 200°C (400°F). Set the stainless steel wire roasting rack inside the matte black roasting pan, then place the seasoned turkey breast skin-side up on the rack. Use the pastry brush to coat the skin evenly with melted butter. Roast for 1 hour, until the skin is light golden crisp and the internal temperature at the thickest part of the breast reads 63°C (145°F) on the instant-read thermometer.
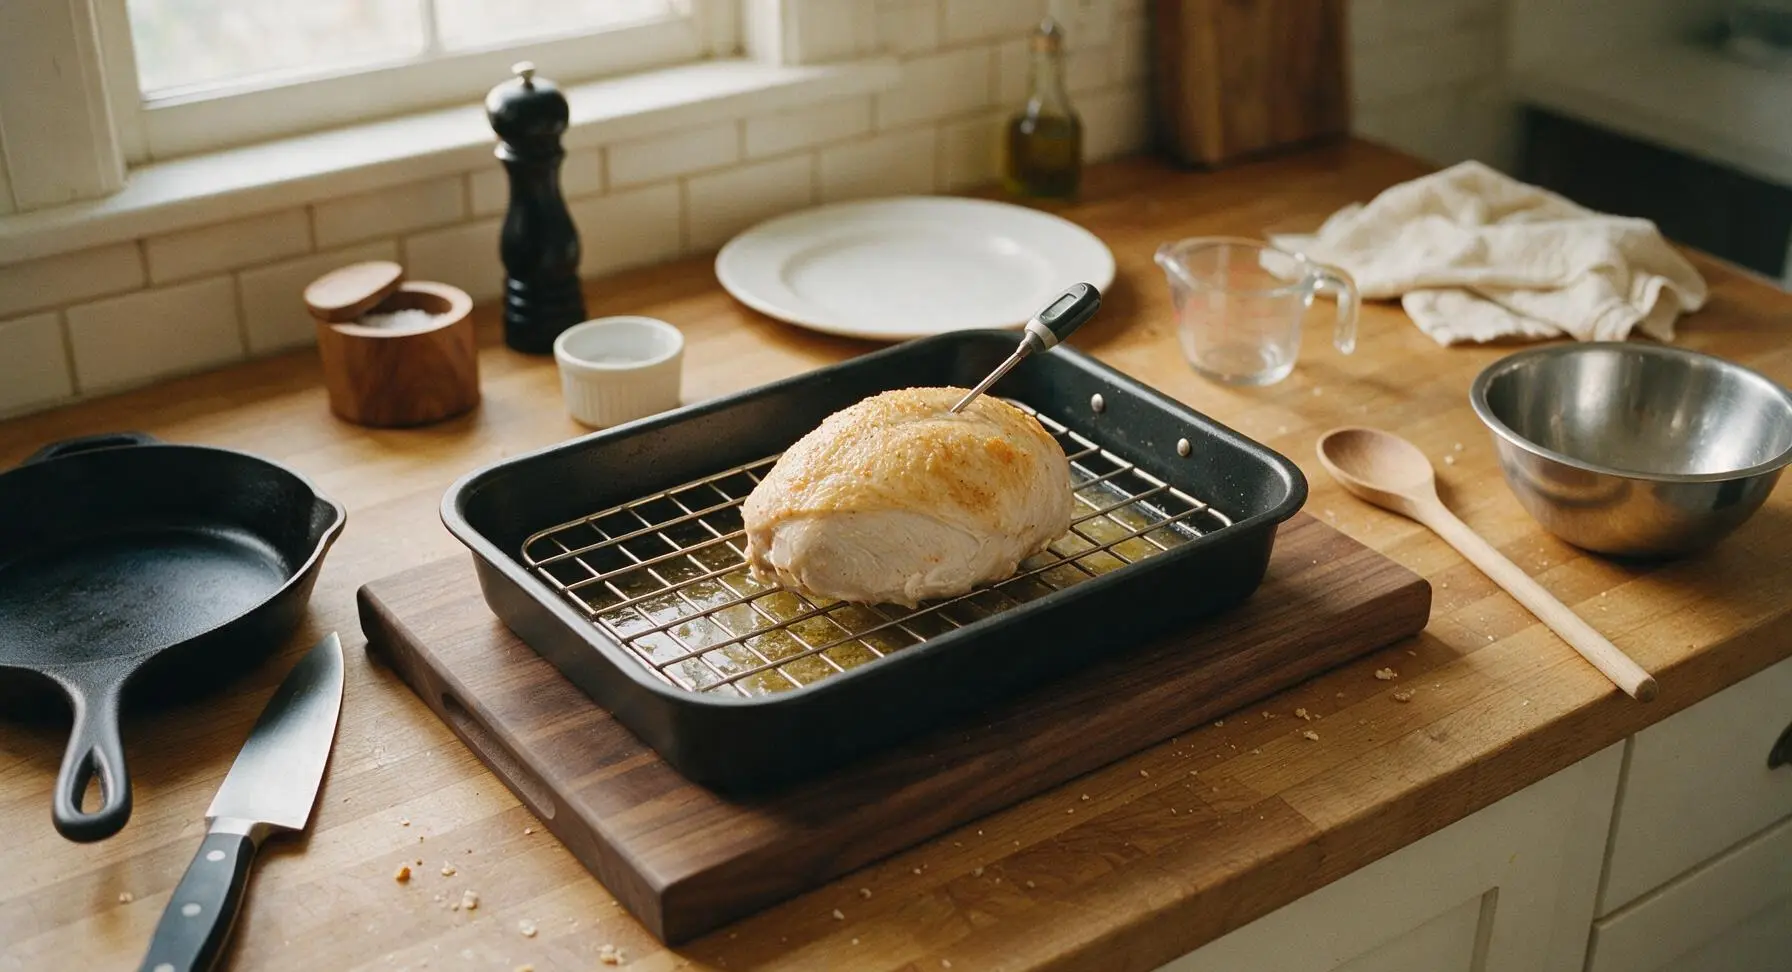
Step 2
step2:Roast Turkey First Stage
Step 2
step2:Roast Turkey First Stage
3

Mix Yangnyeom Glaze Base

While the turkey roasts, add the gochujang, raw honey, low-sodium soy sauce, rice vinegar, grated ginger, minced garlic, and toasted sesame oil to the medium stainless steel mixing bowl. Stir thoroughly with the terracotta silicone spatula until completely smooth, with no visible lumps of gochujang remaining. Measure out 2 tablespoons of the smooth glaze and set it aside in the small glass ramekin to use as a fresh serving sauce.
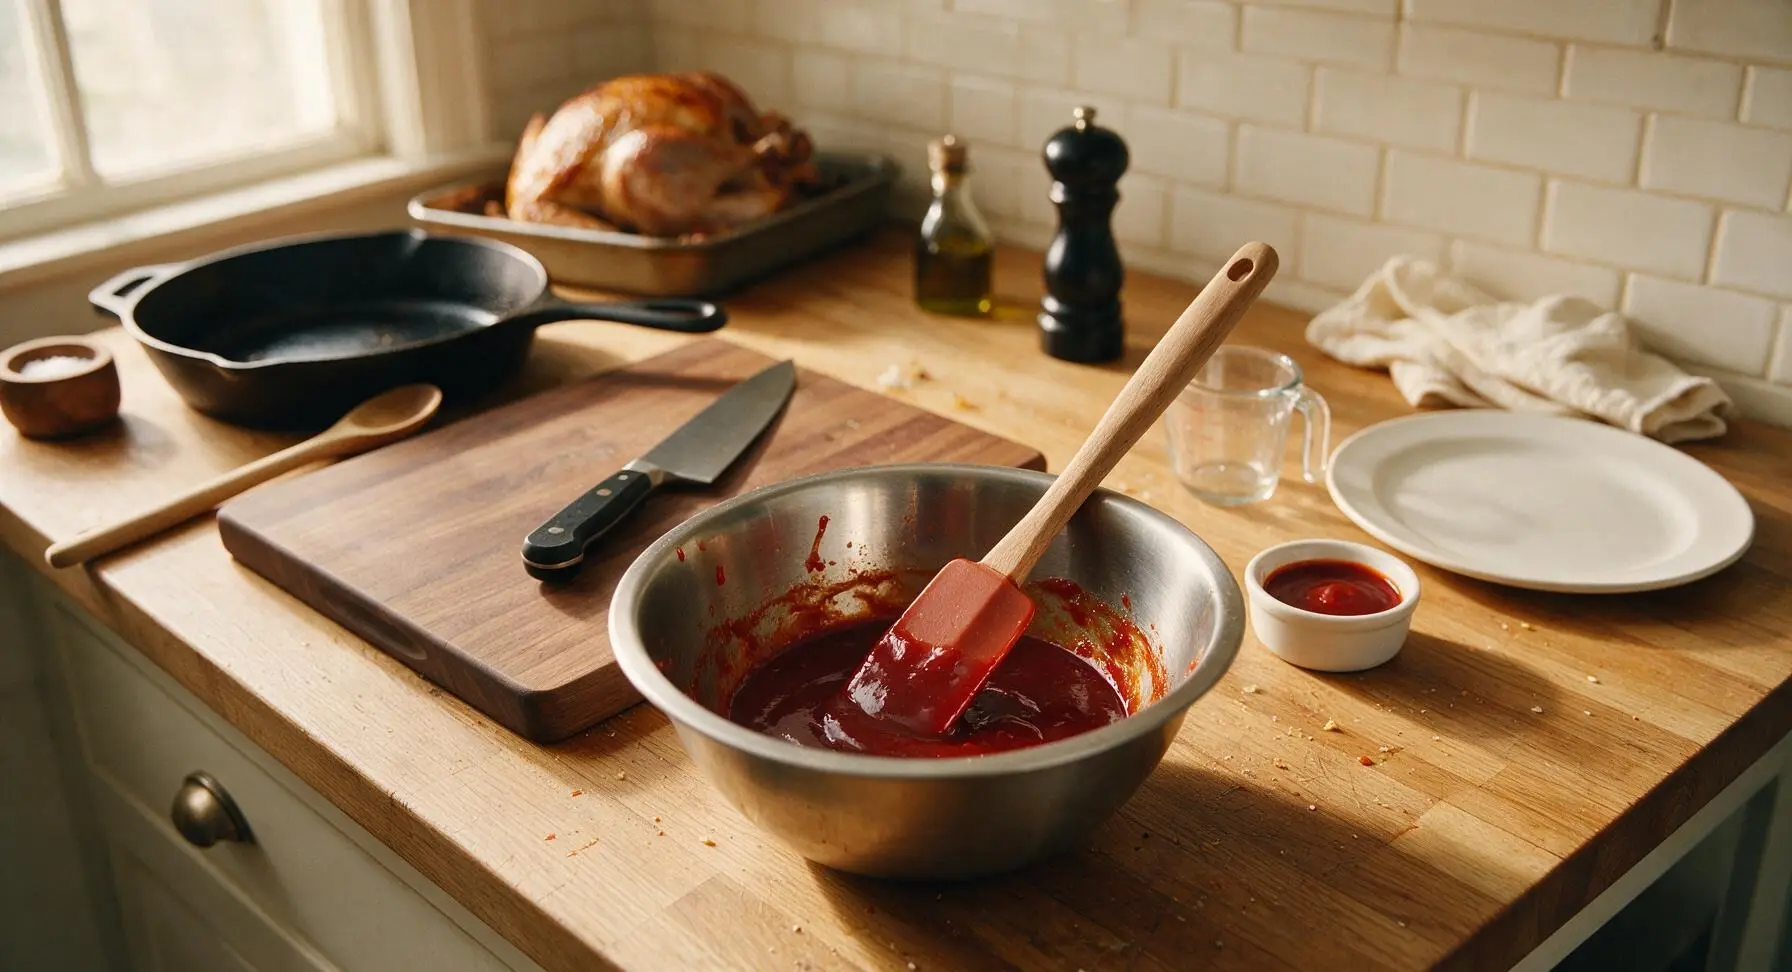
Step 3
step3:Mix Yangnyeom Glaze Base
4

Simmer Glaze to Thicken

Pour the remaining glaze from the mixing bowl into the small stainless steel saucepan. Place over medium-low heat, stirring constantly with the silicone spatula, for 3-4 minutes until the glaze bubbles gently and thickens to a syrupy consistency that coats the back of the spatula without dripping off quickly. Remove the pan from heat and set aside.
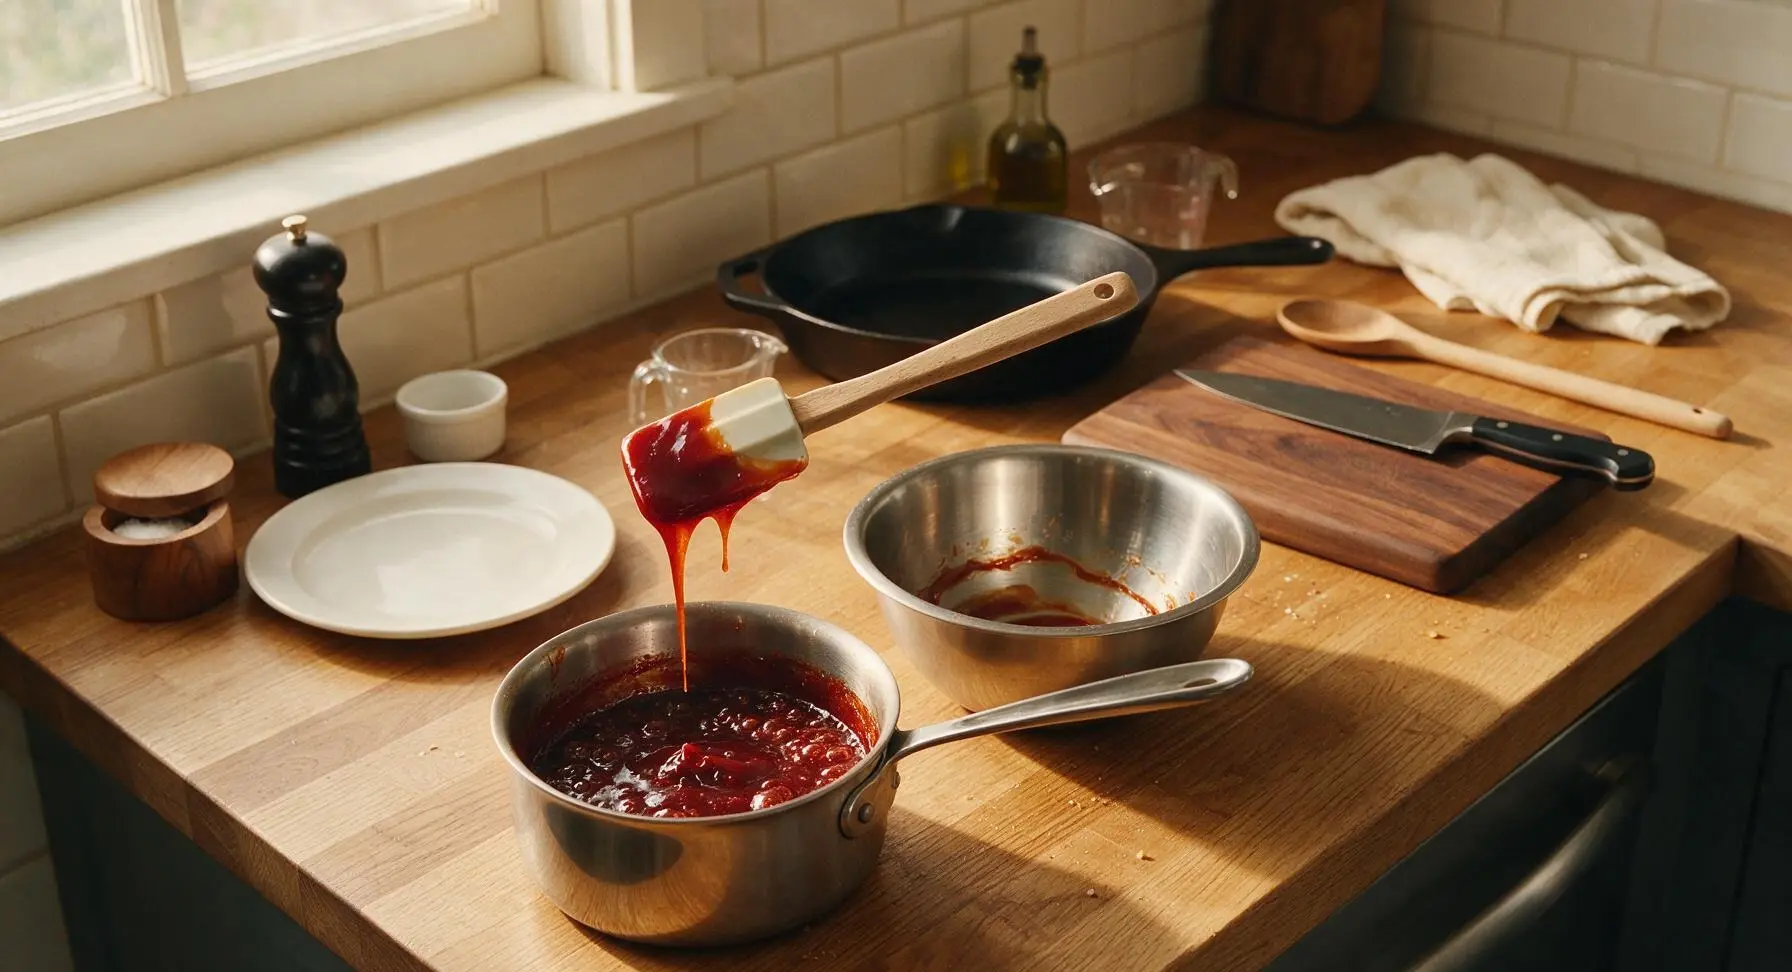
Step 4
step4:Simmer Glaze to Thicken
5

Glaze and Finish Roasting

After the turkey has roasted for 1 hour, carefully pull the roasting pan out of the oven. Use the pastry brush to coat the entire turkey skin generously with half of the thickened yangnyeom glaze. Return the pan to the oven and roast for 15 minutes, then pull the pan out again and brush on the remaining half of the glaze. Roast for a final 10 minutes, until the internal temperature reaches 74°C (165°F) and the glaze is sticky, caramelized, and a deep glossy red with slightly dark crisp edges.
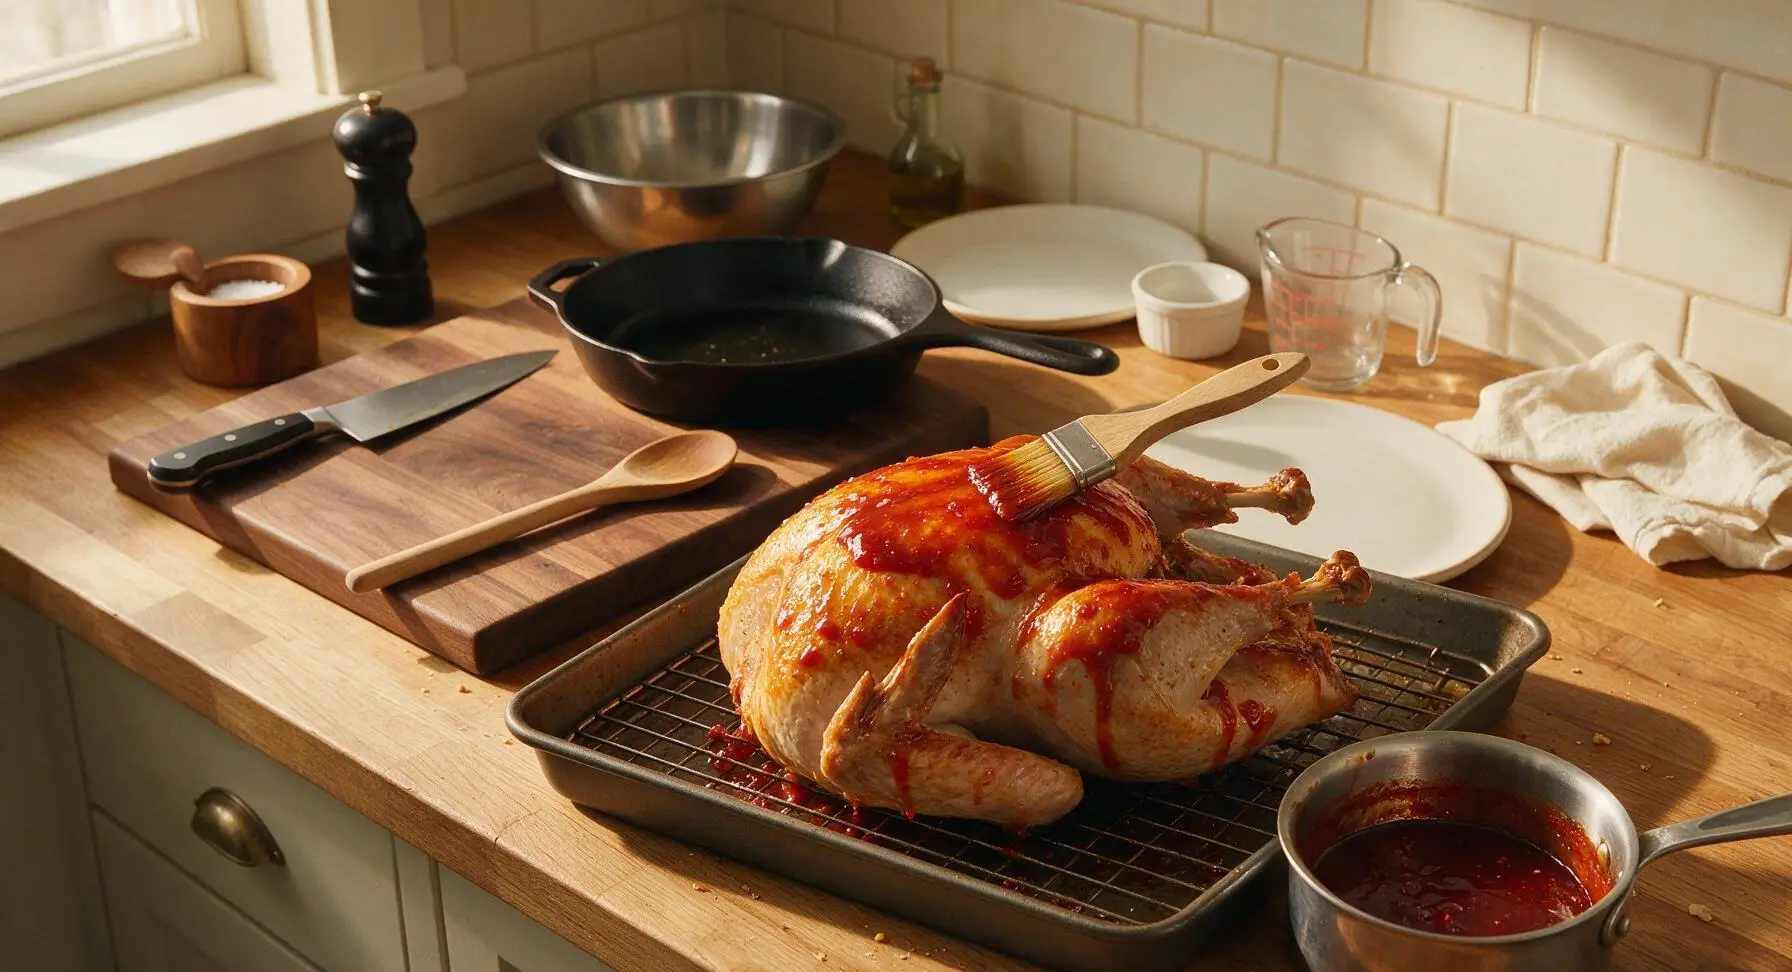
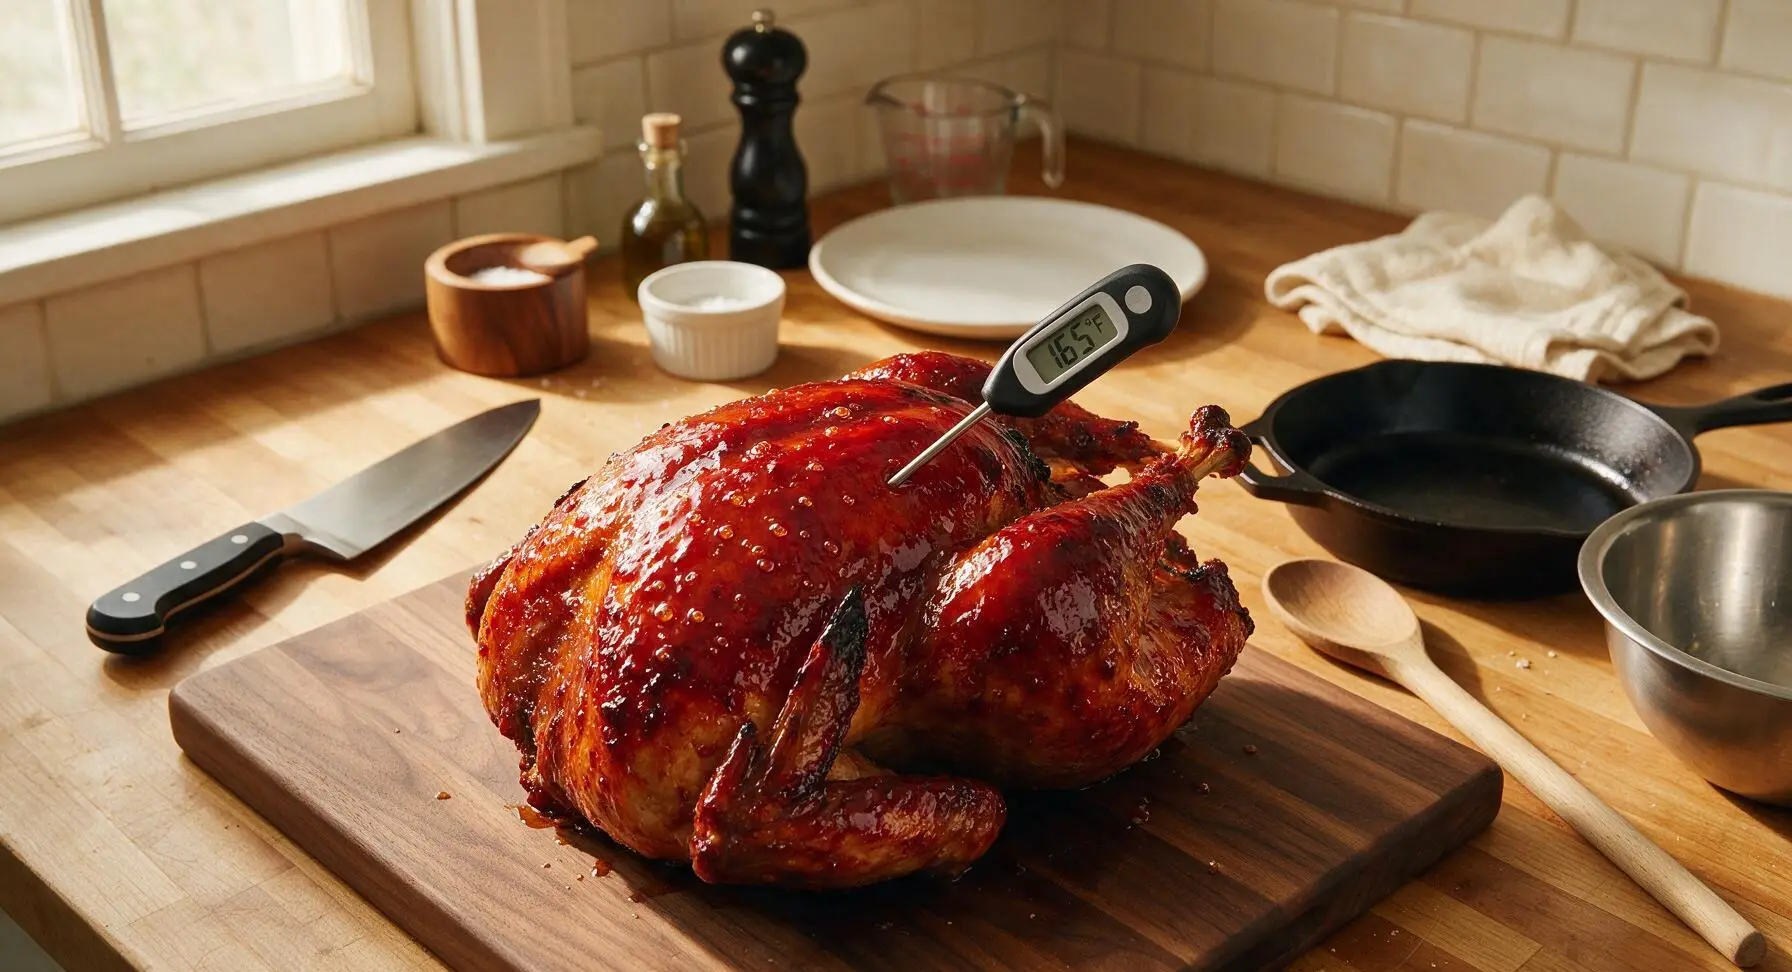
Step 5
step5:Glaze and Finish Roasting
Step 5
step5:Glaze and Finish Roasting
6

Rest Turkey Before Serving

Use the silicone-tipped metal tongs to carefully lift the roasted turkey from the wire rack and transfer it to the off-white ceramic serving platter. Tent the platter loosely with a small sheet of aluminum foil, and let the turkey rest for 15 minutes at room temperature to allow juices to redistribute through the meat—do not cut into it immediately, as this will cause flavorful juices to run out onto the platter.
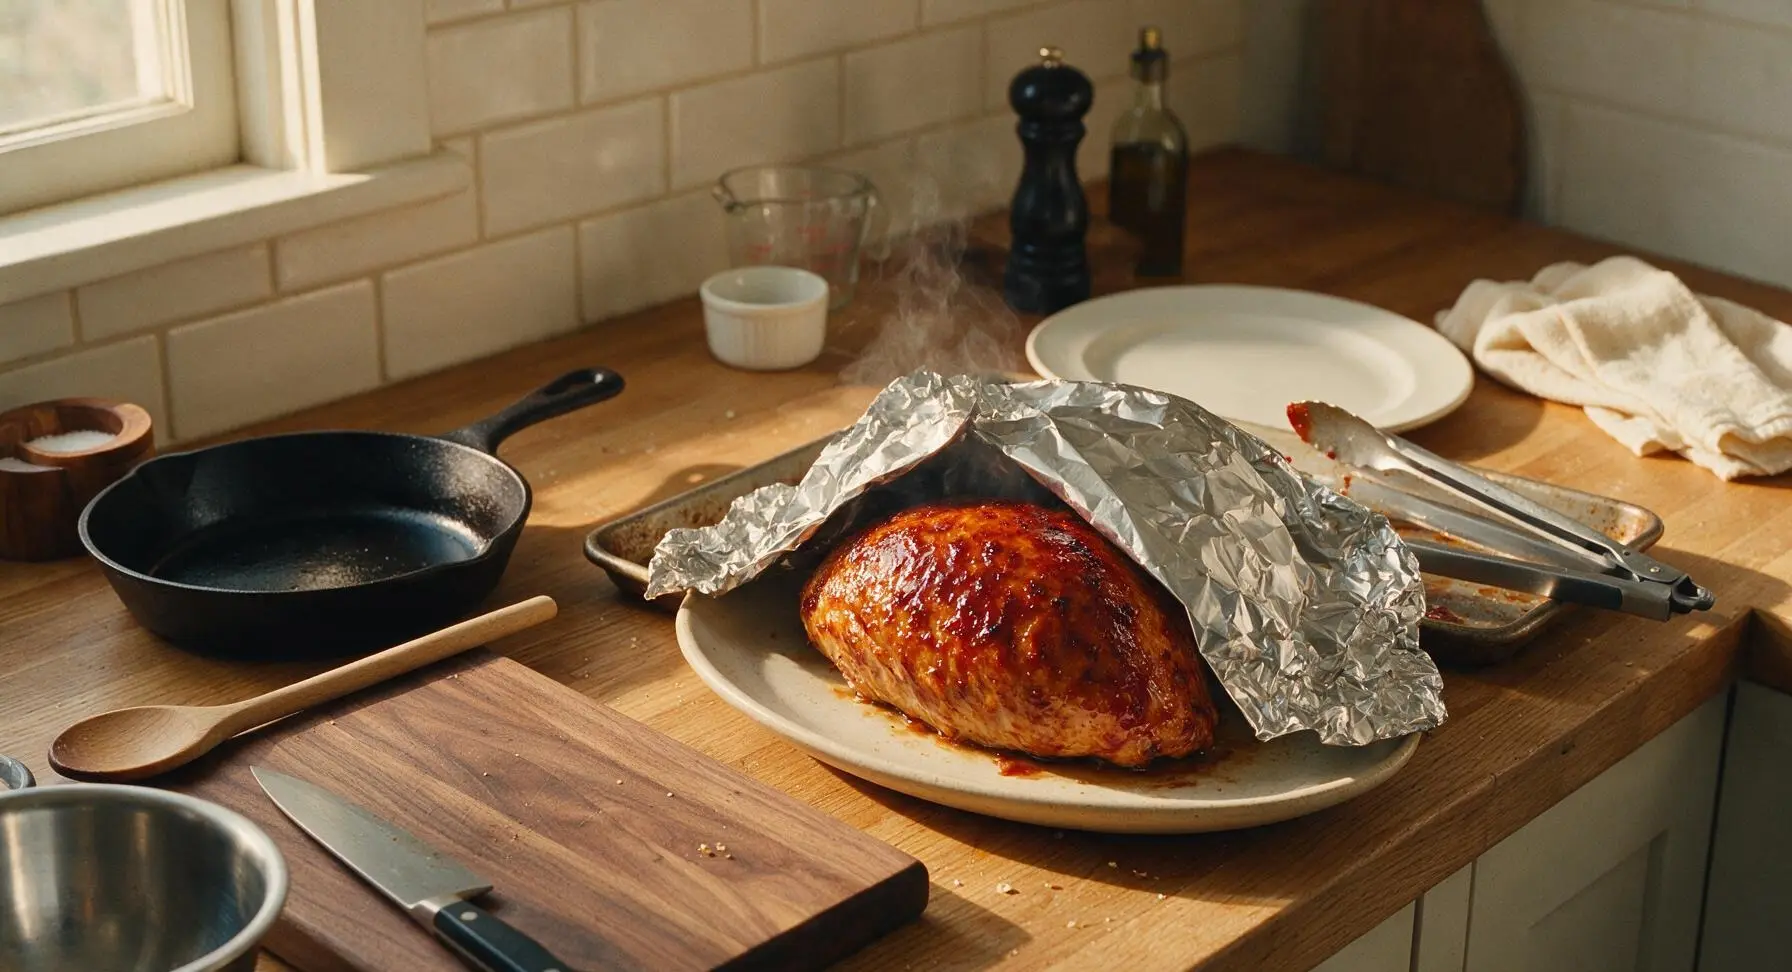
Step 6
step6:Rest Turkey Before Serving
7

Garnish and Finish Dish

After the 15 minute rest period, remove the aluminum foil from the platter. Sprinkle the top of the glazed turkey evenly with the thinly sliced green onions and toasted white sesame seeds. Drizzle with a small amount of the reserved uncooked glaze if desired, then serve warm.
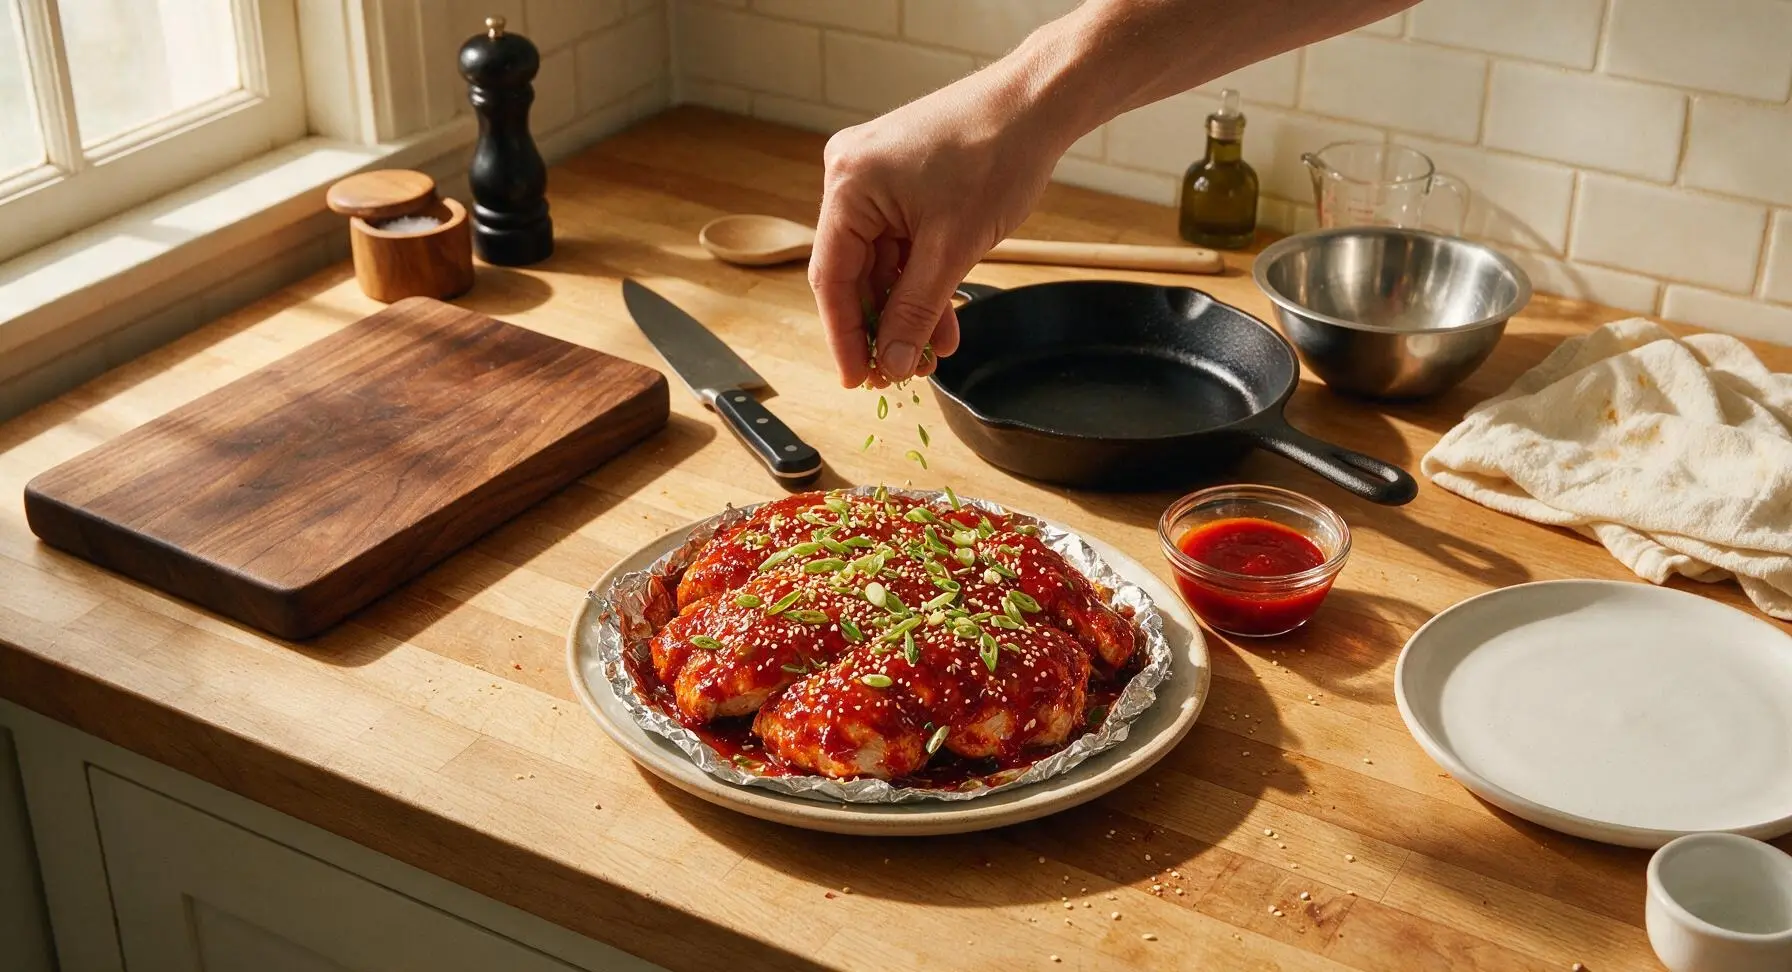
Step 7
step7:Garnish and Finish Dish

Tips

1.Pat the turkey completely dry with paper towels before seasoning: any residual moisture on the skin will steam rather than crisp in the oven, leading to soft, rubbery skin that won’t hold the sticky glaze properly.
2.Reserve 2 tablespoons of uncooked glaze before simmering: the simmered glaze thickens to a sticky coating for the turkey skin, while the fresh, uncooked glaze has a brighter, zippier flavor that cuts through the rich meat when served on the side.
3.Let the turkey rest for the full 15 minutes after roasting: slicing into hot turkey immediately causes all the redistributed juices to run out onto the platter, leaving you with dry, bland meat even if you cooked it perfectly.


✨ You May Also Like

Main Course
🍜 United Kingdom

A showstopping classic of tender seared beef, savory mushroom duxelles, and crisp prosciutto wrapped in flaky golden puff pastry, baked to juicy perfection.

⏱️ 2 hours 1Main Course ★ 4.7
Main Course
🍜 India

Tender charred marinated chicken simmered in a rich, spiced creamy tomato sauce, this iconic Anglo-Indian curry pairs perfectly with basmati rice or warm naan.

⏱️ 50 minuteMain Course ★ 4.6
Main Course
🍜 Thailand

Classic tangy, sweet, and savory Thai stir-fried rice noodles with shrimp, tofu, and crunchy garnishes, balancing all five core Thai flavor profiles.

⏱️ 30 minuteMain Course ★ 4.5
Main Course
🍜 United Kingdom

Crispy golden beer-battered cod and fluffy double-fried chips, served with tangy tartar sauce and malt vinegar: the timeless, beloved British pub comfort classic.

⏱️ 45 minuteMain Course ★ 4.7
Main Course
🍜 Mexico

Smoky, chile-marinated pork tacos with caramelized pineapple, fresh cilantro, and lime: a beloved classic Mexican street food perfect for casual summer gatherings.

⏱️ 1 hour 45Main Course ★ 4.8
Main Course
🍜 United States

Crunchy Fritos corn chips layered with savory beef chili and melted cheddar, topped with cool, zesty fixings for a beloved, cozy Tex-Mex comfort food.

⏱️ 35 minuteMain Course ★ 4.8

Yangnyeom Turkey:Frequently Asked Questions

1.Can I use a whole turkey instead of bone-in, skin-on turkey breast for this recipe? ▾
Absolutely! A 12–14 pound whole turkey works beautifully for larger gatherings. Just adjust your total roast time to hit a 165°F internal temperature in the thickest part of the thigh, follow the same initial seasoning and butter rub, and apply the yangnyeom glaze during the final 10 minutes of cooking to keep skin crisp.
2.How do I get perfectly crispy turkey skin before adding the sticky yangnyeom glaze? ▾
First, pat the turkey skin completely dry with paper towels before seasoning. Roast it on a wire rack set inside your roasting pan at 375°F for the first 45 minutes without basting, and hold off on adding glaze until the turkey hits 155°F internal—applying glaze too early traps moisture and makes skin soggy.
3.Can I make the yangnyeom glaze ahead of time to cut down on holiday prep work? ▾
Definitely! Mix your gochujang-based yangnyeom glaze (blended with soy sauce, honey, rice vinegar, minced garlic, and toasted sesame oil) up to 3 days in advance, stored in an airtight jar in the fridge. Let it sit at room temperature for 20 minutes before use so it spreads smoothly and sticks evenly to the turkey skin.
4.How do I keep the turkey breast from drying out while it roasts? ▾
Let the seasoned turkey breast come to room temperature for 30 minutes before roasting to encourage even cooking. Pull it from the oven when the thickest part hits 160°F internal, as it will carryover cook to the safe 165°F as it rests, then tent loosely with foil for 20 minutes before slicing to lock in juices.
5.Is this yangnyeom turkey too spicy for kids or guests who don’t tolerate heat well? ▾
It doesn’t have to be! Cut the amount of gochujang (Korean chili paste) in your glaze in half, swap in an extra tablespoon of honey or brown rice syrup to mellow the heat, and add a splash of apple juice for a fruitier, milder sweet-spicy balance that works for sensitive palates without losing that signature yangnyeom flavor.
6.Can I use boneless, skinless turkey breast if that’s what I already have on hand? ▾
You can, though you’ll miss the rich, crisp skin that balances the sticky, sweet-spicy glaze. If using boneless, skinless breast, follow the same seasoning and butter rub, note it will cook 20–25 minutes faster than bone-in cuts, and only brush on glaze during the final 10 minutes of roasting to avoid burning the sugar in the glaze.
7.How far in advance should I season the turkey for the best possible flavor? ▾
For juicier, well-seasoned meat and extra crisp skin, season the turkey all over (including gently under the skin) with the kosher salt, black pepper, and garlic powder 12 to 24 hours before roasting. Leave it uncovered on a wire rack in the fridge to let the salt penetrate and the skin dry out fully.
8.What sides pair best with this fusion yangnyeom turkey for a holiday meal? ▾
It pairs wonderfully with a mix of classic and subtly Korean-inspired sides: try roasted garlic mashed potatoes, sesame-roasted green beans, quick pickled daikon, kimchi collard greens, or buttery short-grain rice. The bright, sweet-spicy glaze cuts through rich, creamy sides for a perfectly balanced plate.
9.Why is my yangnyeom glaze sliding off the turkey skin instead of sticking? ▾
This almost always happens if the skin is still wet, or if you apply the glaze too early when the turkey is releasing excess moisture. Wait until the turkey hits 155°F internal, lightly pat off any pooled butter or moisture from the skin, then brush on warm glaze and roast 5–7 more minutes to set it to a sticky finish.
10.How long do leftovers keep, and what’s the best way to reheat yangnyeom turkey? ▾
Leftovers will stay fresh in an airtight container in the fridge for up to 4 days, or frozen for up to 3 months. To reheat without drying out the meat or making the glaze soggy, slice the turkey, arrange it on a baking sheet, cover loosely with foil, and warm at 325°F for 10–12 minutes.

Comments (4)

2 days ago

OMG this Yangnyeom Turkey was an absolute game changer for our Sunday family dinner! I was worried the spicy-sweet glaze would be too much for my picky 8 year old, but he went back for seconds and asked if we could have it for his school lunch tomorrow. Cook time was totally accurate for me, I paired it with roasted broccoli and sticky rice and the whole table cleaned their plates. Already planning to make this for our neighborhood potluck next month!

5 minutes ago

Super solid recipe, the glaze has that perfect sticky, umami kick I was craving. Quick question though— I meal prep for the whole week, does the glazed turkey hold up well in the fridge for 4-5 days, or is it better fresh? I don’t want the texture to get too soggy if I make a big batch Sunday. Also, medium difficulty is spot on, don’t let the long ingredient list scare you off, it comes together way easier than it looks!

just now

Great question! The turkey actually holds up really well for up to 4 days in an airtight container in the fridge—just hold off on tossing it with the final glaze coating until you’re ready to reheat if you want to keep that crisp exterior, and it’ll taste almost as good as day one! So glad you enjoyed the flavor profile 😊

1 week ago

SO good!!! I upped the gochujang a little because I love extra heat, and it was *chef’s kiss*. My partner said it’s better than the Korean fried chicken we get at our local spot, which is high praise because that place is legendary. Only note is that my cook time was about 10 minutes shorter than the recipe said, probably because my oven runs hot, so definitely keep a thermometer handy to avoid overcooking!

3 days ago

Thanks for the tip about oven temp! My oven is also notoriously hot, I would’ve totally burned the glaze if I didn’t see your comment before making this tonight. It turned out perfect, my whole family raved!

2 weeks ago

Made this for my friend’s fall potluck this weekend and people were literally coming up to me all night asking for the recipe! I was a little intimidated because I’d never made yangnyeom anything before, but the steps were super clear even for a medium difficulty recipe. The only tiny issue I had was the glaze thickened a little faster than I expected on the stovetop, so I added a splash of rice vinegar to thin it out and it worked perfectly. 10/10 will be making this again for Thanksgiving instead of my usual boring roasted turkey!

1 week ago

Wait, swapping this for Thanksgiving turkey is such a good idea?? My in-laws are coming this year and they love bold flavors, I was sick of making the same old herb roasted turkey every year. Did you use a whole bone-in turkey breast for this, or cut up pieces?

5 days ago

So stoked this was a potluck hit! Quick note for anyone whose glaze thickens too fast—your rice vinegar trick is brilliant, a tiny splash of water or apple juice works great too. And for Thanksgiving, a bone-in turkey breast works beautifully with this recipe, just adjust the cook time up a bit to account for the larger cut!



