
yankee pot roast
intro
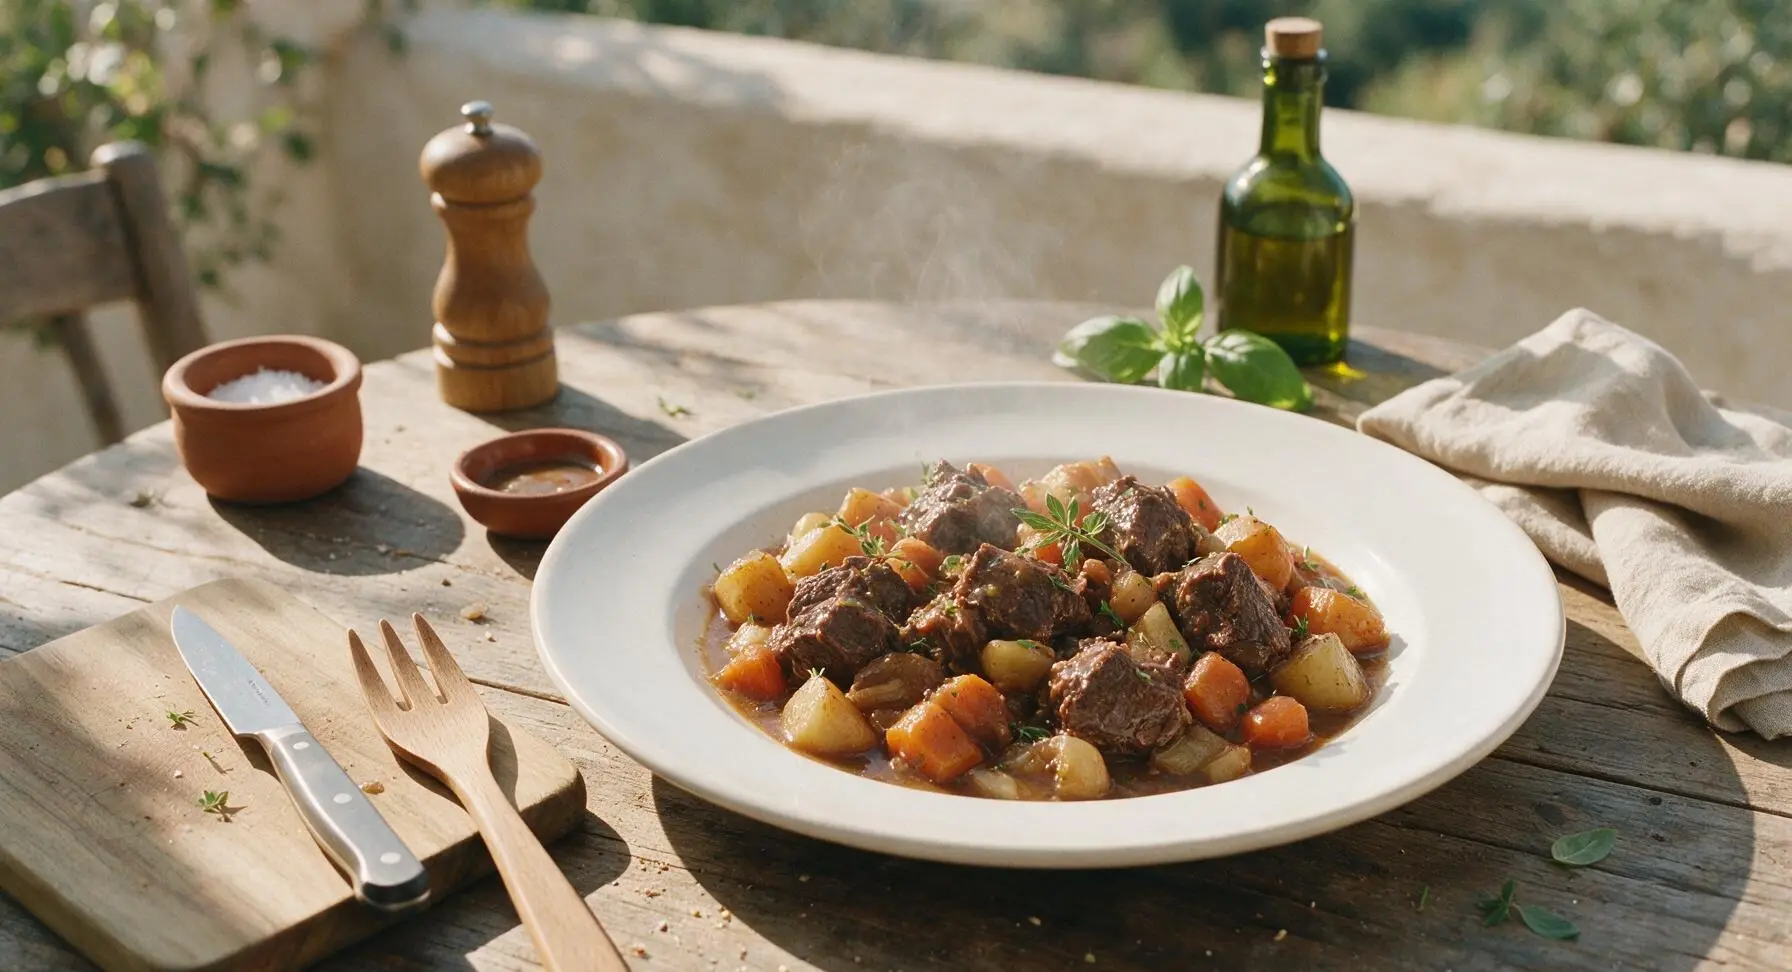
Tender slow-braised beef chuck with buttery root vegetables and rich savory gravy, this classic New England comfort food is made for cozy winter family gatherings.
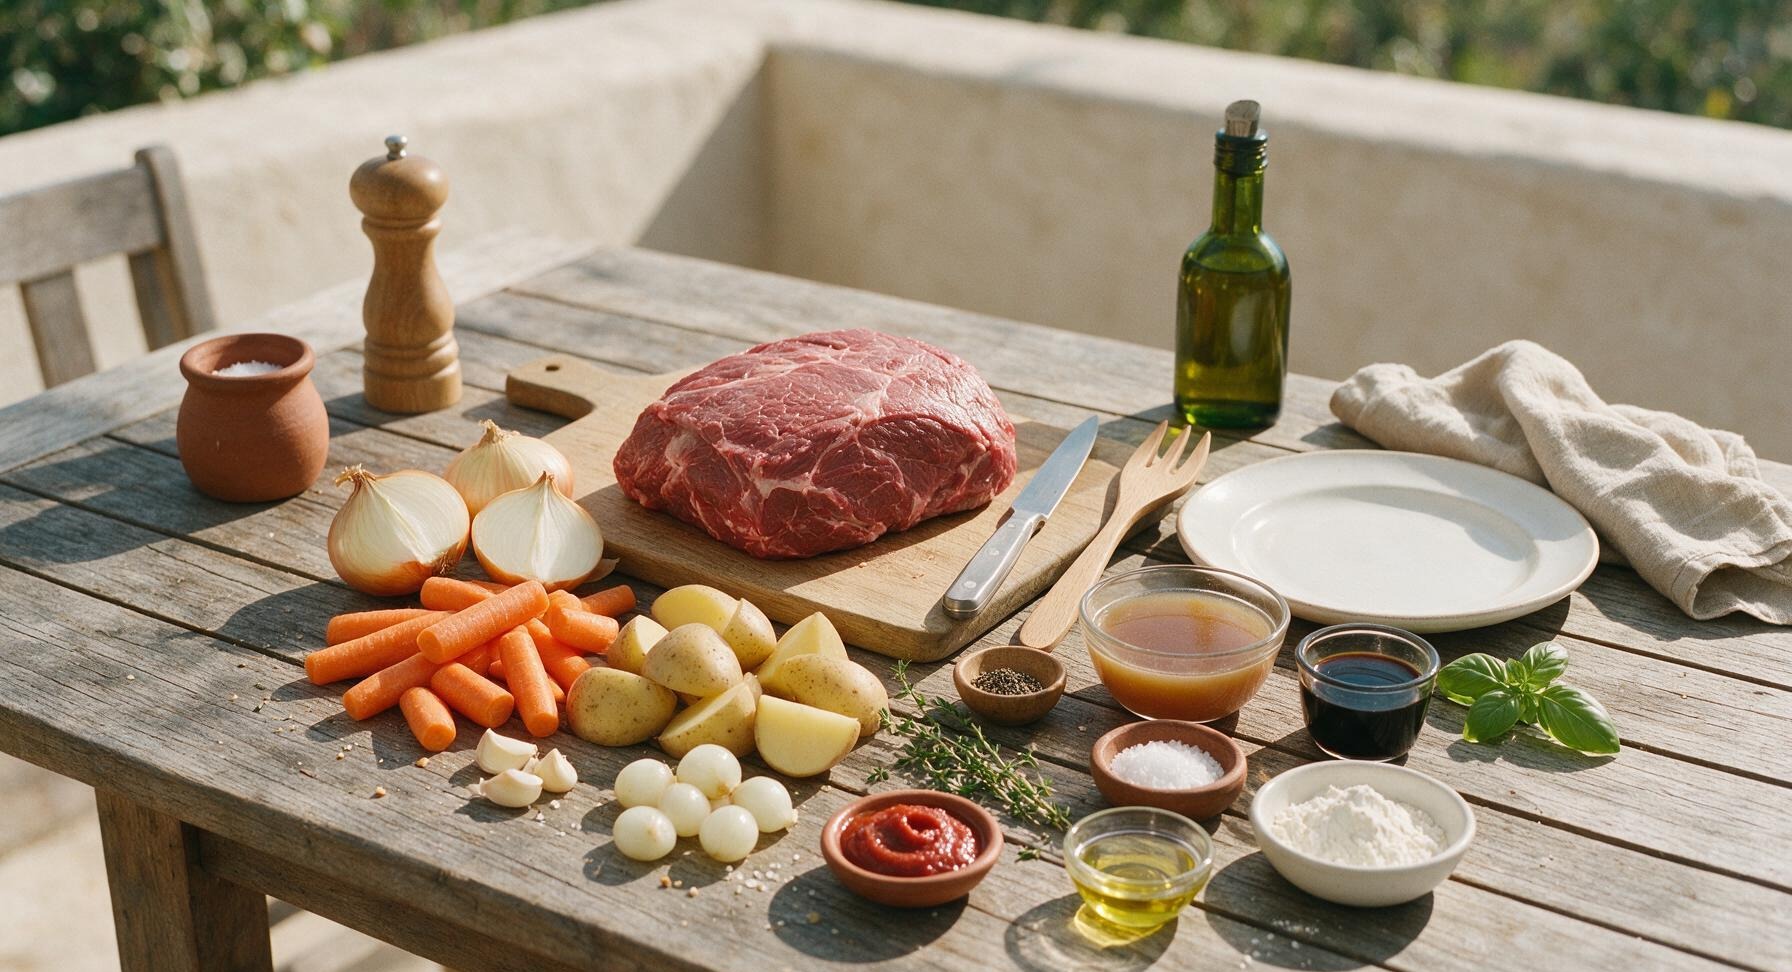
Ingredients
Steps
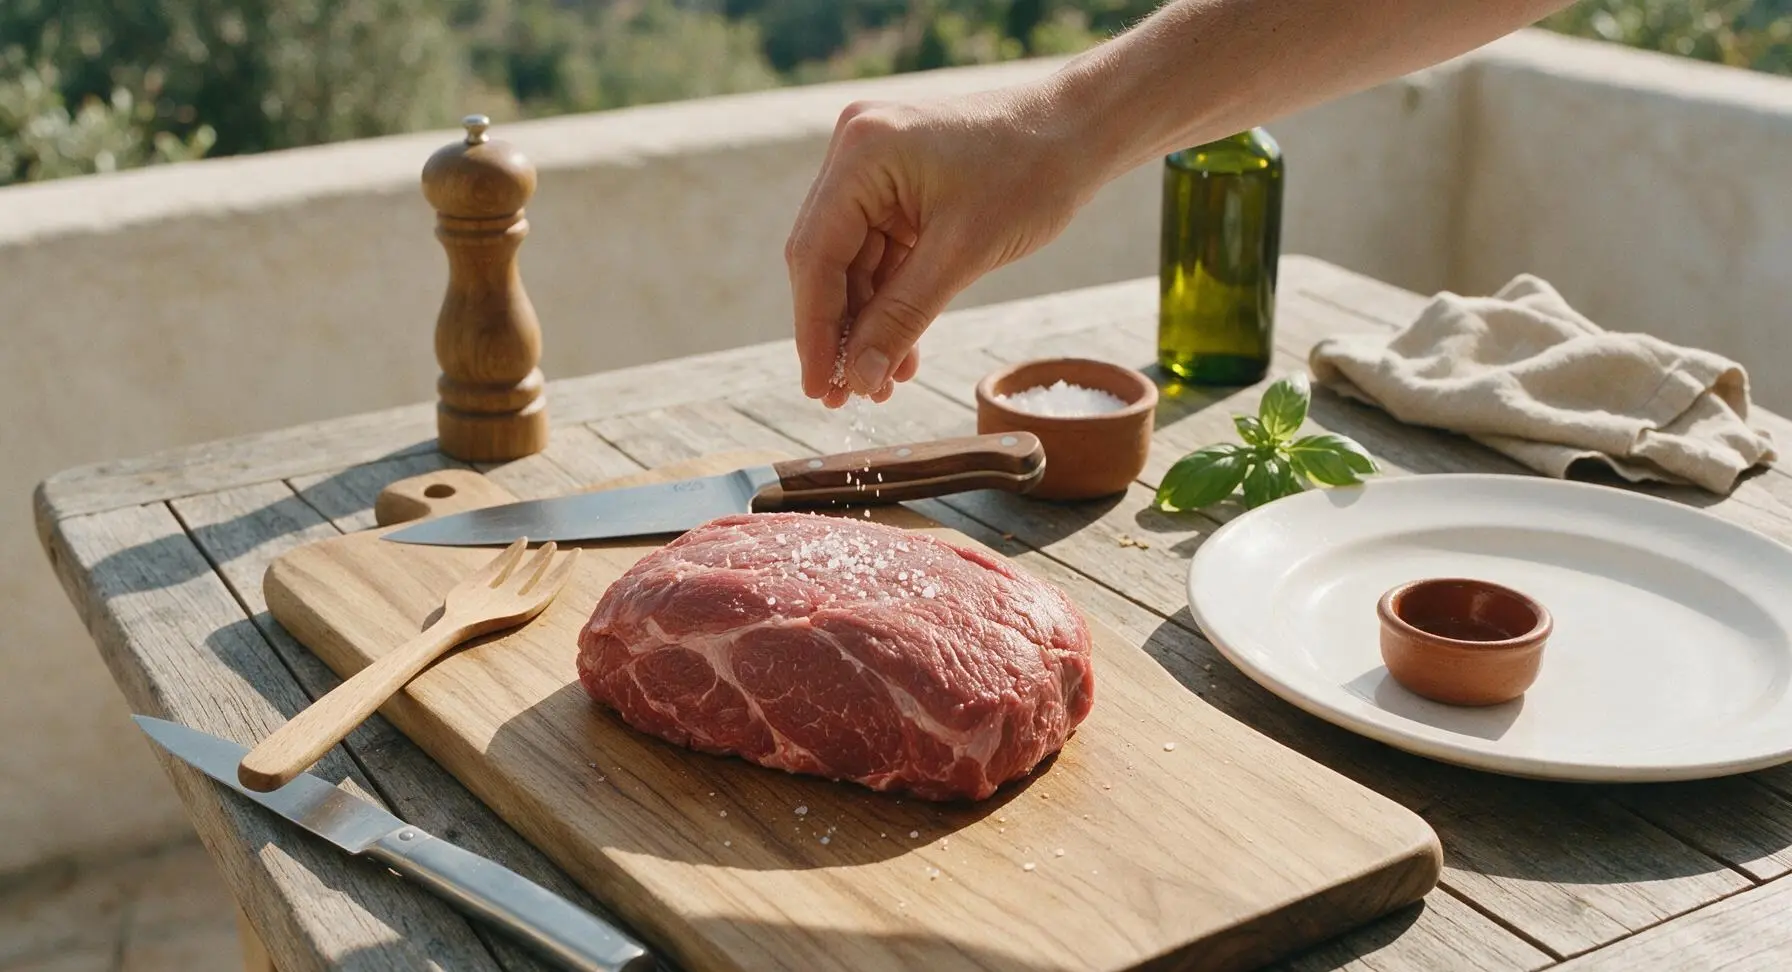
Season the chuck roast
Pat the 3lb boneless beef chuck roast completely dry with paper towels, then rub all surfaces evenly with 1 teaspoon kosher salt and ½ teaspoon freshly ground black pepper. Let the seasoned roast rest at room temperature for 15 minutes to allow the salt to penetrate the meat; the surface will look slightly moist as salt draws out initial moisture. Place the maple cutting board at the center of the prep zone for this step.
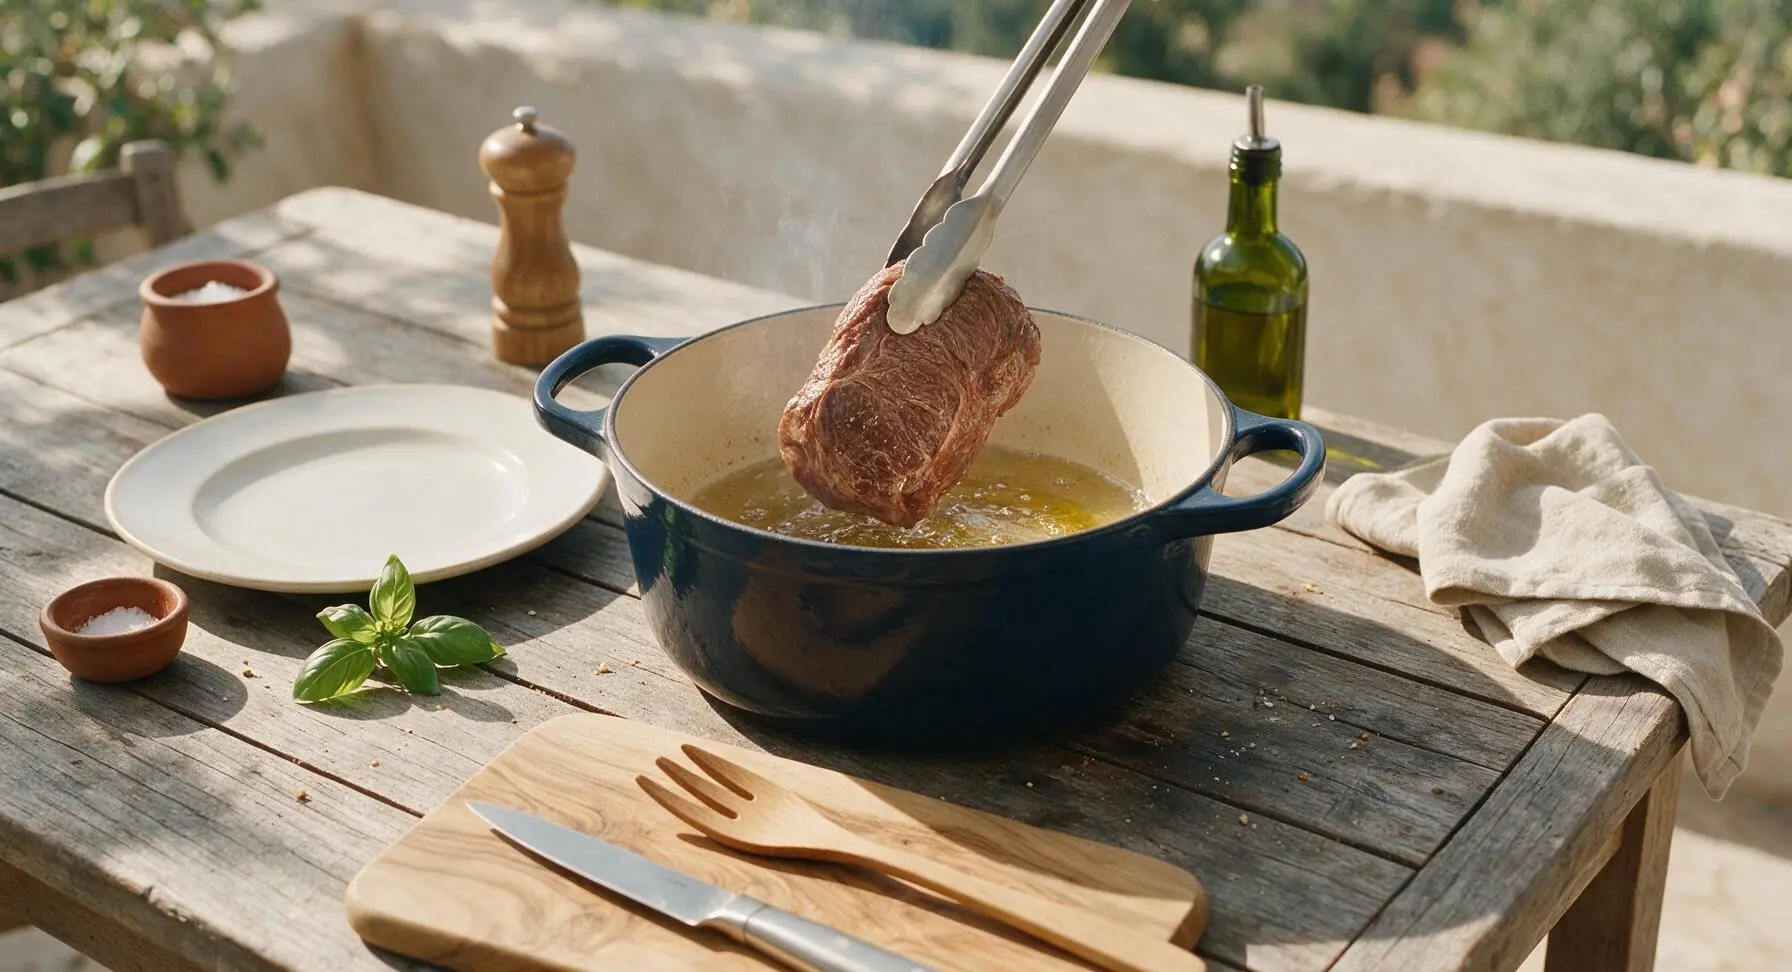
Sear the beef evenly
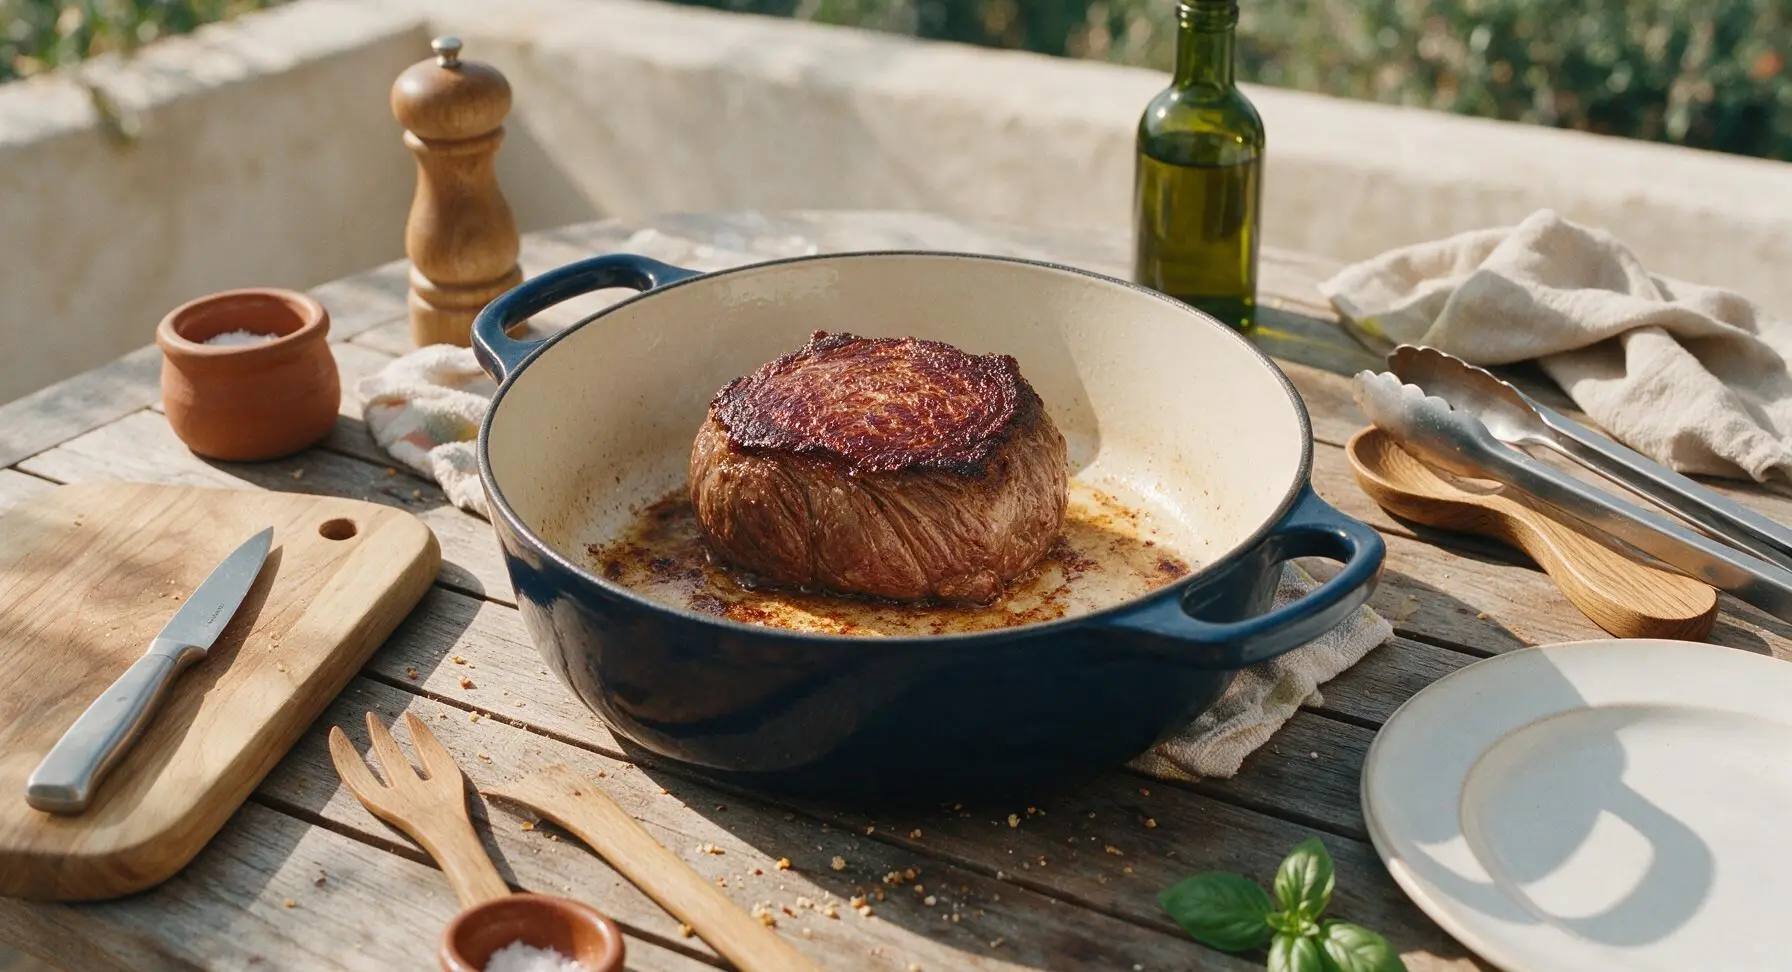
Heat 2 tablespoons neutral vegetable oil in the navy enameled Dutch oven over medium-high heat until the oil shimmers and just begins to smoke. Carefully place the seasoned chuck roast in the hot oil using the stainless steel tongs. Sear for 3-4 minutes per side, including the narrow edges, until a deep, crispy golden-brown crust forms on every surface. Do not move the roast during each searing interval to allow the crust to develop properly; the crust will be a deep mahogany brown, not pale gray, when ready.
Sauté the aromatics
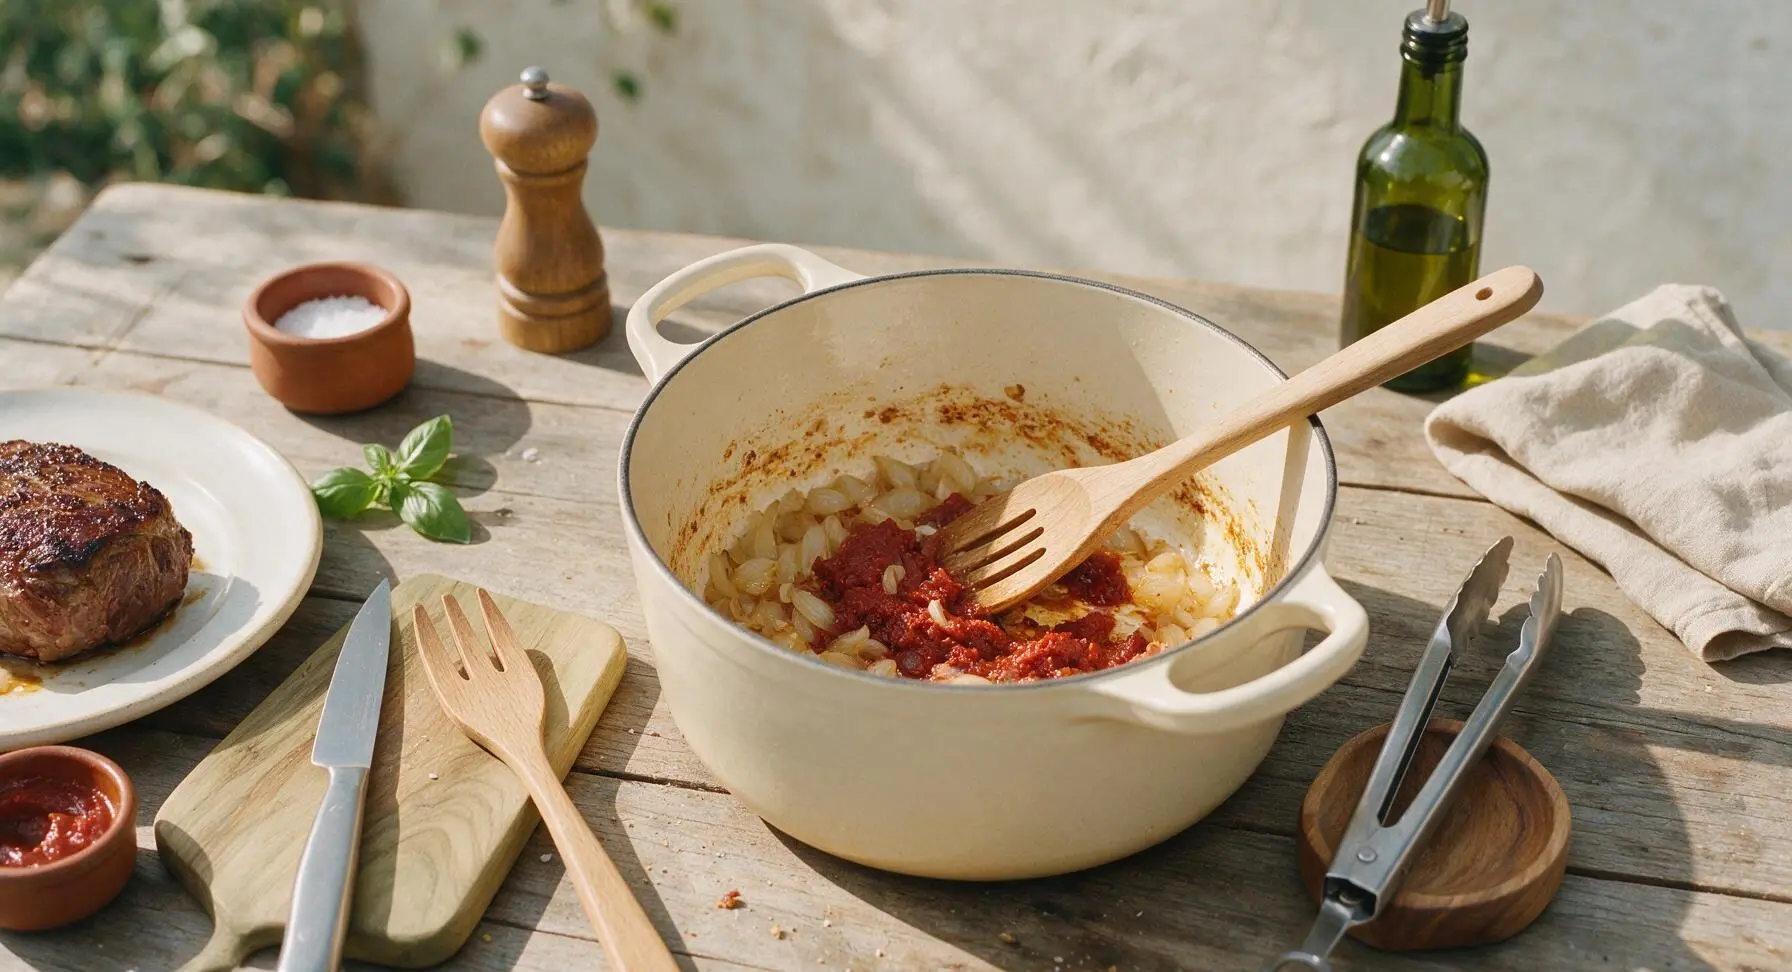
Use the tongs to transfer the seared roast to a clean plate temporarily. Lower the heat to medium, add the quartered yellow onions and crushed garlic to the Dutch oven, stirring with the maple slotted spoon to coat them in the rendered beef fat. Cook for 5 minutes until the onions are soft and translucent at the edges, then stir in 2 tablespoons tomato paste, cooking for 1 more minute until the paste darkens to a deep rust red and smells fragrant. Scrape up any browned fond bits from the pan bottom as you stir to incorporate them into the base.
Braise the roast slowly
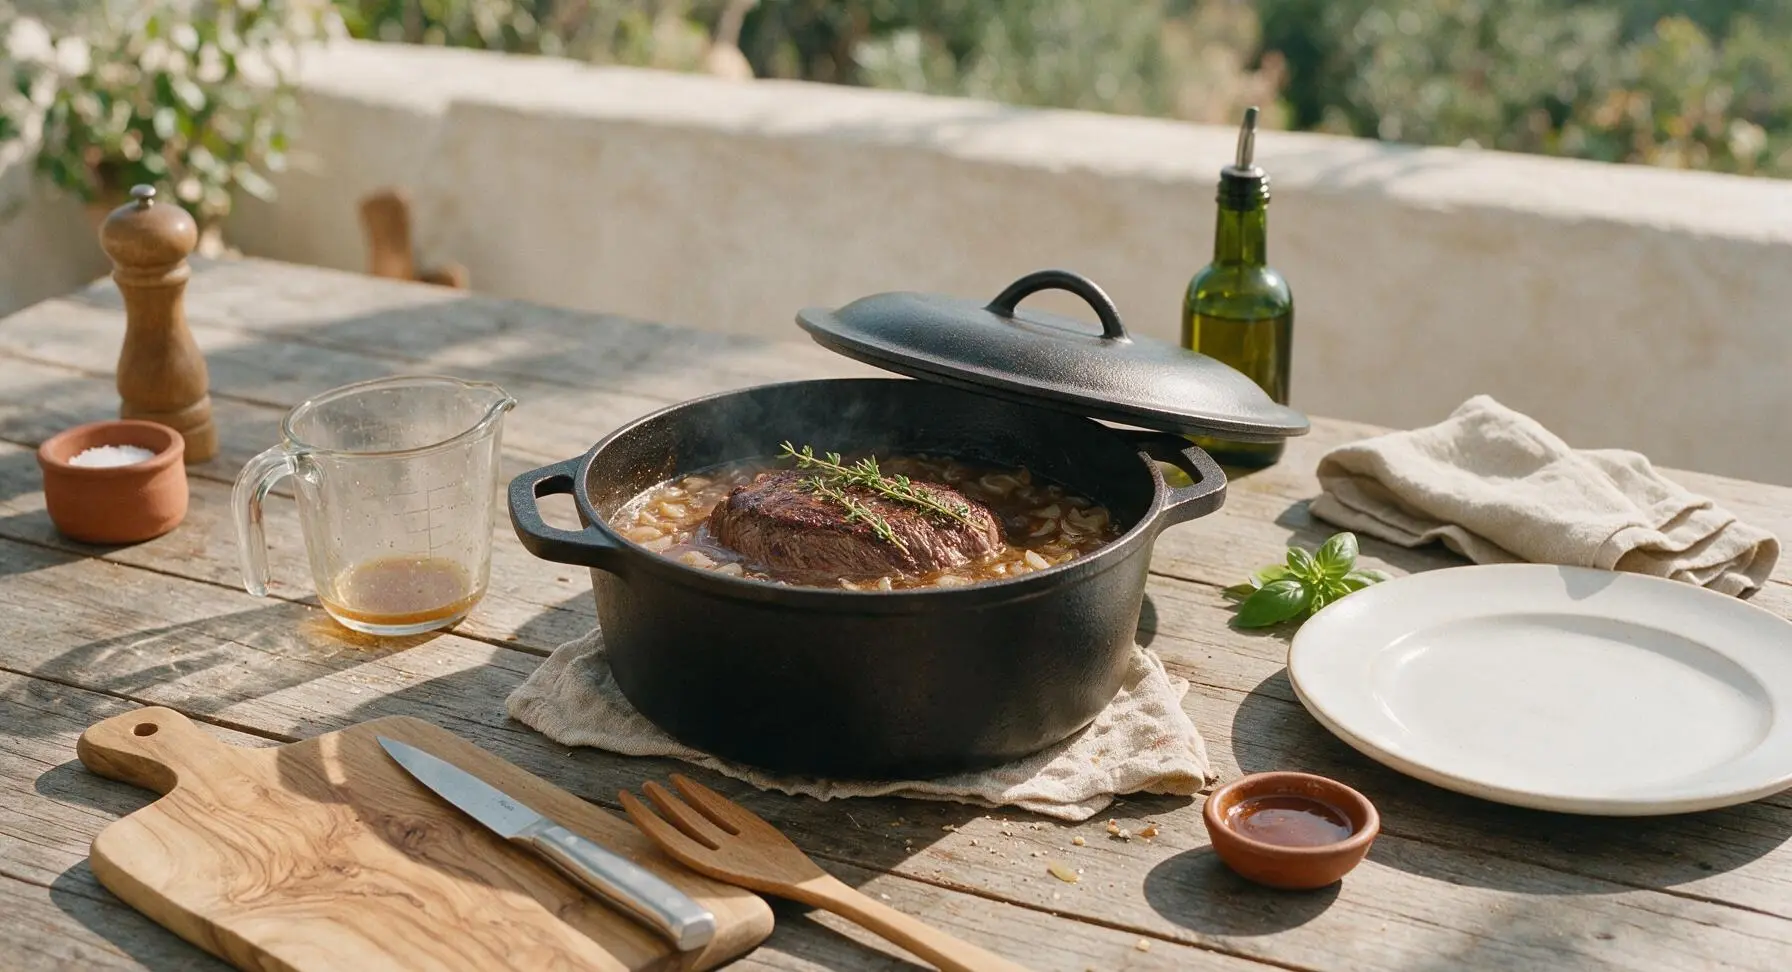
Pour 2 cups low-sodium beef broth and 2 tablespoons Worcestershire sauce into the Dutch oven, stirring to combine with the aromatic base. Return the seared roast to the pot, add 2 sprigs of fresh thyme, and bring the liquid to a gentle simmer. Cover the Dutch oven with its lid, then transfer to a preheated 325°F (160°C) oven. Cook for 2 hours, undisturbed; the liquid should bubble very gently, not boil rapidly, to keep the meat tender rather than tough.
Add root vegetables
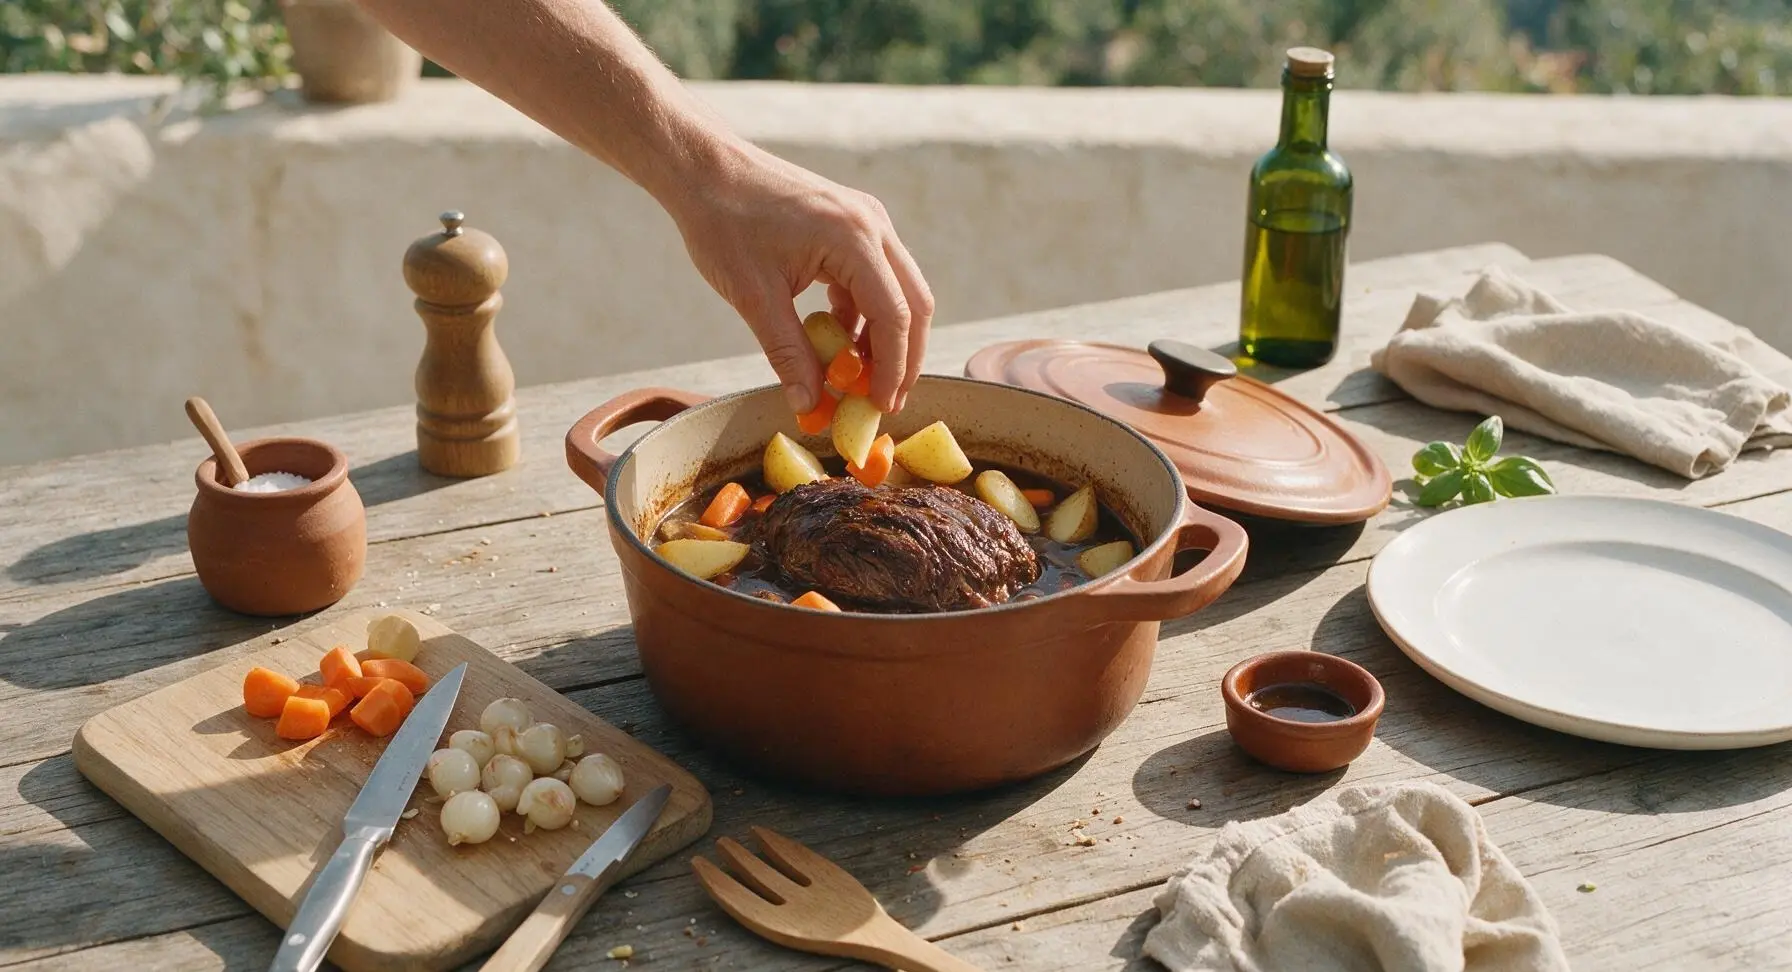
After 2 hours of braising, carefully remove the Dutch oven from the oven (use oven mitts, the handles will be very hot). Add the cut carrot chunks, potato wedges, and peeled pearl onions to the pot, tucking them down into the braising liquid around the roast. Sprinkle the vegetables with the remaining ½ teaspoon salt and ½ teaspoon black pepper. Cover the pot again, return to the 325°F oven, and cook for an additional 45 minutes, until the vegetables are fork-tender and the roast pulls apart easily when prodded with a fork.
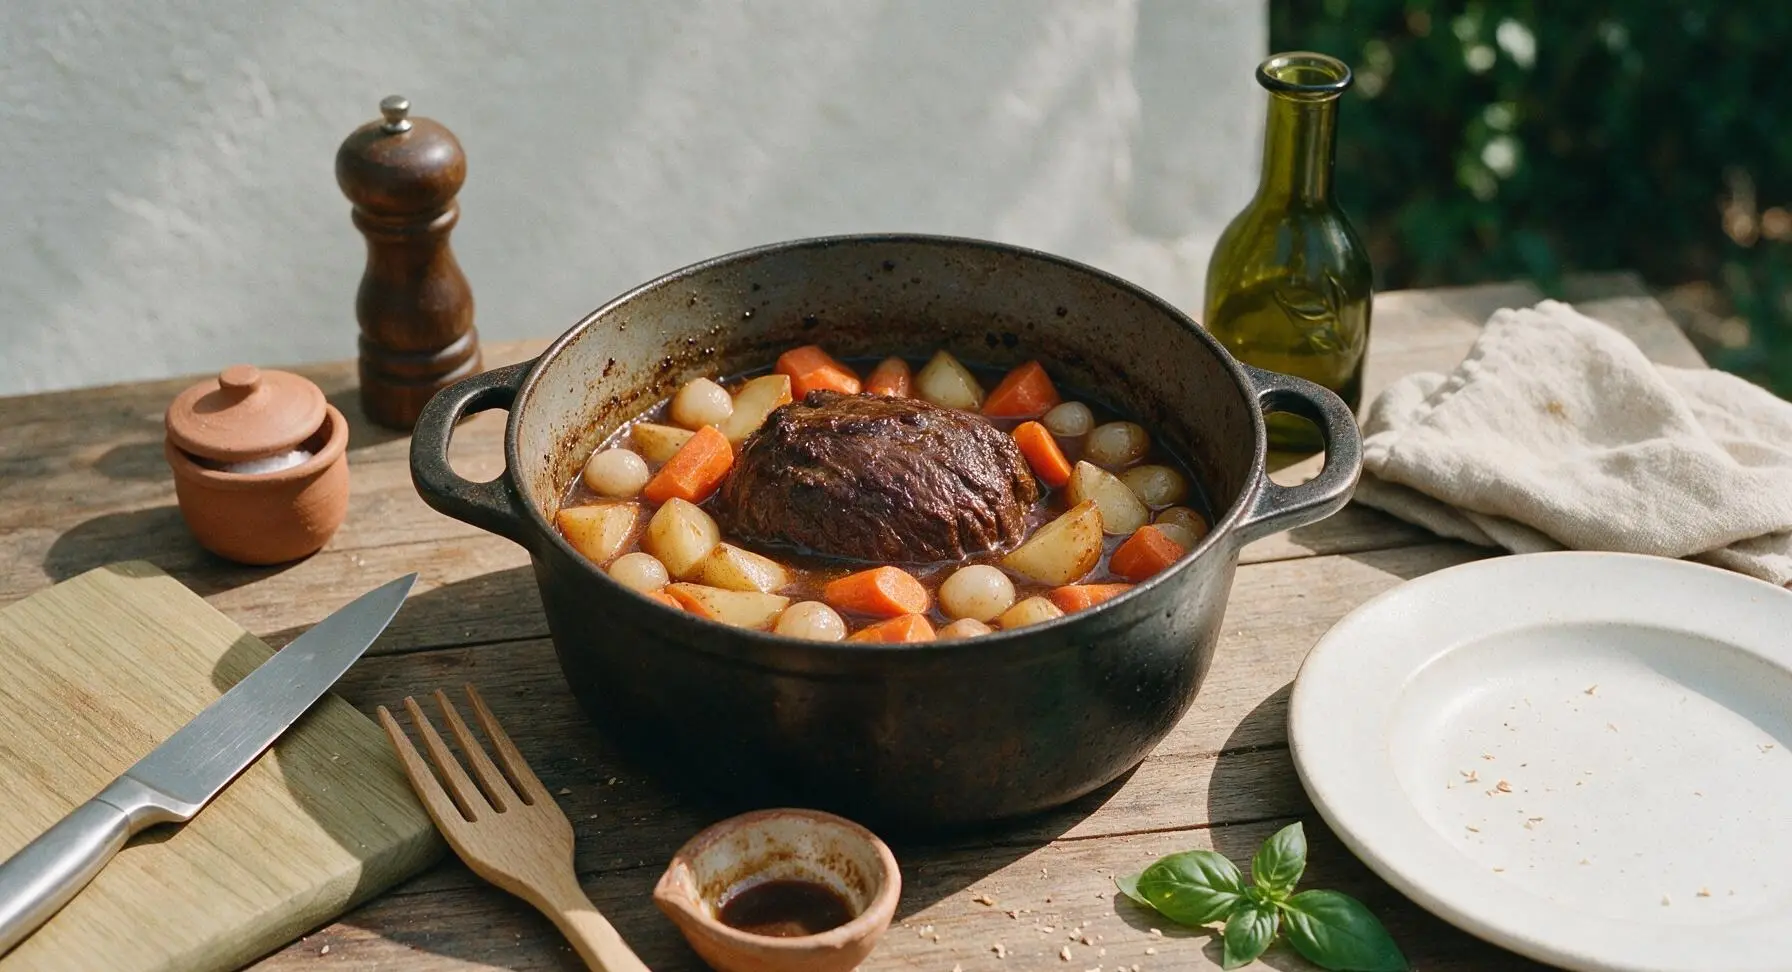
Rest cooked components
Once fully cooked, remove the Dutch oven from the oven. Use the tongs to carefully transfer the roast and vegetables to a clean cutting board, tent loosely with a sheet of aluminum foil, and let rest for 15 minutes. This allows the meat fibers to reabsorb juices so every slice is moist, rather than having all the juice run out when cut. Do not skip this rest period.
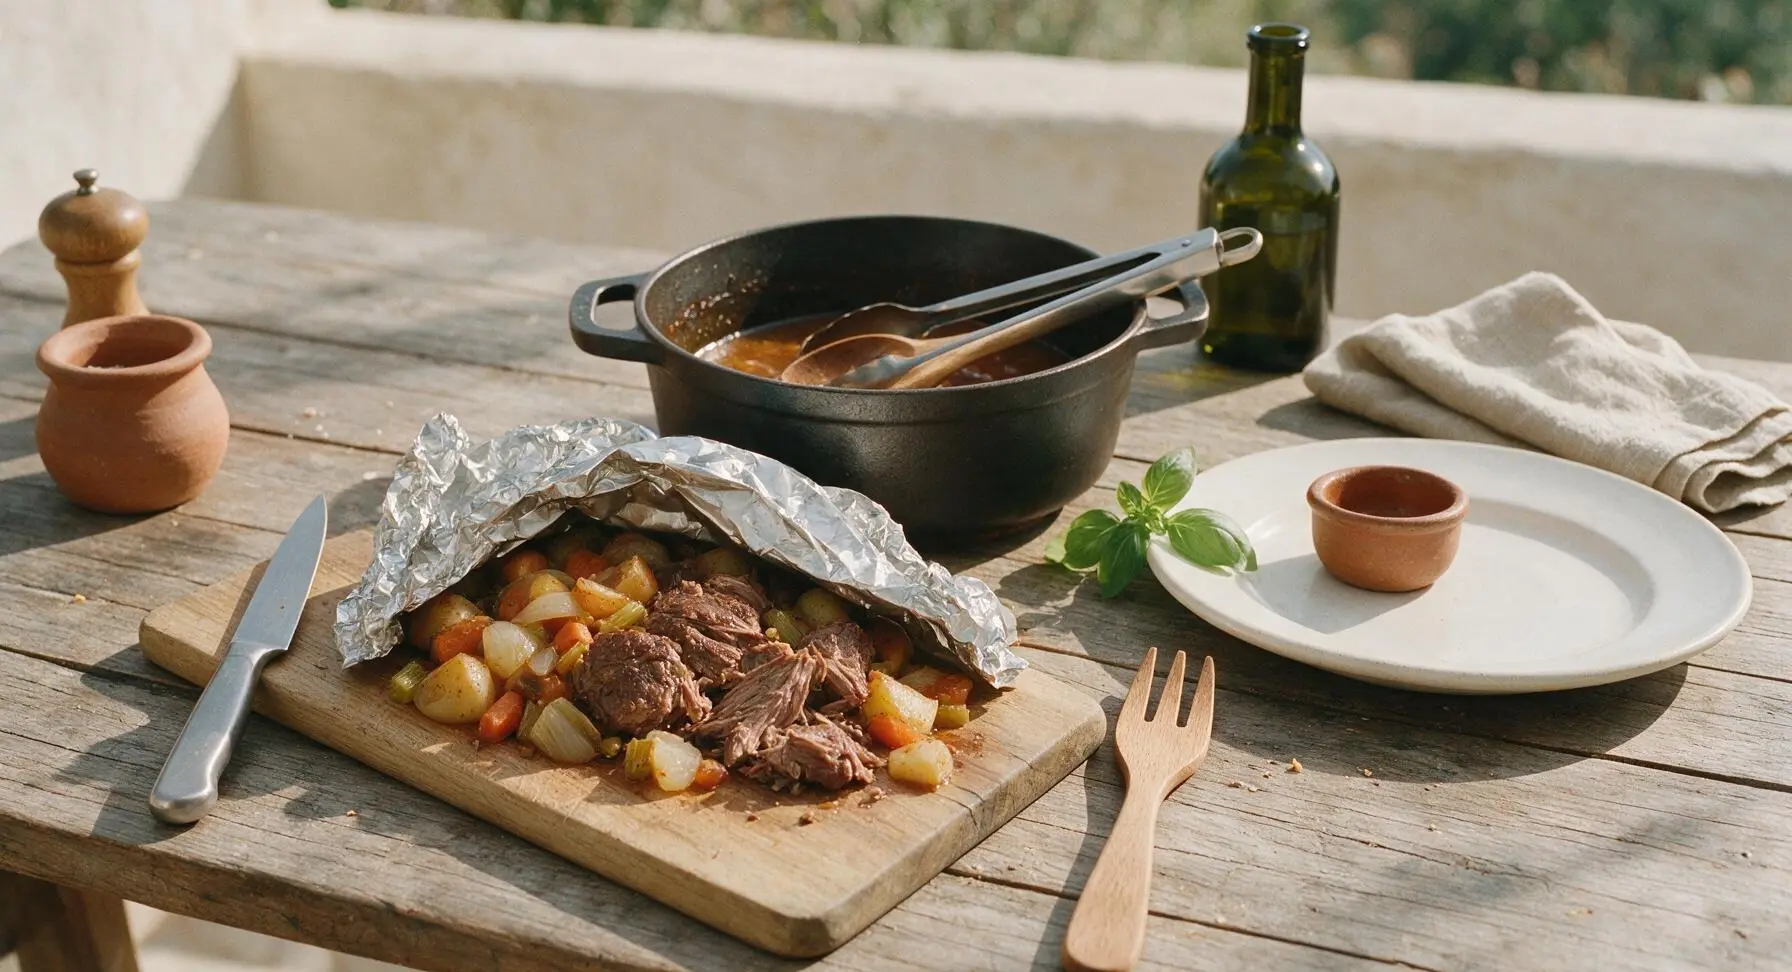
Make the pan gravy
Place the Dutch oven with remaining braising liquid on the stovetop over medium heat. If you prefer thicker gravy, whisk 2 tablespoons all-purpose flour into ¼ cup cold water to make a slurry, then stir slowly into the simmering liquid. Cook for 3-4 minutes, stirring with the wooden spoon, until the gravy thickens enough to coat the back of a spoon. Strain out any large onion or herb bits if desired, then taste and adjust salt and pepper as needed. Pour the finished gravy into the matching matte oatmeal stoneware gravy boat.
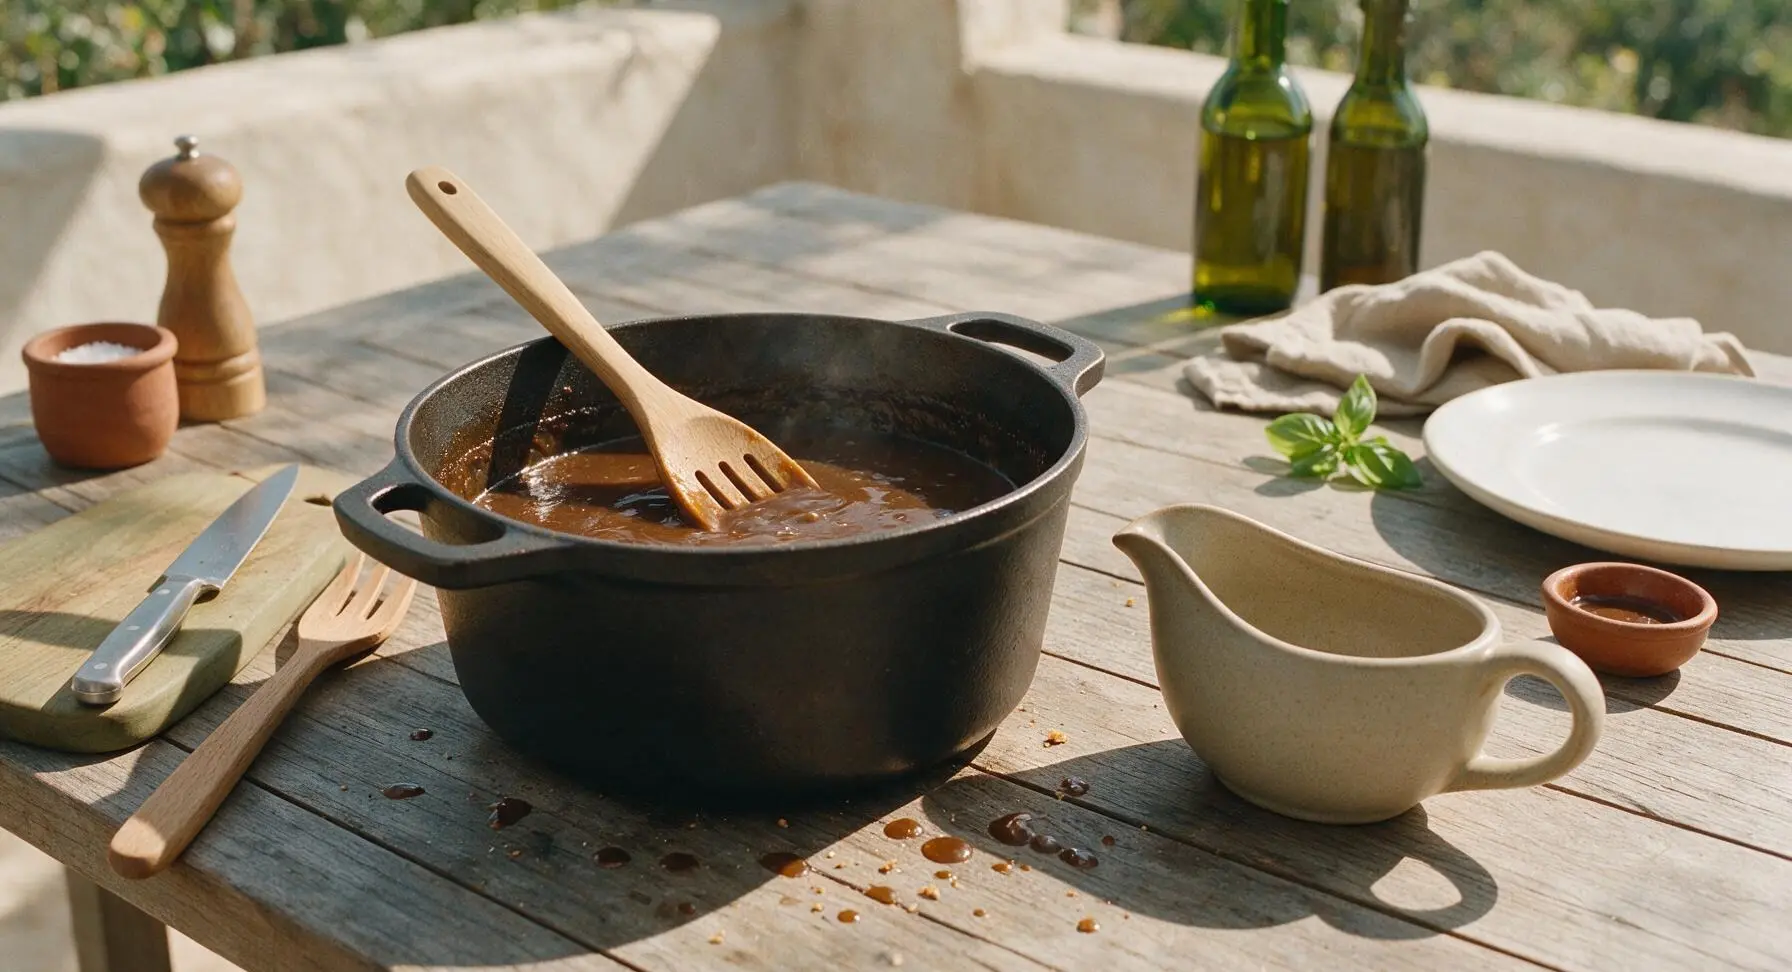
Slice and plate roast
After resting, slice the roast against the grain into ½-inch thick slices; the meat will give easily under the knife, with visible tender, juicy fibers. Arrange the sliced beef fanned on the matte oatmeal stoneware dinner plate, spoon the cooked vegetables around the beef, then drizzle a generous amount of hot pan gravy over the top. Garnish with leaves from the remaining 2 fresh thyme sprigs.
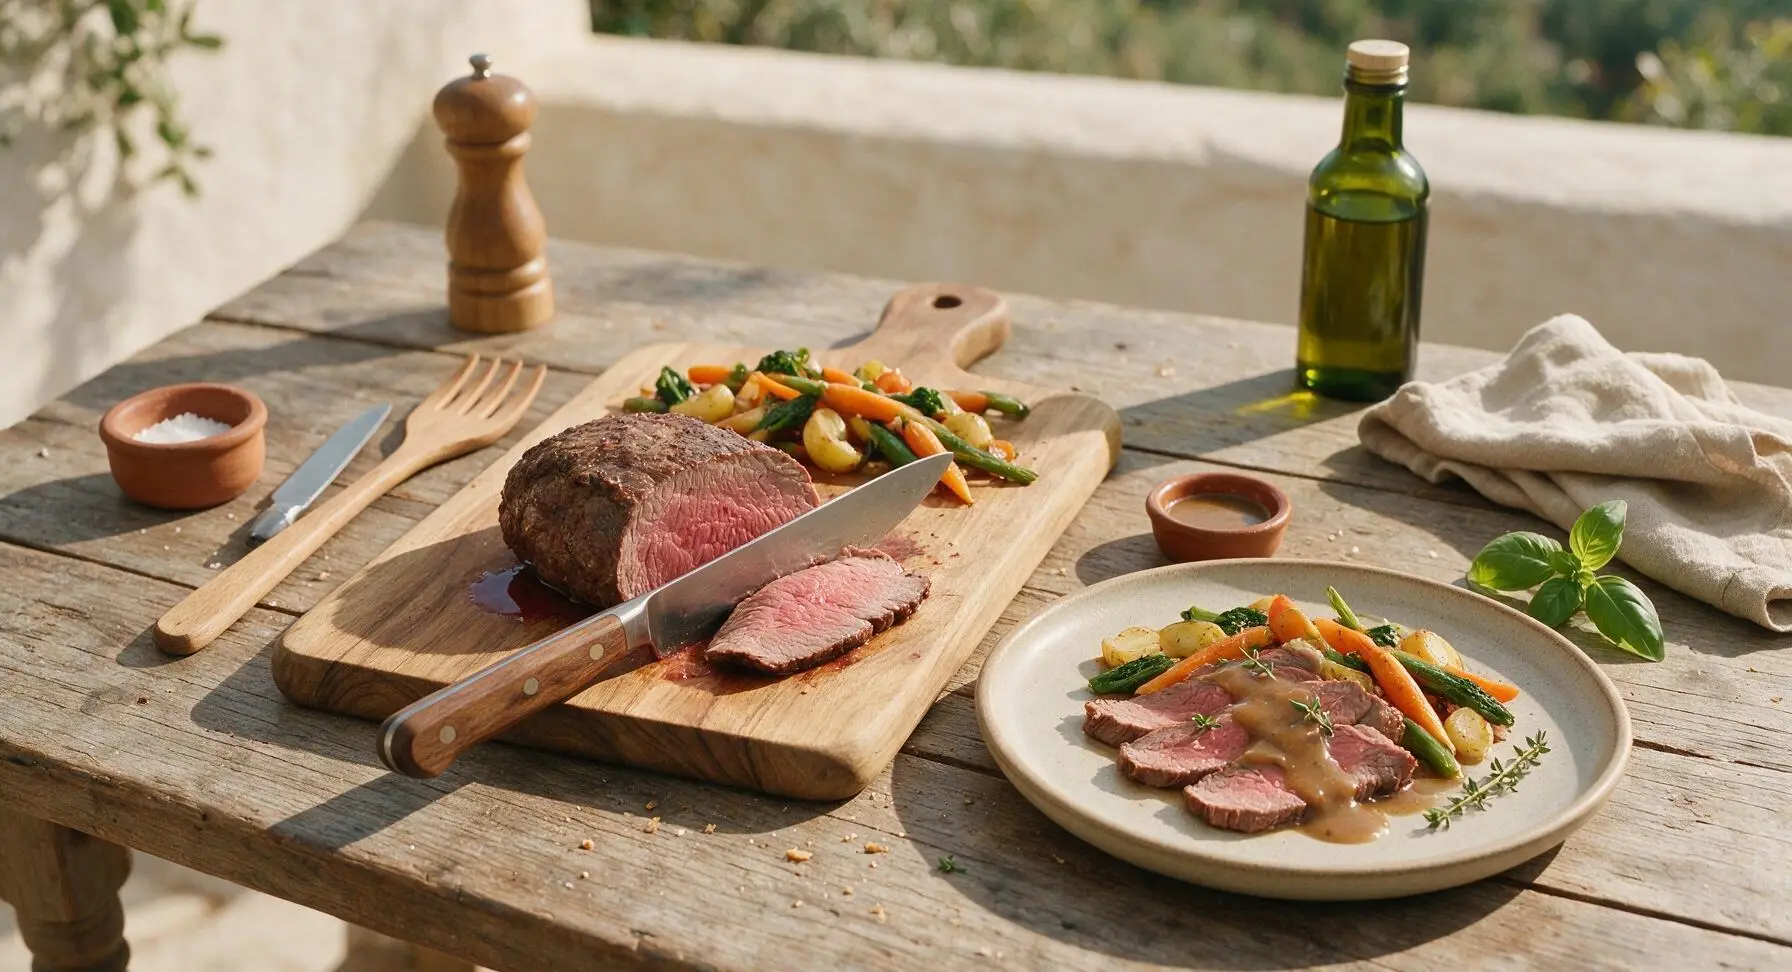
Tips
2.Keep the oven temperature at a steady 325°F (160°C) for braising: higher heat will make the liquid boil rapidly, turning the beef tough and stringy, while a gentle slow simmer breaks down connective tissue for pull-apart tender results.
3.Always slice the rested roast against the grain: cutting parallel to the long muscle fibers will leave each slice chewy, even if the meat is perfectly cooked, while slicing across the grain shortens fibers for a tender, easy-to-eat bite.






OMG this pot roast was the star of our Sunday family dinner! The meat was so fall-apart tender, and the carrots, potatoes, and onions soaked up all that rich, savory gravy perfectly. My picky 7-year-old asked for seconds, which never happens! Will absolutely be adding this to our monthly meal rotation. SO good.
Really solid recipe! I was a little intimidated by the 3 hour cook time and medium difficulty rating at first, but it was totally worth the effort. My only tiny tweak was adding a splash of red wine when deglazing the pan because I had a bottle open, and it kicked the rich, savory flavor up a notch. Perfect cold weather comfort food for our post-ski meal last weekend.
Brought this to our neighborhood block party potluck over the weekend and people were begging me for the recipe before they even finished their first bite! The gravy is insane, I could’ve eaten a whole bowl of it by itself. I used a chuck roast like the recipe recommended, and it came out perfectly juicy even after transporting it 20 minutes to the party. 10/10, will make again for every get-together this fall.
I meal prepped this on Sunday and ate it for lunches all week, and I swear it got better every single day. The meat was so tender I didn’t even need a knife to cut it by day three. My only mistake was not making a double batch, my roommate stole half of it on Tuesday! Total game changer for easy weeknight eating.
Overall good flavor, but I had a few issues with the cook time. My 3lb roast needed almost an extra 45 minutes in the oven to get to that fall-apart texture the recipe talks about, so I’d recommend checking the temp early and being flexible if you have a larger roast. The gravy base was excellent though, I’ll probably adjust the cook time and try again.
This tastes exactly like the Yankee pot roast my mom used to make when I was a kid growing up in New England! I haven’t had a version that hits that nostalgic, cozy flavor in years. I served it with buttermilk biscuits on the side to soak up all the extra gravy, and my grandkids ate every last bite. Thank you for such a perfect classic recipe!
I’m a total beginner in the kitchen and was super nervous to try a medium-difficulty recipe with a 3 hour cook time, but this turned out way better than I expected! I did burn the onions a little bit when searing the roast because I had the heat too high, oops, but even with that mistake it was still delicious. My roommate said it’s the best thing I’ve ever made.
Made this for our Sunday football watch party and it was a total hit! I set it up on the buffet line with little bowls of horseradish sour cream and crusty bread, and people went back for thirds. Way heartier than the usual chili and wings we make, and it fed a crowd for super cheap. Will be a regular in our tailgate rotation from now on.
Cut up all the veggies the night before to save time, and this came together so much faster than I thought it would for a 3 hour cook time! Most of that is hands-off oven time, so I was able to help my kid with homework and fold laundry while it cooked. The whole house smelled incredible for hours, and my kids loved it so much they asked if we can have it for their birthday dinner next month. SO cozy.