
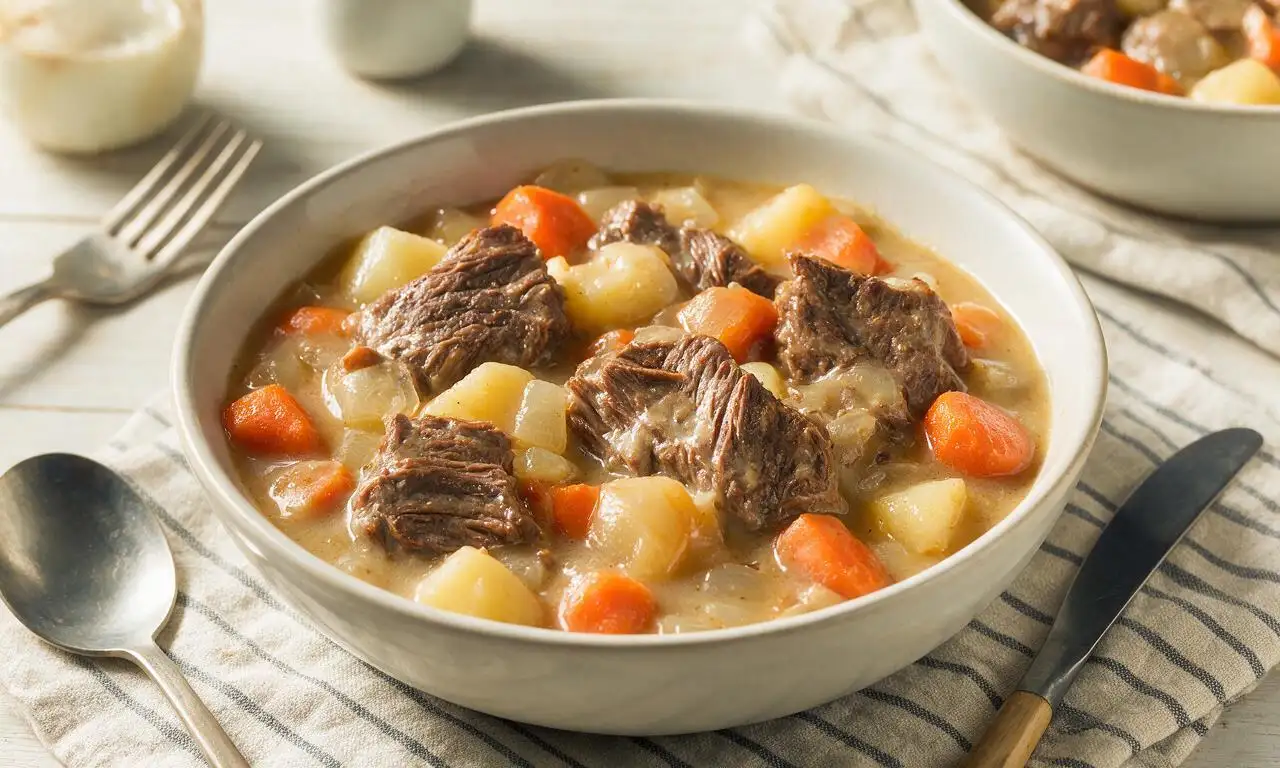
Yankee Pot Roast

title 1
Yankee Pot Roast
⏱️ cook time 3 hours 30 minutes
🍽️ servings 6
⚡ Difficulty medium

intro

Tender slow-braised beef chuck with root vegetables in rich savory broth, this iconic New England comfort food is made for cozy shared family meals.

Ingredients

Boneless beef chuck roast 1.5 kg (3.3 lb)
Kosher salt 1 tablespoon (15g)
Freshly ground black pepper 1 teaspoon (2g)
All-purpose flour 3 tablespoons (24g)
Extra-virgin olive oil 2 tablespoons (30ml)
Yellow onion 2 medium (300g, cut into 4cm wedges)
Carrots 4 medium (350g, cut into 5cm chunks)
Celery stalks 3 (200g, cut into 5cm chunks)
Garlic cloves 4 (20g, lightly crushed)
Tomato paste 2 tablespoons (32g)
Low-sodium beef broth 750 ml (3 cups)
Dry red wine (Cabernet Sauvignon) 120 ml (1/2 cup)
Worcestershire sauce 1 tablespoon (15ml)
Dried thyme 1 teaspoon (1g)
Bay leaves 2 whole
Yukon Gold potatoes 4 medium (600g, cut into 5cm chunks)
Frozen green peas 120g (1/2 cup)

Steps

1

Prep and season roast

Pat the 1.5kg boneless beef chuck roast completely dry with paper towels, then rub all surfaces evenly with 1 tablespoon kosher salt, 1 teaspoon freshly ground black pepper, and 3 tablespoons all-purpose flour, pressing the coating to adhere. Let the seasoned roast rest at room temperature for 20 minutes while you chop all vegetables to the specified sizes.
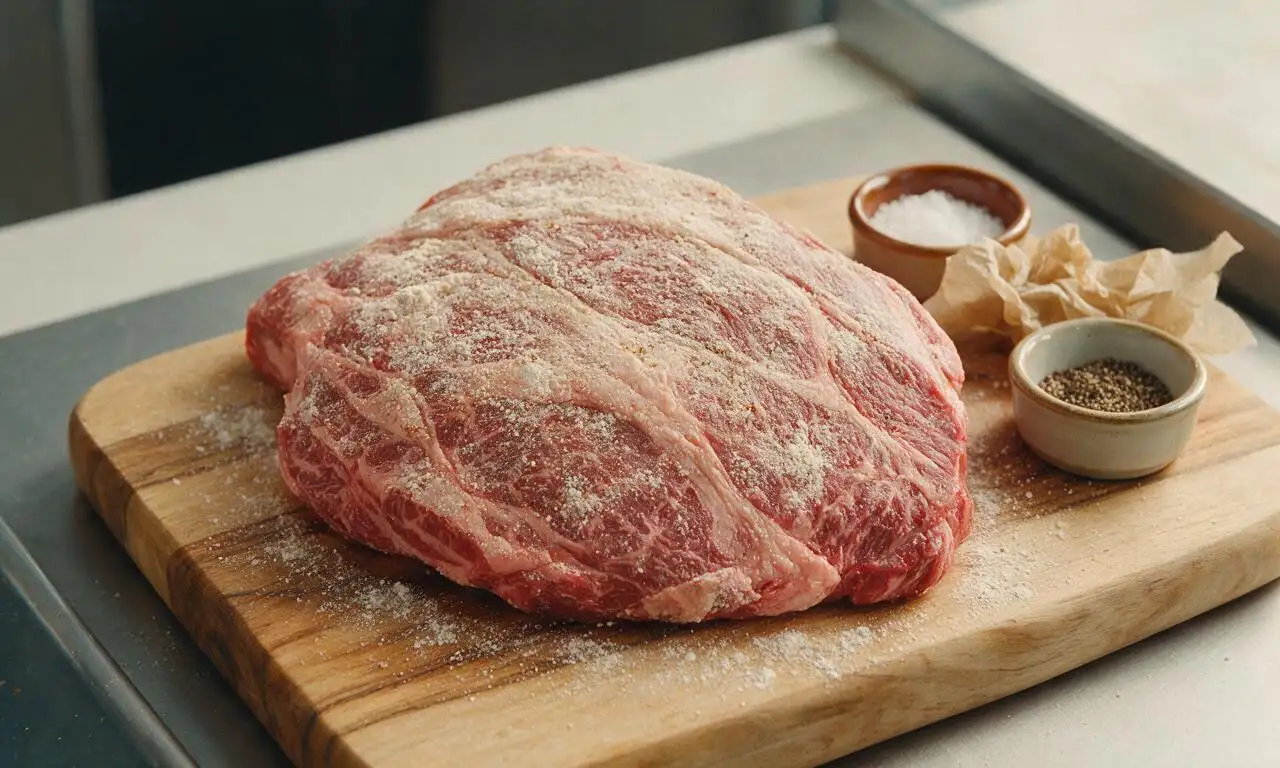
Step 1
step1:Prep and season roast
2

Sear the beef roast

Heat 2 tablespoons extra-virgin olive oil in a heavy 5.5L Dutch oven over medium-high heat until the oil shimmers (around 190°C/375°F). Place the floured roast in the pot and sear for 3-4 minutes per side, including all narrow edges, until a deep, crispy golden-brown crust forms across every surface (about 18 minutes total). Transfer the seared roast to a clean plate and set aside temporarily.
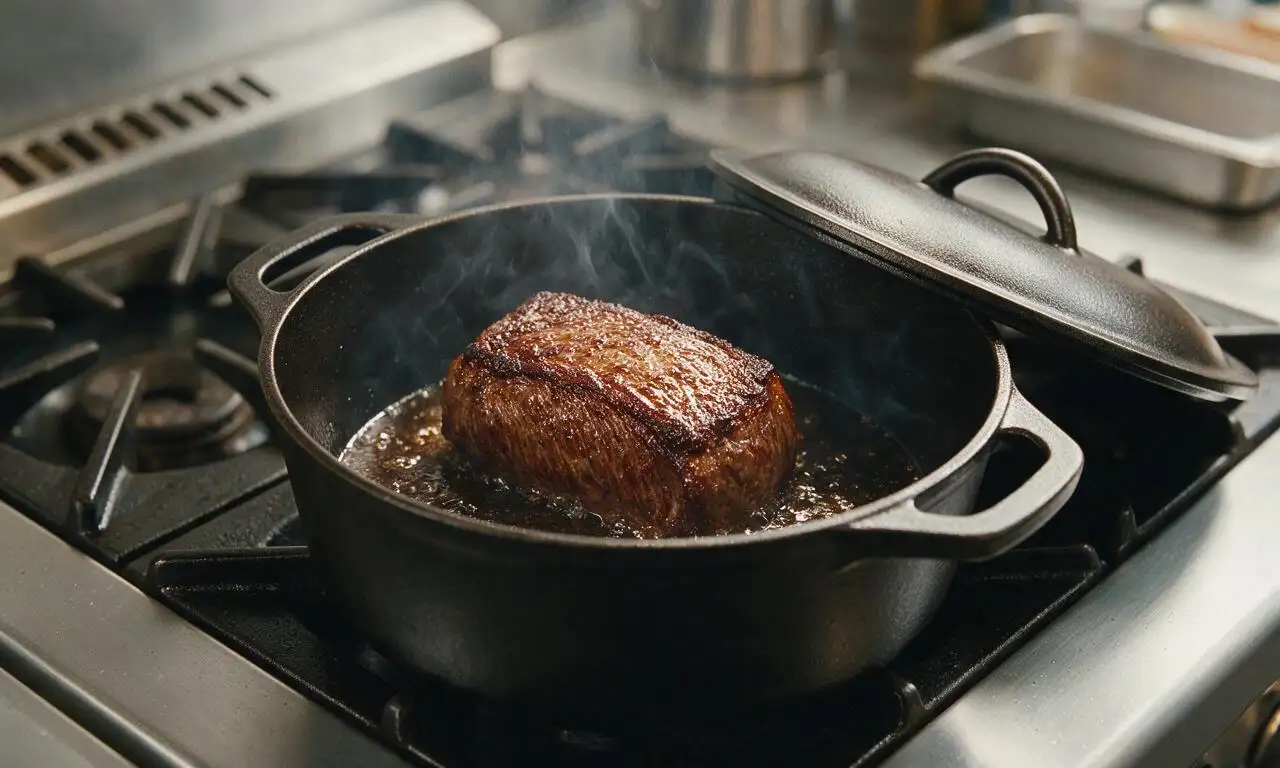
Step 2
step2:Sear the beef roast
3

Sauté aromatic vegetables

Reduce the stovetop heat to medium, leaving the rendered beef fat and oil in the Dutch oven. Add the cut onion wedges, carrot chunks, celery chunks, and crushed garlic, cooking for 6-7 minutes and stirring occasionally, until onions turn translucent and vegetable edges develop light golden browning. Stir in 2 tablespoons tomato paste and cook for 1 additional minute, until the paste darkens to a rusty red and releases a sweet, fragrant aroma.
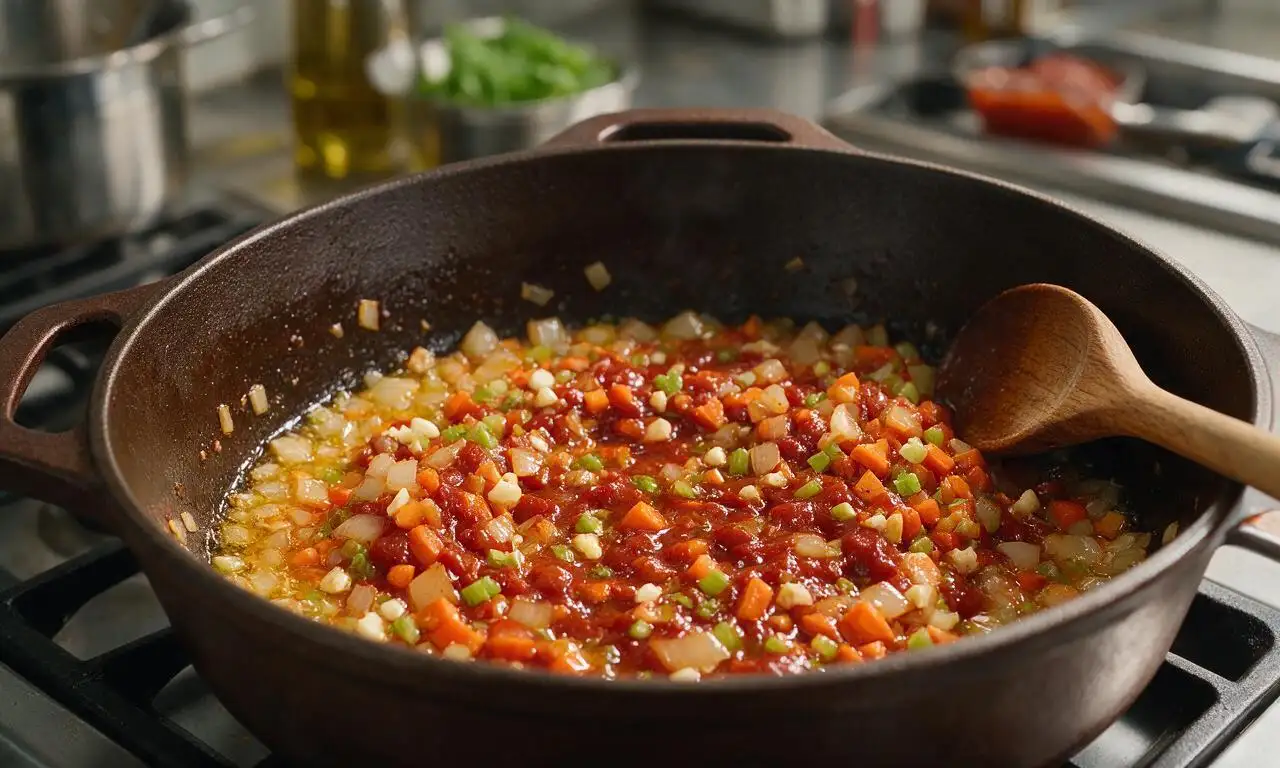
Step 3
step3:Sauté aromatic vegetables
4

Build braising liquid

Pour 120ml dry red wine into the pot, scraping the bottom firmly with a wooden spoon to lift all browned, flavorful fond bits stuck to the pot surface. Bring to a gentle simmer and cook for 3 minutes to reduce the wine by half. Add 750ml low-sodium beef broth, 1 tablespoon Worcestershire sauce, 1 teaspoon dried thyme, and 2 bay leaves, stirring to combine, then bring the mixture back to a low simmer.
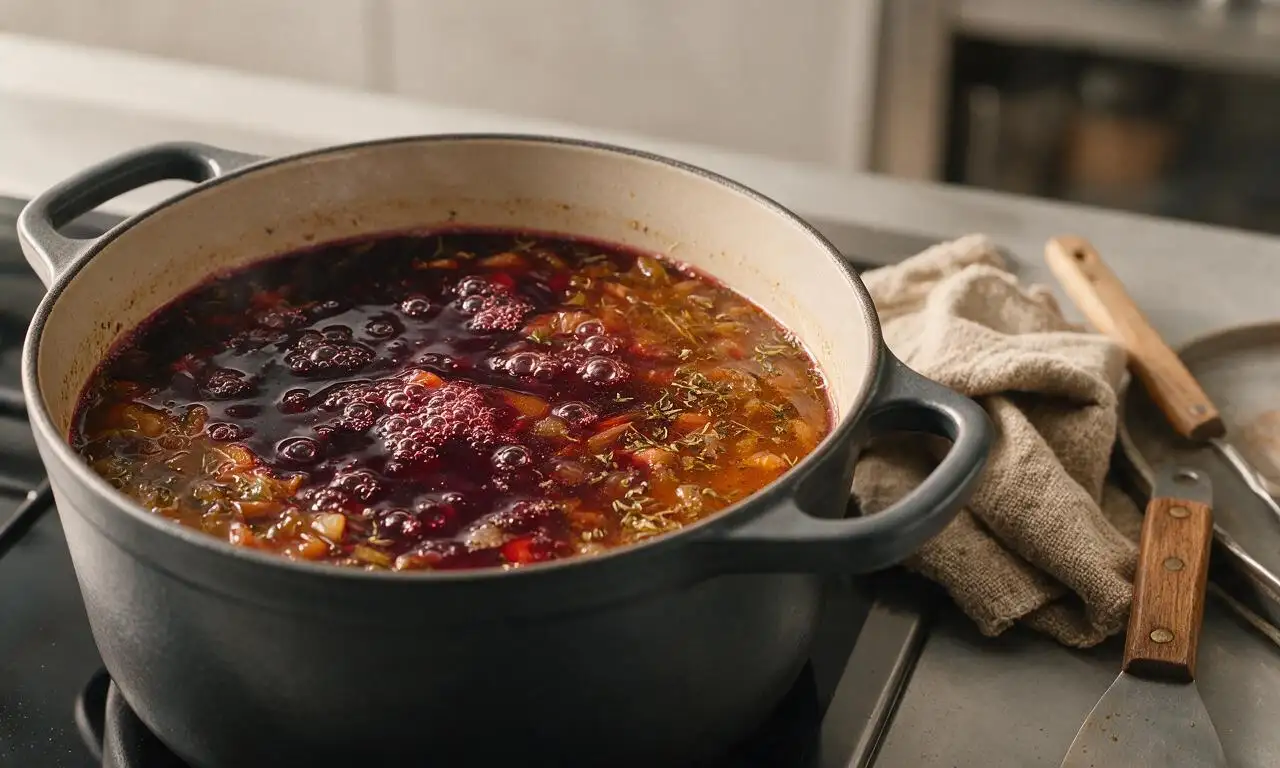
Step 4
step4:Build braising liquid
5

Slow braise the roast

Nestle the seared beef roast back into the Dutch oven, ensuring it is about two-thirds submerged in the braising liquid. Cover the pot with a tight-fitting lid, transfer to a preheated 160°C (325°F) oven, and cook for 1.5 hours. Carefully pull the pot out, add the 600g of cut Yukon Gold potato chunks, turning to coat them in broth, then replace the lid and cook for 1 additional hour, until the beef pulls apart easily with a fork and potatoes are tender.
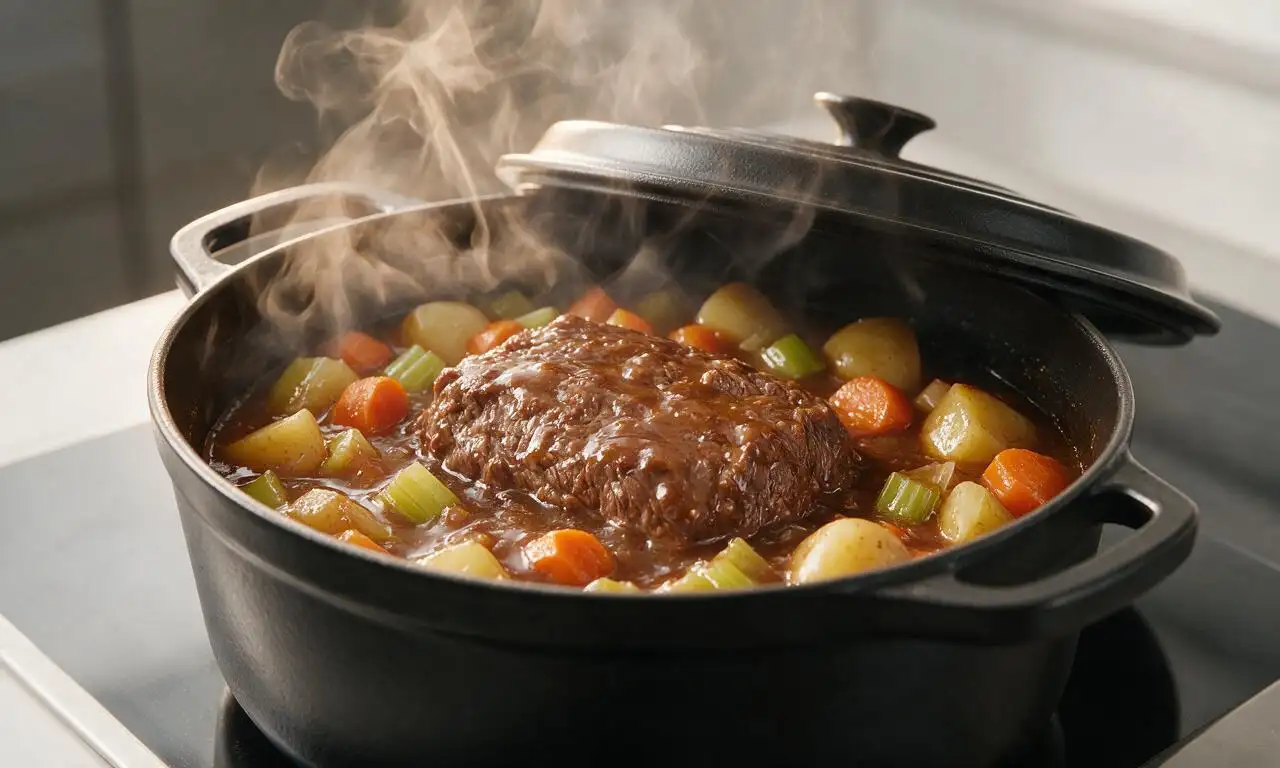
Step 5
step5:Slow braise the roast
6

Finish and rest dish

Remove the Dutch oven from the oven, transfer the roast to a cutting board and tent loosely with aluminum foil to rest for 15 minutes. Stir 120g frozen green peas into the hot broth and vegetable mixture, letting them warm through for 3 minutes, then fish out and discard the two bay leaves. Slice the rested roast against the grain into 2cm thick slices, and serve alongside vegetables with spoonfuls of braising broth poured over top.
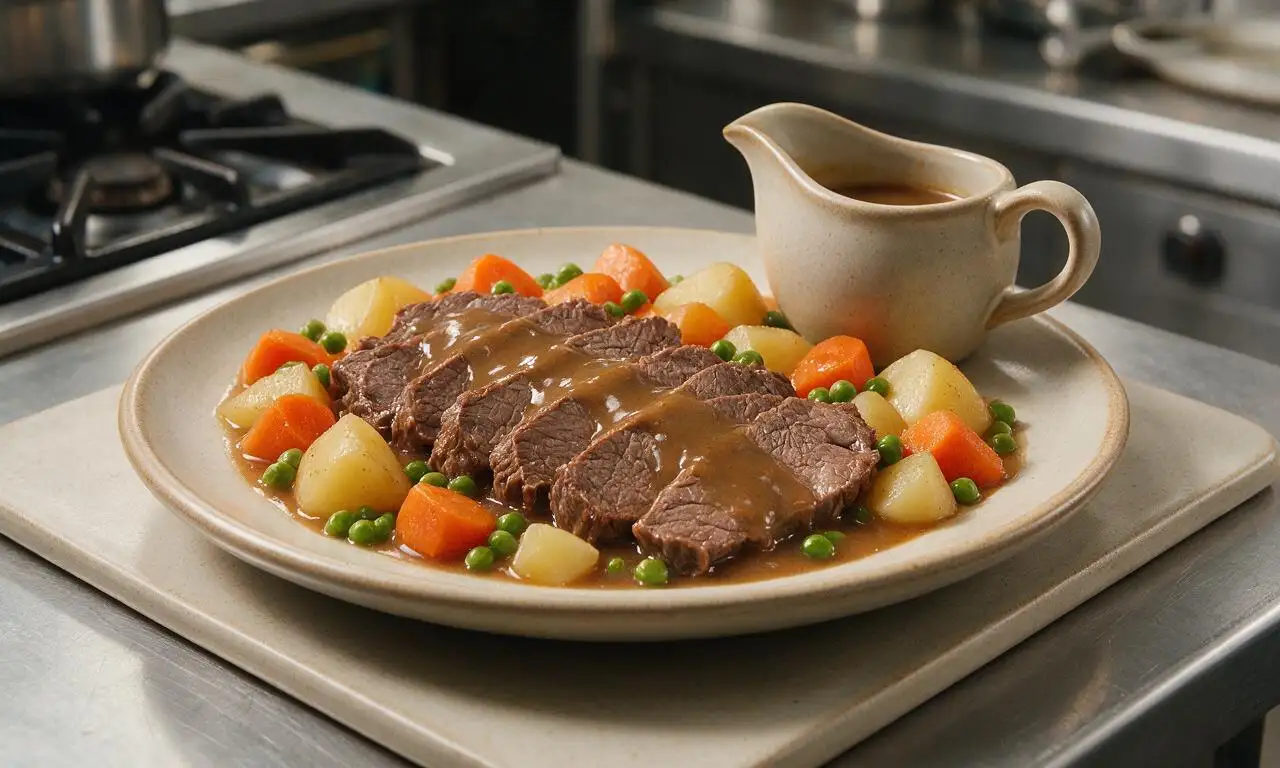
Step 6
step6:Finish and rest dish

Tips

1.Always pat the roast completely dry before seasoning and searing; excess surface moisture will steam the meat instead of creating the deep, flavor-packed crust that elevates the final dish.
2.Keep the oven temperature steady at 160°C (325°F) for braising—too high heat will make the beef tough and stringy, while too low will not break down the chuck’s connective tissue into tender, juicy meat.
3.Rest the roast for 15 minutes after braising before slicing; this allows the meat fibers to reabsorb juices, so every slice stays moist instead of leaking broth onto the cutting board.


✨ You May Also Like

Main Course
🍜 United Kingdom

A showstopping classic of tender seared beef, savory mushroom duxelles, and crisp prosciutto wrapped in flaky golden puff pastry, baked to juicy perfection.

⏱️ 2 hours 1Main Course ★ 4.7
Main Course
🍜 India

Tender charred marinated chicken simmered in a rich, spiced creamy tomato sauce, this iconic Anglo-Indian curry pairs perfectly with basmati rice or warm naan.

⏱️ 50 minuteMain Course ★ 4.6
Main Course
🍜 Thailand

Classic tangy, sweet, and savory Thai stir-fried rice noodles with shrimp, tofu, and crunchy garnishes, balancing all five core Thai flavor profiles.

⏱️ 30 minuteMain Course ★ 4.5
Main Course
🍜 United Kingdom

Crispy golden beer-battered cod and fluffy double-fried chips, served with tangy tartar sauce and malt vinegar: the timeless, beloved British pub comfort classic.

⏱️ 45 minuteMain Course ★ 4.7
Main Course
🍜 Mexico

Smoky, chile-marinated pork tacos with caramelized pineapple, fresh cilantro, and lime: a beloved classic Mexican street food perfect for casual summer gatherings.

⏱️ 1 hour 45Main Course ★ 4.8
Main Course
🍜 United States

Crunchy Fritos corn chips layered with savory beef chili and melted cheddar, topped with cool, zesty fixings for a beloved, cozy Tex-Mex comfort food.

⏱️ 35 minuteMain Course ★ 4.8

Yankee Pot Roast:Frequently Asked Questions

1.Why is boneless beef chuck roast recommended for this recipe instead of leaner beef cuts? ▾
That’s all about marbling and connective tissue! Lean cuts like sirloin or round turn tough and dry during long, slow braising, but chuck has evenly distributed fat and collagen that melts as it cooks, creating that signature fall-apart tender texture and deep, savory, beefy flavor that makes classic Yankee pot roast so cozy.
2.Do I really need to sear the roast before slow braising it? ▾
Absolutely—don’t skip this step! Searing the seasoned, flour-dusted roast in hot extra-virgin olive oil over medium-high heat builds a caramelized crust via the Maillard reaction, adding layers of rich, nutty, savory depth to both the beef and braising broth you can’t get from low-and-slow cooking alone.
3.What happens if I skip dredging the roast in all-purpose flour before searing? ▾
You can skip it, but you’ll miss two key benefits! The light flour coating helps kosher salt and freshly ground black pepper stick evenly to the roast, creates a crispier, more flavorful sear, and gently thickens the braising broth as it cooks, leaving you with velvety, rich gravy without extra last-minute steps.
4.How do I tell when my pot roast is perfectly cooked, not under- or overdone? ▾
Don’t rely only on cook time! The roast is done when you can slide a meat fork into its thickest part with zero resistance, and it pulls apart easily when you twist the fork. For oven braising at 325°F, that’s usually 2.5–3 hours, but always test for tenderness first.
5.Why does this recipe specify kosher salt instead of regular table salt? ▾
Great question! Kosher salt has larger, flakier crystals that are easier to spread evenly across the roast for consistent seasoning, and it lacks the slightly metallic aftertaste from anti-caking agents in most table salt. If you only have table salt, use half the called-for amount to avoid over-salting.
6.Should I add my root vegetables to the pot at the very start of braising? ▾
Hold off for the first 1.5 hours of cooking! If you toss root veggies in at the start, they’ll turn mushy and overcooked long before the beef is tender. Adding them partway through lets them cook through perfectly, soaking up that savory broth without turning into soft, flavorless mush.

Comments (3)

2 days ago

OMG, this classic Yankee Pot Roast was the total star of our Sunday family dinner! I was a little nervous about committing to the 3.5 hour cook time but it was SO worth it — the meat was fall-apart tender, the carrots and potatoes soaked up every bit of that savory, rich gravy, and even my super picky 7 year old asked for seconds, no ketchup required! Total game changer for my weekly meal rotation, I already grabbed the ingredients to make it again for next month’s neighborhood potluck.

yesterday

Wait, did you use chuck roast like the recipe recommends? I tried a different cut last time I made pot roast and it came out so tough I could barely cut it with a steak knife, so I’m curious! Also, did you toss in any extra herbs? I’m thinking of adding a sprig of fresh rosemary when I make it this weekend.

2 hours ago

So thrilled your family loved the recipe, that makes our day! We definitely recommend sticking with chuck roast for that melt-in-your-mouth texture — all that marbling breaks down slow during the braise to keep it juicy and flavorful. Adding a sprig of fresh rosemary sounds like such a delicious tweak, be sure to let us know how it turns out if you try it!

1 week ago

Took a chance making this for weekly meal prep last week even though the cook time is pretty long, and wow — it reheats beautifully! I portioned it out with the veggies and gravy into 5 containers and it made the coziest, most satisfying work lunches all week, way better than my usual sad desk salad. My only small misstep was I didn’t sear the meat long enough to get that deep crispy crust, but that was 100% on me for rushing, not the recipe. Will absolutely be making this on repeat once fall weather fully sticks around.

5 days ago

We’re so happy this worked out for your meal prep — it’s one of our all-time favorite make-ahead meals, since the flavors actually get better as it sits! Great callout on the sear: next time, give it 3-4 minutes per side over high heat, no moving it around, and you’ll get that perfect golden crust that adds so much extra depth. Enjoy!

30 minutes ago

As someone who’s never made a pot roast before (full transparency: I burn toast at least half the time), I was so intimidated by the medium difficulty rating and 3+ hour cook time, but the steps were actually super straightforward and easy to follow! I did mess up a little and added too much beef broth at first, but it cooked down into the most amazing, rich gravy I’ve ever tasted. My roommate walked in while it was simmering and thought I ordered takeout from a fancy downtown steakhouse lmao. 10/10, zero notes, will be making this for my parents when they visit next month.



