
yeast waffle recipe overnight

title 1
yeast waffle recipe overnight
⏱️ cook time 20 minutes
🍽️ servings 4
⚡ Difficulty easy

intro

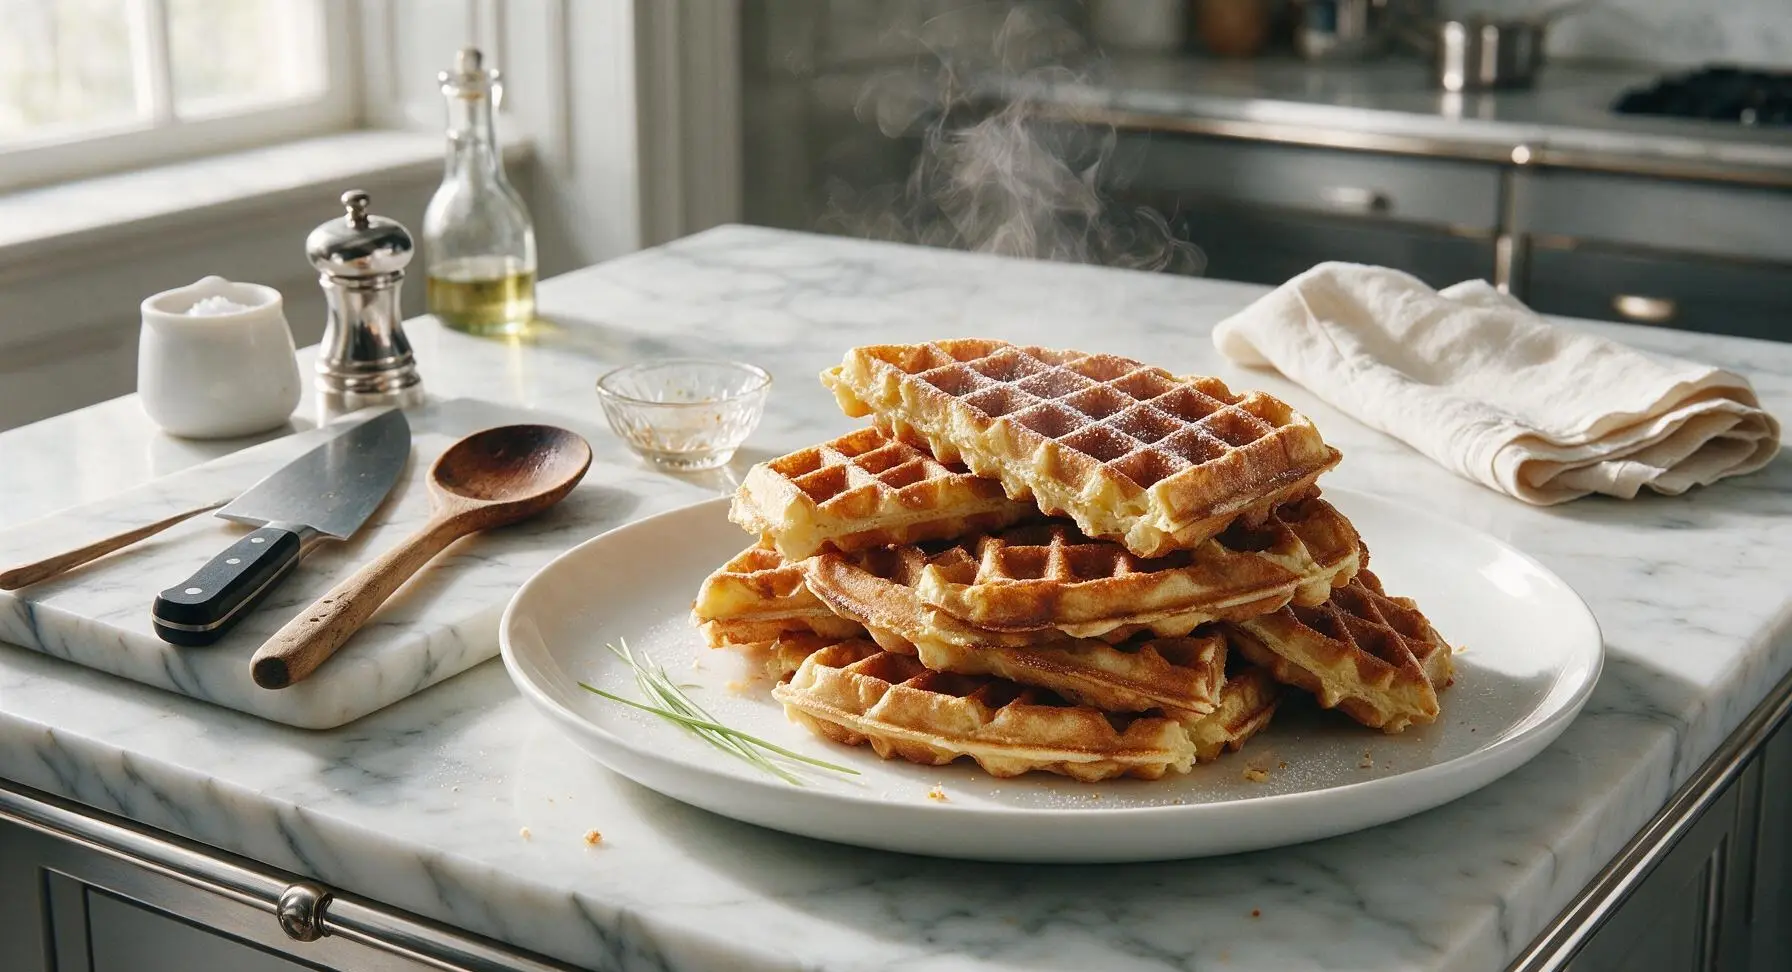
Light, shatteringly crisp overnight yeast waffles require zero rushed morning mixing. Prep batter the night before for restaurant-quality waffles perfect for lazy weekend breakfasts.

Ingredients
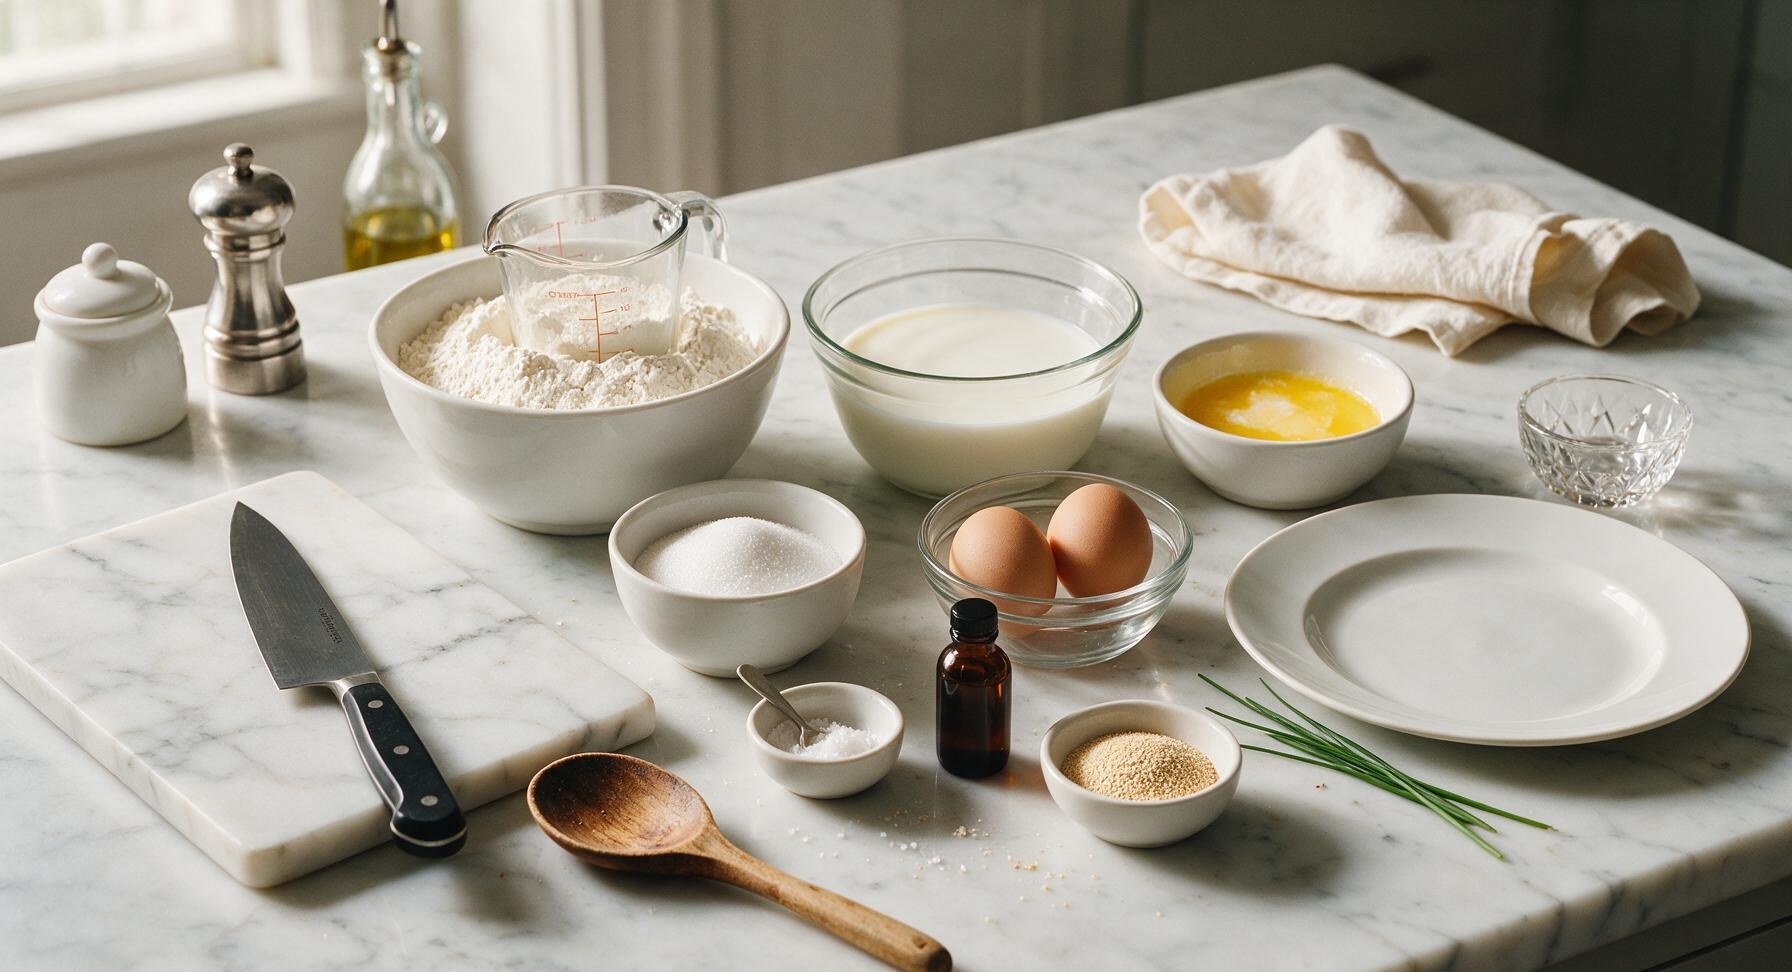
All-purpose flour 240g (2 cups)
Whole milk, lukewarm (110°F/43°C) 360ml (1.5 cups)
Unsalted butter, melted and cooled 57g (4 tbsp)
Large eggs, room temperature 2 each
Granulated sugar 25g (2 tbsp)
Fine sea salt 1 tsp
Pure vanilla extract 1 tsp
Active dry yeast 7g (1 1/4 tsp, 1 standard packet)

Steps

1

Whisk Dry Ingredients

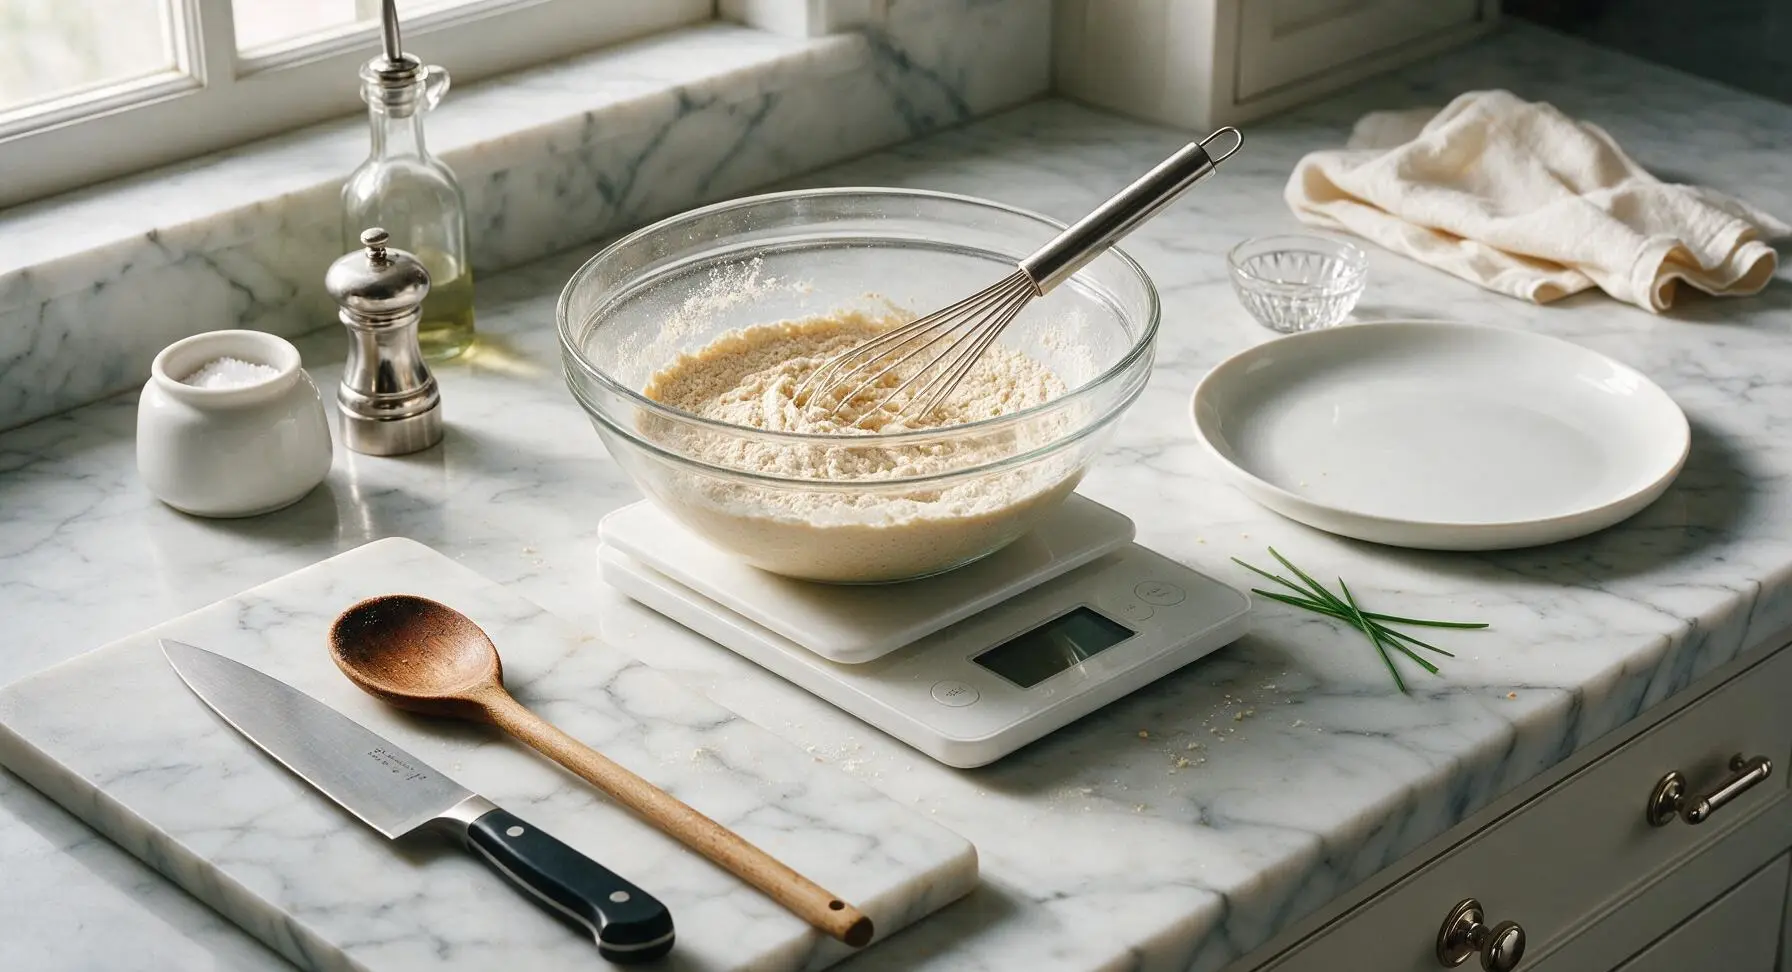
Set the large clear glass mixing bowl on the matte white digital scale, tare the scale to zero, and add 240g all-purpose flour, 25g granulated sugar, 1 tsp fine sea salt, and 7g active dry yeast. Use the stainless steel wire whisk to stir the dry ingredients for 30 seconds until fully combined, with no clumps of yeast or concentrated flour pockets visible at the bowl bottom.
Step 1
step1:Whisk Dry Ingredients
2

Mix In Wet Ingredients

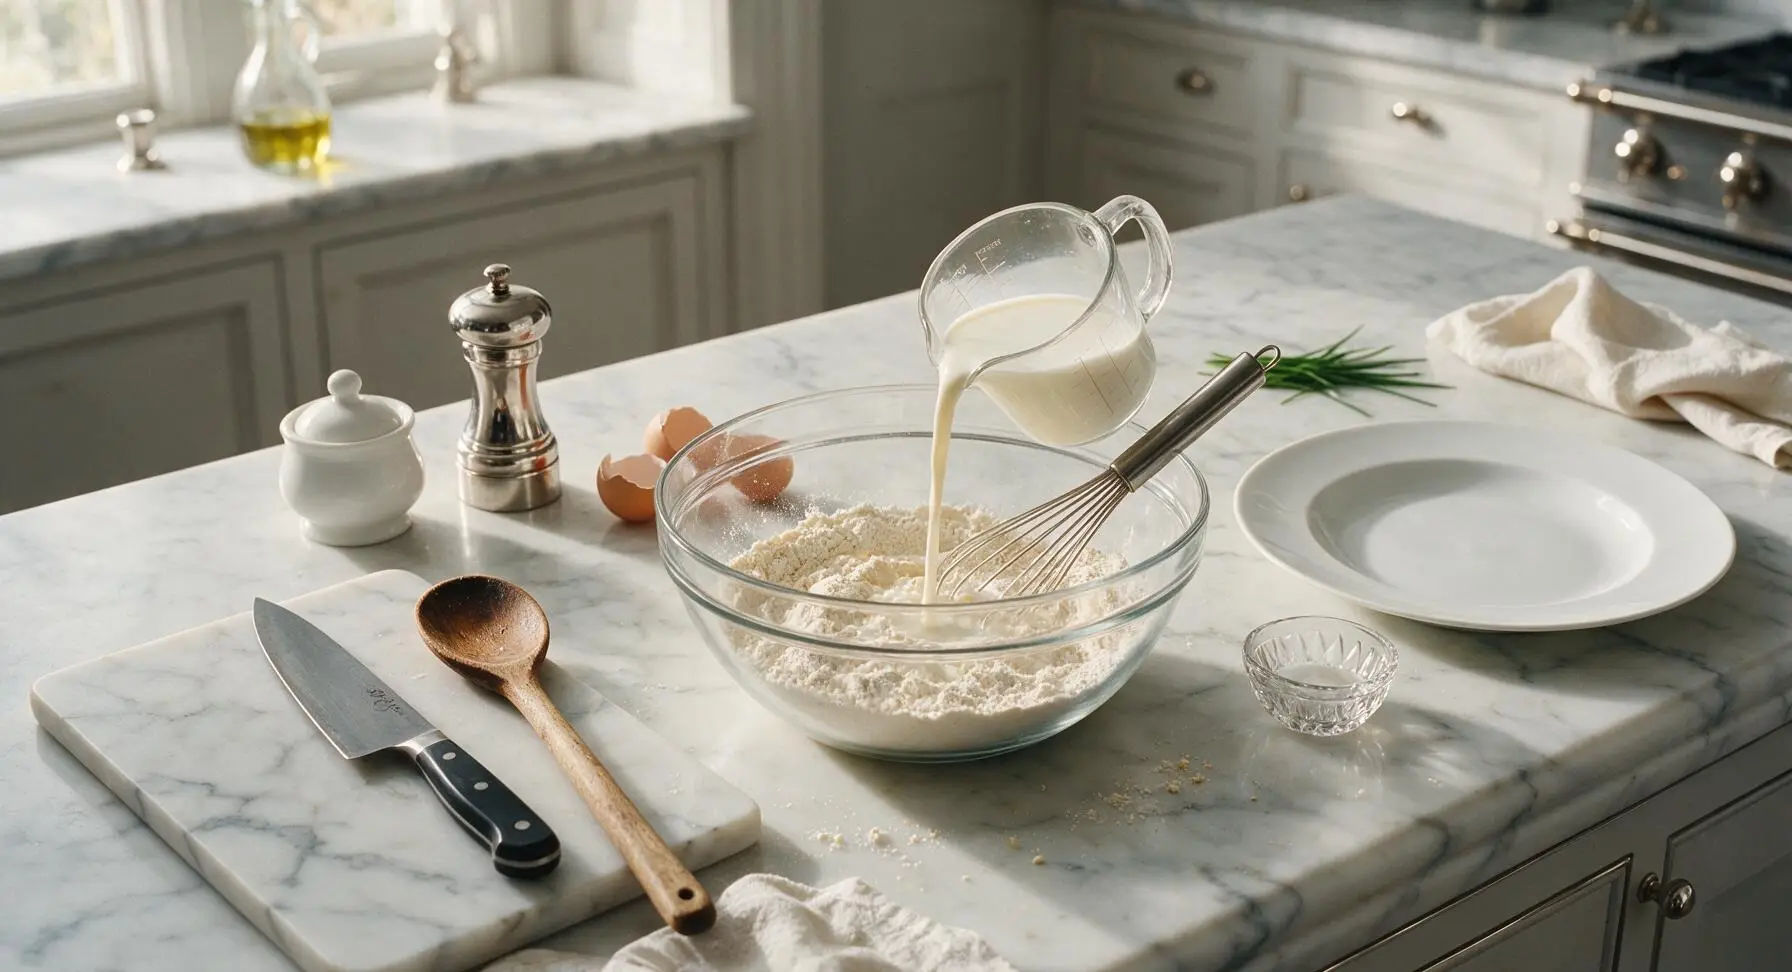
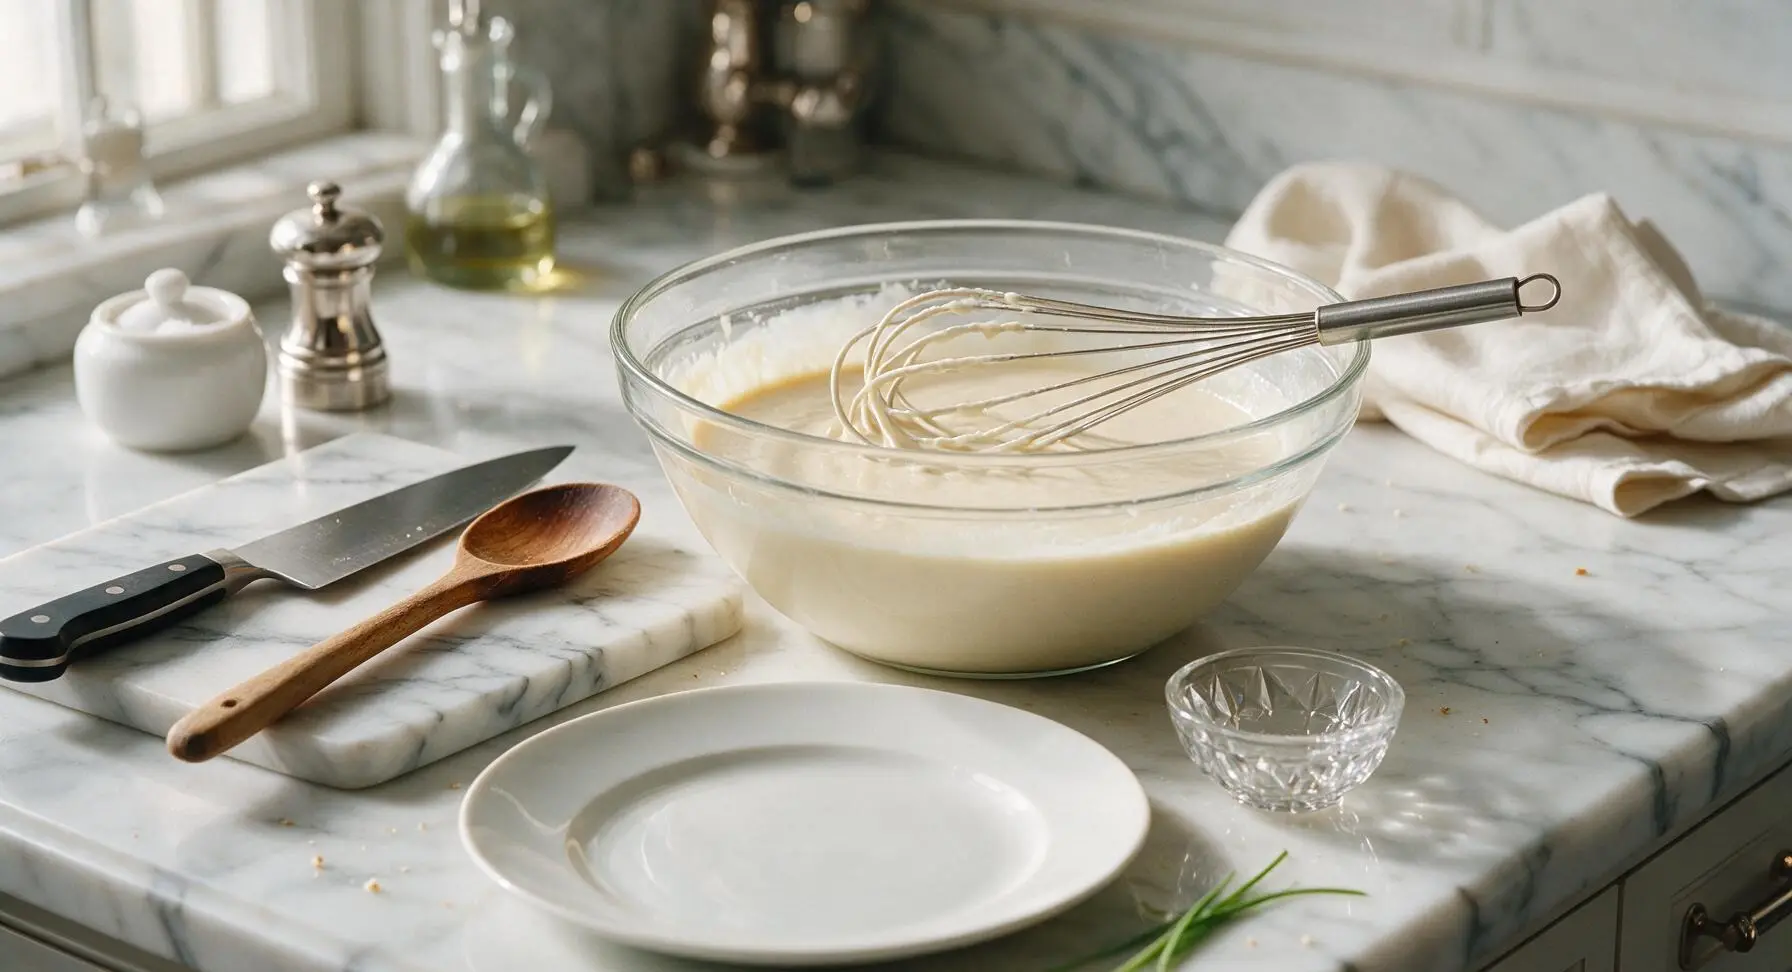
Slowly pour 360ml lukewarm whole milk (110°F/43°C, warm to the touch but not hot, to avoid killing yeast), 57g cooled melted butter, 2 lightly beaten room-temperature eggs, and 1 tsp vanilla extract into the dry ingredient mixture. Whisk continuously for 1 minute until the batter is completely smooth, with no remaining flour lumps. The finished batter will be thin, with a consistency similar to heavy cream.
Step 2
step2:Mix In Wet Ingredients
Step 2
step2:Mix In Wet Ingredients
3

Chill Batter Overnight

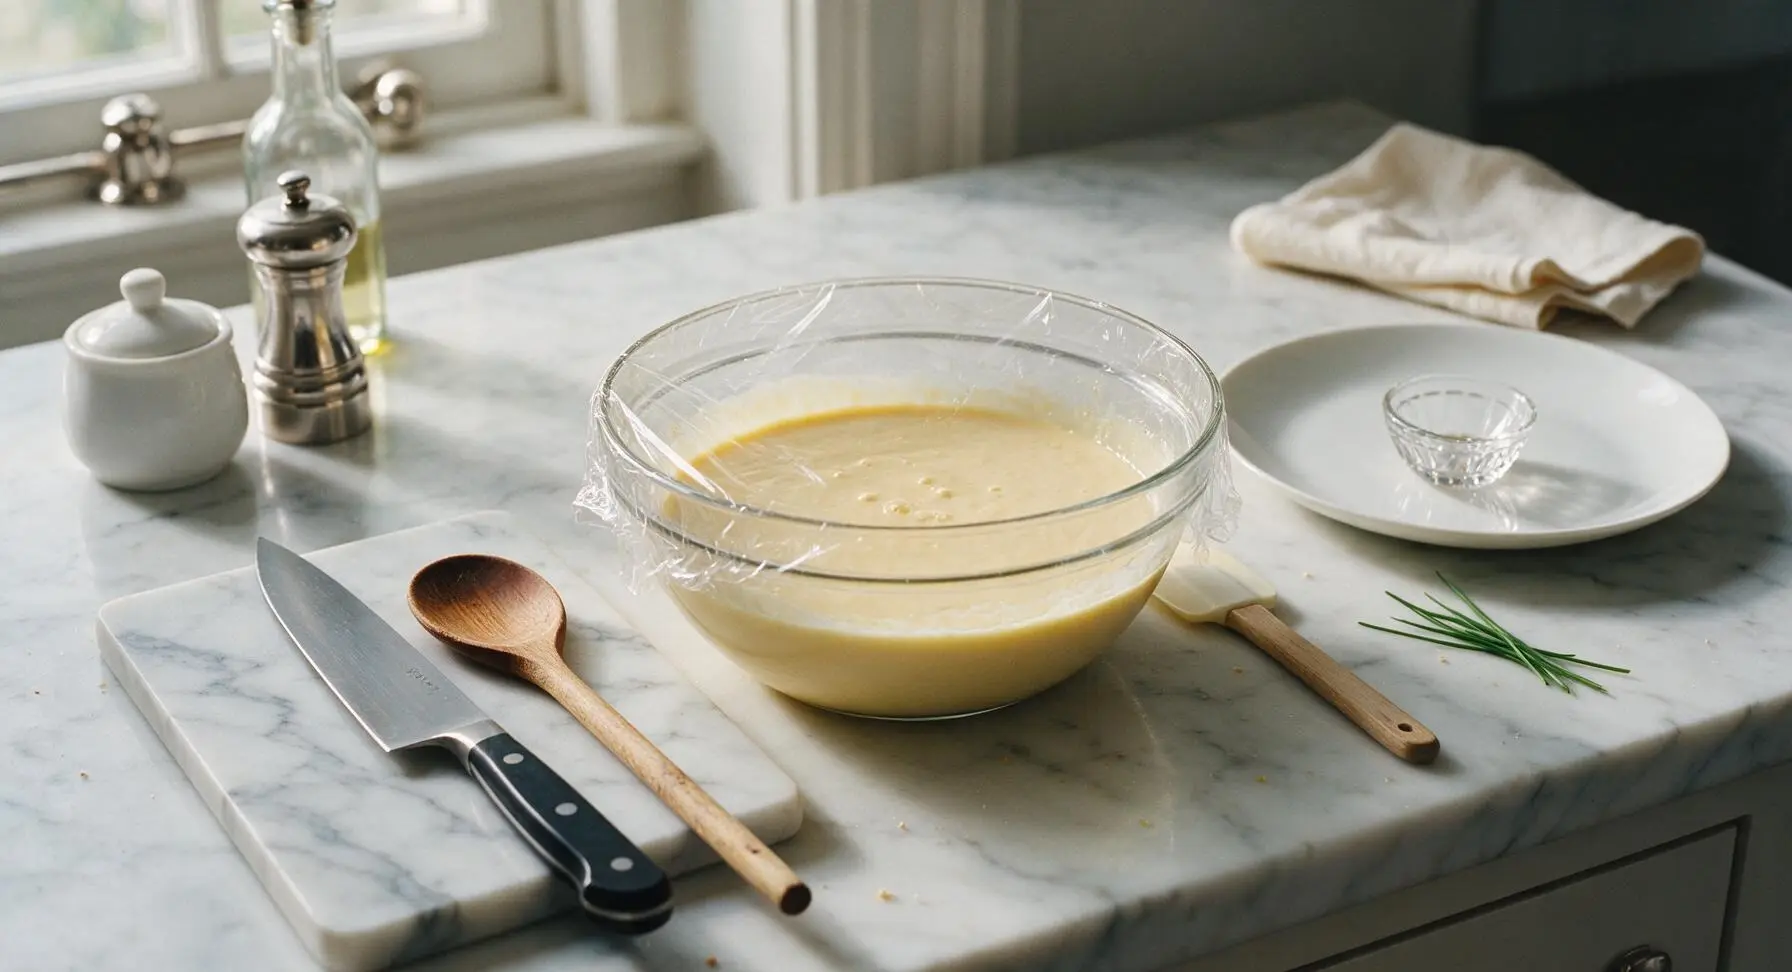
Cover the top of the glass mixing bowl tightly with clear plastic wrap, leaving a tiny 1/4 inch gap at one edge to allow small amounts of fermentation gas to escape. Transfer the covered bowl to the refrigerator to chill for 8-12 hours (overnight). When fully fermented, the batter will be nearly doubled in size, dotted with tiny bubbles, and carry a light, tangy yeasty aroma.
Step 3
step3:Chill Batter Overnight
4

Preheat Waffle Iron

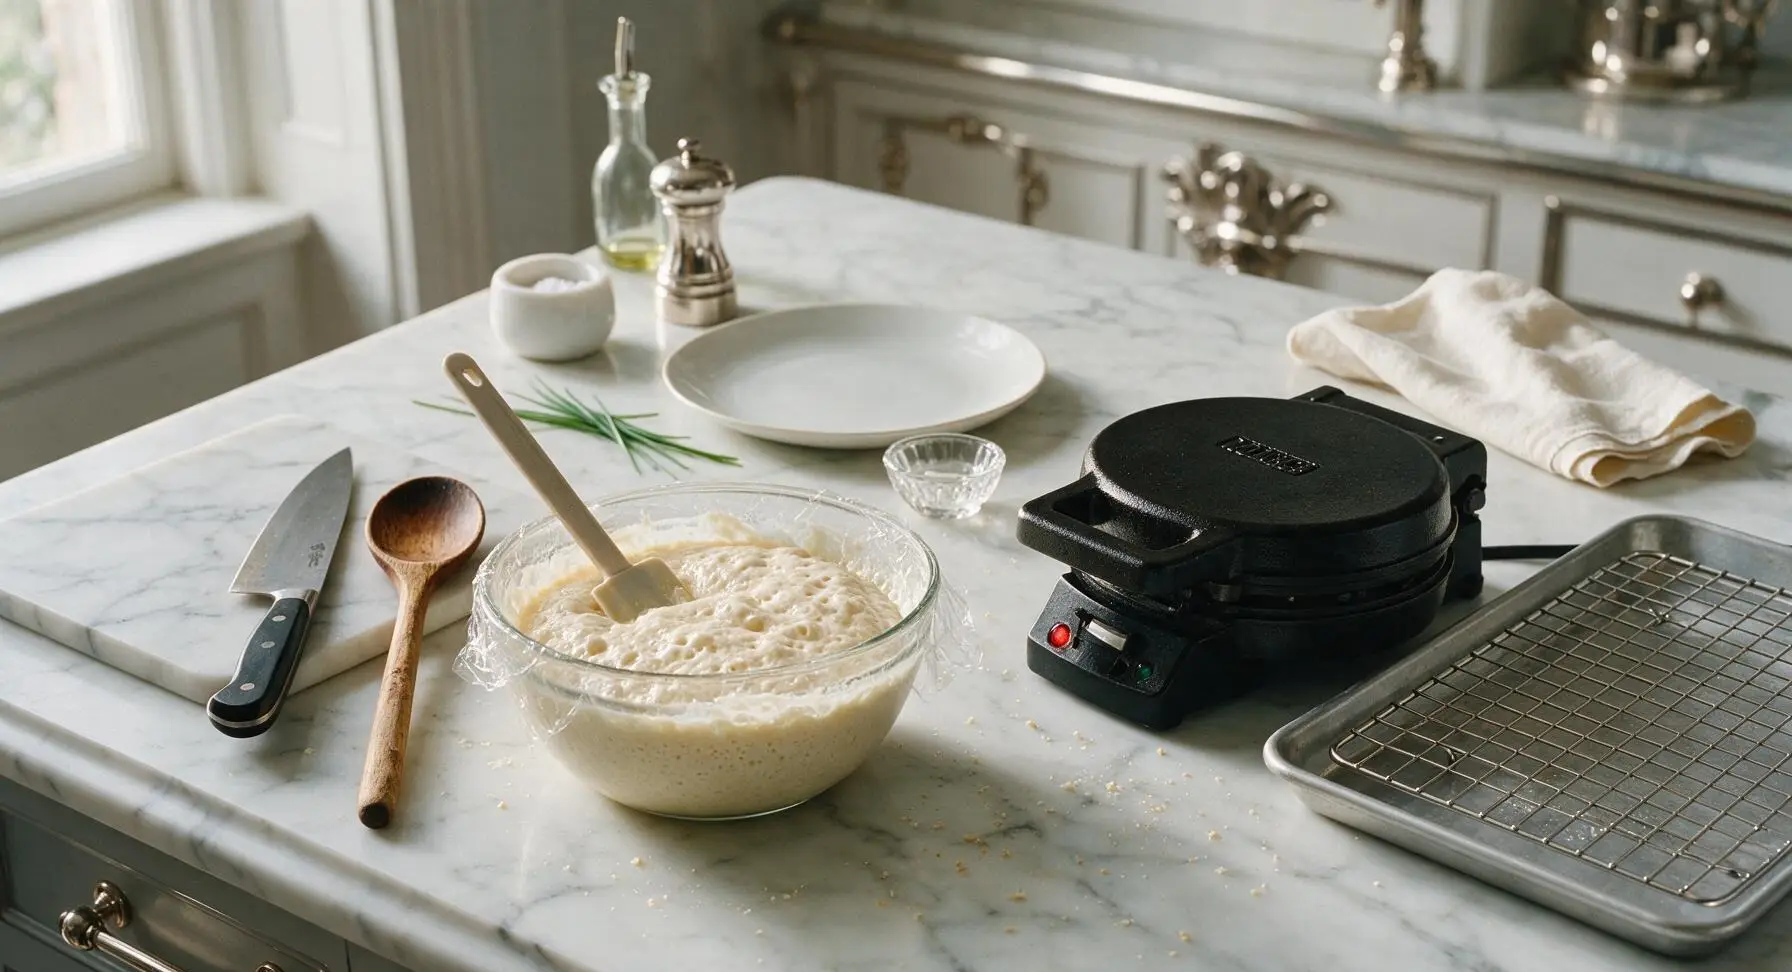
The next morning, remove the batter bowl from the refrigerator and return it to its fixed center-left counter position. Peel off the plastic wrap (the batter will be bubbly, risen, and smell lightly yeasty) and stir gently with the silicone spatula to deflate it slightly. Set the matte black cast iron waffle iron in its fixed center-right position, plug it in, and preheat to 375°F (190°C) for 5 minutes until the ready indicator light illuminates. Place the chrome cooling rack atop the aluminum baking sheet in its fixed position next to the waffle iron.
Step 4
step4:Preheat Waffle Iron
5

Cook Waffles in Batches

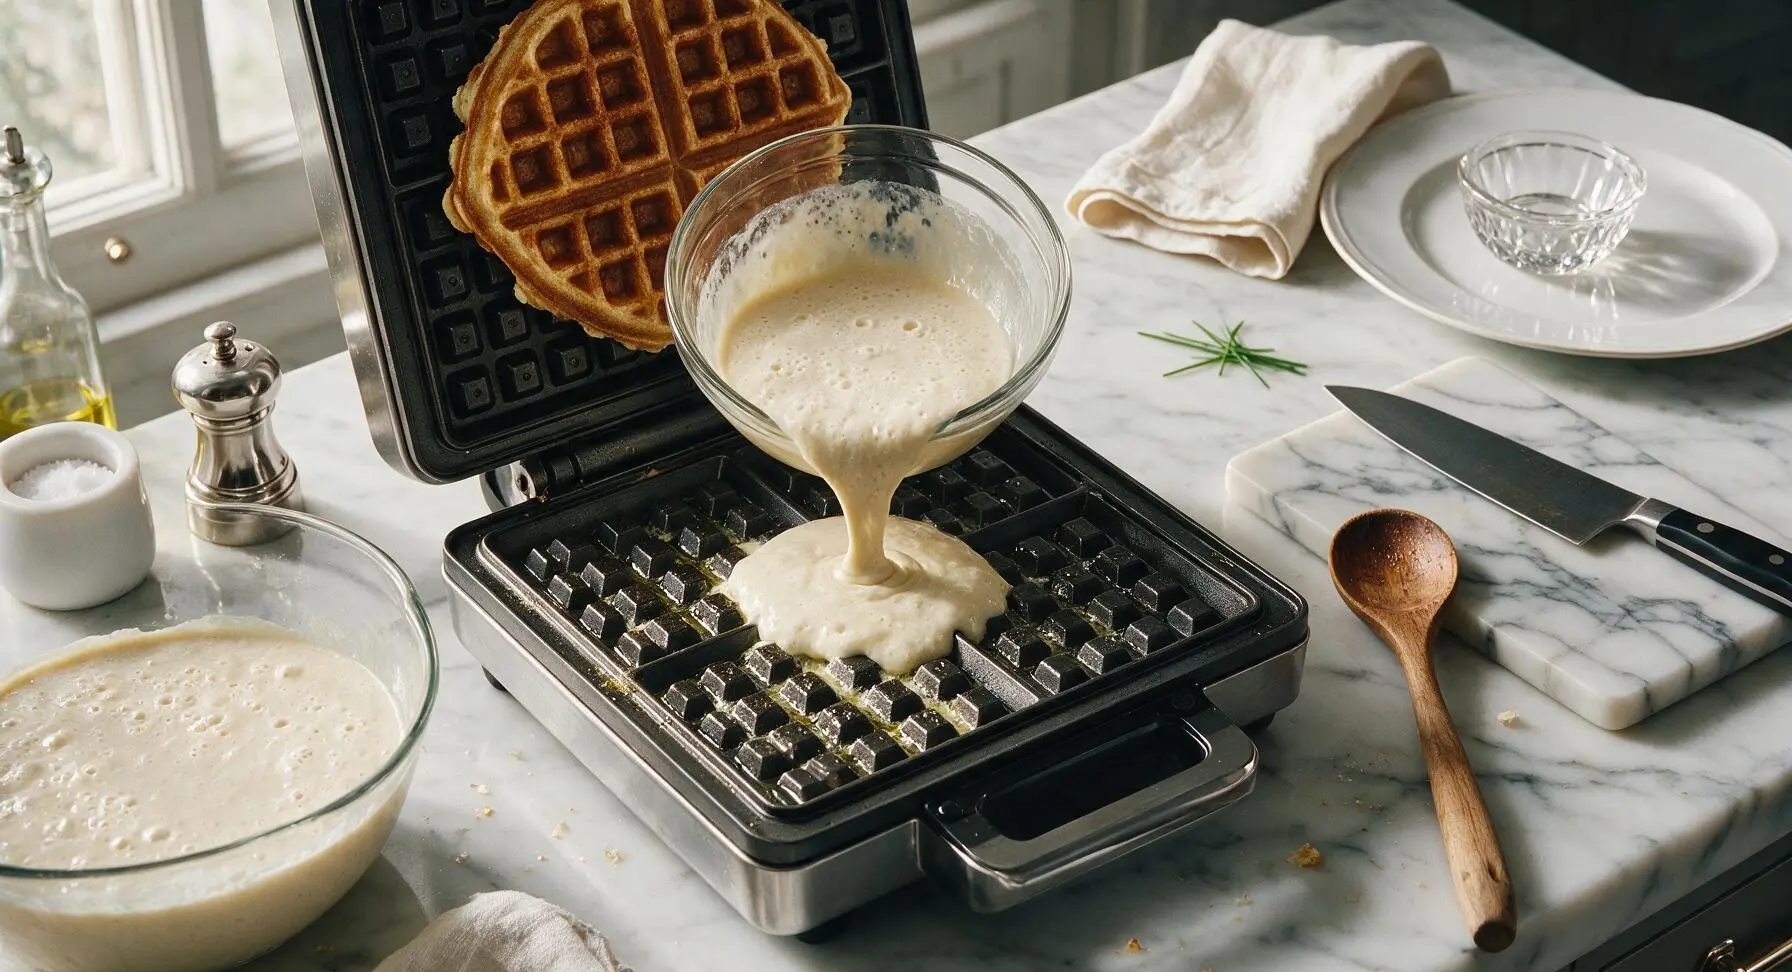
Once the waffle iron is fully preheated, lightly coat the cooking grids with a thin layer of melted butter. Pour 120ml (1/2 cup) of deflated batter evenly into the center of the hot grids, close the lid, and cook for 3.5-4 minutes. The waffle is done when it is deep golden brown, crispy at the edges, and releases easily from the grids without sticking. Avoid opening the lid early, as this will tear the partially set waffle.
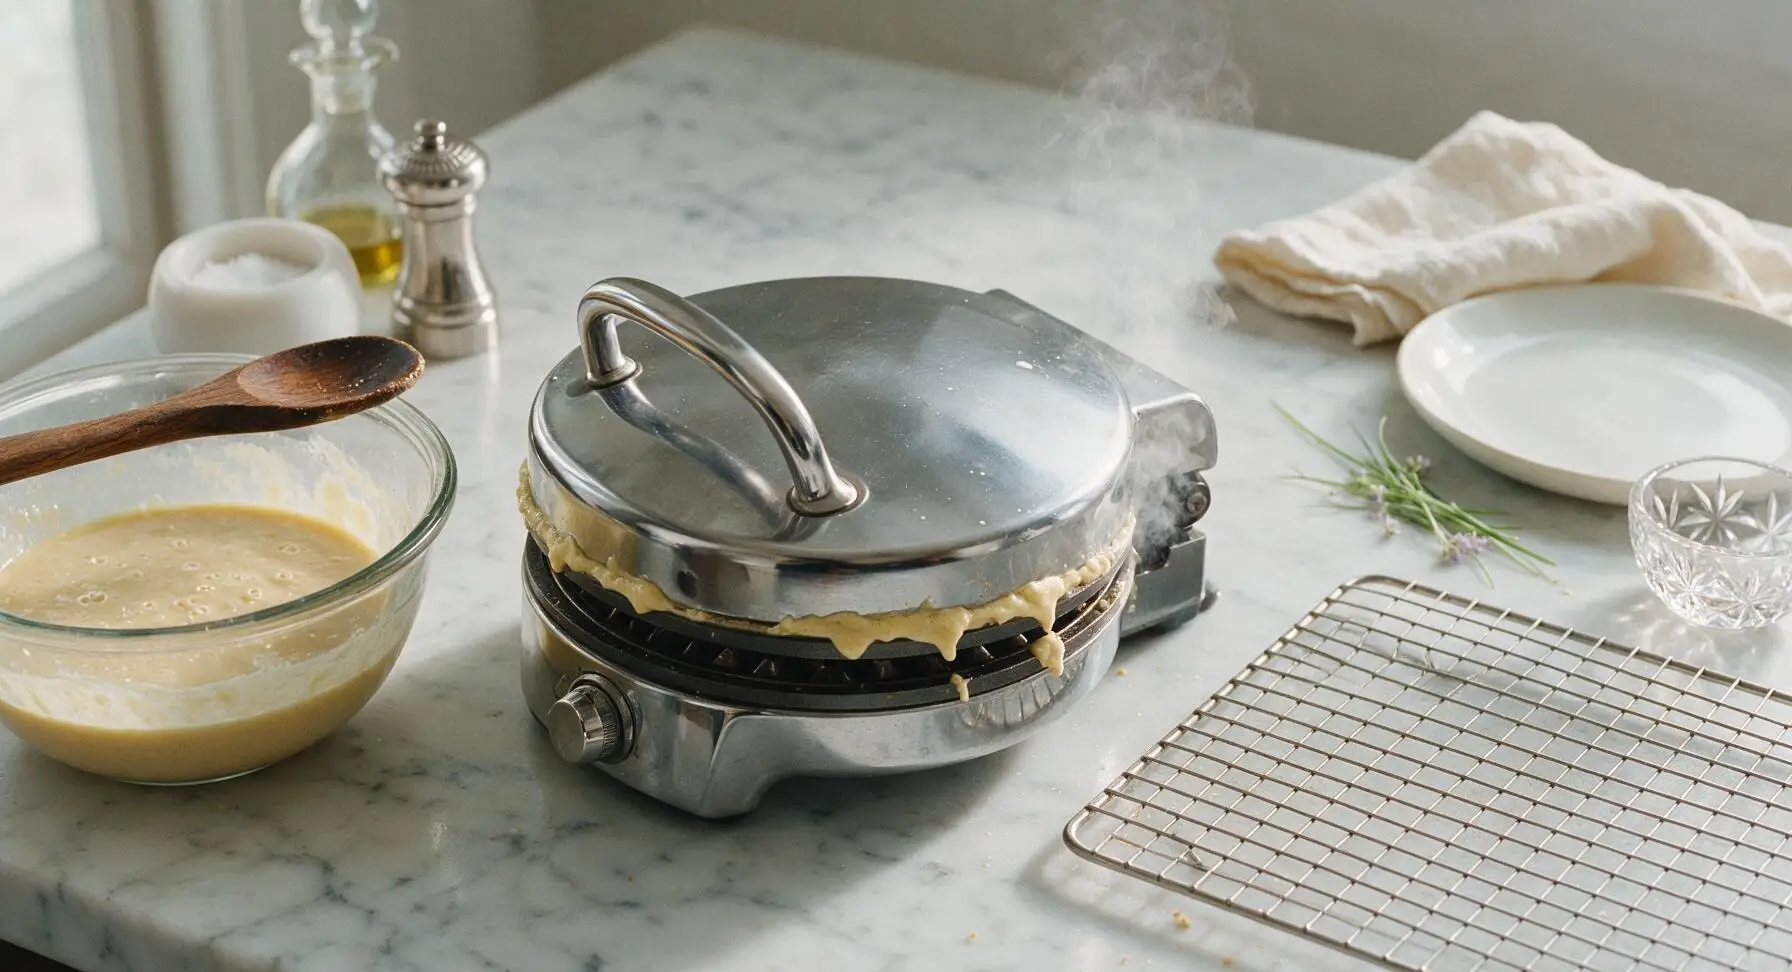
Step 5
step5:Cook Waffles in Batches
Step 5
step5:Cook Waffles in Batches
6

Rest Waffles on Rack

Use silicone-tipped tongs to lift the finished golden waffle from the iron, and set it directly on the wire cooling rack for 1 minute before serving. Do not stack hot waffles directly on a plate immediately, as trapped steam will soften the crisp outer crust. Repeat the cooking process with remaining batter to make 4 total waffles.
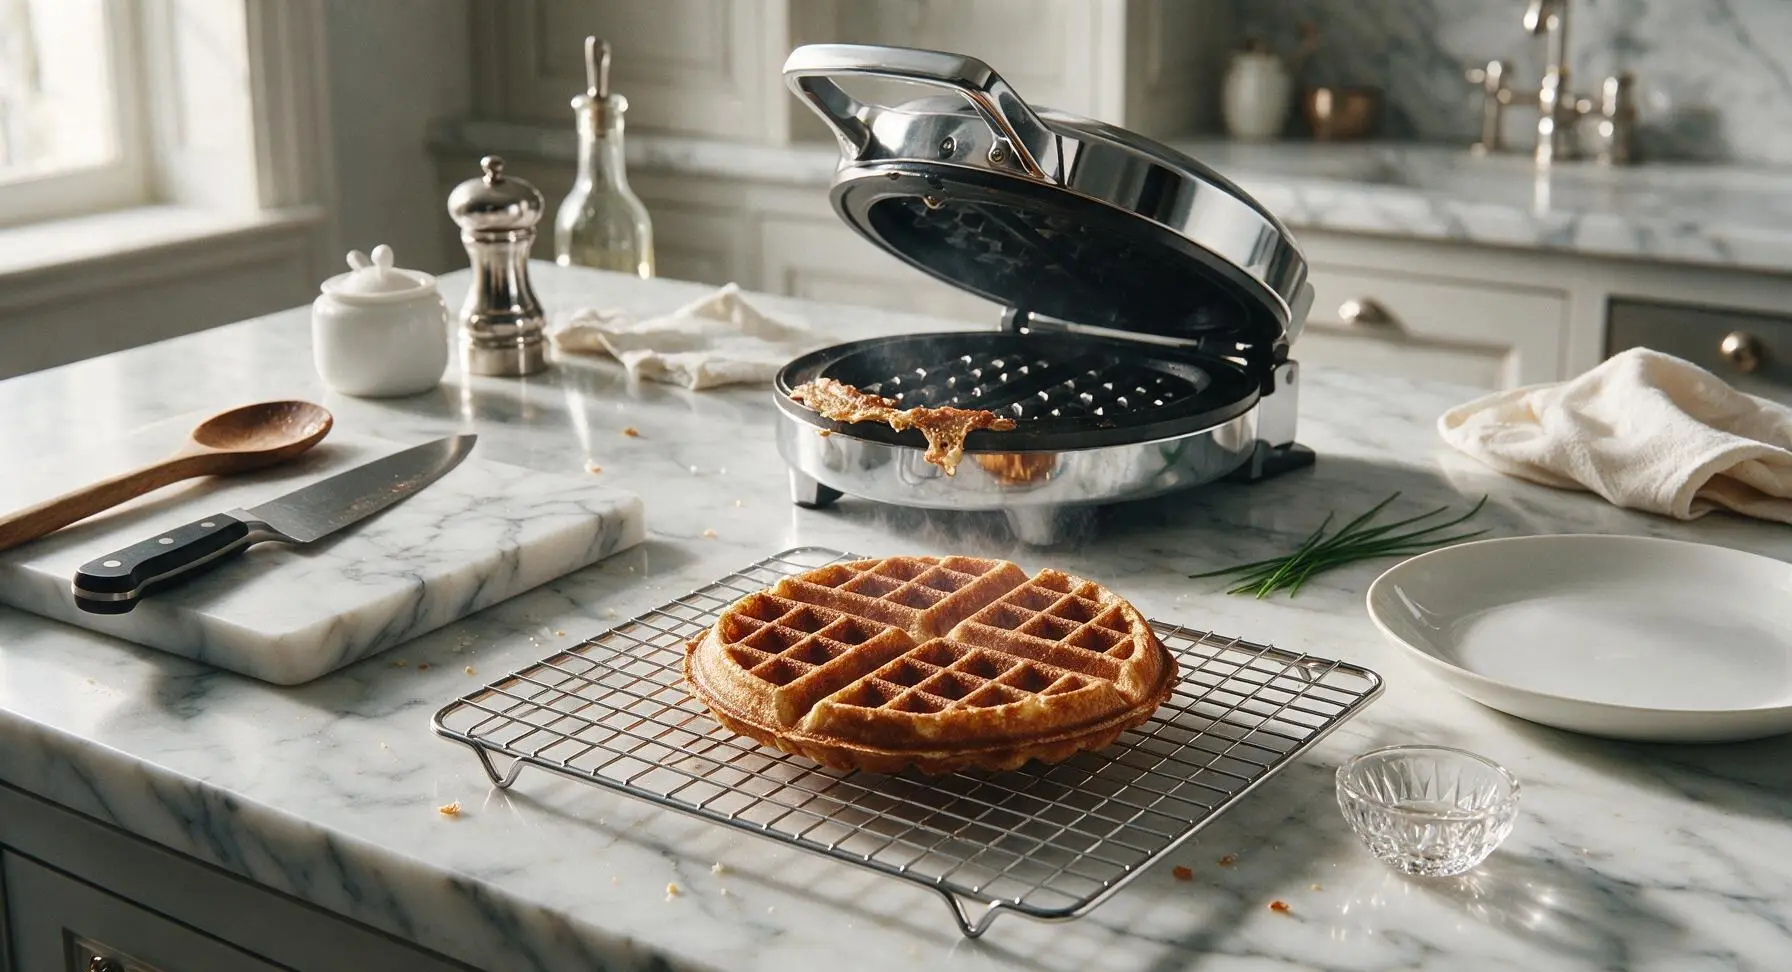
Step 6
step6:Rest Waffles on Rack
7

Plate and Serve Hot

Stack the four rested waffles centered on the matte cream stoneware dinner plate. Top with a 1 tbsp pat of unsalted butter, a light drizzle of maple syrup, fresh strawberry halves, and a small mint sprig for garnish. Serve immediately while the waffles are hot and crisp.
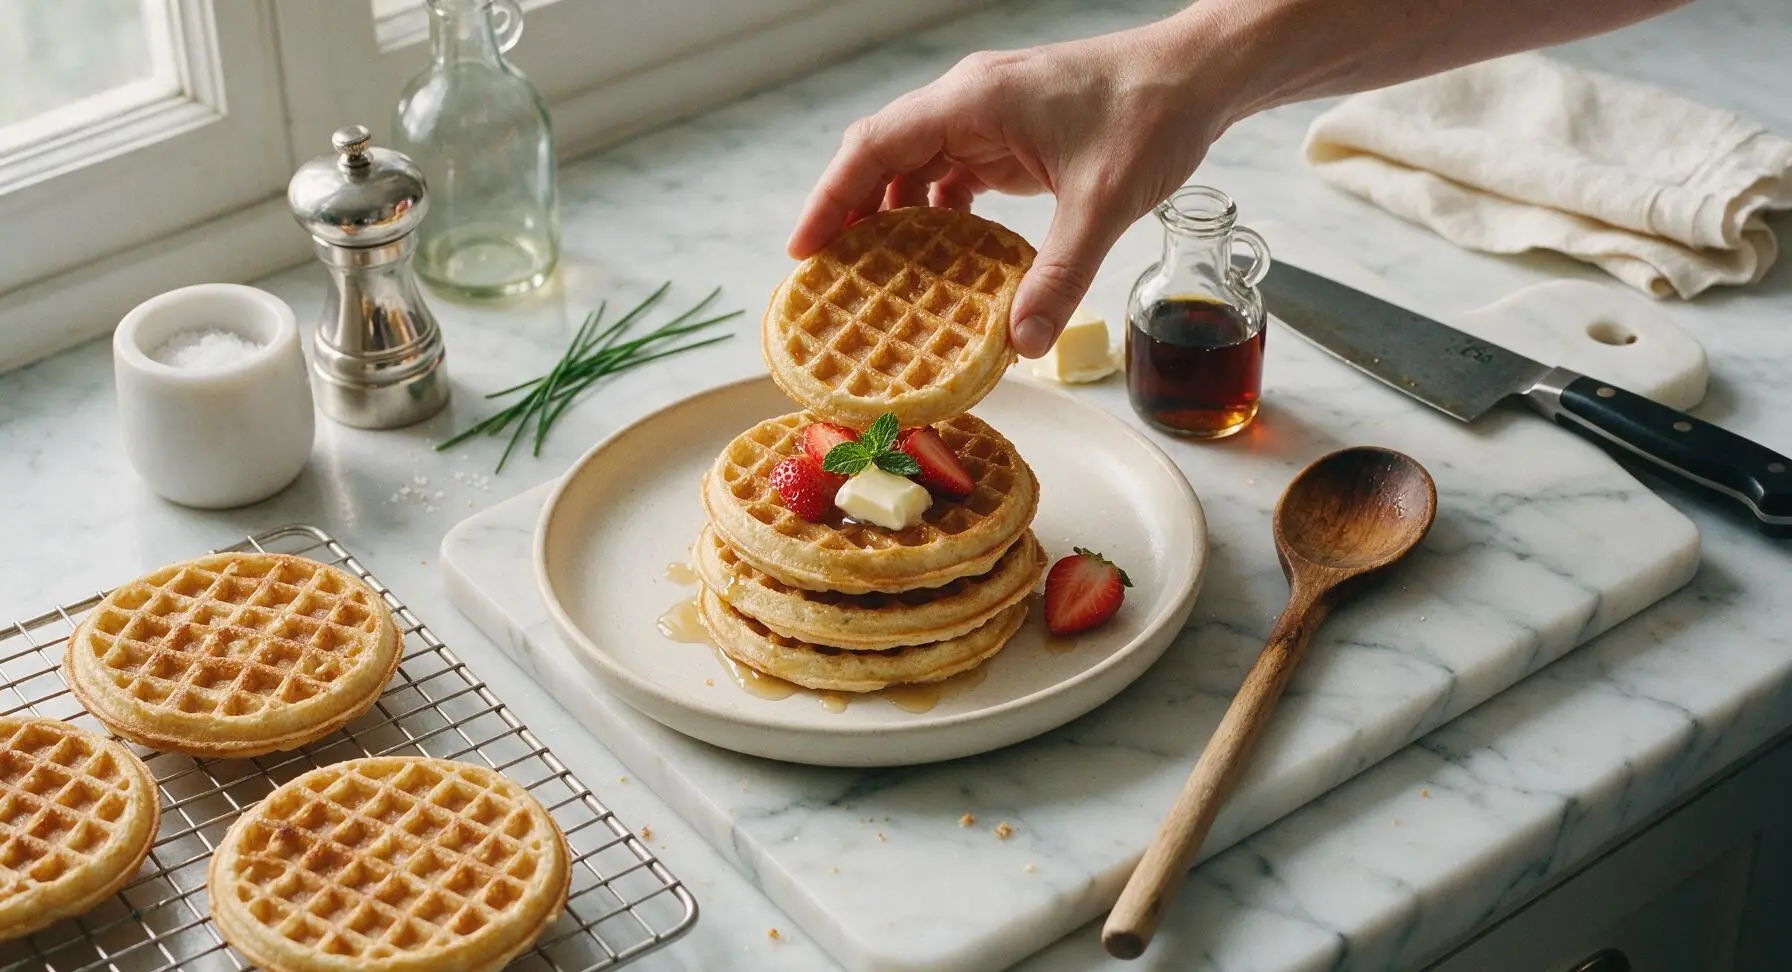
Step 7
step7:Plate and Serve Hot

Tips

1.Do not use milk hotter than 115°F (46°C) when mixing the initial batter. High heat will kill the active dry yeast, preventing proper overnight fermentation and resulting in dense, flat waffles instead of light, crisp ones.
2.Always rest freshly cooked waffles on a wire rack for 1 minute before serving. Stacking hot waffles directly on a plate traps steam against the waffle surface, turning the shatteringly crisp crust soft and soggy in as little as 30 seconds.
3.Resist the urge to peek at cooking waffles before the 3.5 minute mark. Opening the waffle iron early can cause the partially set, tender waffle to split and stick to the grids, ruining its uniform shape and crisp texture.


✨ You May Also Like

Breakfast
🍜 United States

Crisp-edged, fluffy lard griddle cakes are a nostalgic homestyle staple, with rich savoriness from rendered lard, perfect topped with maple syrup or savory gravy.

⏱️ 25 minuteBreakfast ★ 4.8
Breakfast
🍜 United States

Flaky, buttery homemade buttermilk biscuits smothered in creamy, peppery pork sausage gravy: a beloved, hearty Southern American comfort food classic.

⏱️ 35 minuteBreakfast ★ 4.8
Breakfast
🍜 United States

Golden, custardy brioche stuffed with sweet cream cheese and fresh berries, pan-fried to crisp perfection. An indulgent, cozy breakfast perfect for slow weekend mornings.

⏱️ 30 minuteBreakfast ★ 4.7
Breakfast
🍜 United States

Flaky, buttery Southern-style biscuits stuffed with savory salty country ham, a portable, satisfying classic perfect for casual on-the-go meals.

⏱️ 25 minuteBreakfast ★ 4.8
Breakfast
🍜 United States

Iconic puffy baked pancake popularized in Seattle, with crisp golden edges and soft custardy center, served warm with classic sweet toppings.

⏱️ 35 minuteBreakfast ★ 4.6
Breakfast
🍜 United States

Fluffy, golden pancakes studded with juicy peak-summer mixed berries, drizzled with maple syrup for a bright, comforting, crowd-pleasing family breakfast.

⏱️ 25 minuteBreakfast ★ 4.7

yeast waffle recipe overnight:Frequently Asked Questions

1.What makes overnight yeast waffles different from regular quick waffles? ▾
The slow, cold yeast ferment creates that signature shatteringly crisp crust and light, hole-filled crumb you get at high-end breakfast spots, plus a subtle, toasty, slightly tangy flavor baking powder can’t replicate. Best of all, you do all the prep the night before, so there’s zero rushed mixing on lazy weekend mornings.
2.Do I really need to let the batter rest overnight, or can I make it same-day? ▾
You can rush it a little if you’re short on time, but the 8–12 hour cold rest is what builds that perfect texture and depth of flavor. If you need same-day waffles, let the batter rise in a warm spot for 1.5–2 hours until doubled and bubbly, just know the crust won’t be quite as crisp and the flavor will be milder.
3.What temperature should the milk be to activate the yeast properly? ▾
Aim for lukewarm milk right around 110°F/43°C, which feels just barely warm to the touch, not hot. Milk that’s too hot (over 120°F) will kill the yeast and keep your waffles from rising, while cold milk will slow activation so much your batter won’t develop the right bubbly structure overnight.
4.Why do the eggs need to be room temperature for this recipe? ▾
Room-temperature eggs mix more smoothly into the batter without creating lumps, and they trap air more effectively when combined, which leads to a lighter, fluffier final waffle. If you forget to pull them out ahead, submerge them in a bowl of warm tap water for 5 minutes to take the chill off fast.
5.How big of a bowl do I need to use for the overnight batter rest? ▾
Use a bowl that’s at least 3 times the volume of your initial mixed batter, because the yeast will make the batter rise and bubble significantly as it ferments overnight. Cover it loosely with plastic wrap or a clean kitchen towel instead of sealing it airtight to let small amounts of fermentation gas escape.
6.Can I leave the batter out on the counter overnight instead of putting it in the fridge? ▾
I don’t recommend it—room-temperature fermentation will make the yeast over-activate, leading to overly sour, slightly boozy-tasting batter and flat, dense waffles. The consistent cold of the fridge slows fermentation just enough to build great flavor without letting the yeast burn out, plus it keeps the egg and dairy batter food-safe overnight.
7.The batter looks super separated and bubbly when I pull it out of the fridge in the morning—did I mess up? ▾
That’s totally normal! Overnight ferment creates lots of bubbles, and the melted butter may rise to the top as the batter chills. Just give the batter a gentle, slow stir to recombine the ingredients right before cooking—don’t overmix it, or you’ll knock out too much of that precious air that makes waffles light.
8.Can I use whole wheat flour instead of all-purpose flour for this recipe? ▾
You can swap up to half the all-purpose flour for whole wheat flour without ruining the texture, for a nuttier, more fiber-dense waffle. Swapping 100% whole wheat will make the waffles denser and less crisp, since whole wheat flour absorbs more moisture and has less gluten structure to trap the yeast’s air bubbles.
9.What if I don’t have whole milk on hand? Can I use a lower-fat milk? ▾
Lower-fat milks like 2% or skim will work in a pinch, but your waffles won’t be quite as rich or crisp on the edges, since the fat in whole milk helps create that signature shattery crust. If you use skim, add an extra tablespoon of melted cooled butter to the batter to make up for the missing fat.
10.Do I need to stir anything into the batter right before cooking the waffles? ▾
After the overnight rest, you only need to give the batter a gentle stir to recombine any separated butter—no extra leavening is required. If you want to add mix-ins like chocolate chips, blueberries, or chopped pecans, fold them in very gently right before you pour batter onto the waffle iron so they don’t sink.
11.How hot should my waffle iron be to get that perfectly crisp crust? ▾
Preheat your waffle iron to medium-high, around 375°F if your model has temperature settings. If it’s too cool, the waffles will stick and turn out soft and soggy, but if it’s too hot, the outside will burn before the inside cooks through. Cook until steam stops escaping from the iron edges, about 3–4 minutes per waffle.
12.My waffles came out dense and chewy instead of light and crisp—what went wrong? ▾
The most common culprits are milk that was too hot and killed the yeast, not letting the batter rest long enough, overmixing the batter in the morning and knocking out air bubbles, or a waffle iron that wasn’t fully preheated. Double check your milk temp next time, and resist the urge to stir the batter more than absolutely necessary.
13.Can I make this batter ahead for more than one night? ▾
The batter will stay good in the fridge for up to 2 days total, though the yeast flavor will get tangier the longer it sits. After 48 hours, the yeast will start to lose its rising power, so your waffles will turn out flatter and denser, and the flavor may turn unpleasantly sour instead of nicely complex.
14.How do I keep cooked waffles crisp while I make the whole batch? ▾
Don’t stack cooked waffles on a plate, because trapped steam will make them go soggy in minutes. Instead, set cooked waffles directly on a wire rack set over a baking sheet in a 200°F oven while you cook the rest. That lets air circulate around them, keeping every waffle crisp until you’re ready to serve.
15.Can I freeze leftover cooked waffles for quick breakfasts later? ▾
Absolutely! Let cooked waffles cool completely to room temperature, then stack them between sheets of parchment paper so they don’t stick, and store in a sealed freezer bag for up to 3 months. Reheat them straight from frozen in a toaster or 350°F oven for 3–4 minutes, and they’ll crisp right up like fresh.
16.Do I need to use a special Belgian waffle maker for this recipe? ▾
Not at all! This batter works perfectly in both standard thin waffle irons and deep-pocket Belgian waffle makers. For Belgian waffles, use a slightly heftier pour of batter (about ¾ cup per well) and add 30–60 seconds of cook time to make sure the thicker waffle cooks all the way through without sogginess.
17.Can I make this recipe dairy-free for friends with allergies? ▾
Yes, you can easily swap the whole milk for unsweetened oat milk (it has the closest richness to whole milk) and use melted cooled vegan butter in place of dairy butter. Just make sure your oat milk is lukewarm, not hot, when you mix it in to keep the yeast happy, and you’ll get nearly identical crisp, light waffles.
18.Why is there granulated sugar in the batter? Will it make the waffles overly sweet? ▾
The small amount of granulated sugar in this recipe isn’t there to make the waffles taste sweet—it feeds the yeast to help it activate and ferment properly overnight, and it encourages that golden, crisp, caramelized crust on the outside of each waffle. The finished waffles are only subtly sweet, perfect for toppings from syrup to fried chicken.

Comments (12)

2 days ago

OMG these overnight yeast waffles are a total game changer! I prepped the batter last night before bed, didn’t even have to rush around this morning before school drop off. My kids loved it—they devoured them with a drizzle of maple syrup and some fresh strawberries, no complaints at all! So fluffy, way better than the boxed mix I usually grab. 10/10 will be adding this to our weekly Sunday brunch rotation.

1 day ago

Wait do you remember if the batter gets super bubbly overnight? I tried a different yeast waffle recipe once and it overflowed my bowl all over my fridge shelf 😭

1 day ago

So glad your family loved them! Quick tip to avoid overflow: make sure to use a really large mixing bowl (at least 4 quarts) when you set the batter in the fridge, it does rise quite a bit as the yeast works overnight! No mess = more waffle joy.

1 week ago

Took these to a neighborhood potluck last weekend and people were asking me for the recipe before I even set the platter down! I added a little cinnamon and vanilla extract to the batter per my wife’s suggestion, and it was chef’s kiss. Only tiny note: my first waffle stuck a little to the iron, but after that the rest came out perfectly crisp on the outside, soft inside.

5 days ago

I had the same sticking issue at first! Spritzed my waffle iron with a little nonstick spray between batches and it totally fixed it, no more torn waffles.

4 days ago

Love the cinnamon and vanilla add-in, that sounds delicious! The first waffle sticking is super common even on well-seasoned irons, a light spritz of oil between batches does the trick like Mike said, and make sure your iron is fully preheated before pouring batter in.

3 days ago

Wait, hold on—no kneading, no waiting around for dough to rise in the morning? I was skeptical at first because I’ve only ever made quick waffles with baking powder, but the yeast gives it that perfect, tangy, almost brioche-like flavor that is SO good. I ate three straight off the iron no shame. My only question: can I freeze the leftover waffles for quick weekday breakfasts?

2 days ago

I freeze mine all the time! Let them cool completely, stack them with parchment paper between each so they don’t stick, then pop them in the toaster straight from the freezer when you want one. Tastes just as fresh as the day you made them!

2 days ago

Thrilled you gave them a shot and loved the flavor! Tyler’s freezing tip is spot-on—these freeze beautifully for up to 3 months, which makes them perfect for busy weekday meal prep. Just reheat in the toaster or oven until crisp.

2 hours ago

These are good, but I found the batter a little thinner than I expected? Maybe I measured the flour wrong? They still tasted great, just a little less fluffy than the photos look. I’ll try adding a couple extra tablespoons of flour next time I make them and see if that helps.

1 hour ago

I had that same issue my first batch! Turns out I was lightly spooning flour without leveling properly, so I ended up with way less flour than the recipe needed, which made a runny batter. Once I got my measurements down, they got so fluffy!

30 minutes ago

So sorry the batter was thinner than expected for you! The most common culprit is mis-measured flour—if you don’t spoon flour into your measuring cup and level it off with a knife, you can end up with less flour than the recipe calls for, leading to thinner, less fluffy waffles. Adding an extra 2 tablespoons of flour as you planned is a great fix if you end up with runny batter again. Hope your next batch is exactly what you’re hoping for!

yesterday

Made these for my partner’s birthday brunch and he said they’re the best waffles he’s ever had, even better than the fancy diner downtown we go to for special occasions! I topped ours with whipped cream, blueberries, and a little lemon zest, *chef’s kiss*. So easy too, I can’t believe how little active work this takes.

5 hours ago

Happy birthday to your partner! That lemon zest and blueberry topping combo sounds absolutely perfect, I’m going to have to try that myself this weekend. So glad you two enjoyed them!

5 days ago

Super easy recipe, followed the directions exactly and they came out great. Only thing I wish the recipe noted was how long to leave them in the waffle iron specifically? My iron runs a little hot so my first batch was a touch darker than I like, but once I adjusted the time it was smooth sailing.

4 days ago

Thanks for the feedback! Cook time can vary a lot between waffle iron models, but generally you’ll know they’re done when steam stops coming out of the sides of the iron, usually 3-4 minutes per batch for most standard irons. I’ll add that note to the recipe card to help other folks!

2 weeks ago

I’ve been searching for a waffle recipe that doesn’t come out soggy in the middle and THIS IS IT. The overnight rest makes all the difference, the texture is insane. Made these for my roommates and we all ate way too many, oops. Will absolutely make again.

1 week ago

Ugh yes the soggy middle waffle struggle is so real! I’ve made these three times now and they’re perfectly crisp every single time, total winner.

1 week ago

I’ve been making waffles for my grandkids for over 40 years, and I have to say this recipe is up there with my old go-to. The yeast gives it such a lovely depth of flavor that regular baking powder waffles just don’t have. I did use a little melted butter instead of oil like I always do, and they turned out beautiful.

6 days ago

What a wonderful compliment coming from someone with so much waffle-making experience! Swapping in melted butter is such a tasty swap, I do that sometimes too for extra richness. Hope your grandkids loved them!

3 days ago

Made these while we were camping last weekend! Prepped the batter in a big lidded container before we left, kept it in the cooler, and cooked them on our cast iron waffle iron over the campfire. Absolute hit, everyone in our campsite wandered over to ask what smelled so good. 10/10 for camping meal prep too!

2 days ago

Wait camping waffles? That is such a genius idea! I’m definitely stealing that for our trip next month, thanks for the inspo!

5 minutes ago

Tried these this morning after seeing all the rave reviews, and wow. The flavor is so much more complex than regular waffles, almost like a donut? So good, I topped mine with a little powdered sugar and some peaches I canned last summer. Will be making these again for sure.

just now

As someone who is NOT a morning person, this recipe is made for me. 5 minutes of stirring ingredients together the night before, and all I have to do in the morning is heat up the waffle iron and pour. No measuring, no mixing, no mess when I’m still half asleep. Absolute game changer for my workday mornings.

30 minutes ago

I swapped the dairy milk for oat milk and used melted coconut oil instead of butter to make these vegan, and they turned out so fluffy and delicious! I was worried the yeast wouldn’t activate with the oat milk but it worked perfectly, no weird texture or aftertaste at all. My non-vegan roommate ate three and didn’t even notice the difference.



