
Yeasted Hoagie Rolls
intro
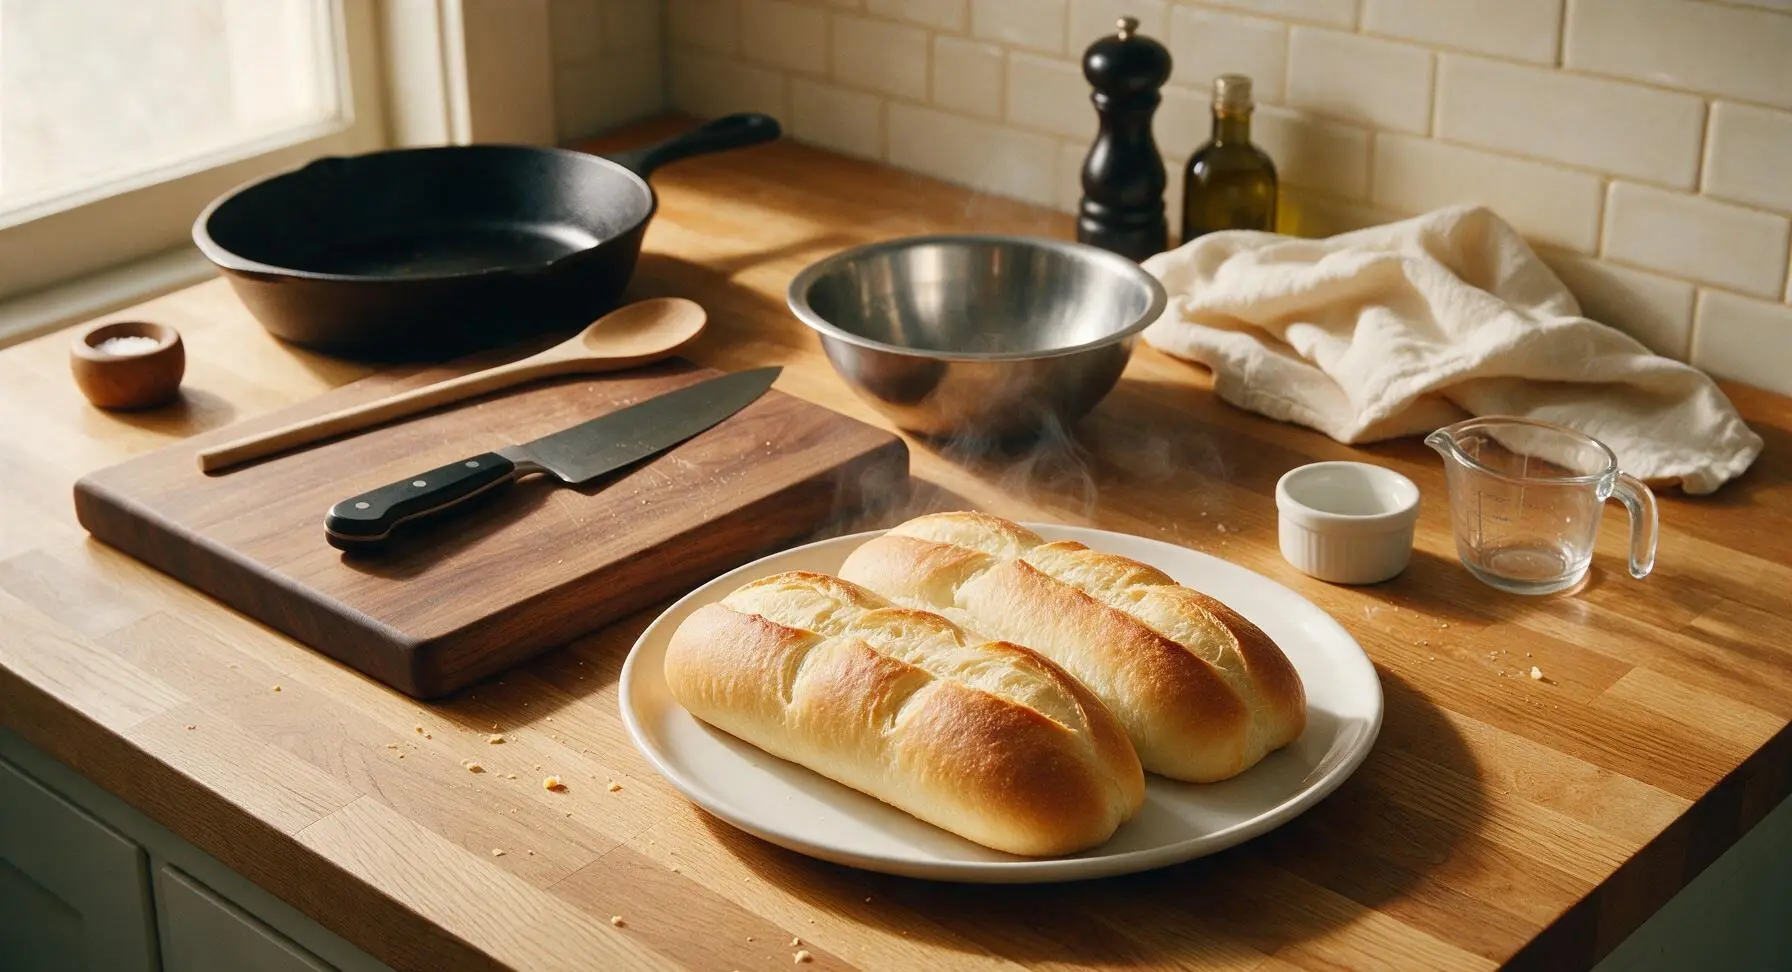
Soft, chewy yeasted hoagie rolls with a delicate crisp golden crust, perfect for piling high with grilled fillings, deli meats, or meatballs for summer backyard BBQ sandwiches.
Ingredients
Steps
Mix Dough Base
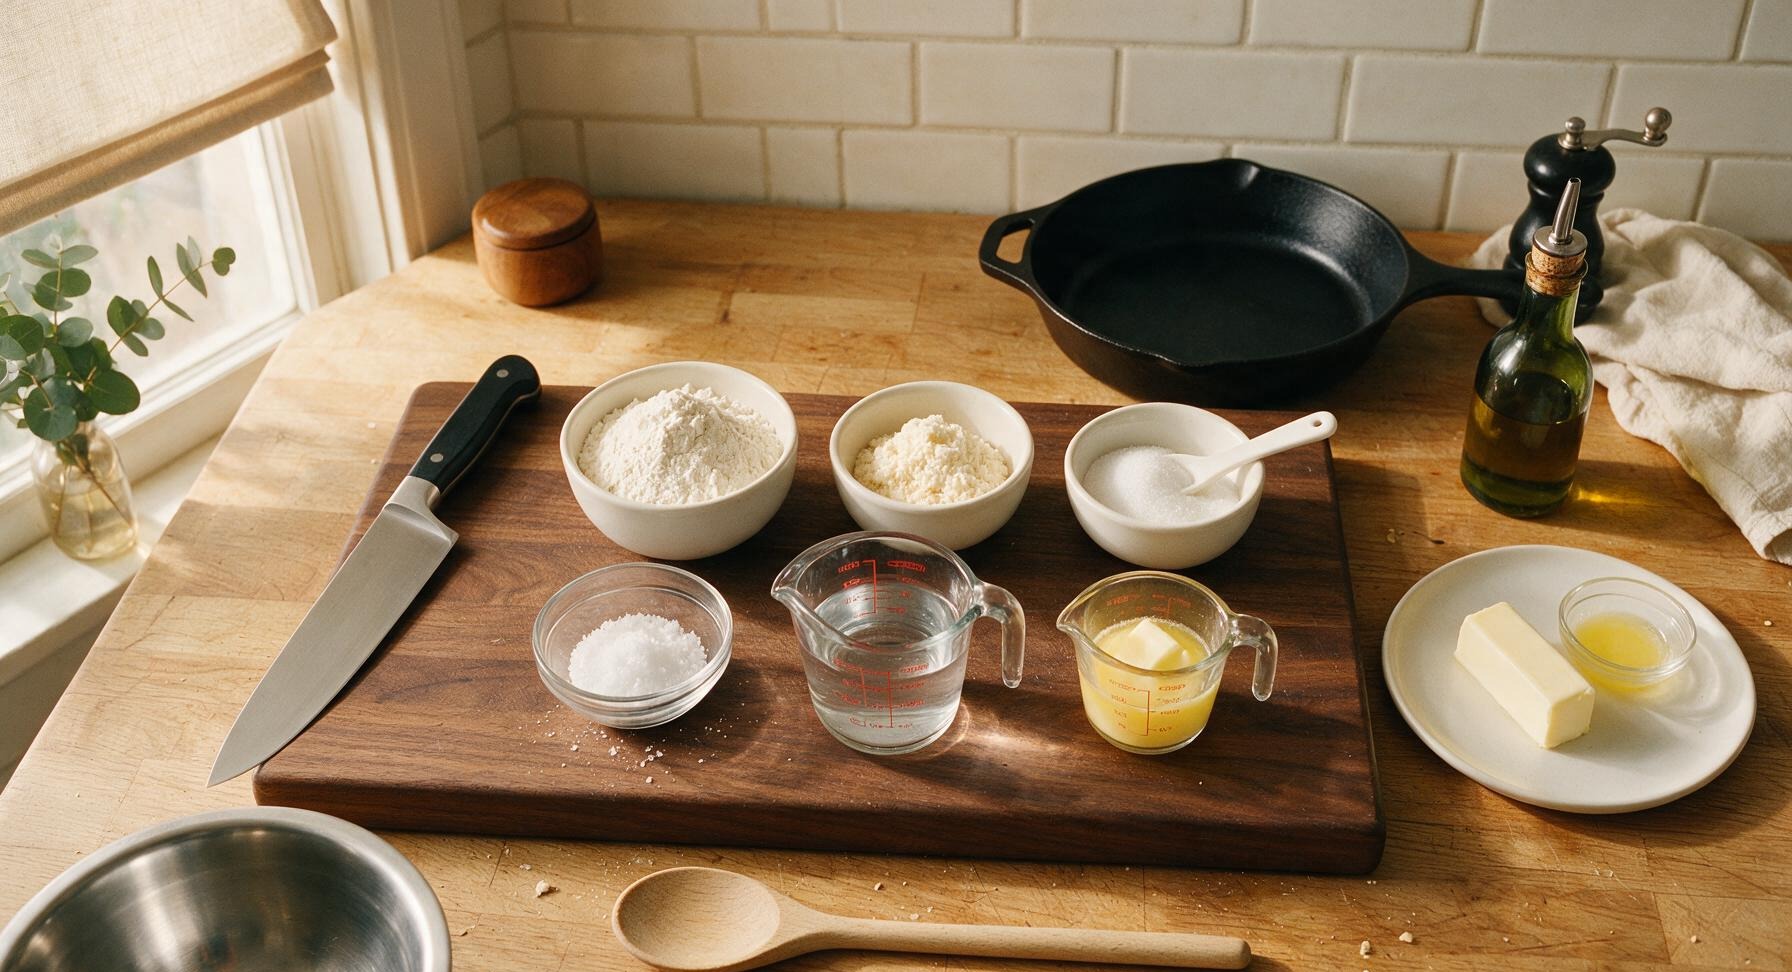
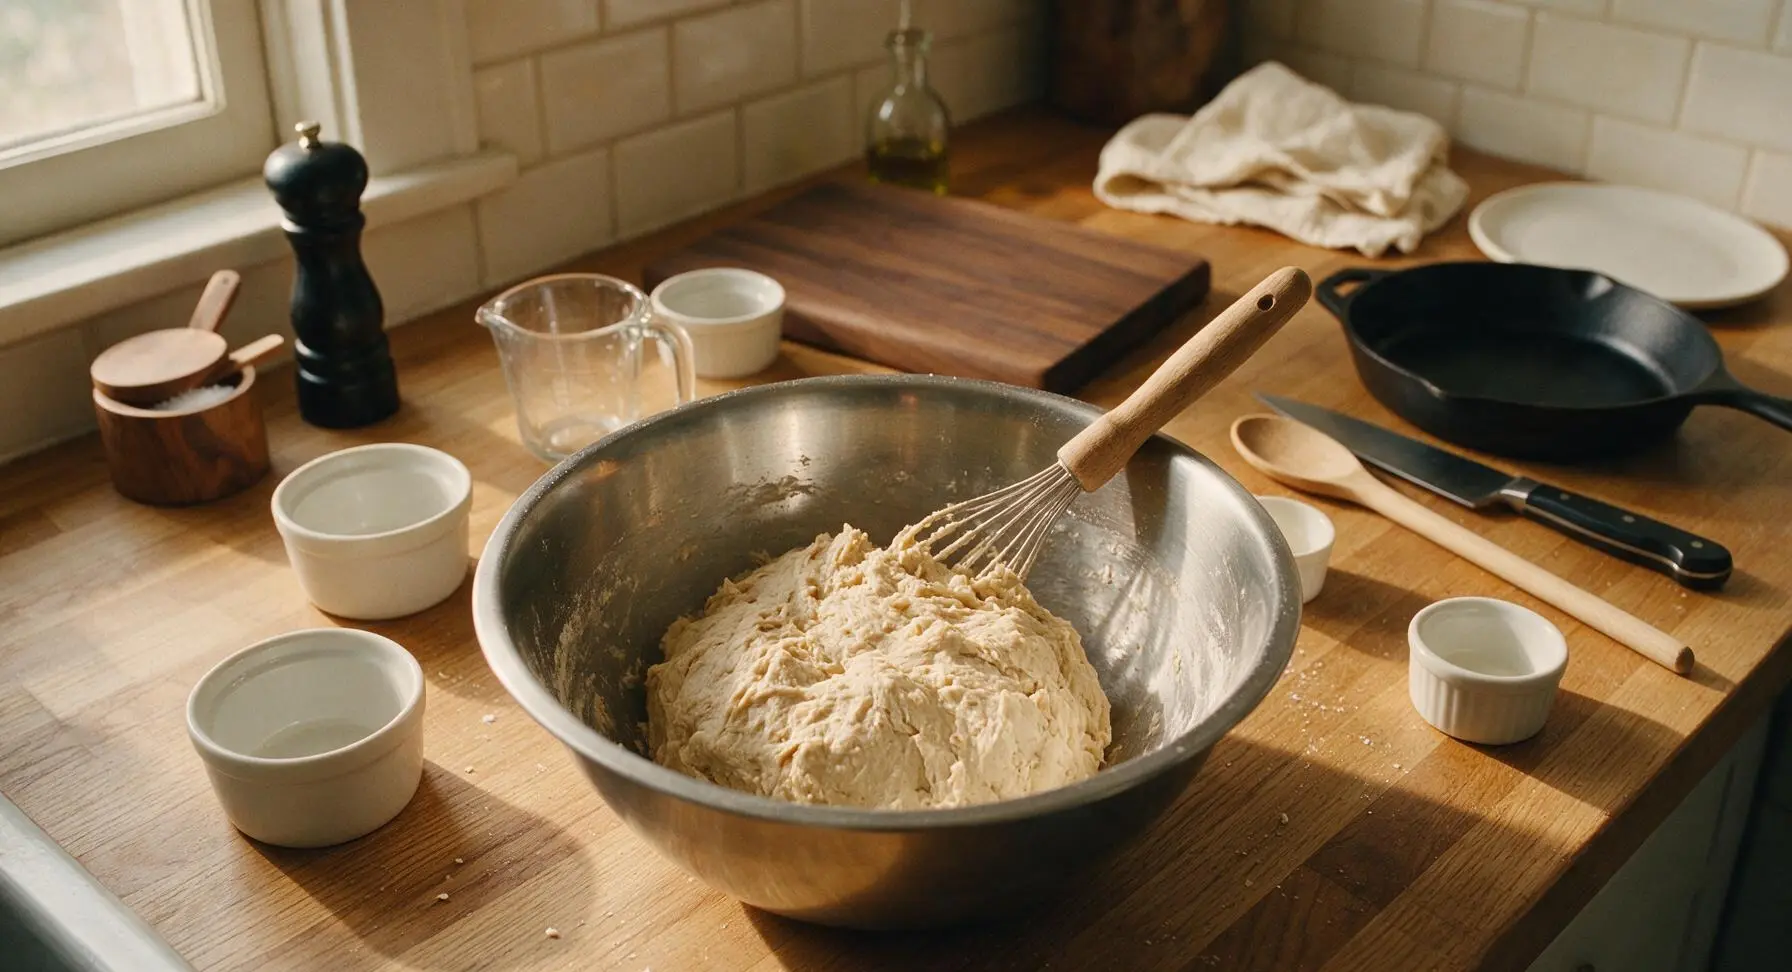
In the large stainless steel mixing bowl, combine lukewarm water (105-110°F / 40-43°C), granulated sugar, and instant yeast, stirring gently with the dough whisk to dissolve. Let rest 5 minutes until the surface looks foamy, confirming the yeast is active. Add 480g of the bread flour, melted cooled unsalted butter, and fine sea salt, stirring with the dough whisk until a shaggy, lumpy mass forms with no dry flour pockets remaining at the bottom of the bowl. Reserve the remaining 20g of bread flour for dusting during kneading.
Knead Until Smooth
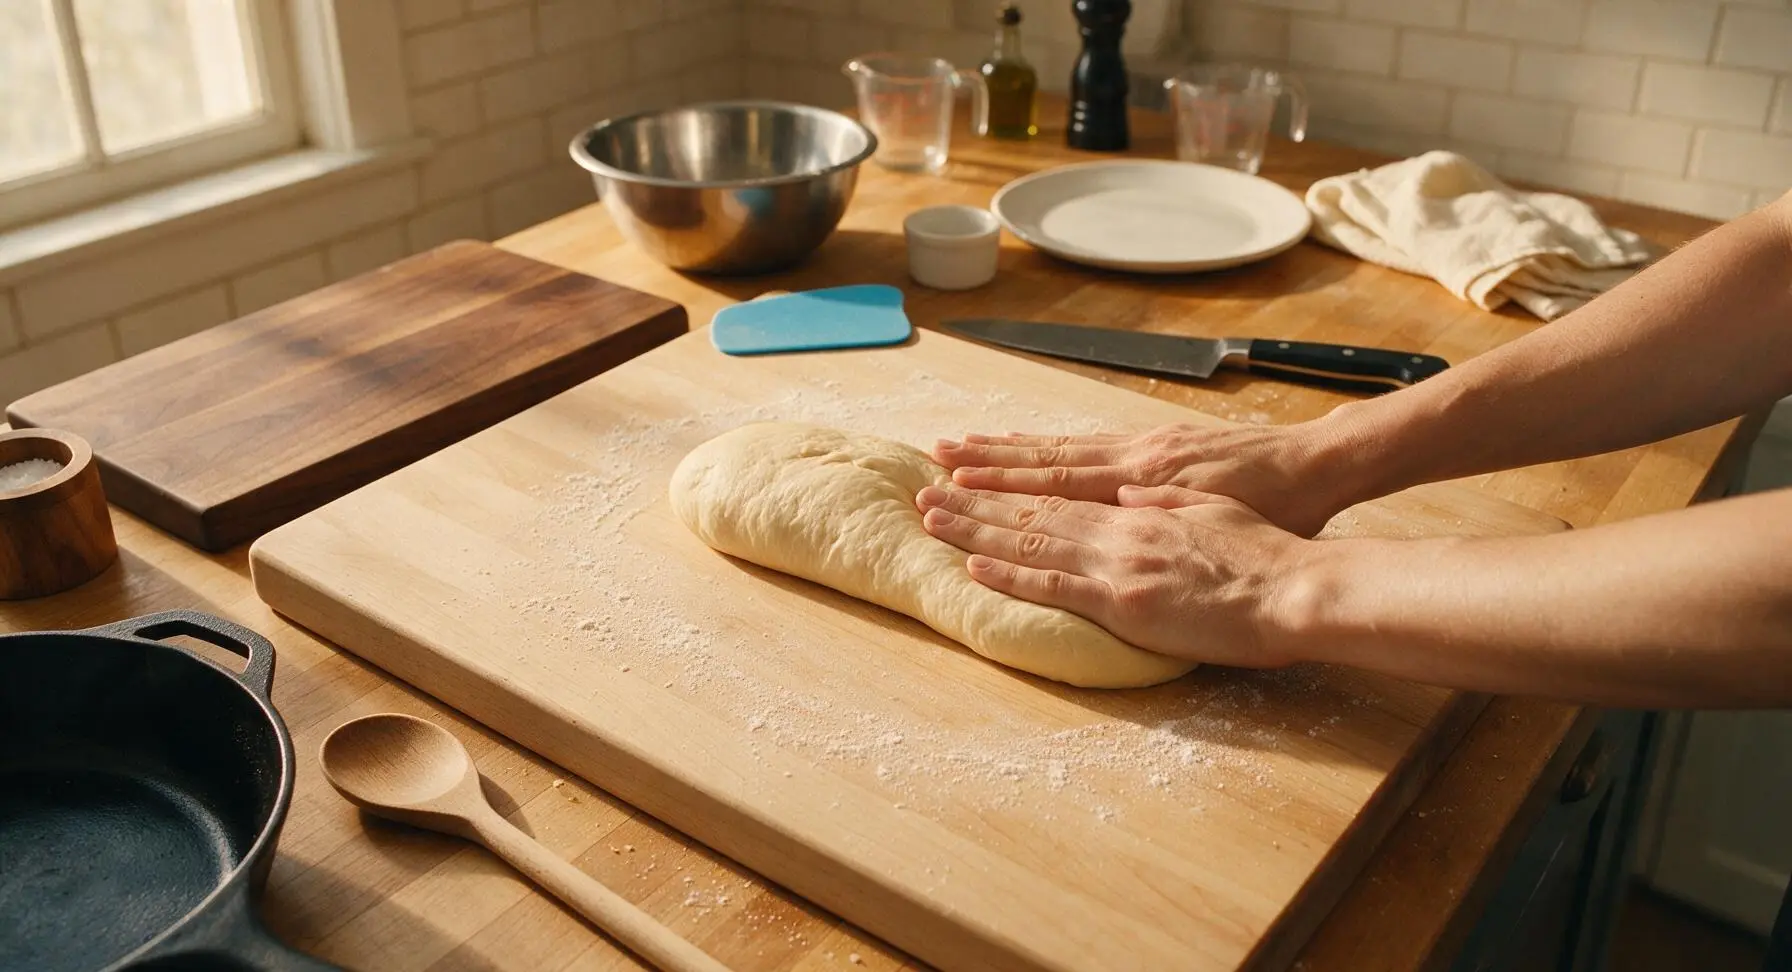
Sprinkle the reserved 20g of bread flour onto the light beech wood cutting board. Turn the shaggy dough out onto the floured board, and knead for 8-10 minutes by hand: fold the dough over itself, push forward with the heel of your palm, and rotate a quarter turn with each fold. The dough is ready when it is smooth, elastic, and springs back slowly when poked with a finger, leaving no sticky residue on your hands or the board. Use the sky blue silicone dough scraper to gather any stray dough bits from the board as you work.
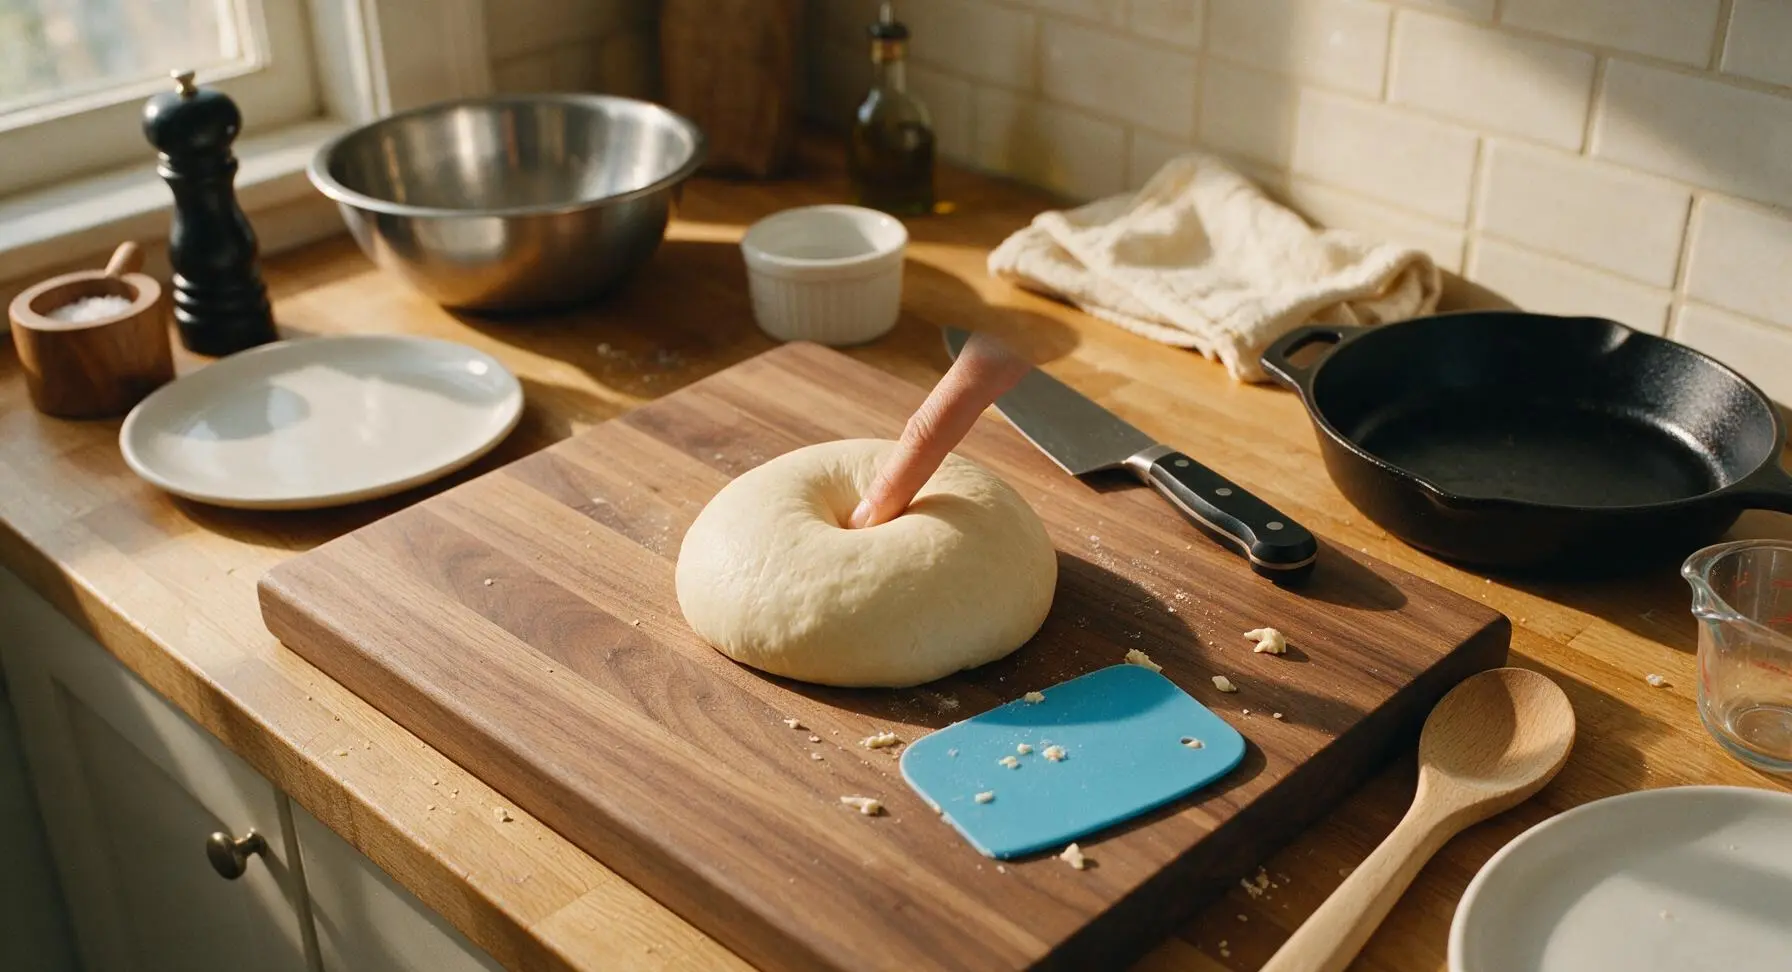
First Proof Dough
Wipe the large stainless steel mixing bowl lightly with a thin coat of leftover melted butter, then place the kneaded dough ball back into the bowl, turning once to coat the dough surface in butter to prevent sticking. Cover the bowl tightly with the unbleached cotton proofing cloth, and let rise in a warm, draft-free spot for 1 to 1.5 hours, until the dough has doubled in volume and leaves a deep indent when poked that does not spring back.
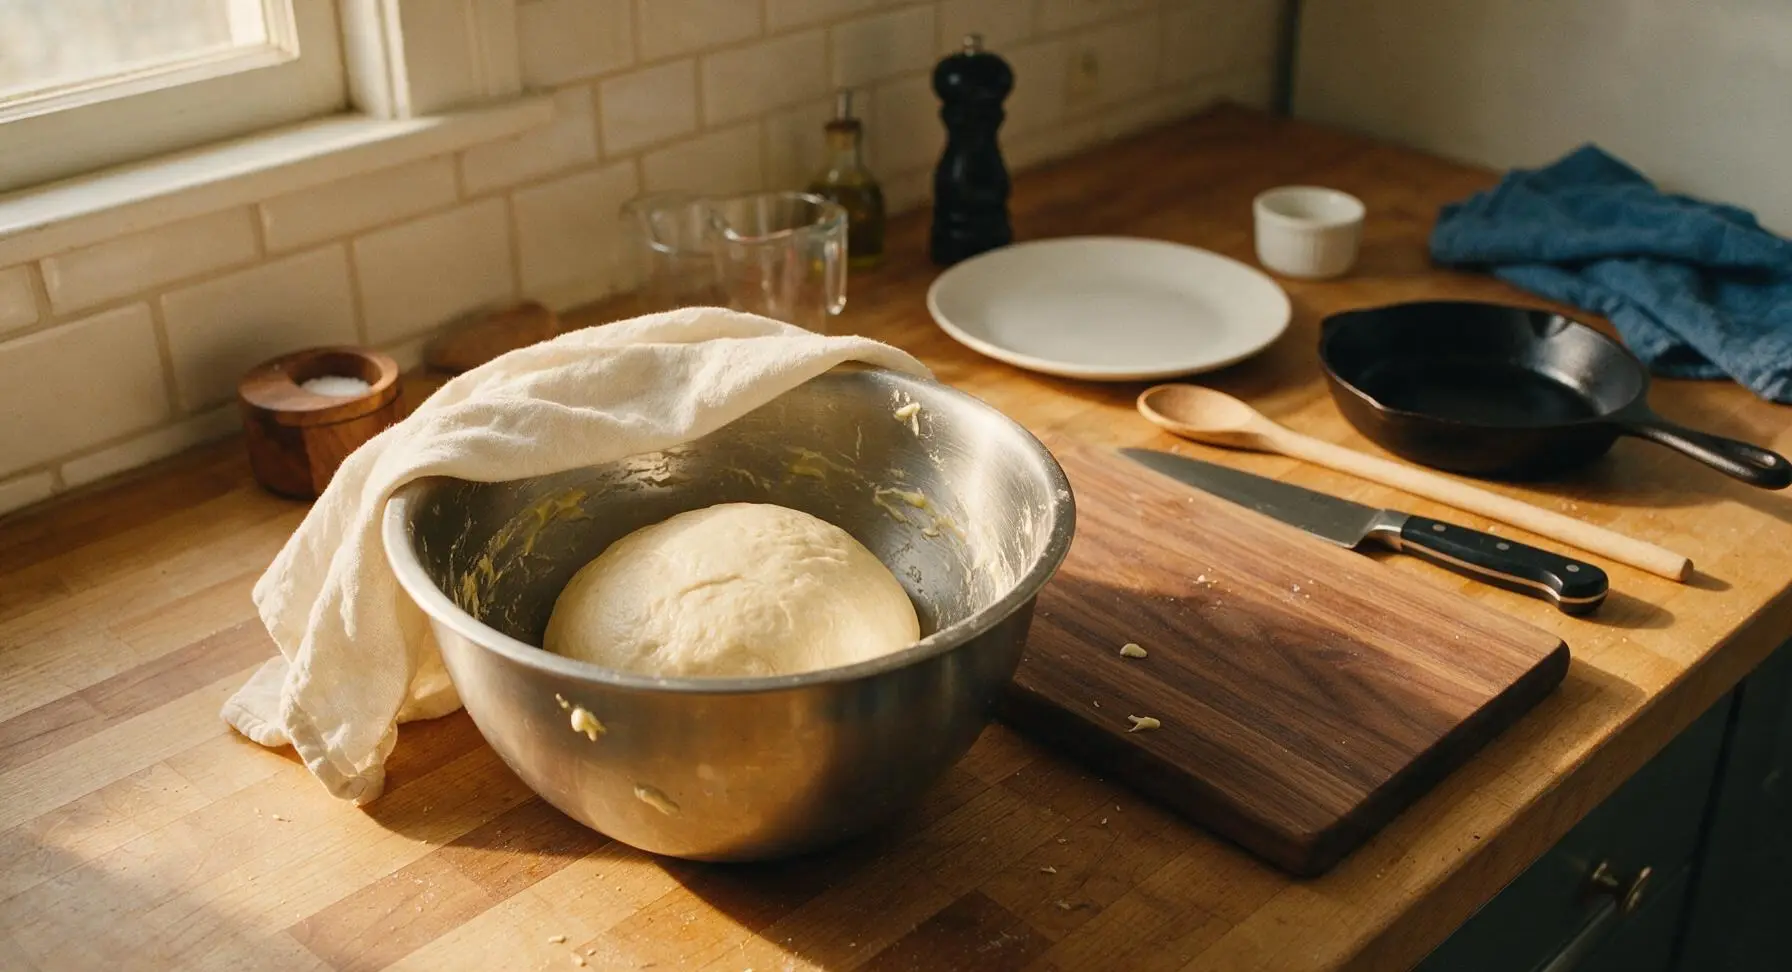
Divide and Shape Rolls
Once the dough has doubled, remove the proofing cloth and turn the risen dough out onto the lightly floured beech cutting board, pressing gently with your palms to deflate all large air bubbles. Use the stainless steel bench scraper to cut the dough evenly into 8 equal pieces (each ~105g). Working one piece at a time, fold the edges of each dough piece down toward the center to create a tight top surface, then roll back and forth under your palms to form a 6-inch long, slightly plump log shape, tapering gently at the ends for the classic hoagie roll shape. Transfer shaped logs to the parchment-lined aluminum baking sheet as you work.
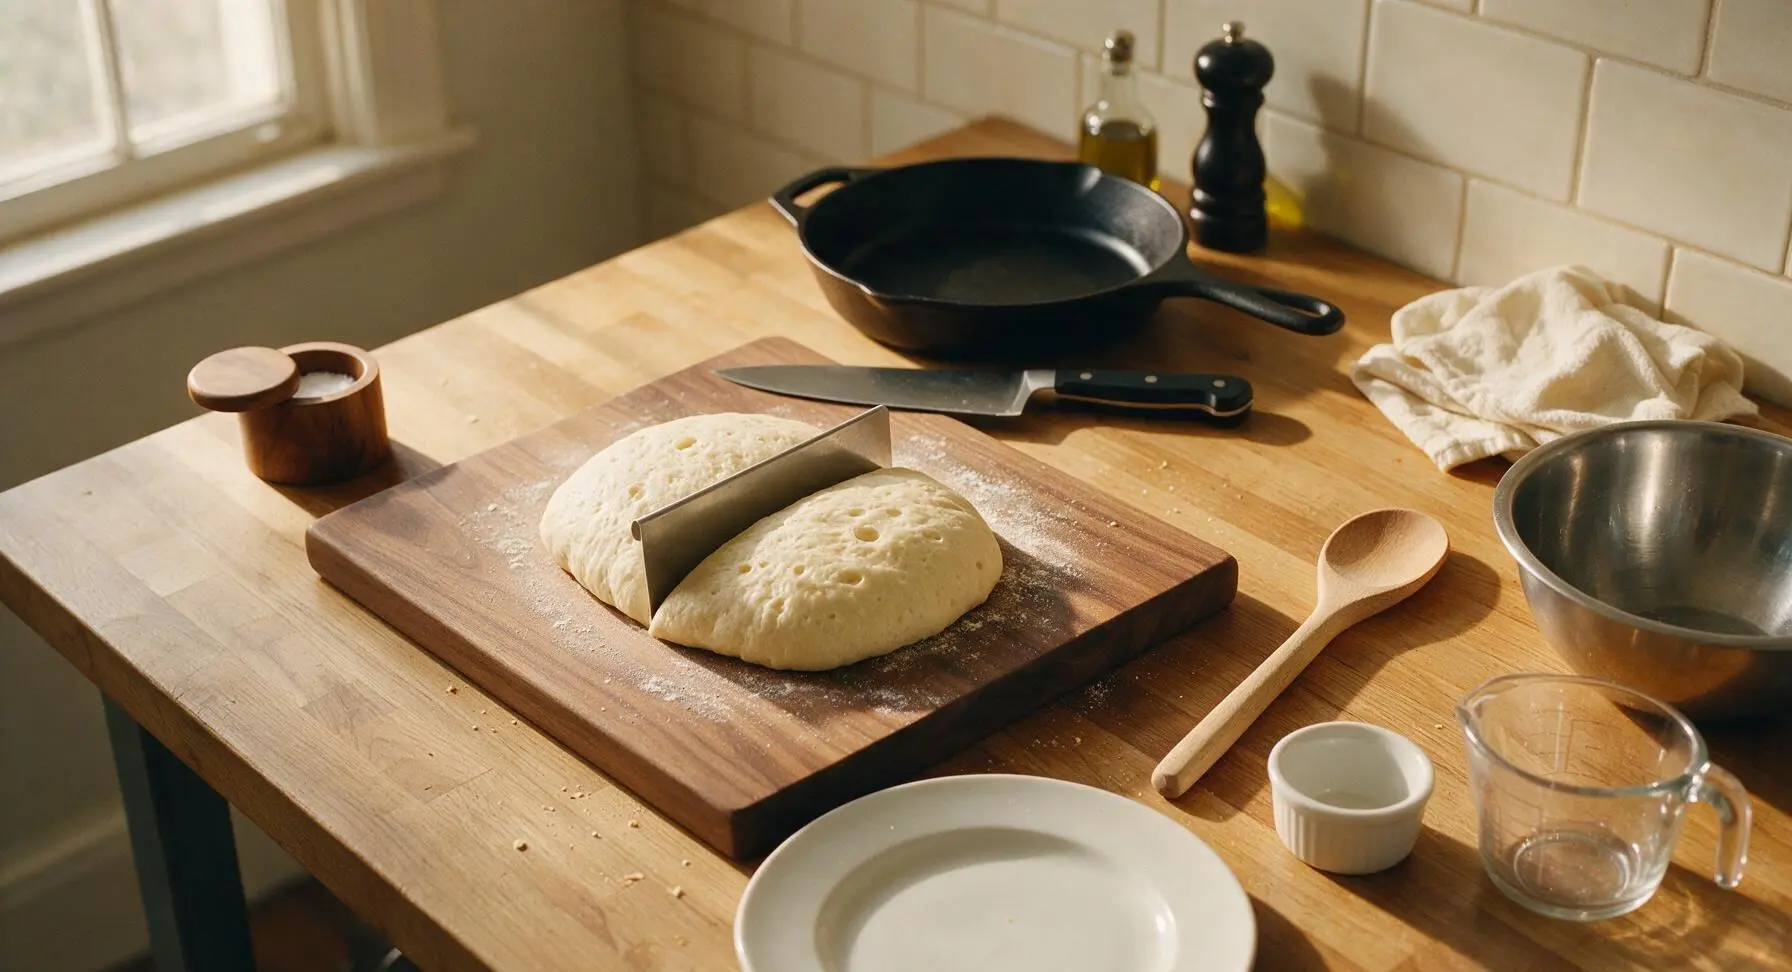
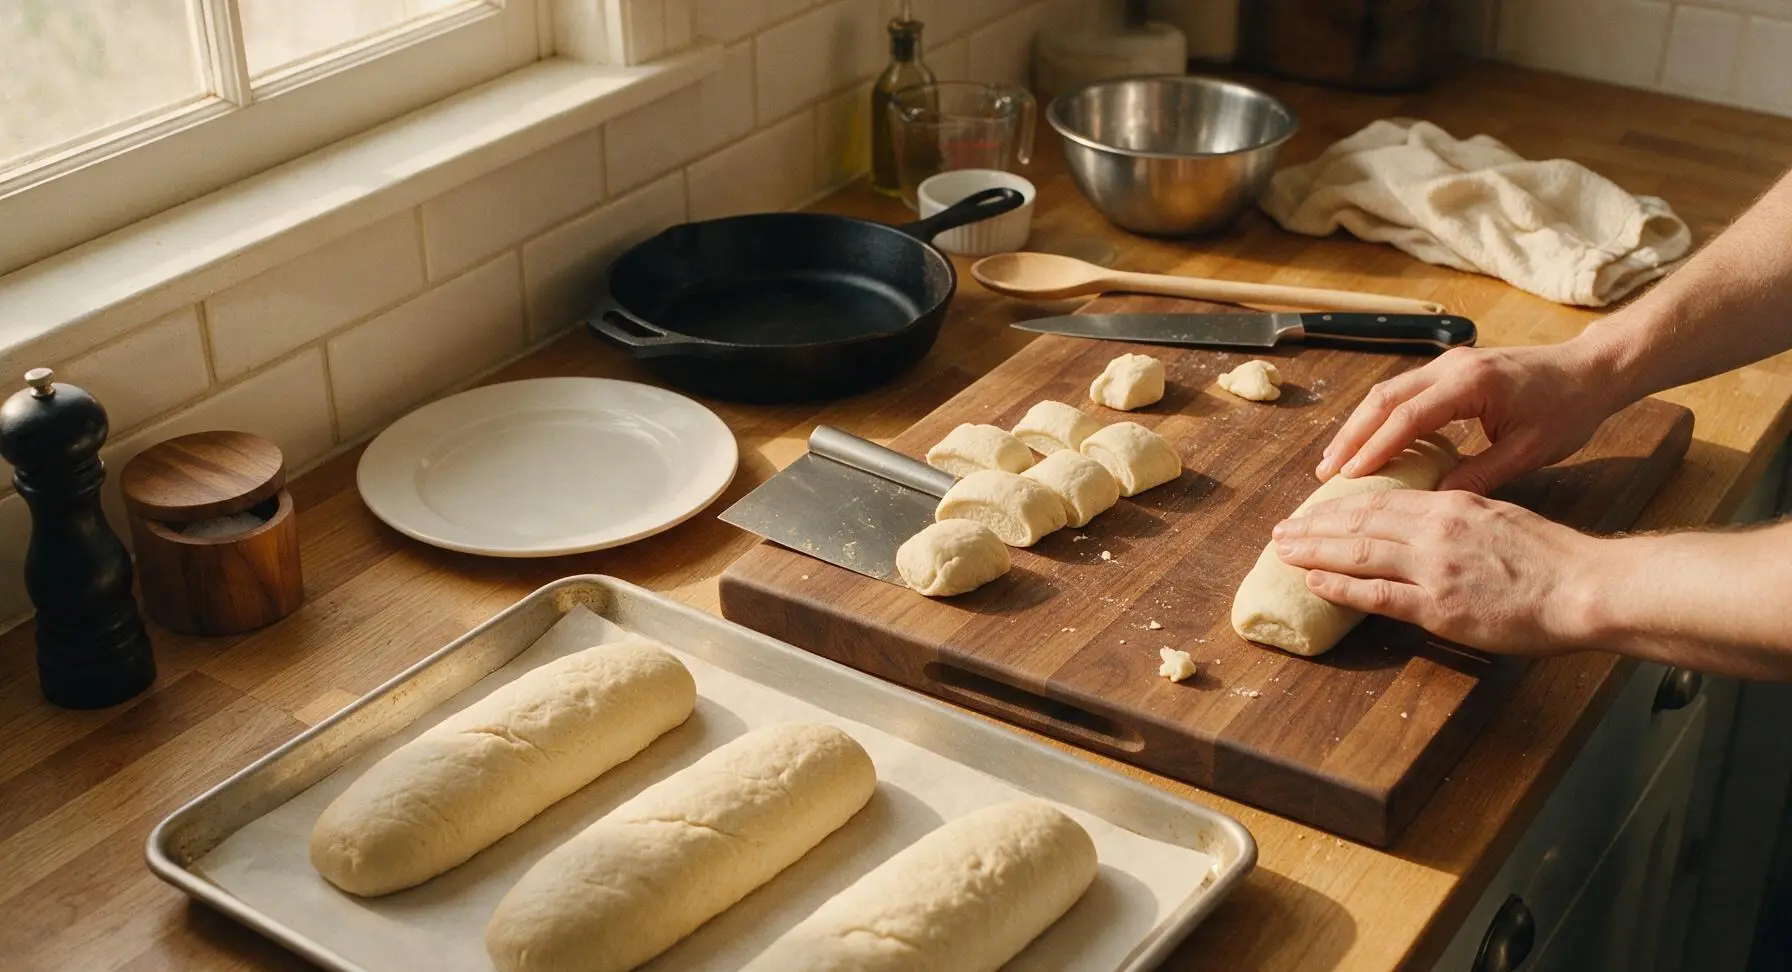
Second Proof Rolls
Arrange all shaped dough logs 2 inches apart on the parchment-lined rimmed baking sheet, leaving ample room for them to expand. Cover loosely with the unbleached cotton proofing cloth, and let rise for a second 30-45 minutes in a warm draft-free spot, until the rolls are puffy, nearly doubled in size, and hold a slight indent when gently poked on the side. Toward the end of the rise time, preheat the oven to 400°F (200°C).
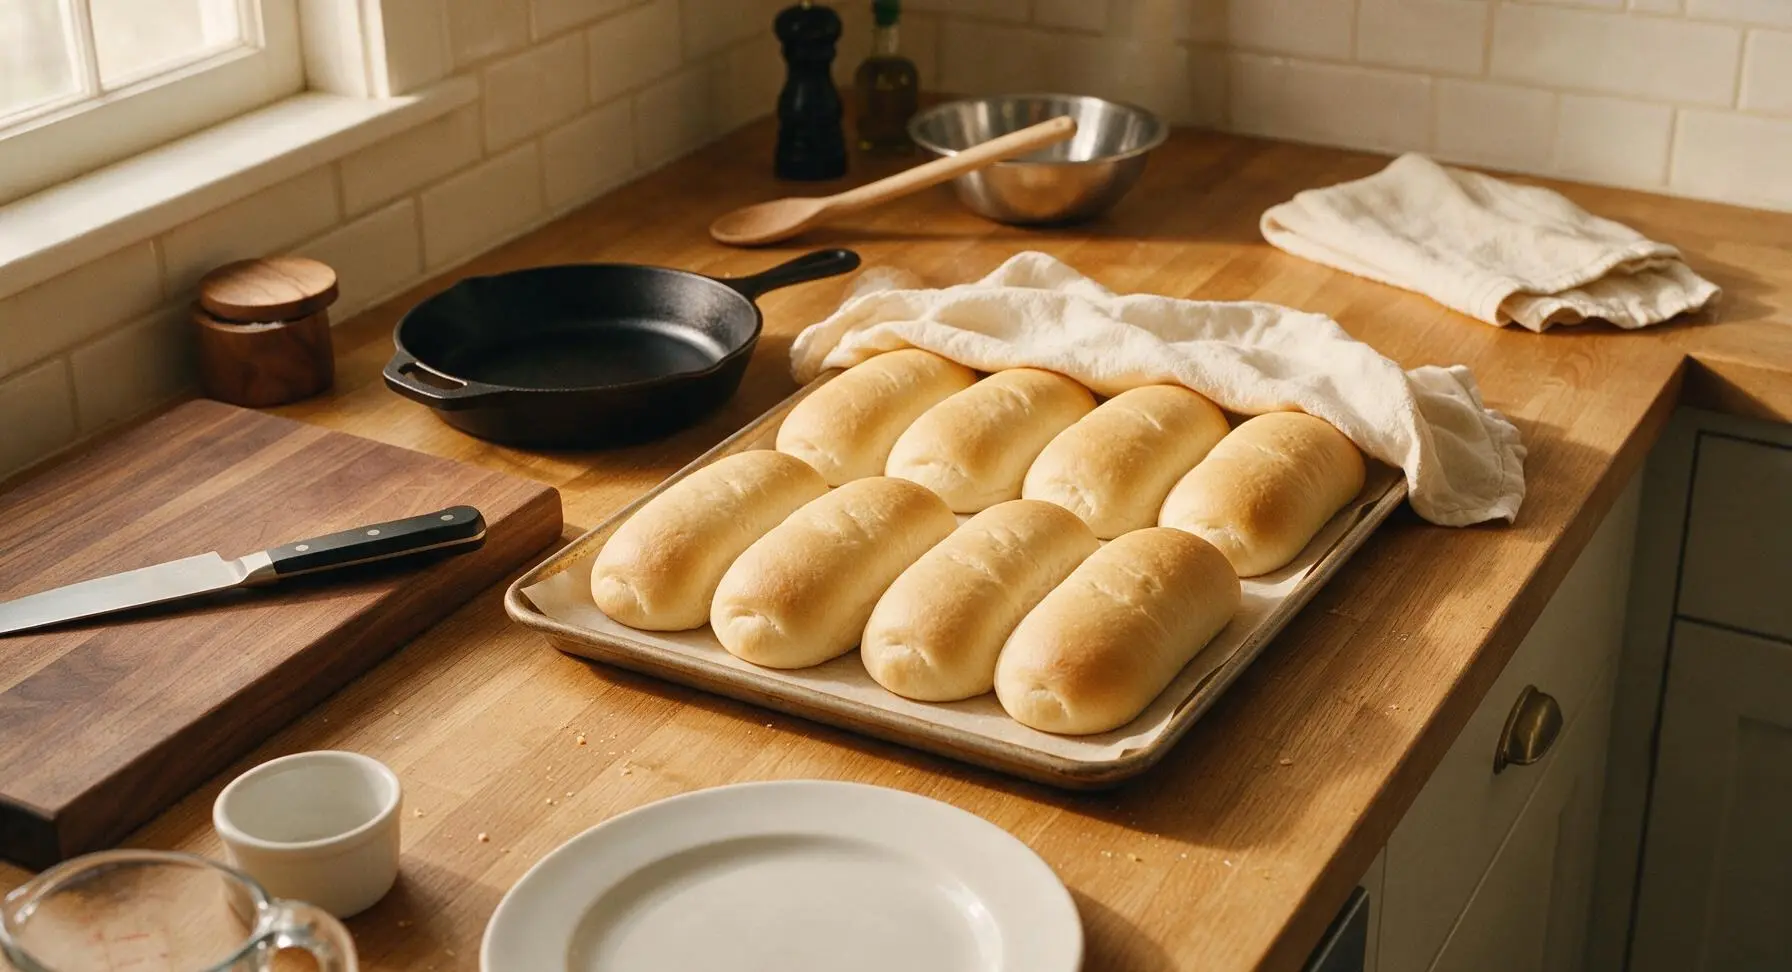
Score and Bake Rolls
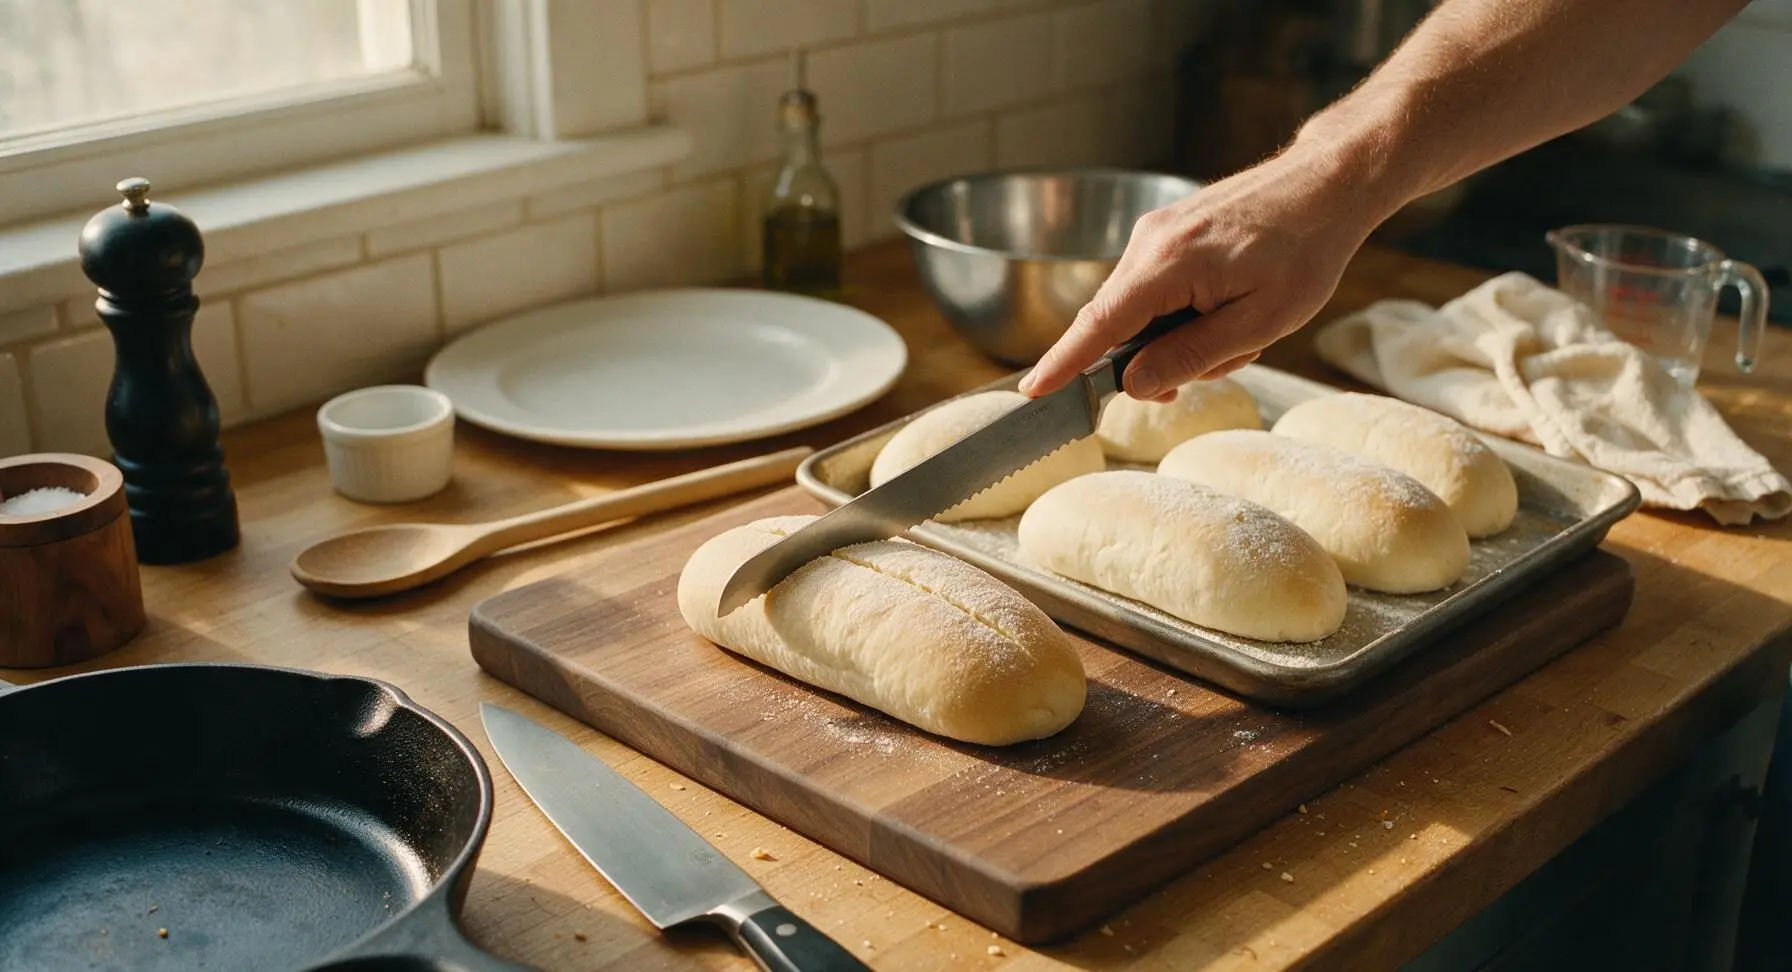
Remove the proofing cloth from the baking sheet. Use the serrated bread knife to make one shallow 1/4-inch deep diagonal score down the length of each puffy roll, taking care not to press hard enough to deflate the dough. Bake on the middle rack of the preheated 400°F (200°C) oven for 18-20 minutes, until the rolls are deep golden brown on top, sound hollow when tapped on the bottom, and reach an internal temperature of 190°F (88°C).
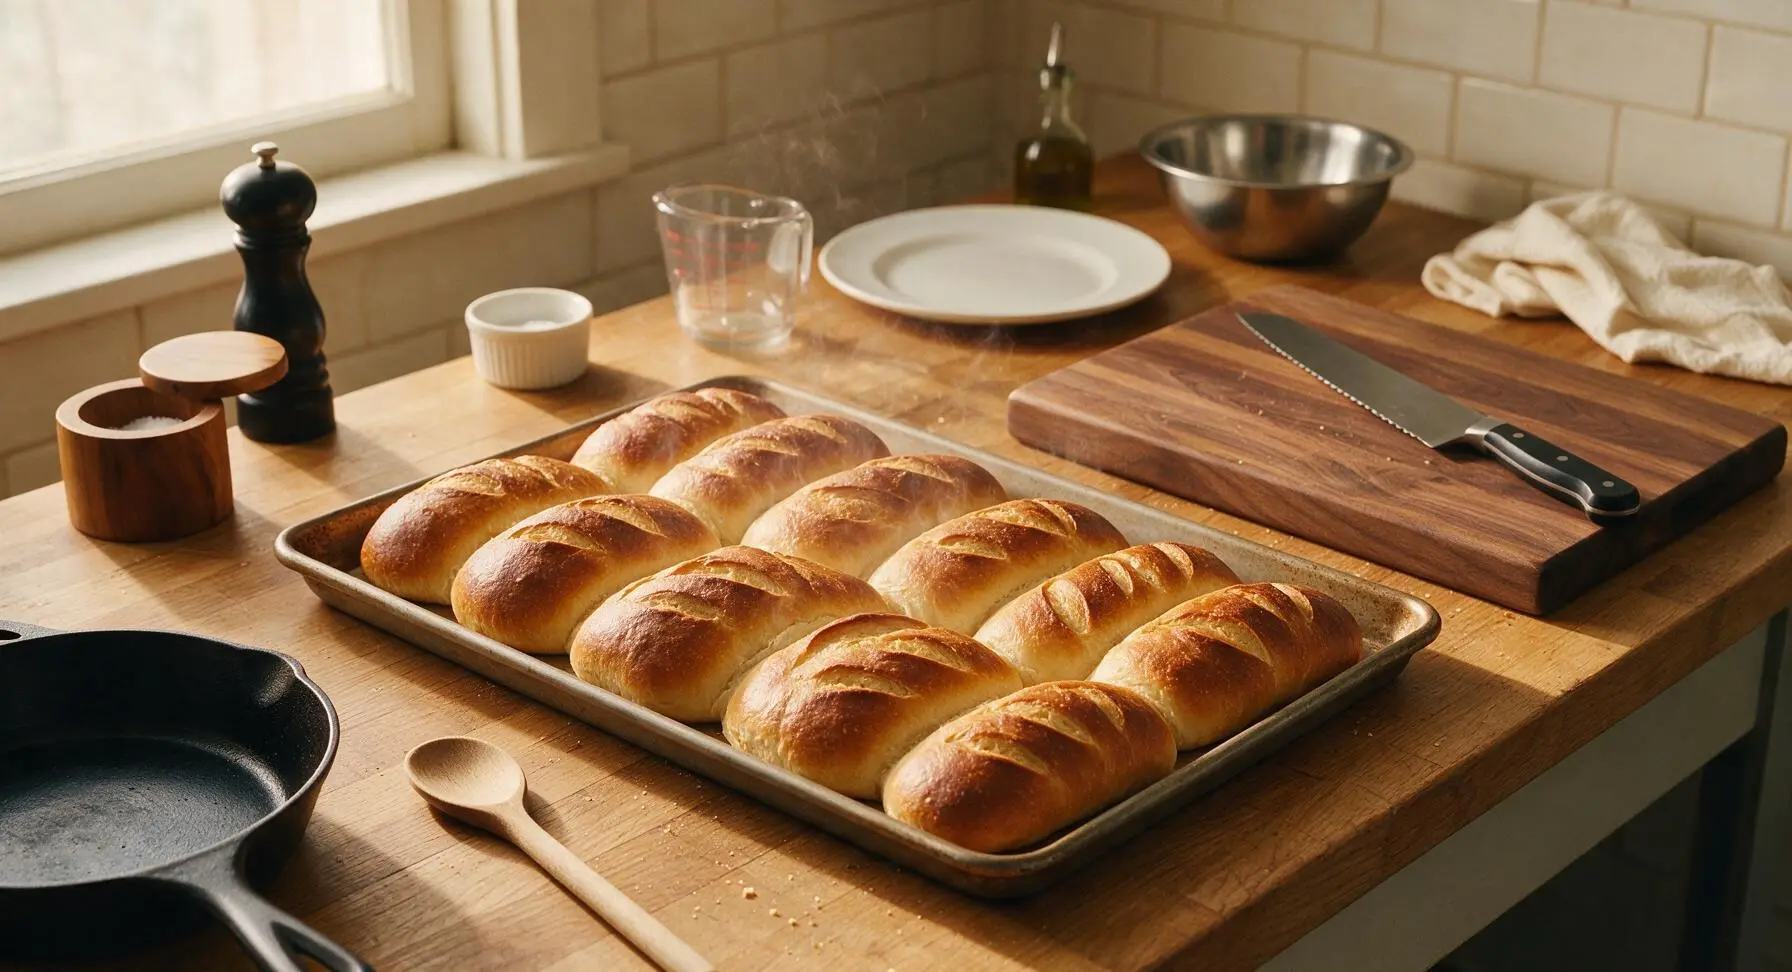
Butter and Cool
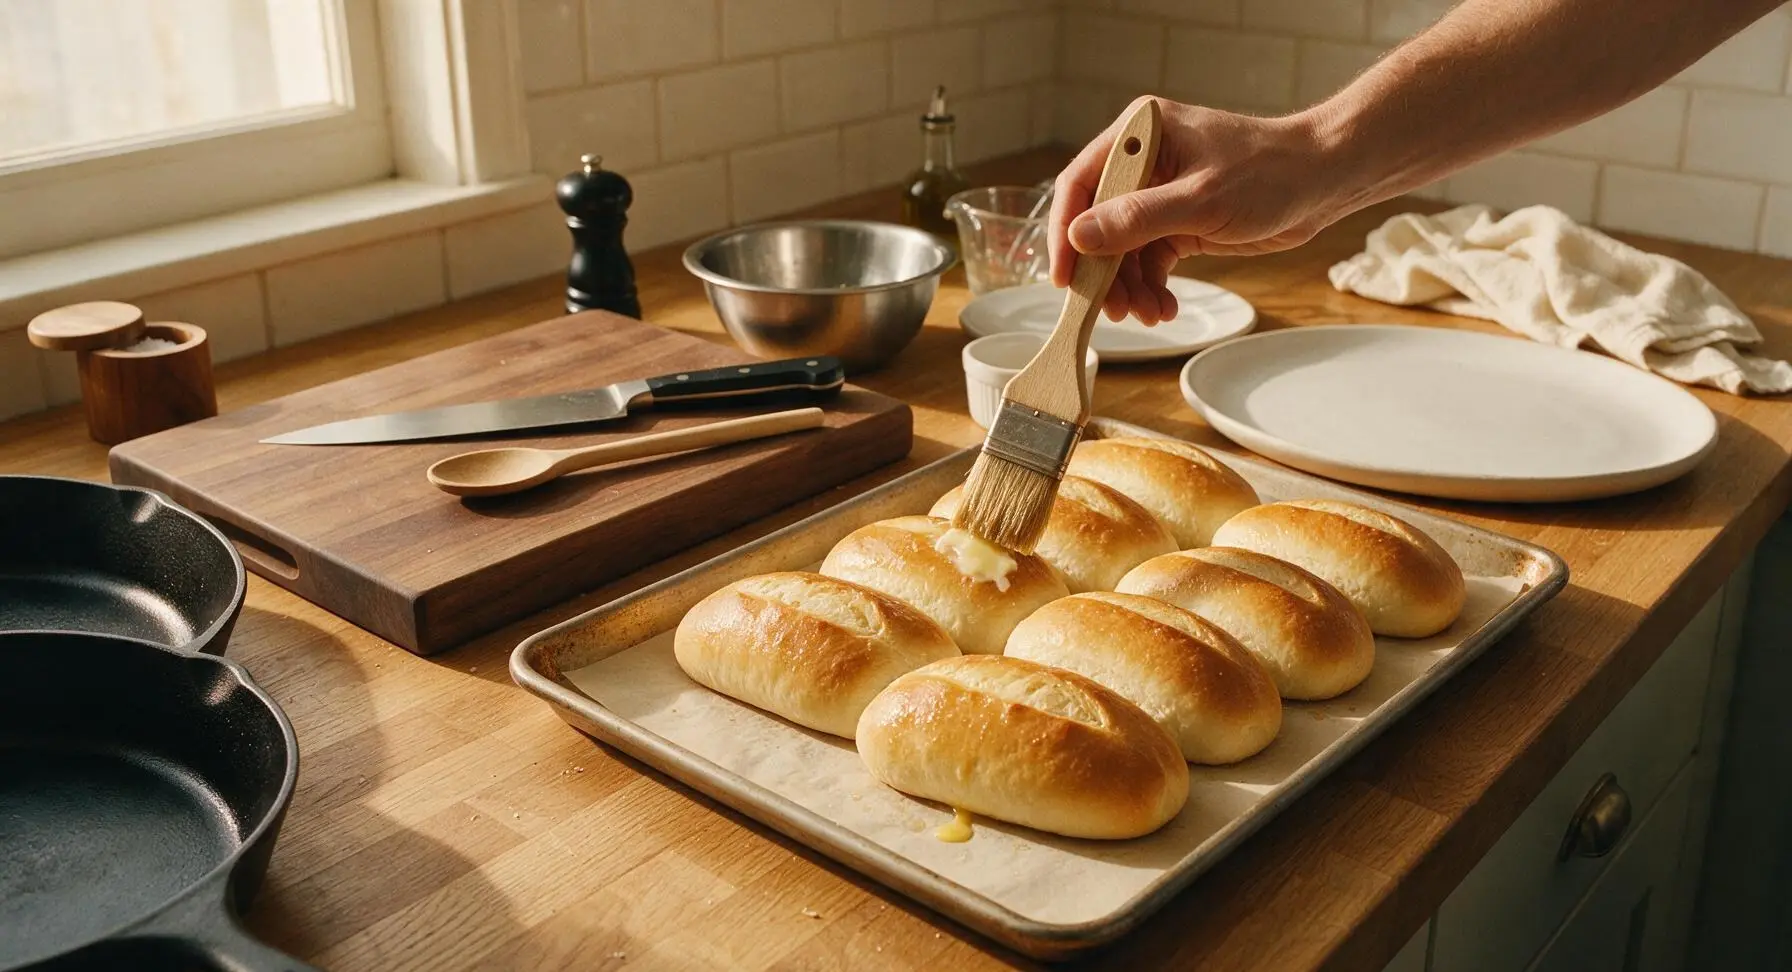
Immediately after removing the rolls from the oven, use the natural bristle pastry brush to brush the tops of the hot rolls with a thin coat of leftover melted butter for a soft, subtly shiny crust. Transfer the rolls to the large round matte white ceramic serving platter, and let cool for 15 minutes before slicing, to allow the interior crumb to set fully.
Tips
2.Do not rush the second proof after shaping: this shorter rise builds the soft, airy interior structure and ensures the rolls split cleanly along your score marks during baking, rather than bursting randomly at the seams.
3.For a slightly crispier, more professional crust, place a small metal pan of 1 cup hot water on the lower oven rack while preheating: the steam released in the first 5 minutes of baking boosts oven spring (the final rise of dough in the oven) and creates a delicate, shatteringly crisp crust that stays soft inside.






OMG these hoagie rolls are a GAME CHANGER for our weekly sandwich night! I was so nervous working with yeasted dough since I usually mess up the rise, but the instructions were so straightforward. My kids devoured their meatball subs on these before I even got a second one! Crust was perfectly chewy, inside was soft and fluffy. 10/10 will be making these for our next neighborhood potluck too.
Tried these for pulled pork sandwiches over the weekend and WOW, way better than the store-bought hoagie rolls I usually grab. Only hiccup was my first rise took almost 20 minutes longer than the recipe said, my kitchen was pretty cold this time of year. Cook time was spot on 20 minutes though, came out golden brown perfect.
Does anyone know if these freeze well? I want to make a big batch on Sunday for lunches all week, but I don’t want them to go stale before we get through them. Medium difficulty is making me a little nervous since I’m still pretty new to bread baking, but everyone’s reviews look so good!
SO good. I’ve been chasing that perfect deli-style hoagie roll for years and this recipe nails it. Chewy but not tough, soft enough to soak up oil and vinegar without falling apart, has that subtle yeasty sweetness that store bought never gets right. Made Italian subs with capicola, provolone, pickled veggies, and it was better than the sub shop down the street. No notes.
I brought these to my office potluck last week and every single roll was gone before I even got to try one! Coworkers were begging for the recipe all afternoon. Guess I have to make another batch this weekend just so I can taste what all the hype is about, ha!
Help! I followed the recipe exactly but my rolls came out really dense, not light and fluffy like the pictures. Did I overknead? Underknead? My yeast was fresh so I don’t think that was the problem. Frustrated because I was so excited for homemade hoagies for game night.
These were perfect for our Philly cheesesteak night! I was worried they’d be too much work for a weeknight, but I prepped the dough the night before and let it do the first rise in the fridge, then shaped and baked them when I got home from work. Total game changer for busy weeknights. My son said they tasted better than the ones we get at the sports bar.
I brushed these with melted garlic butter as soon as they came out of the oven and HOLY COW. Best decision I’ve made all month. We used them for meatball marinara subs and the whole house smelled like a fancy Italian bakery for hours. Even my super picky teen asked if we could have these every Sunday for dinner from now on. No complaints here.
Love that this recipe uses basic pantry staples! I didn’t have to run to the grocery store for any fancy ingredients, which is a huge win for me. The only thing I adjusted was adding a little sprinkle of sesame seeds on top before baking for extra crunch, and it worked perfectly. Will be adding these to my regular rotation for sure.
Wait, the recipe says medium difficulty – what part makes it medium? I’ve only made no-knead bread before, is this going to be too hard for me? I really want good hoagie rolls for my French dip sandwiches this weekend but I don’t want to waste flour if it’s too advanced.
Made these for our college football tailgate last Saturday and they were a total hit! We did cheesesteaks, Italian subs, and even pulled chicken sliders on them, and none of the rolls fell apart even when they were loaded up with fillings and sauces. So sturdy but still soft, exactly what you want for a tailgate sandwich. Only downside is now all my friends are demanding I make them for every game this season.
These are perfect for repurposing leftovers! I used day old rolls to make garlic bread for spaghetti night, then sliced up the last one to make croutons for my salad all week. The texture holds up so much better than grocery store rolls for leftover hacks. 10/10, way more versatile than I thought they’d be when I first made them.