
yuzu kosho sauce
intro
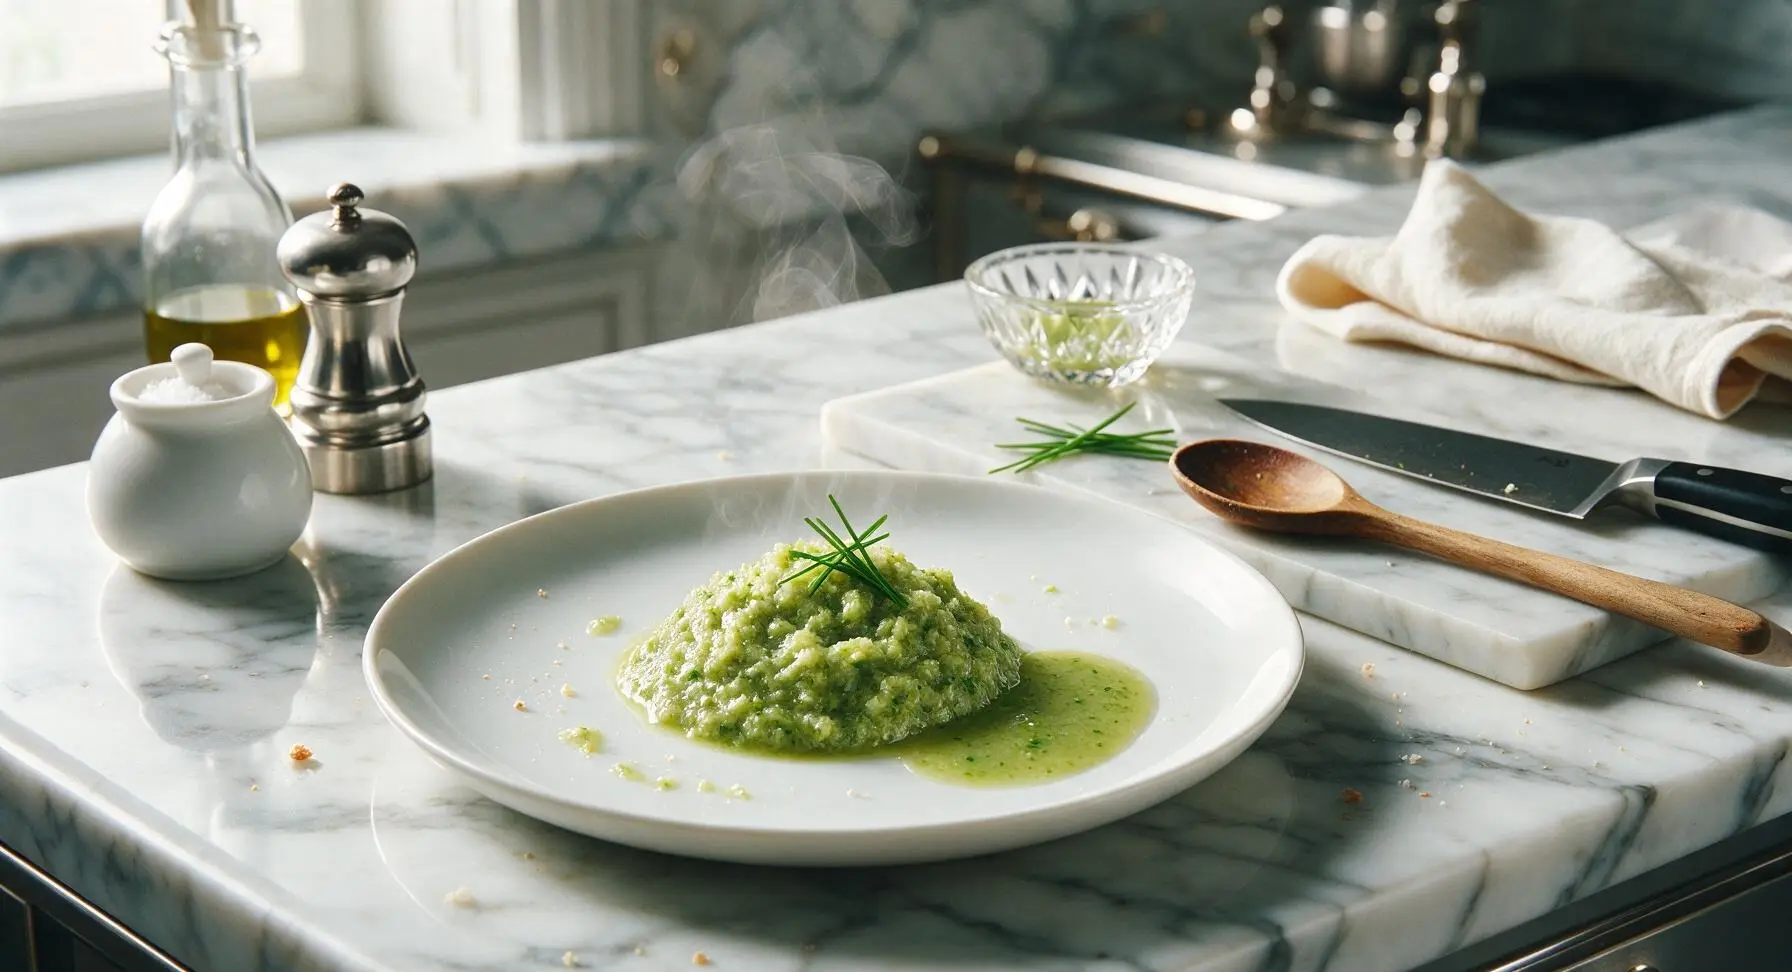
Bright, zingy fermented Japanese condiment balancing tart green yuzu, fiery chili, and briny umami—perfect for grilled meats, seafood, noodles, and dipping sauces.
Ingredients
Steps
Zest and juice yuzu
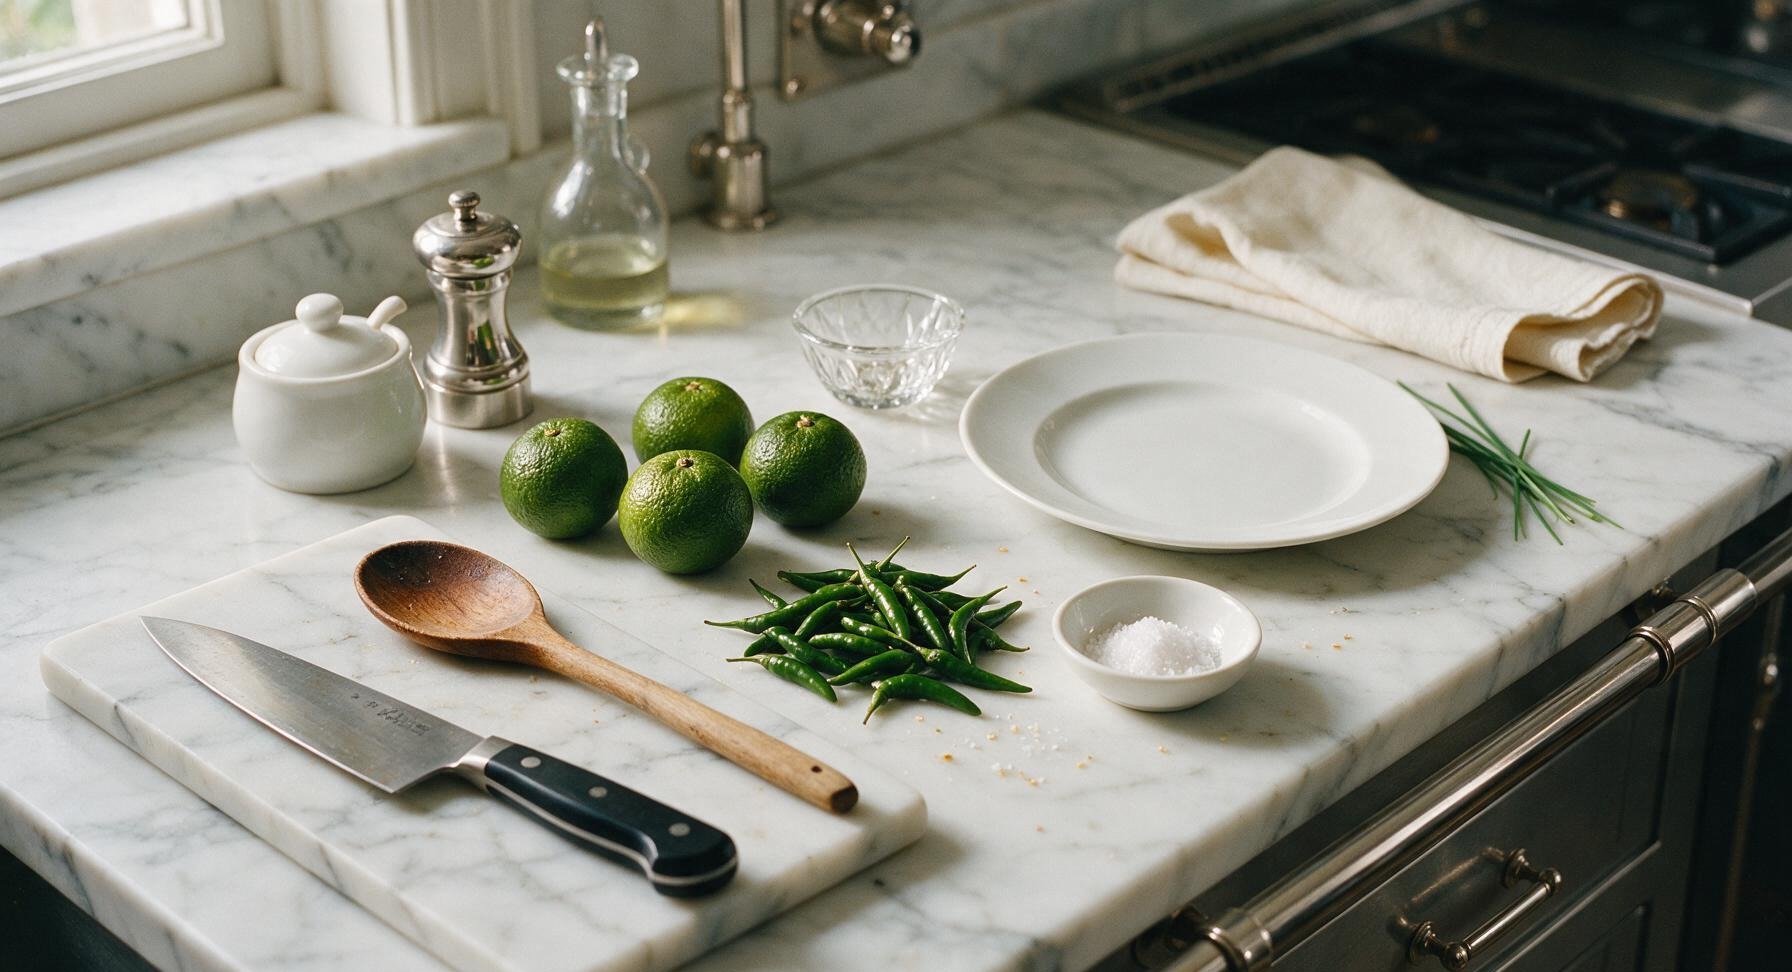
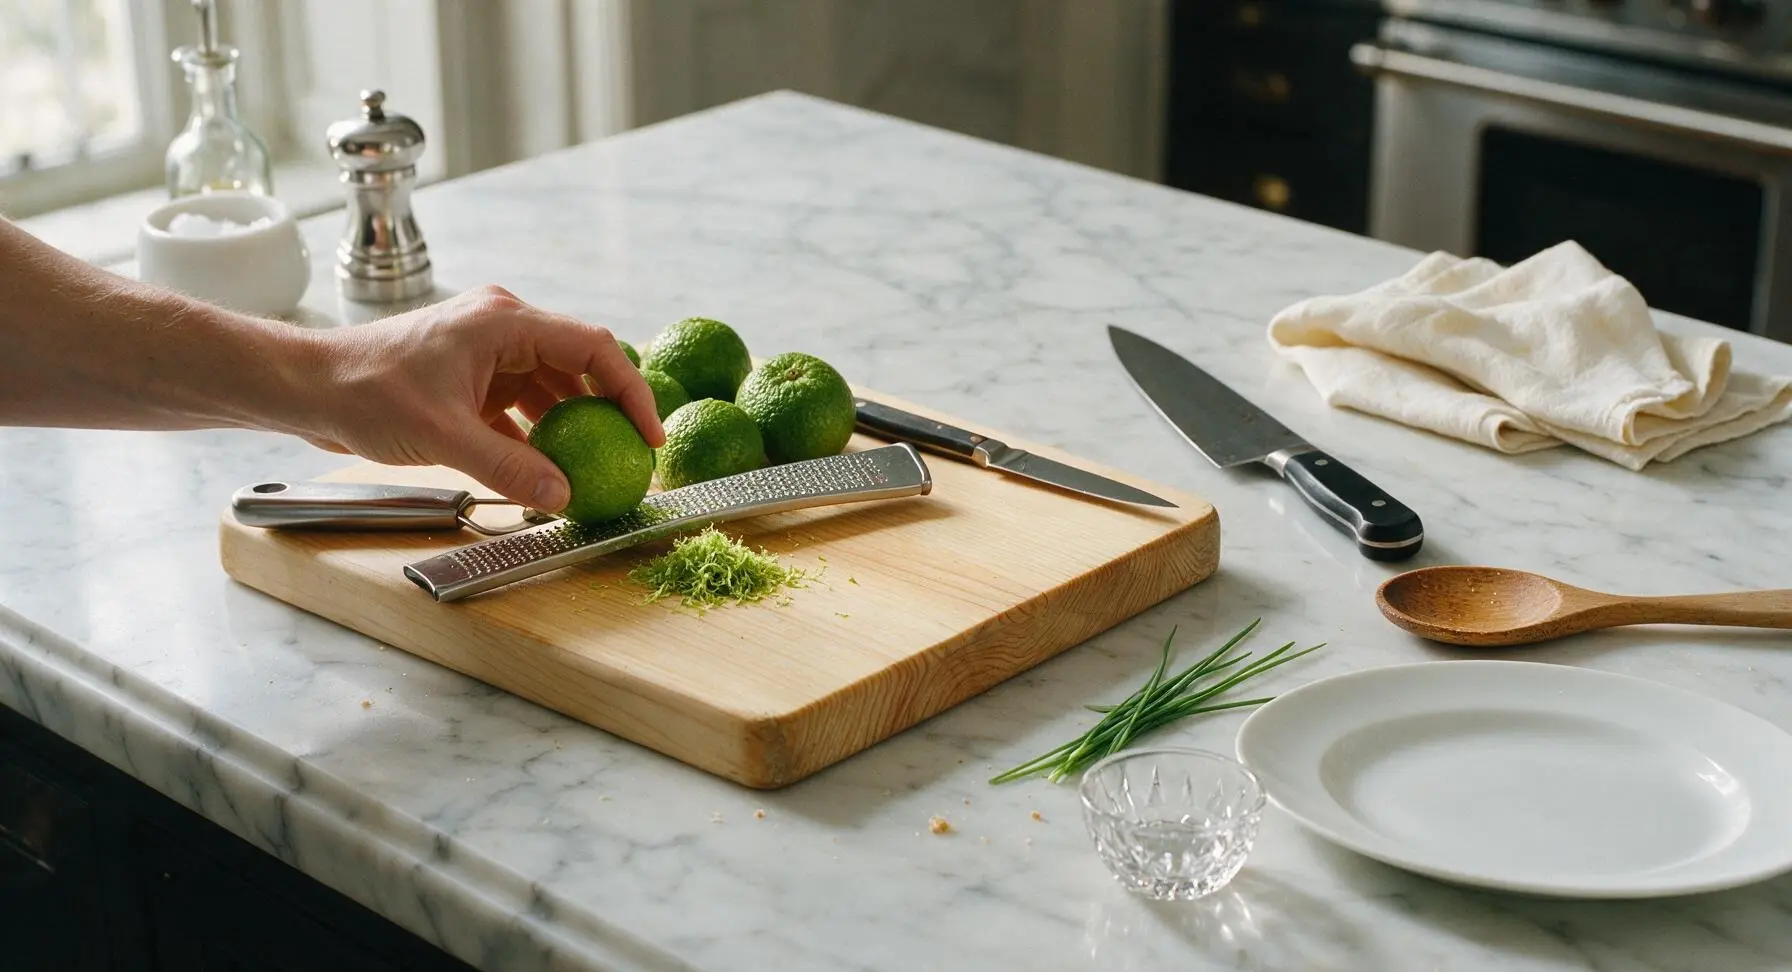
First, wash the 200g (4 medium) green unripe yuzu thoroughly under cool running water, pat dry with the cotton kitchen towel. Hold the stainless steel zester against the yuzu skin, grating only the bright outer zest and avoiding the bitter white pith underneath, until you have 2 tablespoons of fine, feathery zest. Cut the zested yuzu in half crosswise with the paring knife, squeeze to extract 60ml (1/4 cup) of fresh juice, catching and discarding any seeds that fall out. Set zest and juice aside on the cutting board.

Trim and prep chilies
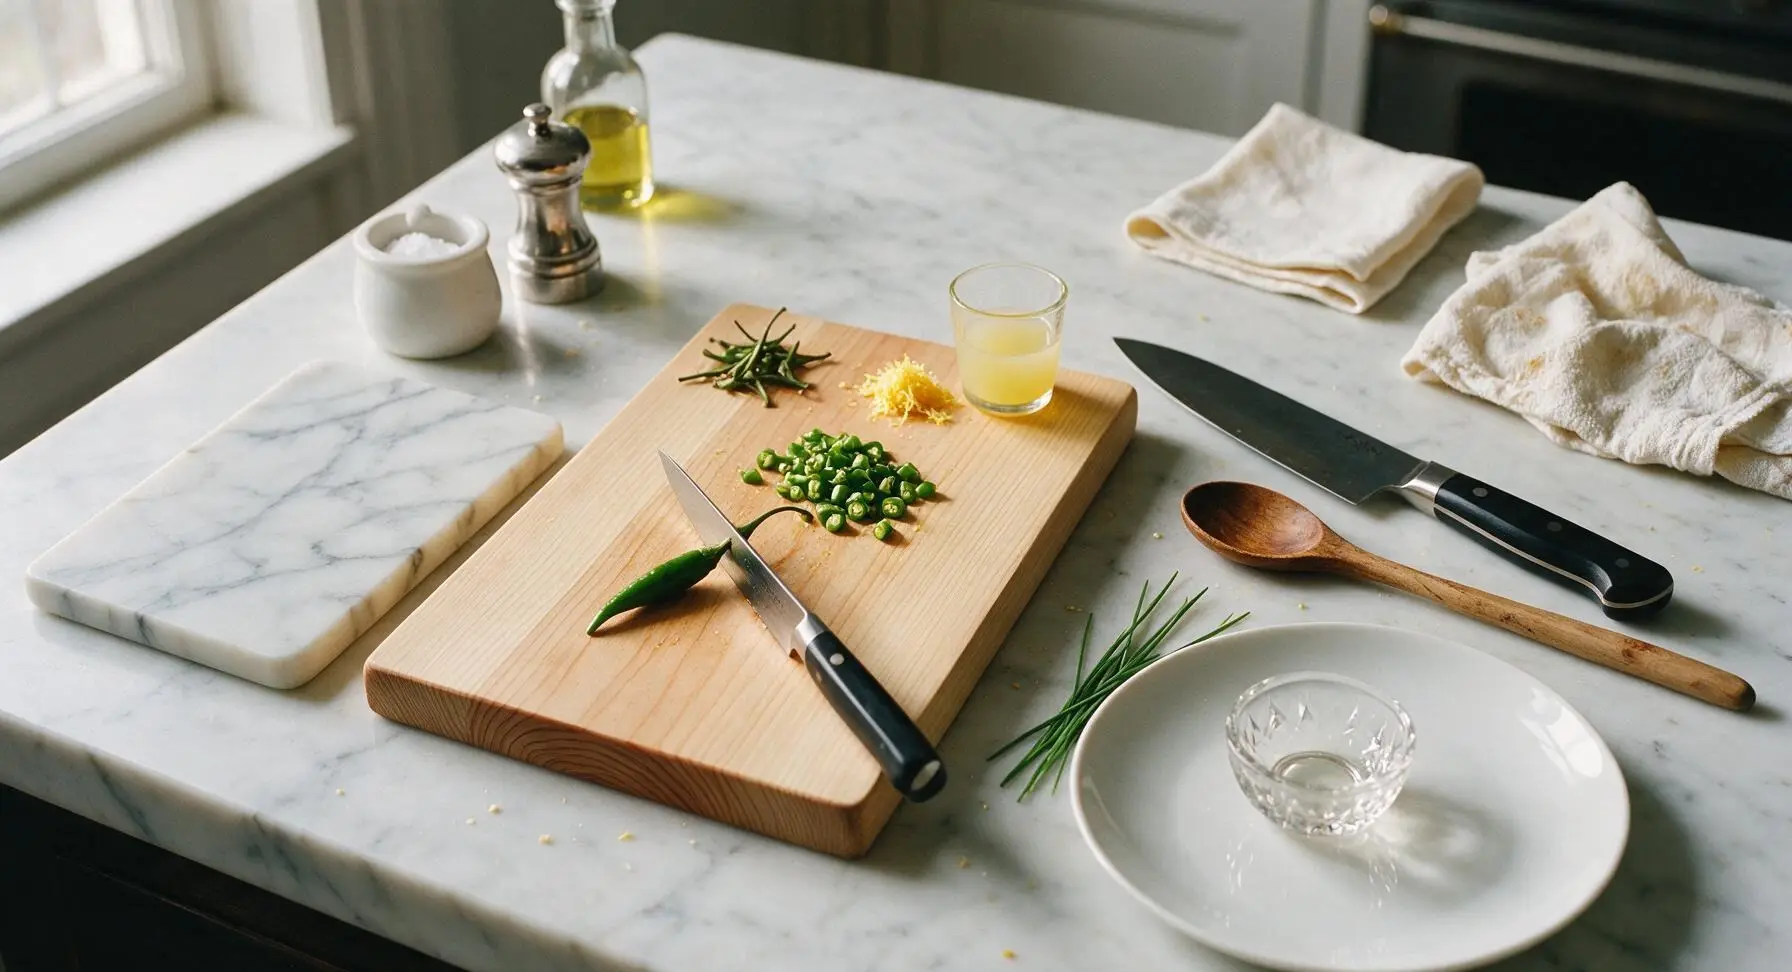
Rinse the 100g green bird's eye chilies under cool water, pat dry with the kitchen towel. Place them on the hinoki cutting board, use the paring knife to trim off and discard the woody green stems. For a milder sauce, slice each chili lengthwise and scrape out 50% of the seeds and white pith; leave all seeds and pith in place for maximum, bright heat. Roughly chop the trimmed chilies into 5mm pieces.
Combine base ingredients
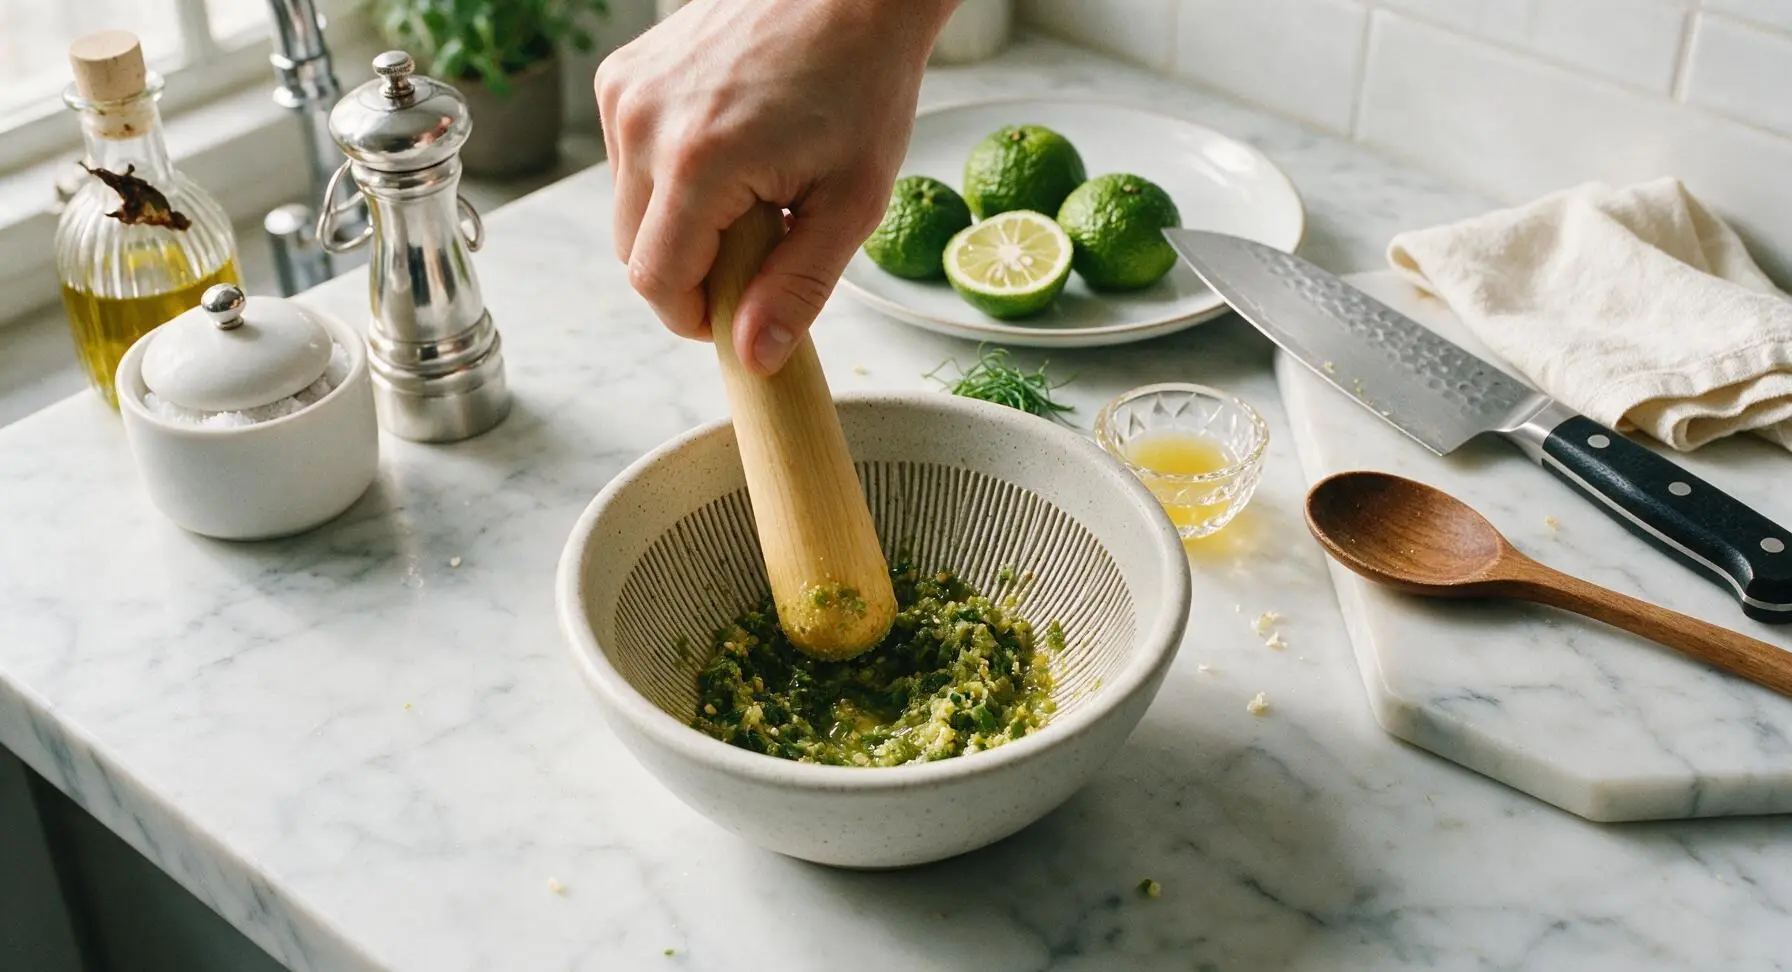
Transfer the chopped chilies, yuzu zest, and 1 tablespoon fine sea salt into the stainless steel suribachi. Reserve 2 tablespoons of the yuzu juice to adjust consistency after grinding, pouring only 2 tablespoons of the juice into the suribachi with the other ingredients. Stir the mixture gently with the tip of the paring knife to evenly distribute the salt across the chilies and zest.

Grind to coarse paste
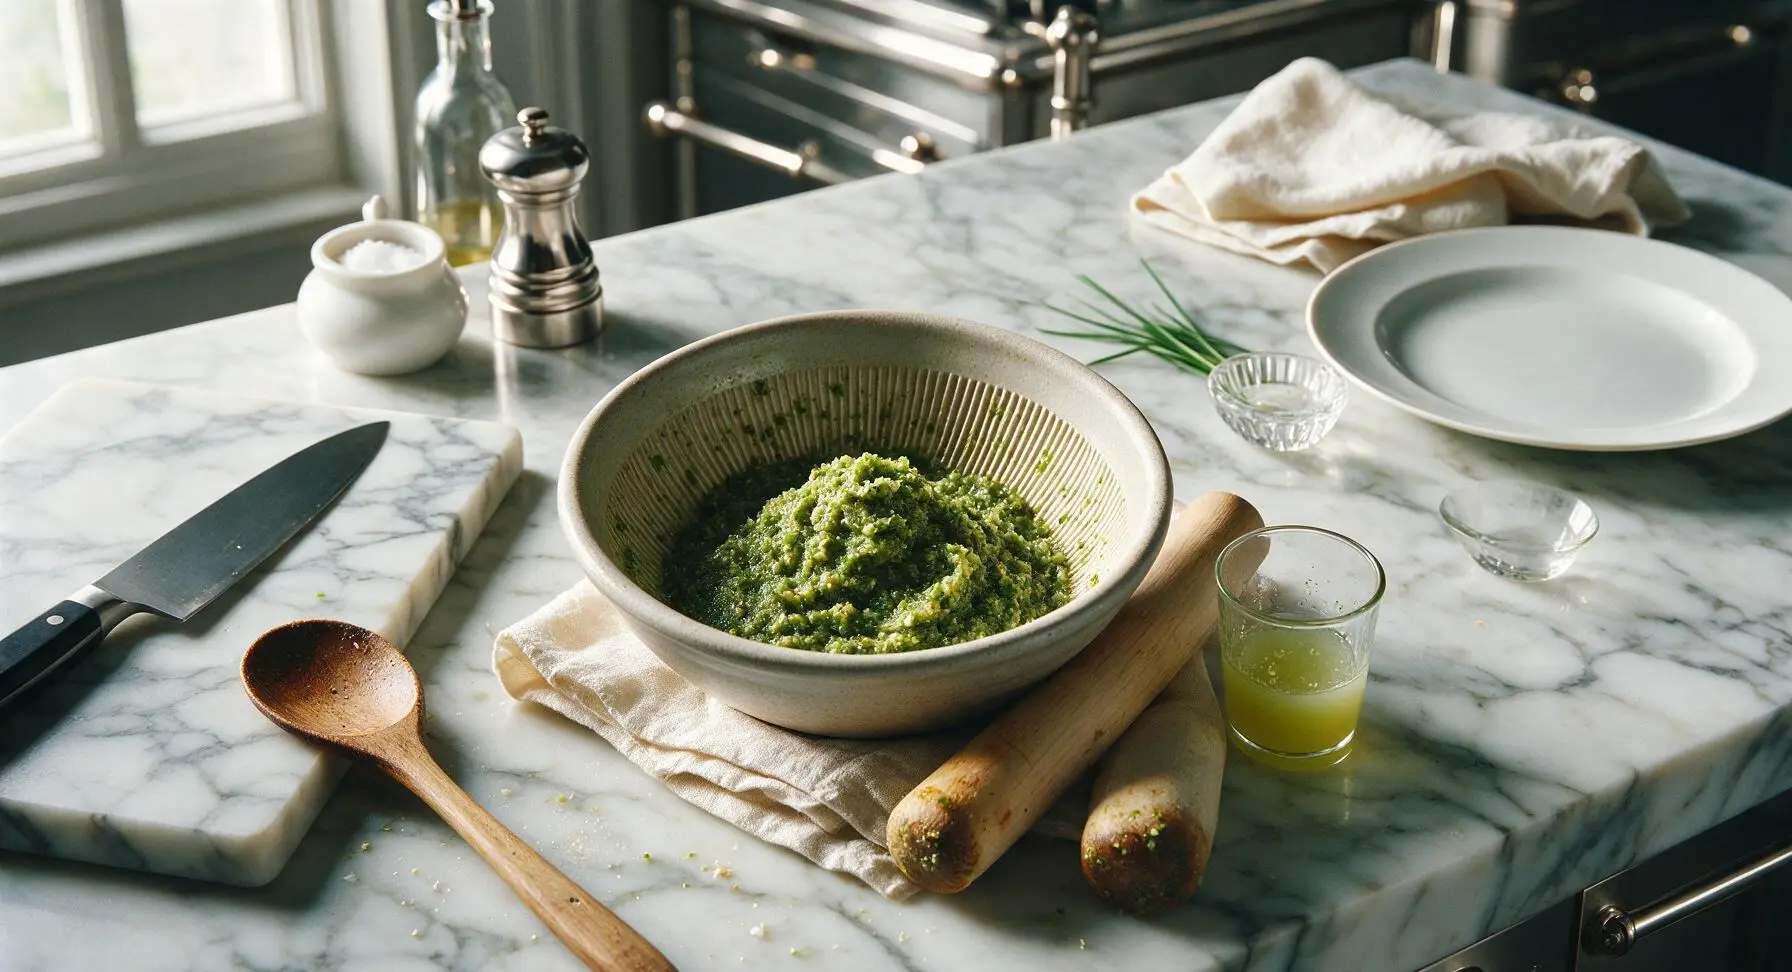
Use the hinoki surikogi pestle to grind the mixture in the suribachi using firm, circular motions, pressing the chili and zest against the ridged mortar interior. Grind for 3-4 minutes until the mixture forms a coarse, chunky paste, with small visible flecks of chili skin and yuzu zest remaining—do not grind to a completely smooth puree, as the texture is a key part of traditional yuzu kosho. Add small splashes of the reserved yuzu juice as needed to keep the paste moving, stopping when the paste holds its shape when mounded.
Pack paste into jar
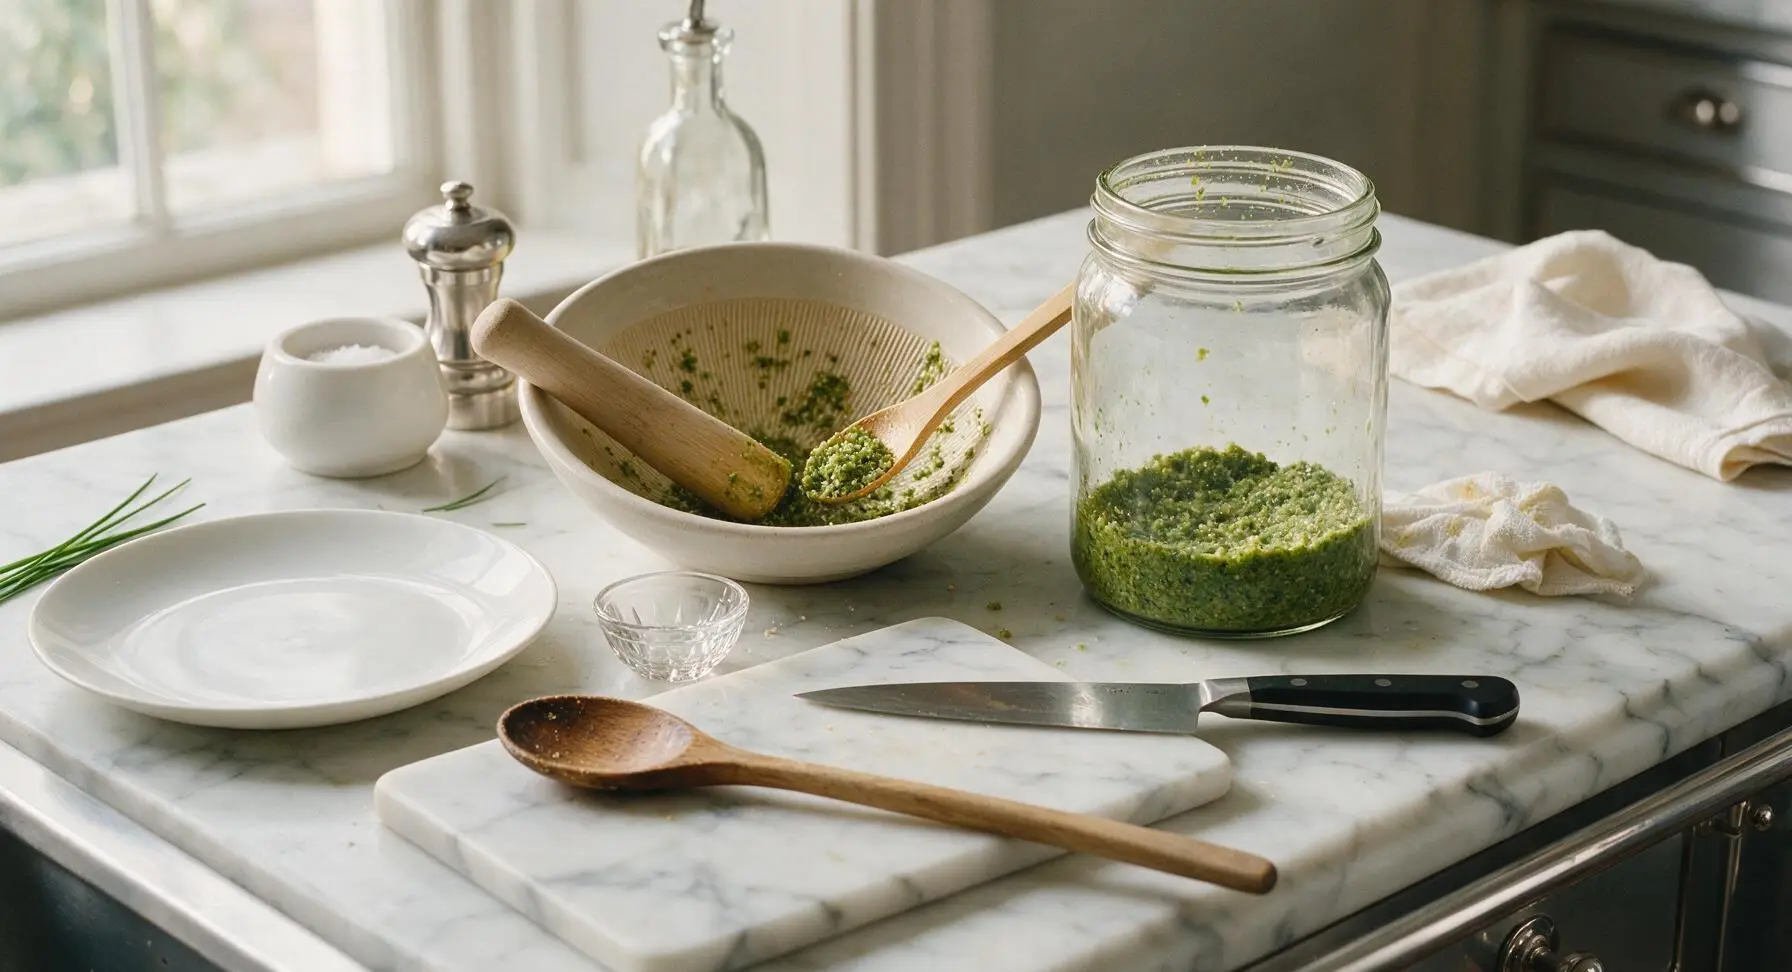
Use the bamboo spoon to scoop the ground yuzu kosho paste into the clean, dry clear glass fermentation jar, pressing down firmly with the back of the spoon to eliminate any air pockets trapped in the paste. Leave a 2cm headspace at the top of the jar to allow room for fermentation bubbles. Wipe any paste smudges from the jar rim with a corner of the cotton kitchen towel, then seal the jar with its airlock lid, adding a small amount of clean water to the airlock per manufacturer instructions.
Ferment three days
Place the sealed jar in a cool, dark spot (18-21C / 65-70F) away from direct sunlight for 3 days. Check the airlock daily: small bubbles will rise through the paste as fermentation begins, a sign the beneficial lactic acid bacteria are active. Do not open the jar during this 3-day period to avoid introducing airborne contaminants.

Stir and adjust flavor
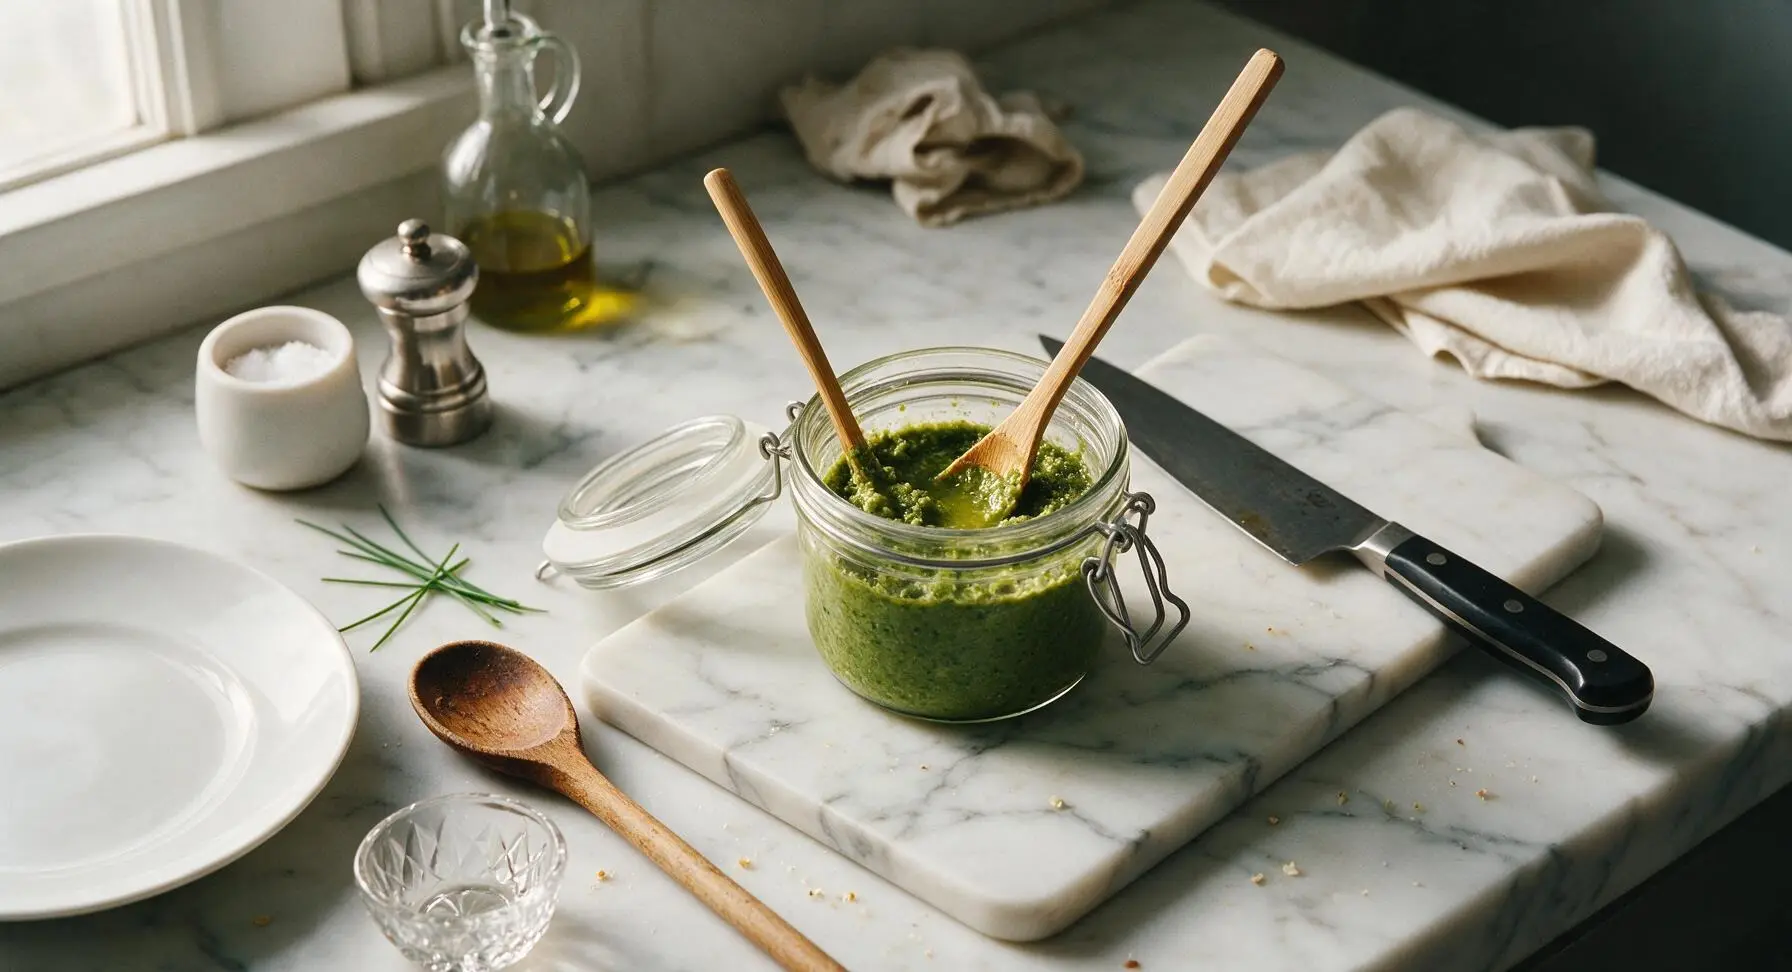
After 3 days of fermentation, open the jar. Stir the paste thoroughly with the clean bamboo spoon, tasting a small amount: it should taste bright, tart, salty, gently spicy, with a subtle savory umami depth from fermentation. If the paste is too thick, stir in the remaining reserved yuzu juice 1 teaspoon at a time until it reaches a thick, spreadable consistency. If it tastes overly salty, add an extra 1 teaspoon of fresh yuzu juice to balance.
Serve or store sauce
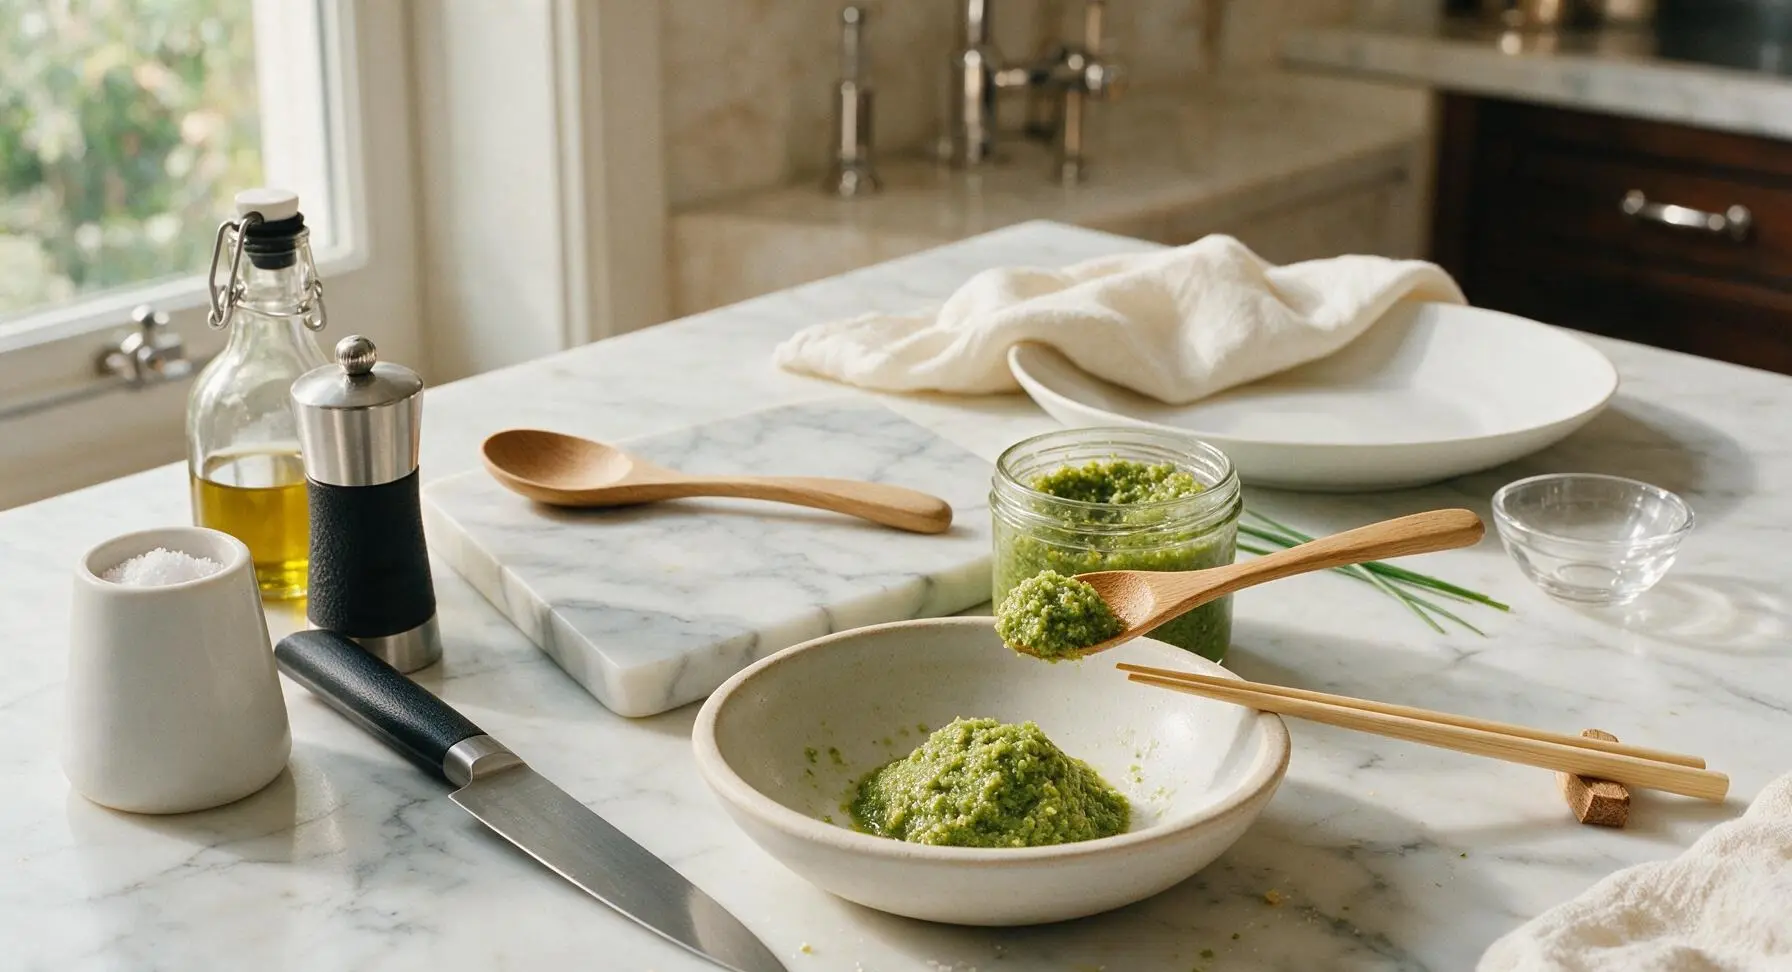
For immediate serving, scoop 2 tablespoons of the finished yuzu kosho into the small matte off-white ceramic condiment bowl. Transfer any remaining paste to a clean, sealed glass jar and store in the refrigerator for up to 6 months, where it will continue to develop deeper, more complex flavor over time.
Tips
2.Do not reduce the salt amount below 7% of the total ingredient weight: this salt level creates a safe environment for lactic acid fermentation, preventing harmful bacteria growth during the 3-day room temperature rest. Too little salt leads to spoilage risk, while too much salt makes the sauce unpalatably briny.
3.For a traditional red yuzu kosho variation, swap unripe green yuzu for ripe yellow yuzu and green bird's eye chilies for ripe red chilies, following the exact same process. The red version has a slightly sweeter, deeper citrus profile that pairs exceptionally well with hot pot and braised dishes.






OMG this yuzu kosho is a total game changer! I stirred a spoonful into my avocado toast this morning and my husband thought I picked it up from a fancy Japanese market. So easy to throw together, I almost couldn’t believe there’s zero cooking involved. Already planning to bring a jar to our neighborhood potluck next weekend!
Meal prep win for real! I made a batch last week and it’s been perfect for marinating chicken, tossing with roasted veggies, and even mixing into homemade salad dressing. The 3 day ferment was totally hands off, I just stuck the jar on my kitchen counter out of direct sun and forgot about it until it was ready. 10/10, will be making this on repeat.
Brought this to our family dinner last Sunday and everyone was begging for the recipe! I served it alongside grilled salmon and seared scallops, and it cut through the richness so perfectly. Even my picky 10 year old asked for extra on her fish, which never happens. SO good, I already have a second batch fermenting on my counter right now.
Really solid recipe, just a note for fellow gluten free folks — double check that your yuzu juice doesn’t have any hidden wheat-based additives if you’re buying bottled! I almost grabbed one at the store that had soy sauce in it, wild. The flavor is bright, salty, spicy, exactly what I wanted for my homemade poke bowls. Only reason it’s 4 stars instead of 5 is I wish there was a note about substitutions for people who can’t find fresh yuzu peel, I had to guess.
Used this on my homemade spicy tuna rolls last night and wow, better than the yuzu kosho I’ve ordered from specialty sites for like $12 a jar! Cost me maybe $3 total to make a whole pint, and the flavor is so much brighter since it’s fresh. Total no-brainer, even for someone who’s never fermented anything before.
Wait I was so nervous about leaving food out on the counter for 3 days, but I followed the directions exactly and it turned out perfectly! No mold, no weird off smells, just that perfect punchy yuzu and chili flavor. I mixed a little into my margarita last night and it was chef’s kiss, don’t knock it till you try it.
Made this to go with my smoked pork ribs this past weekend and it was the talk of the BBQ. Everyone kept asking if I bought it from that fancy new Japanese spot downtown. The tangy, spicy kick cut through the smoky fatty ribs so well, I’m never eating ribs without it again.
I packed a little container of this for my backcountry camping trip last week and it was a lifesaver for making dehydrated meals taste interesting! A tiny dollop in instant ramen, on dehydrated beans and rice — total game changer. Super lightweight, and since the ferment happens at room temp it was easy to prep right before I left.
I’ve been adding a tiny spoonful of this to my morning miso soup all week and it elevates it so much! I was worried the ferment would be complicated but it’s literally blend, jar, wait. So easy even I can’t mess it up, and I burn toast half the time.
I’ve been making yuzu kosho for years since my daughter-in-law is Japanese, and this recipe is spot on! The ratio of yuzu zest to chili to salt is exactly right, no adjustments needed. It tastes just like the batches my daughter-in-law’s grandma makes in Fukuoka. Will be passing this recipe along to my bridge club!
Quick weeknight win! I whipped this up in 5 minutes before work on Monday, left it on the counter, and by Thursday it was ready to toss with zucchini noodles and grilled shrimp for dinner. Zero cleanup, zero active work, maximum flavor. 10/10 for busy people who don’t have time for complicated recipes.
I was worried this would be too citrusy for my taste but the salt and chili balance it out perfectly! I added a tiny bit extra chili because I love heat, and it’s amazing stirred into cold soba noodles, dabbed on eggs, even mixed into mayo for a spicy yuzu aioli for fries. Already told all my spicy food friends about this recipe.