
7-Can Pot Roast
intro
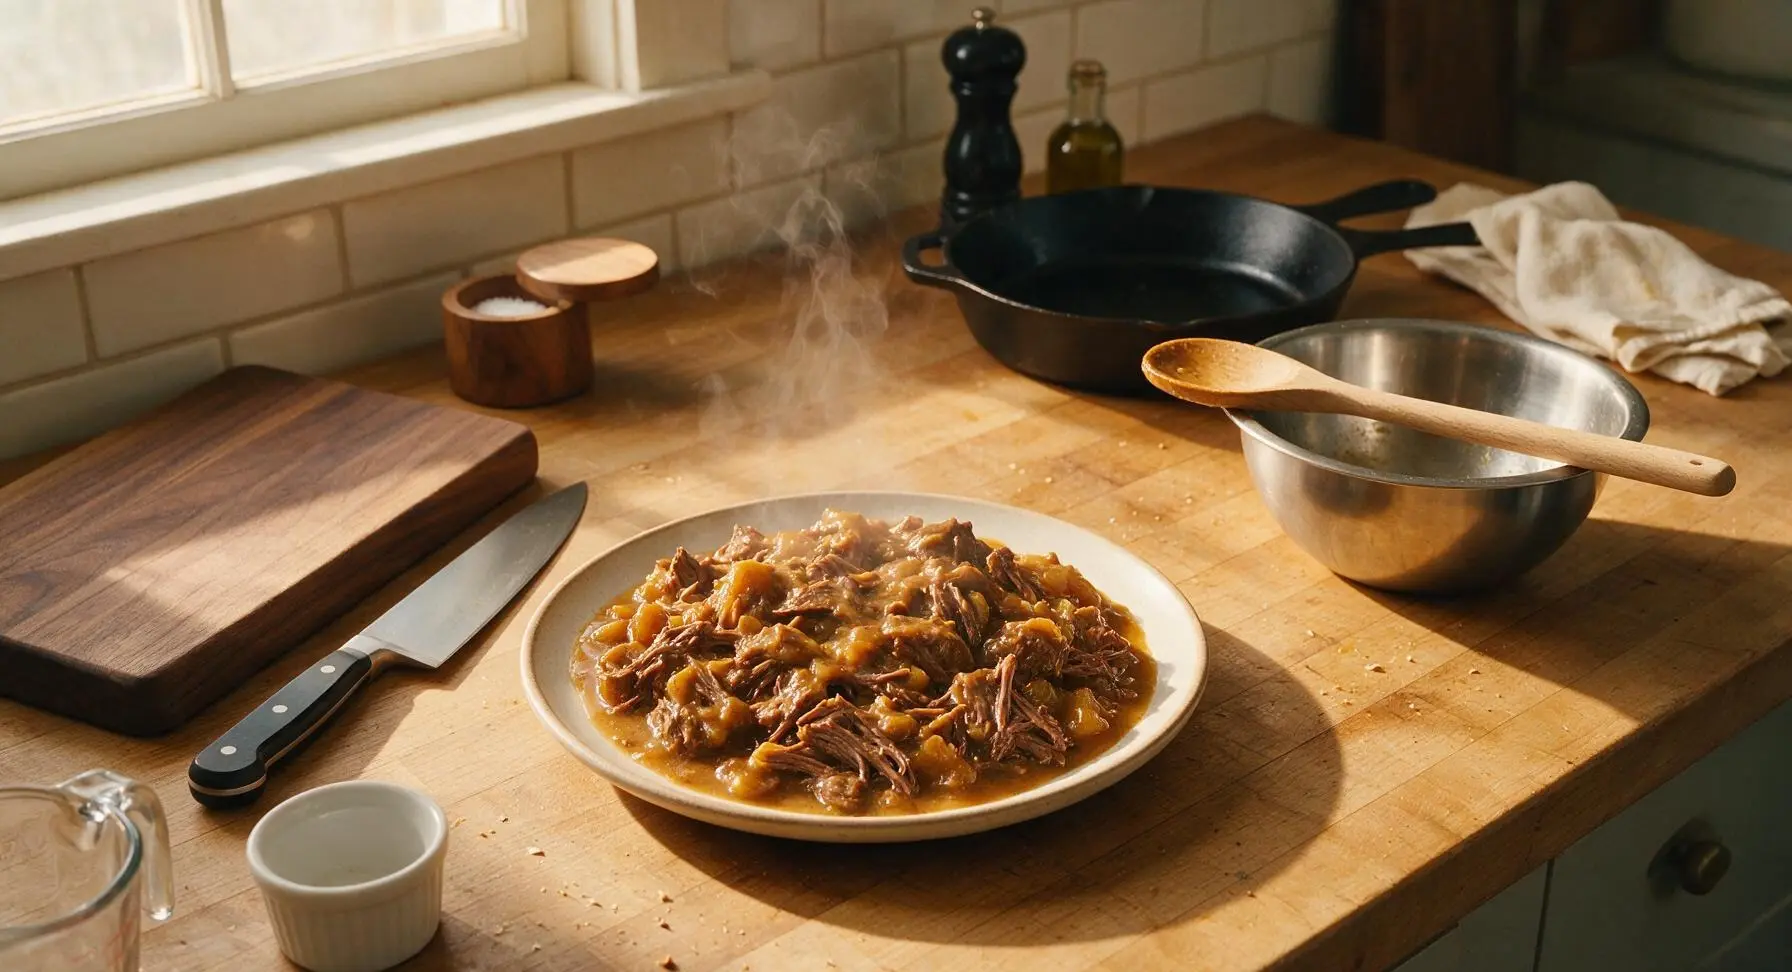
Tender, fall-apart beef chuck braised with 7 simple canned pantry staples, no fancy prep required—pure nostalgic, cozy comfort food perfect for laid-back family meals.
Ingredients
Steps
Season the Beef Roast
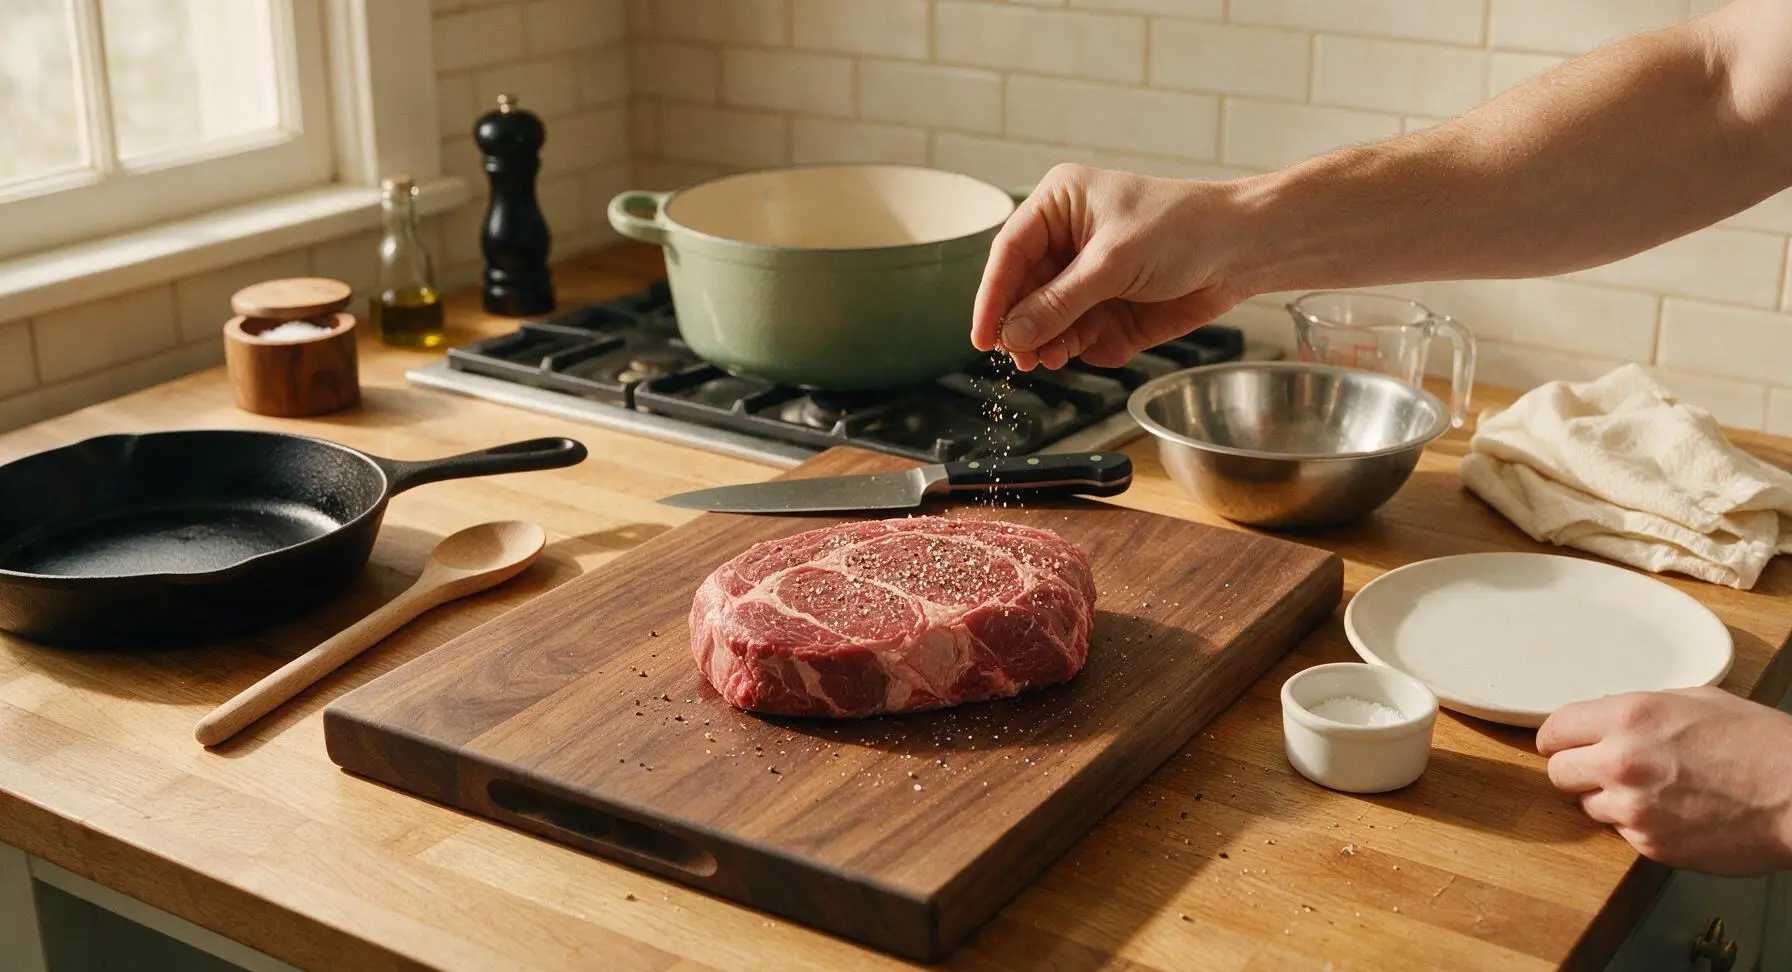
Pat the 1.5kg boneless beef chuck roast completely dry on all sides using the corner of the linen kitchen towel. Trim any large, hard chunks of external fat thicker than 1cm with the chef knife if desired. Sprinkle 1 teaspoon kosher salt and ½ teaspoon freshly ground black pepper evenly over every surface of the roast, pressing the seasoning gently into the meat so it adheres. Let the roast rest at room temperature for 10 minutes while the pot heats.
Sear the Beef Evenly
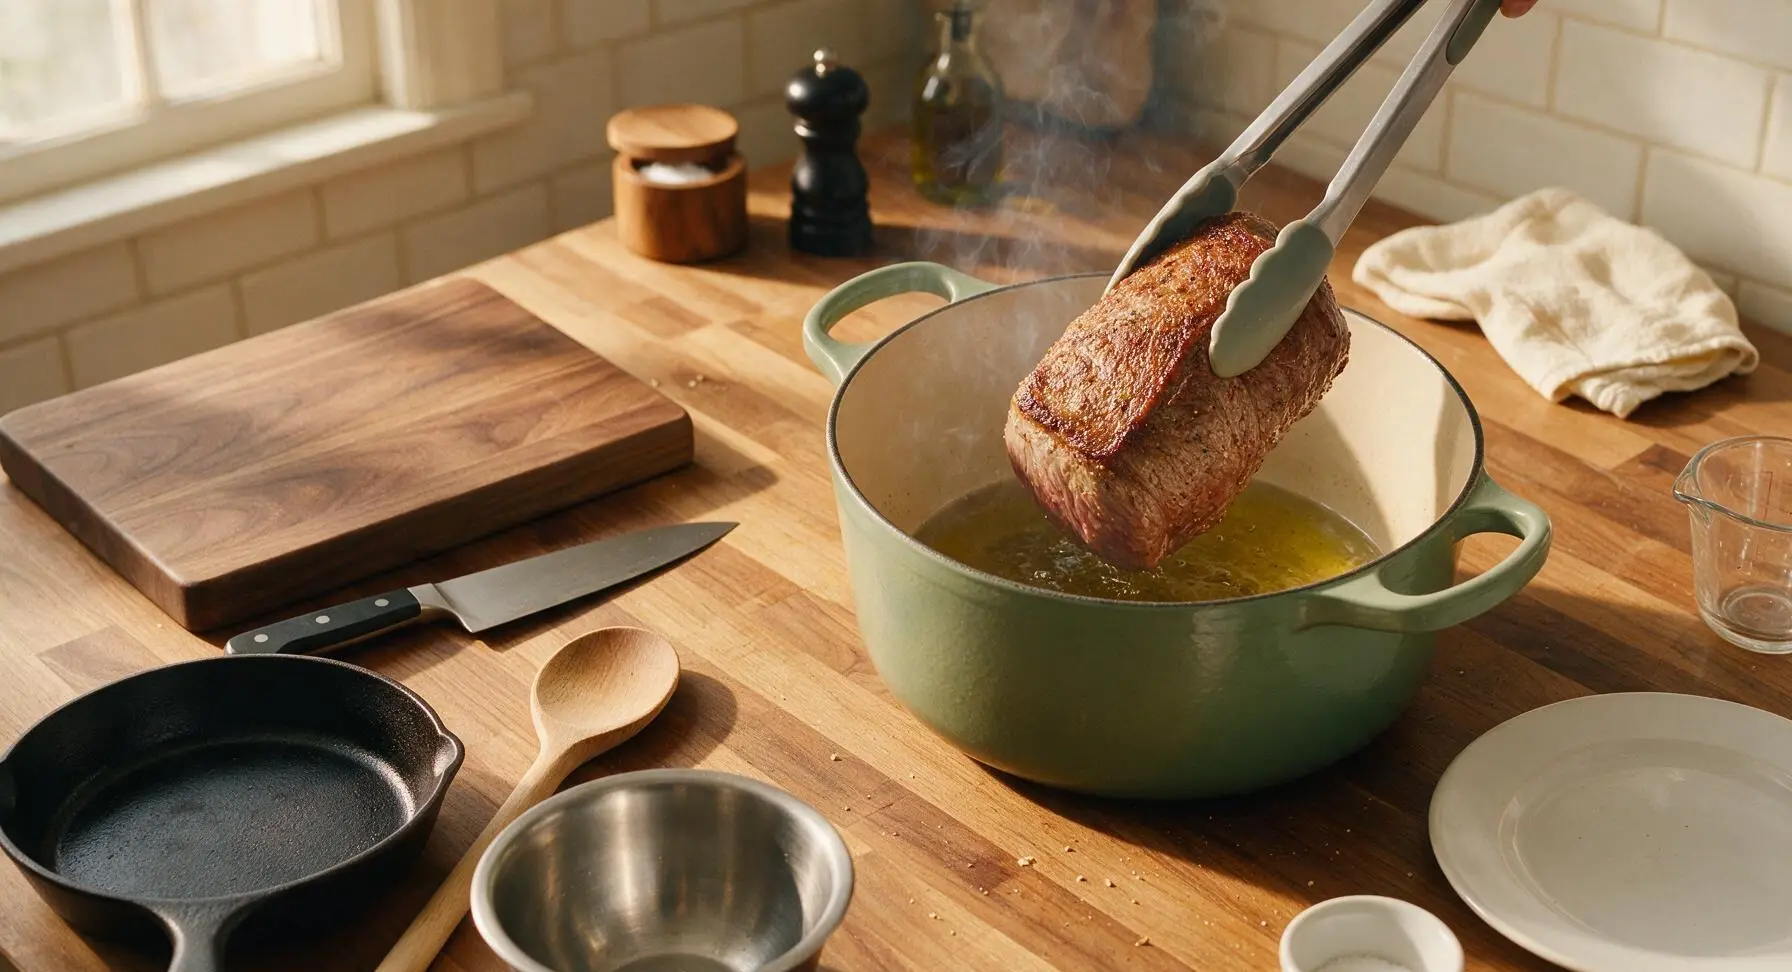
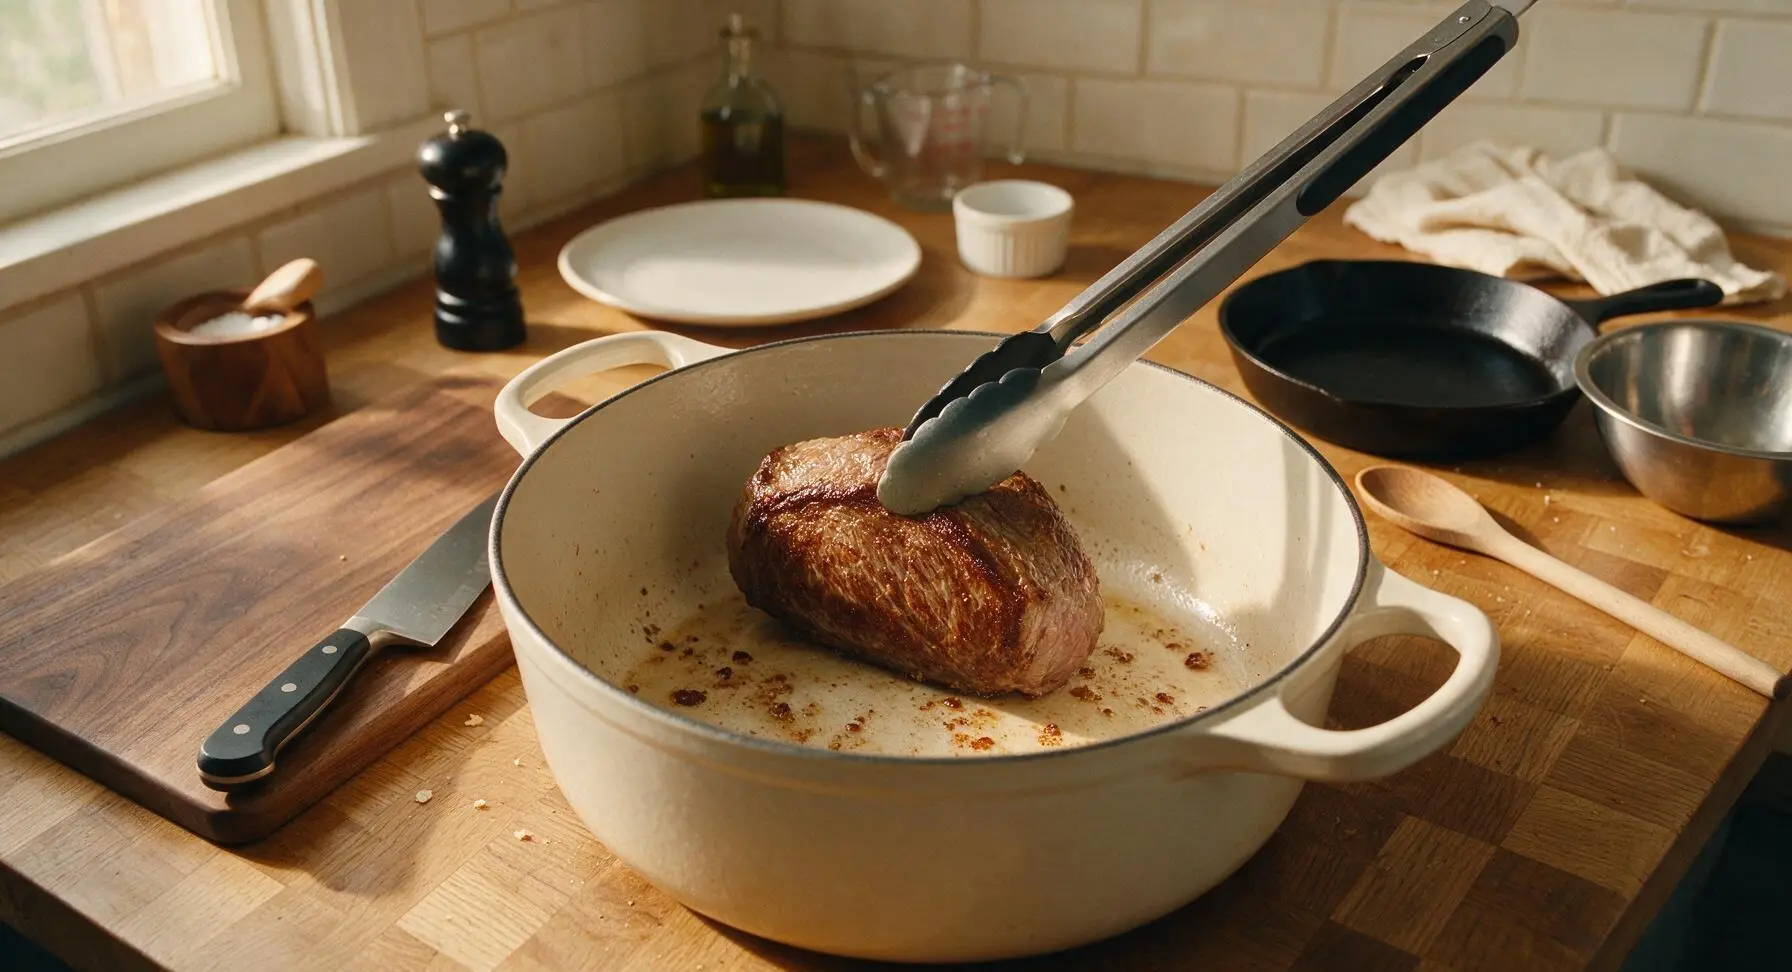
Heat 1 tablespoon extra-virgin olive oil in the enameled Dutch oven over medium-high heat until the oil shimmers (about 2 minutes). Use the silicone-tipped tongs to carefully lower the seasoned roast into the hot oil. Sear for 3-4 minutes per side (top, bottom, and all four edges), until a deep golden-brown crust forms on every surface. Do not shift or move the roast while searing each side to build a thick, flavor-packed crust of browned fond on the pot bottom.
Open the Seven Cans
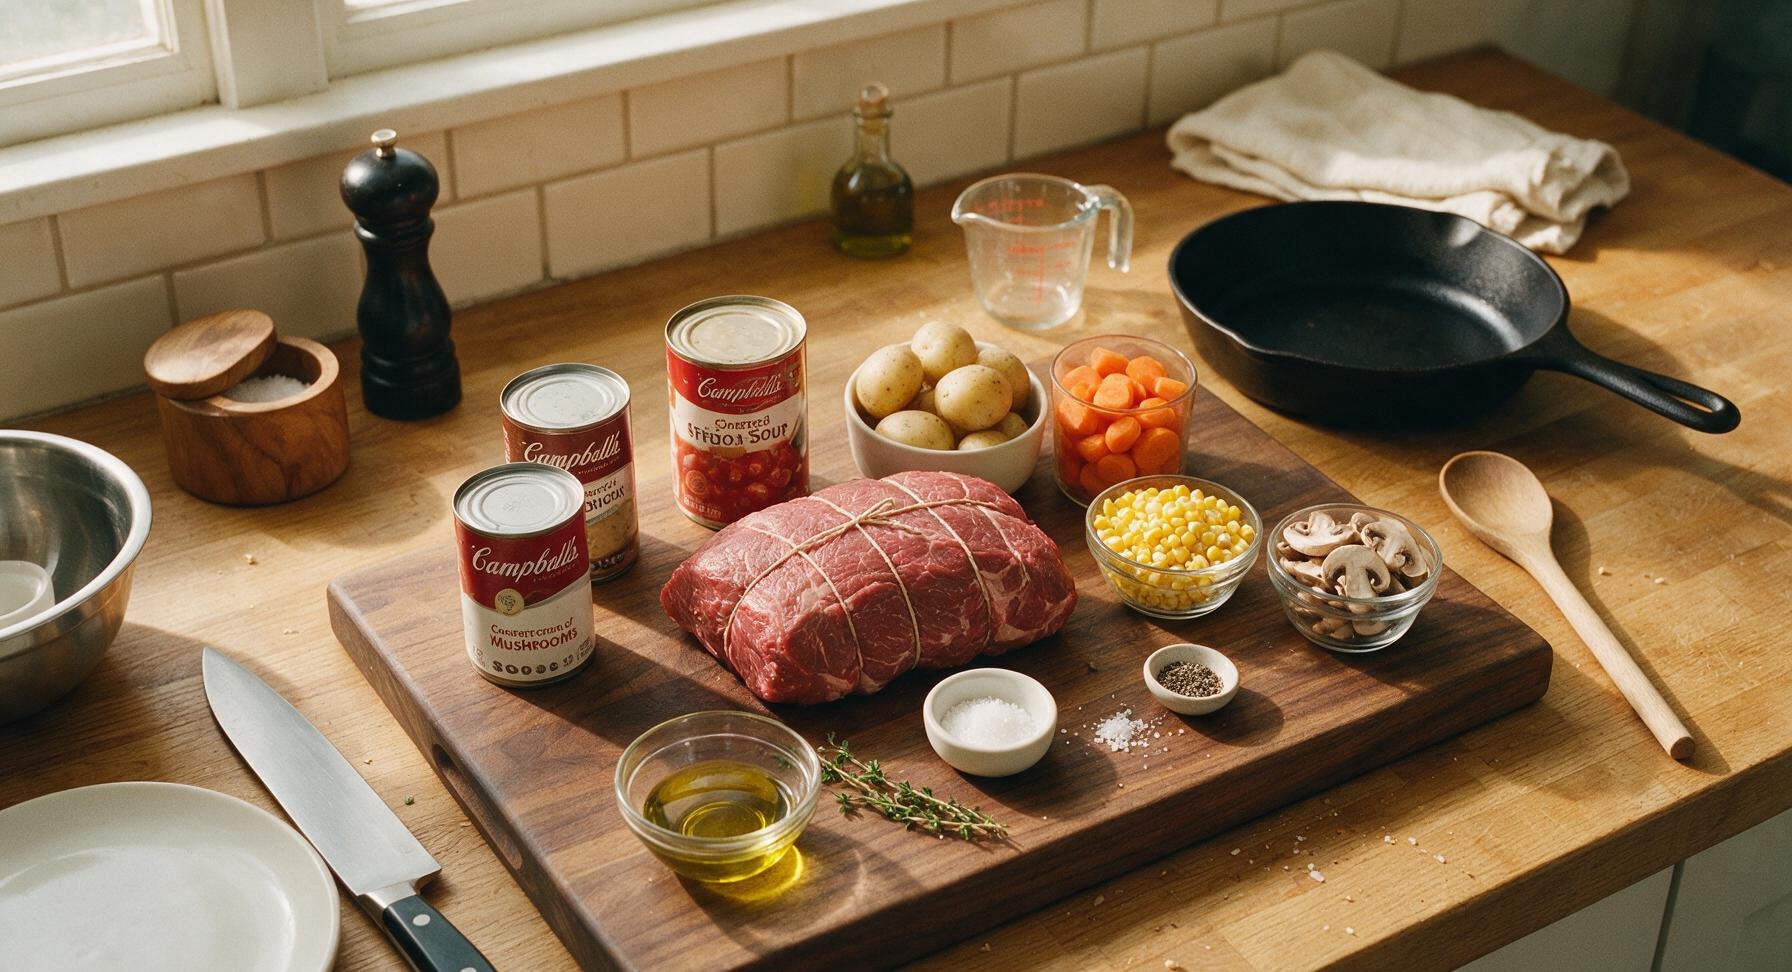
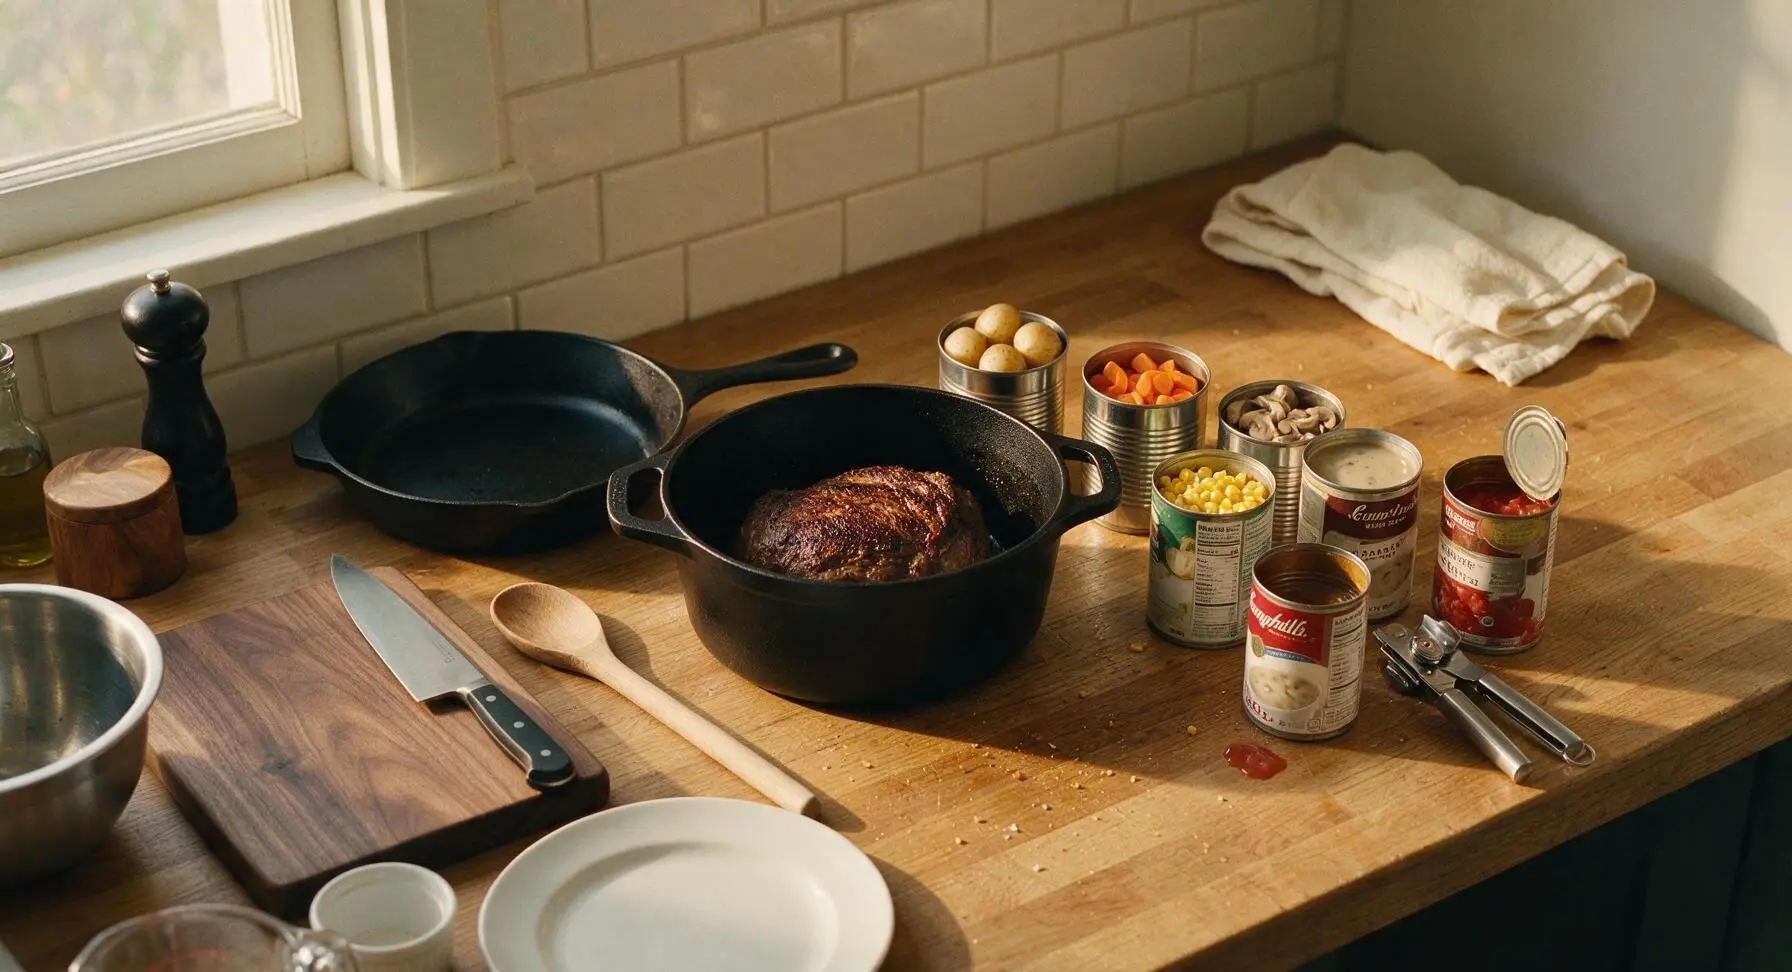
Once the roast is fully seared on all sides, reduce heat to medium-low. Use the manual stainless steel can opener to open all 7 cans: drain and rinse the whole new potatoes, sliced carrots, whole kernel corn, and sliced mushrooms under cool running water, leaving the cream of mushroom soup, French onion soup, and diced tomatoes completely undrained. Arrange opened cans within easy reach of the pot to avoid spills.
Layer Canned Ingredients
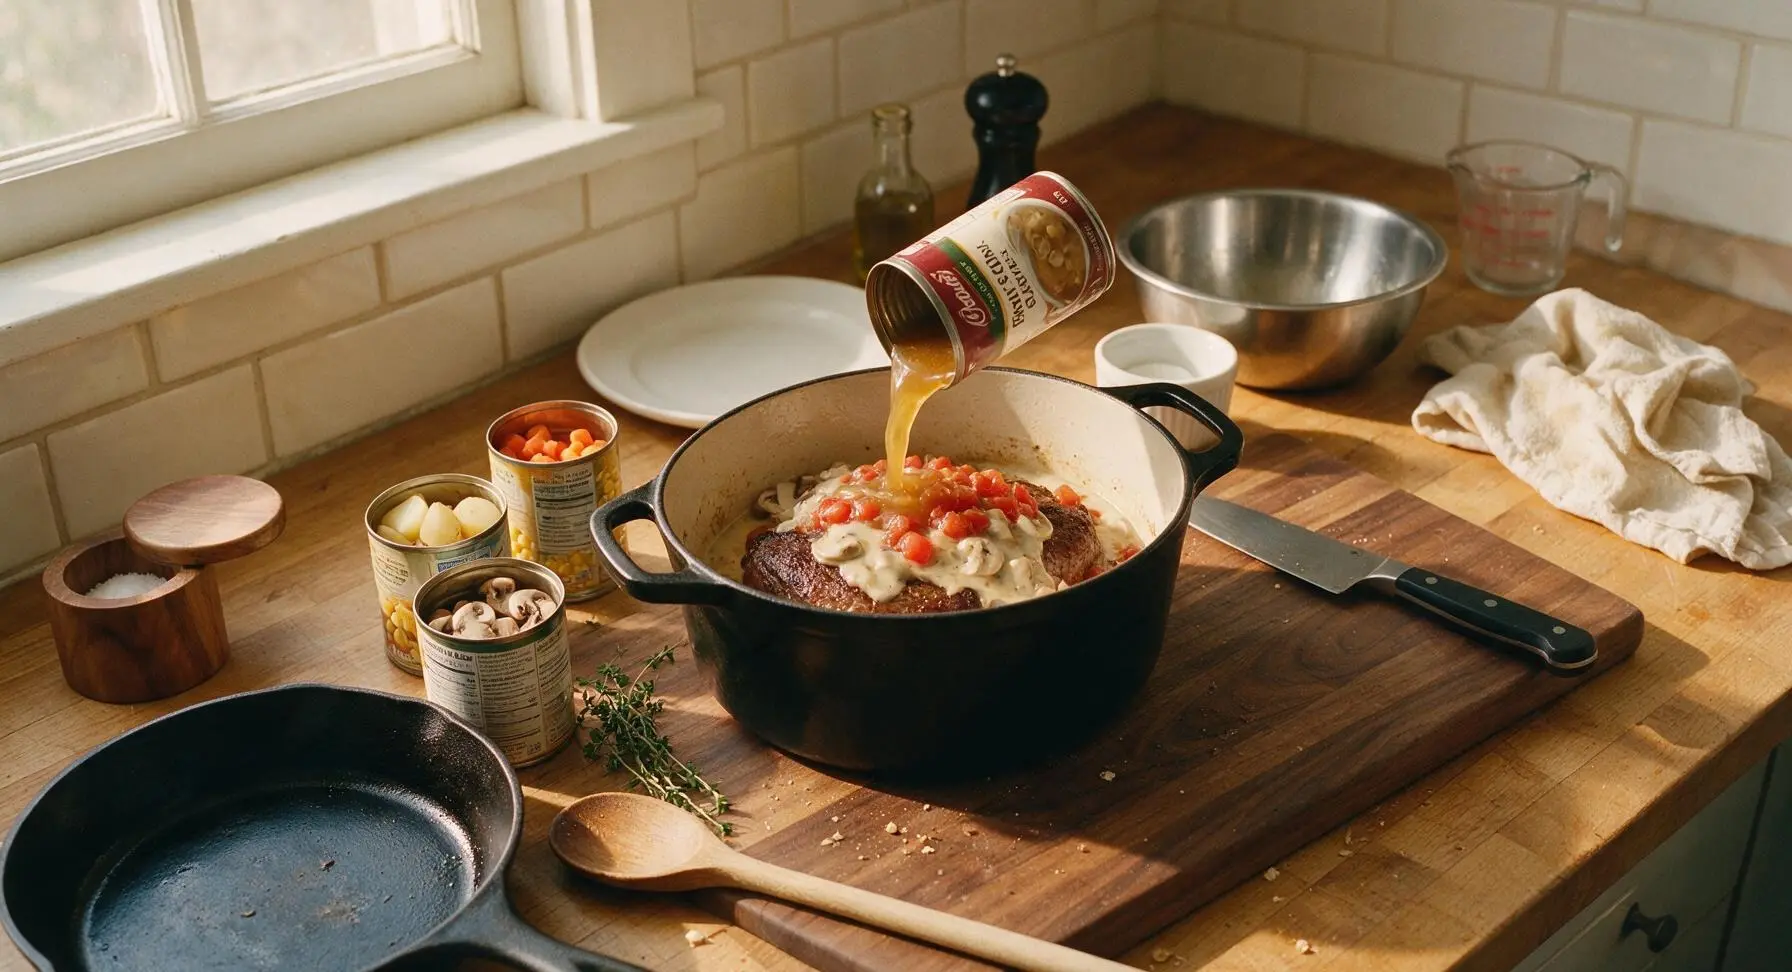
Pour the undrained cream of mushroom soup, French onion soup, and diced tomatoes directly over the seared roast in the Dutch oven. Add the drained new potatoes, sliced carrots, corn, and sliced mushrooms on top, arranging them in an even layer around the roast. Tuck the 2 fresh thyme sprigs into the liquid, submerging them slightly. Do not stir the mixture—let the dense soups settle to the bottom of the pot to form the braising liquid.
Braise Until Tender
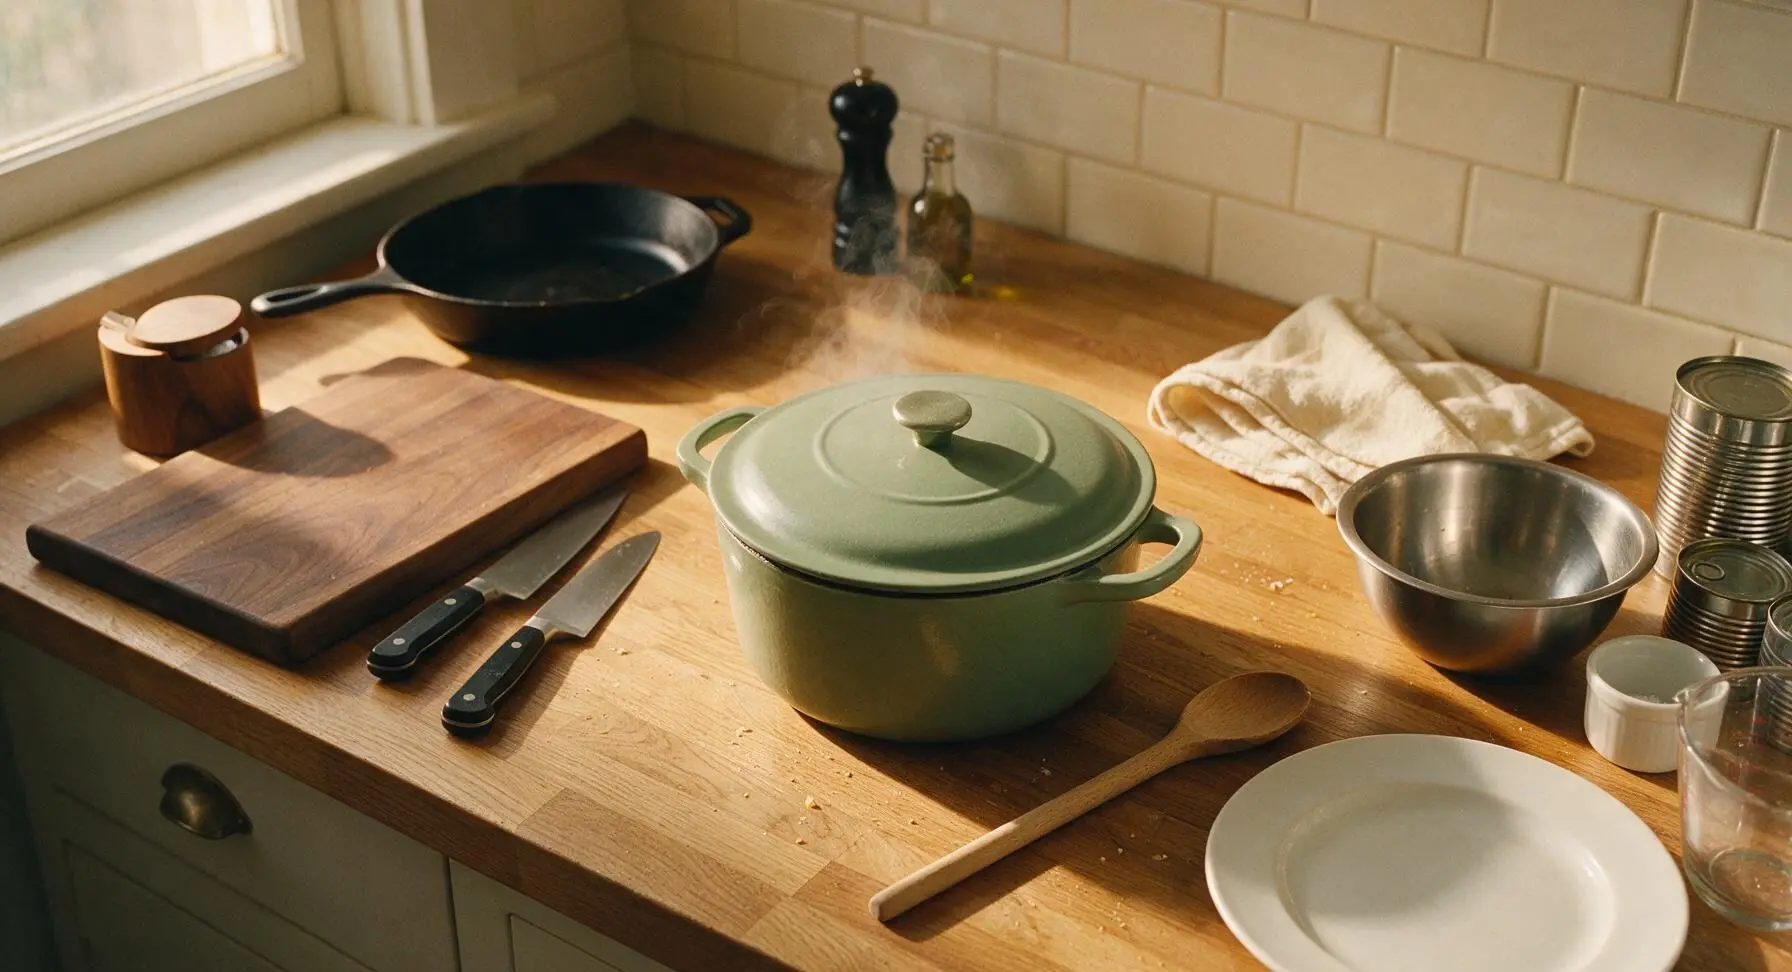
Bring the liquid in the pot to a gentle, low simmer (small bubbles breaking the surface every 2-3 seconds, no rapid rolling boil), then place the tight-fitting sage green lid on the Dutch oven. Reduce heat to low to maintain the steady soft simmer. Cook for 2 hours, resisting the urge to lift the lid frequently. After 2 hours, test doneness by inserting the metal meat fork into the thickest part of the roast: the fork should slide in with no resistance, and the meat should pull apart easily when twisted. If not yet tender, cover and cook for an additional 15-20 minutes before testing again.
Shred Tender Roast
Once the roast is fully fork-tender, remove the lid from the Dutch oven, setting it on a heat-safe spot on the counter. Use the metal meat fork and beech wood spoon to break the roast into large, bite-sized chunks directly in the pot, stirring gently to coat the meat and vegetables in the thickened gravy that formed during braising. Taste the gravy and add extra salt or pepper if desired, then fish out and discard the woody thyme stems.
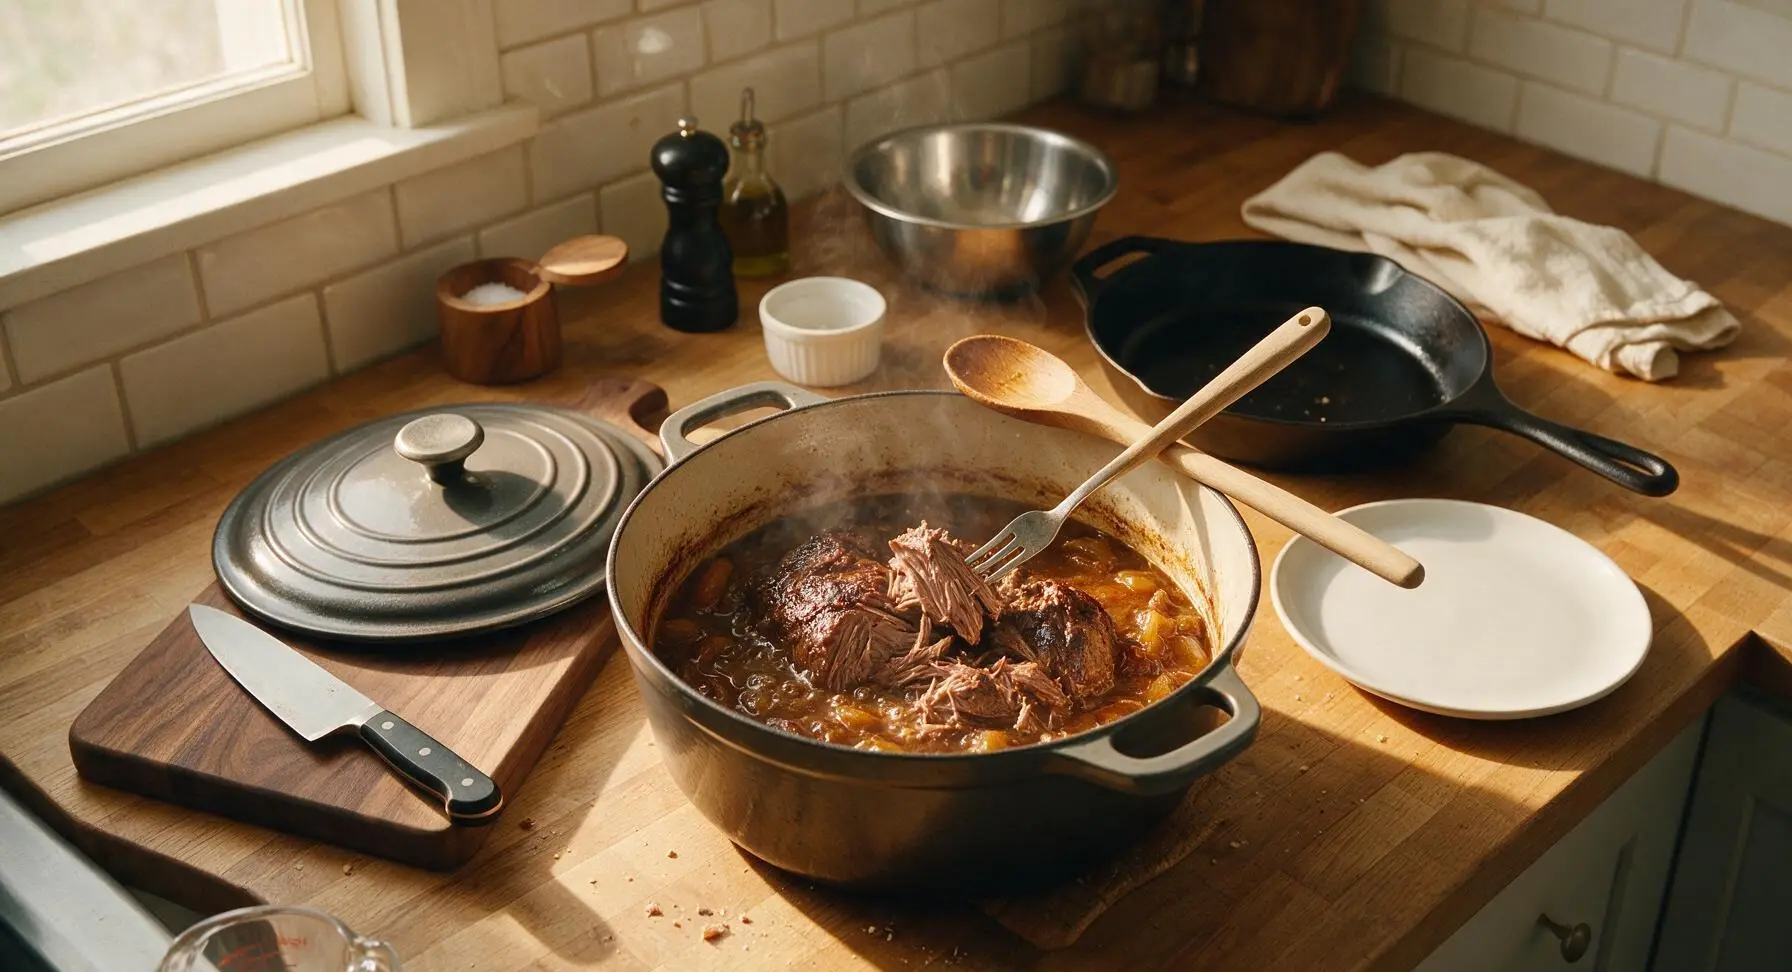
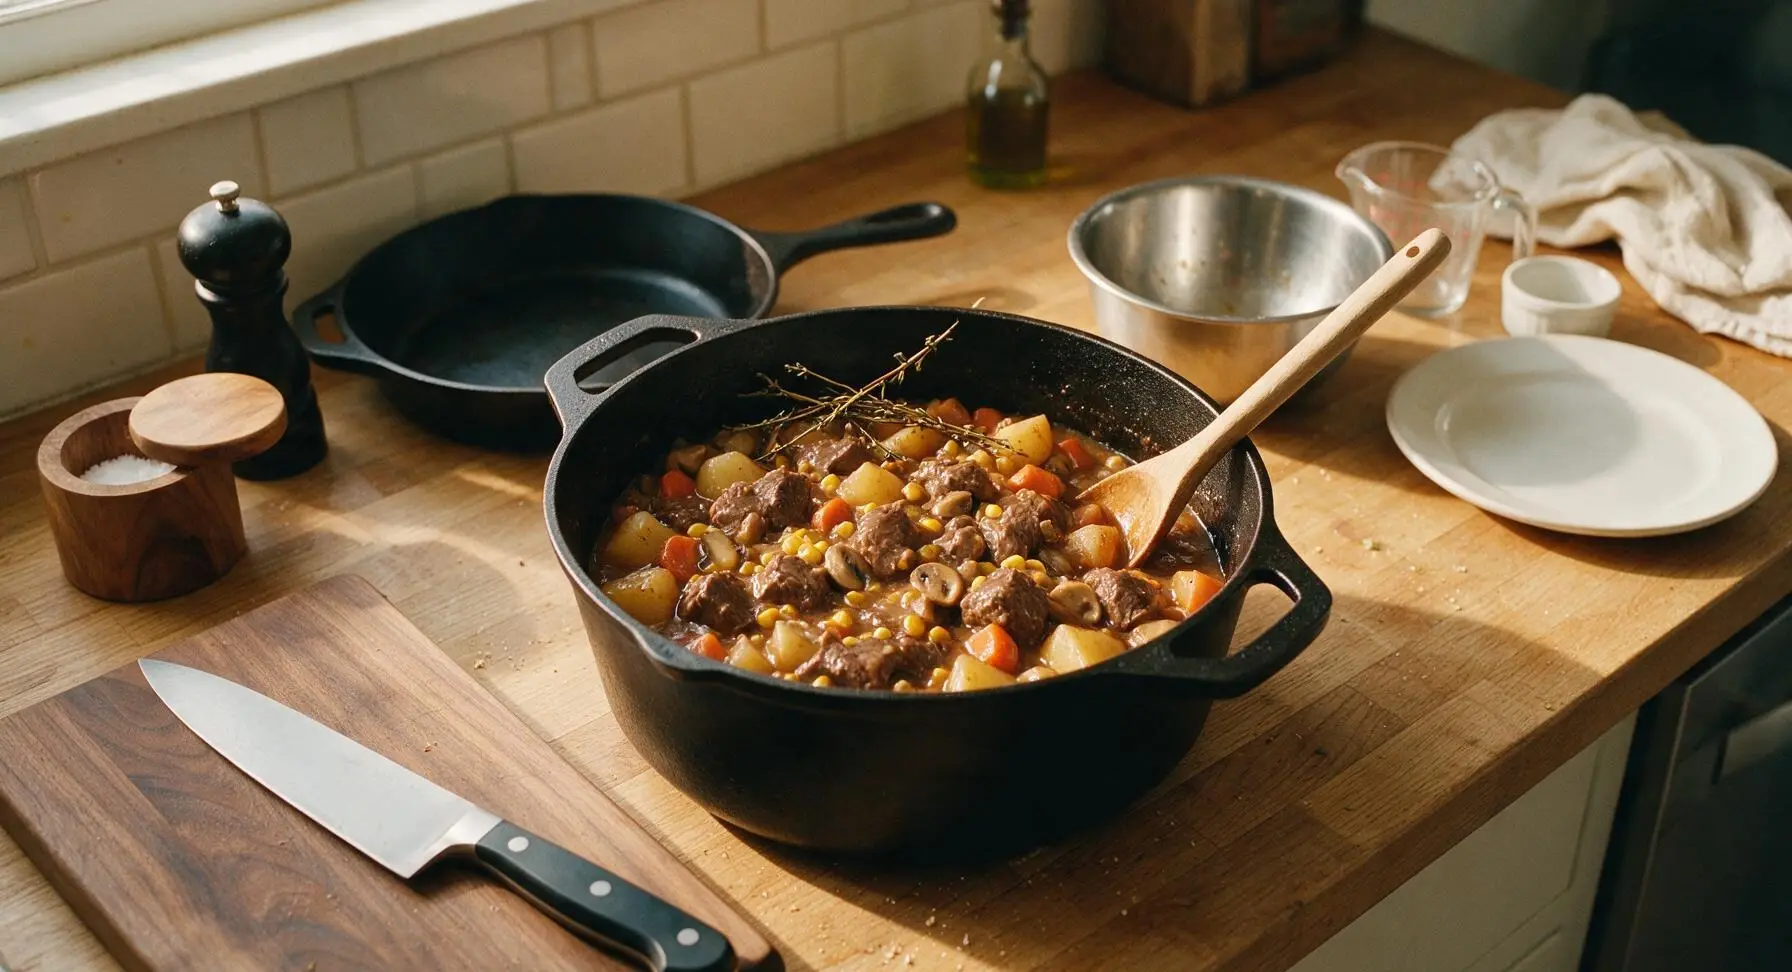
Plate and Serve
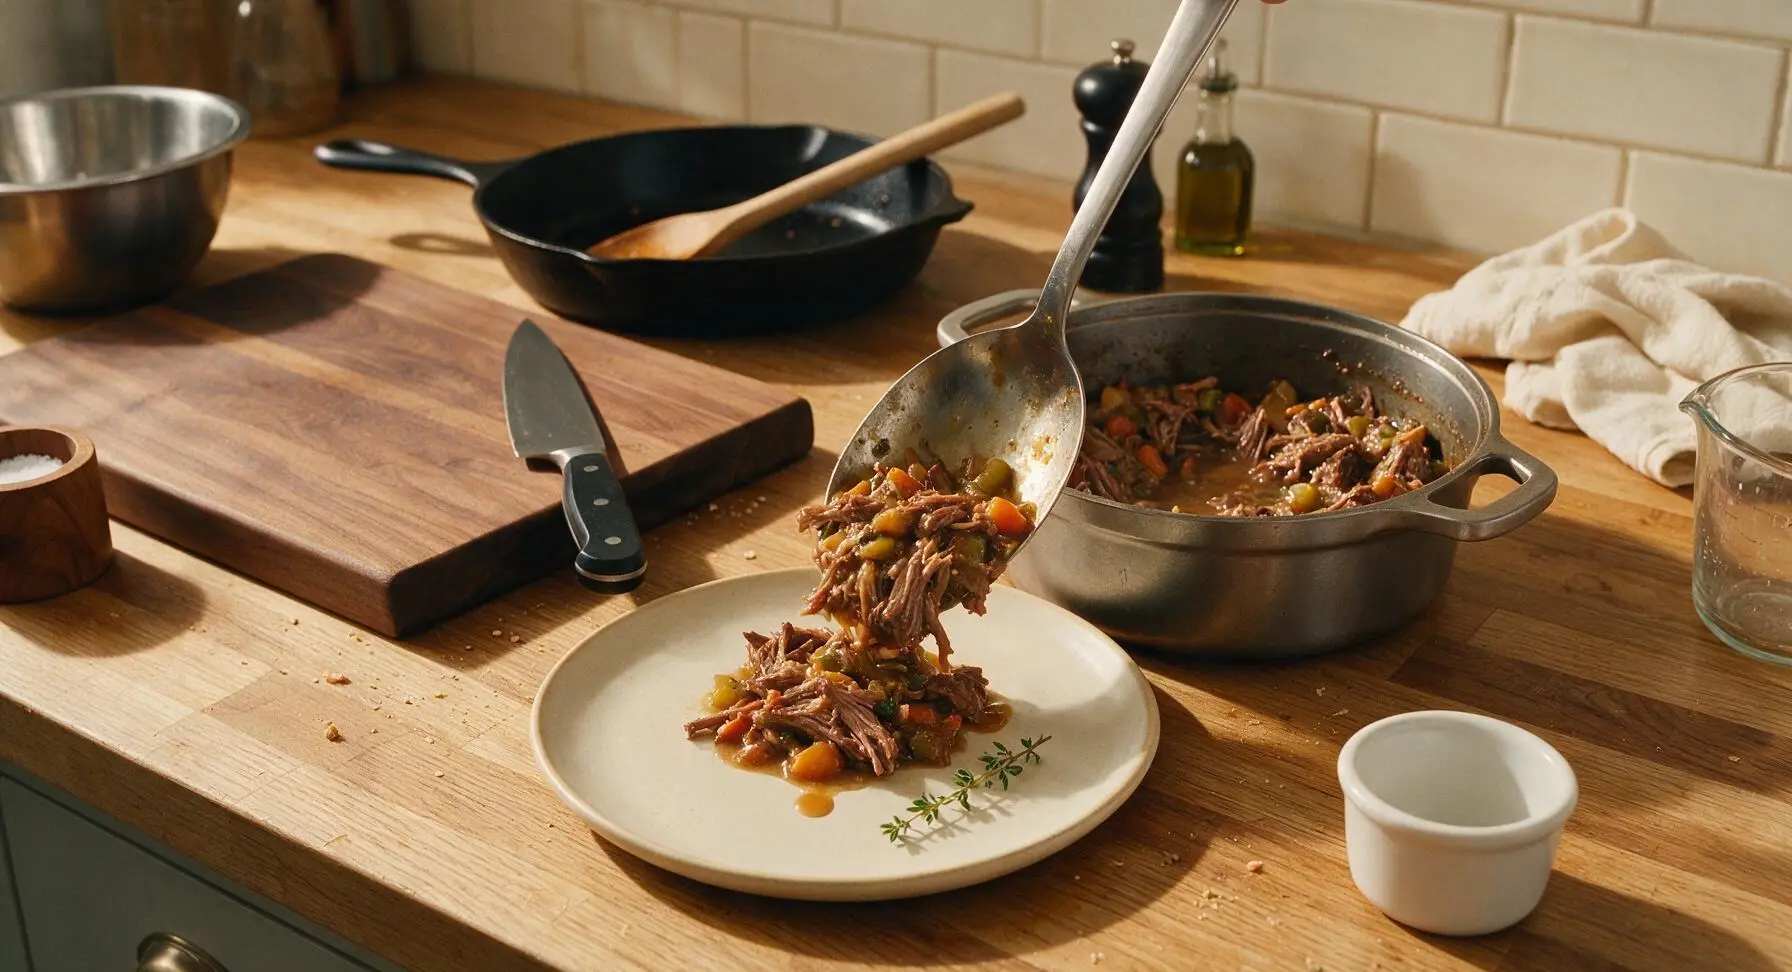
Use the stainless steel serving spoon to scoop a generous portion of shredded roast, mixed vegetables, and gravy onto the matte cream ceramic dinner plate. Let the dish rest for 2 minutes before serving to allow the gravy to set slightly. Garnish with a small fresh thyme sprig for a pop of color if desired.
Tips
2.Skip stirring the ingredients immediately after adding them to the pot: the heavy condensed soups will settle to the bottom near the heat source, creating a perfectly thickened gravy without extra flour or cornstarch, while vegetables on top steam gently instead of turning mushy.
3.Avoid lifting the Dutch oven lid frequently during braising: each lid release drops the internal pot temperature by 25–30°F, adds 10–15 minutes of required cook time, and lets trapped moisture escape that keeps the roast tender and juicy.






OMG this was such a game changer for our busy weeknight family dinner! I was skeptical a pot roast could be this easy with just canned stuff, but it came out so tender my kids were begging for seconds. SO good, I’m already adding the ingredients to my regular meal prep rotation.
Brought this to my neighborhood potluck last weekend and every single person asked for the recipe! No one believed me when I said it only uses canned ingredients and takes barely any prep. Total home run, will make again for our next fall tailgate.
Super straightforward recipe, perfect for when I don’t have time to run to the grocery store for fresh ingredients after work. The roast pulled apart perfectly after 2.5 hours, I portioned it out for my work lunches all week and it held up great. Only wish it had a tiny bit more herb flavor, but that’s an easy fix next time!
Wait, do I need to drain all the cans first? I don’t want this to turn out too watery, this is my first time making pot roast ever, I’m so nervous!
My super picky husband who hates “canned food dinners” went back for thirds last night! I served it over buttery mashed potatoes and it tasted just like the pot roast my grandma used to make, no joke!
I added a can of diced green chiles to mine for a little Southwest kick, and it was amazing! The whole house smelled incredible while it was slow cooking.
Made this in my Dutch oven while we were camped outside Colorado last weekend, super easy to throw together after a long day of hiking. Only thing is mine came out a little saltier than I expected, any tips for next time?
Wait a second, SEVEN cans? That’s it? I’ve been making pot roast for years with a million fresh ingredients and it never turns out this tender. Total game changer.
Is this recipe easy to make gluten free? I have celiac so I have to be super careful with canned soups and pre-made ingredients, would love to make this for my son’s birthday dinner next week!
So excited to make this this weekend! Quick question: how do the leftovers hold up? I’m cooking for one so I’d have a ton left, want to make sure it doesn’t get mushy when I reheat it!