
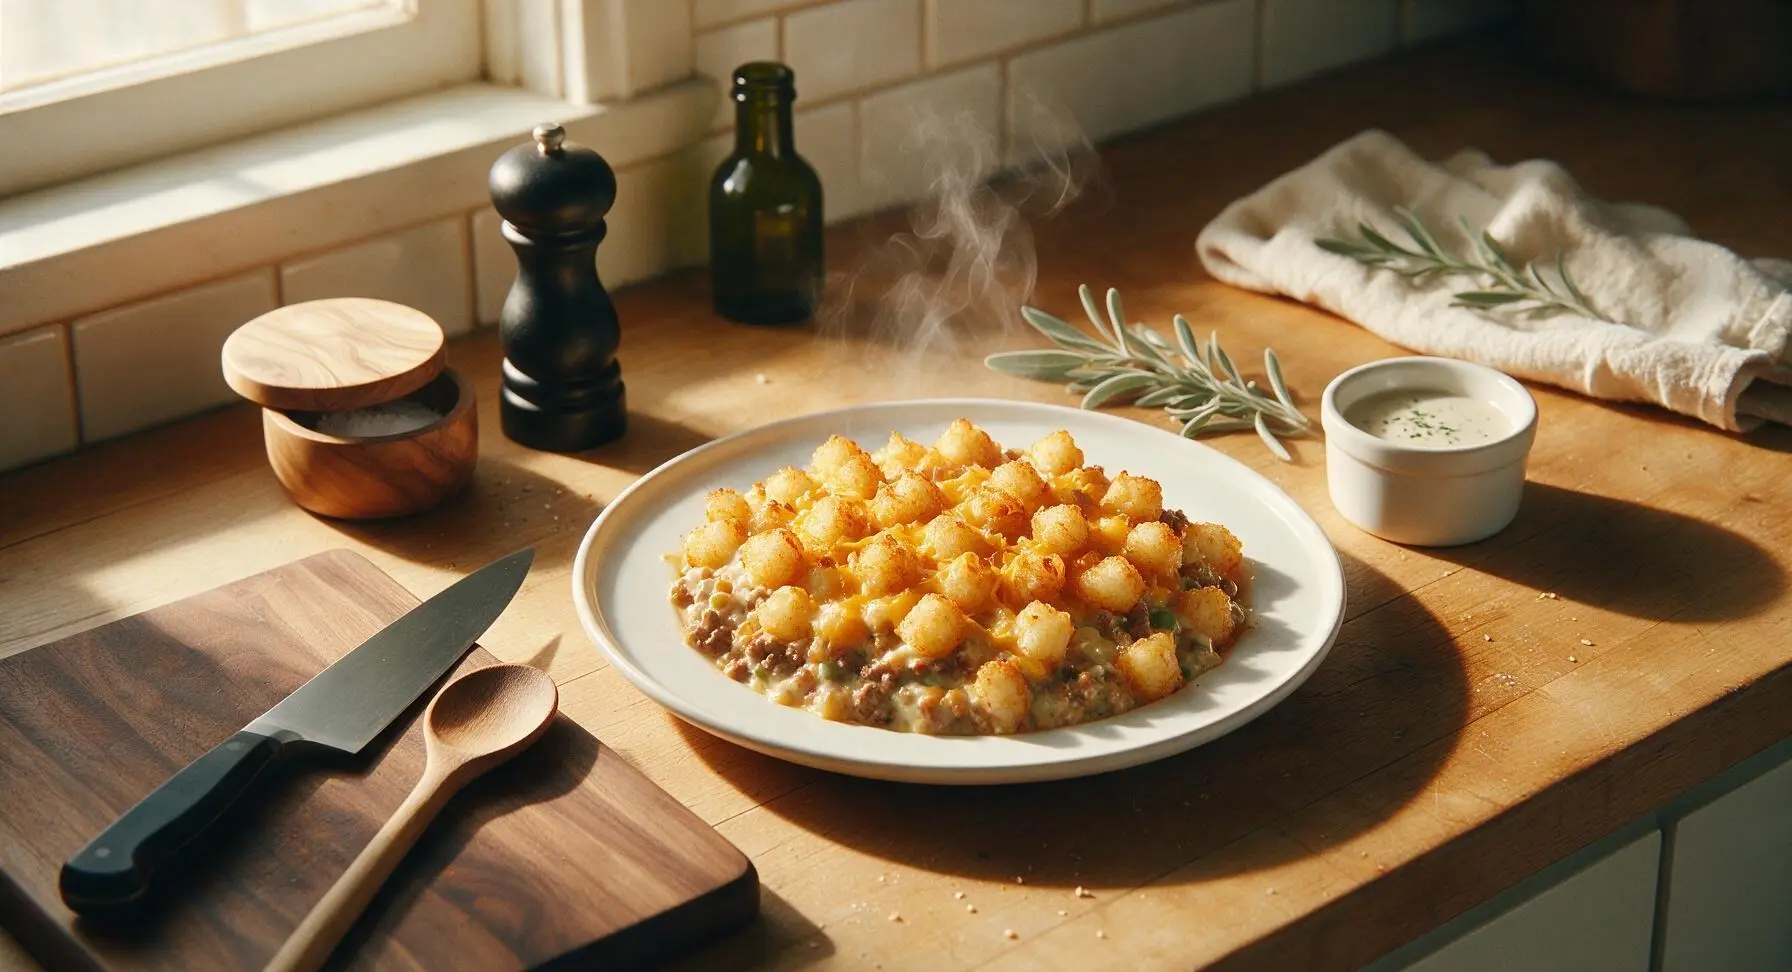
a tater tot hotdish

title 1
a tater tot hotdish
⏱️ cook time 50 minutes
🍽️ servings 6
⚡ Difficulty easy

intro

Creamy, savory ground beef and vegetable filling topped with crispy golden tater tots and melted cheddar: the ultimate cozy Midwest comfort food, baked to bubbly, crunchy perfection.

Ingredients
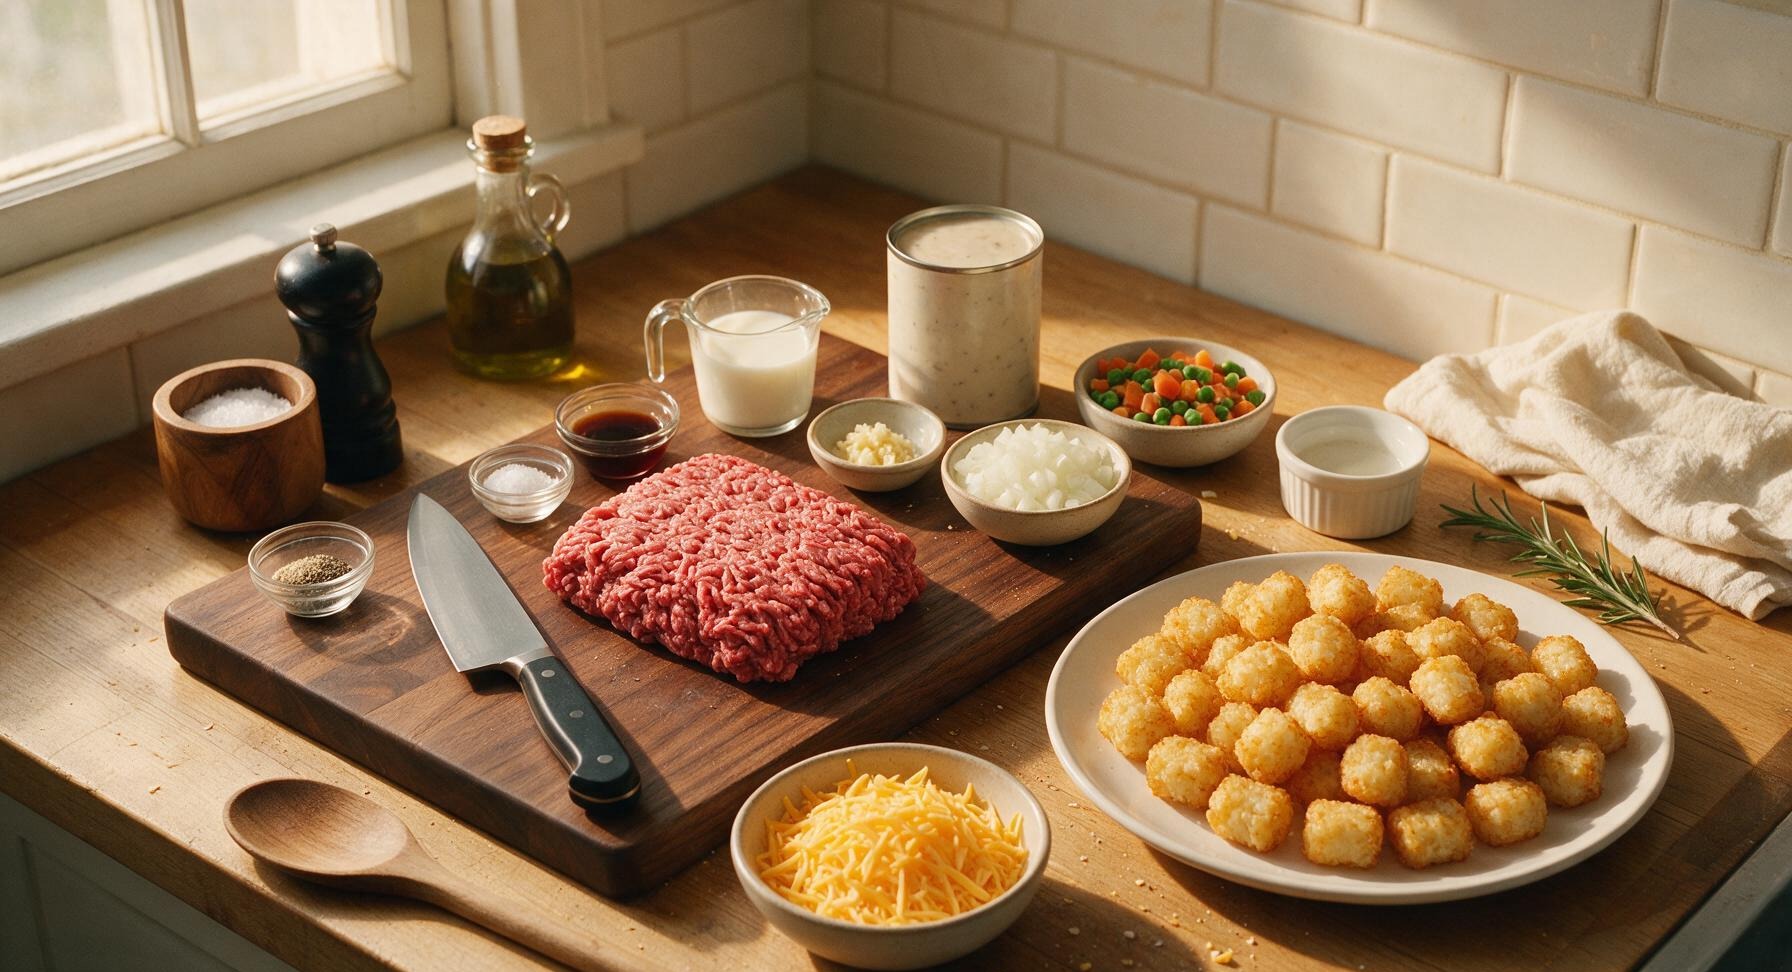
80/20 ground beef 1 lb (450g)
Yellow onion 1 small (110g, diced)
Garlic 2 cloves (minced)
Cream of mushroom soup 10.5 oz (300g) can
Frozen mixed peas and carrots 1 cup (150g)
Whole milk ½ cup (120ml)
Worcestershire sauce 1 tbsp (15ml)
Garlic powder ½ tsp
Kosher salt ½ tsp
Ground black pepper ¼ tsp
Shredded sharp cheddar cheese 1.5 cups (170g)
Frozen tater tots 2 lbs (900g)

Steps

1

Preheat Oven, Prep Aromatics

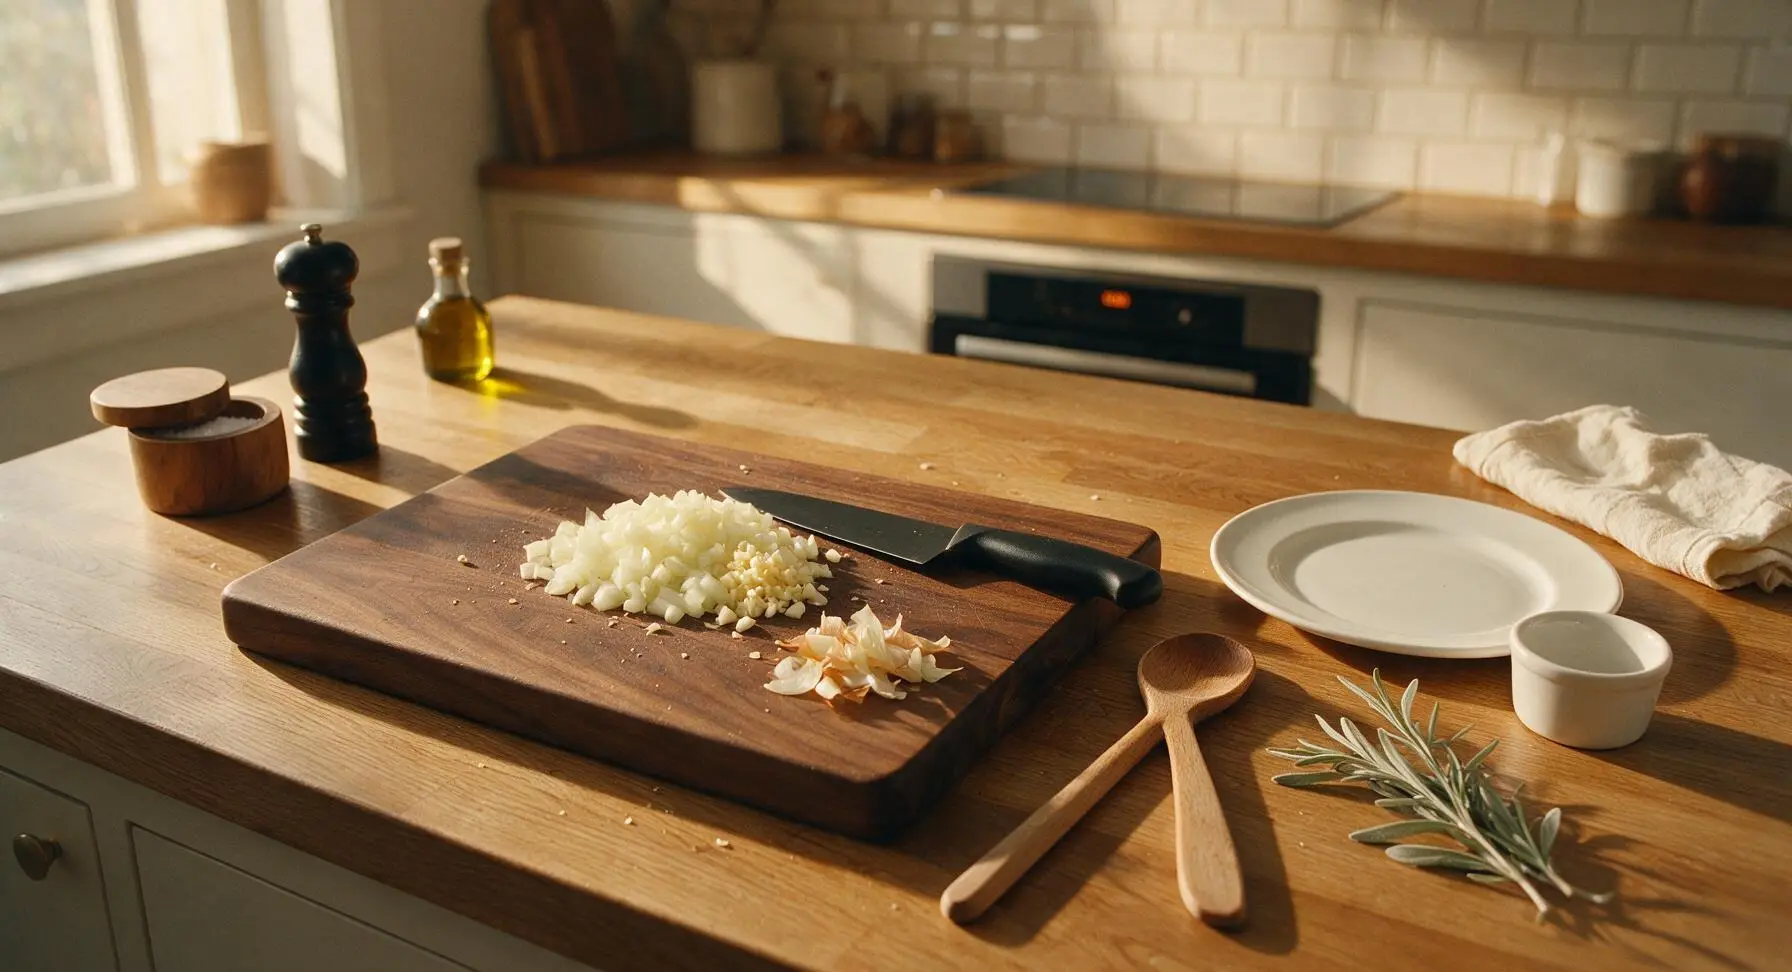
Adjust oven rack to the middle position and preheat oven to 400°F (200°C). Place the honey maple wood cutting board center-left on the counter. Using the 8-inch chef knife, dice the small yellow onion into ¼-inch pieces and mince the 2 garlic cloves, collecting the prepped aromatics in a small neat pile on the edge of the cutting board and discarding onion skins and garlic peels to a scrap pile at the board corner. Keep frozen tater tots and mixed vegetables in the freezer until needed to prevent thawing and sogginess.
Step 1
step1:Preheat Oven, Prep Aromatics
2

Brown the Ground Beef

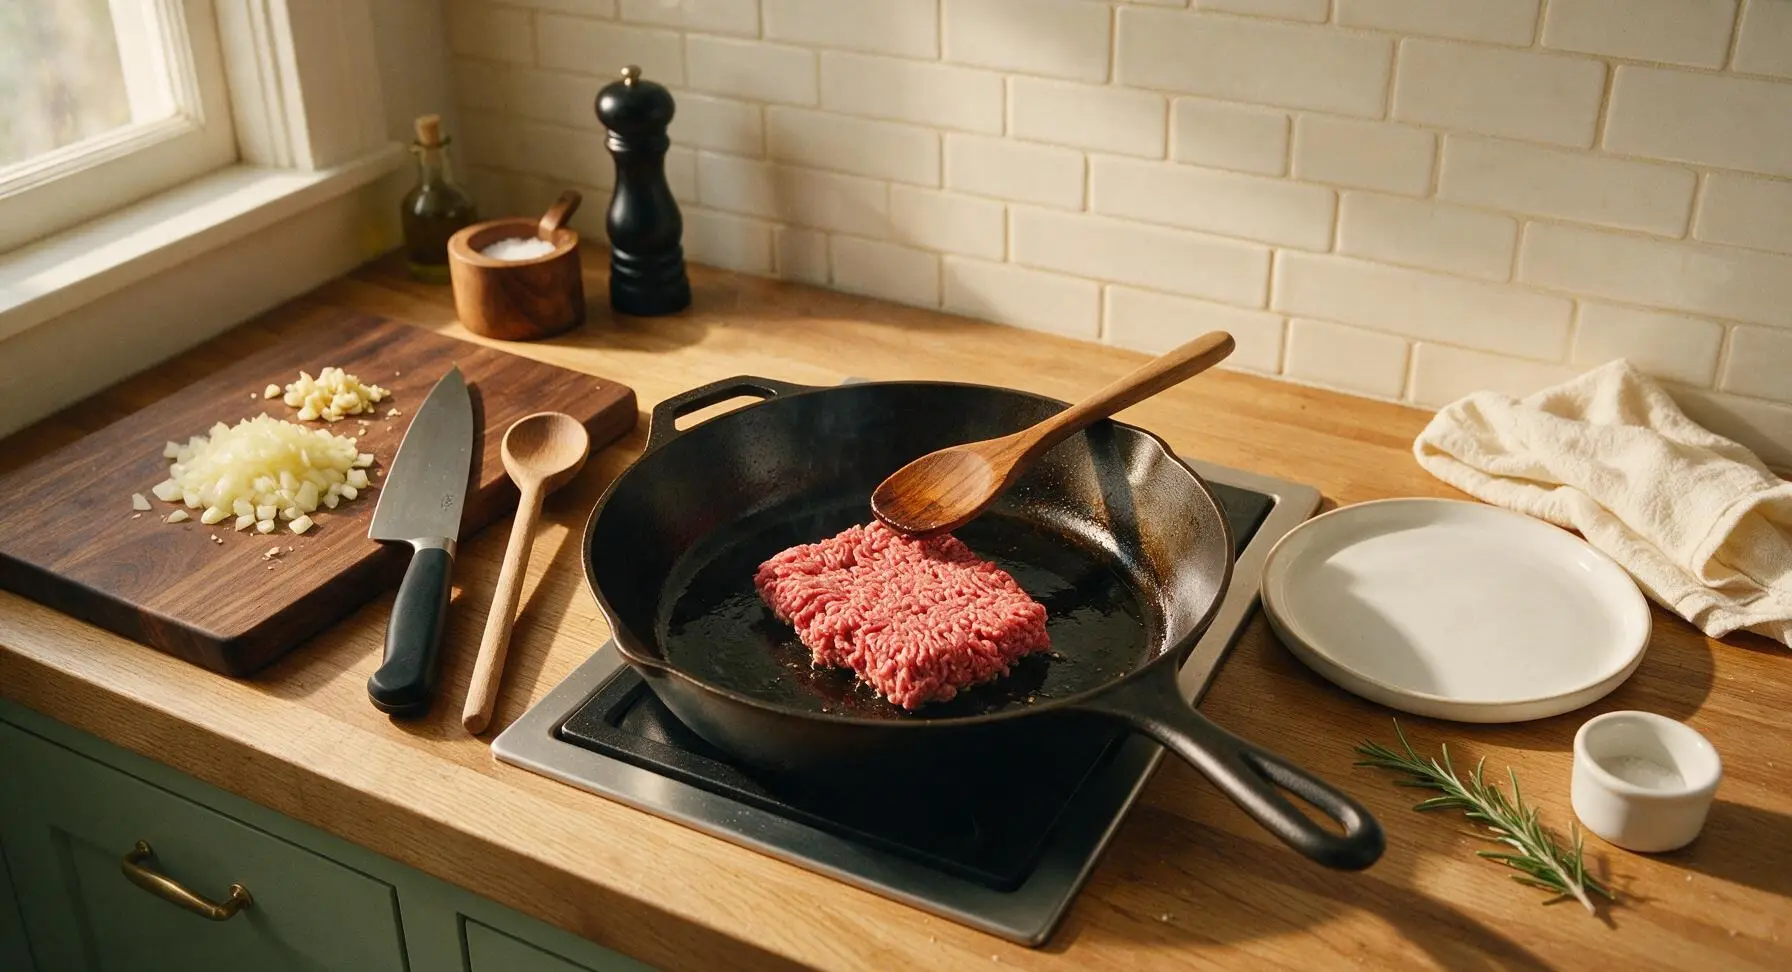
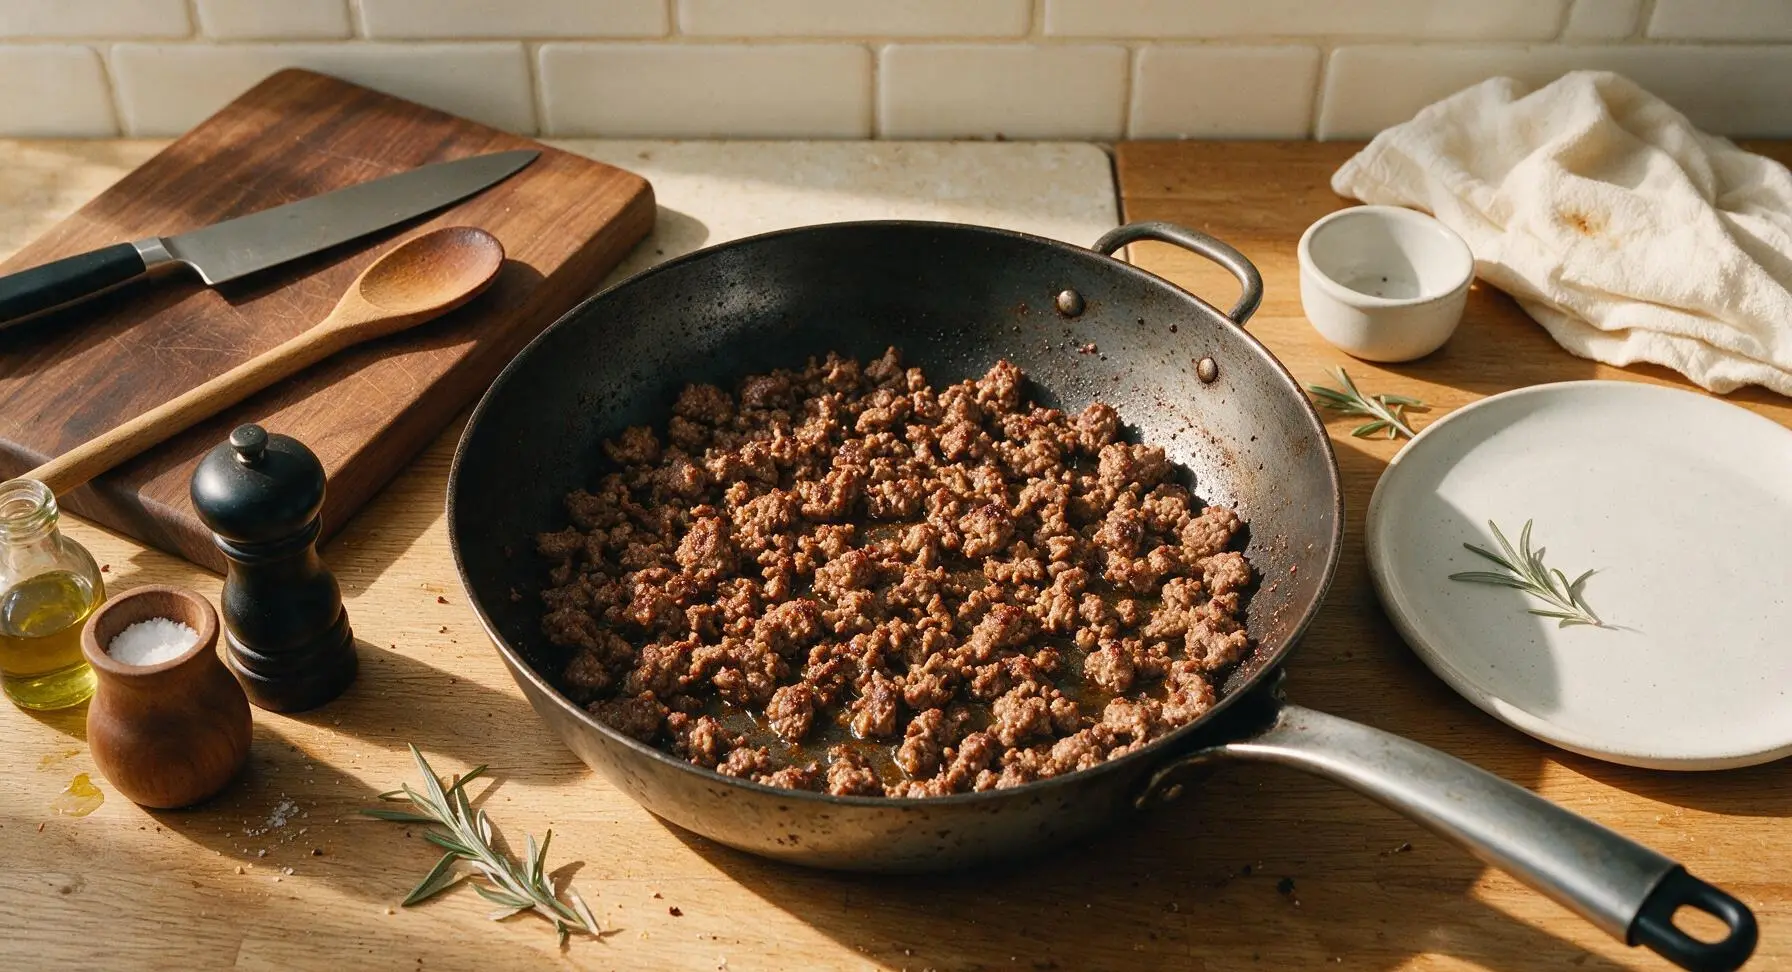
Place the 12-inch seasoned carbon steel skillet on the center stovetop cutout over medium heat. Add 1 teaspoon of olive oil from the clear glass bottle, then add the full 1lb of 80/20 ground beef to the pan. Cook for 7-8 minutes, breaking the beef into small crumbles with a maple wood spoon from the stoneware crock, until the meat is fully browned with no visible pink remaining and small crispy edges form on the crumbles. Drain excess rendered grease from the skillet, leaving 1 teaspoon of fat to cook the aromatics.
Step 2
step2:Brown the Ground Beef
Step 2
step2:Brown the Ground Beef
3

Sauté Aromatics, Season

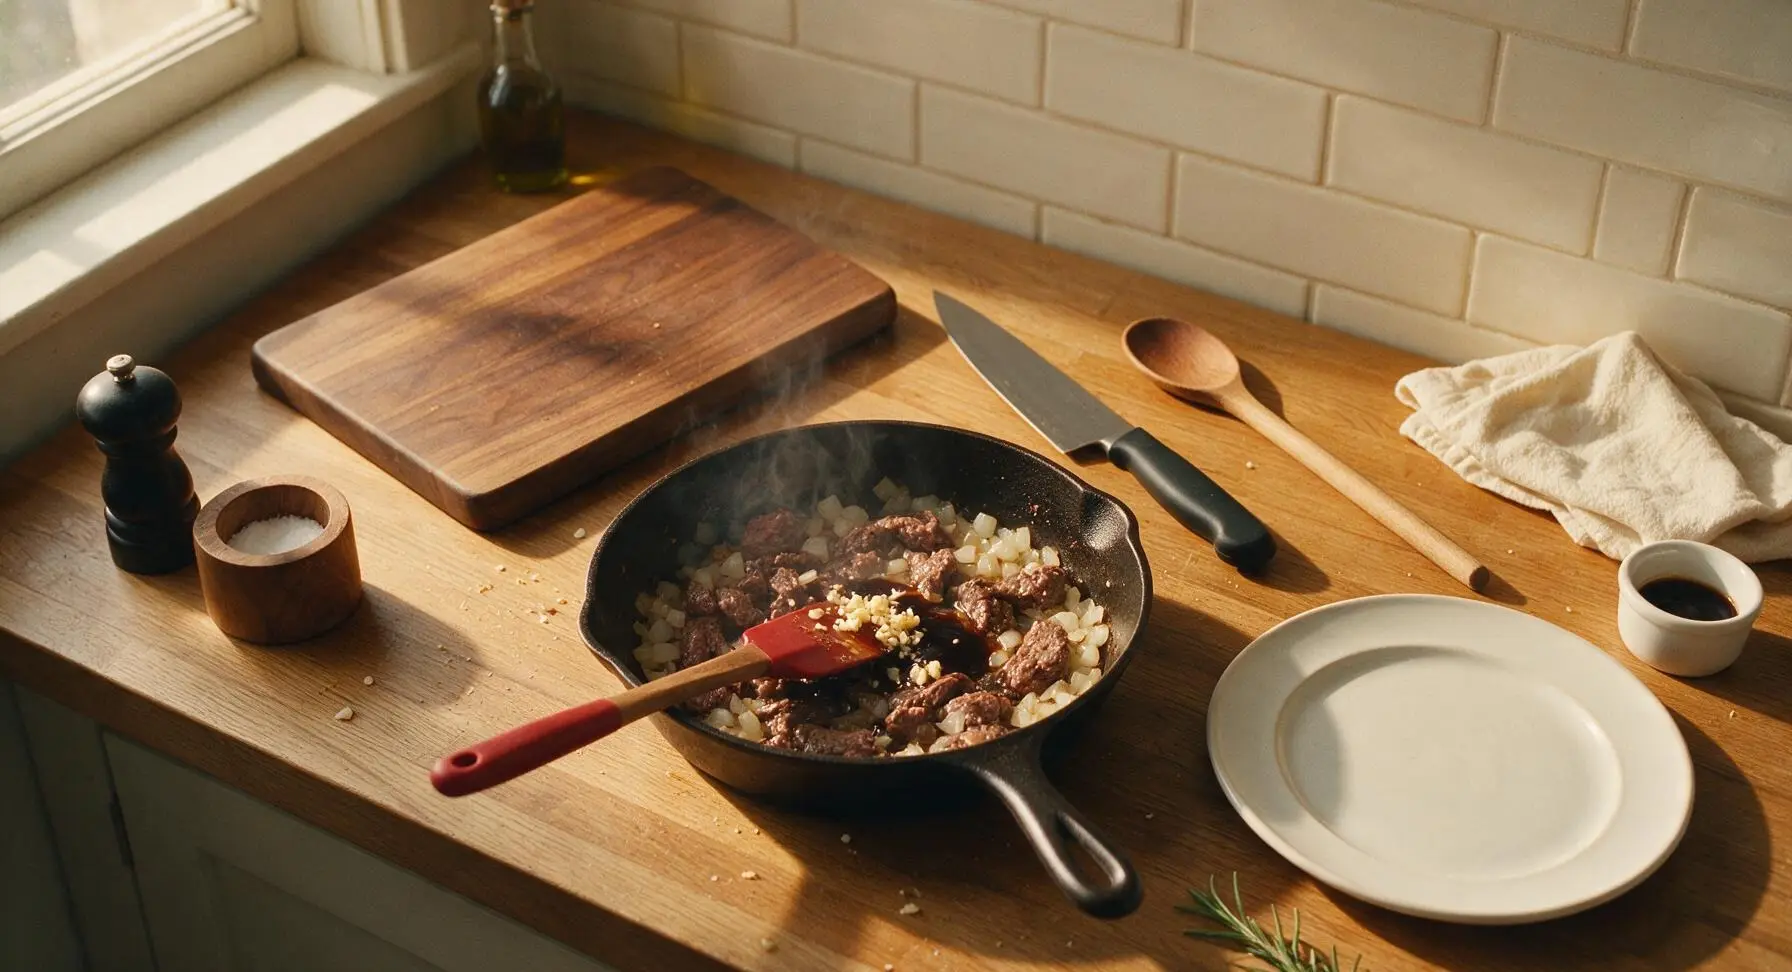
Add the diced onion to the skillet with the browned beef, cooking over medium heat for 3 minutes until the onion is soft and translucent. Add the minced garlic, ½ teaspoon garlic powder, ½ teaspoon kosher salt, ¼ teaspoon ground black pepper, and 1 tablespoon Worcestershire sauce to the pan, stirring constantly with the red-handled silicone spatula for 30 seconds until the garlic is fragrant, taking care not to burn it (burnt garlic will add a bitter taste to the filling).
Step 3
step3:Sauté Aromatics, Season
4

Mix Creamy Filling Base

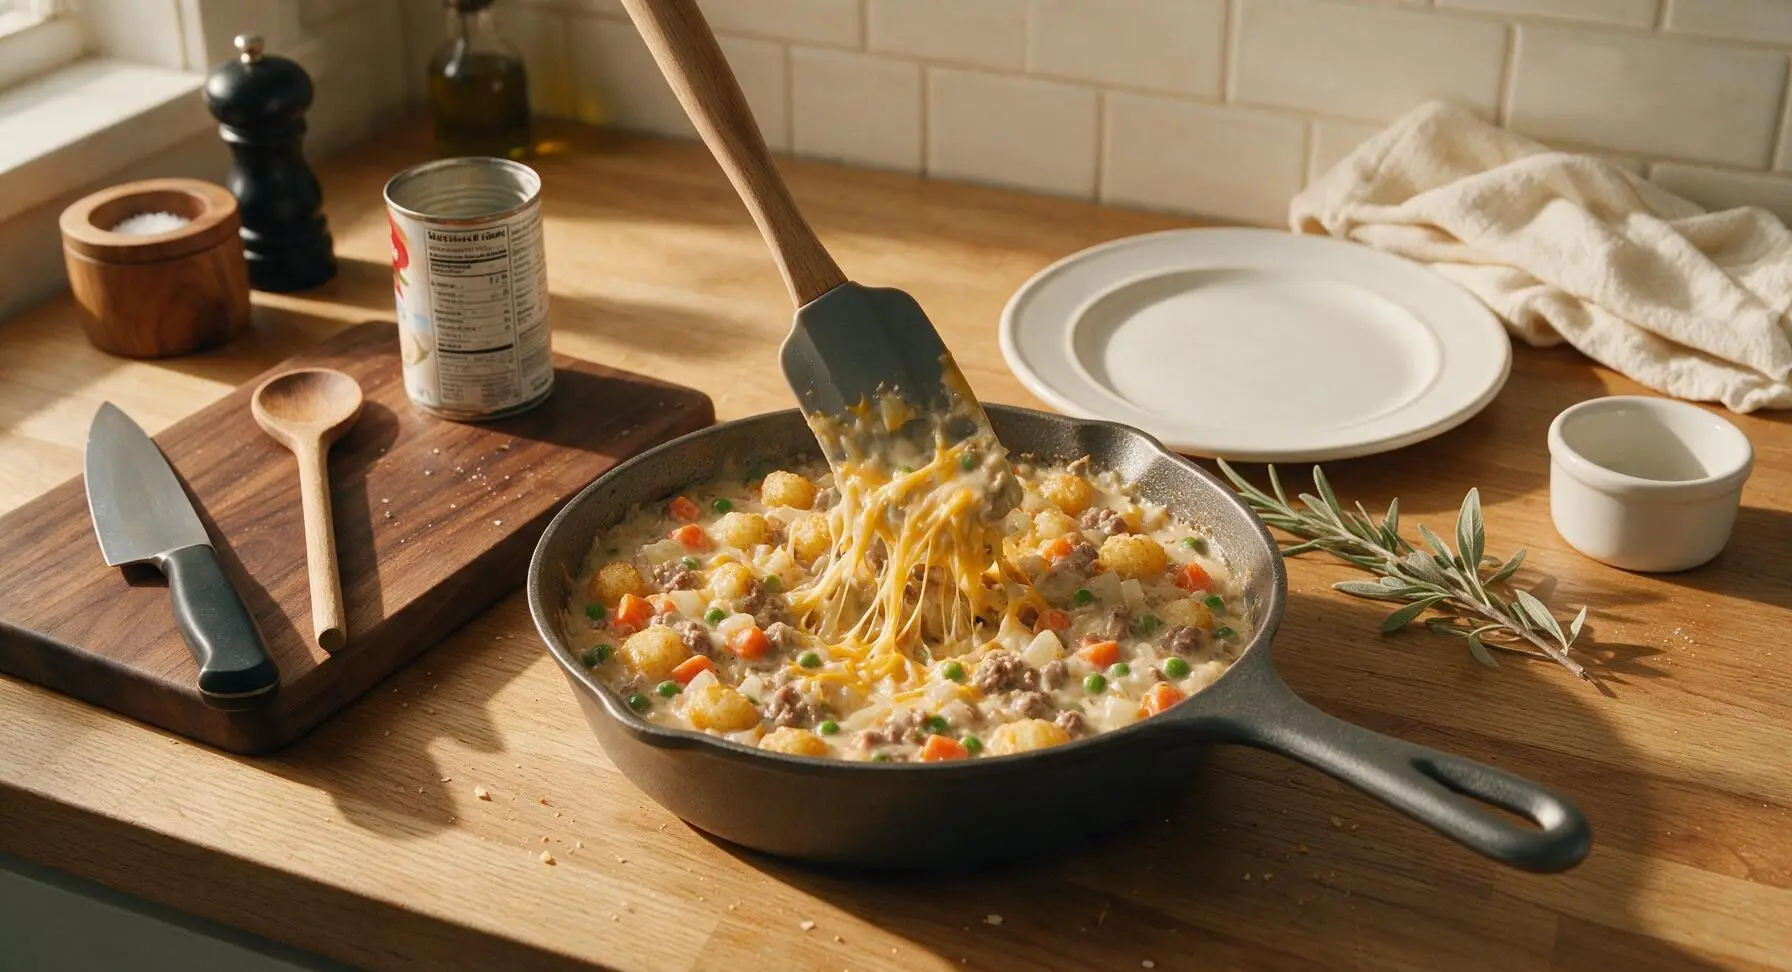
Open the can of cream of mushroom soup using the stainless steel can opener. Stir the soup, ½ cup whole milk, and 1 cup frozen mixed peas and carrots into the skillet with the beef and aromatic mixture. Stir until fully combined, then simmer for 2 minutes until the mixture is thick and creamy with no remaining lumps of undiluted soup. Fold in ½ cup of the shredded sharp cheddar cheese, stirring until the cheese is fully melted and evenly distributed through the filling.
Step 4
step4:Mix Creamy Filling Base
5

Assemble Hotdish Layers

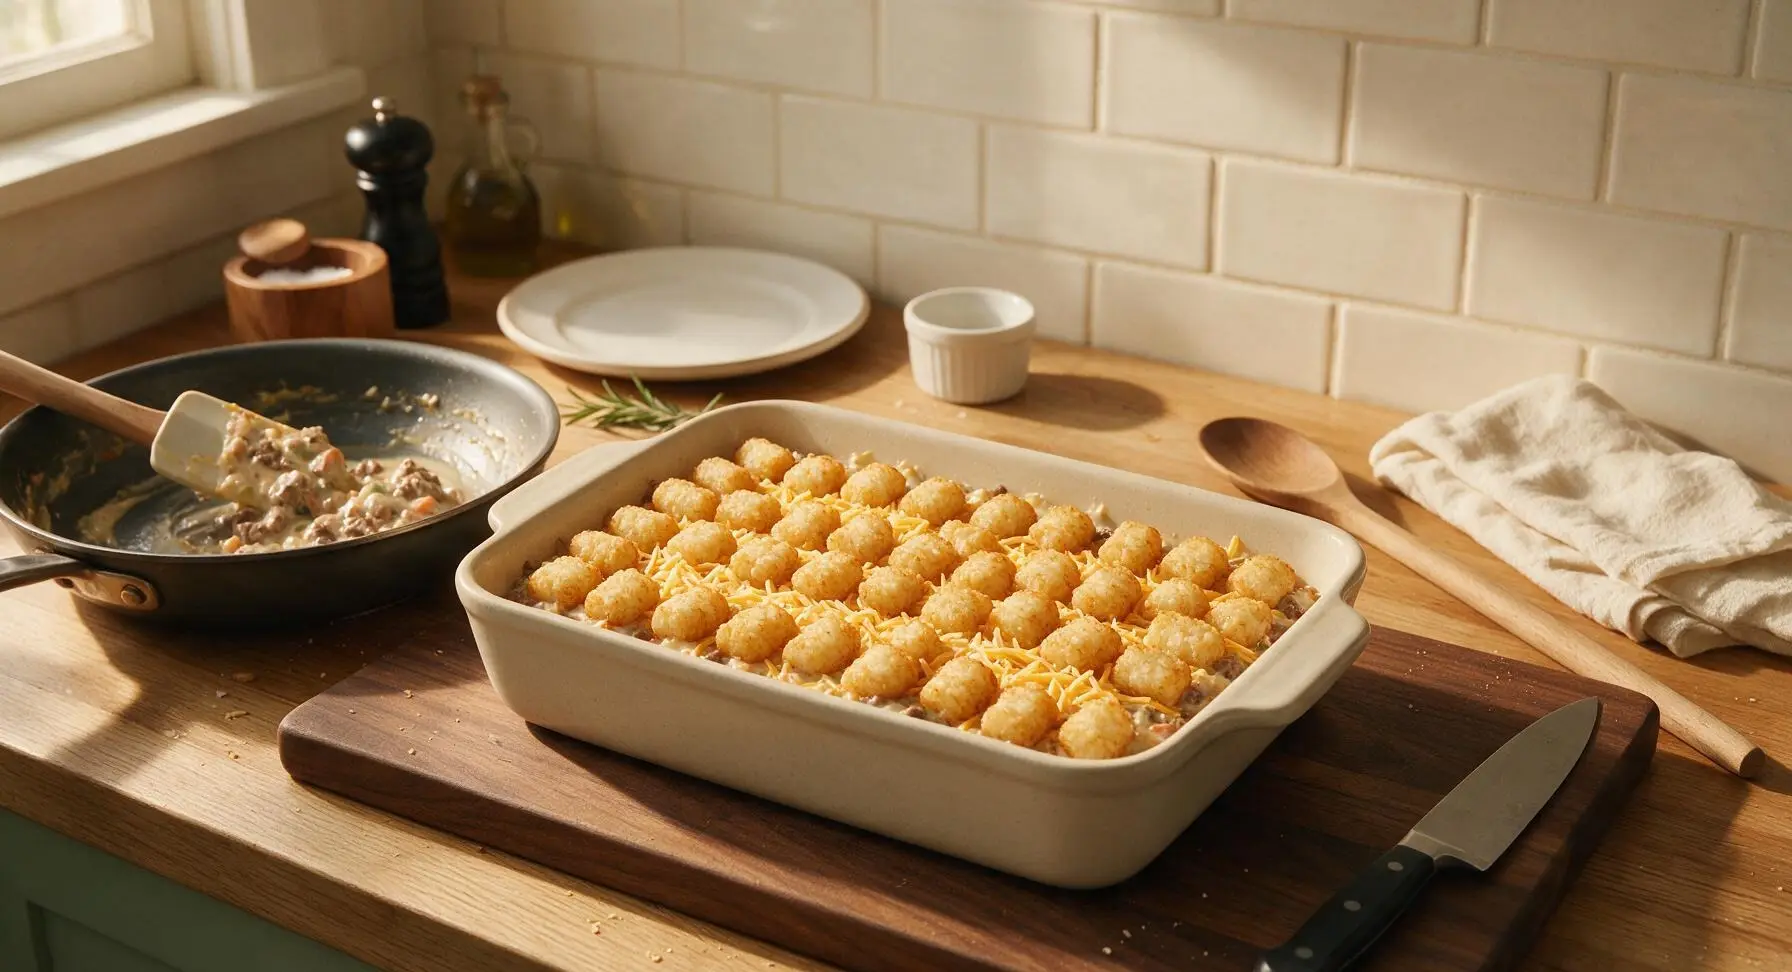
Place the 9x13 inch matte cream stoneware baking dish in the center of the counter. Pour all of the creamy beef and vegetable filling from the skillet into the baking dish, spreading it into a smooth, even layer with the silicone spatula. Sprinkle the remaining 1 cup of shredded cheddar cheese evenly over the top of the filling. Arrange frozen tater tots in tight, neat rows across the entire cheese surface, flat side down, covering the filling completely with no gaps between tots.
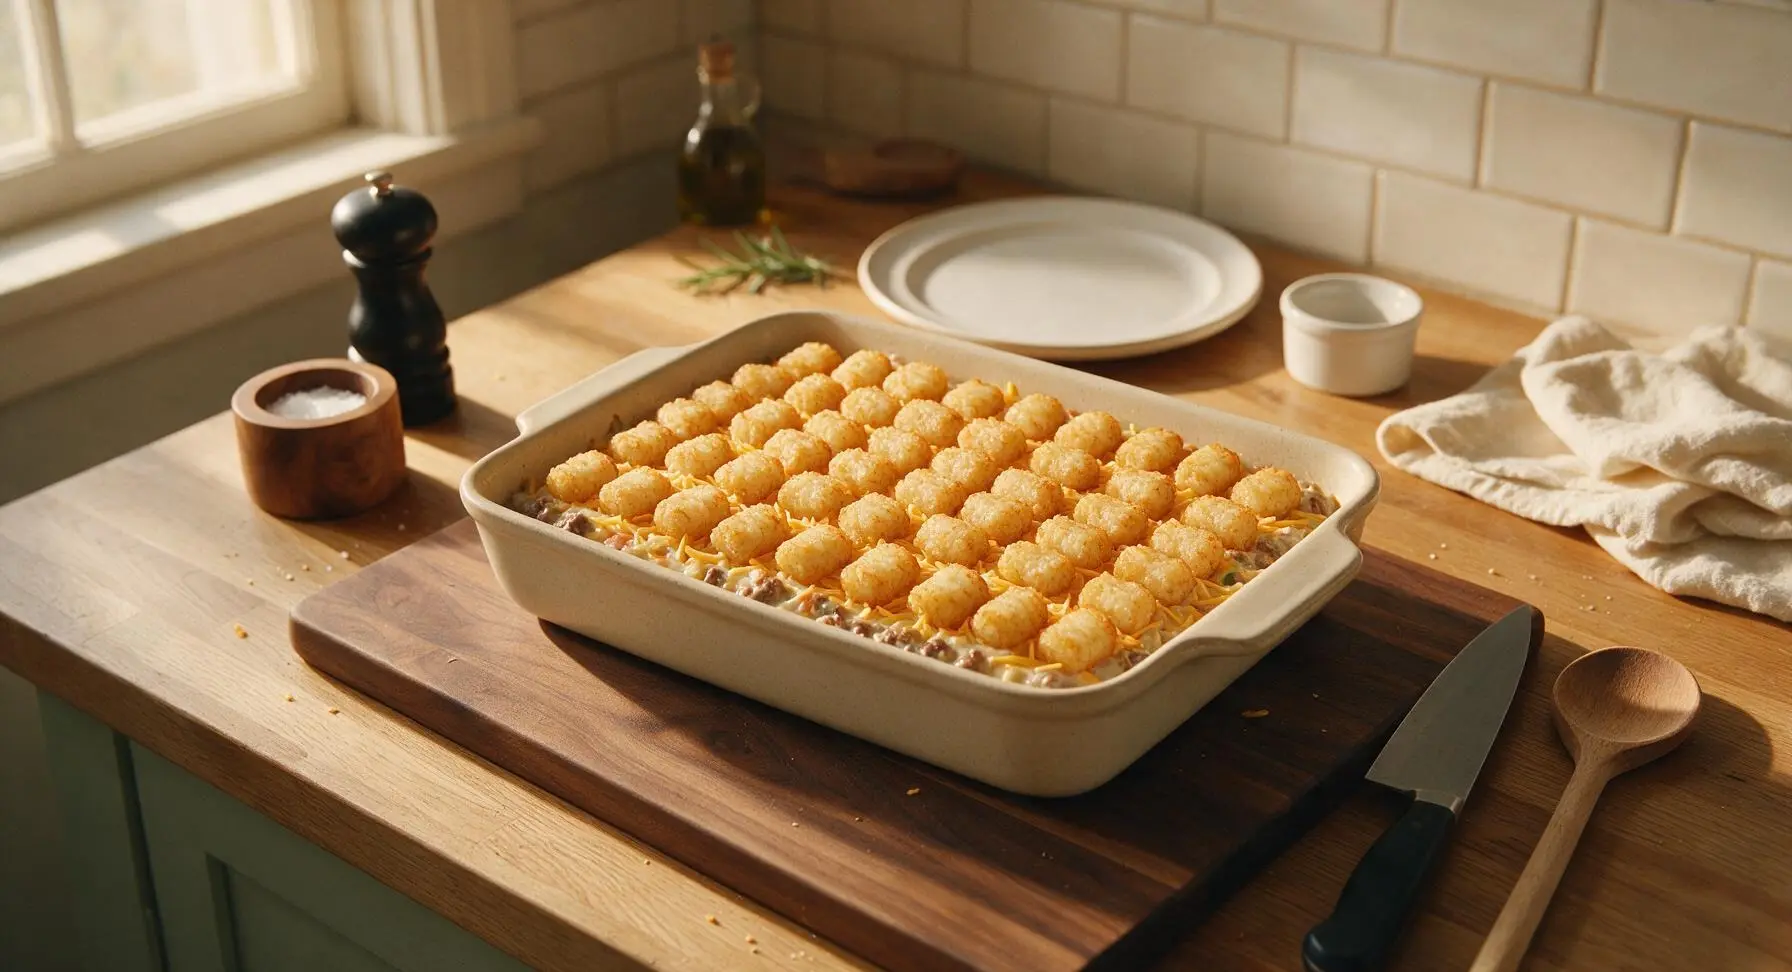
Step 5
step5:Assemble Hotdish Layers
Step 5
step5:Assemble Hotdish Layers
6

Bake Until Bubbly Crisp

Carefully transfer the assembled baking dish to the middle oven rack. Bake for 35 minutes, until the filling bubbles vigorously around the edges of the dish and the tater tots on top are deep golden brown with crispy, craggy exteriors. If the tots begin to brown too quickly before the filling is bubbly, tent the dish loosely with a sheet of aluminum foil for the last 10 minutes of baking to prevent burning.
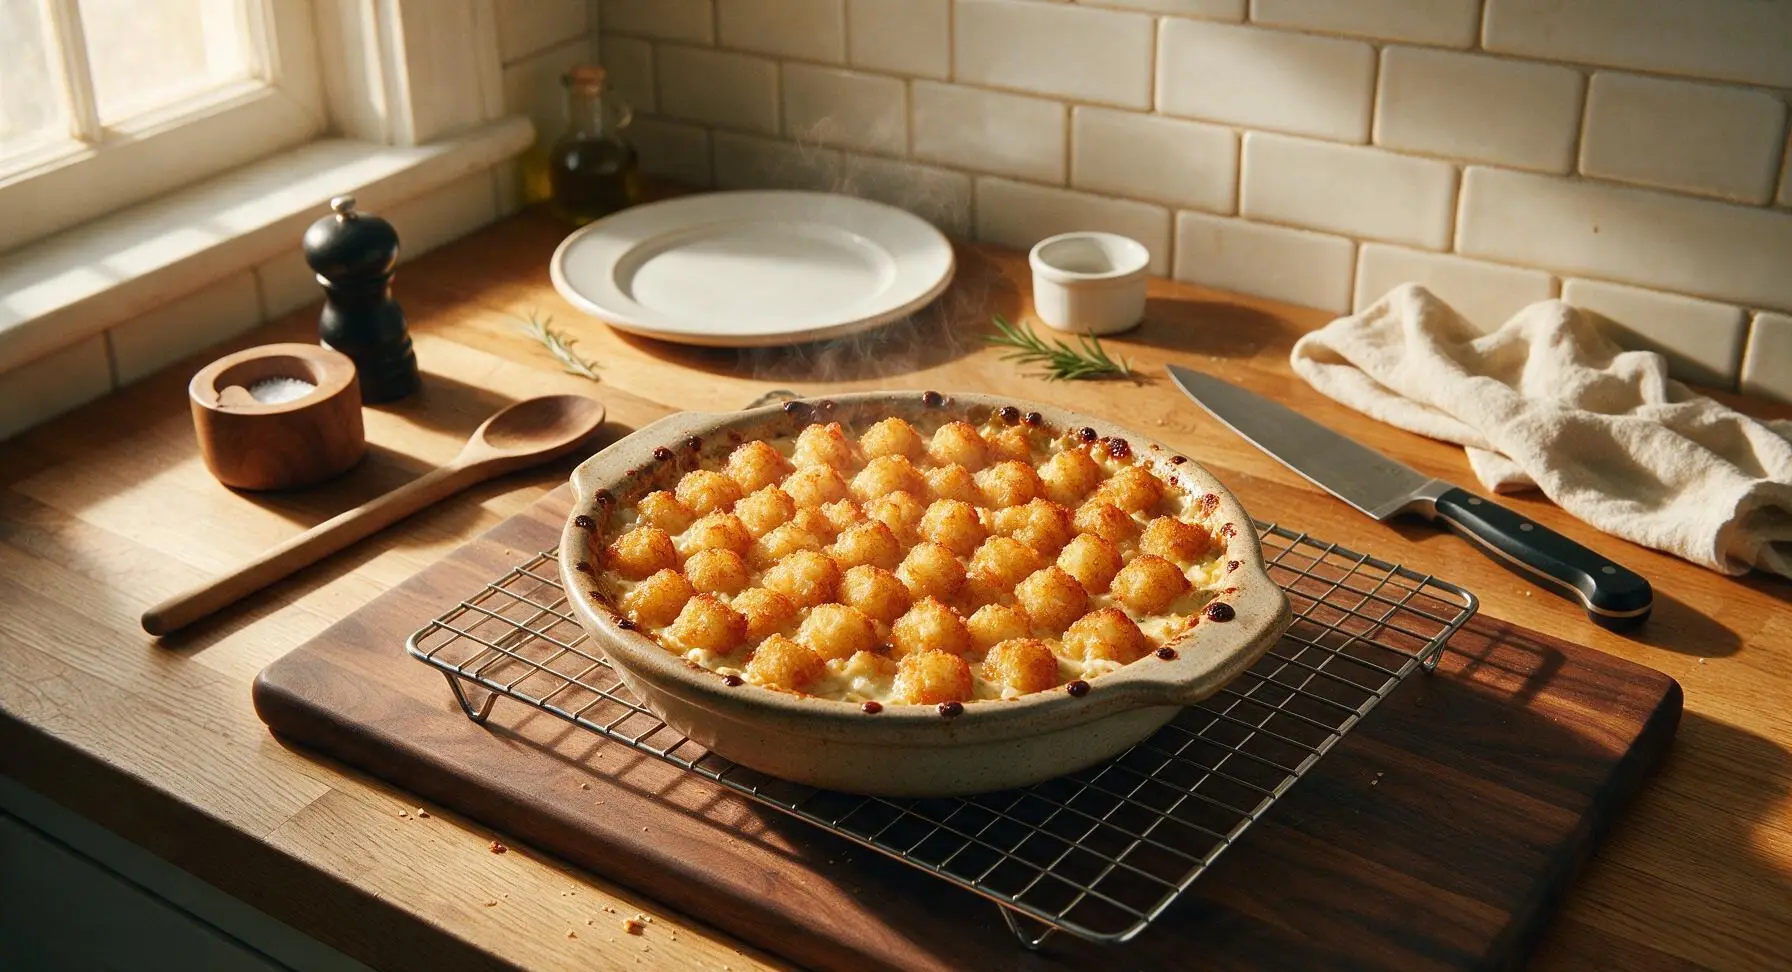
Step 6
step6:Bake Until Bubbly Crisp
7

Rest Before Serving

Allow the hotdish to rest on the wire cooling rack for 10 minutes after removing it from the oven. This rest period lets the creamy filling set and thicken, making it easy to scoop clean, neat portions that hold their shape instead of running across the plate. Top with a light sprinkle of chopped fresh parsley for a pop of color if desired.
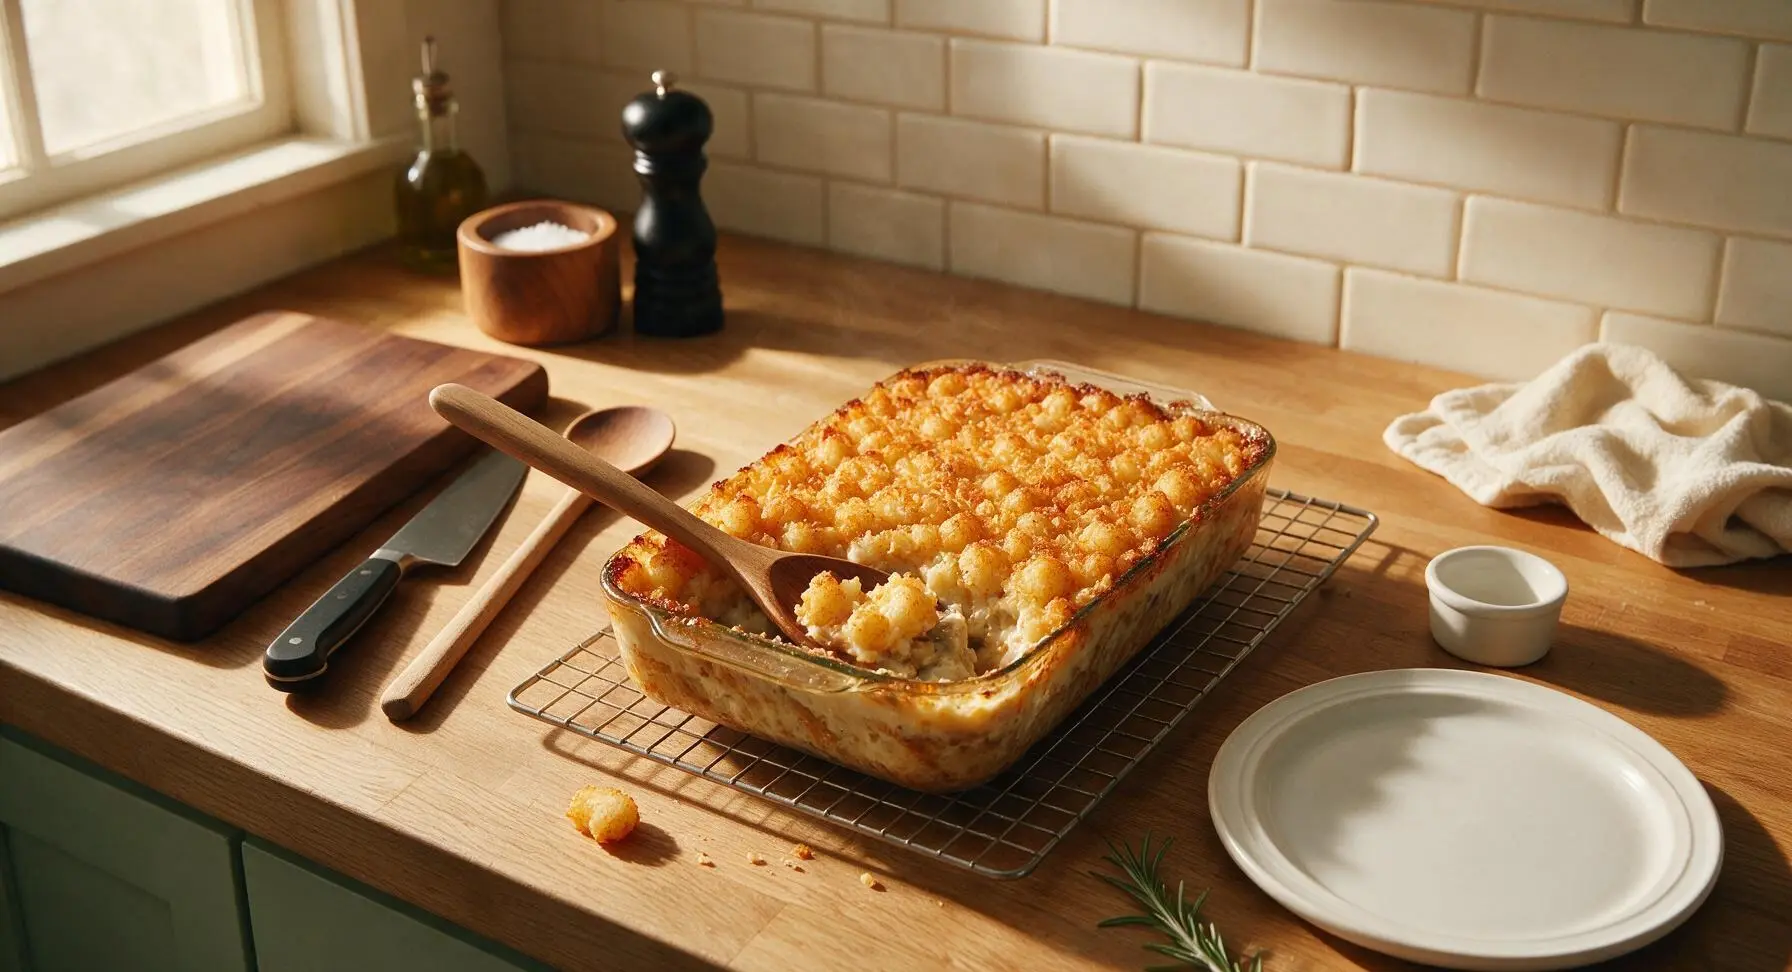
Step 7
step7:Rest Before Serving

Tips

1.Keep tater tots completely frozen until arranging them on top of the hotdish: partially thawed tots release excess moisture as they bake, leading to soggy, soft exteriors instead of the signature crisp, crunchy tater tot top.
2.Do not skip draining excess grease after browning the beef: leaving more than 1 teaspoon of rendered fat will make the creamy filling greasy and thin, while draining all fat will leave the filling dry and lacking richness.
3.Resist the urge to serve immediately after baking: the 10-minute rest allows the starchy soup and potato filling to thicken, so portions hold their shape instead of spreading into a runny mess on the plate.


✨ You May Also Like

Main Course
🍜 United Kingdom

A showstopping classic of tender seared beef, savory mushroom duxelles, and crisp prosciutto wrapped in flaky golden puff pastry, baked to juicy perfection.

⏱️ 2 hours 1Main Course ★ 4.7
Main Course
🍜 India

Tender charred marinated chicken simmered in a rich, spiced creamy tomato sauce, this iconic Anglo-Indian curry pairs perfectly with basmati rice or warm naan.

⏱️ 50 minuteMain Course ★ 4.6
Main Course
🍜 Thailand

Classic tangy, sweet, and savory Thai stir-fried rice noodles with shrimp, tofu, and crunchy garnishes, balancing all five core Thai flavor profiles.

⏱️ 30 minuteMain Course ★ 4.5
Main Course
🍜 United Kingdom

Crispy golden beer-battered cod and fluffy double-fried chips, served with tangy tartar sauce and malt vinegar: the timeless, beloved British pub comfort classic.

⏱️ 45 minuteMain Course ★ 4.7
Main Course
🍜 Mexico

Smoky, chile-marinated pork tacos with caramelized pineapple, fresh cilantro, and lime: a beloved classic Mexican street food perfect for casual summer gatherings.

⏱️ 1 hour 45Main Course ★ 4.8
Main Course
🍜 United States

Crunchy Fritos corn chips layered with savory beef chili and melted cheddar, topped with cool, zesty fixings for a beloved, cozy Tex-Mex comfort food.

⏱️ 35 minuteMain Course ★ 4.8

a tater tot hotdish:Frequently Asked Questions

1.Why do you recommend 80/20 ground beef instead of a leaner blend for this hotdish? ▾
That 20% fat content builds deep, savory beefy flavor without extra added oil, and keeps the filling moist through the long bake time, so you won’t end up with a dry, crumbly base. If you only have leaner ground beef on hand, add 1 tablespoon of butter when browning the onions, and only drain excess grease lightly instead of pouring all of it off.
2.Can I prep this tater tot hotdish ahead of time for a potluck or weeknight meal? ▾
Absolutely! Assemble the fully cooled beef and vegetable filling in your baking dish, top with frozen tater tots, cover tightly, and refrigerate for up to 2 days. Wait to sprinkle on the cheddar until the last 15 minutes of baking, and add 10–12 minutes to your total bake time to account for the cold dish going straight into the oven.
3.Do I need to thaw the frozen tater tots or mixed peas and carrots before baking? ▾
No need to thaw either! Adding frozen tater tots straight to the top helps them get extra crispy as they bake, instead of turning mushy from pre-thawing. Frozen peas and carrots go straight into the warm beef filling too—they’ll cook through perfectly as the hotdish bakes, no extra pre-steaming or boiling required.
4.The filling seems really thick when I stir in the cream of mushroom soup—can I thin it out? ▾
If your condensed cream of mushroom soup is extra thick, stir in ¼ cup of whole milk, low-sodium beef broth, or half-and-half to loosen the filling to a rich, spoonable consistency. Don’t thin it too much though—you want the filling to hold its shape, not turn runny, or the tater tots on top will soak up excess liquid and get soggy as it bakes.
5.How do I get the tater tots on top extra crispy instead of soft and soggy? ▾
Two easy, reliable tricks: first, arrange tater tots in a single, even layer on top without overcrowding, so hot oven air can circulate around every tot. Second, bake the hotdish uncovered at 400°F for the full cook time, and broil for the last 1–2 minutes if you want extra golden, crunchy edges—just watch closely so they don’t burn.
6.Can I swap the cream of mushroom soup for something else if I don’t like mushrooms? ▾
Of course! Cream of celery, cream of chicken, or even condensed cheddar cheese soup all work beautifully as a 1:1 swap for cream of mushroom here. If you want to skip canned soup entirely, you can make a quick homemade roux-based white sauce with butter, flour, milk, and a pinch of garlic powder for that same rich, creamy texture.
7.Should I drain all the grease from the ground beef after browning it? ▾
For 80/20 ground beef, drain off any excess grease that pools after browning—usually about 2–3 tablespoons—so the filling doesn’t turn unpleasantly greasy as it bakes. Leave about a teaspoon of that fat in the pan to sauté your onion and garlic, though, since it carries so much of the deep, savory flavor this hotdish is known for.
8.What other mix-ins can I add to customize this classic hotdish? ▾
This recipe is wonderfully flexible! You can stir in sweet corn, diced green beans, chopped cooked bacon, a dash of Worcestershire sauce, or a pinch of smoked paprika for extra depth. Just skip adding too many watery ingredients like fresh raw tomatoes, which will release liquid as they bake and make the filling runny.
9.How do I tell when the hotdish is fully done and ready to pull from the oven? ▾
You’ll know it’s ready when the filling around the edges of the dish is actively bubbling, the tater tots are deep golden and crispy all over, and the melted cheddar is fully melted and just starting to brown at the edges. This usually takes 40–45 minutes at 400°F, but you can stick a knife in the center to confirm it’s piping hot all the way through.
10.What’s the best way to store leftover hotdish, and how long will it keep? ▾
Let leftover hotdish cool completely first, then cover the baking dish tightly with foil, or portion it into sealed airtight containers. It will keep well in the refrigerator for up to 4 days, and you can reheat portions in the microwave or a 350°F oven until warmed through—pop it under the broiler for a minute if you want to crisp the tots back up.

Comments (4)

3 days ago

OMG this was SUCH a hit at our Sunday family dinner! I was worried it would be too plain so I added a handful of shredded sharp cheddar on top of the tots before baking, and my picky 7 year old went back for thirds. So easy to throw together after work too, total game changer for busy weeknights. 10/10 will be making this for our next neighborhood potluck!

2 days ago

Wait the extra cheddar on top is genius! I made this last week for my kid’s soccer team potluck and it was gone in 10 minutes flat, can’t wait to try that cheese tip next time I whip it up!

2 days ago

So glad your family loved it! That extra cheddar hack is *chef’s kiss* — lots of folks love mixing in a little crumbled cooked bacon too if you want an extra savory twist next time!

5 days ago

Meal prepped this for the work week on Sunday and it held up perfectly all 5 days for lunch! Super straightforward recipe, no weird fancy ingredients, which is exactly what I look for when I’m cooking ahead. Only note is I lined my baking dish with parchment paper for easier cleanup, cut down on scrubbing burnt cheese bits so much after baking.

3 days ago

Great call with the parchment paper hack! We’re so glad this worked for your meal prep — it’s one of our go-to make-ahead recipes too, since the flavors meld even better after a day or two in the fridge.

1 week ago

I swapped the regular cream of mushroom soup for the gluten-free version and used crispy GF tater tots, and you couldn’t even tell the difference! My whole family (none of whom eat GF usually) devoured every last bite. Perfect cozy comfort food for cold rainy days, I’ll be making this nonstop all fall and winter.

30 minutes ago

This looks SO good! Quick question before I make it for my boyfriend’s birthday cookout this weekend — has anyone ever added a layer of browned ground sausage to this? I feel like it would pair so well with the creamy soup and crispy tots but I don’t want to mess up the classic ratios.

5 minutes ago

I added a pound of browned maple breakfast sausage to mine last month and it was insane! Just make sure you drain the grease really well before adding it so the dish doesn’t get soggy, it’s the perfect add-in for a cookout, everyone raved about it.



