
all clad waffle

title 1
all clad waffle
⏱️ cook time 15 minutes
🍽️ servings 4
⚡ Difficulty easy

intro

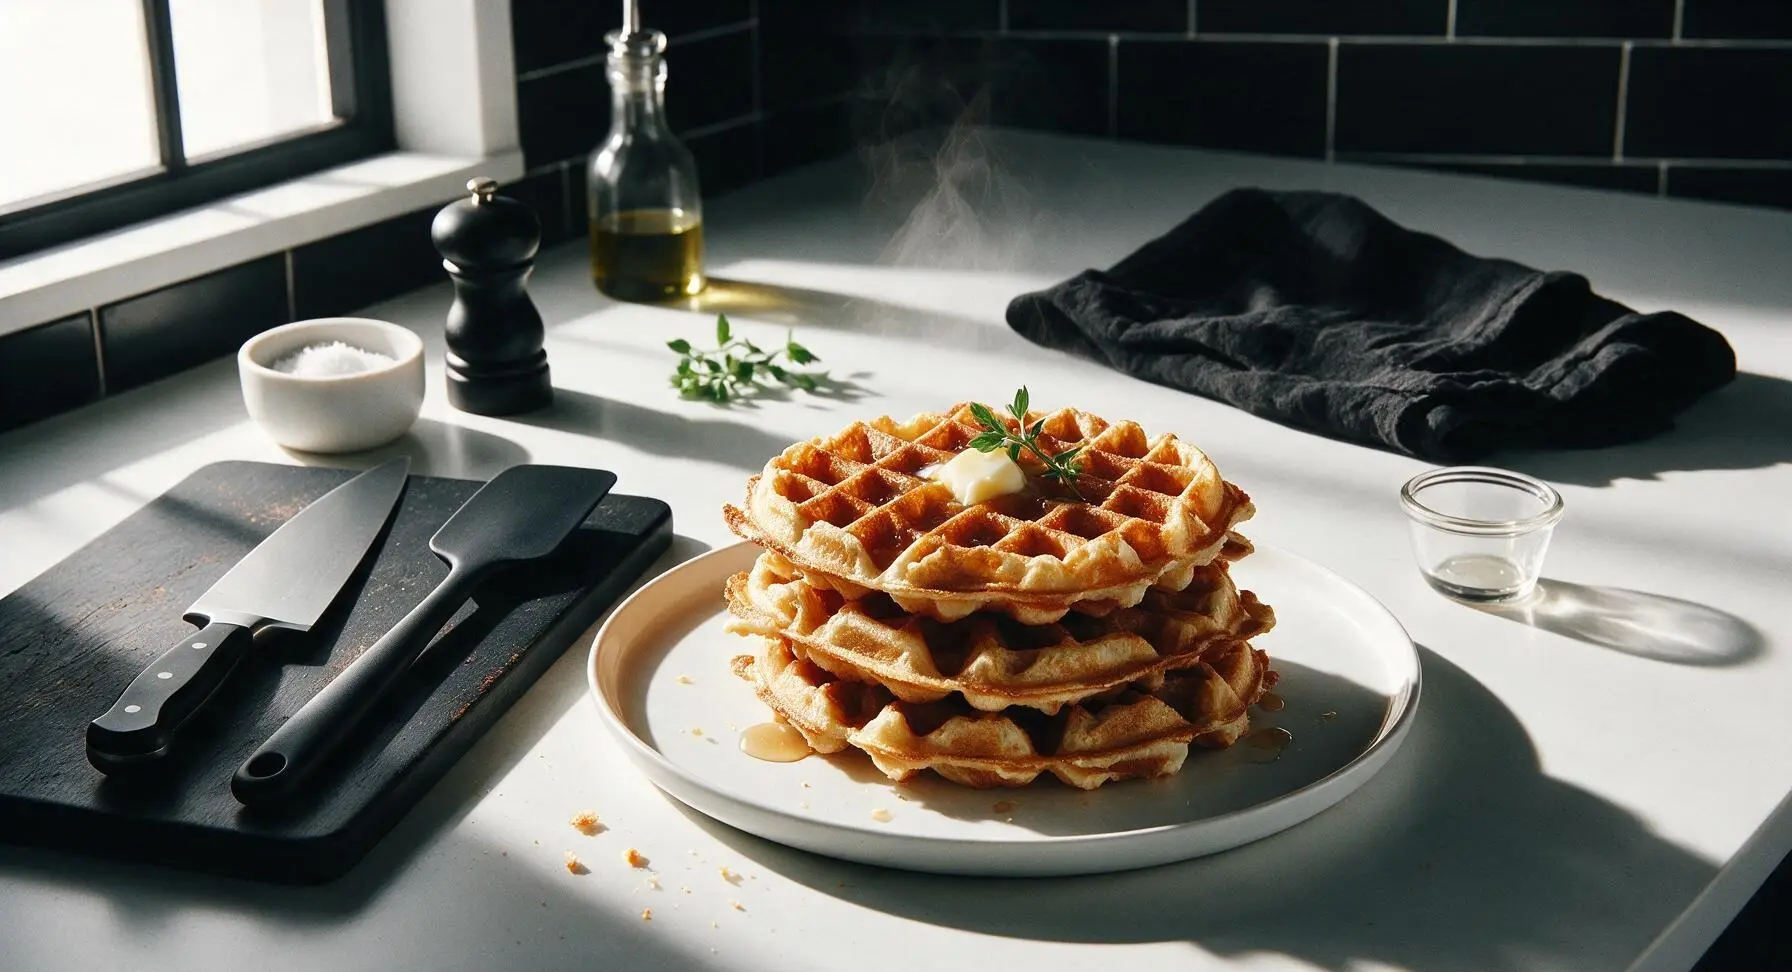
Shatteringly crisp, fluffy deep-pocket waffles made in an All-Clad waffle iron, with golden caramelized edges built to hold pools of melted butter and maple syrup.

Ingredients
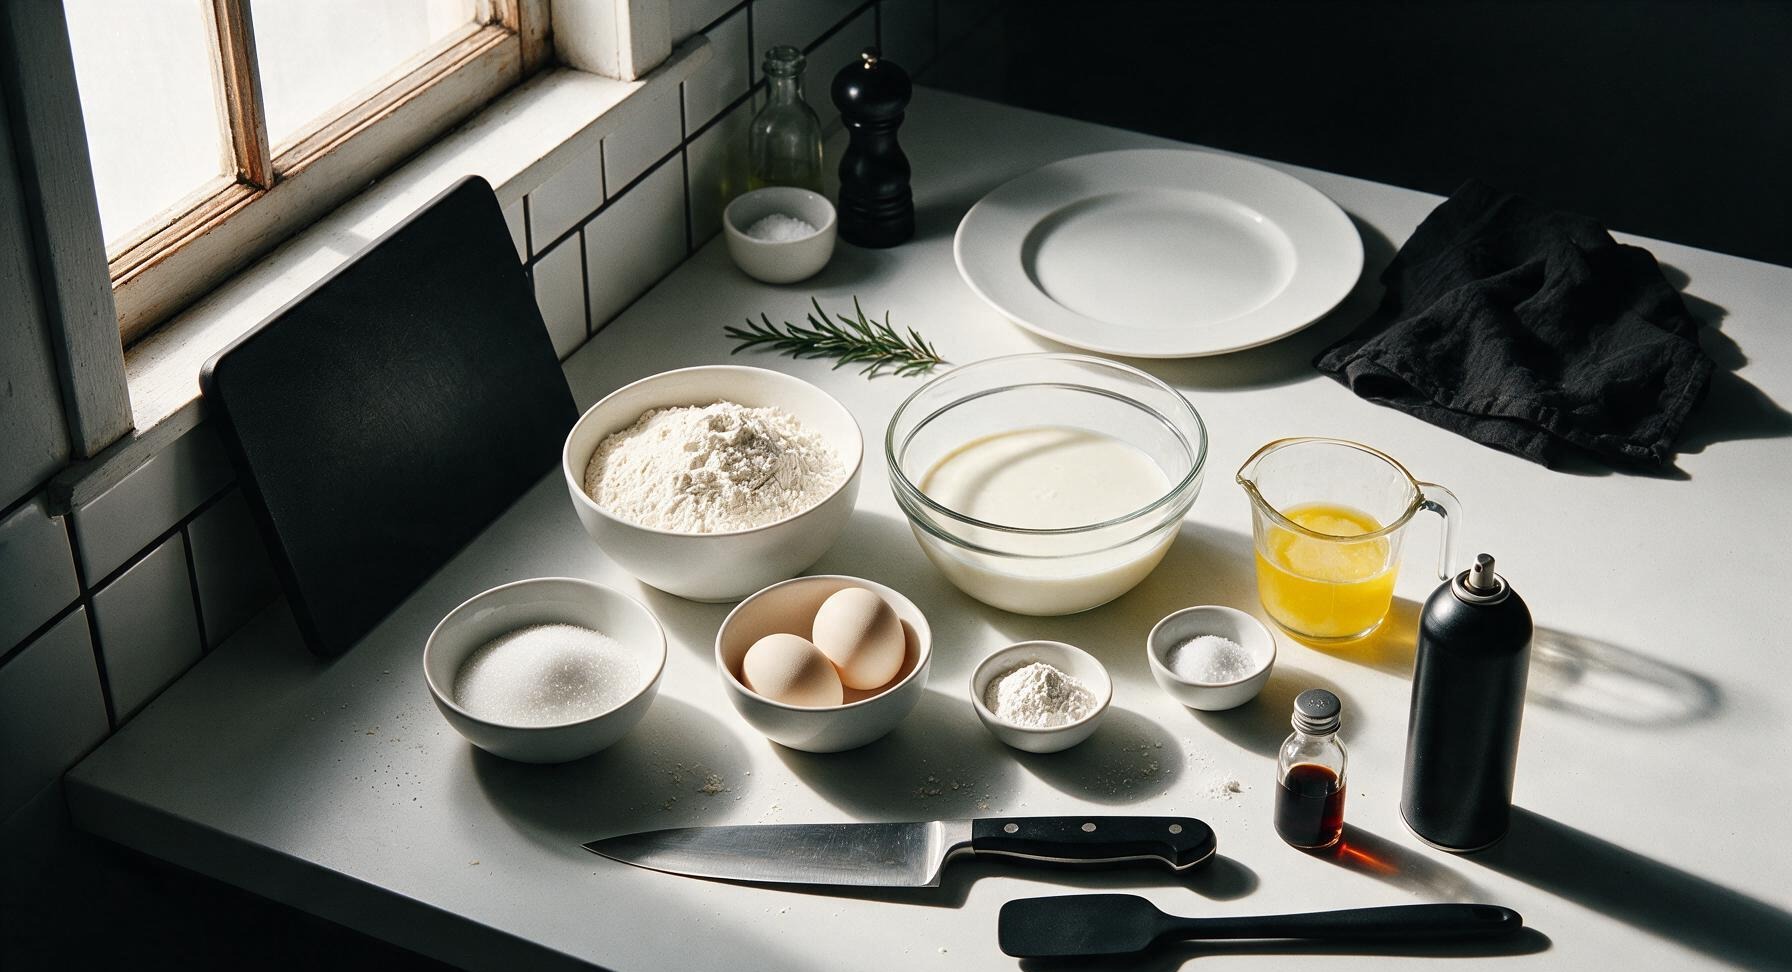
All-purpose flour 2 cups (240g)
Whole buttermilk, well-shaken 1.5 cups (360ml)
Unsalted butter, melted and cooled 4 tbsp (57g)
Large eggs, separated 2
Granulated sugar 2 tbsp (25g)
Baking powder 2 tsp
Baking soda 1/2 tsp
Fine sea salt 1/2 tsp
Pure vanilla extract 1 tsp
Non-stick cooking spray 1 short burst per waffle

Steps

1

Preheat Waffle Iron

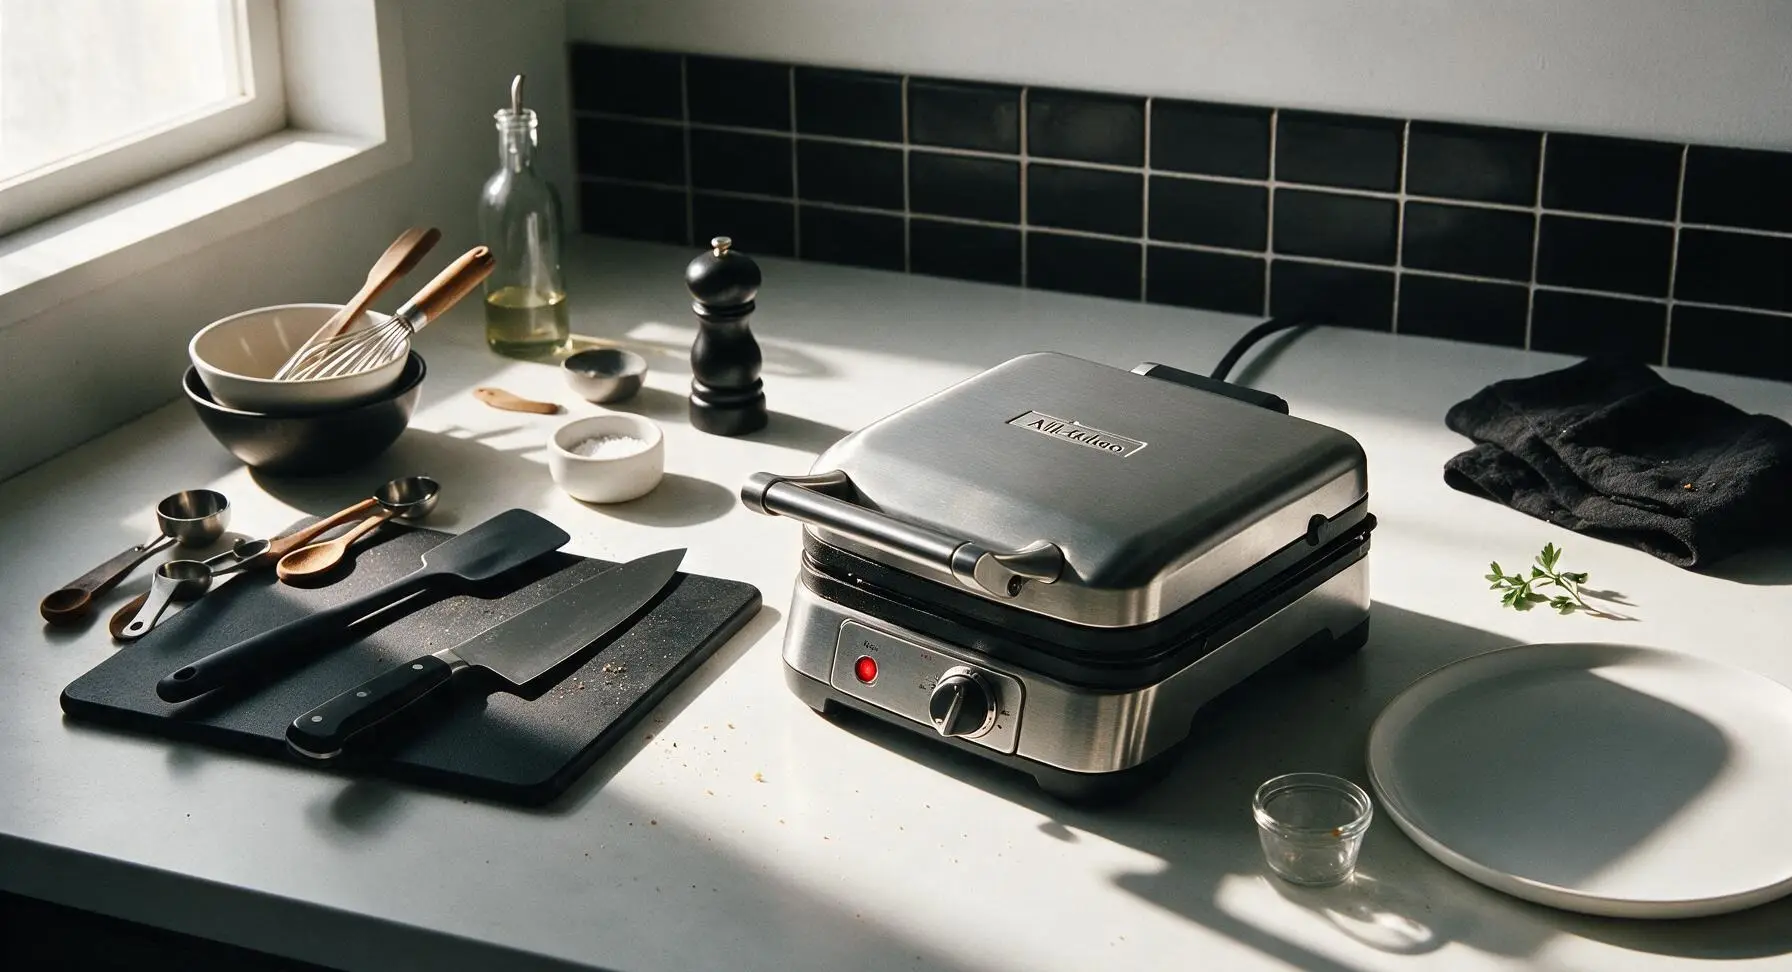
Plug in the All-Clad brushed stainless steel waffle maker, set the browning control to medium-high (setting 4 out of 7 for standard All-Clad models), and close the lid. Allow it to preheat for 5-7 minutes until the green 'ready' indicator light illuminates, signaling the plates have reached the ideal 400°F (205°C) for crisp, evenly browned waffles. Do not grease the plates during preheating.
Step 1
step1:Preheat Waffle Iron
2

Mix Dry Ingredients

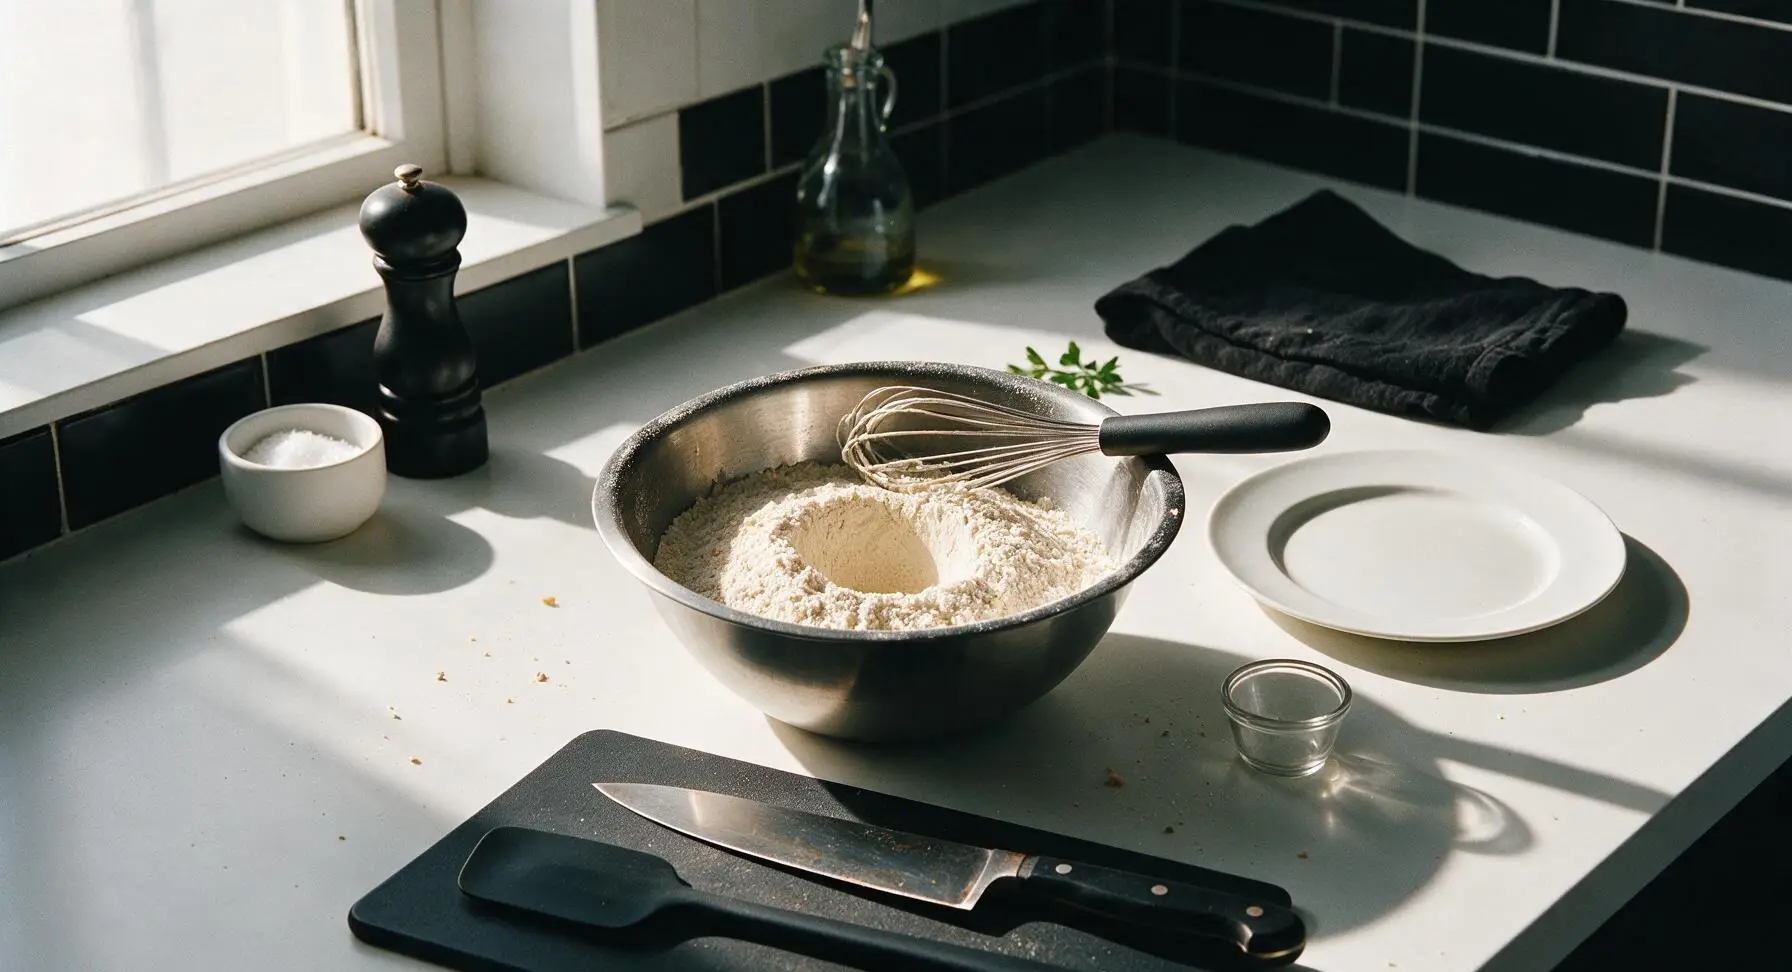
In the medium brushed stainless steel mixing bowl, combine the 2 cups all-purpose flour, 2 tbsp granulated sugar, 2 tsp baking powder, 1/2 tsp baking soda, and 1/2 tsp fine sea salt. Use the black-handled silicone whisk to stir the mixture for 30 seconds until fully combined, with no visible clumps of leavening. Create a 2-inch wide well in the center of the dry mix to hold wet ingredients later.
Step 2
step2:Mix Dry Ingredients
3

Whisk Wet Base

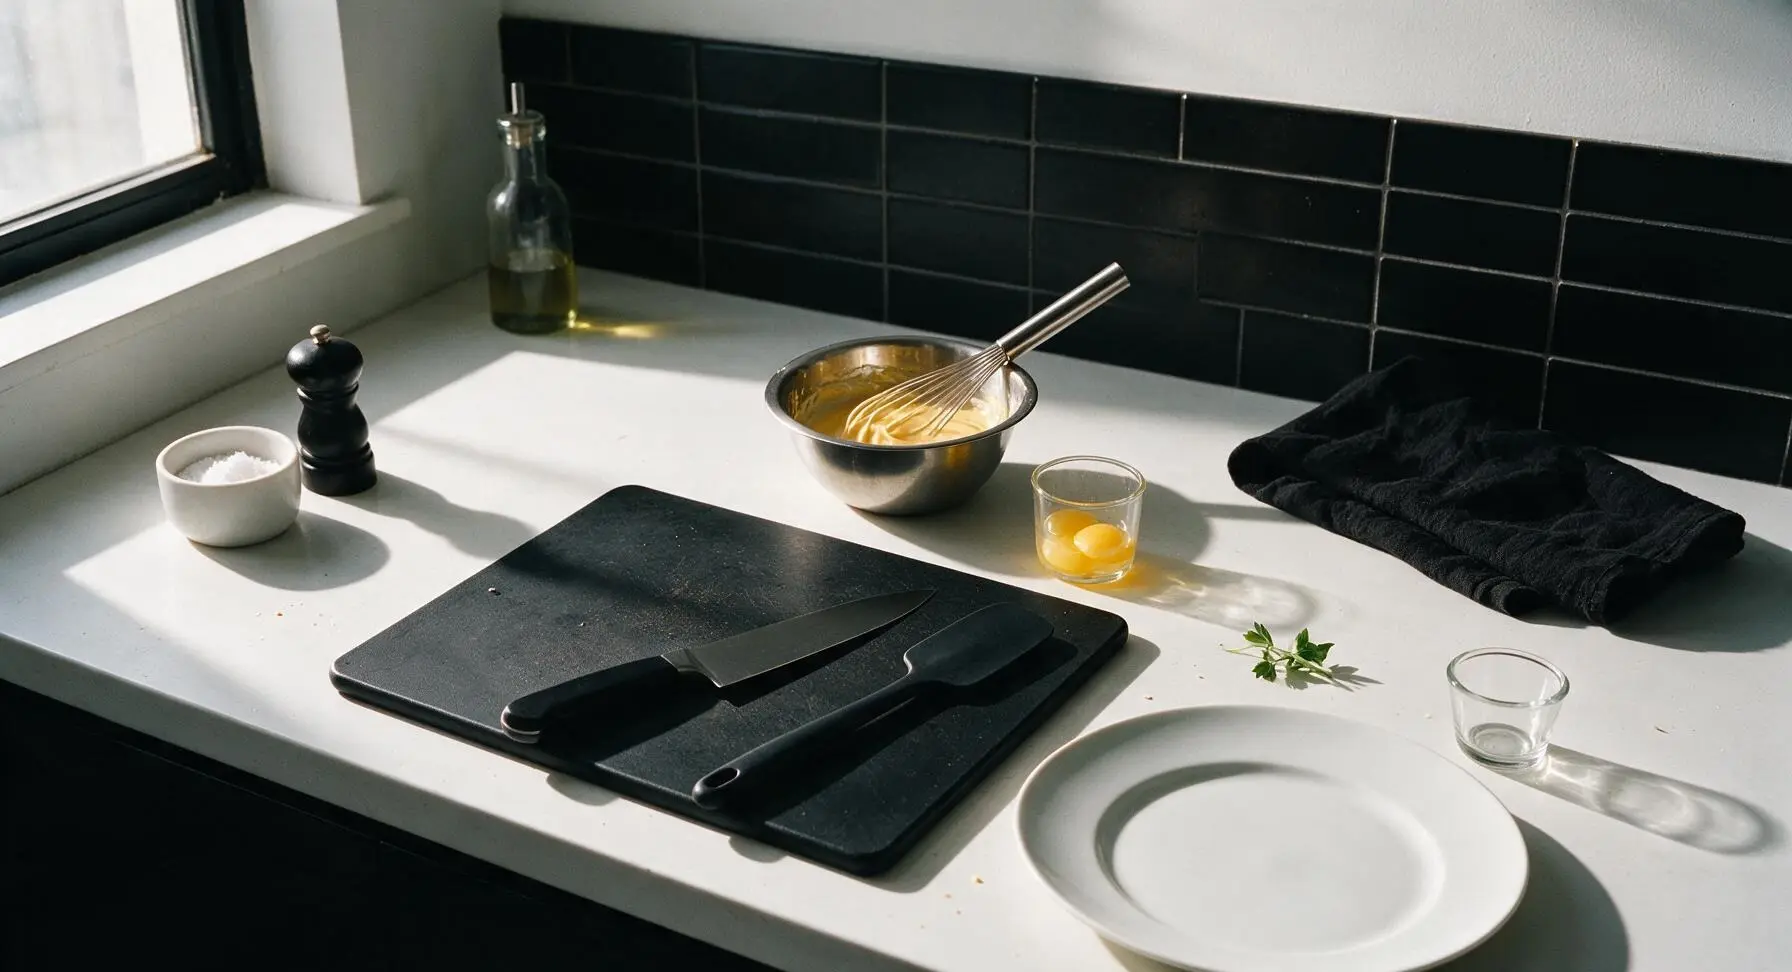
Crack the 2 eggs, separating yolks from whites: place yolks in the small stainless steel mixing bowl, and reserve whites in a small clean glass cup. Add the 1.5 cups buttermilk, 4 tbsp melted cooled butter (ensure butter is below 120°F to avoid cooking yolks), and 1 tsp vanilla extract to the yolks. Whisk for 20 seconds until the mixture is smooth and pale golden.
Step 3
step3:Whisk Wet Base
4

Whip Egg Whites

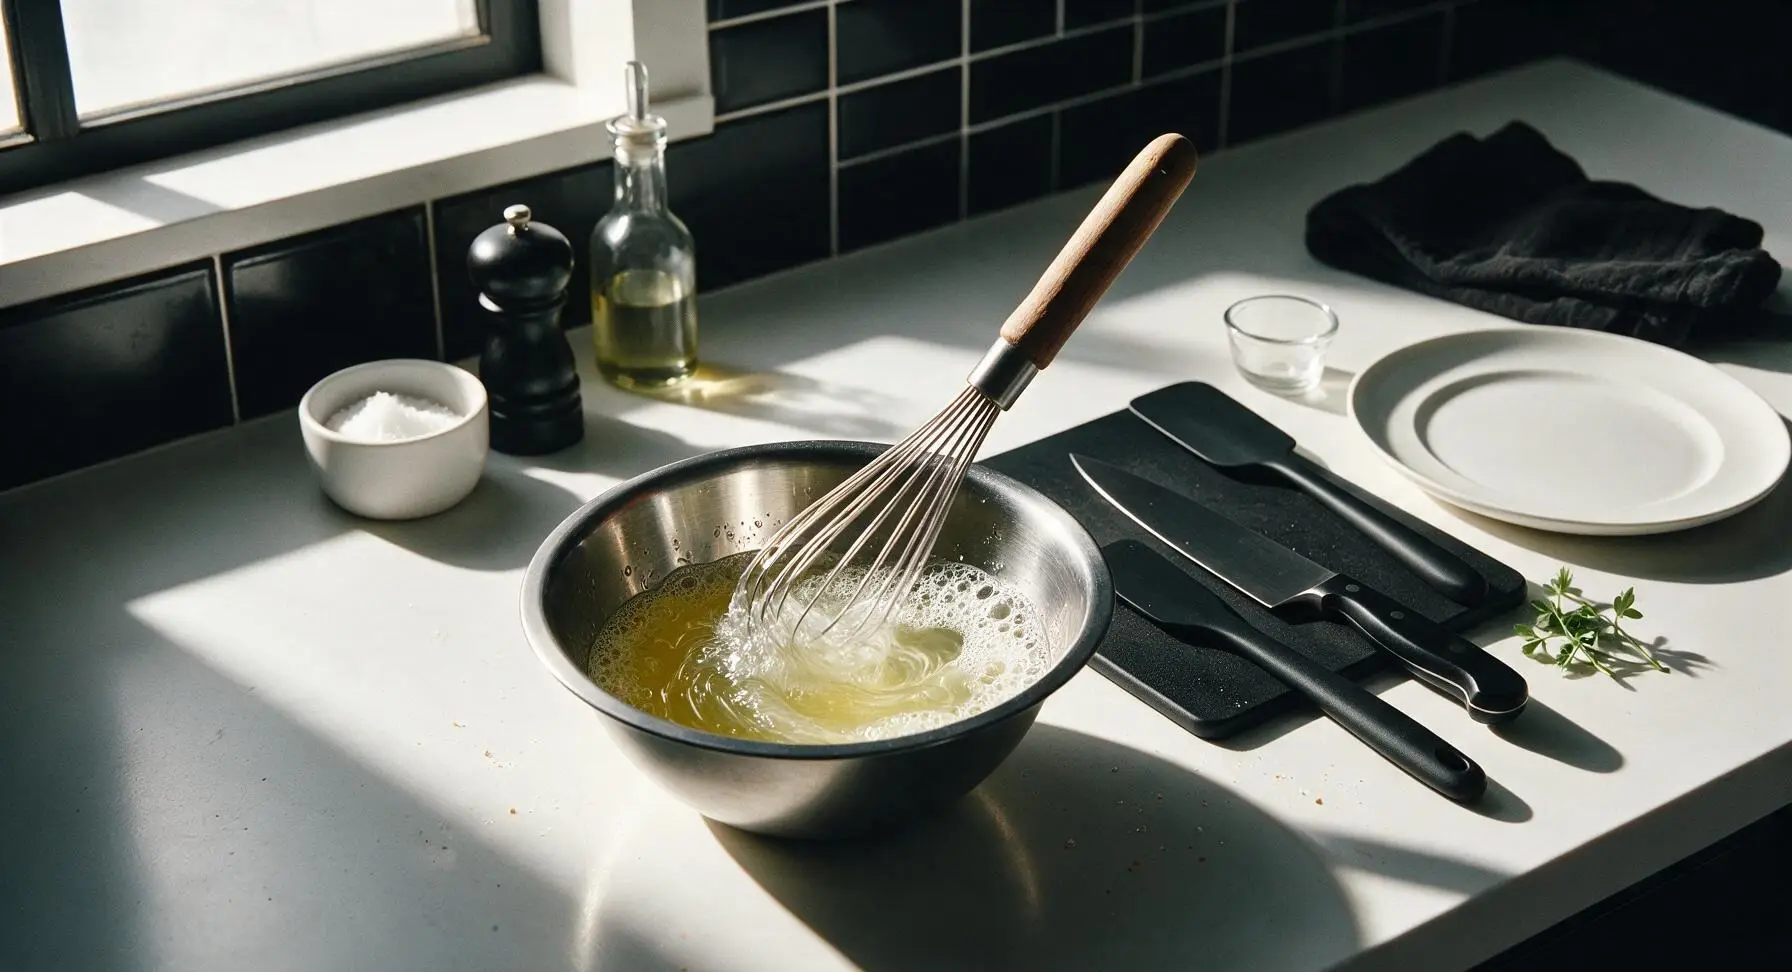
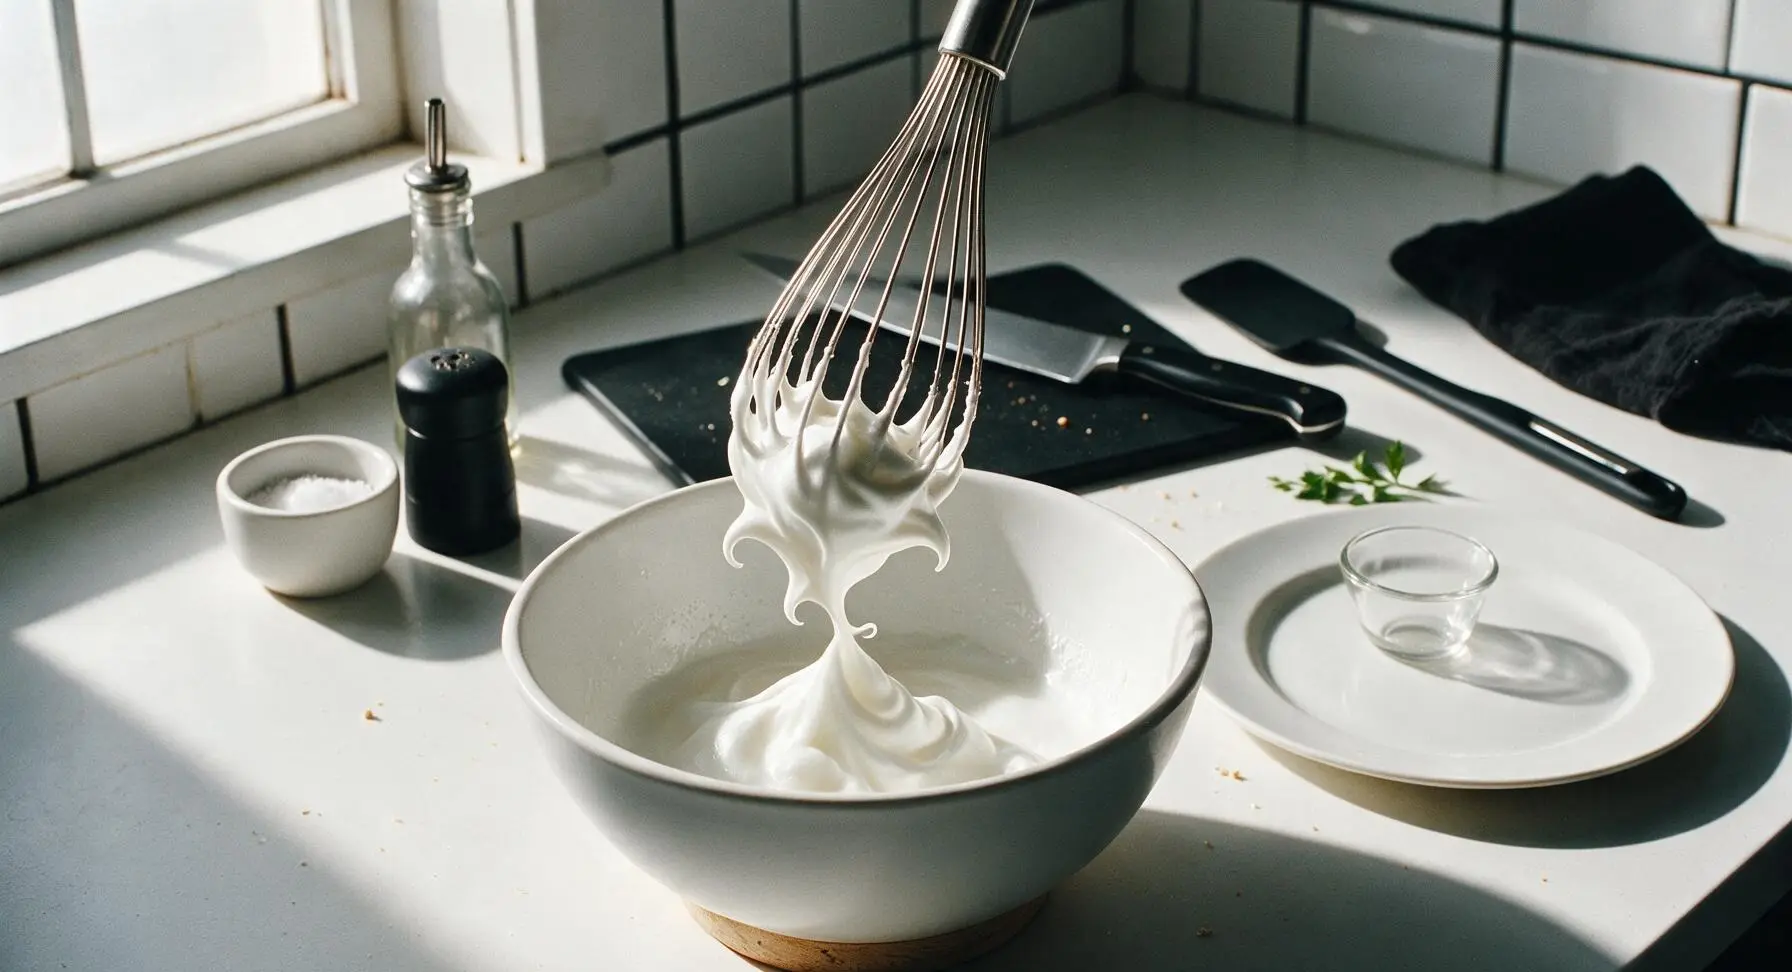
Ensure the whisk is completely clean and dry (any trace of fat will prevent egg whites from holding volume). Transfer the reserved egg whites to the now-empty small mixing bowl, and whisk vigorously by hand for 45-60 seconds until they form soft, glossy peaks that curl gently over when the whisk is lifted. Do not whip to stiff, dry peaks, as this will create tough waffles.
Step 4
step4:Whip Egg Whites
Step 4
step4:Whip Egg Whites
5

Fold Batter Gently

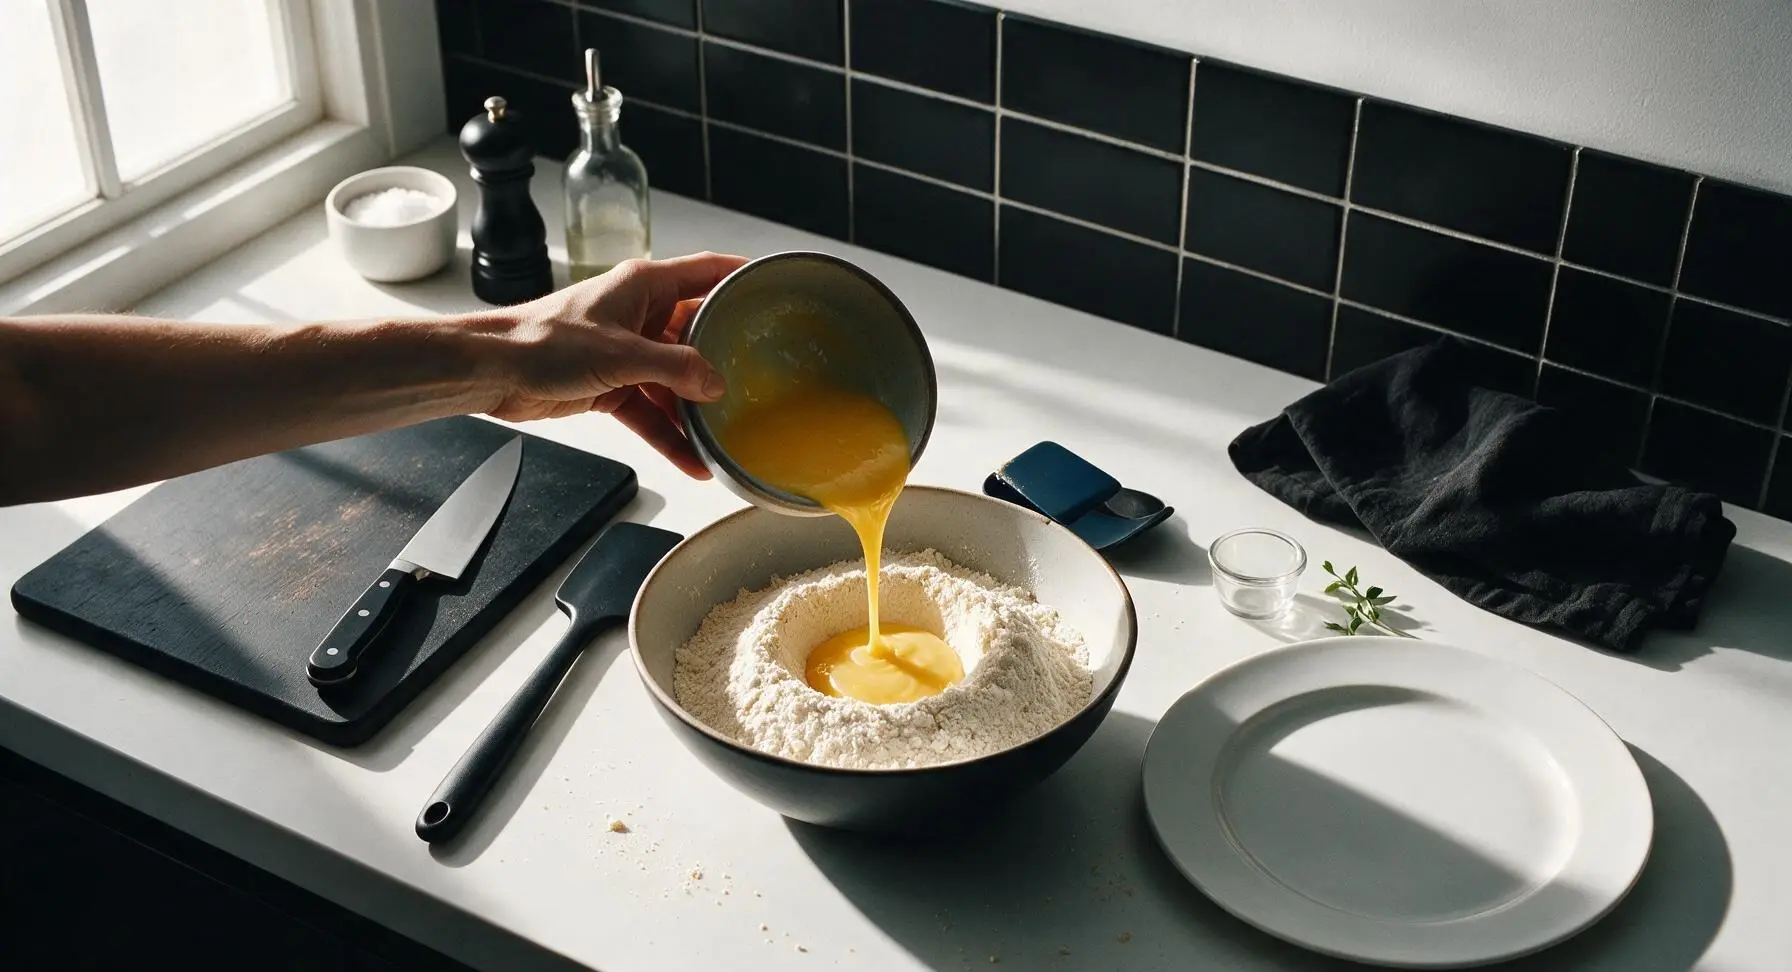
Pour the wet yolk mixture from the small bowl into the well in the dry ingredients in the medium bowl. Use the navy blue silicone spatula to fold the mixture in broad, slow strokes, stopping as soon as 80% of the flour is incorporated—visible lumps are normal and desirable. Add the whipped egg whites to the bowl, folding very gently just until no large streaks of white remain. The finished batter will be thick, bubbly, and slightly lumpy; do not overmix, as this develops gluten and creates tough waffles.
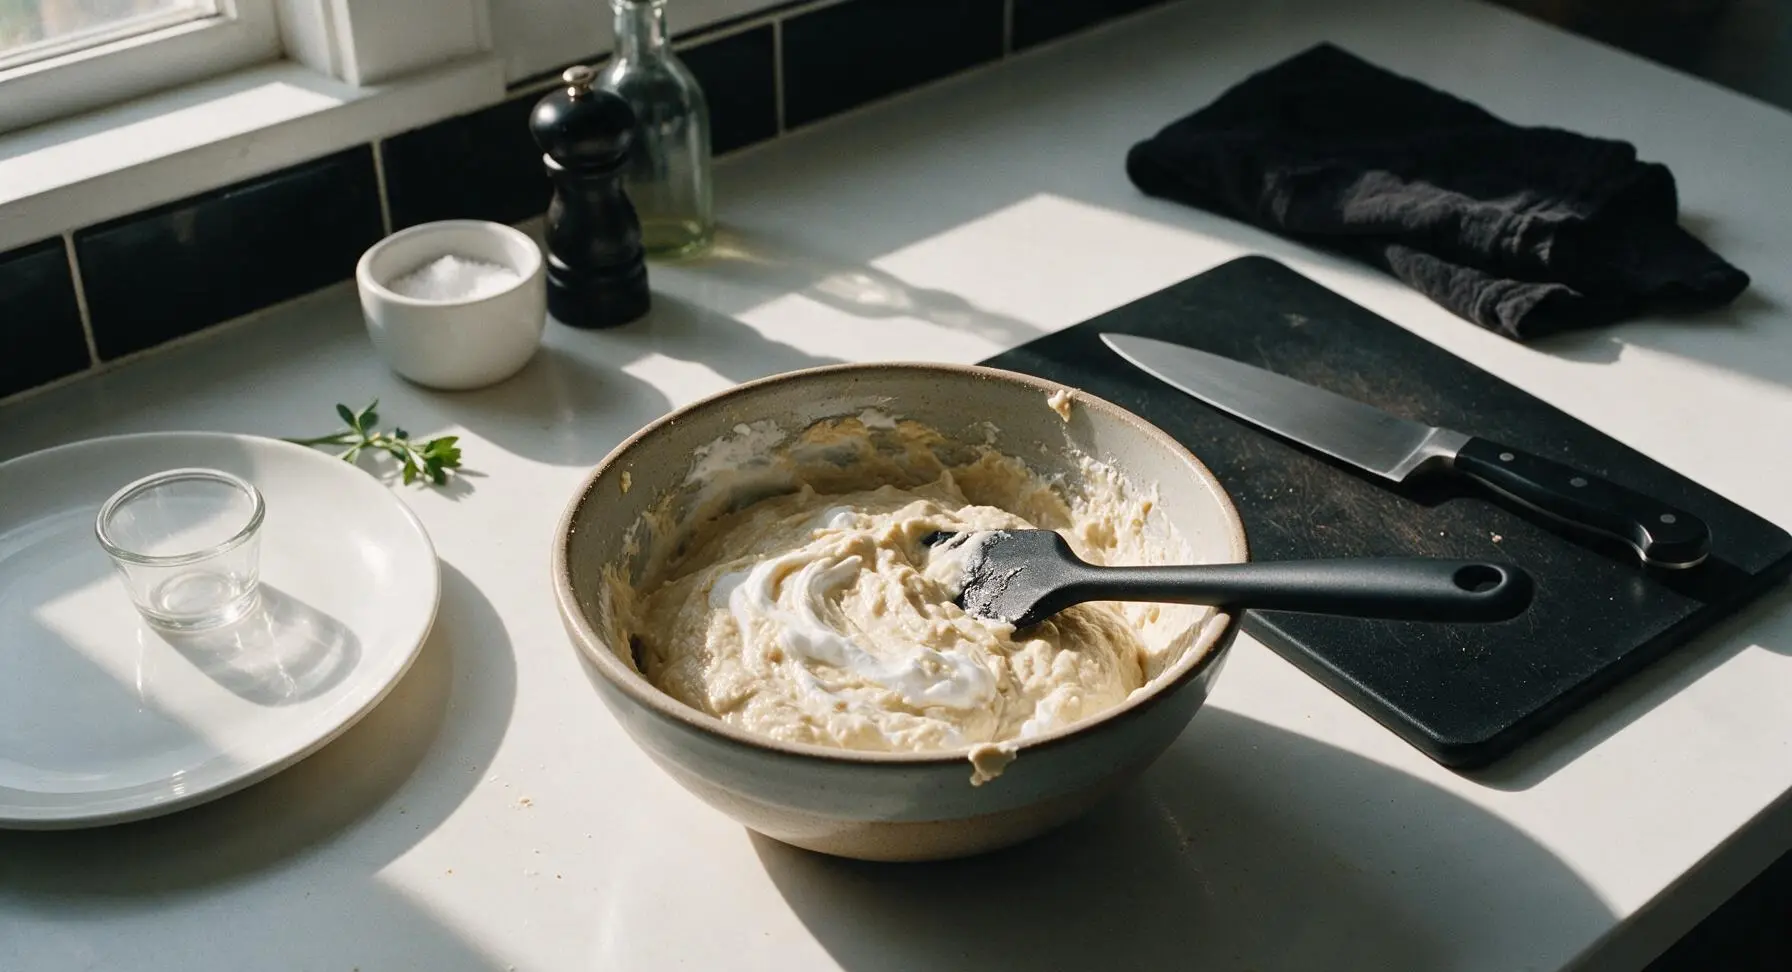
Step 5
step5:Fold Batter Gently
Step 5
step5:Fold Batter Gently
6

Pour Batter on Iron

Once the All-Clad waffle maker's green ready light illuminates, open the lid and apply a single short burst of non-stick cooking spray to both top and bottom plates, holding the can 6 inches away to avoid over-saturating. Pour 3/4 cup (180ml) of batter directly into the center of the lower waffle plate; do not spread the batter, as the closed lid will press it evenly to the grid edges. Close the lid immediately and latch gently.
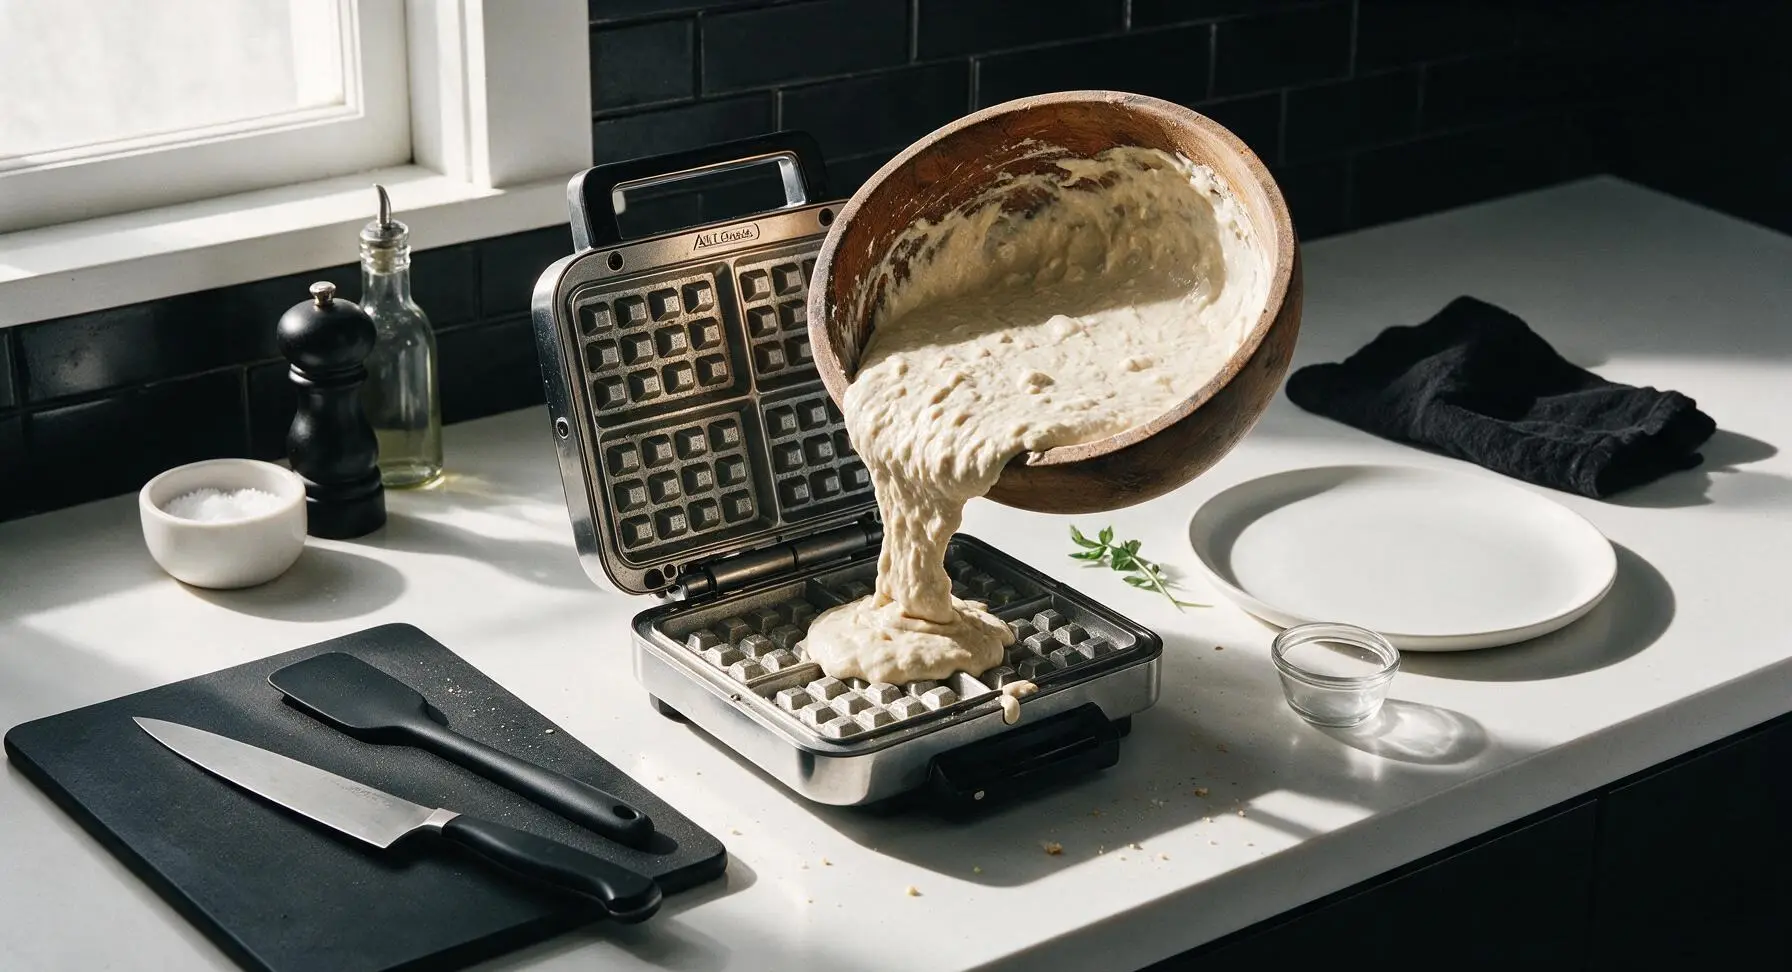
Step 6
step6:Pour Batter on Iron
7

Cook to Crisp Golden

Allow the waffle to cook for 3.5 to 4 minutes, resisting the urge to open the lid for the first 3 minutes (opening early will tear the delicate waffle crust). The waffle is done when steam stops escaping from the iron edges, the exterior is deep golden brown, and the surface feels crisp when gently prodded with the spatula. The All-Clad iron's even heat distribution eliminates hot spots, so no rotation is needed.
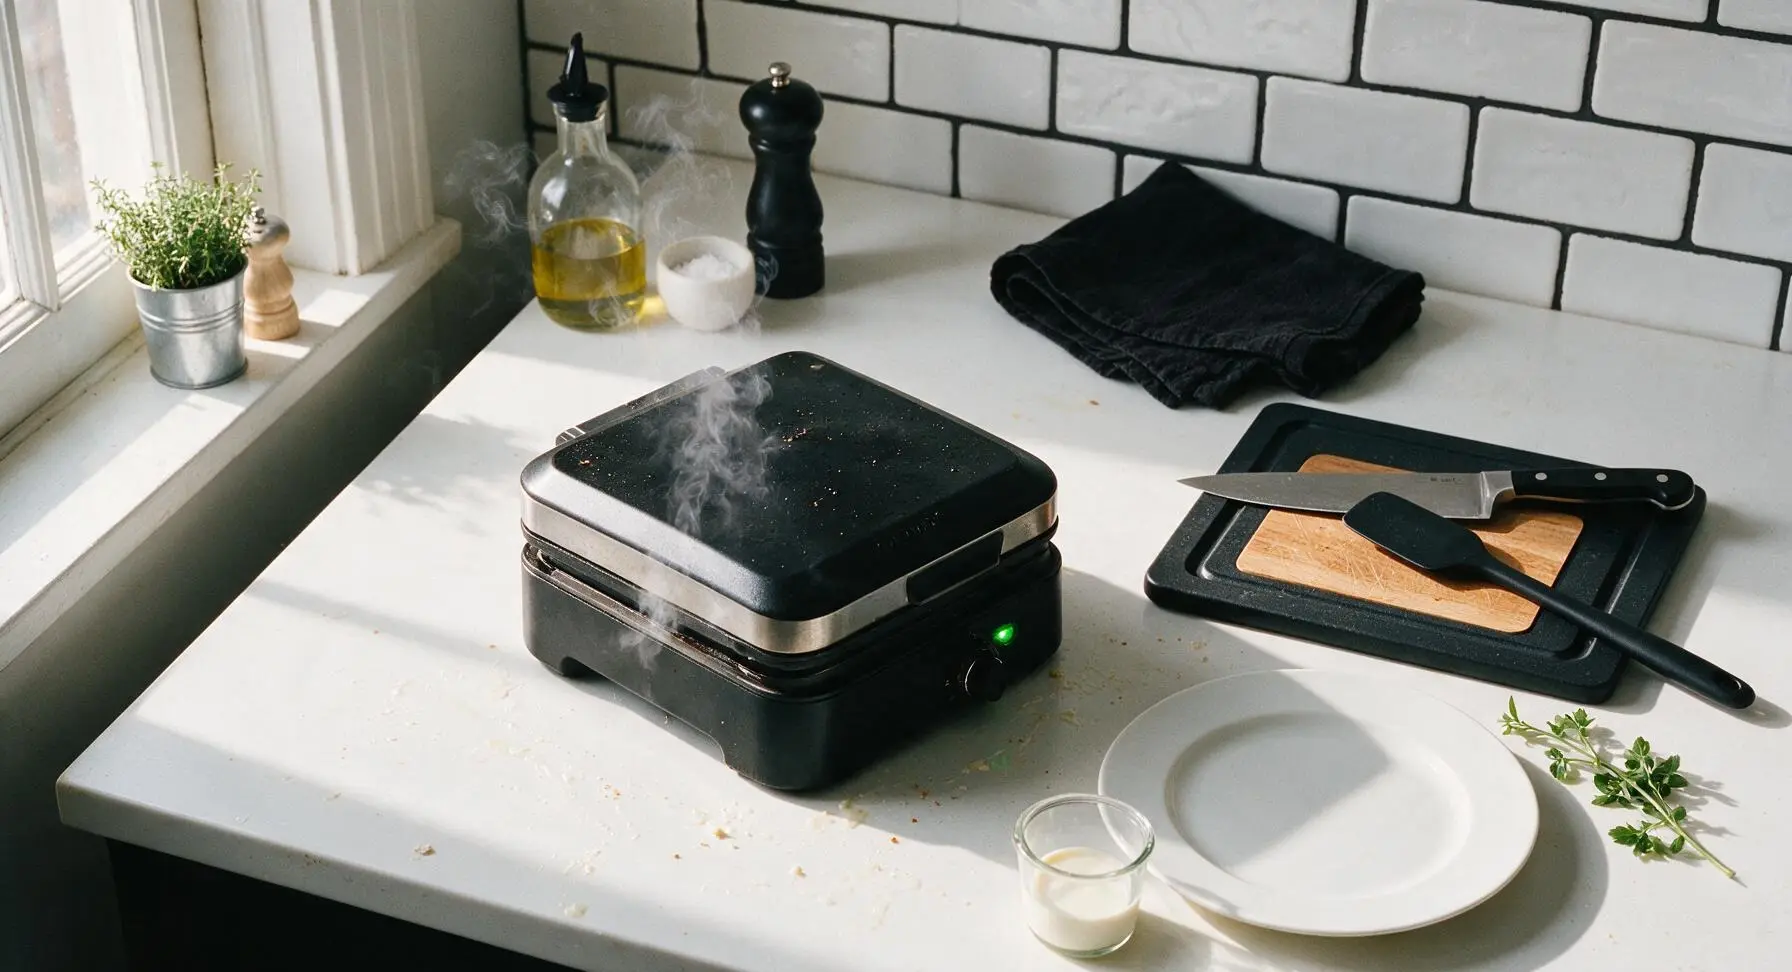
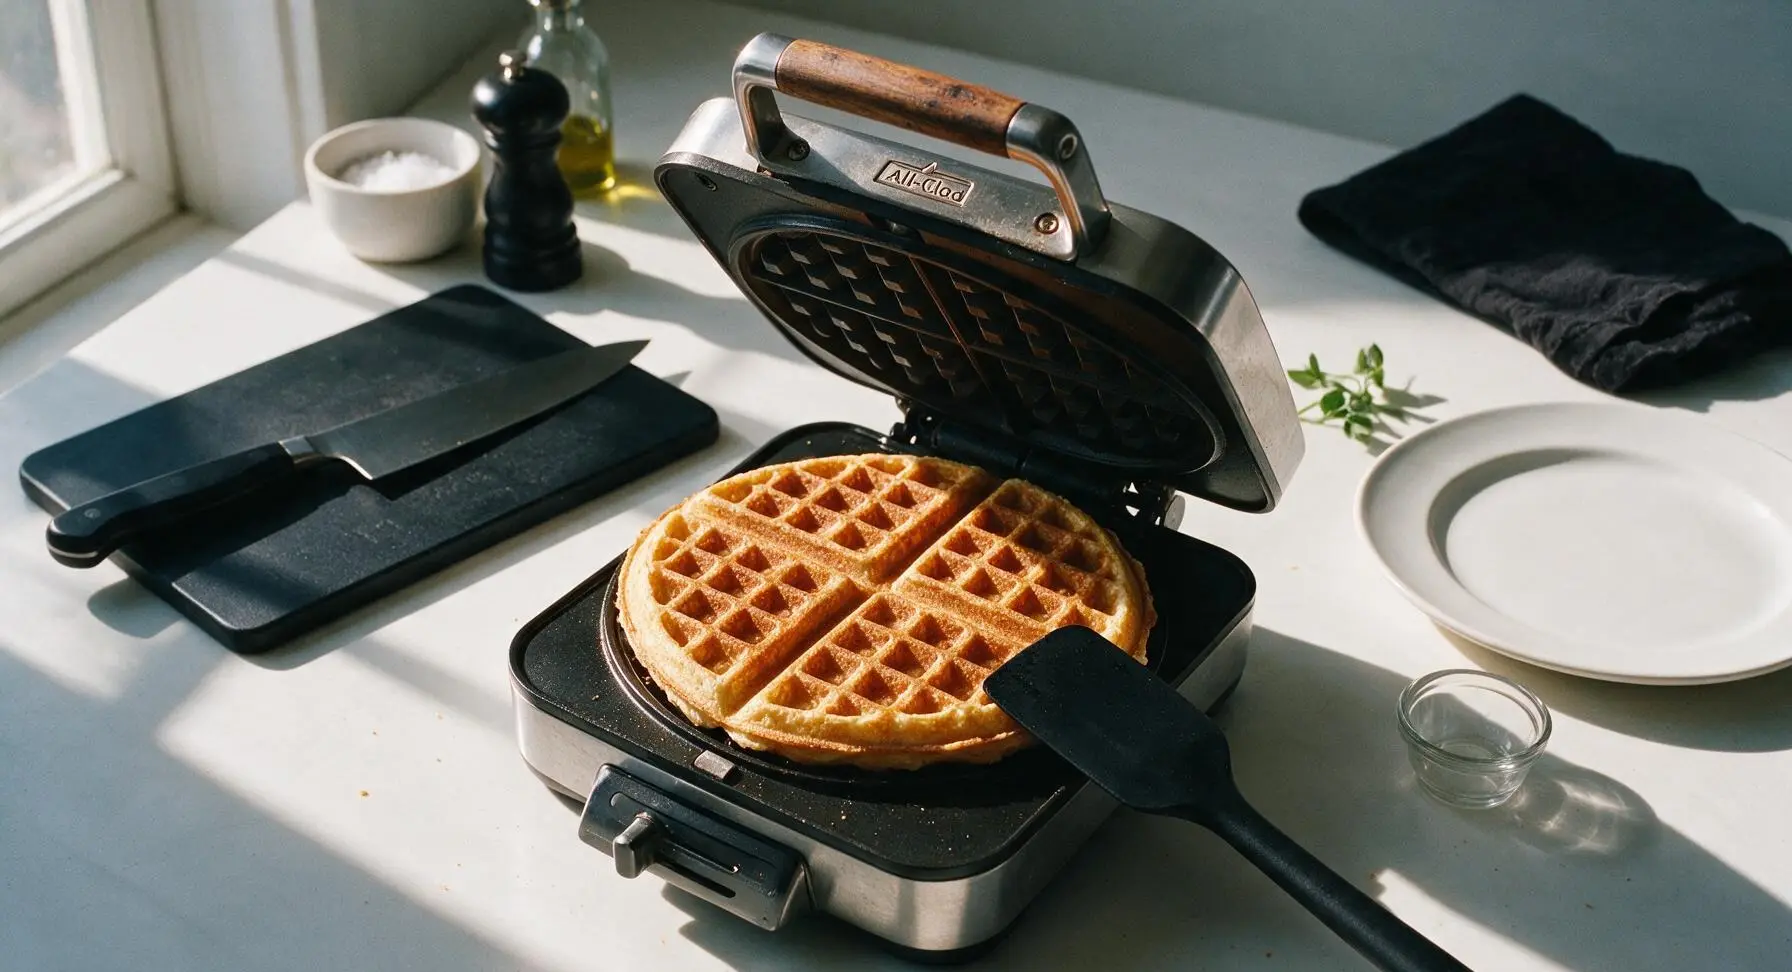
Step 7
step7:Cook to Crisp Golden
Step 7
step7:Cook to Crisp Golden
8

Plate and Serve Hot

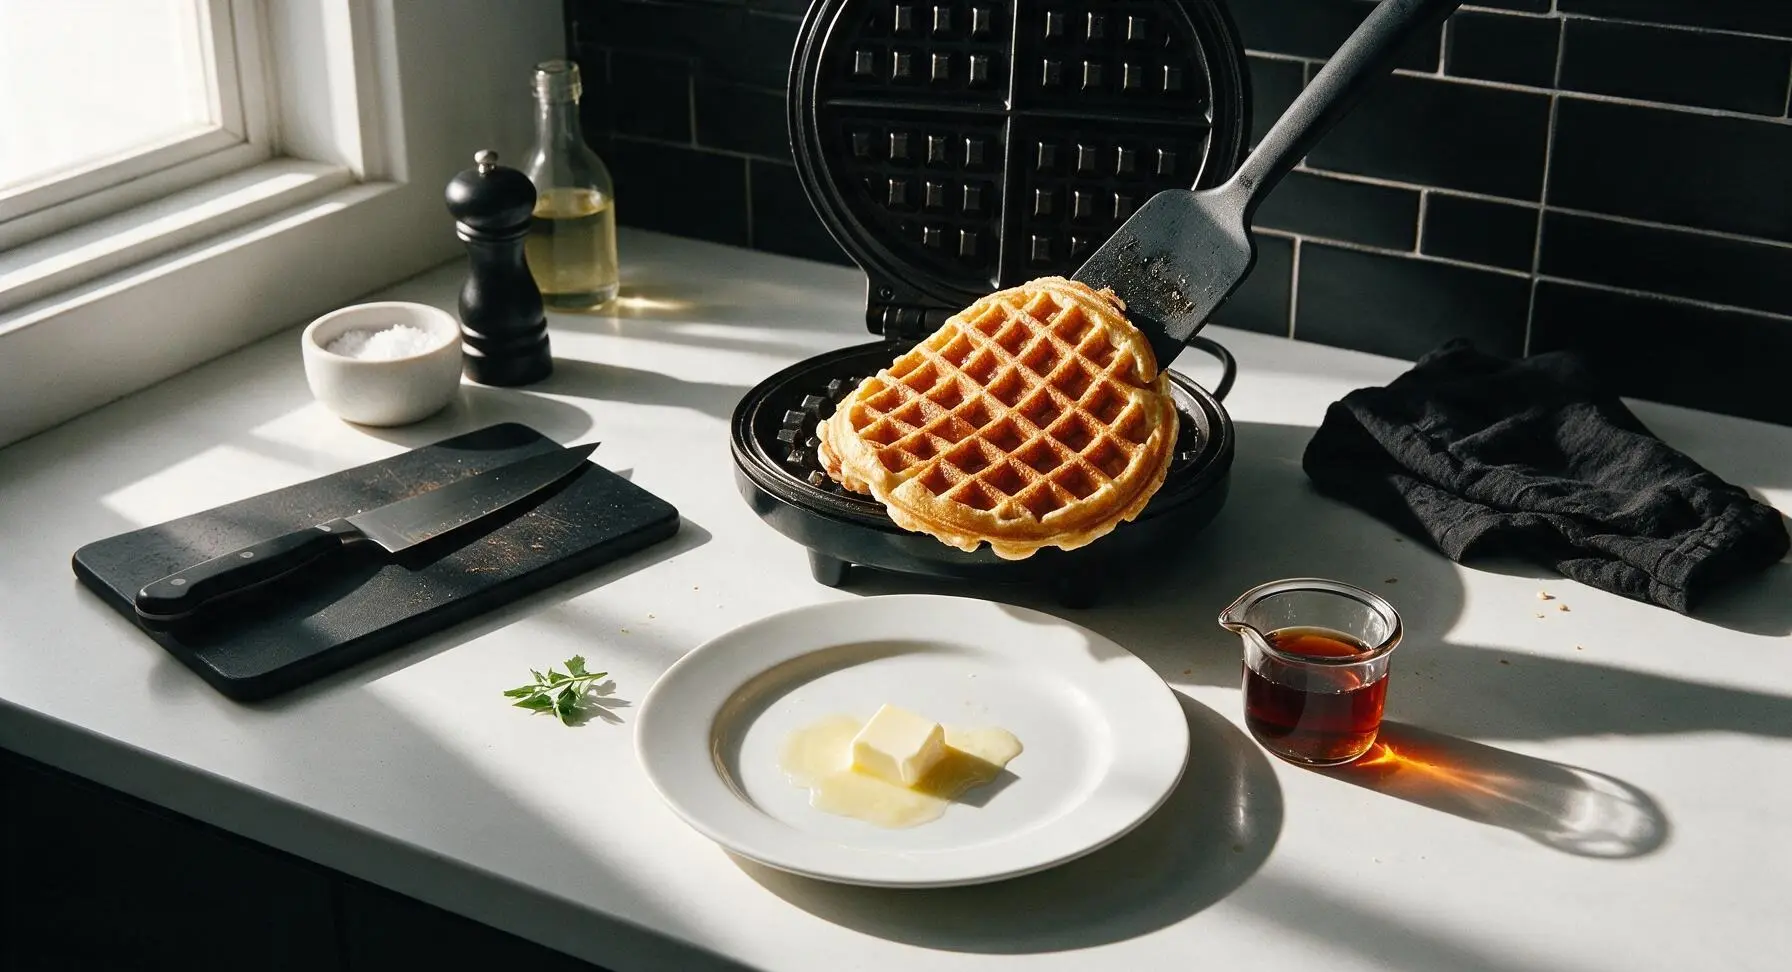
Use the silicone spatula to lift the finished waffle from the iron, transferring it directly to the cream stoneware dinner plate. Top with a 1 tbsp pat of unsalted butter, allowing it to melt into the warm pockets, then drizzle with 2 tbsp warm pure maple syrup. Serve immediately, as waffles lose crispness after 2 minutes at room temperature. Repeat the cooking process with remaining batter to make 3 additional waffles.
Step 8
step8:Plate and Serve Hot

Tips

1.Never overmix the waffle batter: small, pea-sized lumps are completely intentional, as over-stirring develops gluten in the flour that leads to tough, chewy waffles instead of light, crisp ones. Stop folding as soon as you no longer see large patches of dry flour.
2.Wait until steam stops escaping from the edges of your All-Clad waffle maker before opening the lid: the iron holds a consistent 400°F temperature, so ceasing steam means all surface moisture has evaporated, creating that signature shatteringly crisp crust instead of a soft, soggy waffle.
3.If cooking multiple waffles, hold finished waffles on a wire rack set over a baking sheet in a 200°F oven instead of stacking them on a plate. Stacking traps steam between waffle layers, which quickly softens the crisp exterior you worked to achieve.


✨ You May Also Like

Breakfast
🍜 United States

Crisp-edged, fluffy lard griddle cakes are a nostalgic homestyle staple, with rich savoriness from rendered lard, perfect topped with maple syrup or savory gravy.

⏱️ 25 minuteBreakfast ★ 4.8
Breakfast
🍜 United States

Flaky, buttery homemade buttermilk biscuits smothered in creamy, peppery pork sausage gravy: a beloved, hearty Southern American comfort food classic.

⏱️ 35 minuteBreakfast ★ 4.8
Breakfast
🍜 United States

Golden, custardy brioche stuffed with sweet cream cheese and fresh berries, pan-fried to crisp perfection. An indulgent, cozy breakfast perfect for slow weekend mornings.

⏱️ 30 minuteBreakfast ★ 4.7
Breakfast
🍜 United States

Flaky, buttery Southern-style biscuits stuffed with savory salty country ham, a portable, satisfying classic perfect for casual on-the-go meals.

⏱️ 25 minuteBreakfast ★ 4.8
Breakfast
🍜 United States

Iconic puffy baked pancake popularized in Seattle, with crisp golden edges and soft custardy center, served warm with classic sweet toppings.

⏱️ 35 minuteBreakfast ★ 4.6
Breakfast
🍜 United States

Fluffy, golden pancakes studded with juicy peak-summer mixed berries, drizzled with maple syrup for a bright, comforting, crowd-pleasing family breakfast.

⏱️ 25 minuteBreakfast ★ 4.7

all clad waffle:Frequently Asked Questions

1.Why do these All-Clad buttermilk waffles stay shatteringly crisp instead of turning soggy right after cooking? ▾
Three key choices create that signature crisp texture: your All-Clad iron’s consistent high heat caramelizes batter edges fast, separating eggs to whip whites into soft peaks adds light structure without excess moisture, and using cooled melted butter prevents steaming the batter as it cooks, the top cause of limp, soggy waffles.
2.Do I have to use an All-Clad waffle iron to get good results, or will another waffle maker work? ▾
You don’t strictly need an All-Clad model, but its even, sustained high heat is ideal for forming those deep, evenly golden, crisp pockets built to hold syrup and butter. If using a different iron, preheat it fully for 5 minutes, never open the lid early, and add 30-60 seconds of cook time if your model runs cooler.
3.Can I use low-fat buttermilk instead of whole buttermilk for this recipe? ▾
Whole buttermilk is preferred for that rich, tangy crumb and crisp exterior, since its higher fat content keeps waffles from tasting dry or flat. If you only have low-fat on hand, stir 2 tablespoons of cooled melted butter into each cup of low-fat buttermilk to replace missing fat, and shake it very well before measuring.
4.Why do I need to separate the eggs instead of mixing them whole into the batter? ▾
Separating eggs lets you whip whites into soft, billowy peaks that fold into the batter to create that light, fluffy interior without weighing it down. Mixing whole eggs would produce a denser, chewier crumb, rather than the crisp-outside, fluffy-inside texture these waffles are known for. Take care not to overfold the whites to preserve lift.
5.How do I keep waffles warm and crisp while I cook a full batch for a group? ▾
Skip stacking waffles on a plate, which traps steam and turns them soggy fast. Instead, set your oven to 200°F, place a wire rack over a baking sheet, and set cooked waffles directly on the rack in a single layer as they come off the iron. Circulating air keeps edges crisp and centers warm for up to 30 minutes.
6.My waffles stick to my All-Clad waffle iron even when it’s preheated—what am I doing wrong? ▾
First, avoid greasing the plates too heavily; a light brush of melted butter right before pouring the first batch is all you need, since excess oil burns and causes sticking. Also, wait 10-15 seconds longer before opening the lid—if waffles aren’t fully set on the edges, they’ll tear and stick when you lift the top.
7.Can I make this batter ahead of time for busy weekday mornings? ▾
You can pre-mix the dry ingredients and store them in an airtight container for up to 3 months, but I don’t recommend mixing the full wet batter ahead. Leavening loses power overnight, and whipped egg whites deflate, leading to flat, dense waffles. For quick prep, separate eggs and measure buttermilk the night before.
8.How much batter should I pour per waffle on a standard All-Clad waffle iron? ▾
For standard 4-slice All-Clad waffle irons, ⅔ to ¾ cup of batter per waffle is ideal—pour it right in the center of the preheated plates, close the lid, and let it spread naturally. Pouring too much causes messy batter leaks, while too little leaves thin, uneven waffles without those signature deep syrup-holding pockets.
9.Can I freeze leftover waffles to reheat for quick meals later? ▾
Absolutely! Let cooked waffles cool completely on a wire rack first, then stack them between sheets of parchment paper and store in a sealed freezer bag for up to 3 months. To reheat, pop them straight from the freezer into a toaster or 350°F oven for 3-4 minutes—they’ll crisp right back up with zero sogginess.
10.What’s the right consistency for the whipped egg whites in this recipe? ▾
Whip egg whites on medium speed until they form soft, drooping peaks when you lift the mixer out—don’t whip them all the way to stiff, dry peaks. Soft peaks fold into the batter easily without clumping, creating a light, tender crumb. Over-whipped whites leave dry, lumpy bits and lead to uneven, less fluffy texture.
11.My waffles come out pale and soft instead of golden and crisp—how do I fix that? ▾
This almost always traces back to insufficient preheat time. Your All-Clad iron needs a full 5 minutes to get hot enough to caramelize batter sugars and crisp edges, even if the built-in indicator light says it’s ready. If preheated long enough, add 30-45 seconds of cook time, and don’t peek before steam stops escaping from the iron edges.

Comments (10)

1 week ago

Wait, I’ve been making boxed waffles for years and decided to try this for my partner’s birthday brunch — HOLY COW. The crisp factor is unreal, no soggy middle at all even when I loaded them up with blueberries and whipped cream. 10/10 will be making these every weekend from now on.

5 days ago

Did you use regular full-fat buttermilk or the low-fat kind? I only have low-fat in the fridge right now and don’t wanna make a run to the store!

4 days ago

Great question! Low-fat buttermilk works totally fine here — you’ll still get that perfect crisp edge and tangy flavor, no extra adjustments needed. Hope you love them!

3 days ago

Super easy recipe, came together in like 10 minutes flat! Only knock is I thought they were a tiny bit too tangy for my taste, but my roommate thought they were perfect. Next time I’ll probably cut the buttermilk with a splash of regular milk to mellow it out a little.

2 days ago

Thanks for the honest feedback! Swapping 1/4 cup of buttermilk for whole milk is a great tweak if you prefer a milder flavor — so glad you and your roommate still enjoyed them!

5 days ago

Made these for a neighborhood potluck last weekend and people were asking me for the recipe before I even set the platter down! I kept them warm in a 200F oven on a wire rack for 20 minutes before heading over and they stayed crisp the whole time. Total win.

2 weeks ago

Game changer for weekday breakfasts! I make a double batch on Sundays, freeze the waffles, and pop them in the toaster on busy mornings — they crisp right back up like they’re fresh made. Way better than the frozen grocery store ones, no weird additives.

1 week ago

How long do they last in the freezer for? I’ve had bad luck with homemade waffles getting freezer burn super fast.

6 days ago

I wrap them individually in parchment paper then stick them in a labeled freezer bag, they stay perfect for up to 3 months! No freezer burn if you get as much air out of the bag as possible.

30 minutes ago

Just pulled my first batch off the All-Clad waffle maker and I’m literally eating one standing up over the kitchen counter right now. SO good. The light, tangy batter, the crunch on the edges, the soft fluffy center? I’ll never pay for diner waffles again.

10 minutes ago

Love that energy! Nothing beats a fresh, hot waffle straight off the iron — so happy this recipe hit the spot for you.

yesterday

My picky 7 year old who only eats chicken nuggets and plain pasta ate THREE of these waffles for dinner last night, my 10 year old cleared his plate in 5 minutes flat. Dusted them with a little powdered sugar and served them with chicken tenders, total copycat of that fast food chicken and waffle meal they beg for. My kids loved it, total win for dad.

8 hours ago

Oh stealing the chicken and waffle idea for my boys next week! They’re obsessed with that fast food version too, can’t wait to try it homemade.

2 hours ago

First time ever making waffles from scratch and this was so easy! I accidentally overmixed the batter a little so they were slightly denser than I expected, but they still had that great crisp outside. Next time I’ll remember to fold the batter gently like the recipe says.

2 days ago

Great base recipe! I swapped the all-purpose flour for a 1:1 gluten free baking mix to accommodate my celiac, and they turned out really well! Only issue was they stuck a little to my waffle iron even after spraying it, so I might add a little extra melted butter to the batter next time.

1 day ago

I had the same sticking issue when I used GF flour! Letting the batter rest for 10 minutes before pouring helped a ton for me, for some reason it cuts down on sticking like crazy.

20 hours ago

So glad the 1:1 GF swap worked for you! The extra butter tip and batter rest trick are both great calls — thanks for sharing your tweak with the community!

5 minutes ago

Wait why did I think homemade waffles were hard? This took literally no time, I had all the ingredients in my pantry/fridge already (who knew buttermilk lasts forever in the back of the fridge lmao). Crispy, fluffy, way better than the dining hall waffles I’ve been surviving on.

just now

Love that this works for college kitchen setups! Pro tip: if you don’t have buttermilk on hand, you can make a quick substitute with 1 cup milk + 1 tablespoon white vinegar left to sit for 5 minutes, works like a charm.

just now

OMG, made these for my grandkids’ sleepover breakfast this weekend and they went nuts for them! I set up a little topping bar with fresh strawberries, chocolate chips, syrup, and whipped cream and everyone got to customize their own. The waffles held up perfectly to every topping, no sogginess even when the kids piled them sky high. 10/10 recipe.



