
Almond Biscotti
intro
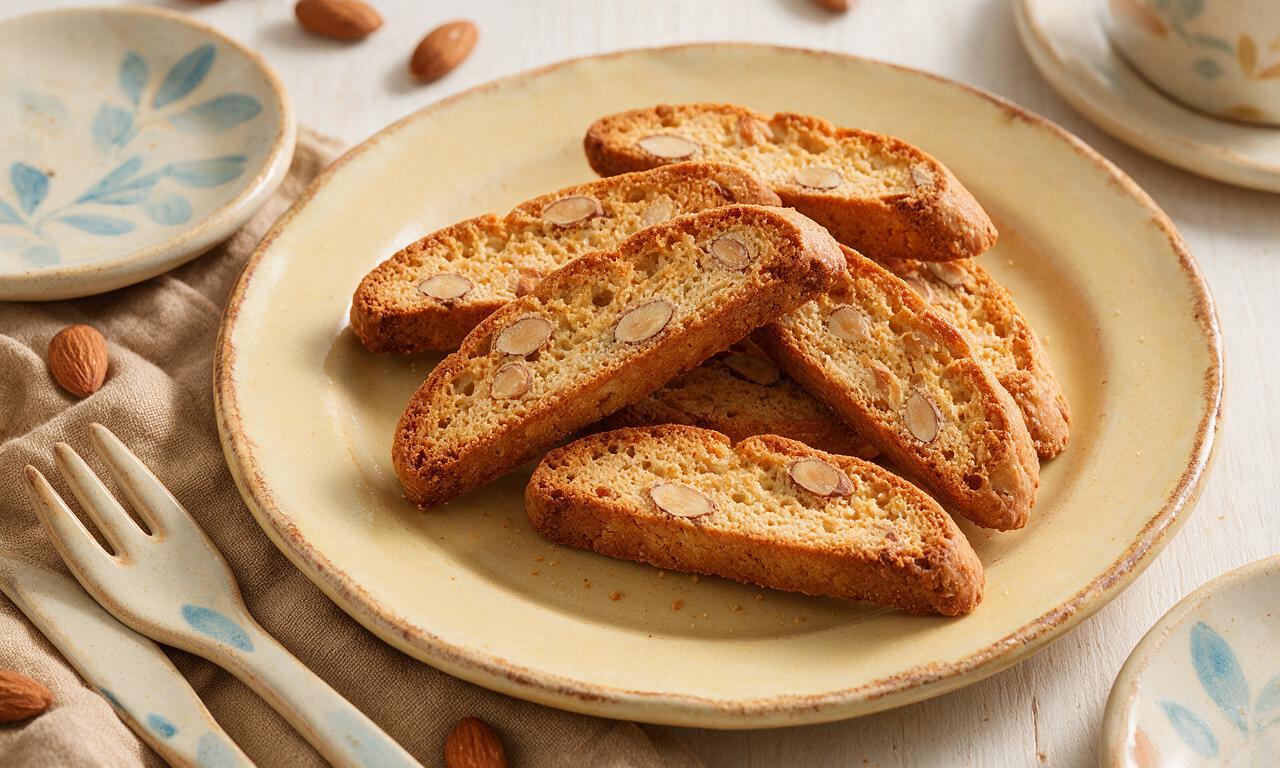
Twice-baked, crisp, nutty Tuscan Italian cookies perfect for dipping in coffee or dessert wine, with warm almond aroma and a satisfying crunchy bite.
Ingredients
Steps
Toast Almonds & Prep Oven
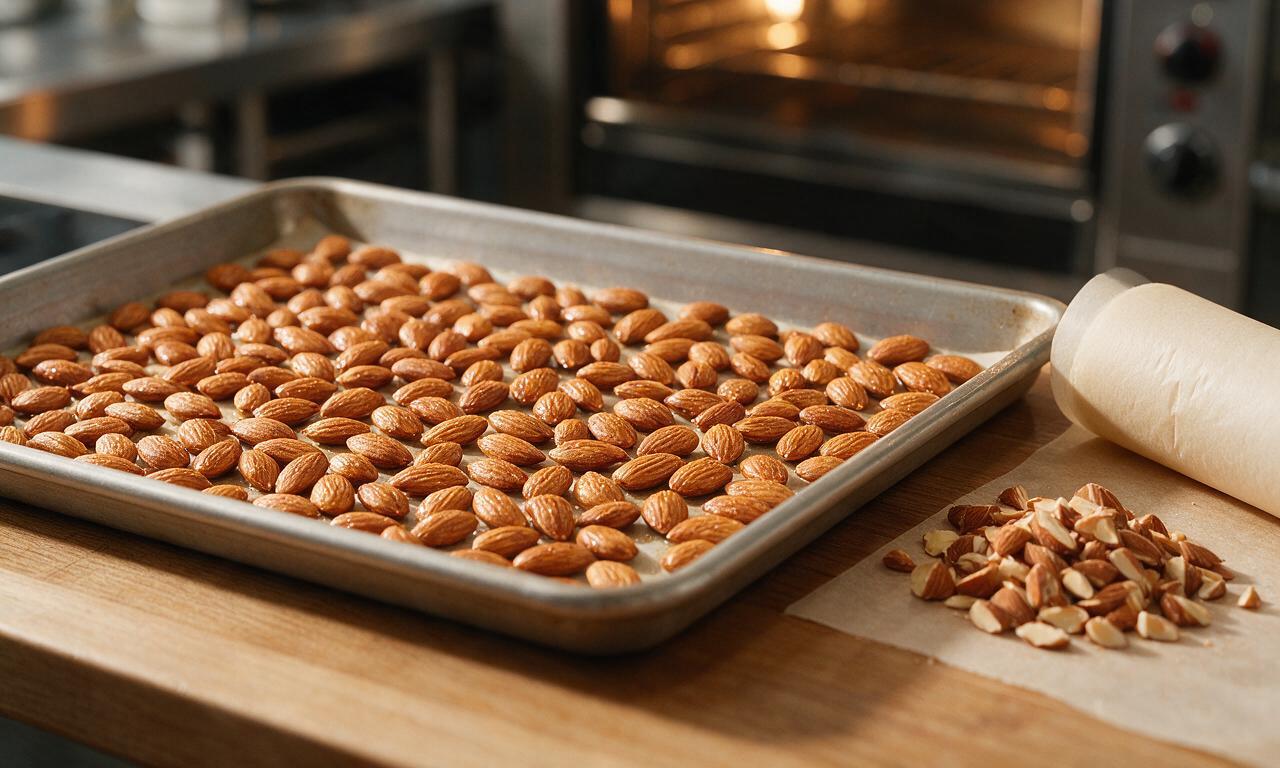
Preheat your oven to 180°C (350°F). Spread 150 grams of raw whole almonds in a single layer on a rimmed baking sheet, and toast for 8-10 minutes until fragrant and lightly golden. Remove from oven, let cool 5 minutes, then roughly chop half the almonds, leaving the other half whole. Line the same baking sheet with parchment paper for later use.
Combine Dry Ingredients
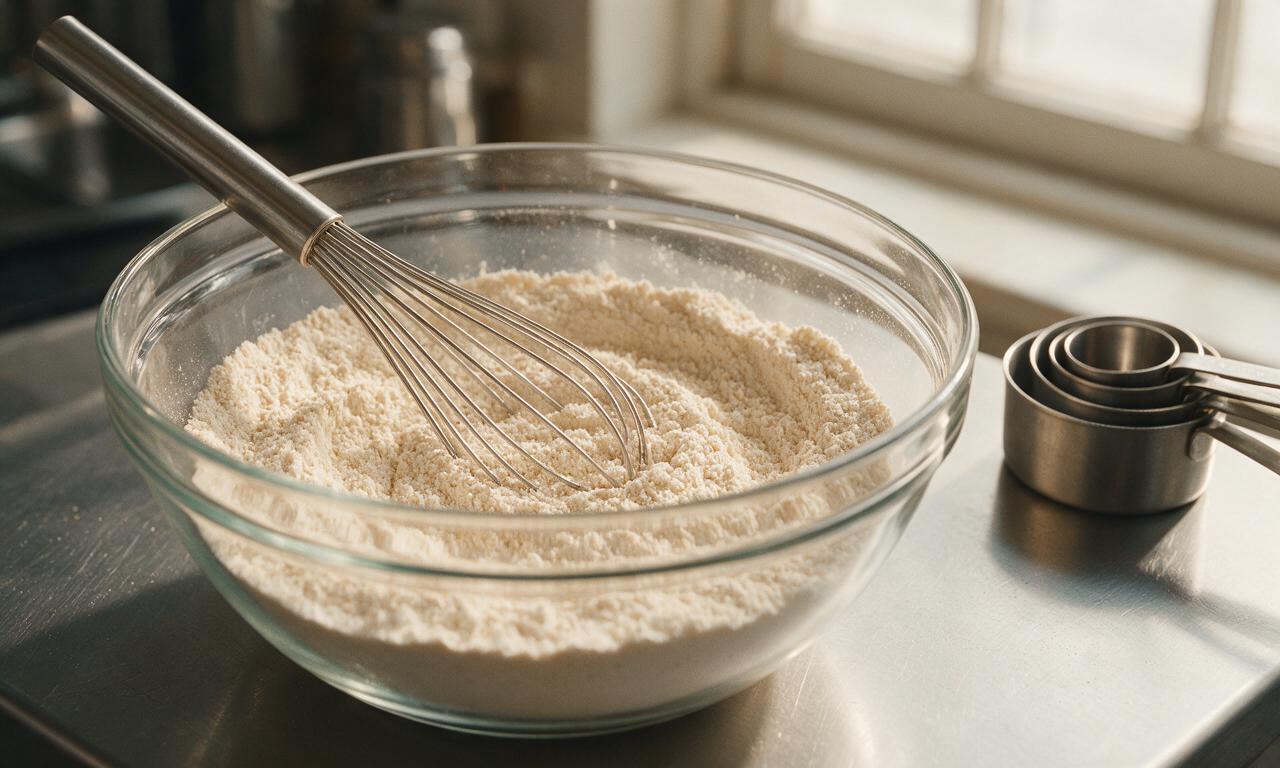
In a medium mixing bowl, whisk together 280 grams of spooned-and-leveled all-purpose flour, 4 grams (1 tsp) baking powder, and 3 grams (1/2 tsp) fine sea salt for 30 seconds until evenly combined, with no visible clumps of baking powder remaining.
Whisk Wet Ingredients
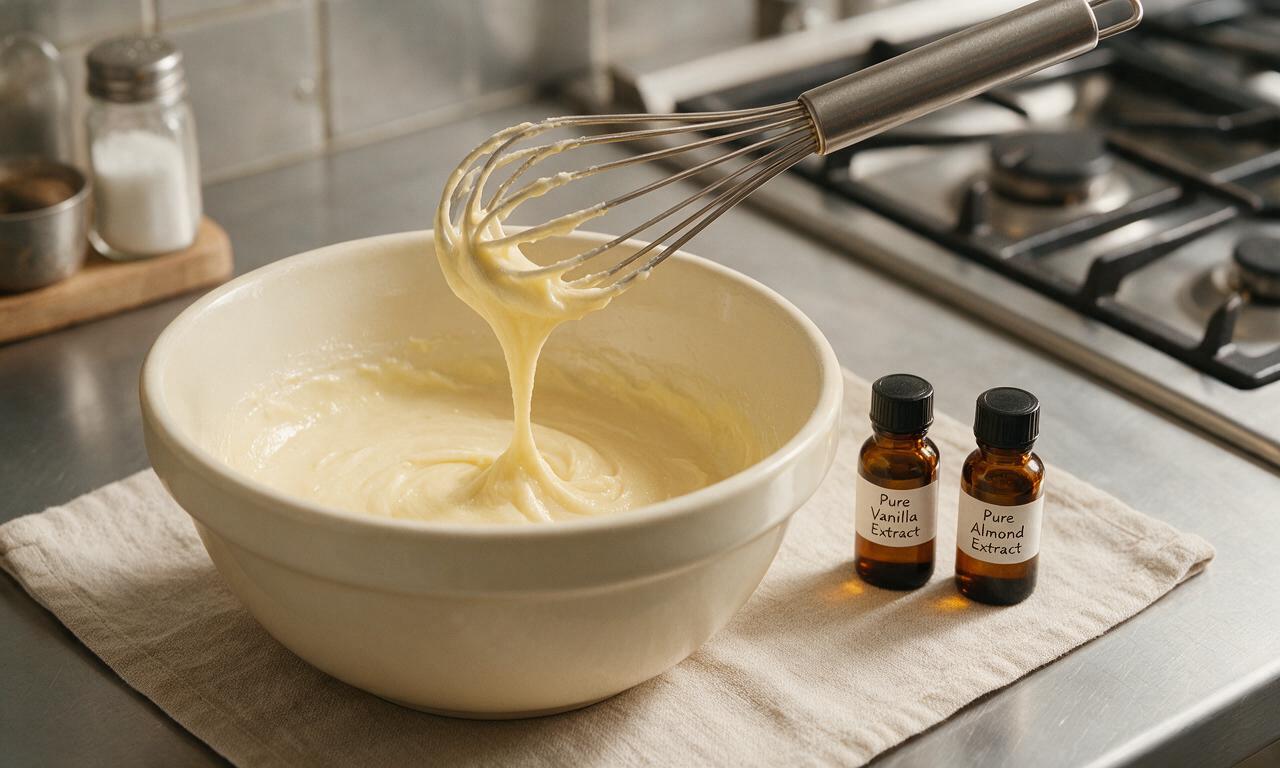
In a large mixing bowl, whisk 3 room-temperature large eggs and 180 grams granulated sugar for 2 minutes until the mixture is pale yellow, slightly thickened, and leaves a thin ribbon when the whisk is lifted. Stir in 56 grams cooled melted butter, 5 ml (1 tsp) vanilla extract, and 2.5 ml (1/2 tsp) almond extract until fully smooth.
Shape Dough Logs
Fold the dry flour mixture into the wet egg mixture with a rubber spatula until no dry flour streaks remain, then fold in all the toasted whole and chopped almonds. Turn the sticky dough out onto the parchment-lined baking sheet, and with damp hands, shape it into two equal logs measuring 30 cm (12 inches) long, 7 cm (3 inches) wide, and 2 cm (3/4 inch) thick, spaced 8 cm (3 inches) apart to allow for spreading during baking.
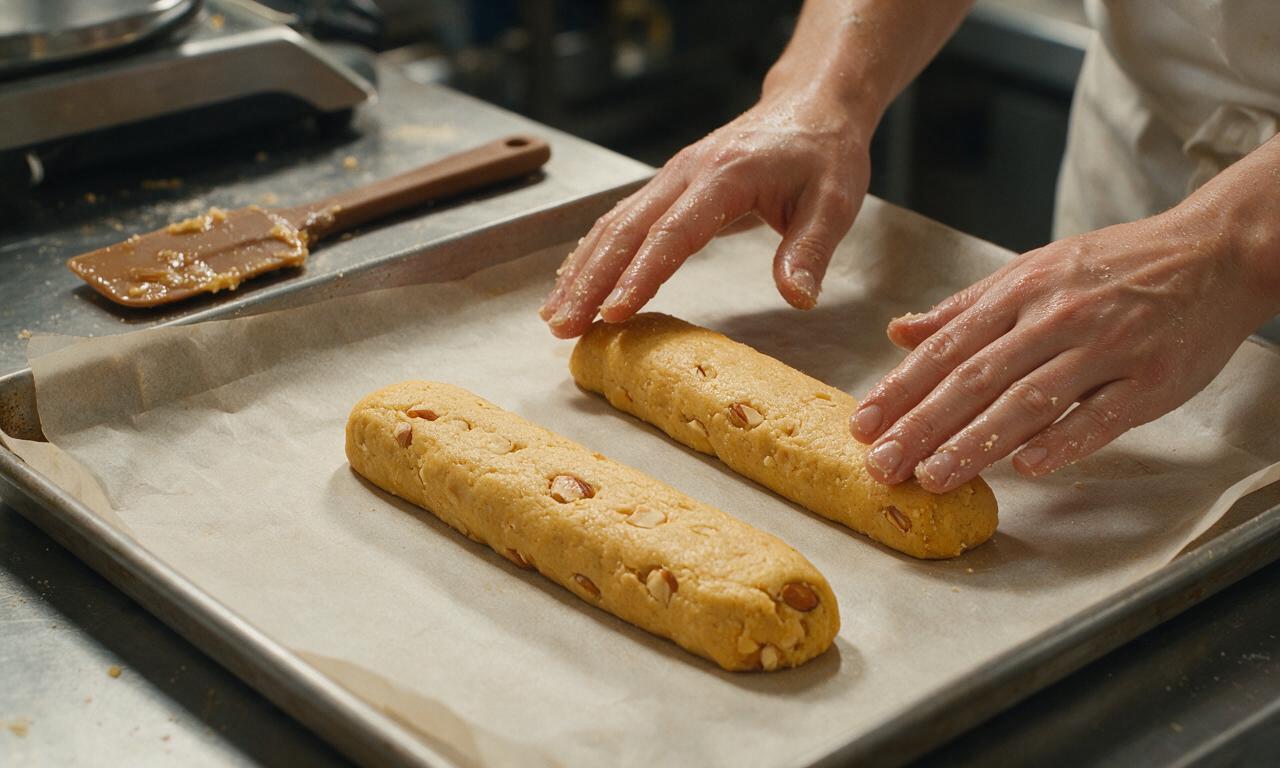
First Bake Dough Logs
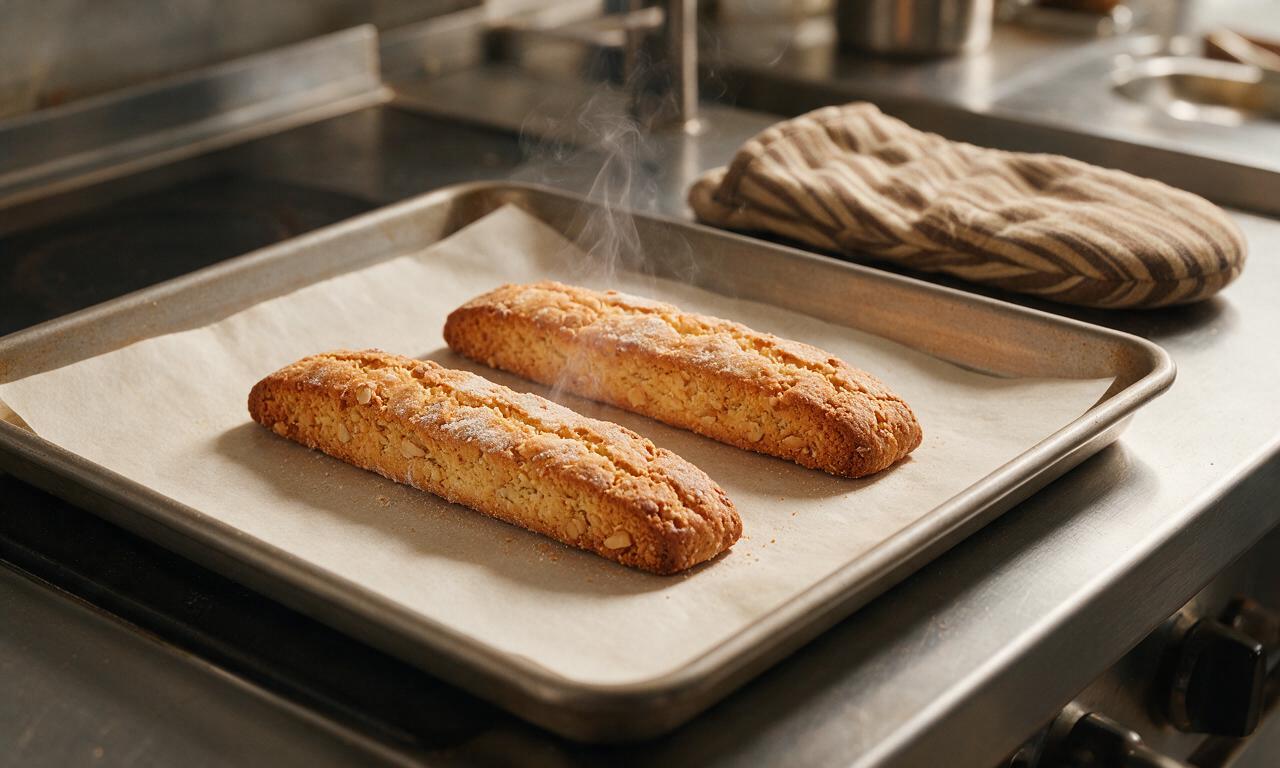
Bake the logs in the 180°C (350°F) oven for 25 minutes, until the tops are lightly golden and the logs feel firm to a light touch, with just a slight give in the very center. Remove the baking sheet from the oven, and let the logs cool on the sheet for 15 minutes until they are firm enough to slice without crumbling—keep the oven turned on at the same temperature for the second bake.
Slice Baked Logs
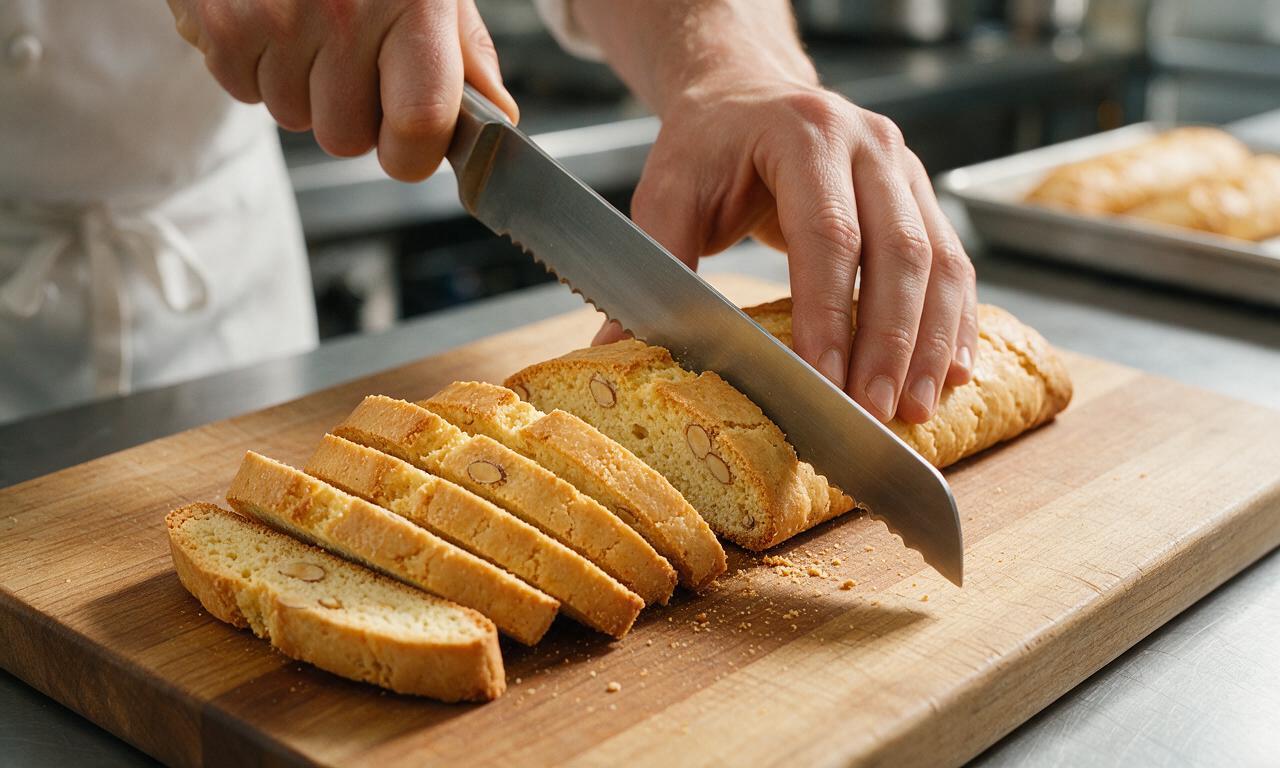
Transfer the slightly cooled logs to a wooden cutting board. Use a sharp serrated bread knife to cut the logs on a slight diagonal into 1.5 cm (1/2 inch) thick slices, using a gentle sawing motion to avoid crushing the almond-studded dough. Arrange the slices cut-side down back on the parchment-lined baking sheet, spaced 1 cm (1/2 inch) apart to allow air flow.
Second Bake For Crunch
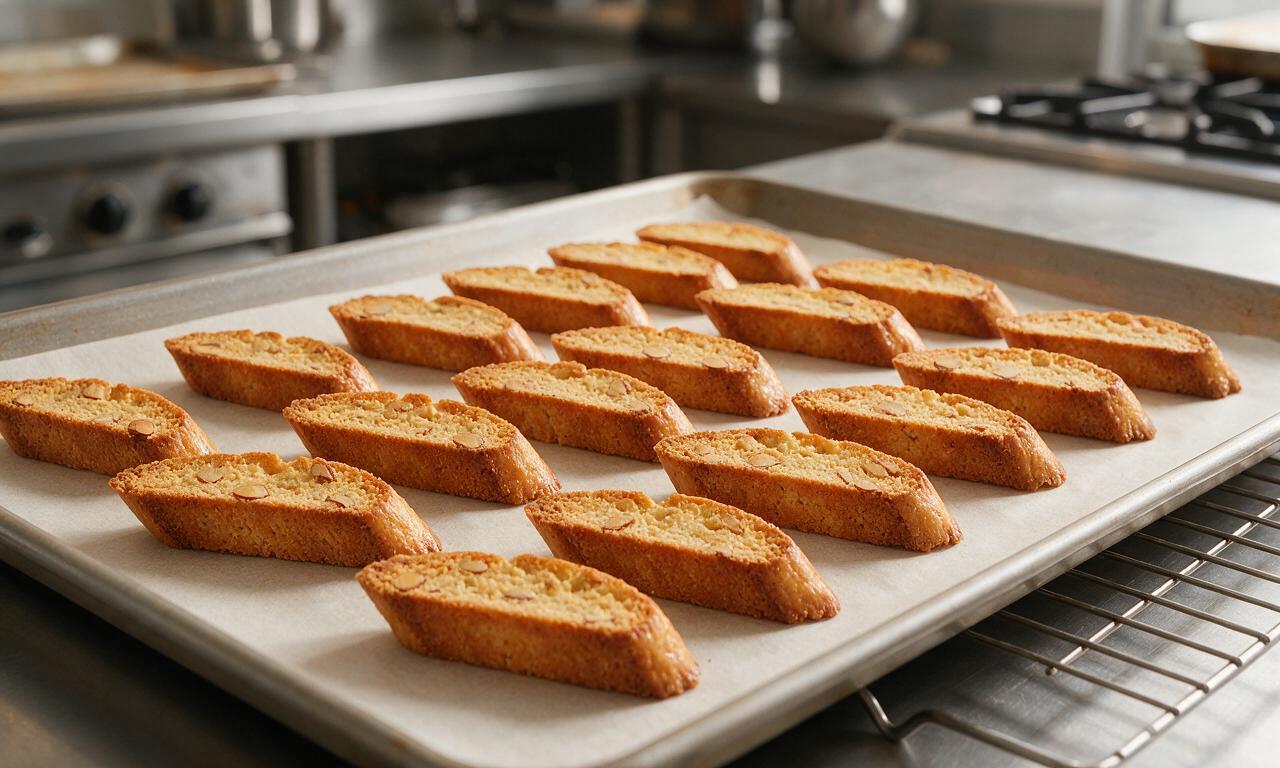
Return the sliced biscotti to the 180°C (350°F) oven, baking for 8 minutes, then use tongs to flip each slice over, and bake for another 7-9 minutes until the slices are dry, lightly golden on both sides, and crisp all the way through. Transfer the biscotti to a wire cooling rack to cool completely for 20 minutes—they will crisp further as they come to room temperature.
Tips
2.Slice partially cooled logs with a sharp serrated knife using a gentle sawing motion; pressing straight down will crush the tender dough and knock loose almond pieces.
3.Store fully cooled biscotti in an airtight container at room temperature for up to 3 weeks; keep them away from humid areas to retain their signature crisp texture.






OMG, total game changer for my morning coffee routine! I've always been intimidated to make biscotti because I thought it was super fussy, but this recipe was so straightforward. Mine came out perfectly crunchy on the first try, even with me adding a handful of dried cranberries. 10/10 will make every Sunday from now on.
Brought these to our neighborhood block party potluck last weekend and the whole tin was gone in 15 minutes! Several neighbors said they were better than the fancy bakery ones we get downtown. I dipped half of each in dark chocolate after they cooled and it was chef's kiss.
My kids absolutely devoured these! I packed a couple in each of their school lunches all week and they kept asking when I'd make more. The crunch holds up so well even after 5 days in an airtight container, which is perfect for quick snack prep.
Okay, I am NOT a good baker at all—like I burn boxed brownies level bad—and these still came out amazing! The instructions were so clear and easy to follow, and the total cook time felt way shorter than I expected for something that tastes this fancy. Only note is I baked mine 2 minutes less because my oven runs hot, and they were perfect.
These are my new go-to trail snack! I make a batch every Sunday for day hikes, they don't get squished in my pack, they're not messy, and the almond crunch gives me the perfect little energy boost mid-trail. Way cheaper than buying the pre-packaged biscotti at the outdoor gear shop too.
If you're on the fence about making these, DO IT. They are perfect for dipping in your morning latte, not too hard that they break off into your cup but not soft enough to get soggy instantly. I've made three batches in the last two weeks, no shame.
I've been making biscotti for 40 years and this recipe is almost identical to the one my mother brought over from Italy. The ratio of almonds to dough is perfect, no skimping, and the bake time gives that ideal classic crunch. Don't change a thing about this recipe!
Made these for our office break room snack spread and I've had three coworkers stop by my desk to ask for the recipe today. Only issue is I think I over-toasted the almonds a little on my first batch, but even then they were still a huge hit.
I swapped the all-purpose flour for a 1:1 gluten free baking flour and these came out INCREDIBLE. I was so worried the texture would be off, but they had that same perfect classic crunch. I've missed good biscotti since going gluten free, so this is such a win.
Made these for our weekly poker night with the guys and everyone was raving. We had them with a little after-dinner amaretto and it was such a vibe. Way better than the store-bought cookies I usually grab for the group.
These are a meal prep WIN. I make a double batch on Sundays, slice them up, and store them in a big glass jar and they stay fresh and crunchy for a full week. Perfect for quick breakfasts on my way out the door to work, paired with a travel mug of coffee. No more sad gas station pastries for me!
Quick question—when I formed my loaves before the first bake, they spread a lot more than I expected, so my biscotti ended up a little wider and thinner than the photos. They still tasted great, but any tips for getting that taller, narrower shape?
I swapped half the almonds for chopped pistachios and added a little lemon zest, and it was chef's kiss. The base recipe is so solid, it's super easy to tweak to whatever add-ins you have on hand. Will be experimenting with different nut and zest combos all fall!
I've tried half a dozen biscotti recipes online over the years and this is hands down the best one. Not overly sweet, the almond flavor really shines through, and the crunch lasts forever if you store them right. My granddaughter says they taste just like the ones we got on our trip to Tuscany a few years back.
Brought these to our college football tailgate last weekend and they were such a hit! They hold up way better than frosted cookies or brownies that get all melty in the Georgia heat, and everyone loved grabbing a crunchy sweet treat between burgers and chips. Will be a tailgate staple from now on.
These are so good but does anyone know if I can add mini chocolate chips to the dough without them melting all over the place during baking? I want that extra chocolate hit but don't want a mess on my baking sheet.
Served these at my fall brunch last weekend alongside mimosas and a yogurt bar, and they were the first thing to run out. I set out a little dish of Nutella for dipping and people were going crazy for it. The recipe is so easy to pull off even when you're cooking a million other brunch dishes at the same time.
I was worried these would be too hard on my sensitive teeth, but the crunch is perfect! Crisp but not tooth-breakingly hard, just how good biscotti should be. I added a tiny bit of vanilla bean paste to the dough and the flavor was out of this world.
Wait, can I make the dough the night before and bake it the next day? I have super busy weeknights but want to make these for my kid's soccer team snack this weekend, and prepping ahead would save me so much time.
I tested this recipe last week to add to my Christmas cookie tins this year, and it's going to be the star of the tin! These hold up so well when packed with other cookies, and they look so fancy tied up with a little ribbon. I'm already planning to make four double batches for gifting this year.