
Alton Brown Pumpkin Pie
intro
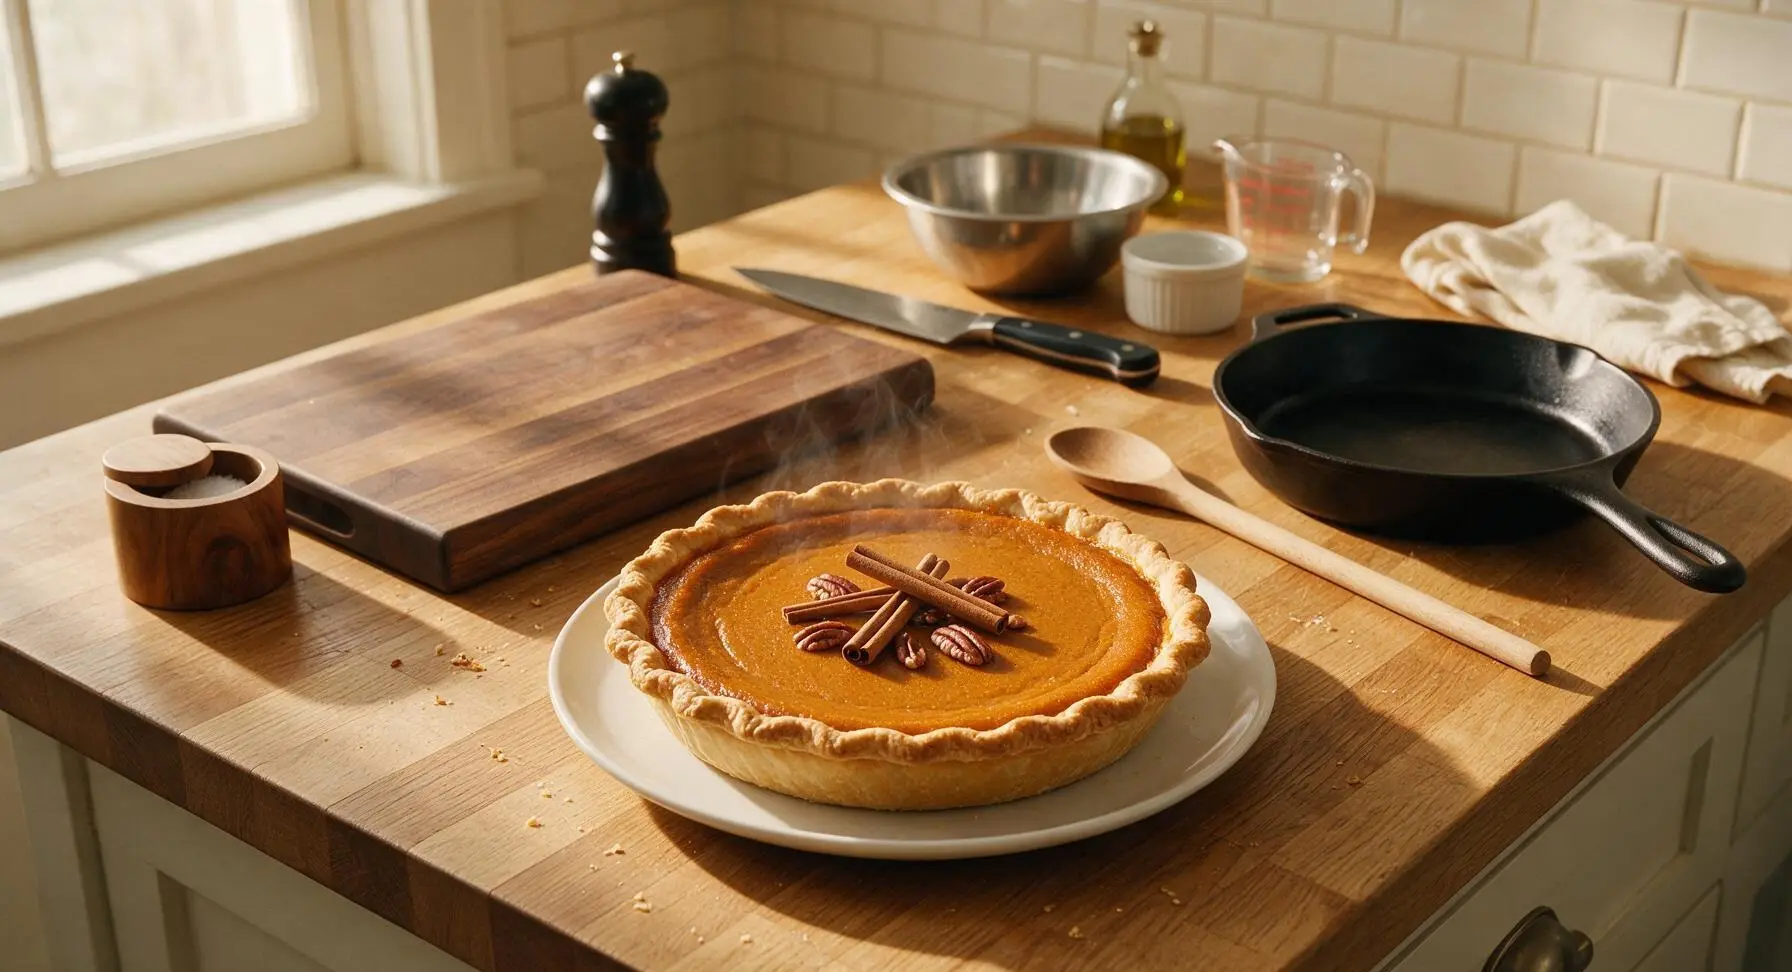
Alton Brown’s iconic pumpkin pie balances silky, perfectly spiced custard and crisp flaky crust for the not-too-sweet, ultimate Thanksgiving fall dessert.
Ingredients
Steps
Mix and Chill Dough
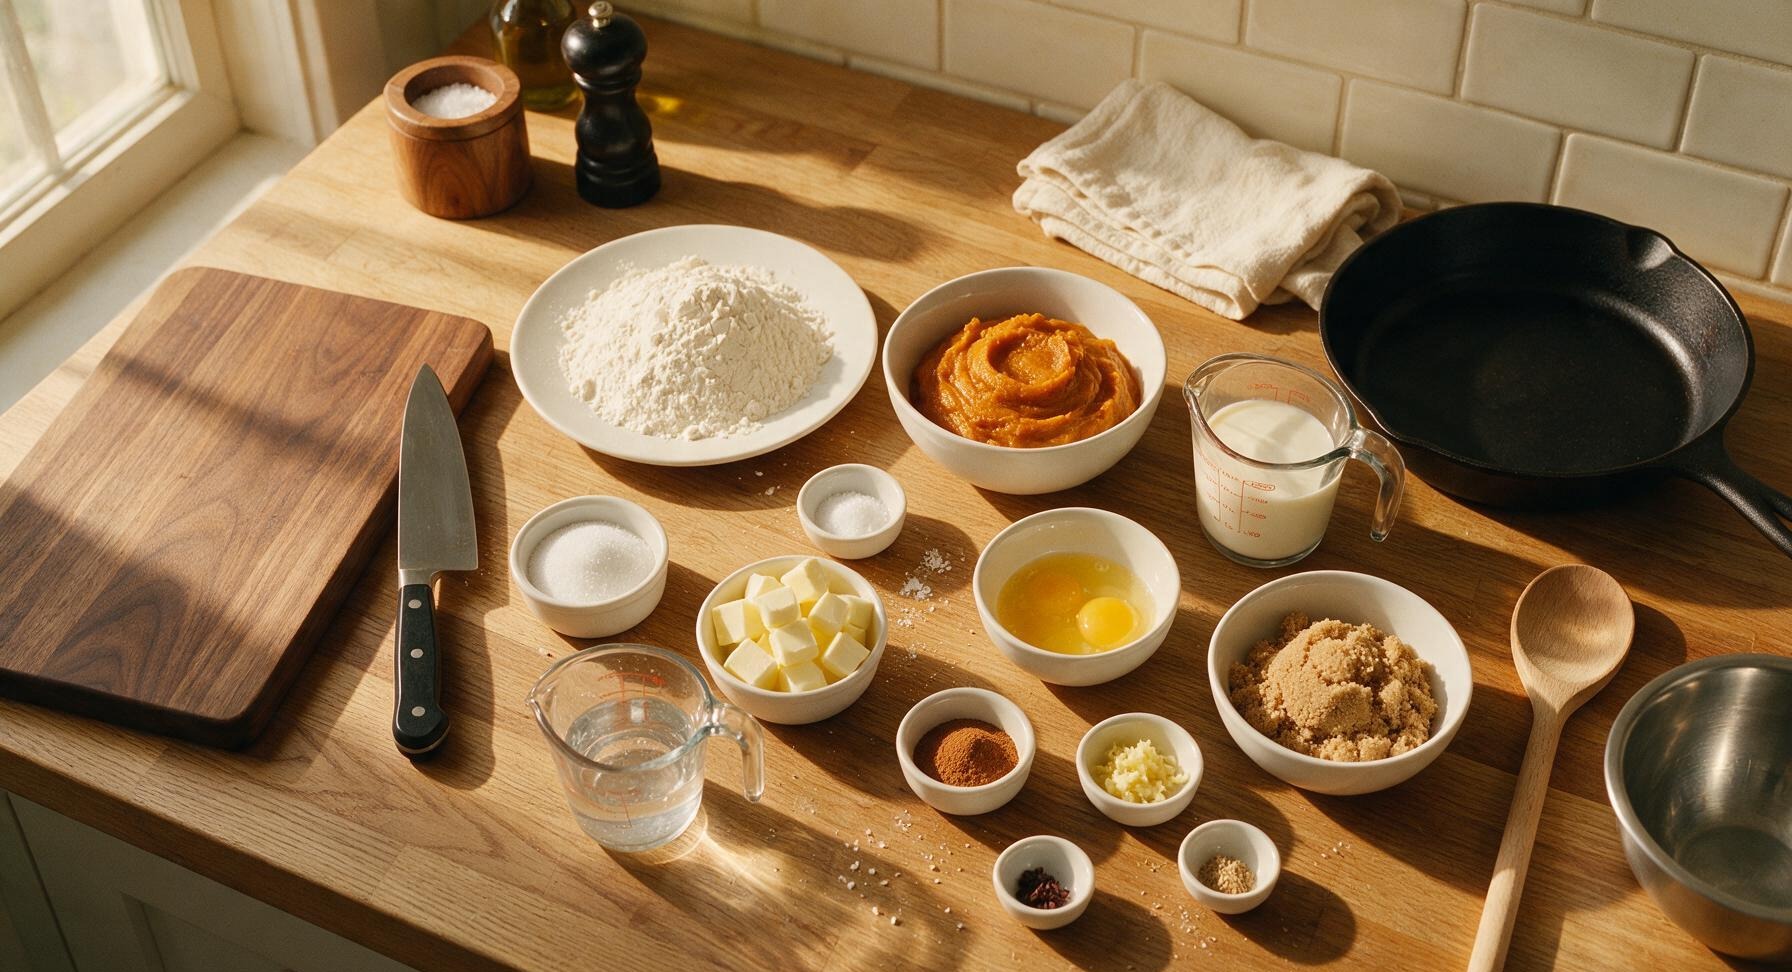
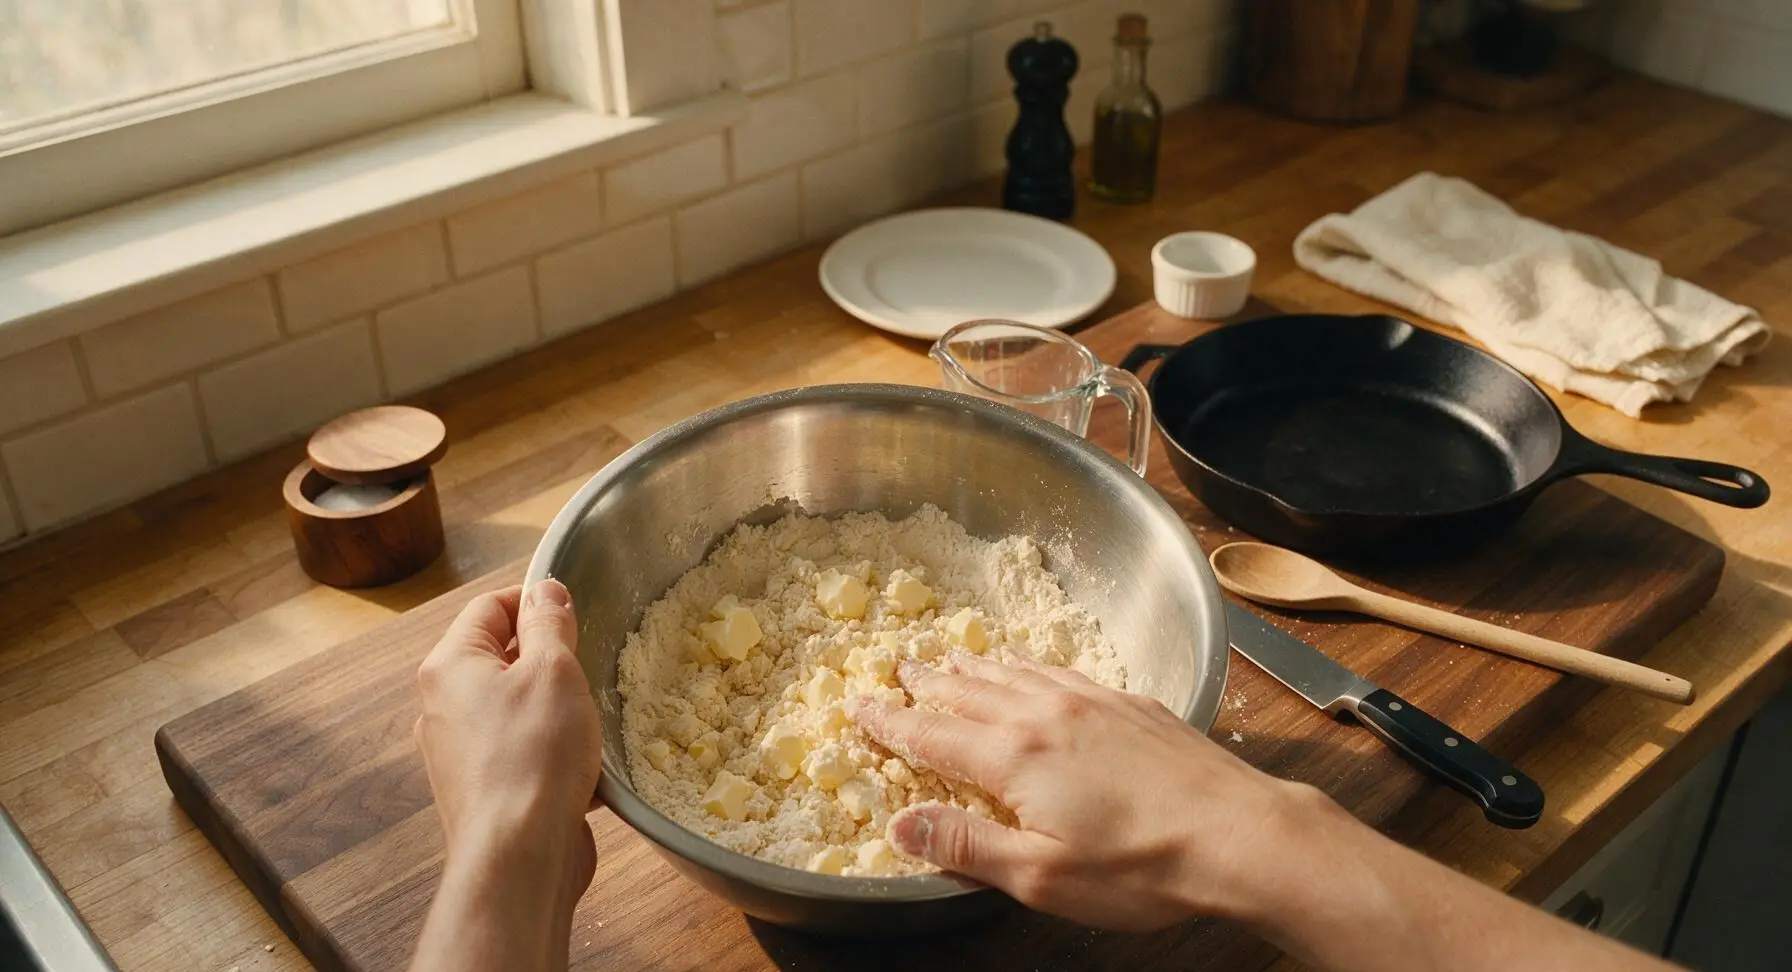
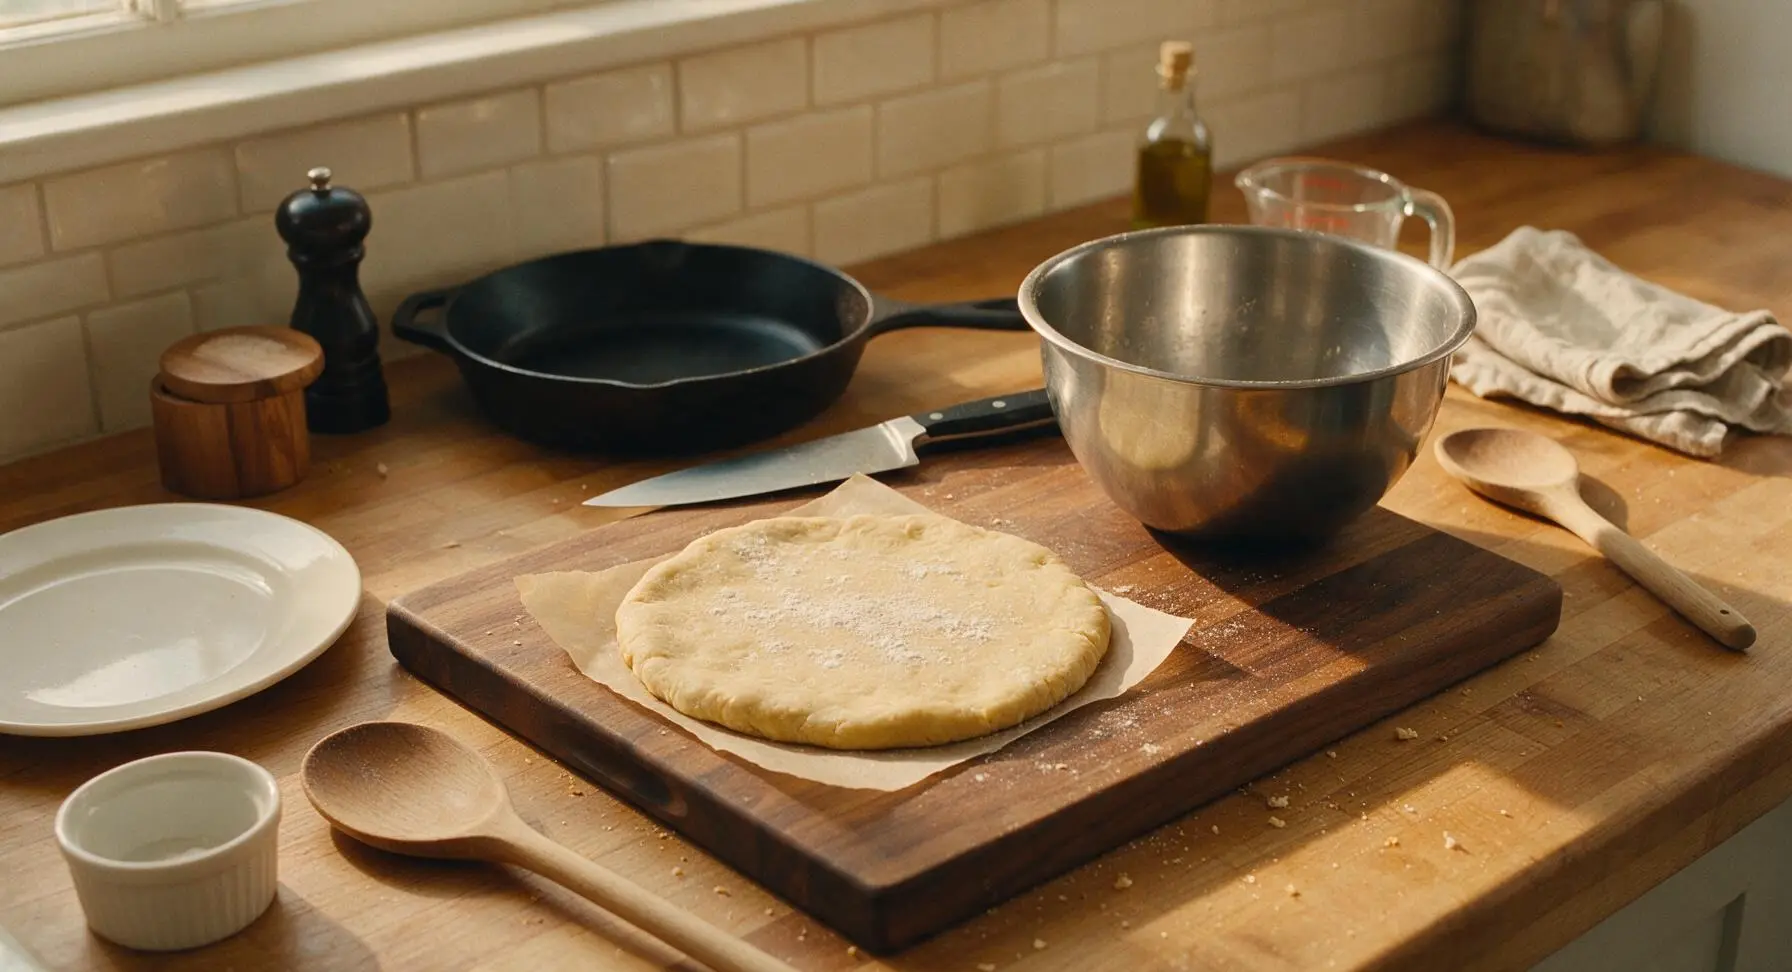
In the medium brushed stainless steel mixing bowl, whisk together 1 1/3 cups all-purpose flour, 1 tablespoon granulated sugar, and 1/2 teaspoon fine salt. Add 1/2 cup cold 1/2-inch cubed unsalted butter, and use your fingertips to press and rub the butter into the dry ingredients until the mixture forms coarse crumbs dotted with pea-sized butter lumps. Drizzle 3 tablespoons ice water over the crumbs, stirring gently with a fork until the dough clumps together, adding 1 extra tablespoon ice water only if dry crumbs remain at the bottom of the bowl. Press the dough into a 4-inch flat disk, set on a small square of parchment, and chill in the fridge for 15 minutes.
Roll Out Crust
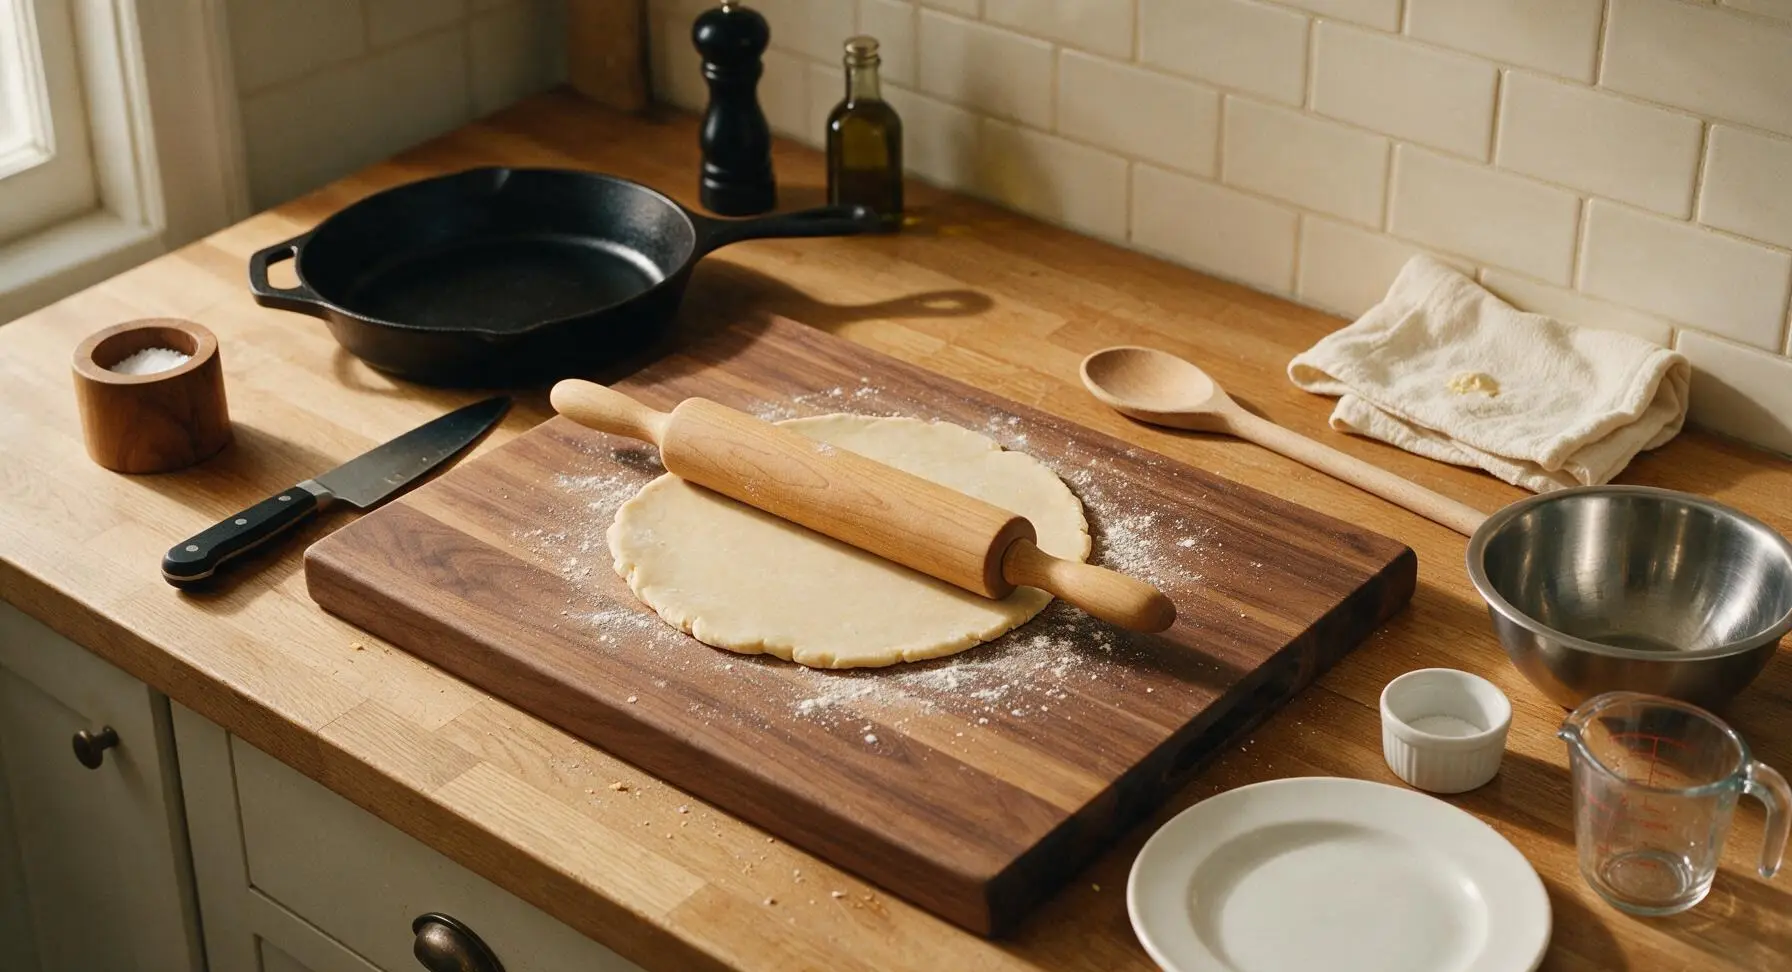
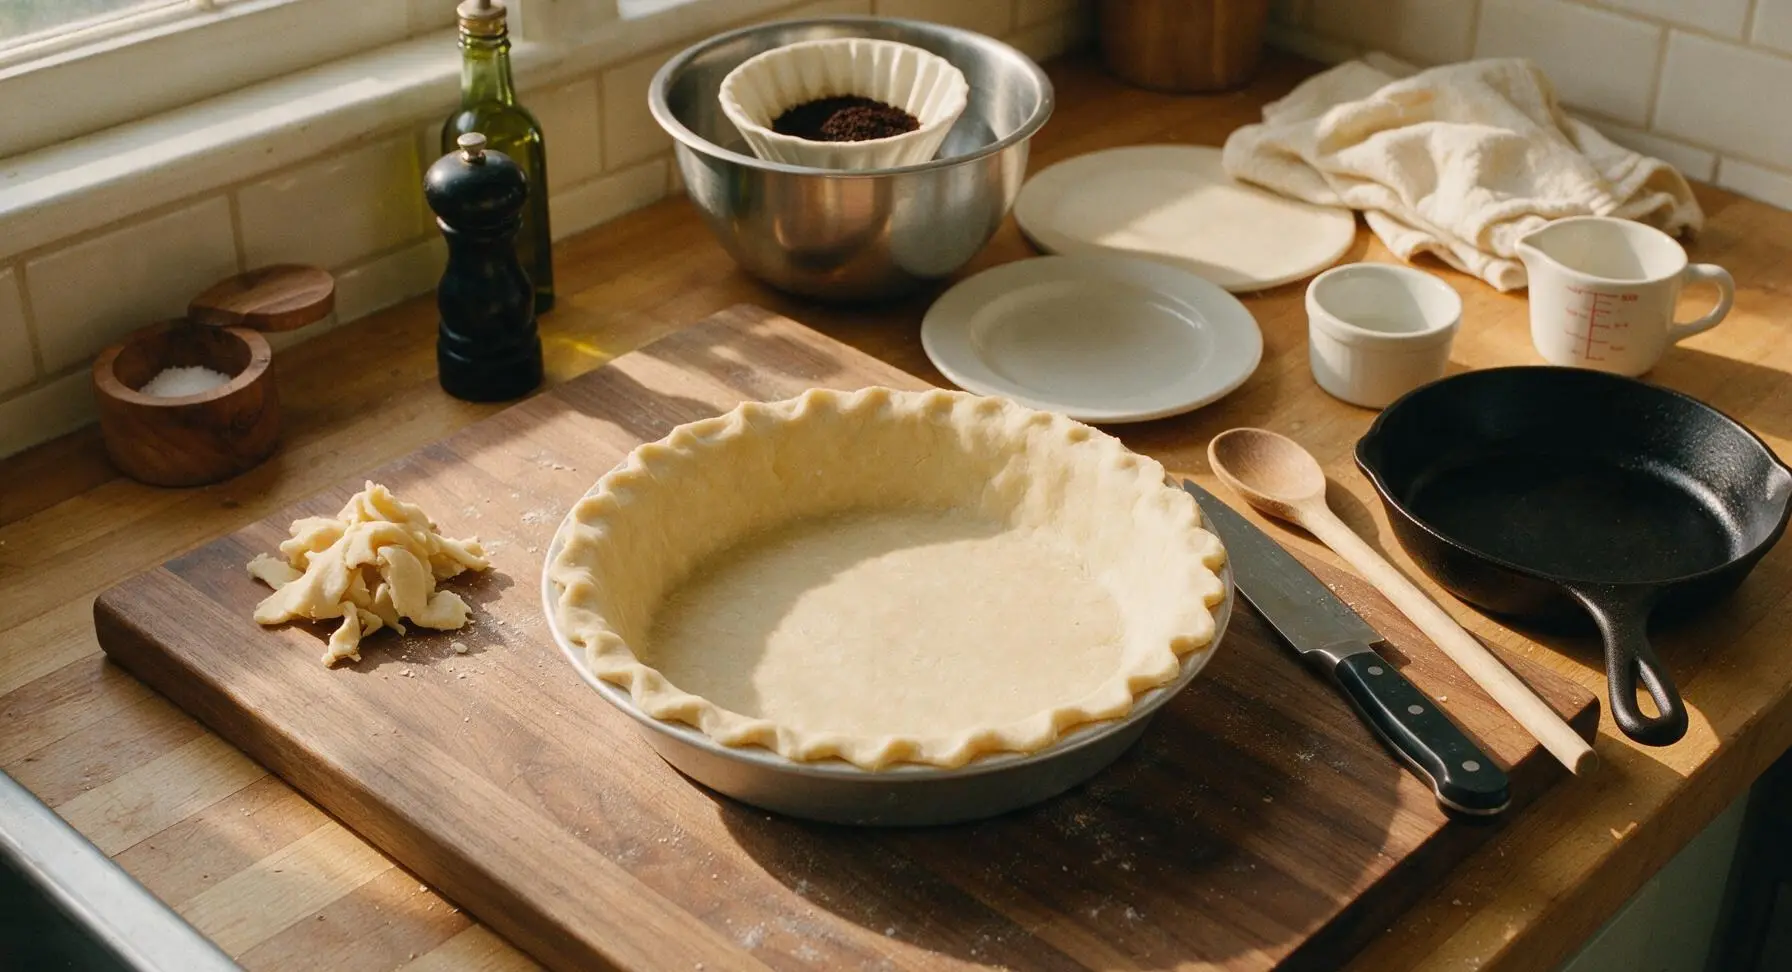
After chilling, place the dough disk on the lightly floured surface of the maple cutting board. Use the maple rolling pin to roll the dough into a 12-inch circle, 1/8-inch thick, turning the dough a quarter turn after every 2 rolls to prevent sticking and ensure even thickness. Gently lift the rolled dough and lay it centered over the 9-inch matte aluminum pie tin, pressing it firmly into the bottom and up the fluted sides of the tin. Trim any overhanging dough to 1 inch beyond the tin rim, then tuck the excess dough under itself and crimp the edge decoratively with your fingers. Chill the lined pie tin for 10 minutes before blind baking.
Blind Bake Crust
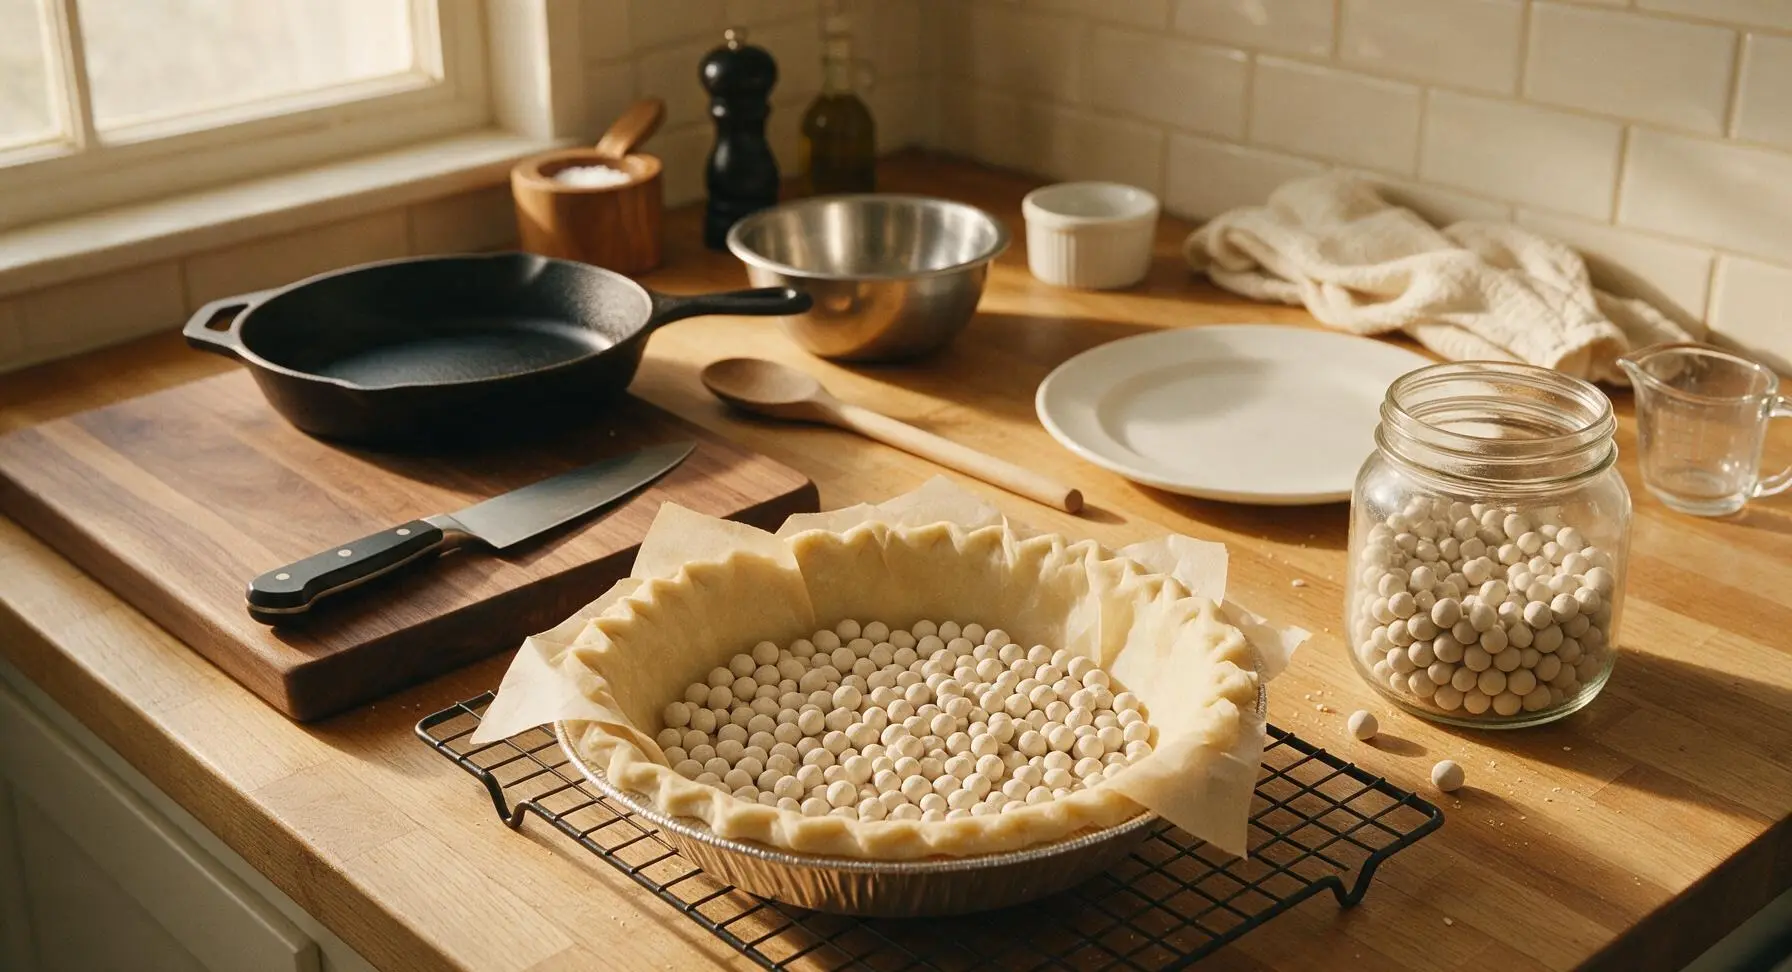
Preheat oven to 375°F (190°C). Line the chilled pie crust with a sheet of unbleached parchment paper, then fill the paper with 1 pound of ceramic pie weights, spreading them evenly across the bottom to prevent the crust from puffing. Bake for 15 minutes, then carefully lift the parchment and pie weights out of the crust. Return the empty crust to the oven and bake for 5 more minutes, until the bottom is pale golden and no longer looks raw. Set the partially baked crust on the black wire cooling rack while you prepare the filling.
Whisk Filling Ingredients
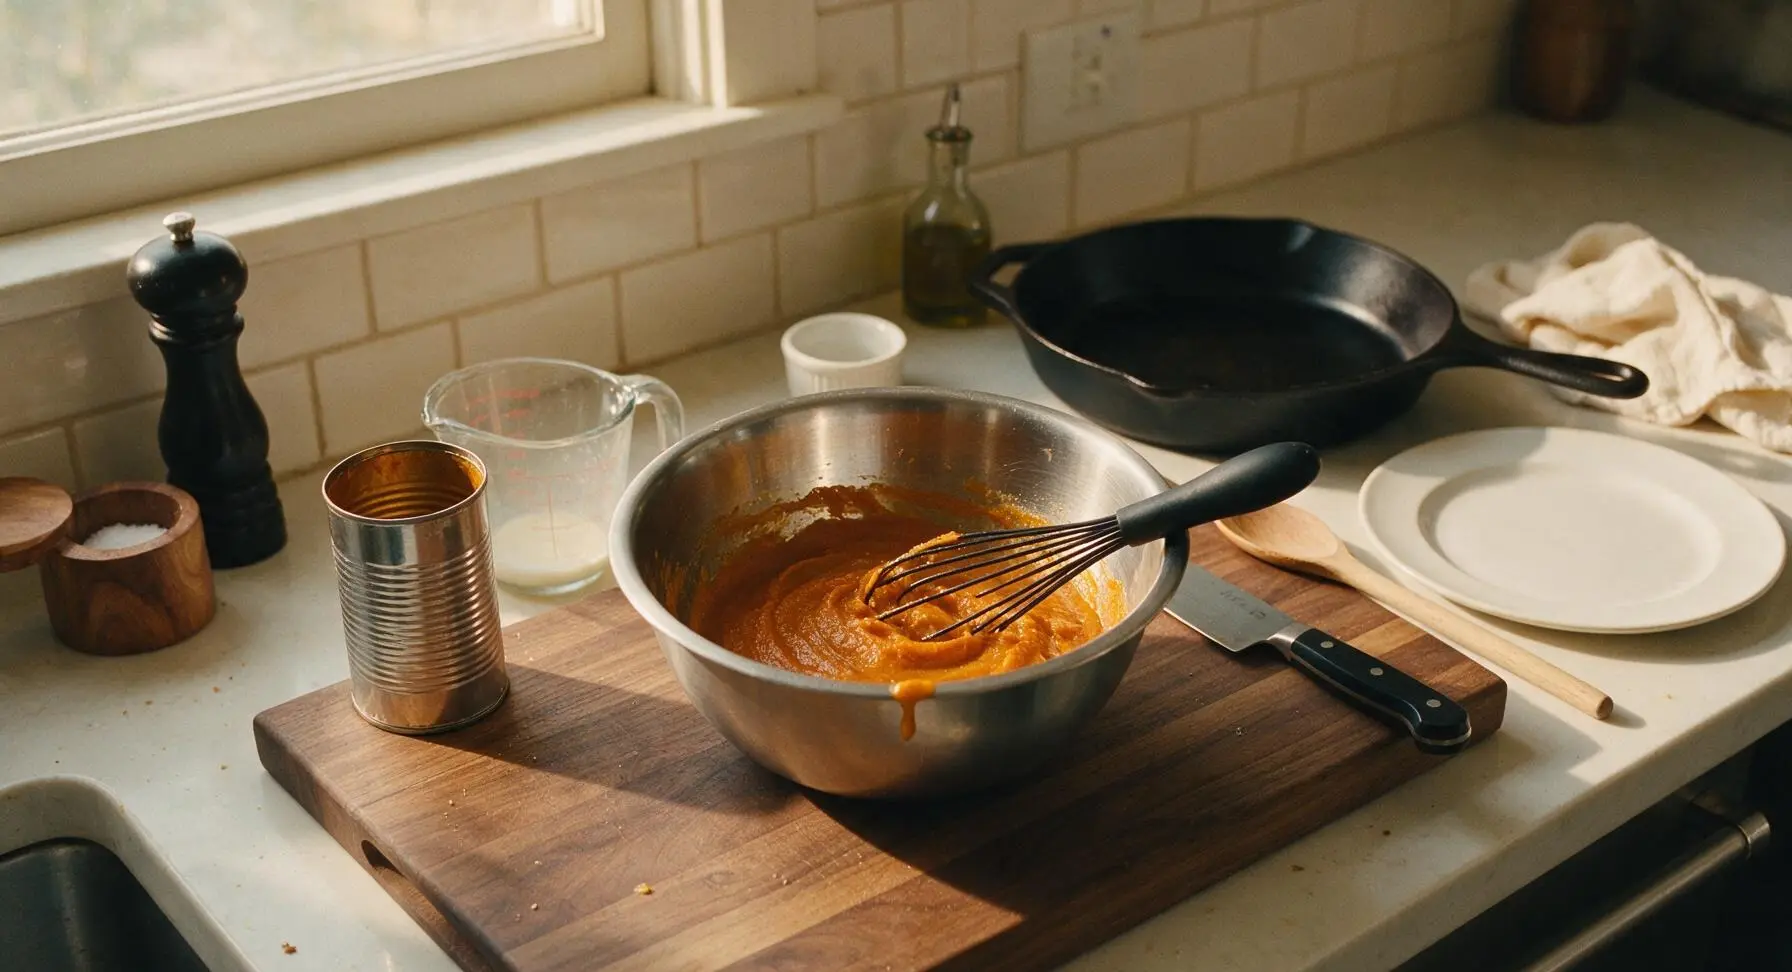
In the same medium stainless steel mixing bowl (wiped clean), add 15 ounces unsweetened pumpkin puree, 2 large lightly beaten eggs, 3/4 cup packed light brown sugar, 1 teaspoon ground cinnamon, 1 teaspoon freshly grated ginger, 1/4 teaspoon ground cloves, 1/4 teaspoon freshly grated nutmeg, and 1 teaspoon fine salt. Use the 10-inch matte black whisk to stir the mixture until completely smooth, with no lumps of brown sugar remaining. Slowly whisk in 1 cup evaporated milk, mixing until the filling is uniform and thin enough to pour easily.
Strain Filling for Smoothness
Place the fine-mesh stainless steel sieve over the partially baked pie crust (still in its tin on the cooling rack). Pour the pumpkin filling through the sieve, using the matte orange silicone spatula to press the filling through and catch any stringy pumpkin fibers or undissolved spice lumps. Discard the solids left in the sieve. This step ensures a perfectly silky, lump-free custard.
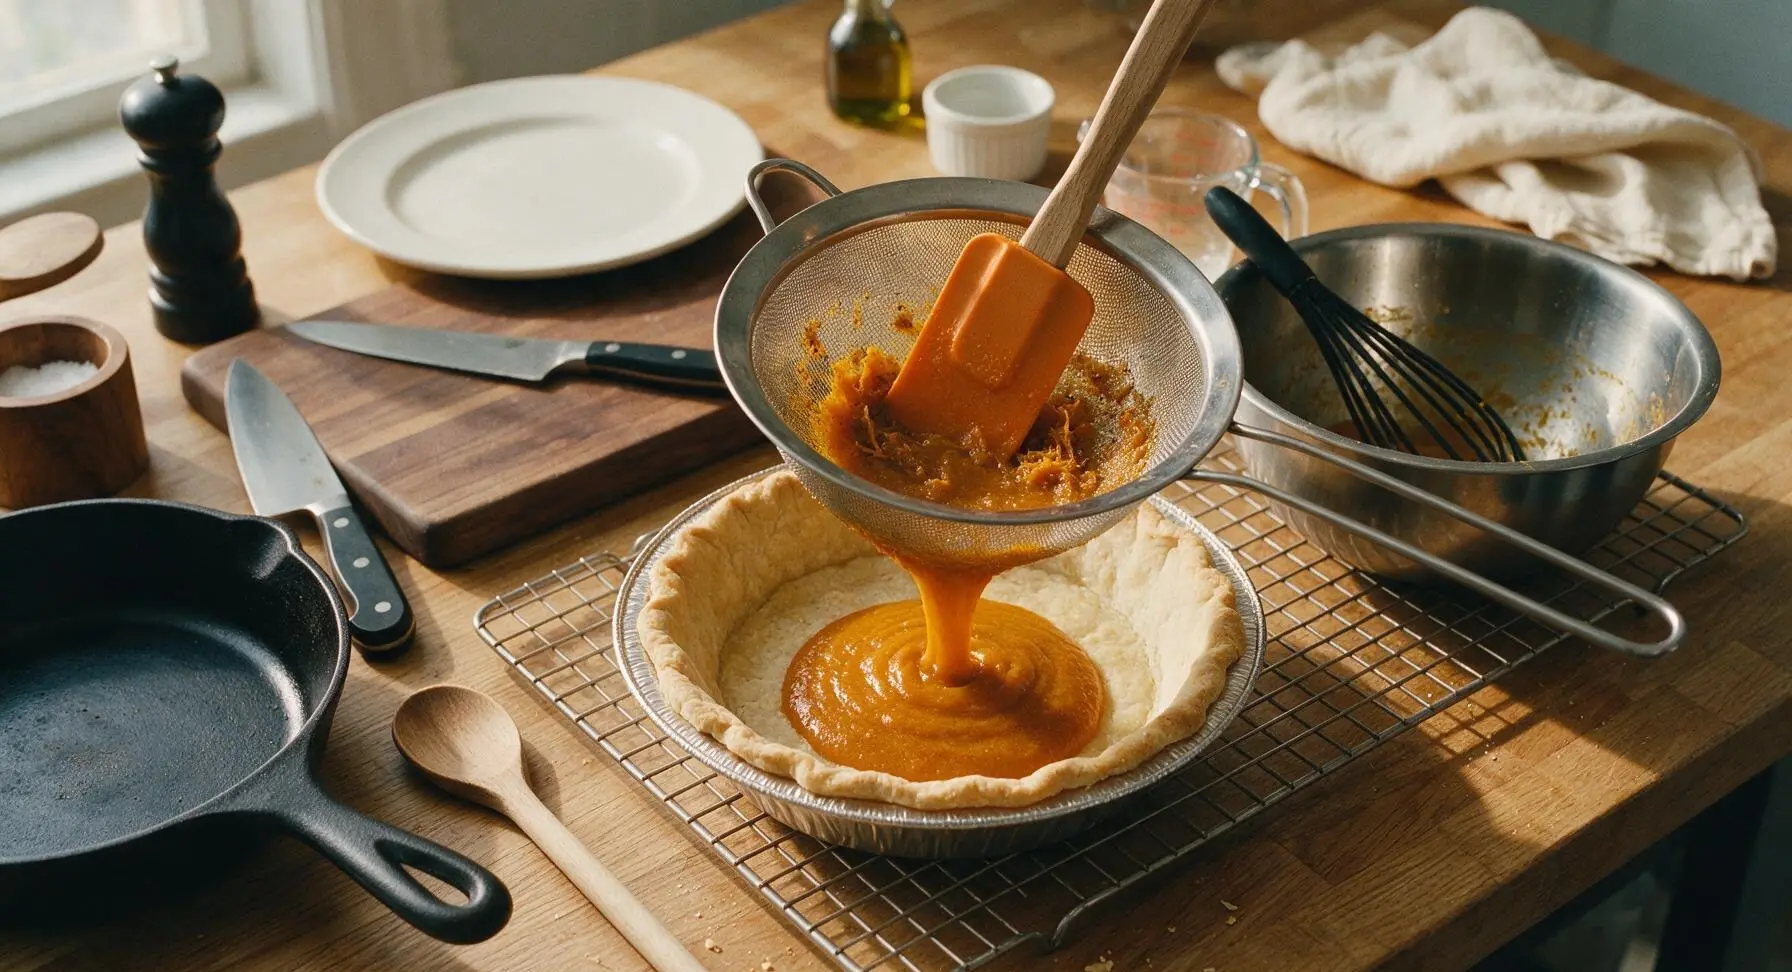
Bake the Pie
Carefully transfer the filled pie crust to the 375°F (190°C) oven. Bake for 50 to 55 minutes, until the edges of the custard are fully set and the center 2 inches of the pie jiggles slightly like firm Jell-O when gently nudged (the center will set fully as it cools). Do not overbake, as this will cause the custard to crack and become rubbery.
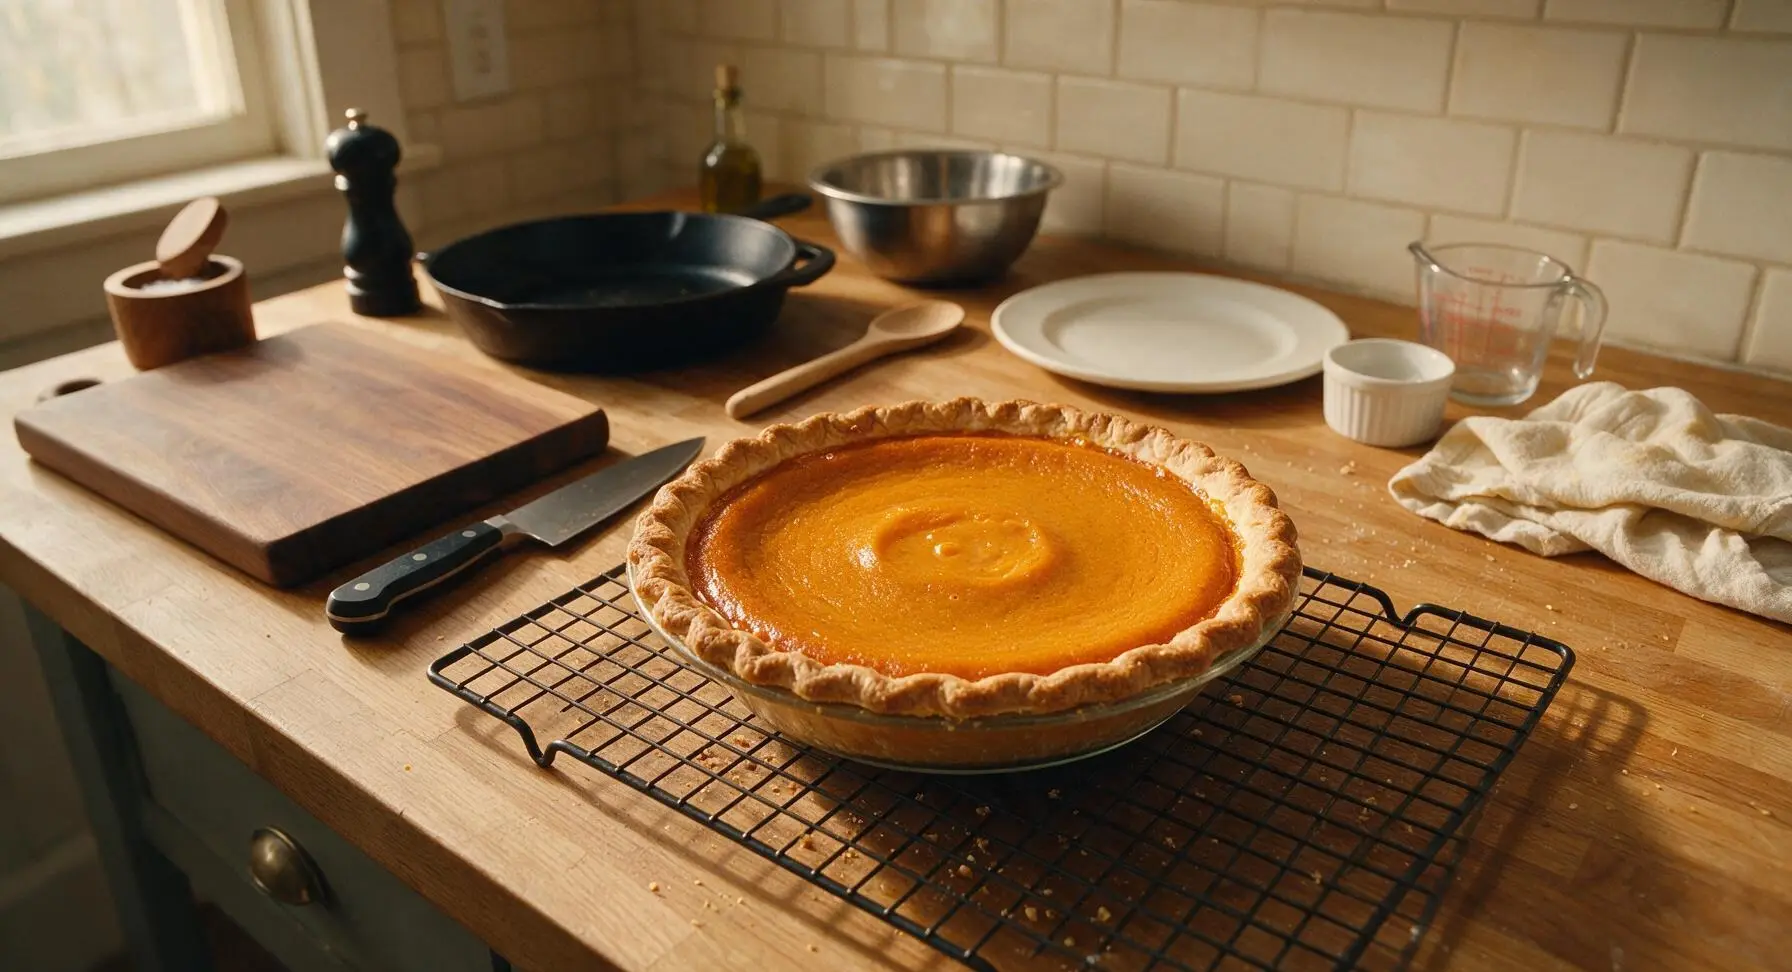
Cool Completely Before Serving
Leave the pie on the wire cooling rack at room temperature for 2 full hours to allow the custard to set completely. Do not slice the pie early, as the warm custard will run and not hold its shape. Once fully cooled, transfer the pie to the clear glass serving stand for serving.
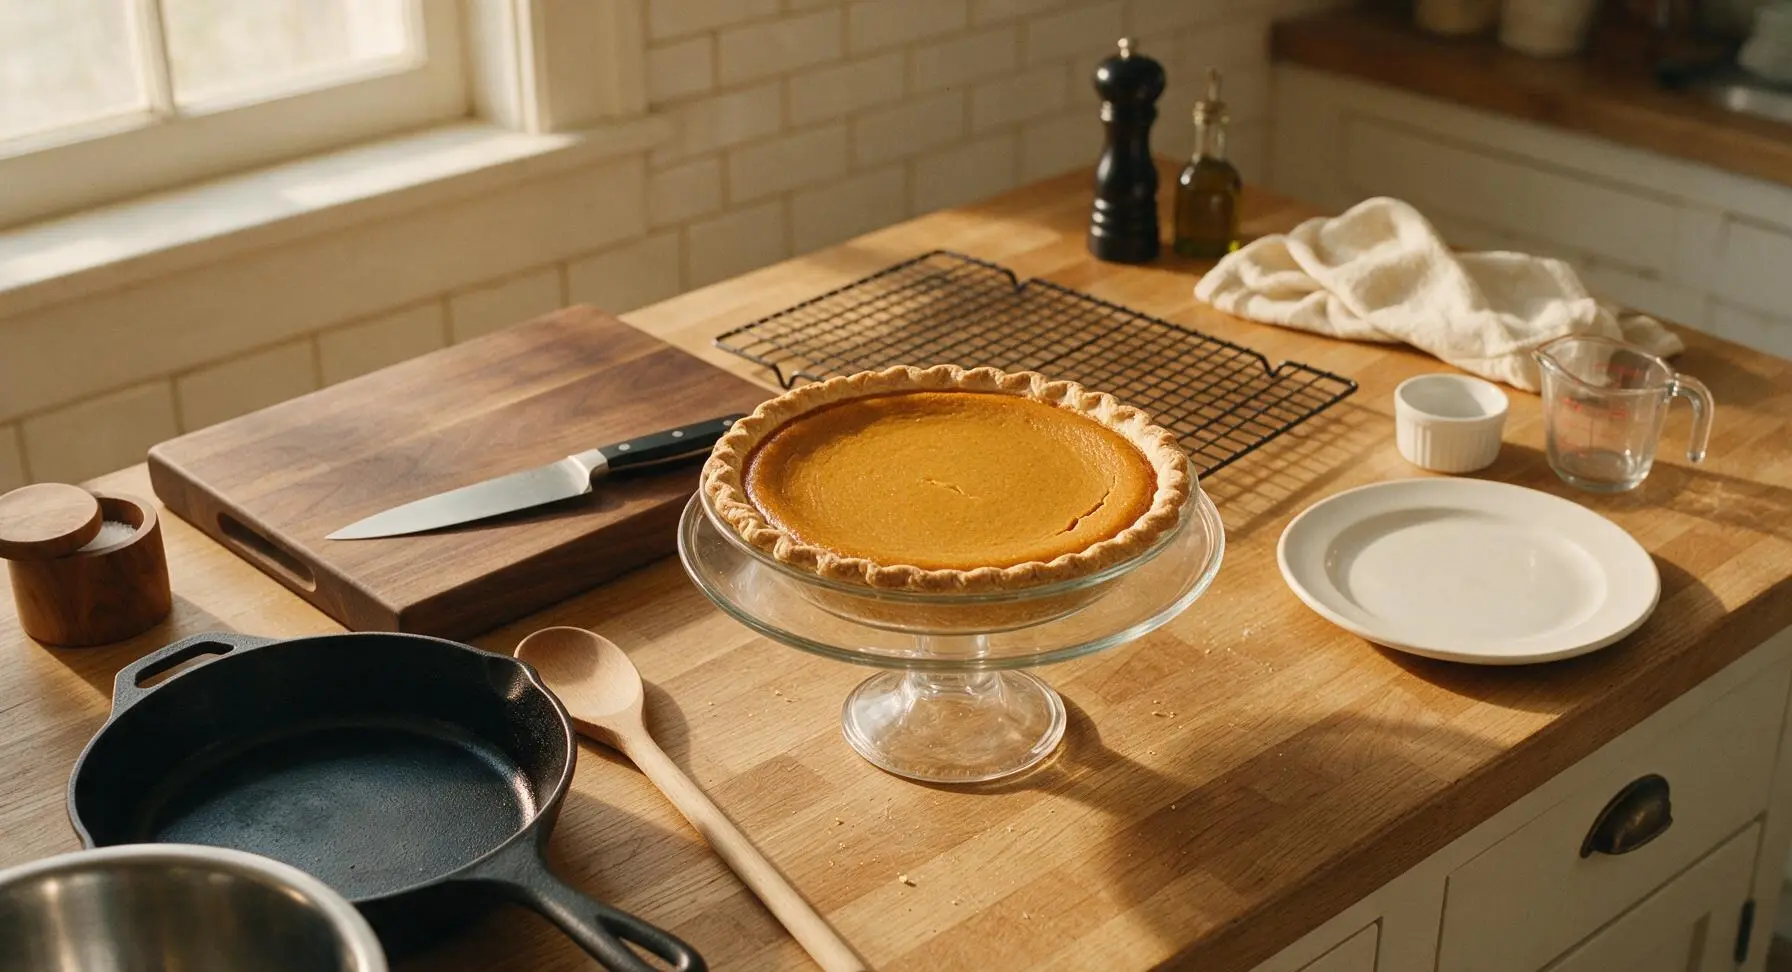
Tips
2.Avoid overbaking the custard: The center 2 inches of the pie should wiggle like firm Jell-O when pulled from the oven, as residual heat will finish setting the custard as it cools. Overbaking causes unsightly surface cracks and a grainy, rubbery texture instead of the signature silky mouthfeel.
3.Never skip straining the filling: Canned pumpkin puree contains stringy fibers and undissolved spice clumps that create a lumpy texture. Straining through a fine sieve removes these bits for the ultra-smooth, luxurious custard that defines Alton Brown’s famous recipe.






OMG this Alton Brown pumpkin pie recipe is an absolute game changer! I made it for our family Thanksgiving pre-game dinner last night and even my super picky father-in-law asked for a second slice. I was worried the medium difficulty meant I’d mess it up, but the steps were so straightforward, total cook time was exactly as listed too. No weird soggy bottom! 10/10 will be making this for every potluck from now on.
Really solid pumpkin pie, way better than the store-bought frozen ones I usually grab for weeknight treats. Only knock is I wish it had a little more spice kick? I added an extra 1/4 tsp of clove after tasting the filling and that fixed it for me. Cook time was spot on, crust came out perfectly flaky. My kids loved it, they ate half the pie before I even got a second piece!
Brought this to my office potluck yesterday and people were literally coming up to me for the recipe all afternoon! I was nervous about the medium skill level since I’m a pretty casual baker, but it came together with zero issues. The cook time was right at an hour and 10 minutes like it said, no undercooked filling mess. SO good, already have requests to make it for our holiday party next month.
Tasted great but I definitely messed up the crust? Maybe I overworked it? It came out a little tough, and the edges burned a tiny bit even though I followed the bake time exactly. I’m new to baking so that’s probably on me, but the filling was chef’s kiss. Might try again with a store-bought crust next time to save the hassle.
I’ve tried so many pumpkin pie recipes over the years, including a couple other Alton Brown versions, and this is hands down the best one I’ve ever made. The balance of pumpkin, spice, and that little hint of molasses? *Chef’s kiss.* I made it for a casual dinner with friends last weekend and everyone thought I bought it from a fancy bakery! Cook time was accurate, medium difficulty is fair — you don’t need any special tools, just a little patience for the crust to chill.
Made this last Sunday to have for dessert all week for meal prep and it held up so good in the fridge! I will say, make sure you let it cool completely before slicing — I cut into mine a little too early the first time and the filling was runny, but once it set up it was perfect. Definitely a do-over for our fall meal rotation.
As someone who burns literally every baked good I try to make, I was shocked how well this turned out! I followed the directions step by step, didn’t skip any of the chill time for the crust, and it came out perfect. My roommates devoured half the pie in 10 minutes. 10/10, don’t let the medium difficulty tag scare you off — even total newbies can nail this if you don’t rush the steps! Already planning to make a second one for my parents when they visit next weekend.