
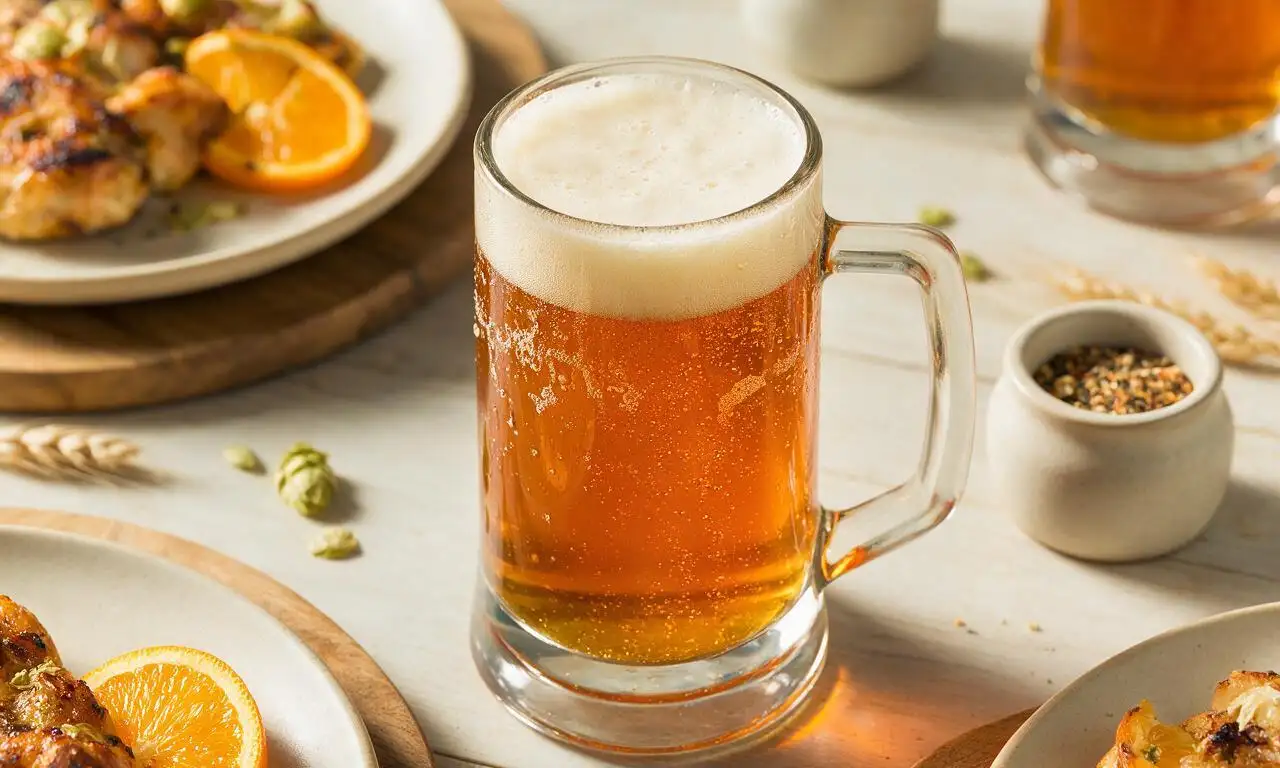
American Amber Ale

title 1
American Amber Ale
⏱️ cook time 2 hours active, 14 days total fermentation & conditioning
🍽️ servings 48
⚡ Difficulty medium

intro

A balanced medium-bodied American craft beer with toasty caramel malt notes, bright citrus hop bite, and a smooth crisp finish, ideal for pairing with smoky grilled foods.

Ingredients

Pale 2-row barley malt (crushed) 2.7 kg (6 lbs)
Crystal 40L malt (crushed) 227 g (8 oz)
Chocolate malt (crushed) 28 g (1 oz)
Cascade hop pellets 42 g (1.5 oz)
Centennial hop pellets 14 g (0.5 oz)
US-05 American ale yeast 1 packet (11 g)
Filtered cold water 19 L (5 gallons)
Corn sugar (for priming) 113 g (4 oz)

Steps

1

Mash the grain bill

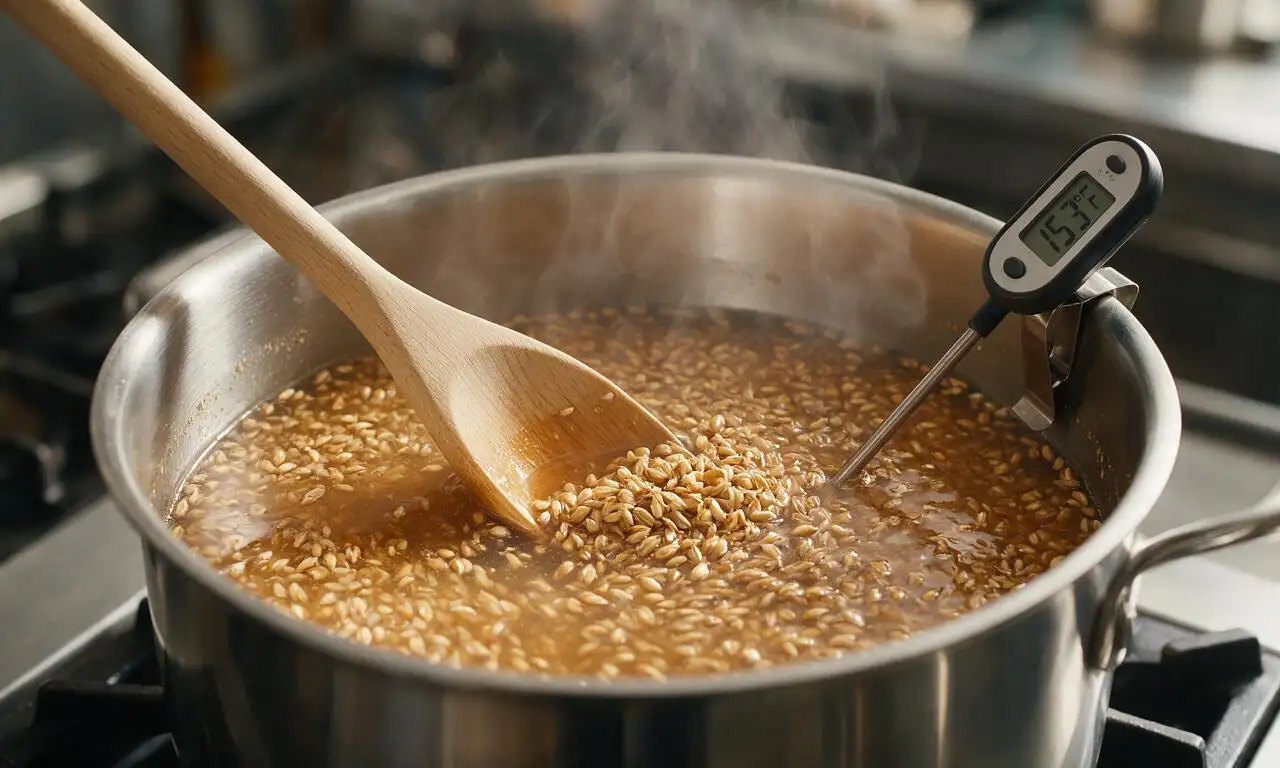
Heat 11.4 L (3 gallons) of filtered water to 67°C (153°F) in a large brew kettle over medium heat, add all crushed malts (pale 2-row, crystal 40L, chocolate malt), and stir thoroughly to eliminate dry clumps. Hold the temperature steady at 65-68°C (149-154°F) for 60 minutes, keeping the kettle covered to retain heat, until grain starches fully convert to fermentable sugar.
Step 1
step1:Mash the grain bill
2

Drain and sparge wort

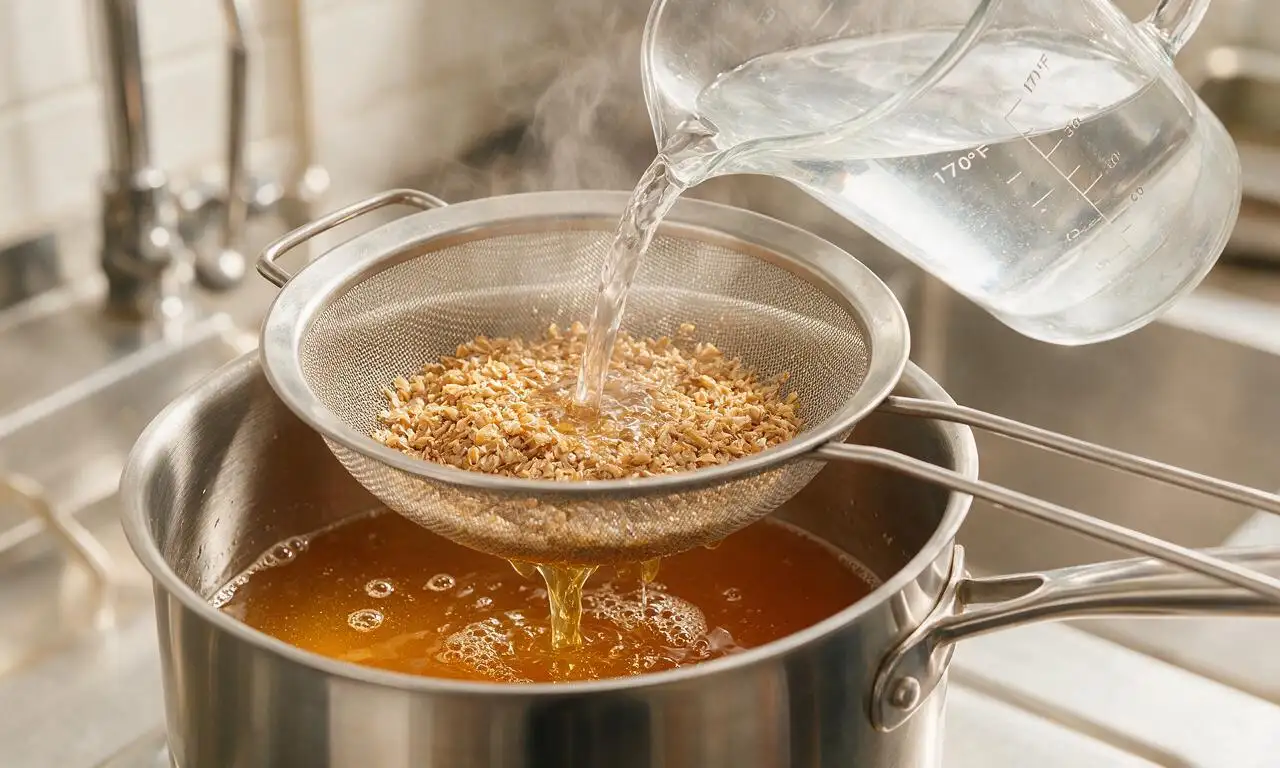
After the 60-minute mash rest, slowly drain the sweet, sugar-rich liquid (called wort) from the grain bed into a sanitized secondary pot. Gradually pour 7.6 L (2 gallons) of 77°C (170°F) filtered water over the top of the grain bed to rinse residual sugars from the grains, collecting all runoff until you have 19 L (5 gallons) of total wort in your boil kettle.
Step 2
step2:Drain and sparge wort
3

Boil wort with hops

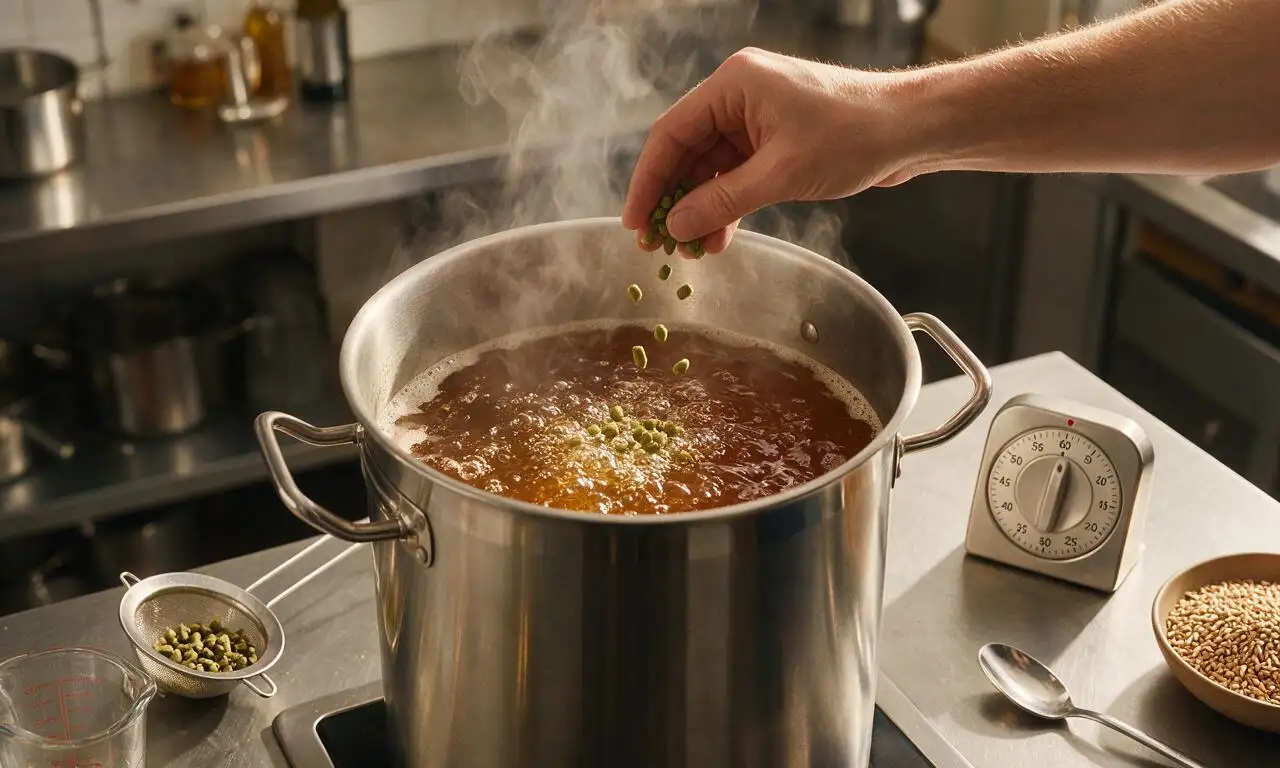
Bring the collected wort to a steady rolling boil over medium-high heat, then set a timer for a 60-minute total boil. Add 28 g (1 oz) of Cascade hops at the start of the boil for clean bitterness, add 7 g (0.25 oz) of Cascade hops with 15 minutes remaining in the boil for depth of flavor, and add the final 7 g (0.25 oz) Cascade plus all 14 g (0.5 oz) Centennial hops at the last 1 minute of boil for bright citrus aroma.
Step 3
step3:Boil wort with hops
4

Cool wort, pitch yeast

Once the 60-minute boil is complete, remove the kettle from heat and submerge the lower half in an ice bath of cold water and frozen ice packs to rapidly cool the wort to 21°C (70°F) within 30 minutes. Pour the cooled wort into a sanitized fermentation bucket, seal the lid, and shake vigorously for 1 minute to aerate the wort, then sprinkle the full 11 g packet of US-05 yeast over the wort surface and re-seal the lid with a sanitizer-filled airlock.
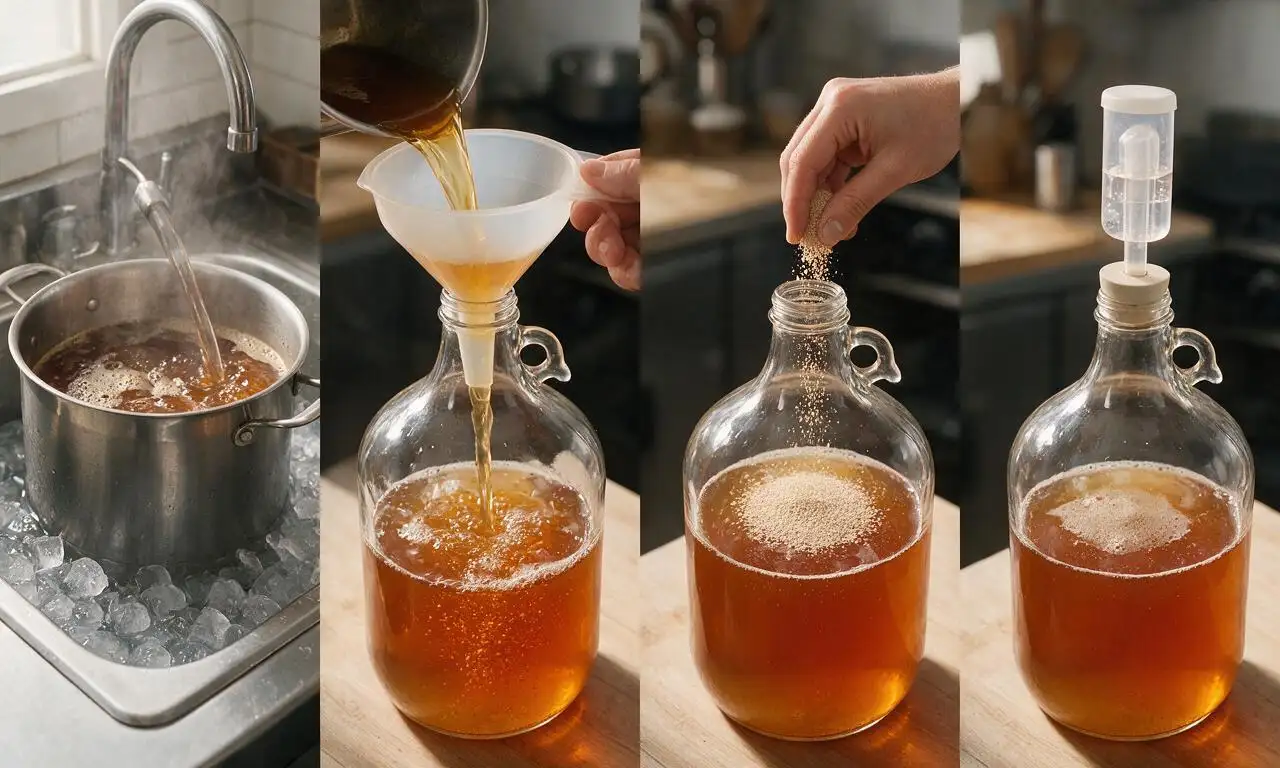
Step 4
step4:Cool wort, pitch yeast
5

Complete primary fermentation

Move the sealed fermentation vessel to a dark, temperature-controlled space held steady at 18-22°C (65-72°F) and leave undisturbed for 7 days. Visible bubbles will travel through the airlock every few seconds within 24-48 hours as yeast converts sugar to alcohol and CO2; do not open the vessel during this period to avoid bacterial contamination.
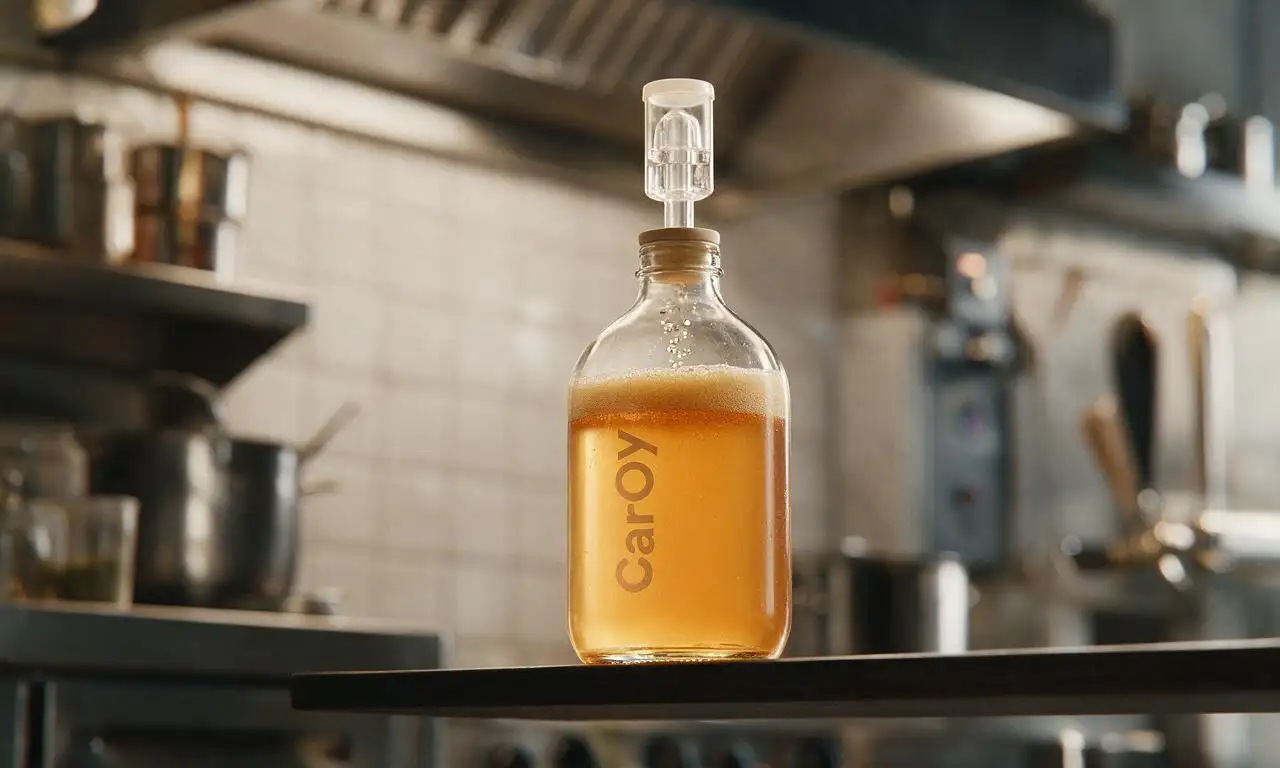
Step 5
step5:Complete primary fermentation
6

Bottle and condition beer

After 7 days of primary fermentation, boil 113 g (4 oz) of corn sugar in 237 ml (1 cup) of water for 5 minutes over high heat, cool to 21°C (70°F), and stir gently into the flat beer in a sanitized bottling bucket. Siphon the beer into sanitized 355 ml (12 oz) amber glass bottles, crimp caps tightly with a bottle capper, and store bottles in the same dark 18-22°C (65-72°F) space for 7 additional days to allow natural carbonation to occur.
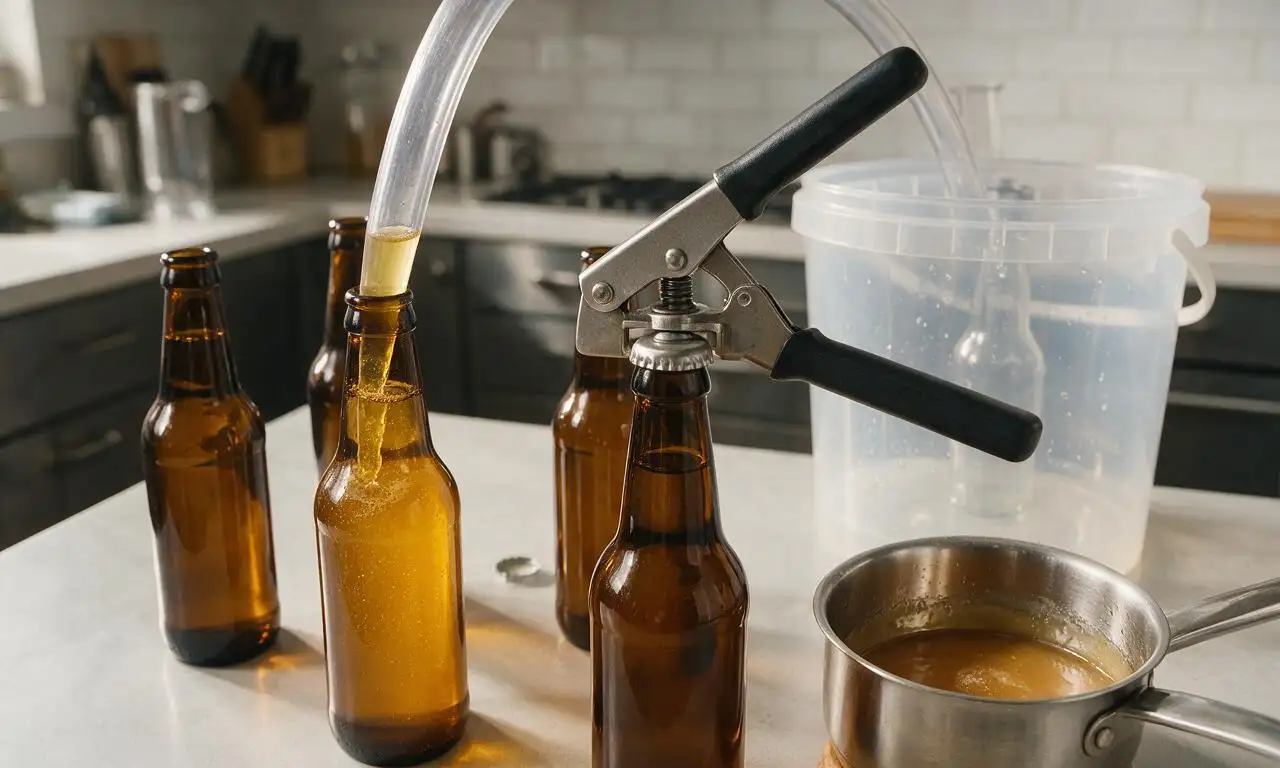
Step 6
step6:Bottle and condition beer

Tips

1.Sanitize every piece of equipment that touches cooled wort or beer with a no-rinse food-grade brewing sanitizer—poor sanitation is the number one cause of spoiled, off-flavored homebrew.
2.Never add yeast to wort warmer than 27°C (80°F), as high temperatures will kill the yeast and prevent proper fermentation, leading to flat, sweet, uncarbonated beer.
3.After conditioning is complete, chill bottles for 24 hours in the refrigerator before opening to reduce foaming and let the bright malt and hop flavors come into balance.


✨ You May Also Like

Drinks & Beverages
🍜 Mexico

A bright, balanced tequila-based cocktail with zesty fresh lime, smooth orange liqueur, and a signature salt rim, perfect for warm summer sipping.

⏱️ 5 minutesDrinks & Beverages ★ 4.9
Drinks & Beverages
🍜 United States

Thick, creamy, nostalgic classic vanilla milkshake with a rich, smooth texture, topped with whipped cream and a cherry for cool, sweet refreshment.

⏱️ 5 minutesDrinks & Beverages ★ 4.7
Drinks & Beverages
🍜 United States

A bright, golden strong ale with fruity banana-clove notes, subtle hop spice, and soft carbonation, brewed in classic Trappist Tripel tradition.

⏱️ 2 hours aDrinks & Beverages ★ 4.5
Drinks & Beverages
🍜 United States

A frothy, nostalgic American soda fountain treat pairing bubbly cold root beer with creamy vanilla ice cream, perfect for cooling down at warm weather gatherings.

⏱️ 20 minuteDrinks & Beverages ★ 4.8
Drinks & Beverages
🍜 United States

Tart, funky, effervescent American Wild Ale is a complex fruity craft beer brewed with wild yeast, delivering bright, zesty notes perfect for warm-weather sipping.

⏱️ 2 hours aDrinks & Beverages ★ 4.4
Drinks & Beverages
🍜 United States

Bright, bubbly copycat of the iconic American caramel cola, balanced with citrus and warm spice, perfect for sipping ice-cold on hot days.

⏱️ 15 minuteDrinks & Beverages ★ 4.8

American Amber Ale:Frequently Asked Questions

1.What sets this American Amber Ale apart from a standard American pale ale? ▾
Great question! Unlike brighter, hop-heavy American pale ales, this amber leans into a richer malt backbone from Crystal 40L and a small hit of chocolate malt, delivering warm toasty caramel notes that balance citrusy Cascade and Centennial hops. It’s medium-bodied instead of light, with a smooth, crisp finish that never feels overly bitter or heavy.
2.Can I substitute Crystal 40L malt if I don’t have it for my brew day? ▾
You can, but stick close to its flavor and color for best results. Swap it for 75% Crystal 60L mixed with 25% extra pale 2-row if needed, but skip very dark crystal malts (80L or higher) — they add heavy raisiny, burnt-sugar notes that throw off the beer’s bright, balanced profile. Always use crushed malt to extract those key caramel flavors during mashing.
3.How should I add Cascade and Centennial hops to get that classic bright citrus bite? ▾
Split your hop additions for layered, balanced flavor! Add 60% of your measured hops early in the boil for clean, smooth bitterness, reserve 30% for the last 15 minutes of the boil for bright citrus flavor, and save the final 10% for flameout or a 5-day dry hop to amp up that signature grapefruit-orange hop aroma.
4.How long does this amber ale need to ferment before it’s ready to drink? ▾
Plan for 2 weeks of primary fermentation at a steady 65–68°F, the sweet spot for clean American ale yeast, followed by 1 week of cold conditioning at 35–40°F if you’re bottling or kegging. You can enjoy it as early as 3 weeks after brew day, but it’ll taste even smoother if you give it an extra week to carbonate and mellow.
5.Won’t the small amount of chocolate malt make this taste like a heavy stout? ▾
Not at all! We only use 2–4% chocolate malt in the total grain bill here, so it won’t add the bold, roasty, coffee-like flavor you get in a stout. Instead, it contributes a subtle nutty, toasty depth and that signature deep amber color, without overpowering the soft caramel malt or bright citrus hop notes.
6.What are the best food pairings for this finished American Amber Ale? ▾
This beer was practically made for smoky grilled cookout food! Its caramel malt sweetness cuts through charred brisket, grilled burgers, and smoked sausage beautifully, while the bright citrus hop bite balances rich melted cheese and creamy barbecue sides. It also pairs wonderfully with caramelized roasted veggies and sharp cheddar for lower-key meals.
7.What bitterness level should I target to keep this amber ale properly balanced? ▾
Shoot for 30–40 IBUs (International Bitterness Units) for that classic, approachable amber profile. That’s enough bitterness from your Cascade and Centennial hops to keep the sweet caramel malt from tasting cloying, but far less than the 60+ IBUs you’d find in a bold West Coast IPA, so the malt notes still shine.
8.Do I need fancy professional equipment to brew this as a first-time homebrewer? ▾
You don’t need high-end gear at all! A basic 5-gallon homebrew kit with a boil kettle, airlocked fermenter, siphon, and bottling wand is all you need. Since the recipe calls for pre-crushed pale 2-row, Crystal 40L, and chocolate malt, you won’t even need a grain mill — just be diligent about sanitizing all gear to avoid off-flavors.
9.How should I store bottled batches of this amber ale to keep it tasting fresh? ▾
Store sealed, carbonated bottles in a cool, dark spot away from direct sunlight and wild temperature swings — UV light will quickly skunk hoppy beer, even with this recipe’s balanced malt base. Keep storage temps around 50–55°F for best results, and drink within 3–4 months of bottling to catch that bright citrus hop aroma before it fades.

Comments (5)

1 week ago

OMG this is hands down the best homebrew amber ale I’ve tried all year! Followed the recipe exactly for my first all-grain batch, had a little hiccup with my mash temp at first but the end result was so smooth, perfect caramel note without being too sweet. Brought a growler to my buddy’s cookout last weekend and everyone was begging for the recipe—total game changer! Can’t wait to brew another batch next month.

5 days ago

Did you use dry yeast or liquid for this? I’m gathering supplies to brew this this weekend and can’t decide if it’s worth splurging on the liquid California ale strain!

3 days ago

Great question! Both work great, but liquid yeast will give you that slightly cleaner, fruitier finish that pairs so well with the caramel malt in this recipe. If you go the dry yeast route, rehydrate it properly first and you’ll still get fantastic results!

3 days ago

Really solid amber ale recipe! My whole family loved sampling the first pint after conditioning, even my teenager who usually only drinks seltzers thought it was tasty. Only knock is I wish the hop schedule was a little more specific for new brewers—my first batch came out a touch more bitter than I was expecting, but it’s still super drinkable. Would make again for sure for our next potluck.

2 days ago

So glad your family enjoyed it! Thanks for the feedback on the hop schedule— I’ll add a note about adjusting bittering hop additions by 0.5oz if you prefer a smoother, less bitter profile, that should help next time you brew it!

yesterday

SO good! I was nervous to tackle a medium-difficulty brew since I’ve only done kit beers before, but the step-by-step instructions made the 2 hour active time fly by. Did the full 14 days fermentation/conditioning and wow, it tastes exactly like the amber ales I used to order at my favorite Brooklyn dive bar back in college. Already texted the recipe to all my homebrew club friends!

5 days ago

This was such a hit at our annual fall bonfire! The balance of toasty malt and that subtle citrus hop kick is perfect for cool evenings around the fire. I even added a tiny bit of extra crystal malt on my second go-round and it made the flavor even cozier. 10/10, will be a staple in my rotation from now on.

30 minutes ago

How much extra crystal malt did you add? I love that richer, maltier amber profile and I’ve been tweaking this recipe to get it just right for my tastes!

2 hours ago

First time nailing an amber ale after three failed attempts with other recipes! The directions for fermentation temp control were spot on, no off flavors at all. The 14 day total wait was so worth it—crisp, perfectly balanced, way better than the store-bought amber I used to pick up for game nights. Already planning to brew a double batch before football season starts so I have enough for tailgates!

5 minutes ago

How are you carbing yours? I usually do force carb in my keg but I’m thinking of trying bottle conditioning for this batch to bring to my own tailgate!

just now

If you go the bottle conditioning route, make sure to use 5oz of corn sugar for the full 5 gallon batch to get that perfect level of carbonation without over-carbonating! It works beautifully for tailgates since you don’t have to haul a keg around.



