
American Light Lager
intro
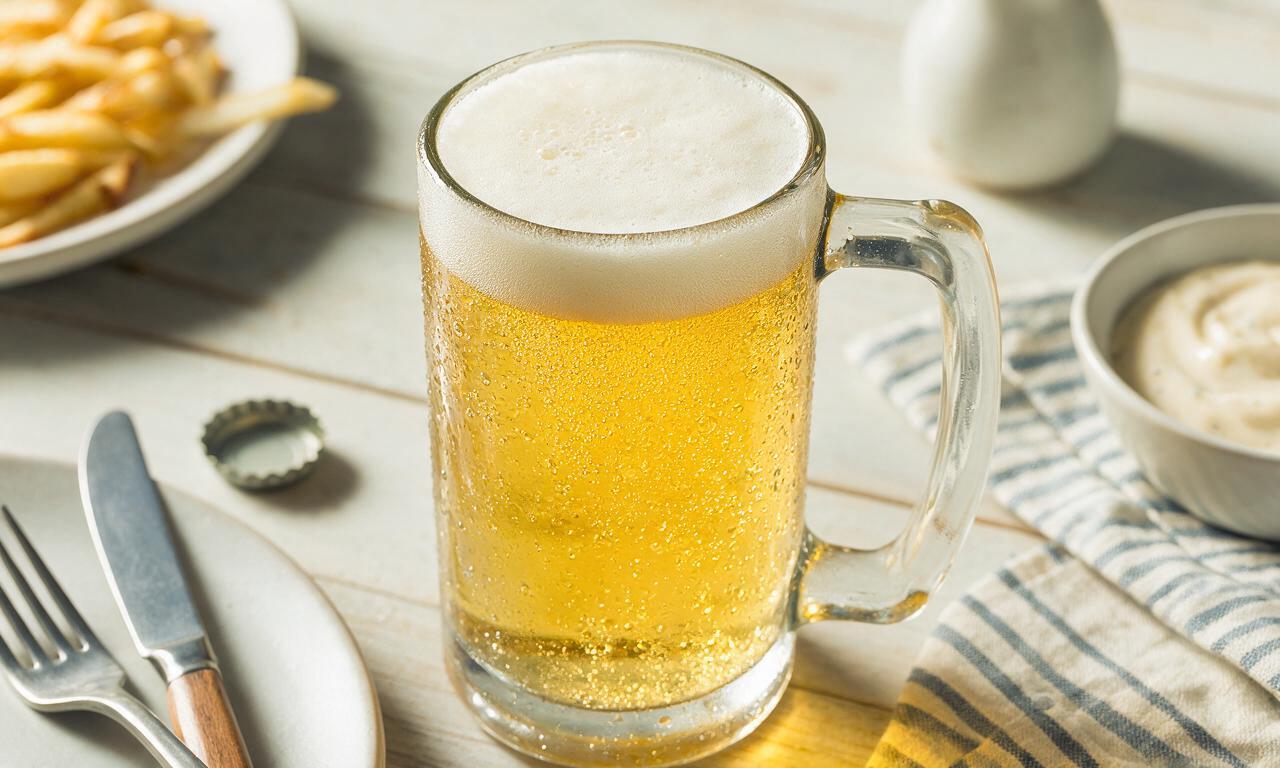
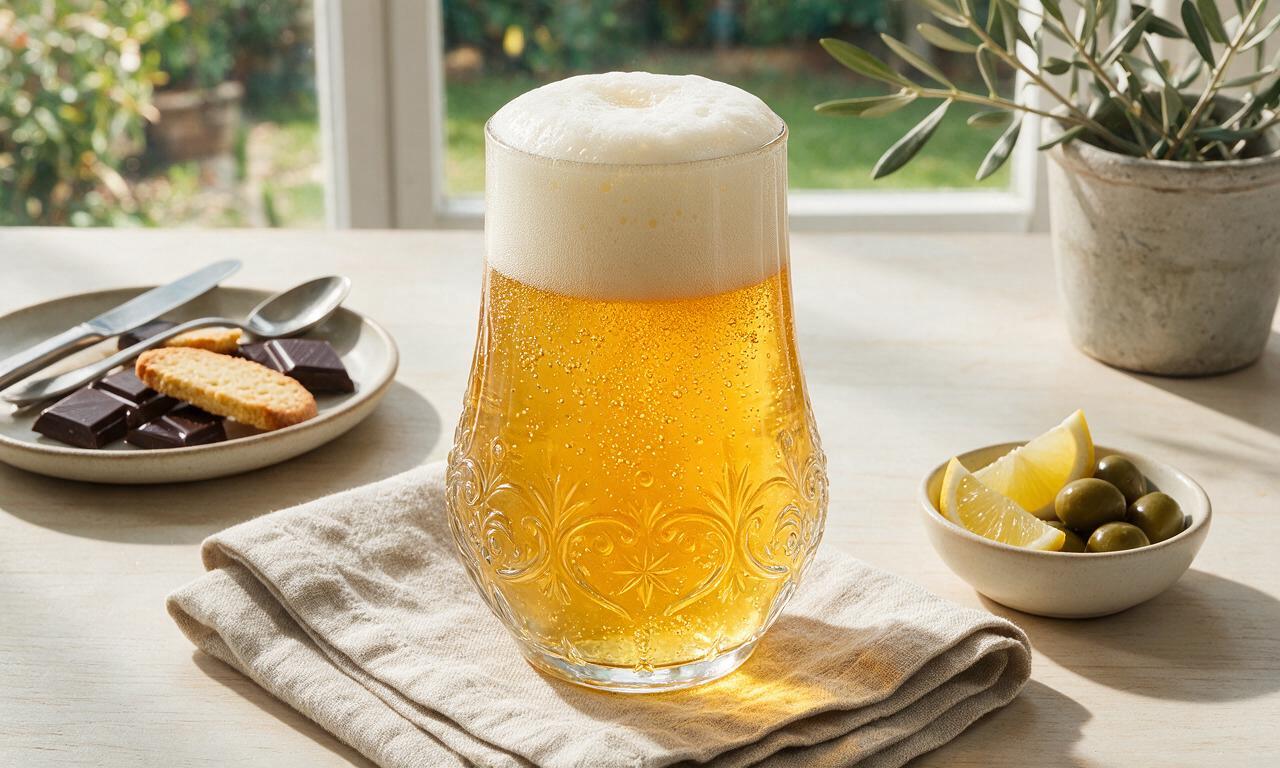
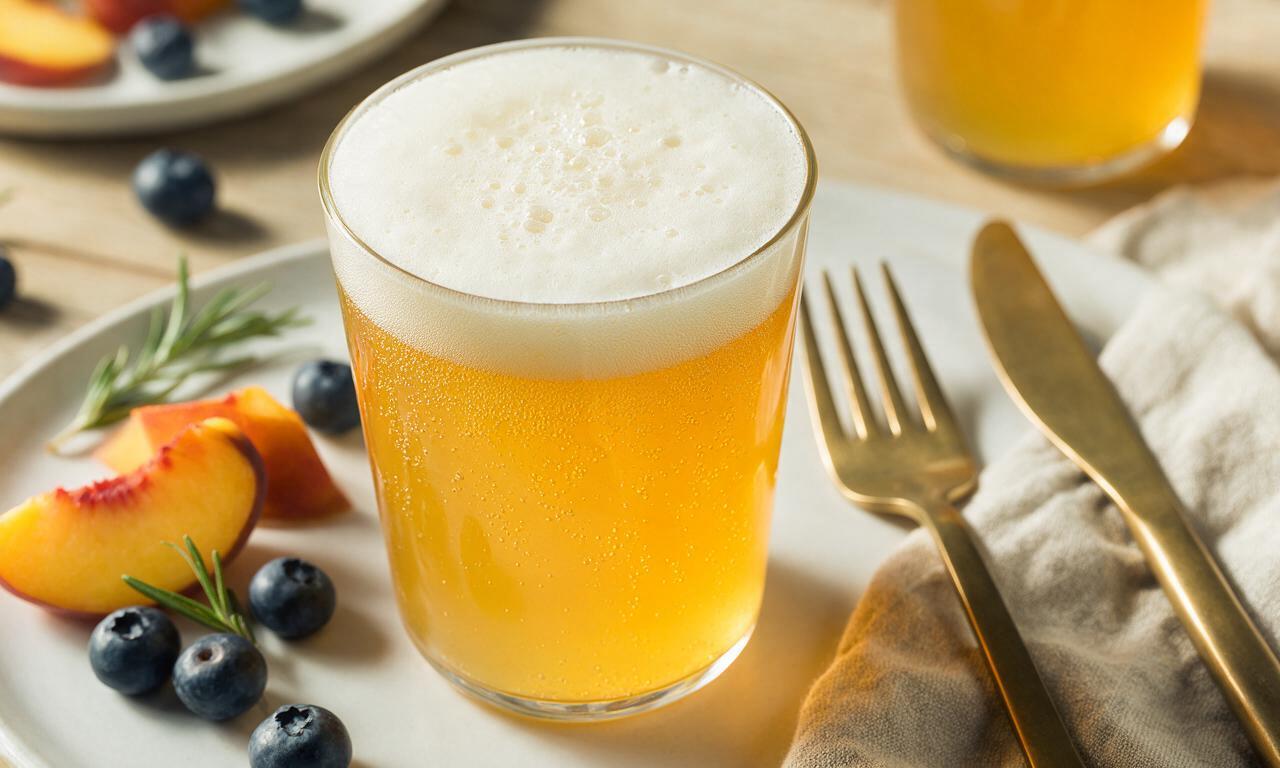
Crisp, clean, and ultra-refreshing, this homemade American light lager has a mild balanced flavor, light body, and smooth carbonation perfect for summer gatherings.
Ingredients
Steps
Mill and mash grains
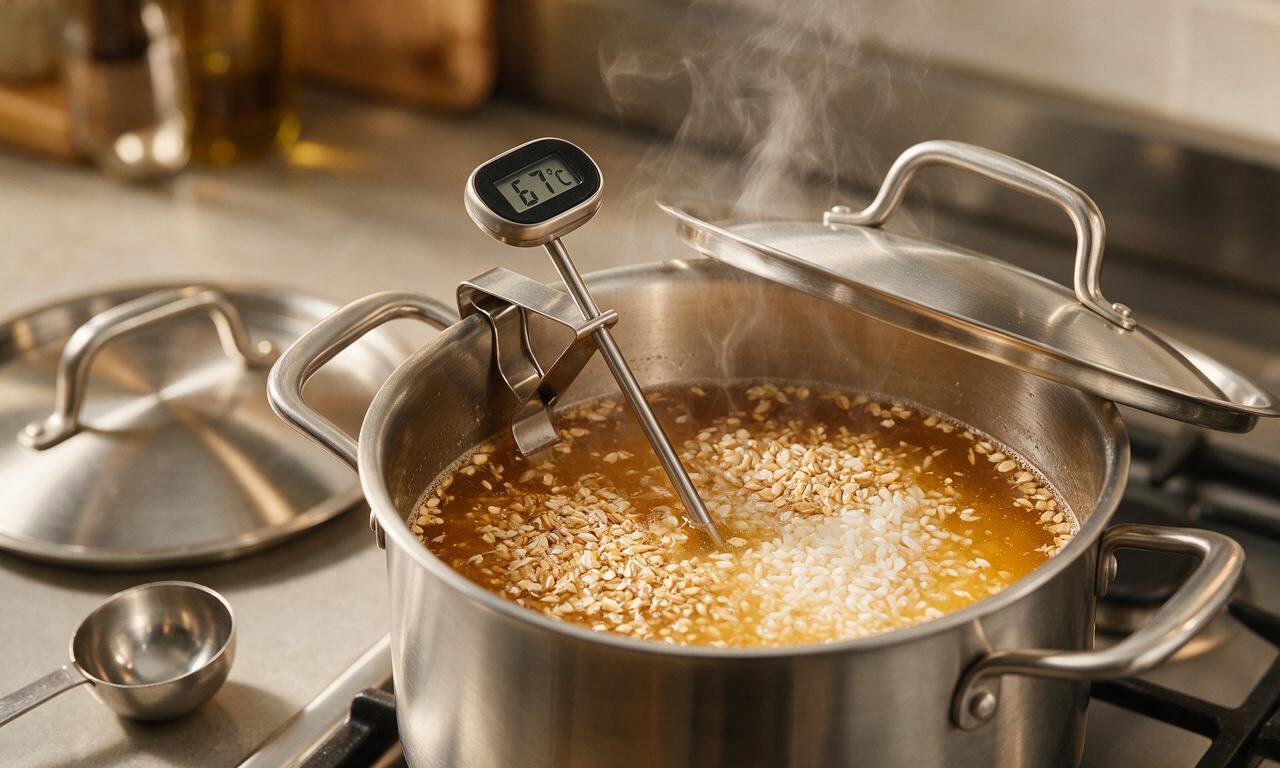
Crush 900g of 2-row pale lager malt to a coarse, cracked consistency (avoid grinding into fine flour, which causes stuck wort). Heat 3L (12.7 cups) of filtered water to 67°C (153°F) in a large 8L stockpot over medium-low heat, then add the crushed malt and 300g flaked white rice, stirring fully to break up any dry clumps. Hold the mixture at a steady 65-68°C (149-154°F) for 60 minutes, keeping the pot covered to retain heat, until the liquid (called wort) tastes mildly sweet with no raw starchy aftertaste.
Strain and sparge wort
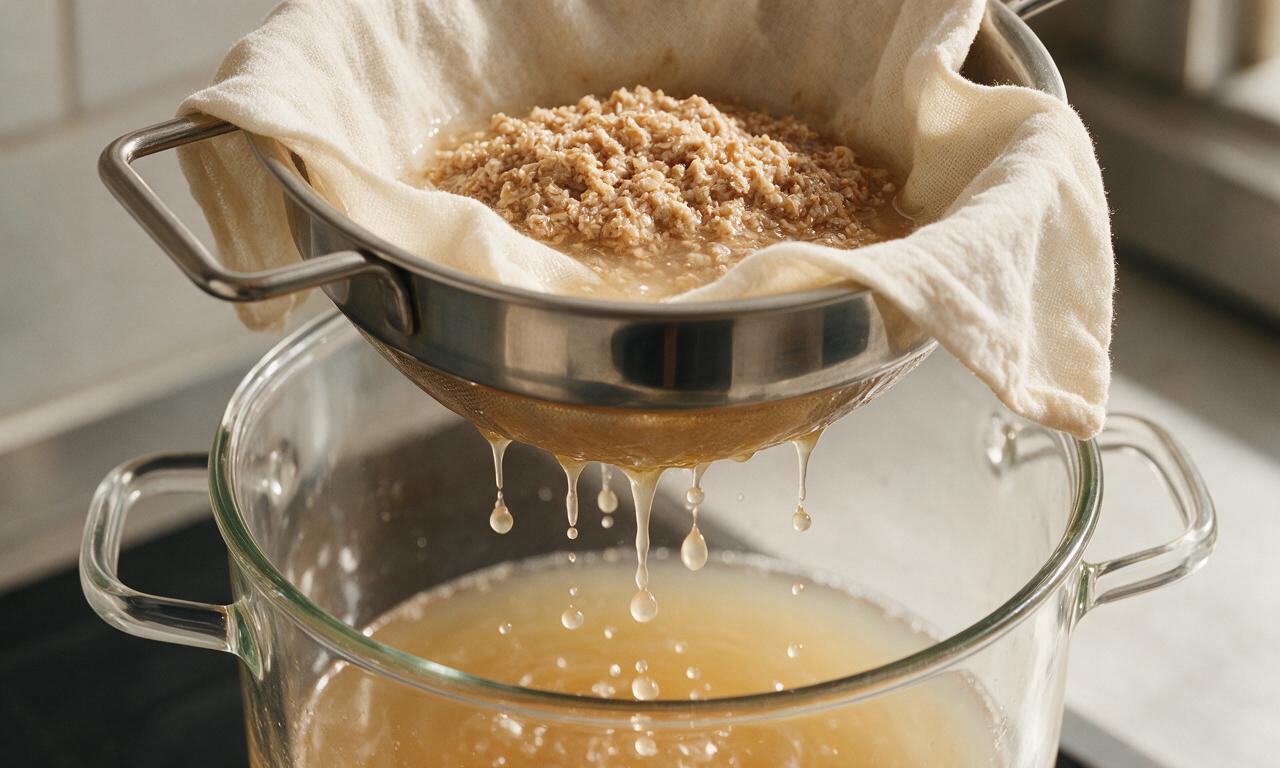
Once the 60-minute mash is complete, slowly pour the grain and wort mixture through a fine-mesh strainer lined with food-grade cheesecloth into a second clean stockpot. Gently rinse (sparge) the leftover grain bed with 1L (4.2 cups) of 77°C (170°F) filtered water to extract remaining trapped sugars, collecting all runoff liquid. You will end up with approximately 3.5L (14.8 cups) of pale, clear golden wort.
Boil wort with hops
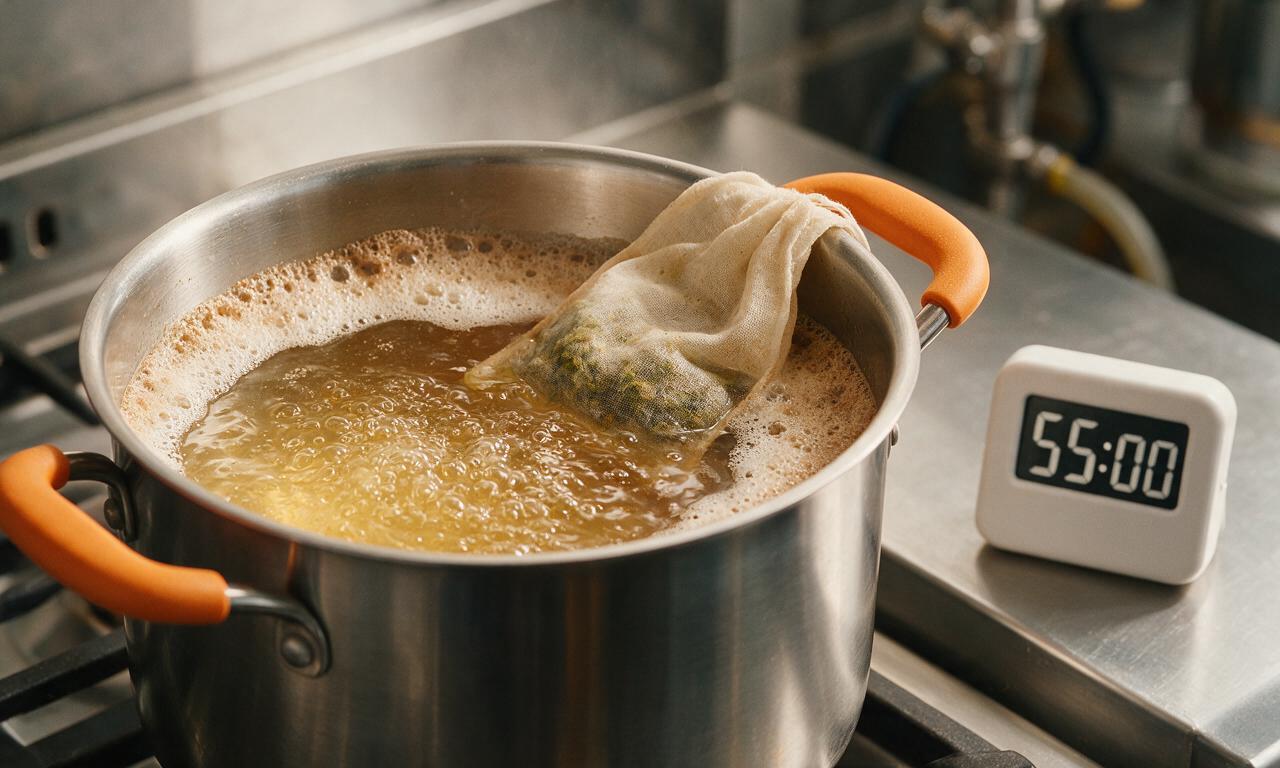
Place the pot of collected wort over medium-high heat and bring to a gentle rolling boil, adjusting heat as needed to prevent boilovers. Once a steady boil is reached, add 5g (0.7 tbsp) of Hallertau pellet hops, set a timer for 60 minutes, and maintain the gentle boil. With 5 minutes remaining on the timer, add the remaining 2g (0.3 tbsp) of Hallertau hops for subtle, mild aroma. Skim any thick, foamy krausen that rises to the surface with a slotted spoon as needed during the boil.
Cool wort and pitch yeast
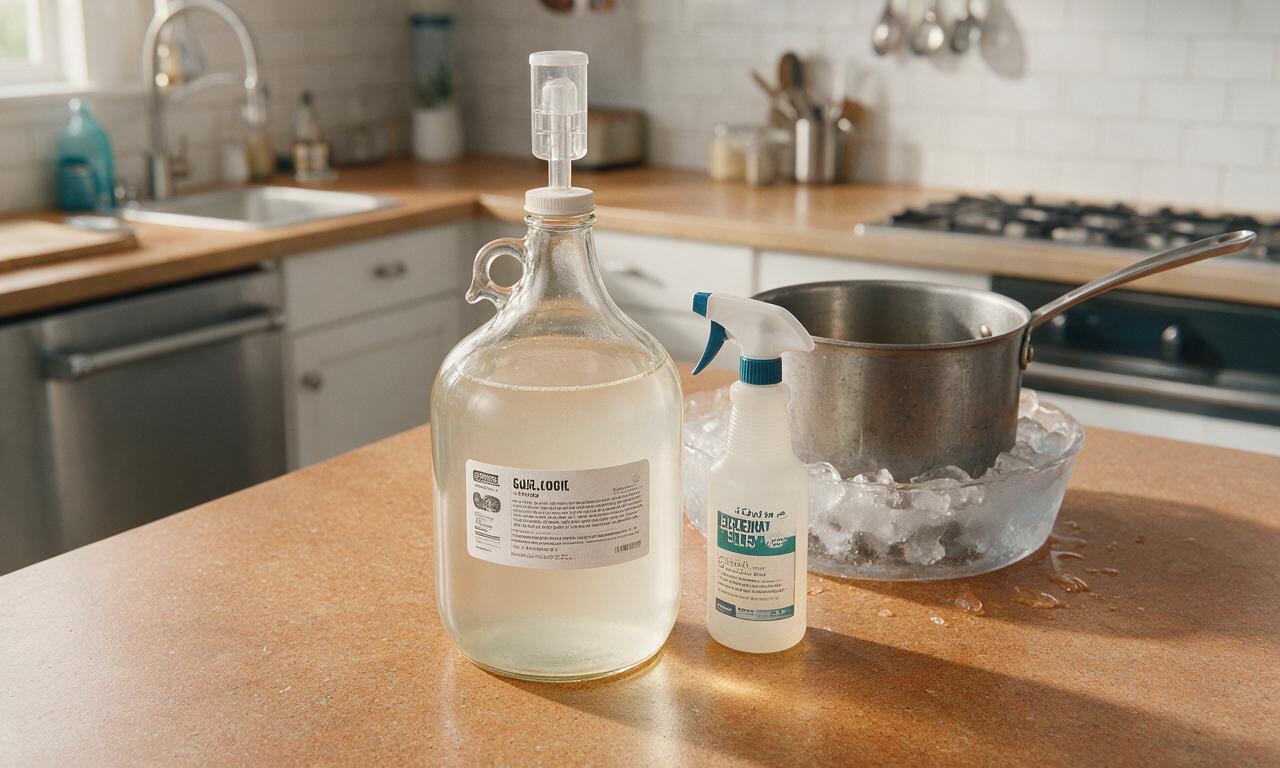
When the 60-minute boil ends, immediately remove the pot from heat and submerge the lower half in an ice bath filled with cold tap water and ice packs to rapidly cool the wort to 12°C (54°F), which takes roughly 20 minutes. Pour the cooled wort into a sanitized 1-gallon (3.8L) glass fermentation jug, top off with cold filtered water to reach the full 3.8L (1 gallon) volume, then sprinkle the entire 5g packet of dry lager yeast across the wort surface. Seal the jug neck with a sanitized airlock half-filled with no-rinse brewing sanitizer.
Ferment at cool temperature
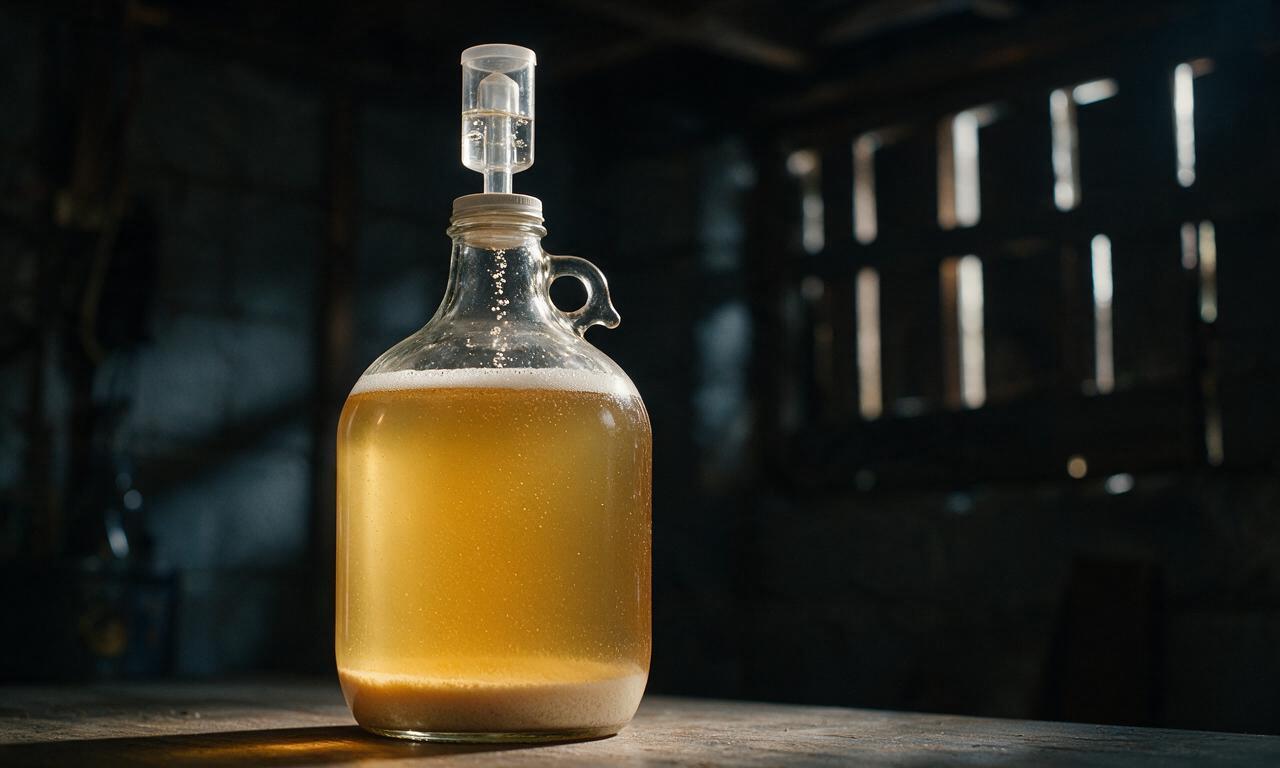
Move the sealed fermentation jug to a dark, temperature-controlled space (such as a basement or temperature-controlled fridge) held steady at 10-13°C (50-55°F) for 2 full weeks. Bubbles will pass through the airlock every few seconds for the first 7-10 days as yeast converts sugar to alcohol and carbon dioxide. Fermentation is complete when no bubbles appear in the airlock for 48 consecutive hours, and the beer appears mostly clear with a thin layer of pale yeast sediment at the jug bottom.
Bottle and carbonate beer
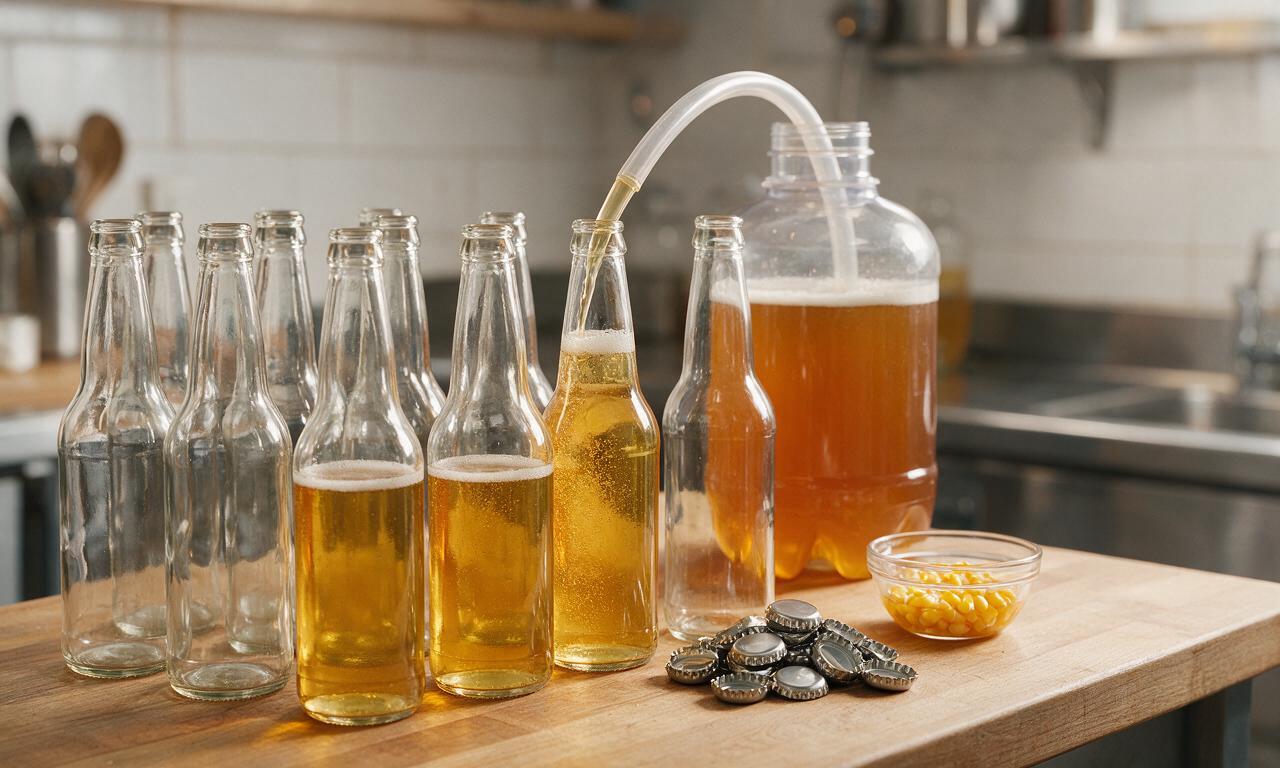
After primary fermentation finishes, dissolve 25g (2 tbsp) of corn sugar in 30ml (2 tbsp) of boiling water, cool the solution to room temperature, and pour it into a sanitized 1-gallon food-grade plastic bottling bucket. Carefully siphon the clear fermented lager from the fermentation jug into the bucket, leaving the yeast sediment layer behind, and stir gently to evenly mix the priming sugar solution. Fill sanitized 355ml (12oz) glass beer bottles with the beer, crimp on metal bottle caps tightly, and store bottles in a dark space at 18°C (65°F) for 2 weeks to build natural carbonation. Chill bottles in the refrigerator for 3 days before opening and serving.
Tips
2.Maintain strict cool fermentation temperatures between 10-13°C (50-55°F) for the full 2-week primary fermentation; temperatures above 15°C (59°F) will produce fruity, harsh off-flavors that ruin the clean, mild profile of classic American light lager.
3.When siphoning beer for bottling, leave the last 1-2cm (0.5 inch) of beer above the yeast sediment layer in the fermentation jug; siphoning this sediment will cause cloudy, yeasty-tasting beer instead of the crisp, clear finish expected for this style.
OMG, this is a total game changer! I was nervous to try my first lager since everyone says they’re trickier than ales, but the step-by-step instructions were so easy to follow. Ended up with a crisp, super drinkable beer that tasted exactly like the macro light lagers I grab for cookouts, but way fresher. Brought a 6-pack to my neighborhood potluck last weekend and people were begging for the recipe! Only note: make sure you don’t rush the cold crash step, that’s key for that clear, smooth finish.
SO good, but I definitely messed up the priming sugar calculation on my first go. Ended up with a couple gushers when I popped the first bottles, but the beer that didn’t explode was so light and refreshing! Perfect for sitting on the porch after mowing the lawn this summer. Will definitely redo my math next batch so I don’t waste any.
My whole crew went crazy for this at our last college football tailgate! Tastes just like the stuff we pay $15 a 12-pack for at the grocery store, but it feels so cool to say I brewed it myself. The 2 hours of active time was totally manageable even with my super busy work schedule, and the 4 week wait was so worth it. 10/10 will be a staple brew for me from now on.
First time ever homebrewing and I was terrified I’d ruin the whole batch, but this recipe was so forgiving! I was worried medium difficulty meant I’d be in over my head, but the instructions spelled out every step so clearly even a total newbie like me could pull it off. Just cracked my first bottle last night and it’s perfectly crisp, no weird off flavors at all. My roommate already asked me to brew a double batch next month.
I made this for my husband’s birthday backyard BBQ and he was so impressed! He’s a diehard light lager guy who turns his nose up at most craft beers, and he said this was better than his usual go-to store brand. I loved that the active work was only 2 hours — I could fit the brewing steps in between making side dishes for the party without feeling stressed. Will absolutely make this again!
Really solid recipe! The only reason I’m not giving 5 stars is I wish there was a note about what to do if you don’t have a dedicated kegerator. I had to improvise with bottles and it turned out fine, but a little extra guidance for folks without fancy brewing gear would’ve been helpful. Flavor is spot on though, super crisp, goes perfect with a slice of pepperoni pizza on a hot day.
Game changer for our family lake trips! I brewed a batch a month ago and we brought a whole cooler full up to the lake over the weekend. It was so light and easy to drink, even my oldest son (who’s super picky about beer) said it was amazing. The best part? I didn’t have to spend a fortune on cases of beer for the trip, and everyone thought I bought some fancy craft light lager. Win win!
Decent recipe, but my first batch came out a little more bready than I expected for a light lager. I followed all the steps exactly, so I’m not sure what went wrong? It’s still drinkable, just not as crisp and light as I was hoping for. Maybe I used the wrong kind of malt? I grabbed what my local homebrew shop had in stock instead of ordering the exact stuff listed.
Just bottled my second batch of this and had to pop in to leave a review! First batch was such a hit at my office potluck last month that three of my coworkers asked for the recipe so they could try brewing it themselves. It’s so smooth you can drink a few of them while grilling without feeling bloated, which is my favorite part of a good light lager. Can’t wait to crack these open in a couple weeks!
I live in a tiny apartment in Brooklyn and was convinced I didn’t have space to homebrew, but this recipe worked perfectly even with my super limited setup! I kept the fermenter in my coat closet the whole four weeks and it turned out incredible. Tastes just like the light lager I grew up drinking at family cookouts, but way fresher. Who says you need a big garage to make good beer?
Best homemade light lager recipe I’ve tried, hands down. I’ve been homebrewing for 8 years and usually stick to IPAs, but I wanted to make something easy to bring on golf trips with my buddies, and this delivered. It’s crisp, low bitterness, super crushable, perfect for sipping while we walk the course on hot weekends. We went through 3 dozen bottles in two days on our last trip, everyone loved it.
Pretty solid for a first brew! I forgot to leave the bottles upright for the first three days after bottling, so a couple were a little flat, but the ones that carbonated correctly were chef’s kiss. Reminded me of the light beer my dad used to drink at our backyard cookouts when I was a kid, total nostalgia hit. Will definitely be more careful with bottle storage next time.
Just cracked my first bottle of this and I’m blown away! I’ve tried so many homebrew lager recipes that came out skunky or too heavy, but this is exactly what I want in a light beer — clean, crisp, no weird aftertaste. This is going to be my go-to for every backyard BBQ, pool party, and game day hang from now on. Worth every minute of the 4 week wait!
I know people don’t usually think of beer as meal prep, but brewing a batch of this once a month means I always have a cold, low-cal drink to grab after work or bring to friend gatherings! The active time is only 2 hours, which is way less time than I spend on my weekly Sunday meal prep, so it fits perfectly into my routine. It’s so much cheaper than buying beer every week too, which is a huge bonus.
Grew up drinking light lager out on my grandad’s farm after long days working in the fields, and this tastes exactly like the stuff we used to buy by the case at the local general store. The flavor is so nostalgic for me, I can’t believe I made it in my own garage. My grandad even tried a bottle last weekend and said it was better than the stuff he’s been drinking for 60 years. That’s the best review I could ask for!
Really good recipe! I added a tiny extra bit of rice solids to make it even lighter, and it turned out super crushable for skate sessions with my friends. Only downside is the 4 week wait is brutal when you’re excited to try your beer, but I get that lagers need time to condition. Will probably tweak it a little more next batch to get it exactly to my taste, but the base recipe is rock solid.
My husband and I brewed this together for our first wedding anniversary, since we had light lager at our wedding reception! It was such a fun date night activity, the 2 hours of active time flew by while we were chatting and laughing. We just cracked the first bottle last night and it tasted just like the beer we served at our wedding — we’re already planning to brew a batch every year to celebrate.
Great recipe, but heads up for anyone with mobility issues: lifting the full 5 gallon fermenter to move it for cold crashing is no joke! I had to ask my neighbor to help me haul it to the fridge because of my bad back, so next time I’m setting up the fermenter on a rolling cart so I don’t have to lift it. Flavor is 10/10, just wish there was a quick accessibility note about moving the full batch!