
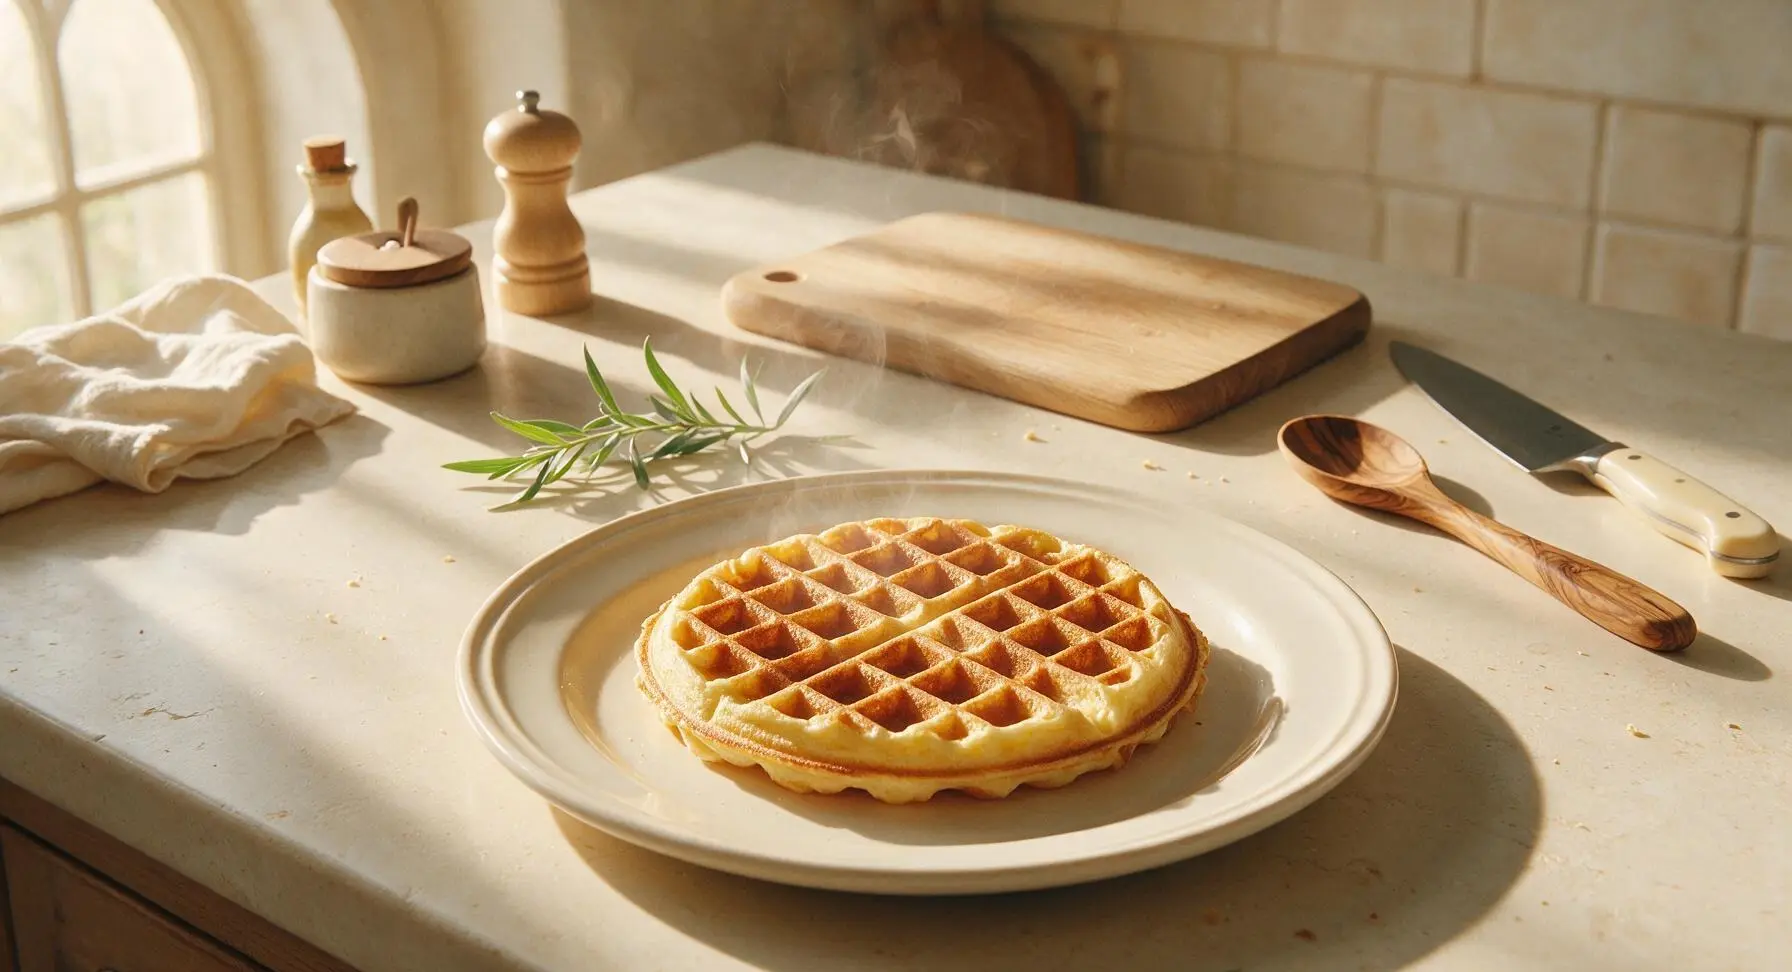
american waffle mix

title 1
american waffle mix
⏱️ cook time 12 minutes
🍽️ servings 4
⚡ Difficulty easy

intro

Crisp, golden-edged, and fluffy-centered, this shelf-stable homemade waffle mix makes perfect diner-style waffles in minutes, ideal for fast, cozy breakfasts any day of the week.

Ingredients
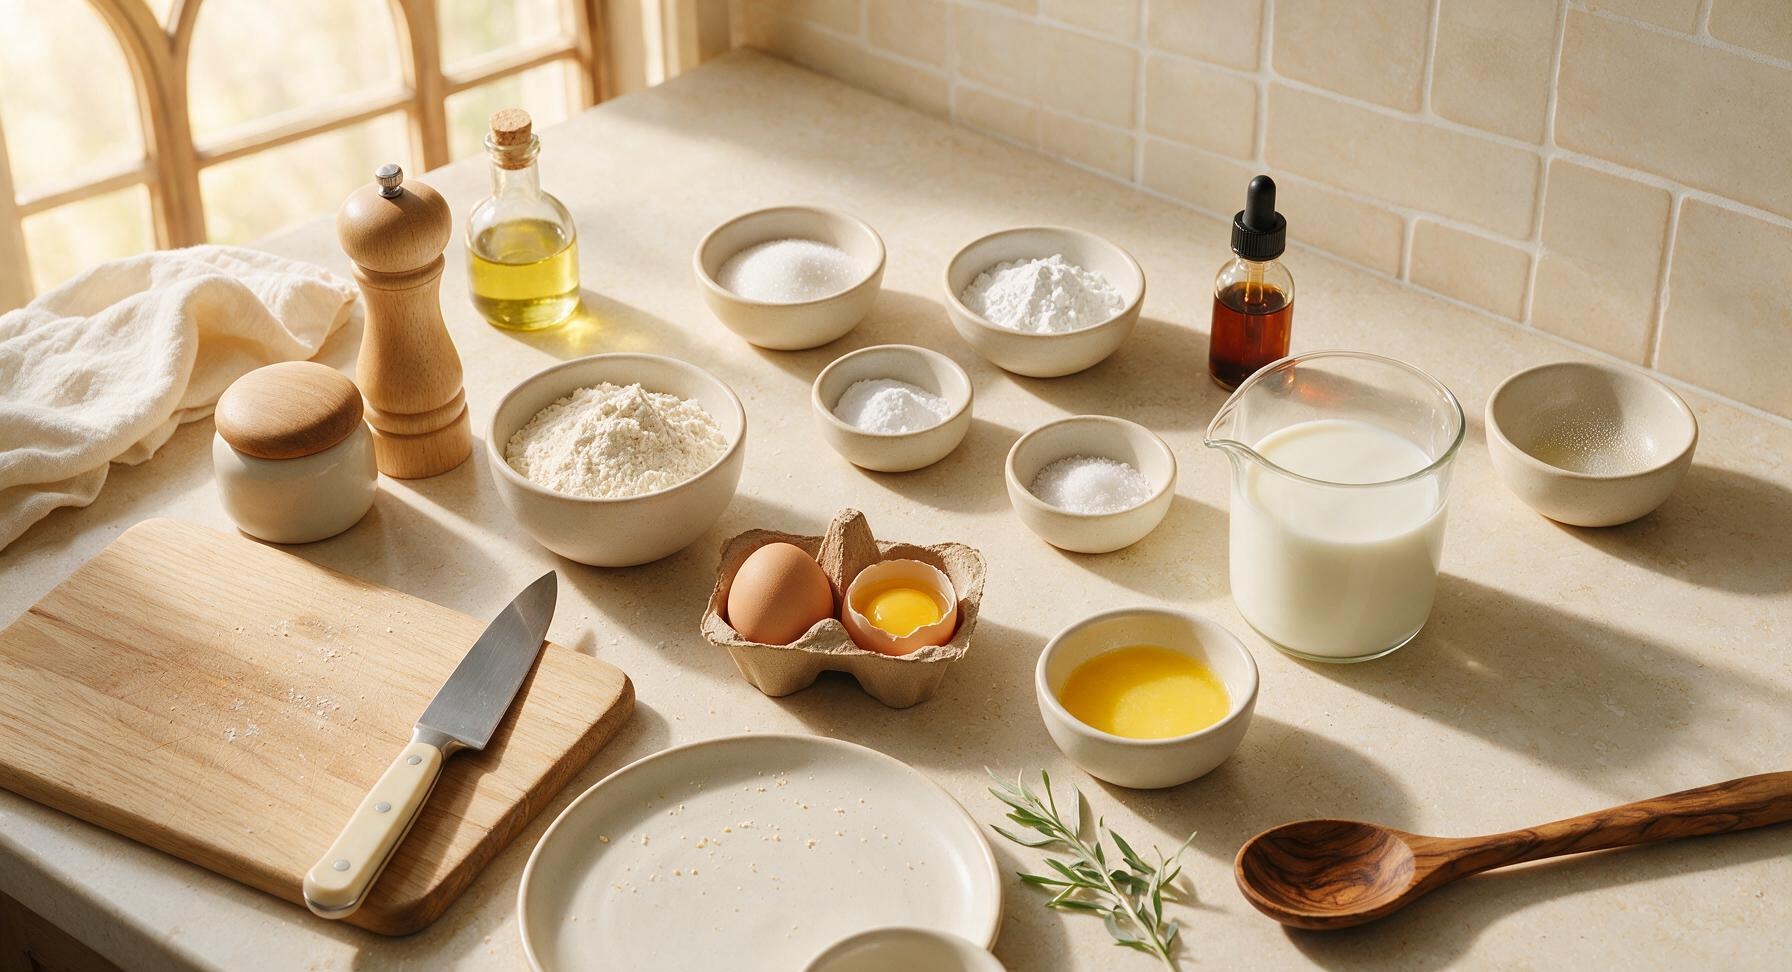
All-purpose flour 2 cups (240g)
Granulated sugar 2 tbsp (25g)
Baking powder 1 tbsp (14g)
Baking soda 1/2 tsp (3g)
Fine sea salt 1 tsp (5g)
Large eggs 2
Whole milk 1 3/4 cups (420ml)
Unsalted butter, melted and cooled 1/4 cup (57g)
Pure vanilla extract 1 tsp (5ml)
Non-stick cooking spray 1-second spray

Steps

1

Measure Dry Ingredients

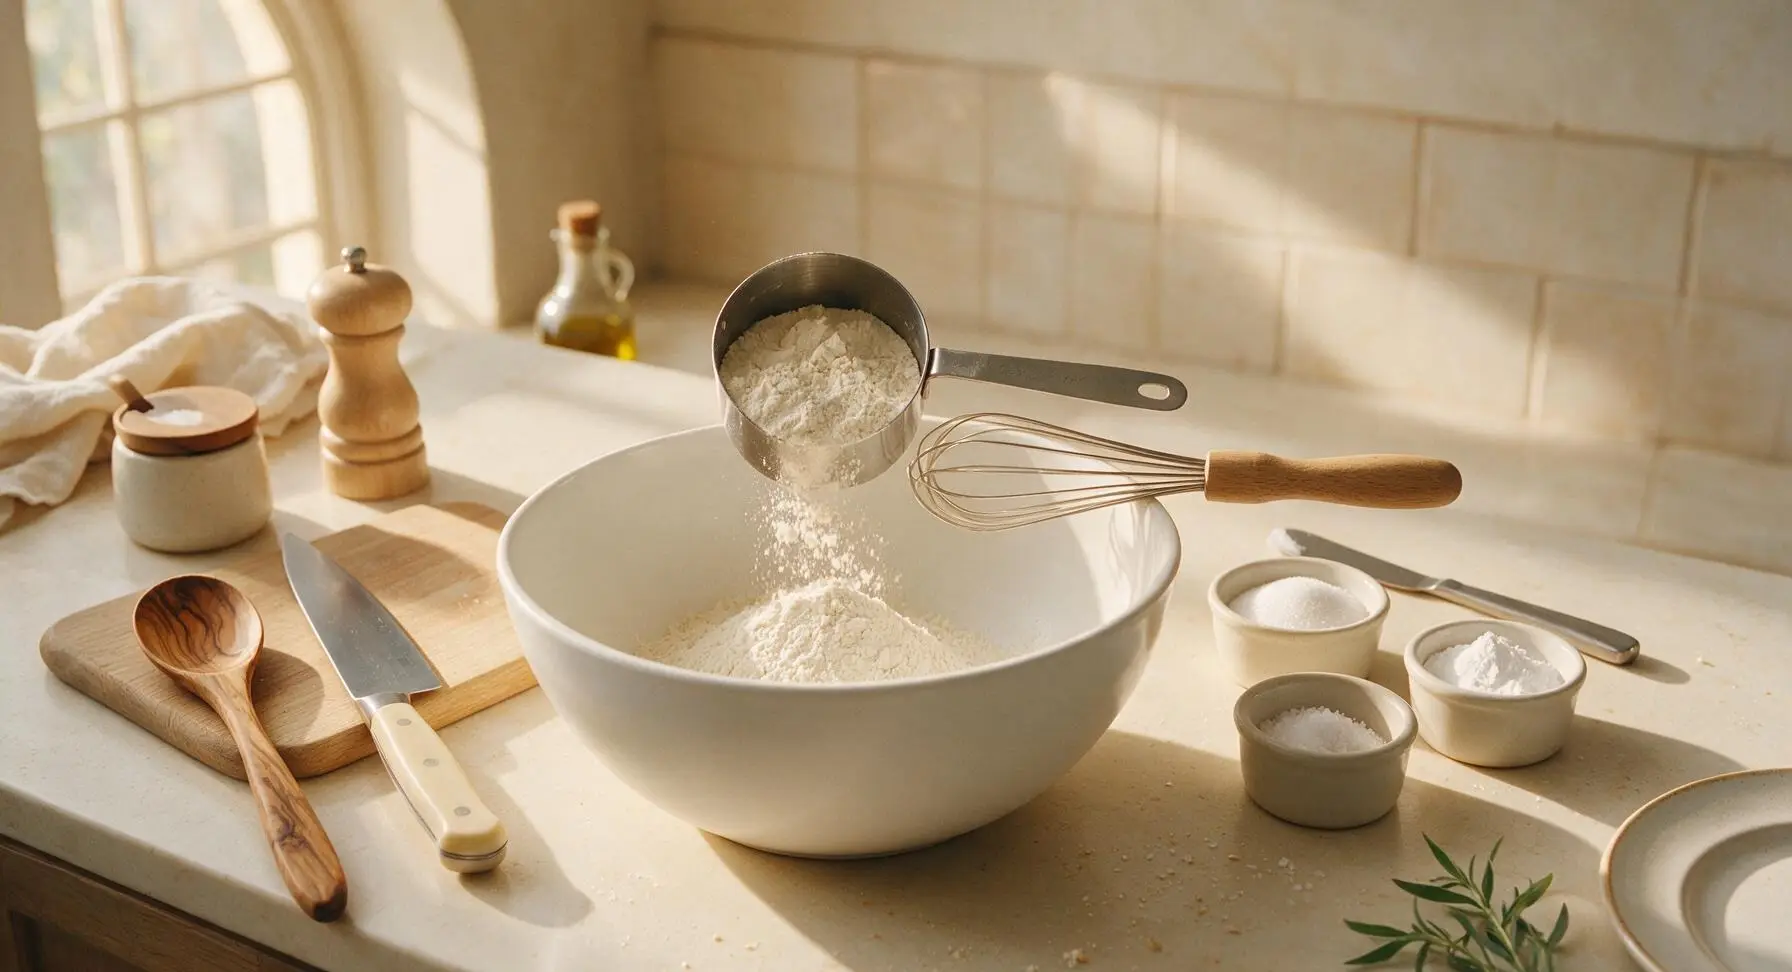
First, confirm the large matte white mixing bowl is completely dry (any moisture will cause clumping in stored mix). Using the stainless steel measuring cups and spoons, add 2 cups (240g) all-purpose flour, 2 tbsp (25g) granulated sugar, 1 tbsp (14g) baking powder, 1/2 tsp (3g) baking soda, and 1 tsp (5g) fine sea salt to the bowl. Level each dry measurement with the flat edge of a butter knife for consistent, accurate results.
Step 1
step1:Measure Dry Ingredients
2

Whisk Dry Ingredients

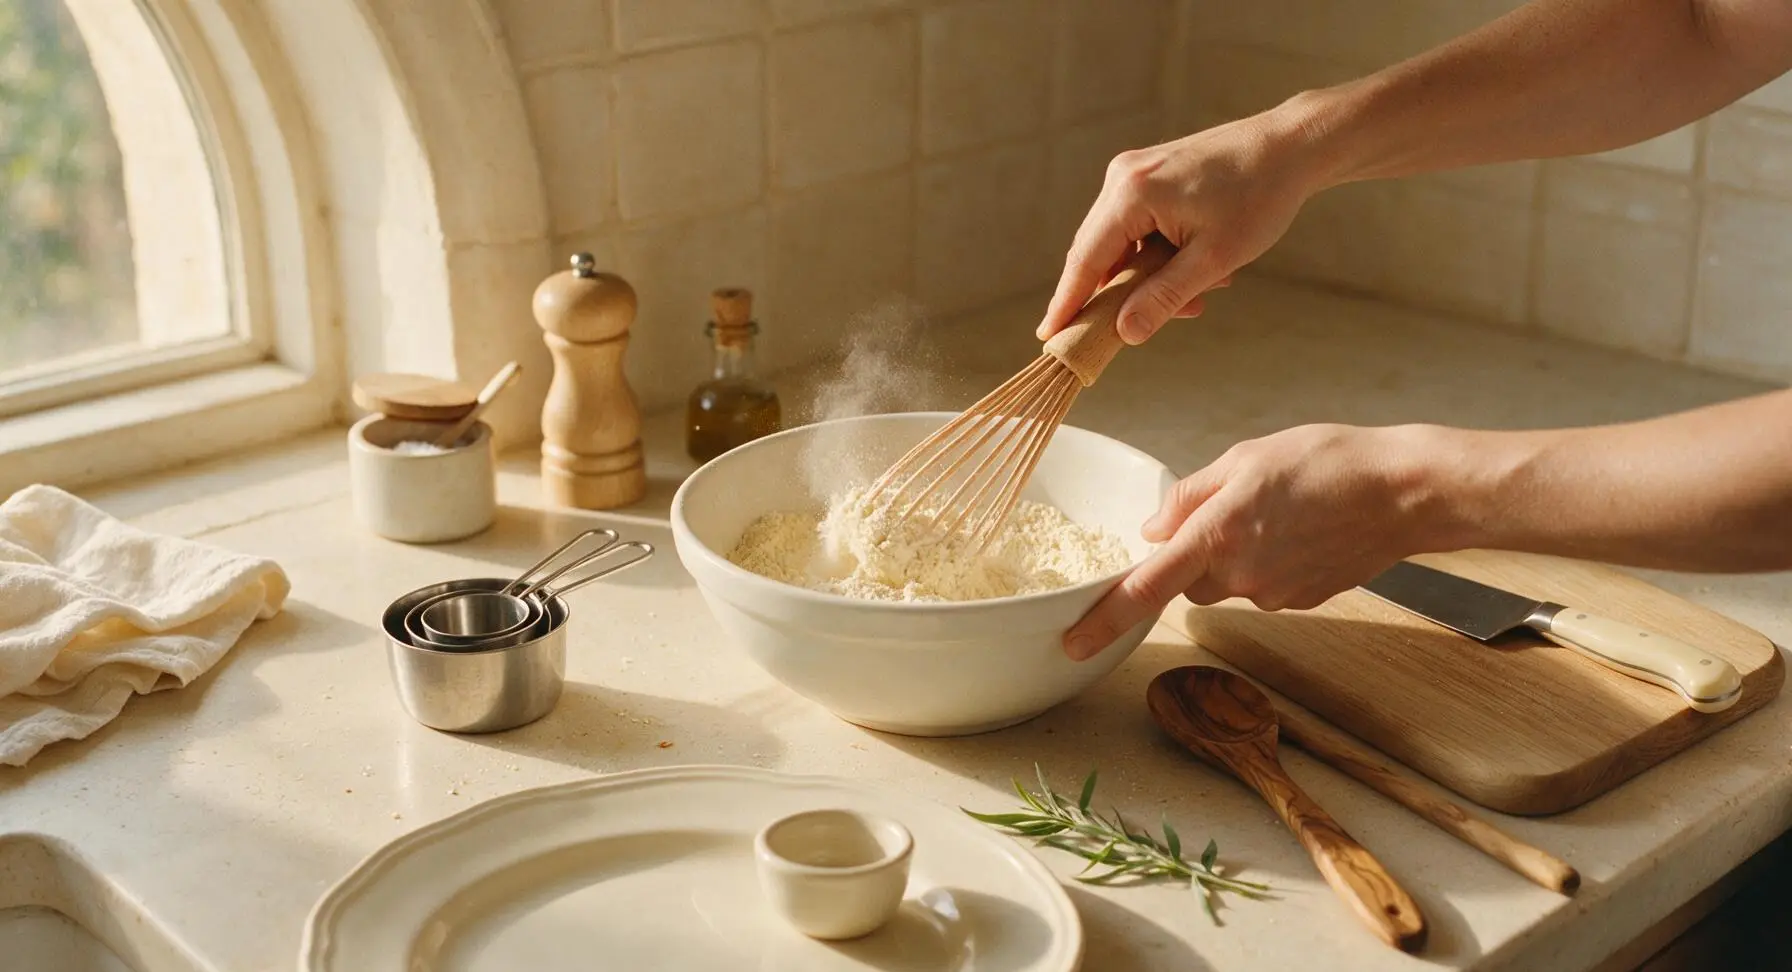
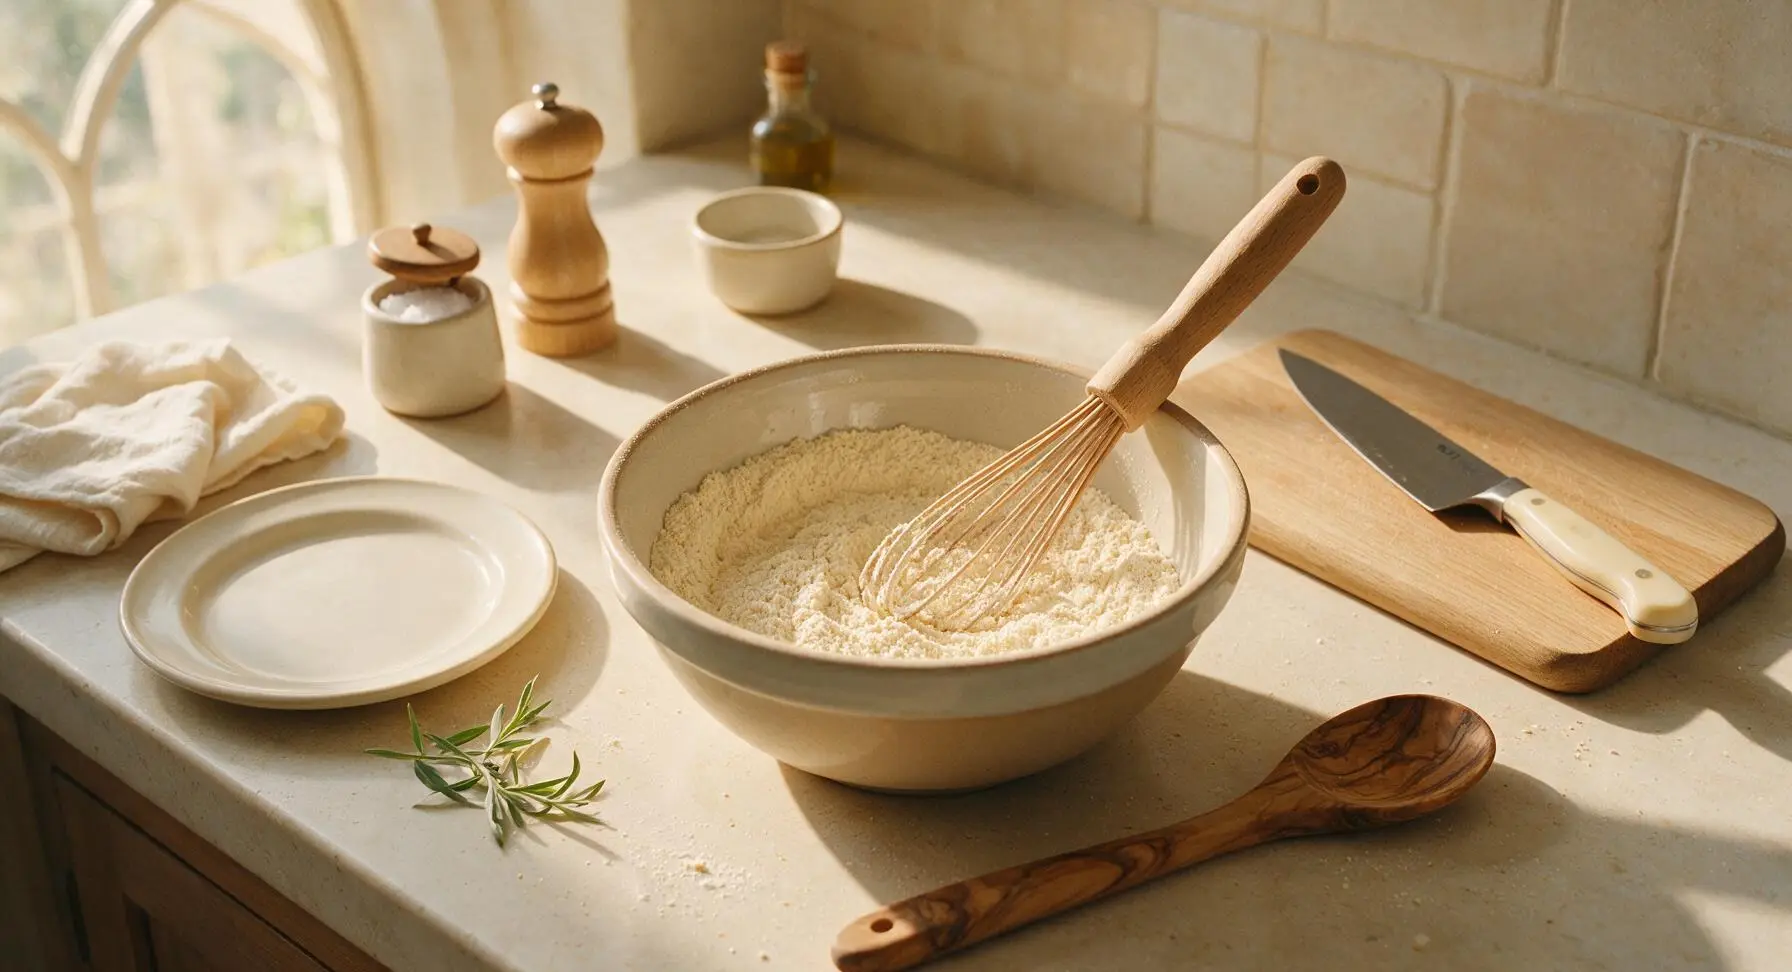
Use the 30cm beech wood whisk to stir all measured dry ingredients together for 45-60 seconds, until the mixture is completely uniform in pale cream color, with no visible clumps of baking powder or streaks of sugar. Run the whisk along the bottom and sides of the bowl to ensure no concentrated pockets of leavening remain, as these will cause uneven rise in cooked waffles.
Step 2
step2:Whisk Dry Ingredients
Step 2
step2:Whisk Dry Ingredients
3

Transfer Mix to Jar

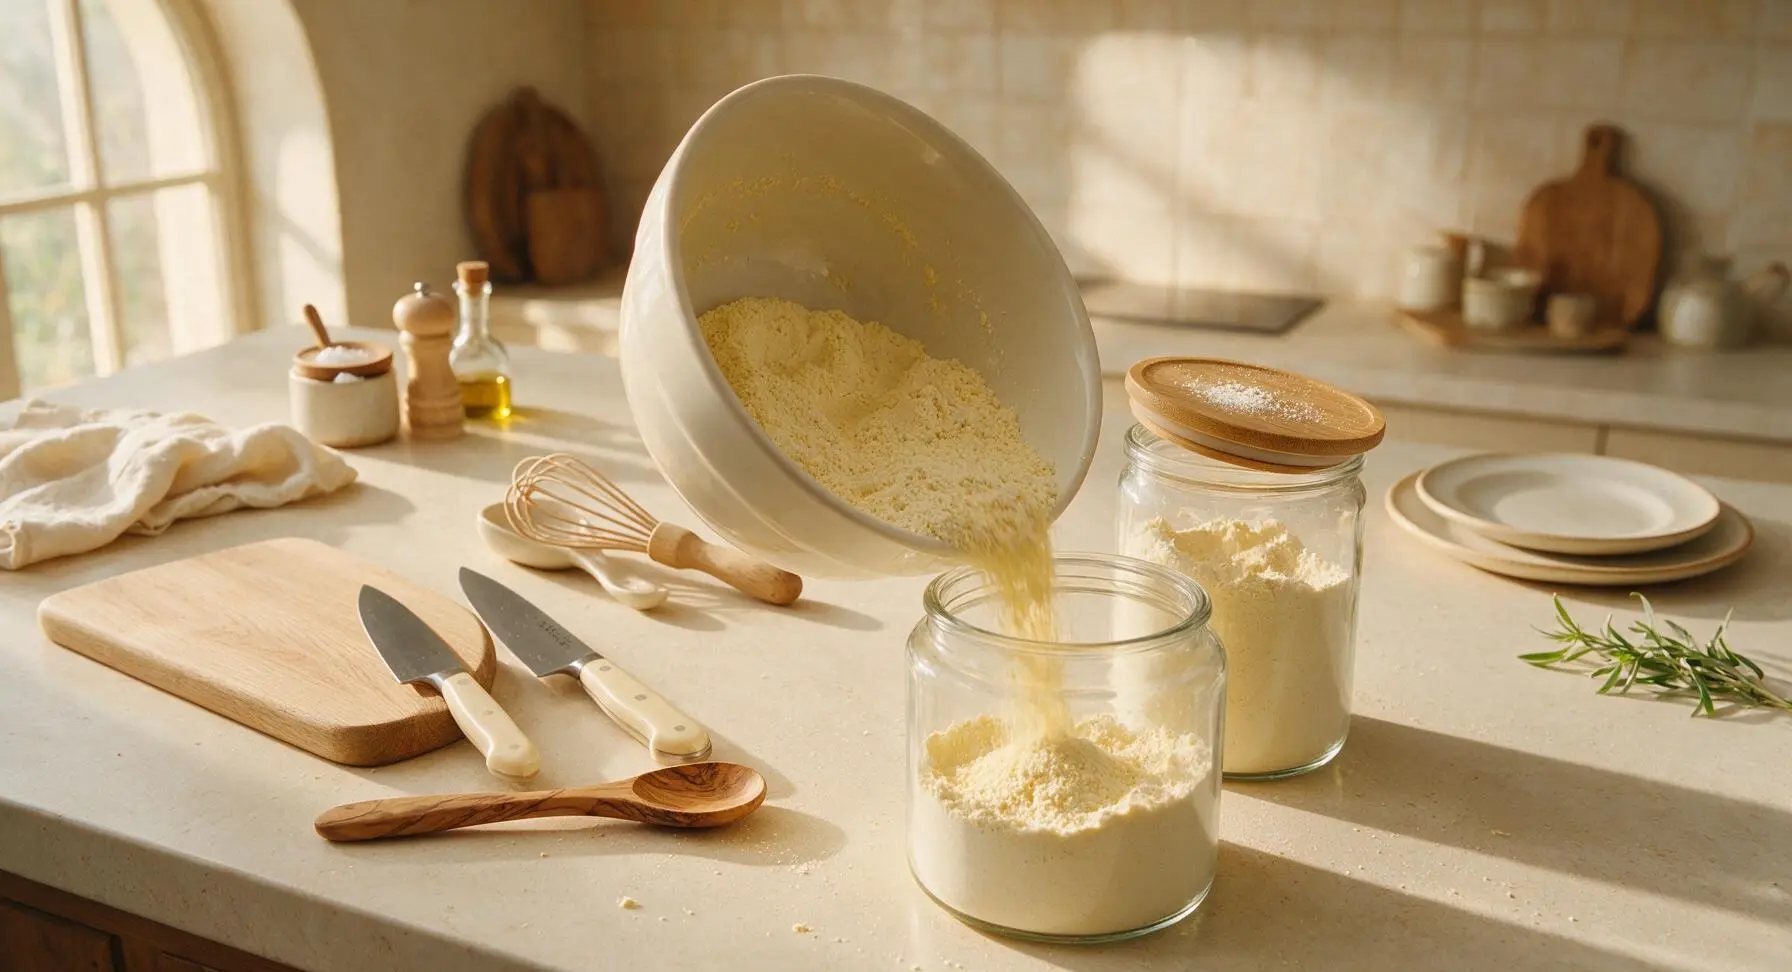
If preparing the mix for pantry storage, slowly pour the fully combined dry mix from the mixing bowl into the 1L clear glass airtight jar, seal tightly with the bamboo lid, and label with the preparation date; the mix will stay fresh for up to 3 months in a cool, dark cabinet. If making waffles immediately, leave the dry mix in the bowl and move to the next step. Wipe any stray mix smudges from the counter edge with the linen towel as needed.
Step 3
step3:Transfer Mix to Jar
4

Preheat Waffle Iron

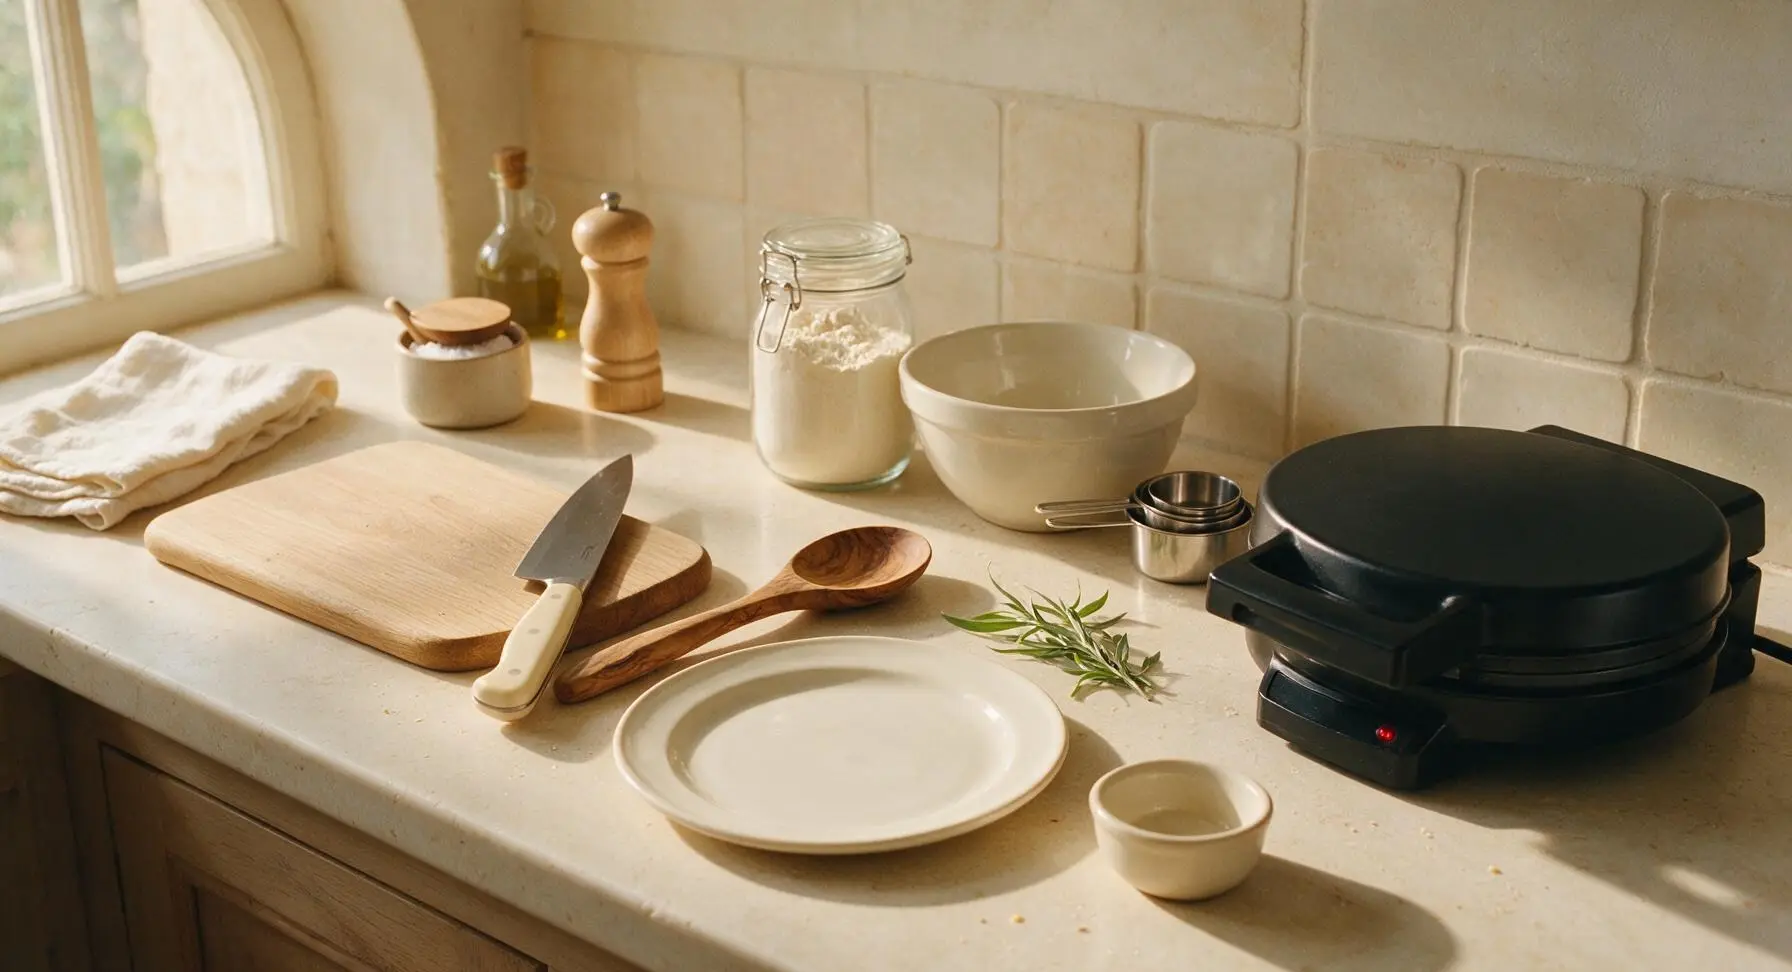
Retrieve the matte black electric waffle maker from the lower cabinet, place it in its fixed far-right counter position, and preheat to 375°F (190°C). Most waffle makers will indicate they are ready with a solid green light, which typically takes 3-4 minutes. Lightly coat the grid plates with non-stick cooking spray once preheated to prevent sticking.
Step 4
step4:Preheat Waffle Iron
5

Mix Wet Ingredients

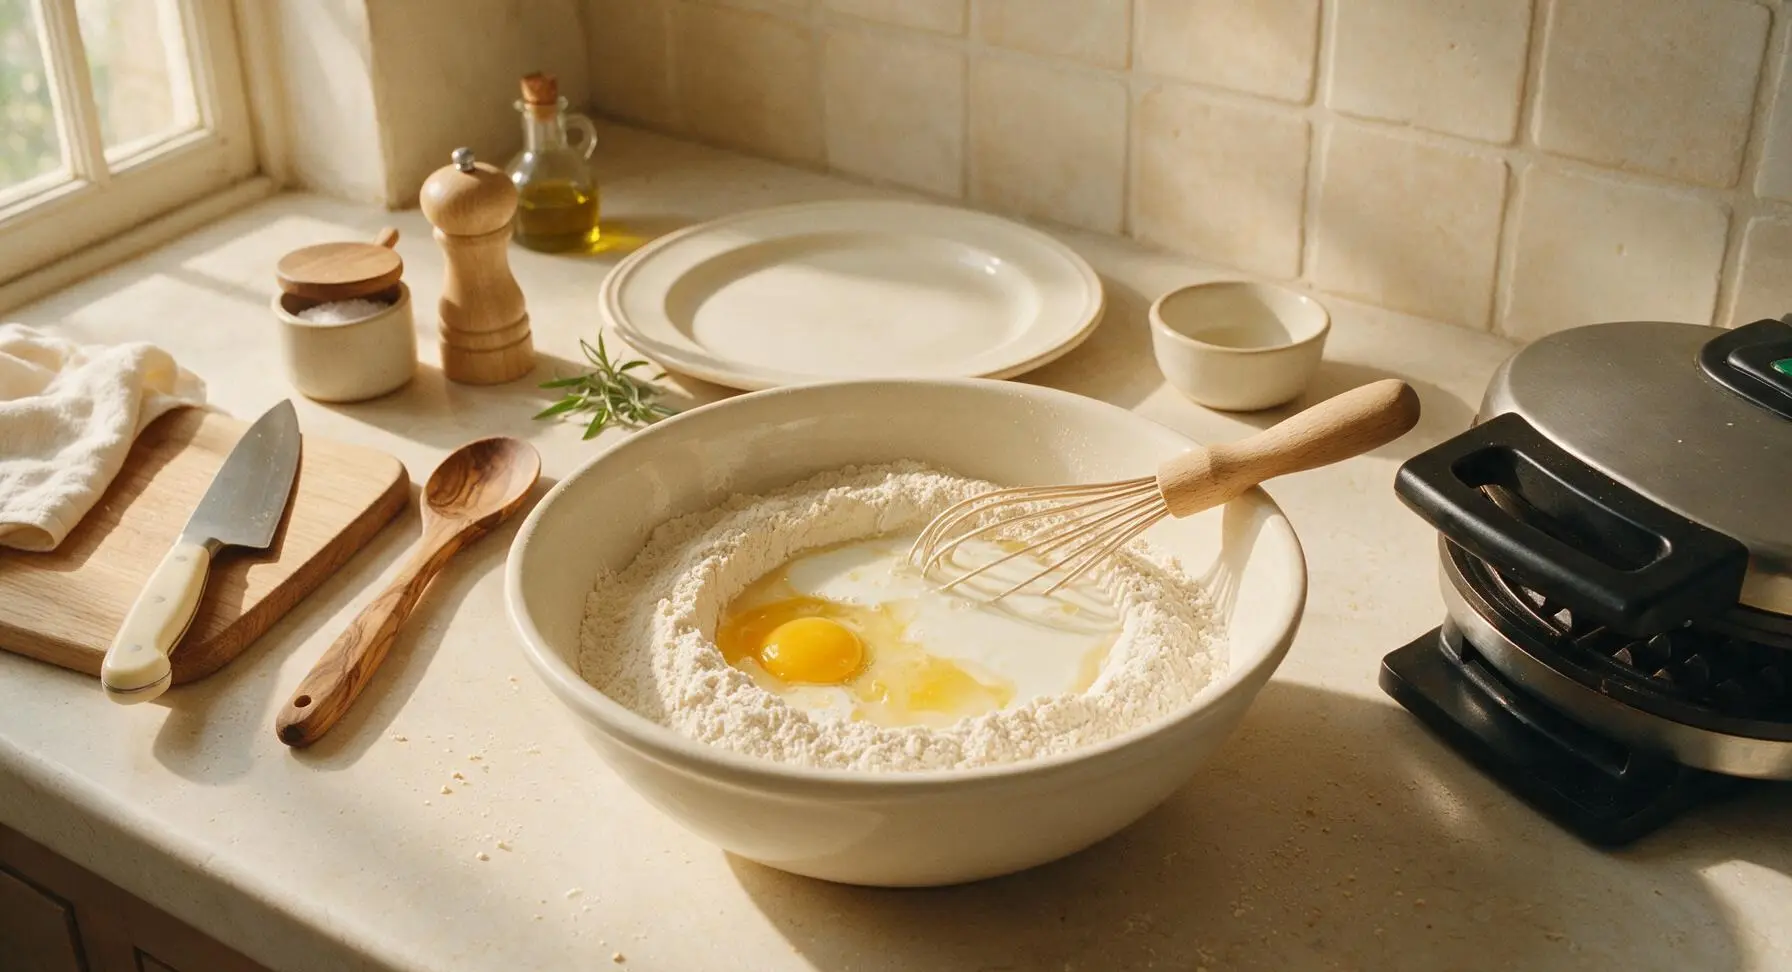
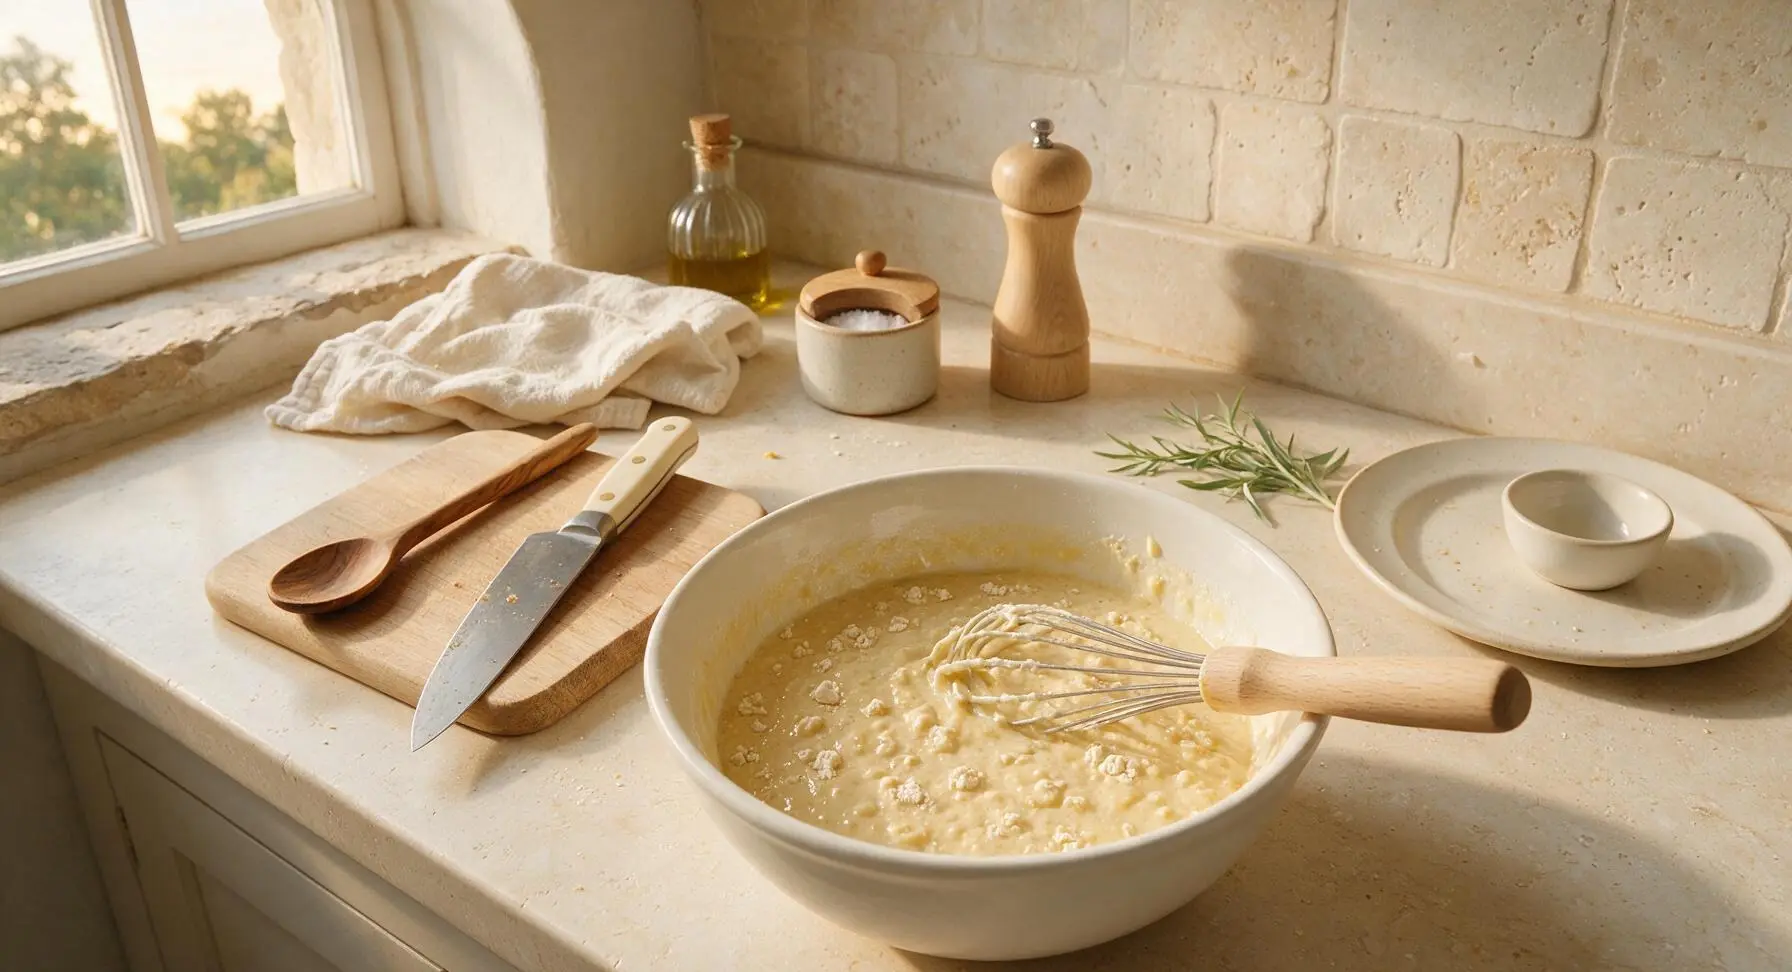
Pour the dry mix back into the large mixing bowl if using stored mix, then create a shallow well in the center of the dry ingredients. Add 2 lightly beaten large eggs, 1 3/4 cups (420ml) whole milk, 1/4 cup (57g) cooled melted unsalted butter, and 1 tsp (5ml) pure vanilla extract. Stir with the beech wood whisk just until combined—lumps are totally normal, and overmixing will result in tough, dense waffles. The batter will be thick but pourable, with small visible lumps throughout, after about 30 seconds of gentle stirring.
Step 5
step5:Mix Wet Ingredients
Step 5
step5:Mix Wet Ingredients
6

Cook Waffles Evenly

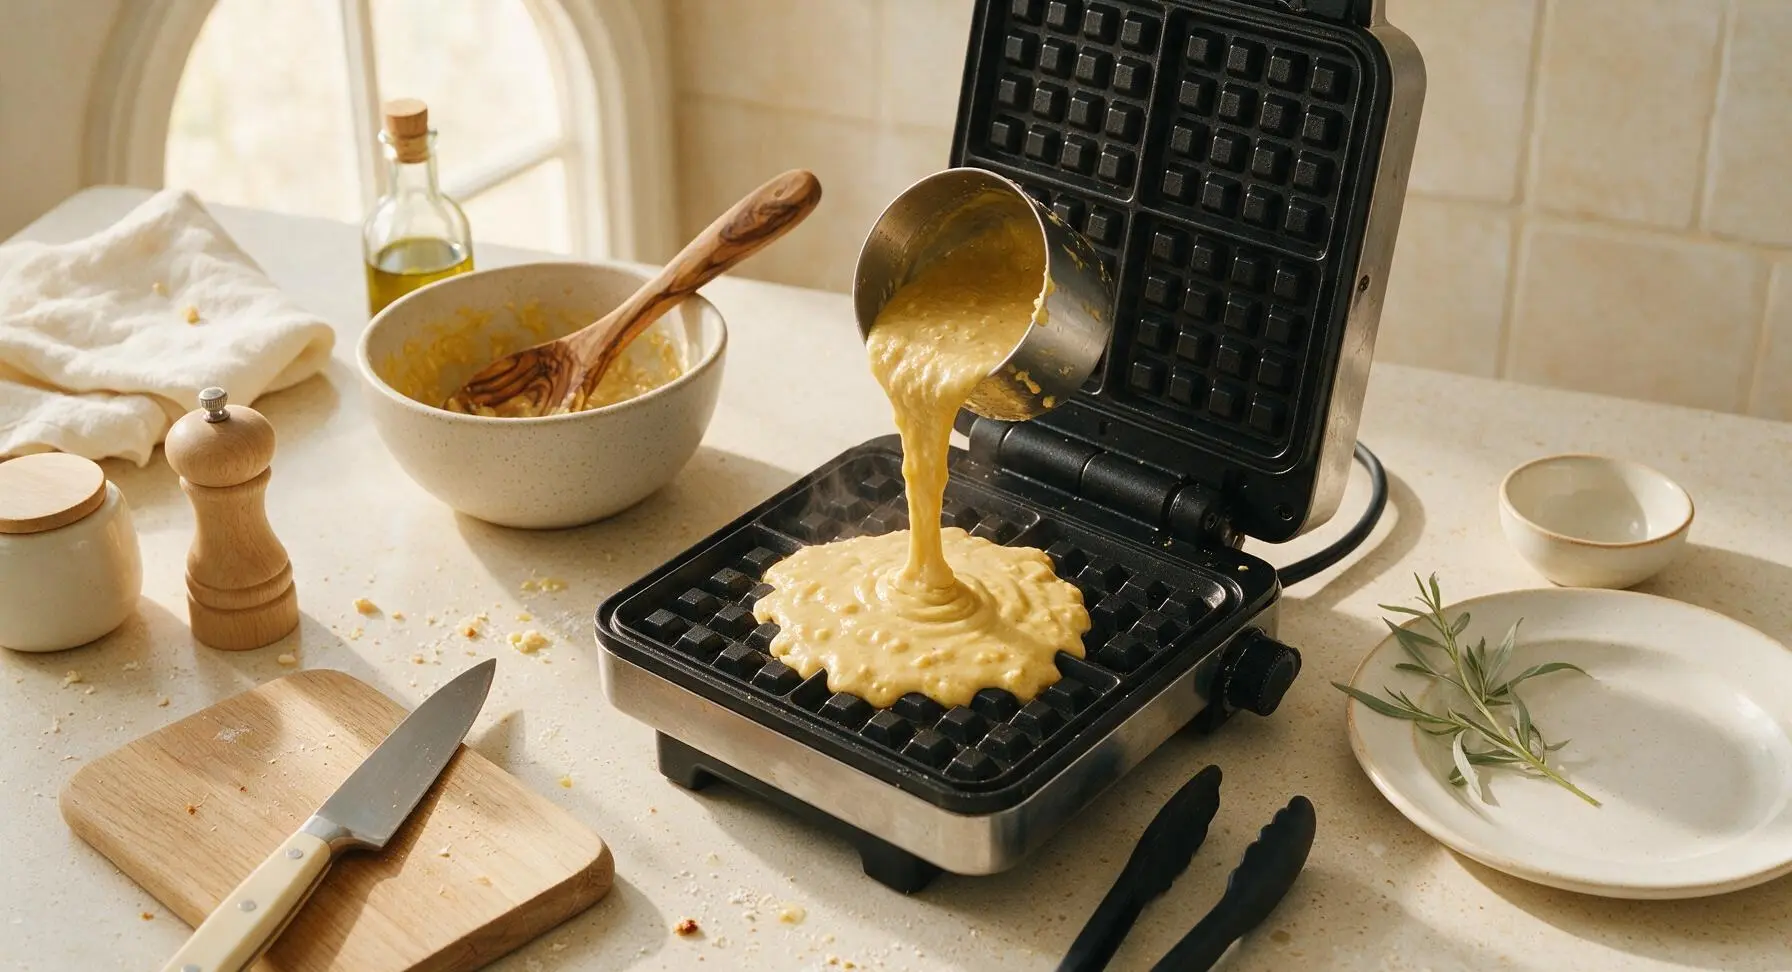
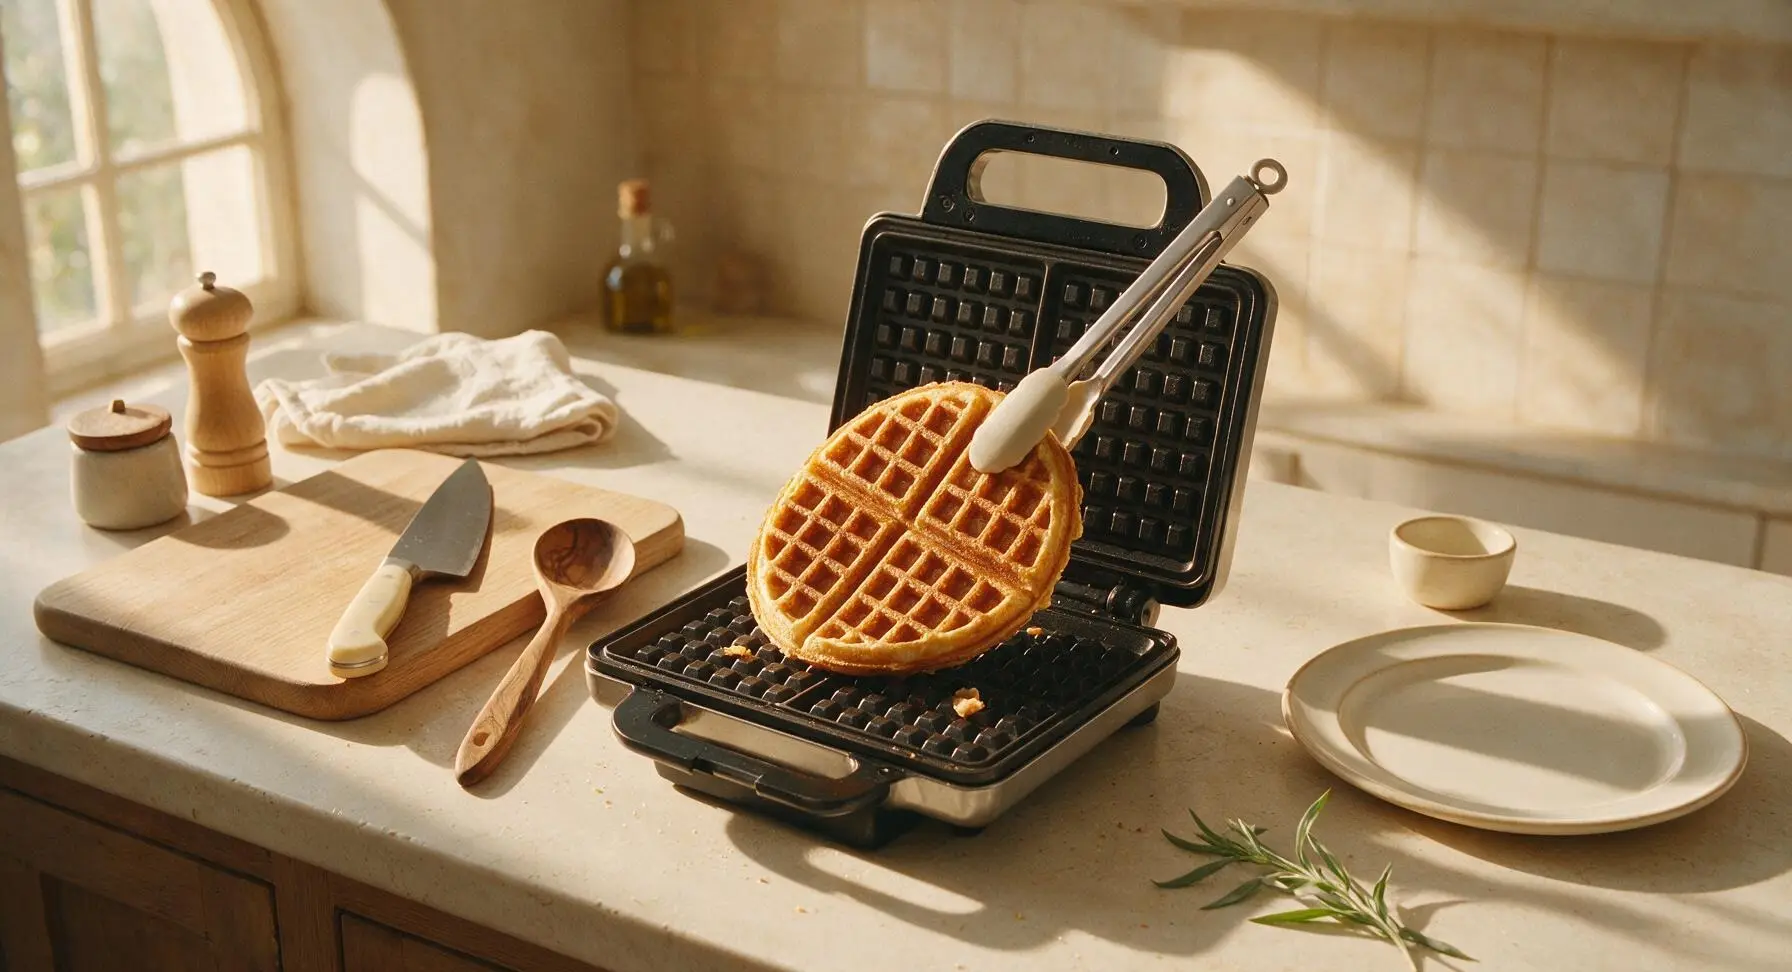
Once the waffle maker is fully preheated, pour 1/2 cup of batter onto the center of the lower grid plate, close the lid, and cook for 3 to 3.5 minutes, until the waffle is deep golden brown, crisp on the edges, and no steam escapes from the sides of the waffle maker. Do not open the lid for the first 2 minutes of cooking, as this will cause the waffle to split and stick. Repeat with remaining batter, transferring cooked waffles to a wire rack for 1 minute before plating to keep edges crisp.
Step 6
step6:Cook Waffles Evenly
Step 6
step6:Cook Waffles Evenly
7

Plate and Serve

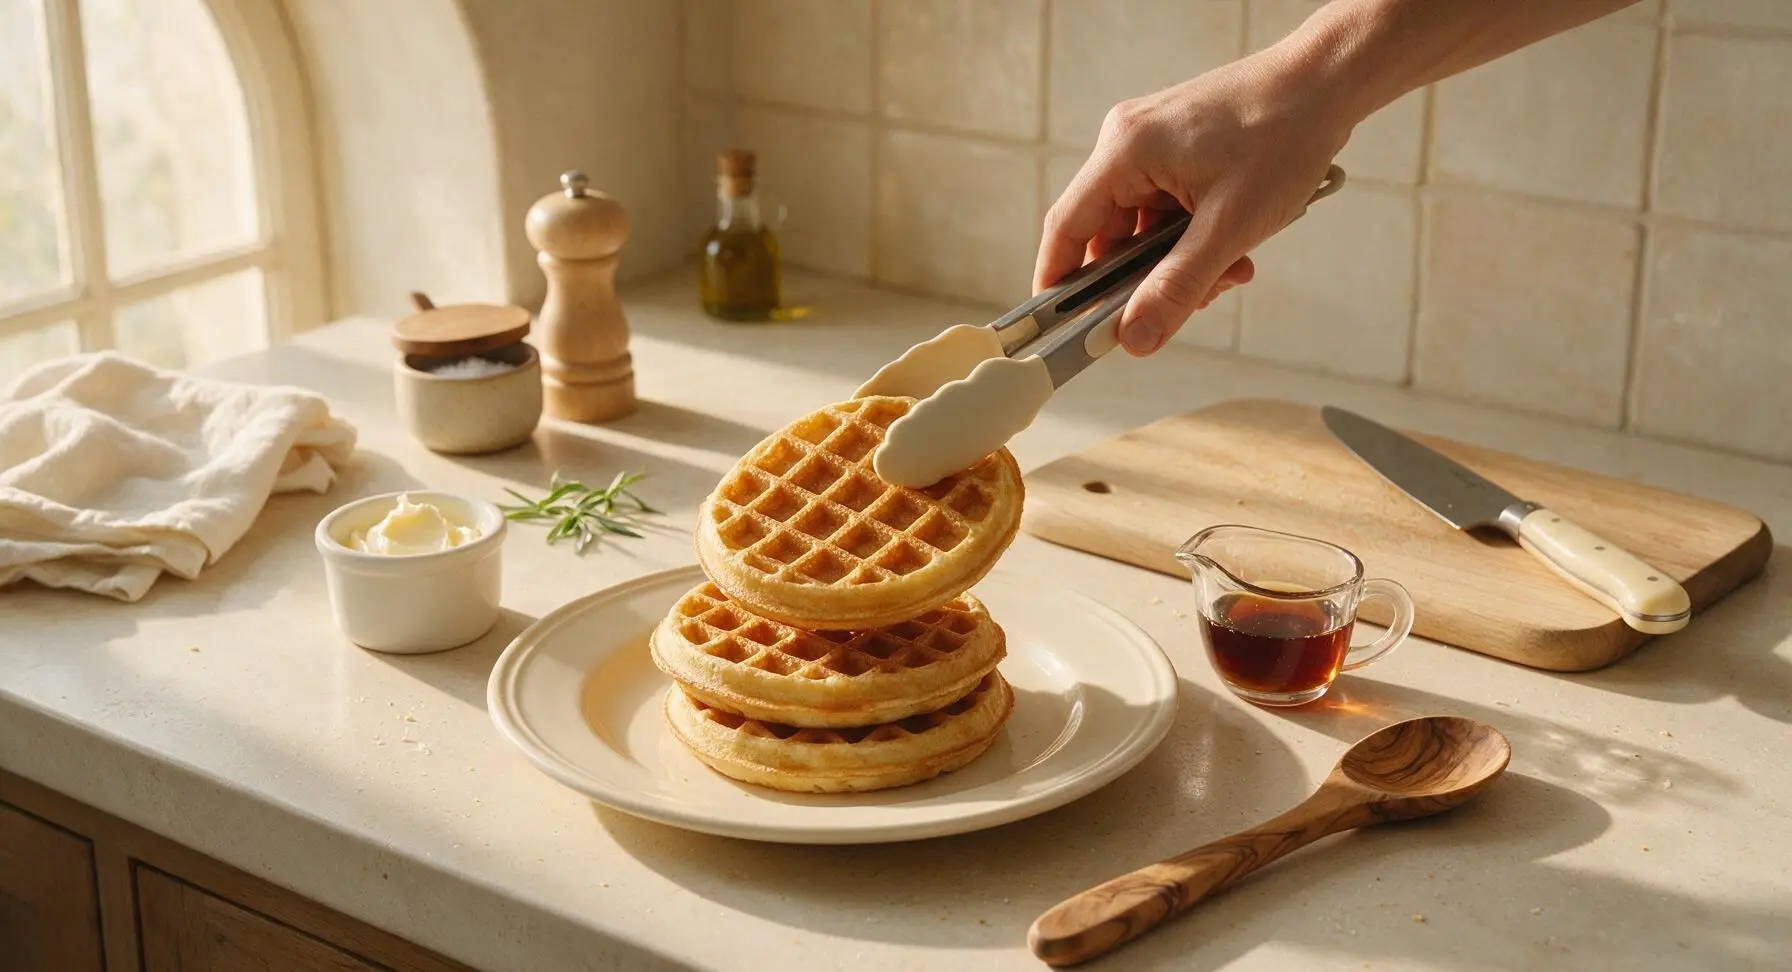
Stack 3 cooked waffles centered on the round cream ceramic dinner plate, top with 1 tbsp softened salted butter, and drizzle 2 tbsp pure maple syrup over the stack, allowing the syrup to run into the grid indentations and down the sides of the waffles. Serve immediately while hot, as waffles will lose their crispness after 5 minutes at room temperature.
Step 7
step7:Plate and Serve

Tips

1.Never overmix the waffle batter: small, pea-sized lumps are completely normal and desirable, as overstirring develops gluten in the flour and leads to tough, chewy waffles instead of light, crisp-edged ones.
2.Keep waffles crisp between batches by placing cooked waffles directly on a wire rack set over a baking sheet in a 200°F (95°C) oven, rather than stacking them on a plate. Stacking traps steam between waffles, which softens crisp edges quickly.
3.Customize the dry mix for variety before storing: stir in 1 tsp ground cinnamon, 2 tbsp freeze-dried blueberries, or 3 tbsp finely chopped toasted pecans to create flavored waffle mixes with zero extra prep time on busy mornings.


✨ You May Also Like

Breakfast
🍜 United States

Crisp-edged, fluffy lard griddle cakes are a nostalgic homestyle staple, with rich savoriness from rendered lard, perfect topped with maple syrup or savory gravy.

⏱️ 25 minuteBreakfast ★ 4.8
Breakfast
🍜 United States

Flaky, buttery homemade buttermilk biscuits smothered in creamy, peppery pork sausage gravy: a beloved, hearty Southern American comfort food classic.

⏱️ 35 minuteBreakfast ★ 4.8
Breakfast
🍜 United States

Golden, custardy brioche stuffed with sweet cream cheese and fresh berries, pan-fried to crisp perfection. An indulgent, cozy breakfast perfect for slow weekend mornings.

⏱️ 30 minuteBreakfast ★ 4.7
Breakfast
🍜 United States

Flaky, buttery Southern-style biscuits stuffed with savory salty country ham, a portable, satisfying classic perfect for casual on-the-go meals.

⏱️ 25 minuteBreakfast ★ 4.8
Breakfast
🍜 United States

Iconic puffy baked pancake popularized in Seattle, with crisp golden edges and soft custardy center, served warm with classic sweet toppings.

⏱️ 35 minuteBreakfast ★ 4.6
Breakfast
🍜 United States

Fluffy, golden pancakes studded with juicy peak-summer mixed berries, drizzled with maple syrup for a bright, comforting, crowd-pleasing family breakfast.

⏱️ 25 minuteBreakfast ★ 4.7

american waffle mix:Frequently Asked Questions

1.How long will this homemade American waffle mix stay fresh in the pantry? ▾
Stored in a tightly sealed, airtight container in a cool, dry spot away from direct sunlight or stove heat, this mix stays fresh for up to 3 months. If you notice hard clumps, odd off-smells, or discoloration before that point, toss it—those are clear signs of moisture exposure or early spoilage.
2.Do I need to refrigerate or freeze the mix for longer storage? ▾
For extended shelf life, you can stash the sealed mix in the refrigerator for up to 6 months, or the freezer for up to 1 year. Just let it come to room temperature for 10 minutes before using, and whisk it thoroughly to break up small clumps that form from cold, trapped condensation.
3.How much dry mix do I need per standard batch of waffles? ▾
A standard serving batch for 4 large diner-style waffles uses 2 cups of this dry mix. When you’re ready to cook, stir in your usual wet ingredients—melted butter, milk, an egg, and a splash of vanilla—until just combined; don’t overmix, as that will make waffles tough instead of fluffy.
4.Can I swap all-purpose flour for whole wheat flour to make this mix healthier? ▾
You absolutely can! Swap up to half of the all-purpose flour for white whole wheat flour for a nutty, fiber-rich boost without making waffles dense. If you use 100% whole wheat, add an extra ½ teaspoon of baking powder to keep the crumb light, and expect a slightly heartier, earthier texture.
5.Why does this mix use both baking powder and baking soda? ▾
The combination delivers that perfect tall, fluffy center and crisp, golden edge classic to American diner waffles. Baking powder provides most of the leavening lift, while baking soda balances acidity from added wet ingredients (like buttermilk) and boosts browning for that signature crispy, caramelized crust.
6.Can I use this mix to make pancakes too, or is it only for waffles? ▾
It works great for pancakes in a pinch! Just use a little less melted butter in your wet mix, and thin the batter with an extra 2 tablespoons of milk per 2 cups of dry mix to get that thinner, pourable pancake consistency. Cook as you normally would on a griddle for fluffy, golden pancakes.
7.How do I prevent clumps from forming in my stored waffle mix? ▾
First, make sure all your dry ingredients are completely moisture-free before mixing them together, and use a fully dry, airtight storage container. After sealing, give the jar a good shake every couple of weeks to keep ingredients evenly distributed, and store it away from stove or dishwasher steam to avoid moisture seepage.
8.Can I make this mix gluten-free for friends with gluten sensitivities? ▾
Definitely! Swap the all-purpose flour for a 1:1 gluten-free all-purpose baking blend that contains xanthan gum for proper structure. Double-check that your baking powder is certified gluten-free to avoid cross-contamination, and you’ll get crisp, fluffy waffles that perform just as well as the original version.
9.How much sugar is in this mix, and can I reduce it for less sweet waffles? ▾
The base mix uses just enough sugar to encourage golden browning and a subtle, balanced sweetness—about 1 tablespoon per ½-cup dry serving. You can cut the granulated sugar in half if you prefer less sweet waffles, but don’t omit it entirely; it’s key for getting that crisp edge instead of pale, soft waffles.
10.What’s the best way to package this mix to give as a homemade gift? ▾
Layer the measured dry ingredients in a clear glass mason jar, taping the waffle cooking instructions to the lid with a cute handwritten note. Add a small cinnamon stick or mini packet of vanilla extract for a festive touch, and mark the 3-month best-by date on the tag so the recipient knows when to use it.
11.Why do I need to use fine sea salt instead of regular table salt in the mix? ▾
Fine sea salt distributes more evenly throughout the dry mix than coarser salt varieties, so you get a consistent, balanced flavor in every bite instead of random salty spots. If you only have table salt on hand, use half the called-for amount, since table salt has a sharper, more concentrated flavor per teaspoon.
12.My waffles come out flat when I use this mix—what am I doing wrong? ▾
Flat waffles usually stem from one of two issues: either your baking powder or baking soda is expired and lost its leavening lift, or you overmixed the batter after adding wet ingredients. Test leavening by dropping a pinch in hot water—if it doesn’t fizz, replace it, and stir batter only until no dry streaks remain.
13.Can I add mix-ins like chocolate chips or blueberries directly to the dry mix? ▾
Skip adding perishable or moist mix-ins to the dry stored mix, since they’ll introduce moisture and cut shelf life short. Instead, stir in chocolate chips, frozen blueberries, chopped nuts, or cinnamon right when you combine wet and dry ingredients right before cooking, for even distribution without spoilage risk.
14.How many waffles does a full batch of this dry mix make? ▾
A full standard batch of this dry mix (built on 4 cups of all-purpose flour, the typical scaled recipe) makes roughly 12 to 16 large 7-inch diner-style waffles, depending on your waffle iron size. That breaks down to 3 to 4 family-sized breakfast servings per full sealed jar of stored mix.
15.Do I need to sift the dry ingredients when putting the mix together? ▾
Sifting isn’t strictly required, but it does help evenly distribute the baking powder, soda, salt, and sugar throughout the flour so every waffle bakes consistently. If you don’t have a sifter, just whisk all the dry ingredients for 30 to 45 seconds in a large bowl until fully uniform before transferring to storage.
16.Can I use this mix in a Belgian waffle maker, or is it only for thin American waffles? ▾
It works perfectly for both standard thin American waffle irons and deeper Belgian waffle makers! For Belgian waffles, beat the egg white separately to stiff peaks and fold it into the batter right before cooking to get that extra-tall, airy crumb, and cook 30 to 60 seconds longer for ideal crispness.
17.Is there a way to make vegan waffles with this dry mix? ▾
Absolutely! When you’re ready to cook, swap regular cow’s milk for unsweetened oat or soy milk, use melted vegan butter instead of dairy butter, and replace the egg with ¼ cup unsweetened applesauce or a prepared flax egg. The waffles will still crisp up beautifully with the same light, fluffy center as the original.
18.How do I get that extra-crispy waffle edge that diners are known for with this mix? ▾
For next-level crisp edges, make sure your waffle iron is fully preheated before adding batter, and use melted butter instead of oil in your wet ingredient mix. Don’t open the waffle iron too early—wait until steam stops billowing out from the sides, then cook 30 extra seconds for a deeper golden, crunchy crust.

Comments (7)

3 days ago

OMG this homemade waffle mix is such a game changer! I made a big batch on Sunday for meal prep, and my kids went crazy for the waffles this morning. No more weird preservatives from the store-bought stuff, and it takes literally no time to whip up. 10/10 will be my go-to from now on!

2 days ago

Totally agree! I made a double batch last week and brought some to our neighborhood potluck, people were begging for the recipe!

2 days ago

So happy to hear your family loved it! Pro tip: add a dash of cinnamon to the dry mix if you want a little extra cozy flavor for fall mornings.

30 minutes ago

Super easy recipe, perfect for my tiny dorm kitchen! I don't have a fancy waffle iron, just the cheap $20 one I got at Target, and these still came out fluffy on the inside and crispy on the edges. SO good, even when I added a handful of chocolate chips to the batter.

5 minutes ago

Love that this works for small spaces and budget setups! If you ever want to mix it up, try stirring in some crushed blueberries or a splash of vanilla extract next time for extra depth.

1 week ago

I brought waffles made with this mix to my church potluck last Sunday, and everyone was raving! I set up a little topping bar with syrup, whipped cream, fresh strawberries, and sprinkles for the kids, and it was a total hit. Way cheaper than buying the pre-made mix too, especially when you’re cooking for a crowd.

5 days ago

This looks so good! Quick question—has anyone tried swapping the all-purpose flour for a 1:1 gluten free flour blend with this mix? My youngest has celiac, so I’m always on the hunt for easy breakfast swaps the whole family will eat, and this looks perfect if I can adjust it.

3 days ago

I did! Used Bob’s Red Mill 1:1 GF blend, added an extra half teaspoon of baking powder, and they came out exactly the same texture as the regular version! My gluten-free nephew ate three when he visited last weekend.

3 days ago

Great question! The 1:1 GF swap works perfectly like BakeMom3 mentioned—just make sure your blend has xanthan gum in it, otherwise the waffles might fall apart a little when you pull them out of the iron.

yesterday

Whoa, I can’t believe how simple the ingredient list is! I always thought homemade waffle mix required a bunch of fancy stuff, but I had every single thing in my pantry already. Made these for my girlfriend and I for brunch yesterday, and she said they’re better than the diner waffles we get on our road trips. Win!

2 hours ago

Diner quality is the highest possible compliment! I’ve been making this mix for months, and I even keep a jar of it in my camper for when we’re out on weekend trips.

2 weeks ago

Made a giant mason jar of this mix to keep in the pantry, and it’s been a lifesaver on busy school mornings! I just scoop out a cup, add the wet ingredients, and waffles are done in 12 minutes flat. No more rushing around trying to make breakfast from scratch before the bus comes. 10/10.

1 week ago

That’s exactly what we love to hear! Stored in an airtight container, the dry mix stays good for up to 3 months, so you can stock up and skip the store runs for a while.

2 hours ago

I was skeptical homemade mix could beat the boxed stuff I’ve used since I was a kid, but wow, I was wrong. These are so light and fluffy, not dense and cardboard-y like the store brand I usually grab. Added a little extra vanilla and served them with fried chicken for dinner last night, chef’s kiss.



