
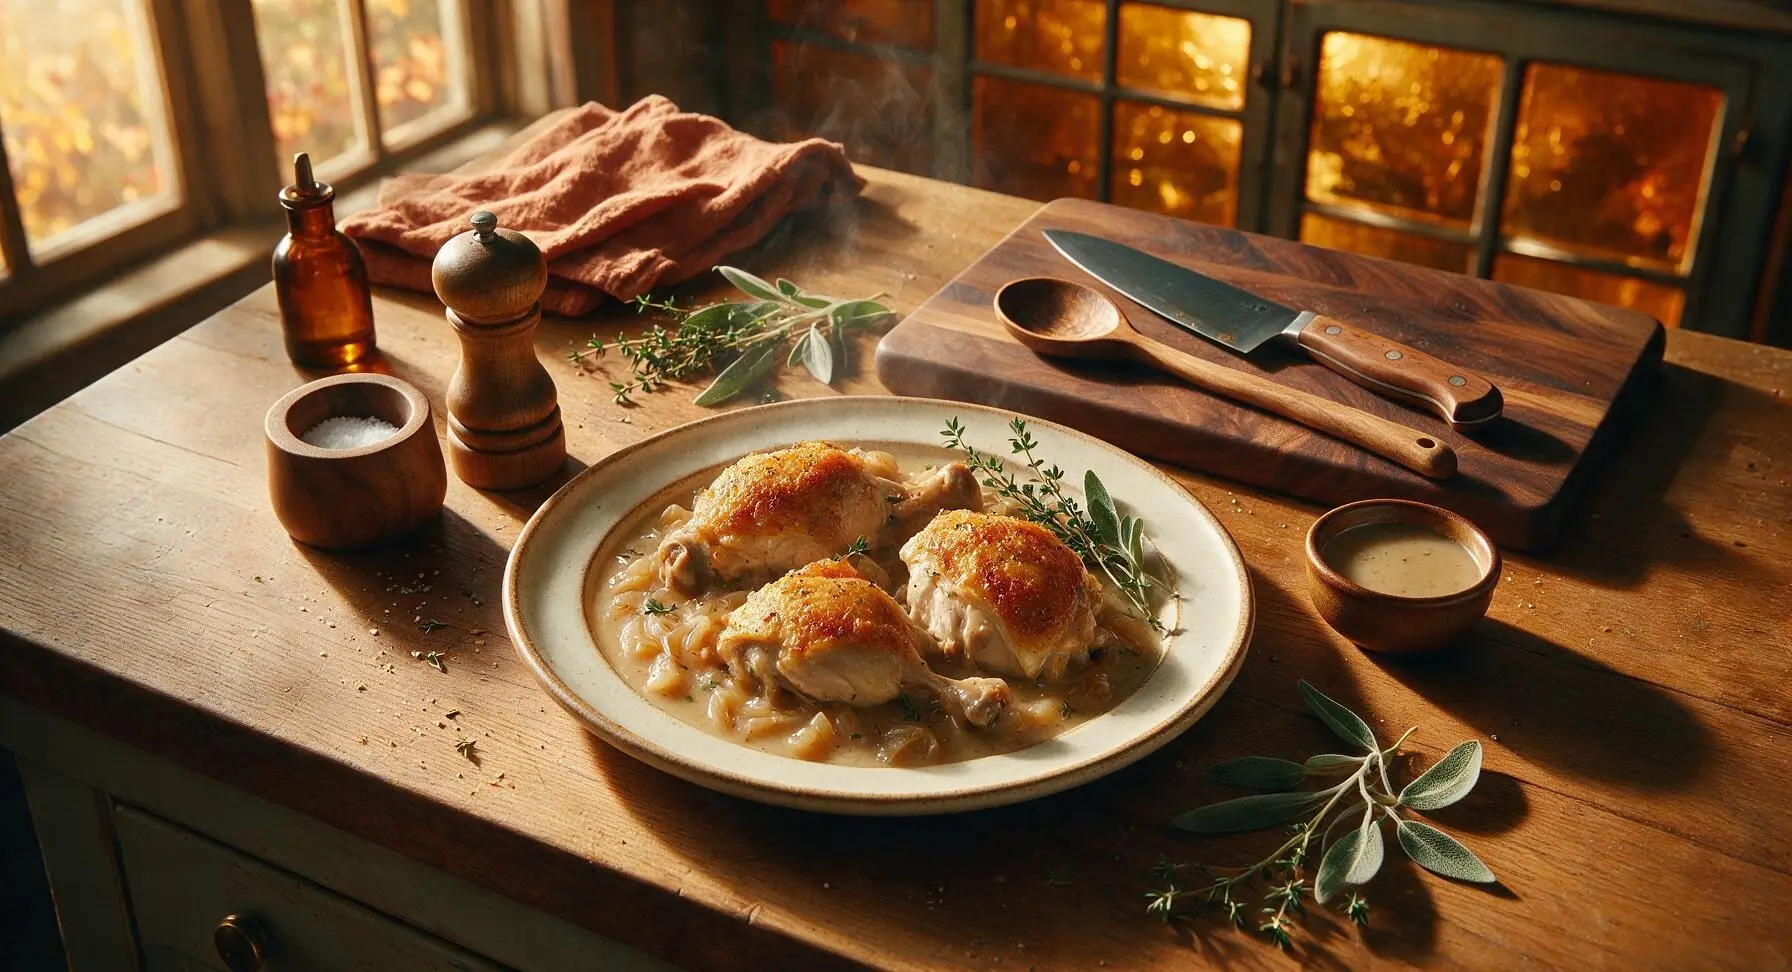
amish chicken

title 1
amish chicken
⏱️ cook time 1 hour 15 minutes
🍽️ servings 4
⚡ Difficulty easy

intro

Tender, juicy bone-in chicken baked to golden crispness in a creamy, lightly seasoned onion gravy—this classic Amish comfort food is simple, hearty, and made for gathering.

Ingredients
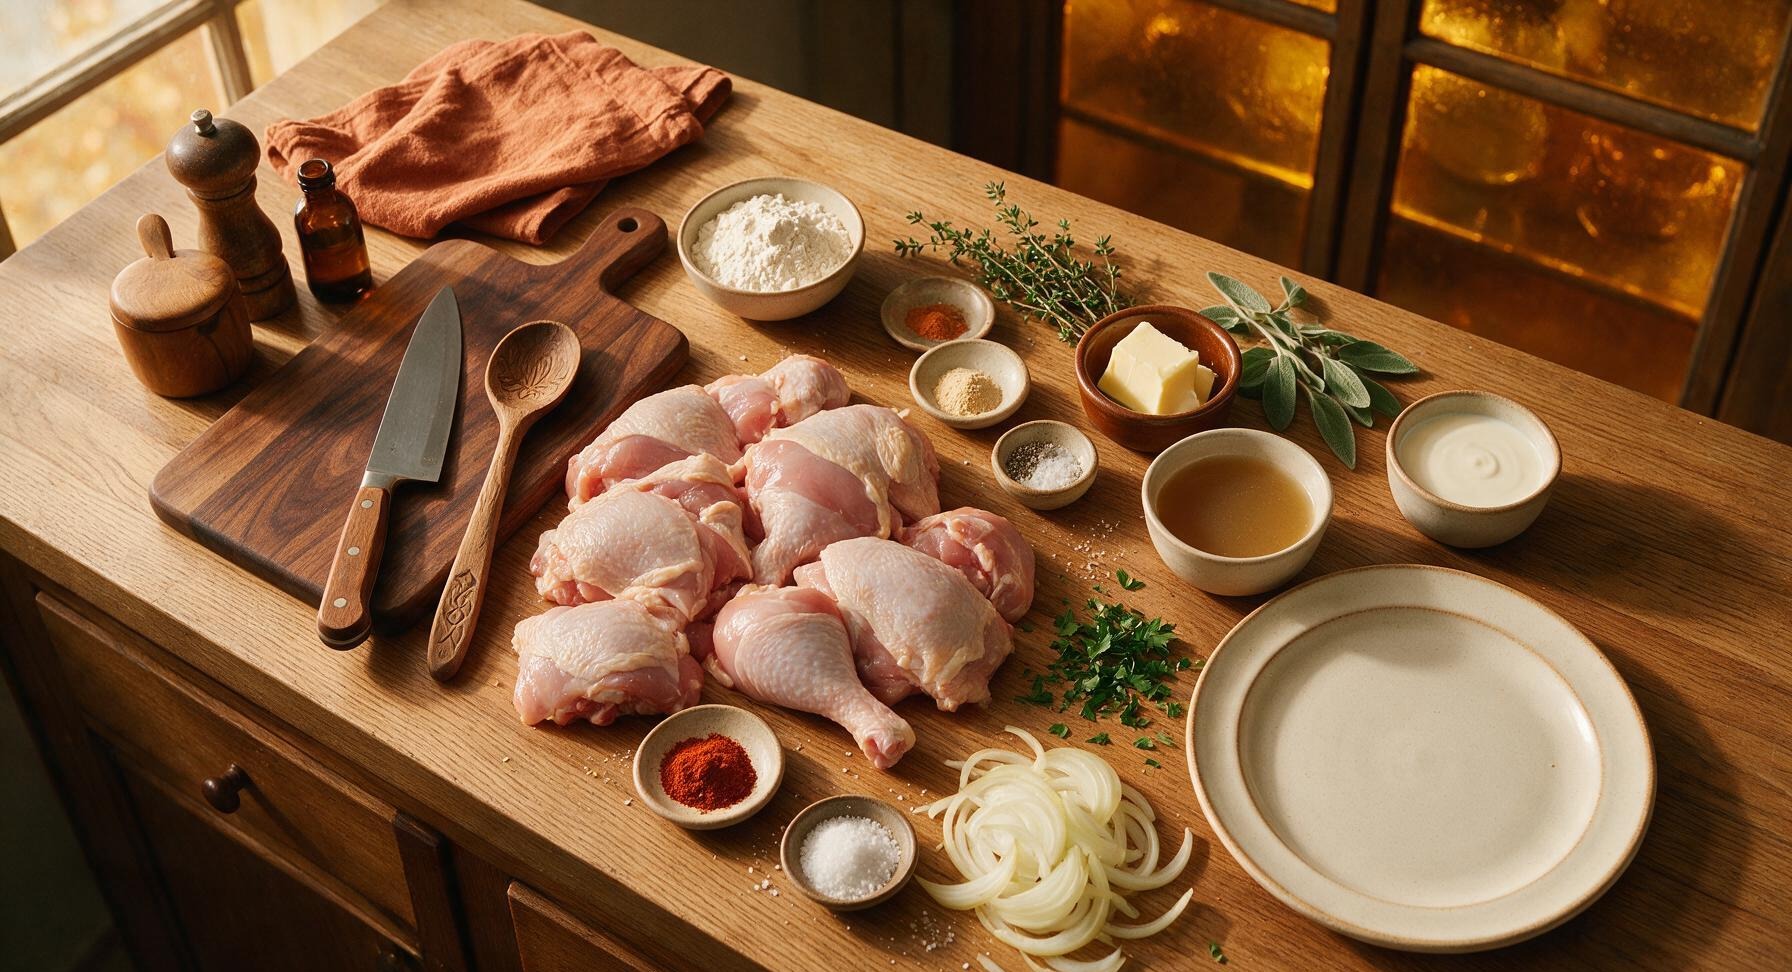
Bone-in, skin-on mixed chicken pieces (thighs, drumsticks, breast halves) 1.3kg (3 lbs)
All-purpose flour 1/3 cup (45g)
Sweet paprika 1 tsp
Garlic powder 1 tsp
Kosher salt 1.5 tsp
Freshly ground black pepper 1/2 tsp
Unsalted butter 4 tbsp (56g)
Low-sodium chicken broth 1 cup (240ml)
Heavy cream 1/2 cup (120ml)
Small yellow onion, thinly sliced 1 (110g)
Fresh flat-leaf parsley, chopped 2 tbsp

Steps

1

Preheat and Prep Chicken

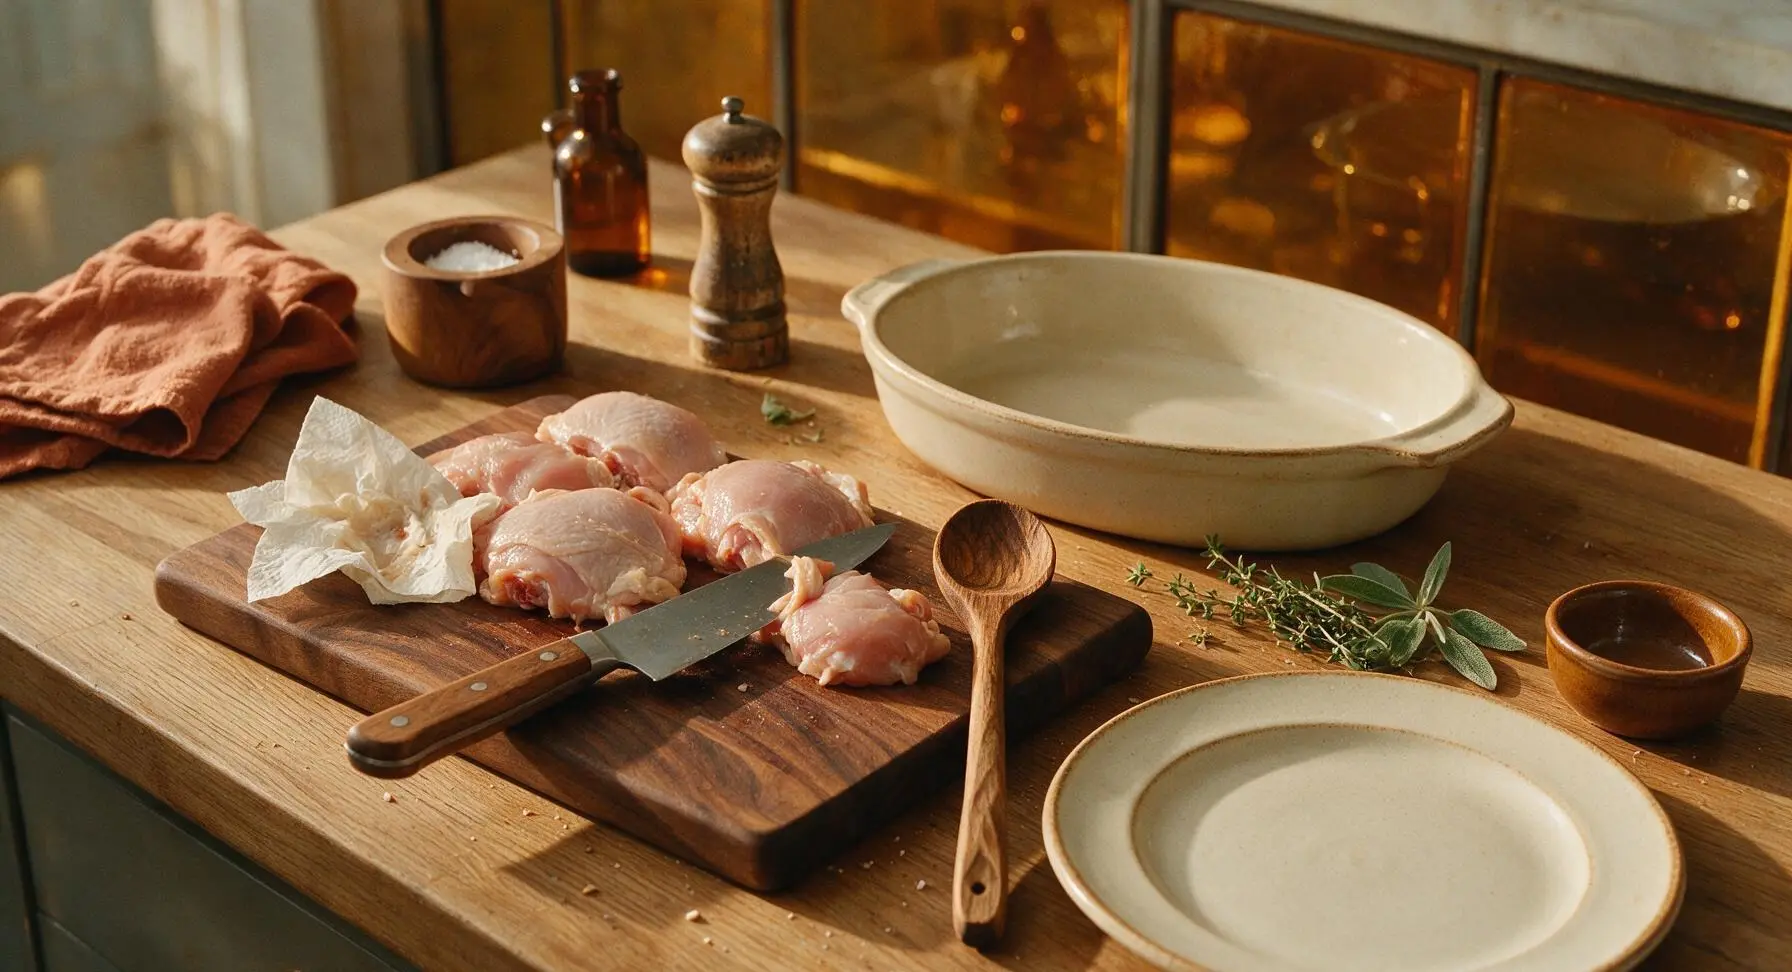
Preheat your oven to 375°F (190°C). Pat all chicken pieces completely dry with paper towels, discarding any excess moisture. Use the chef knife to trim any large overhanging skin flaps, leaving a 1/2-inch skin overhang to crisp as it bakes. The chicken surface should feel dry to the touch, with no damp patches remaining.
Step 1
step1:Preheat and Prep Chicken
2

Mix Seasoned Flour Coating

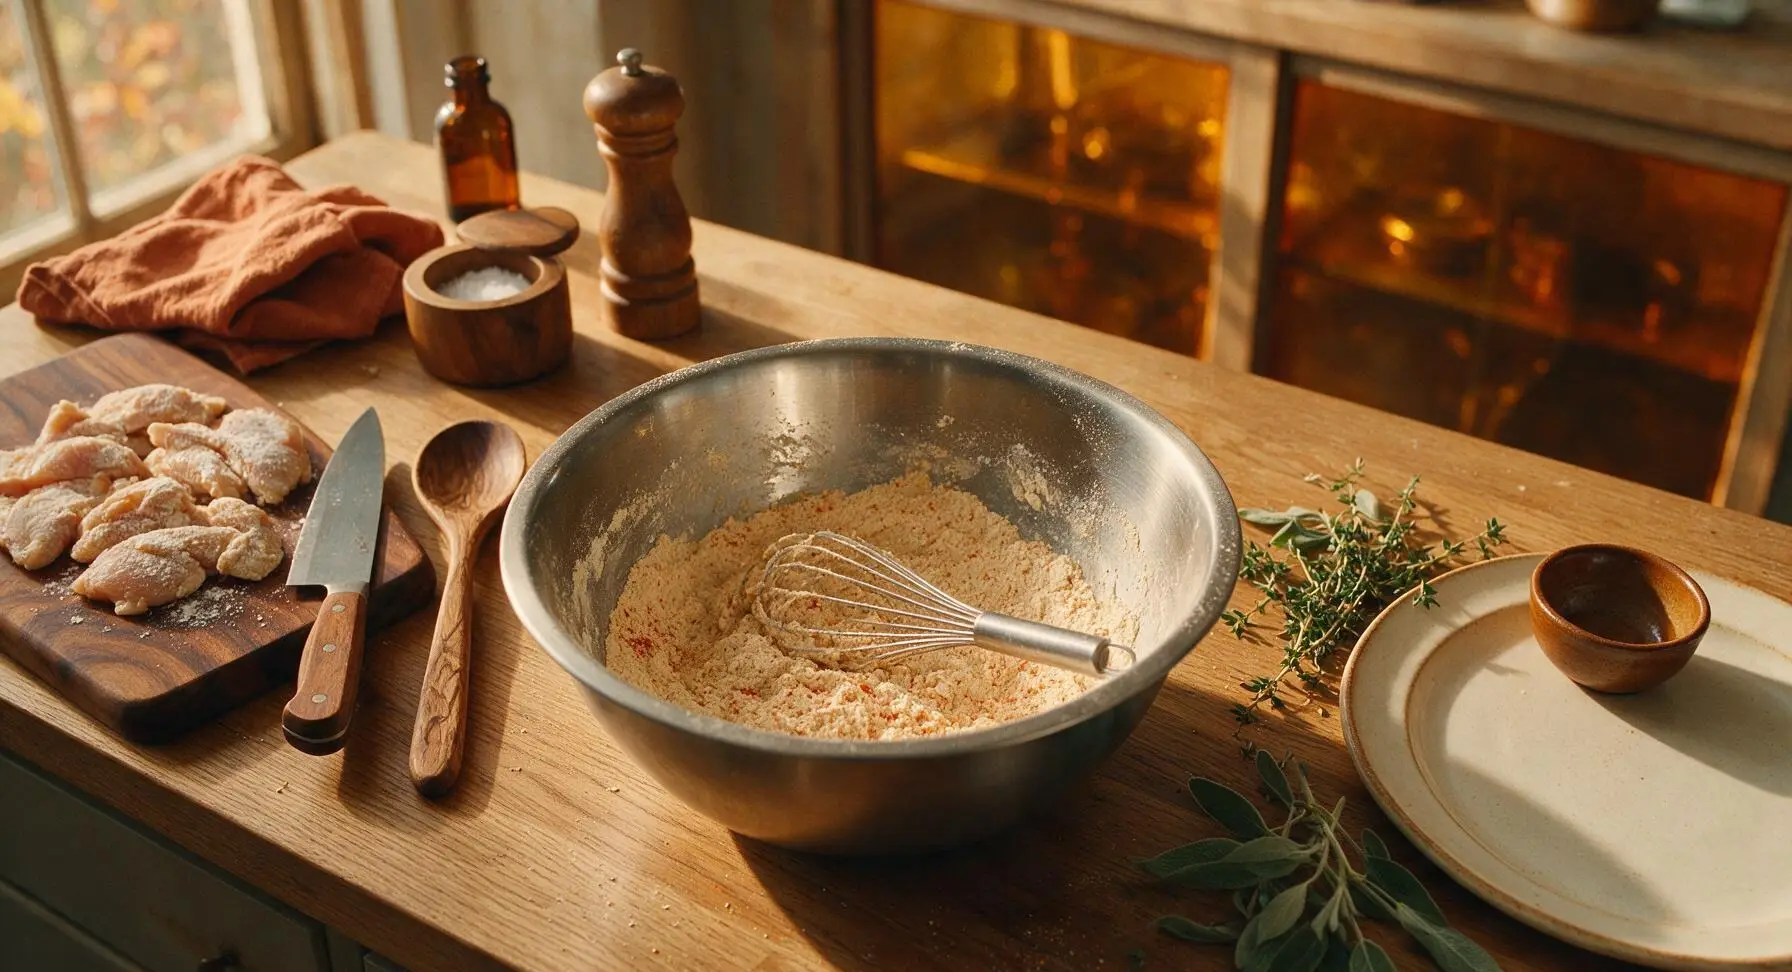
In the brushed stainless steel mixing bowl, combine the all-purpose flour, sweet paprika, garlic powder, 1 teaspoon of the kosher salt, and black pepper. Use the wire whisk to mix for 30 seconds until all spices are evenly distributed through the flour, with no concentrated clumps of paprika remaining. The mixture will be a pale tan color flecked with faint red.
Step 2
step2:Mix Seasoned Flour Coating
3

Dredge Chicken Evenly

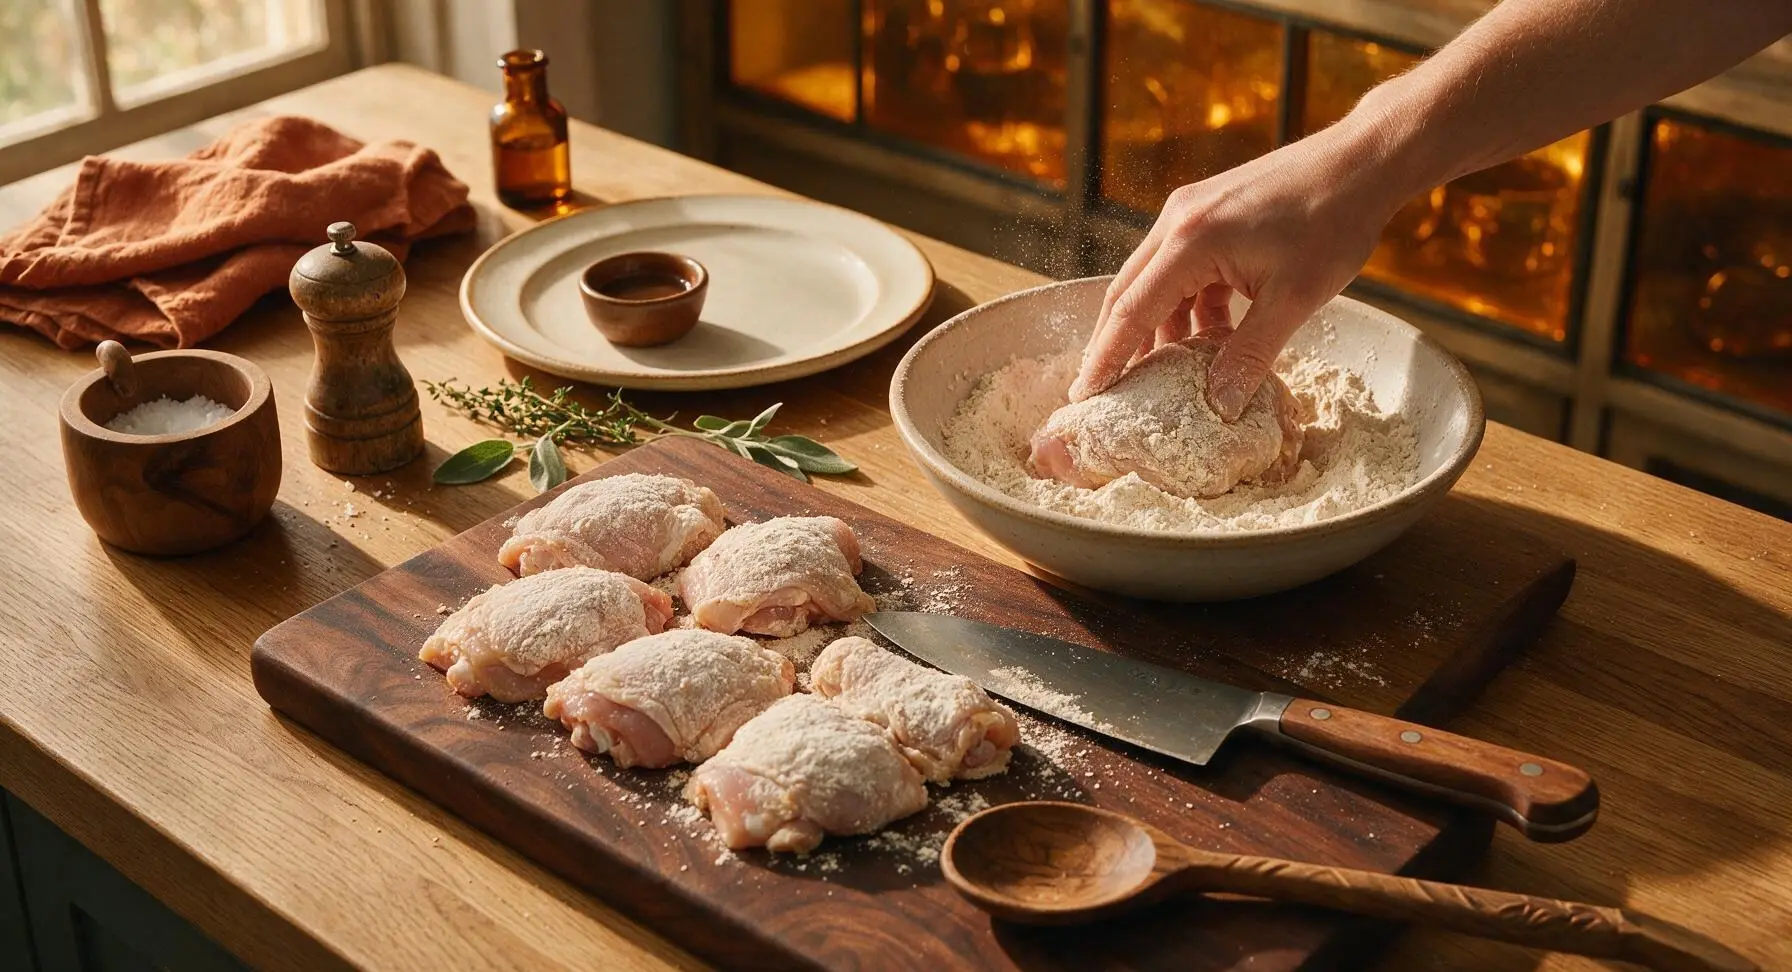
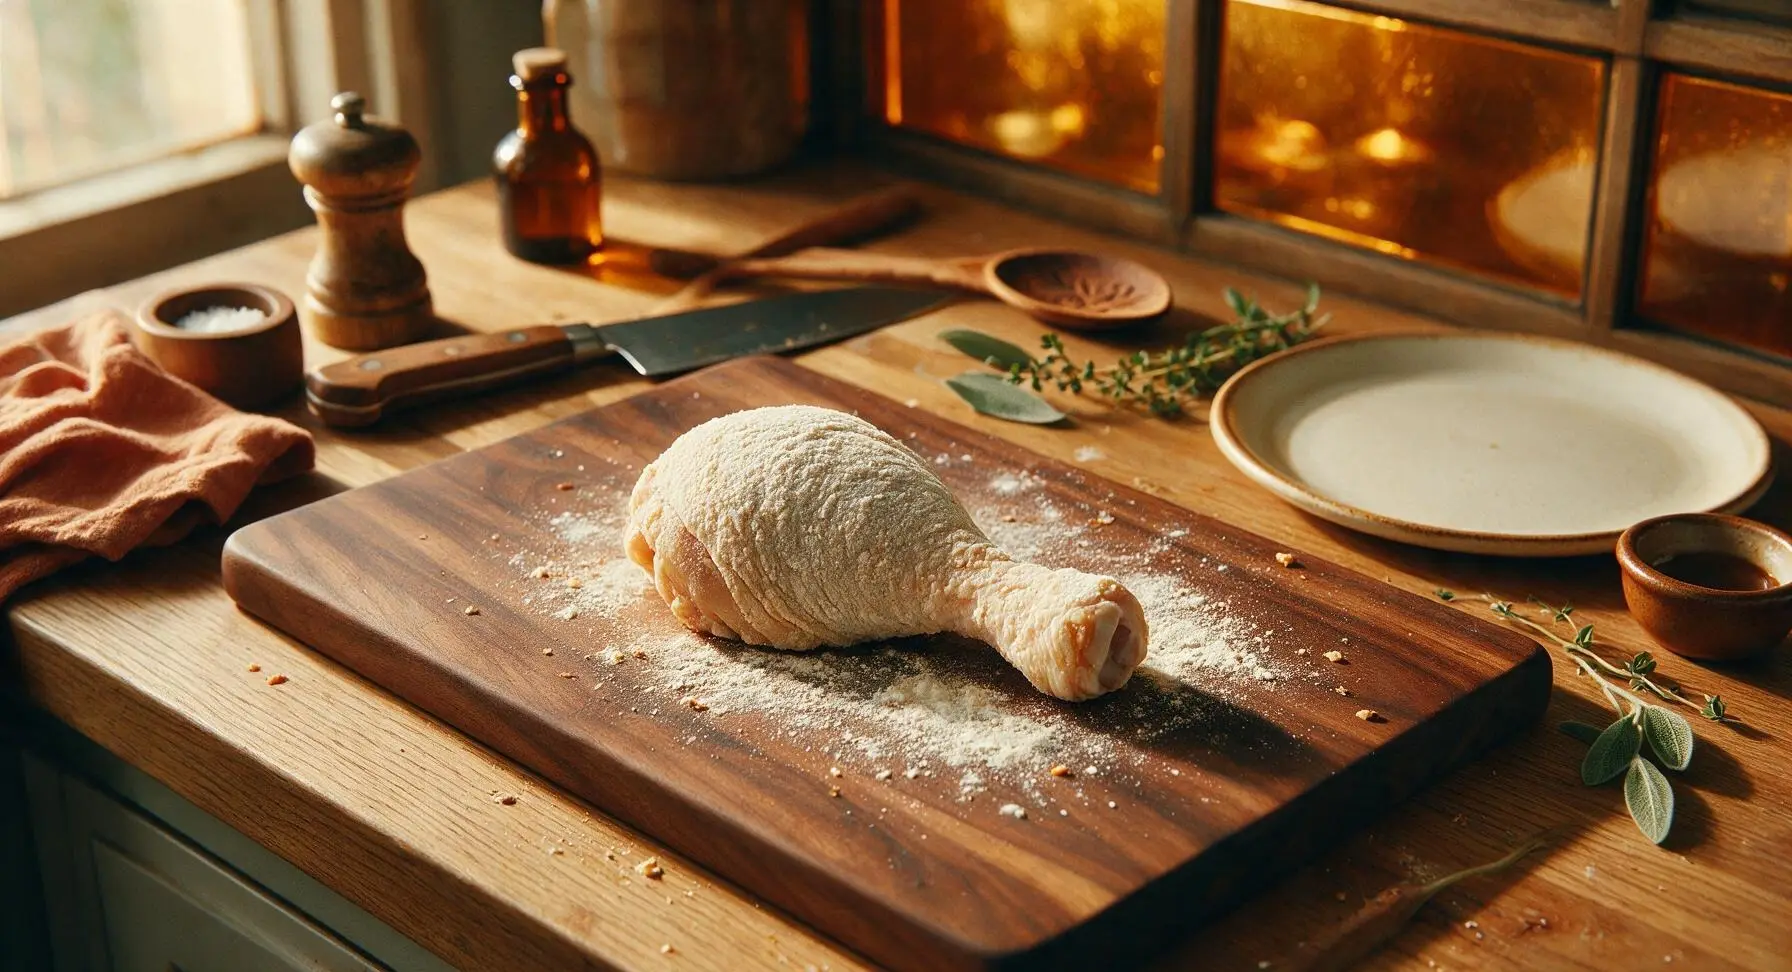
Working one piece at a time, press each chicken piece into the seasoned flour, turning to coat all sides including the skin and exposed bone ends. Shake off excess flour gently over the bowl, so only a thin, even coating remains on each piece. Set dredged pieces on the empty edge of the cutting board as you work. Reserve 1 tablespoon of the seasoned flour in the mixing bowl for making gravy.
Step 3
step3:Dredge Chicken Evenly
Step 3
step3:Dredge Chicken Evenly
4

Brown Chicken in Butter

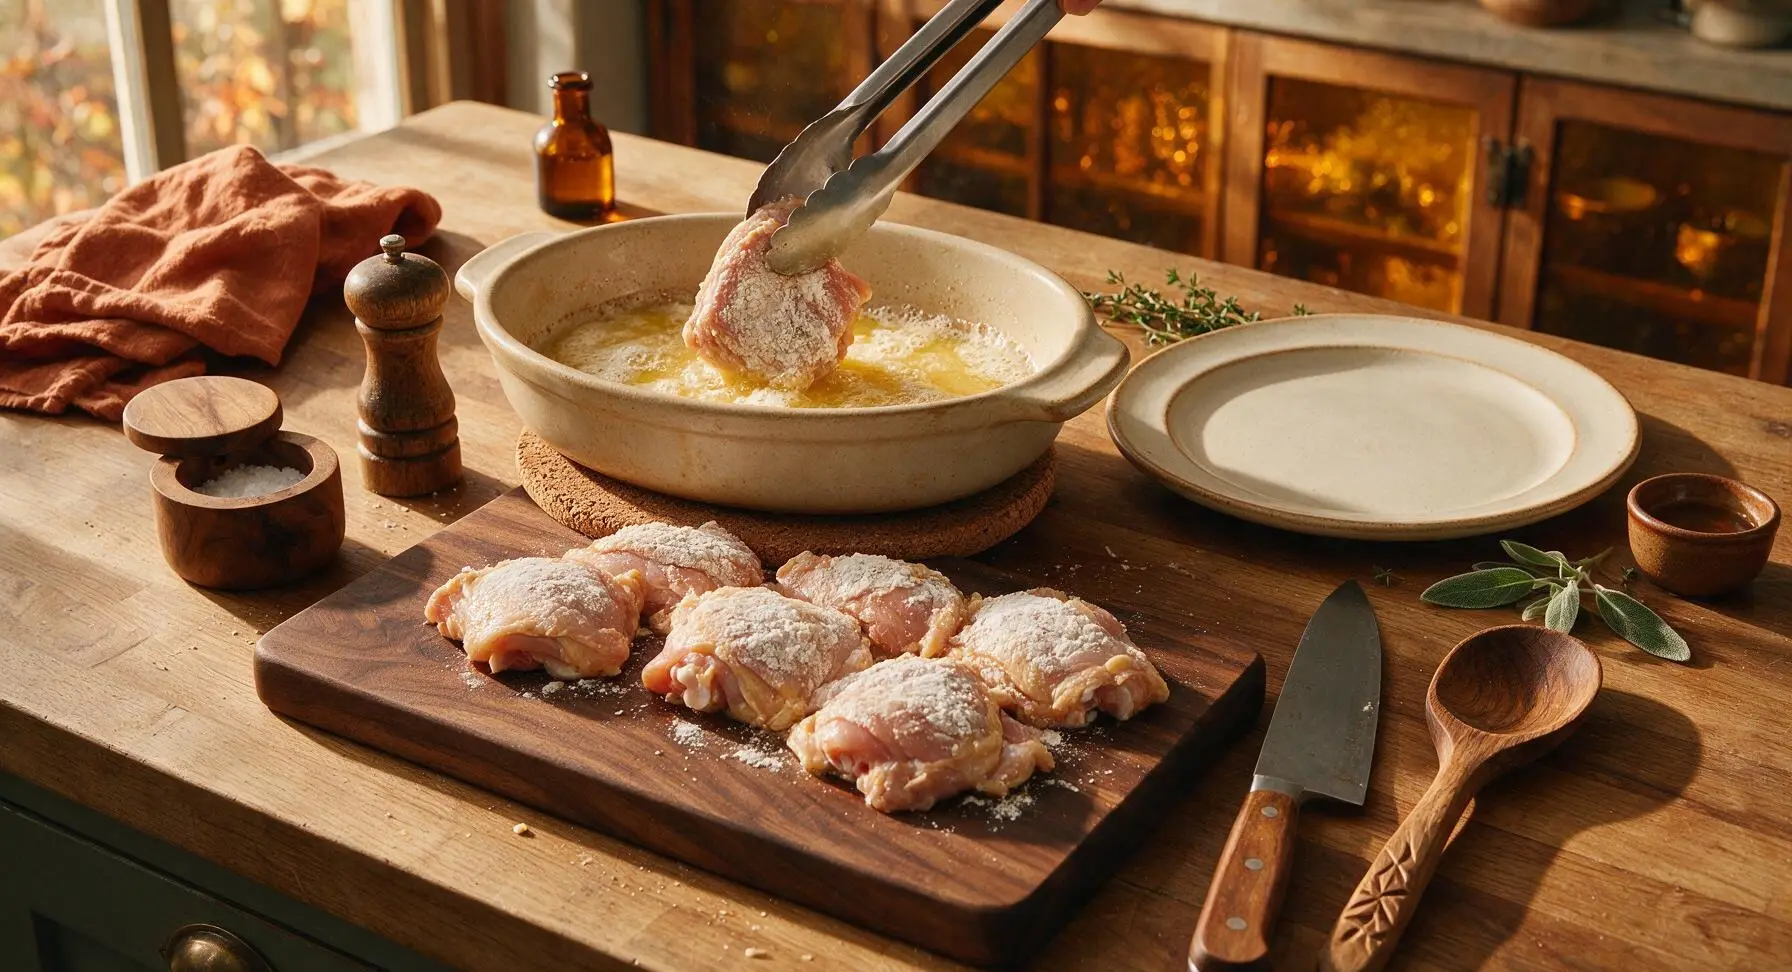
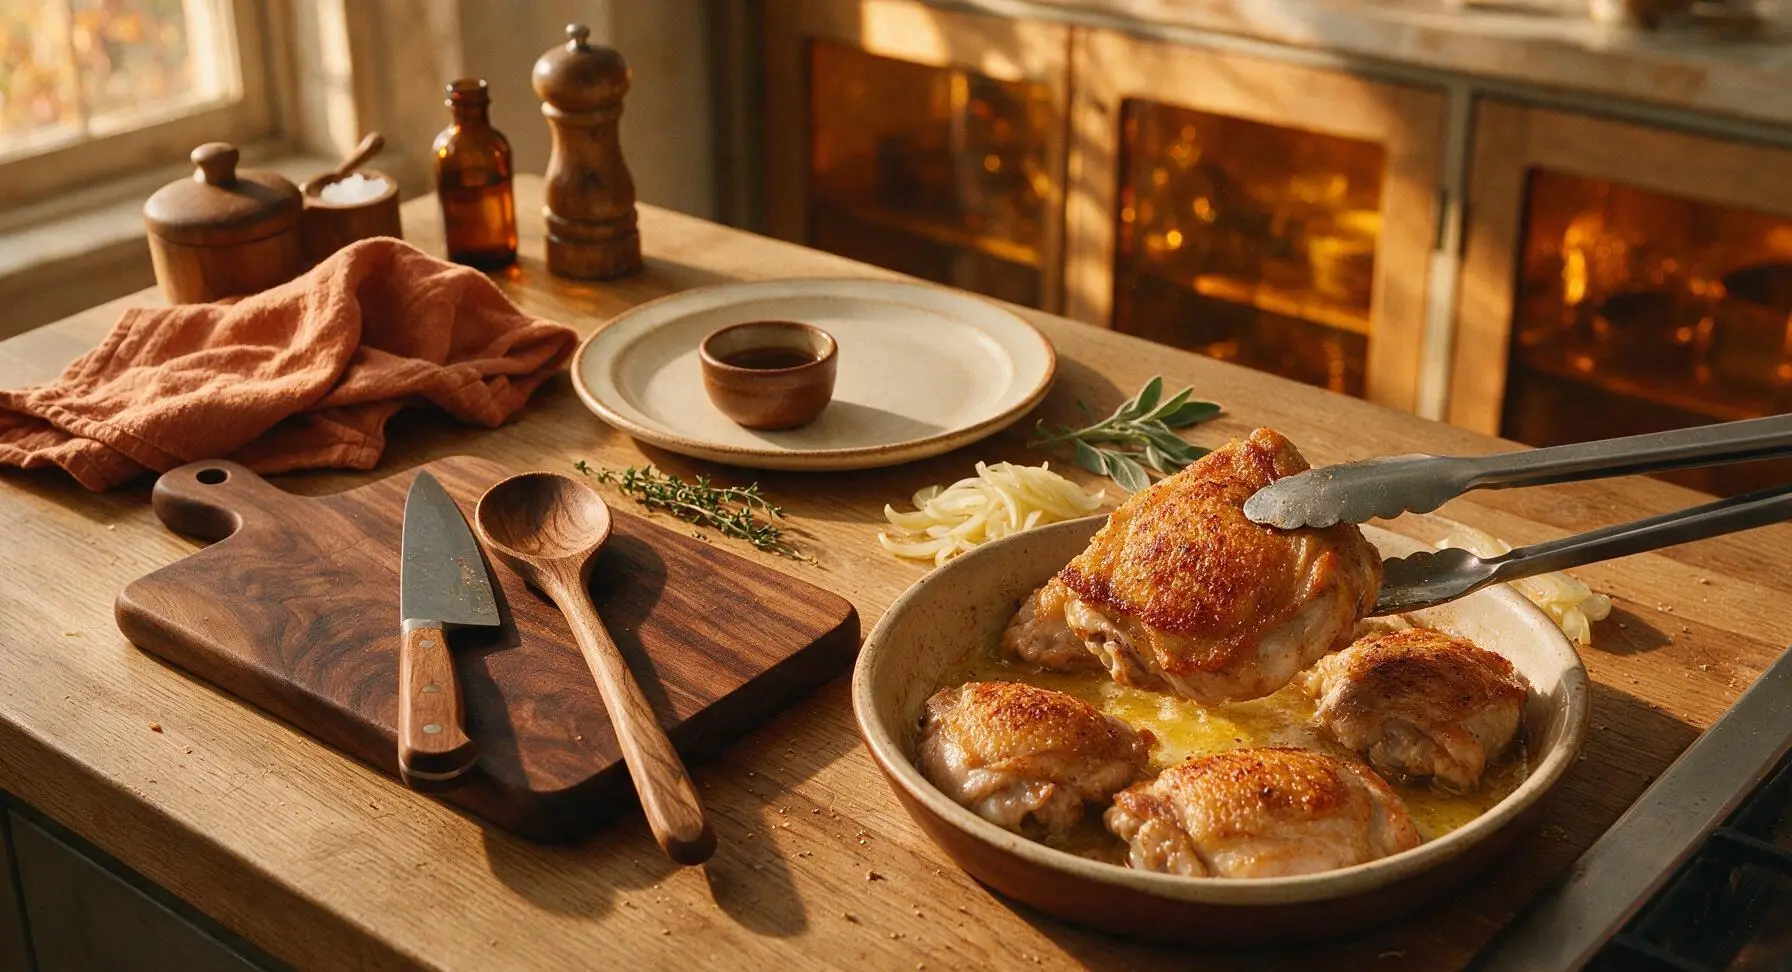
Place the cut tablespoons of unsalted butter into the stoneware baking dish, then set the dish in the preheating oven for 3 minutes until the butter is fully melted, foamy, and fragrant. Carefully remove the hot dish from the oven to the cork trivet, then arrange the dredged chicken pieces skin-side down in the melted butter in a single layer, leaving 1/2-inch gaps between pieces for even cooking.
Step 4
step4:Brown Chicken in Butter
5

Bake First Side Until Golden

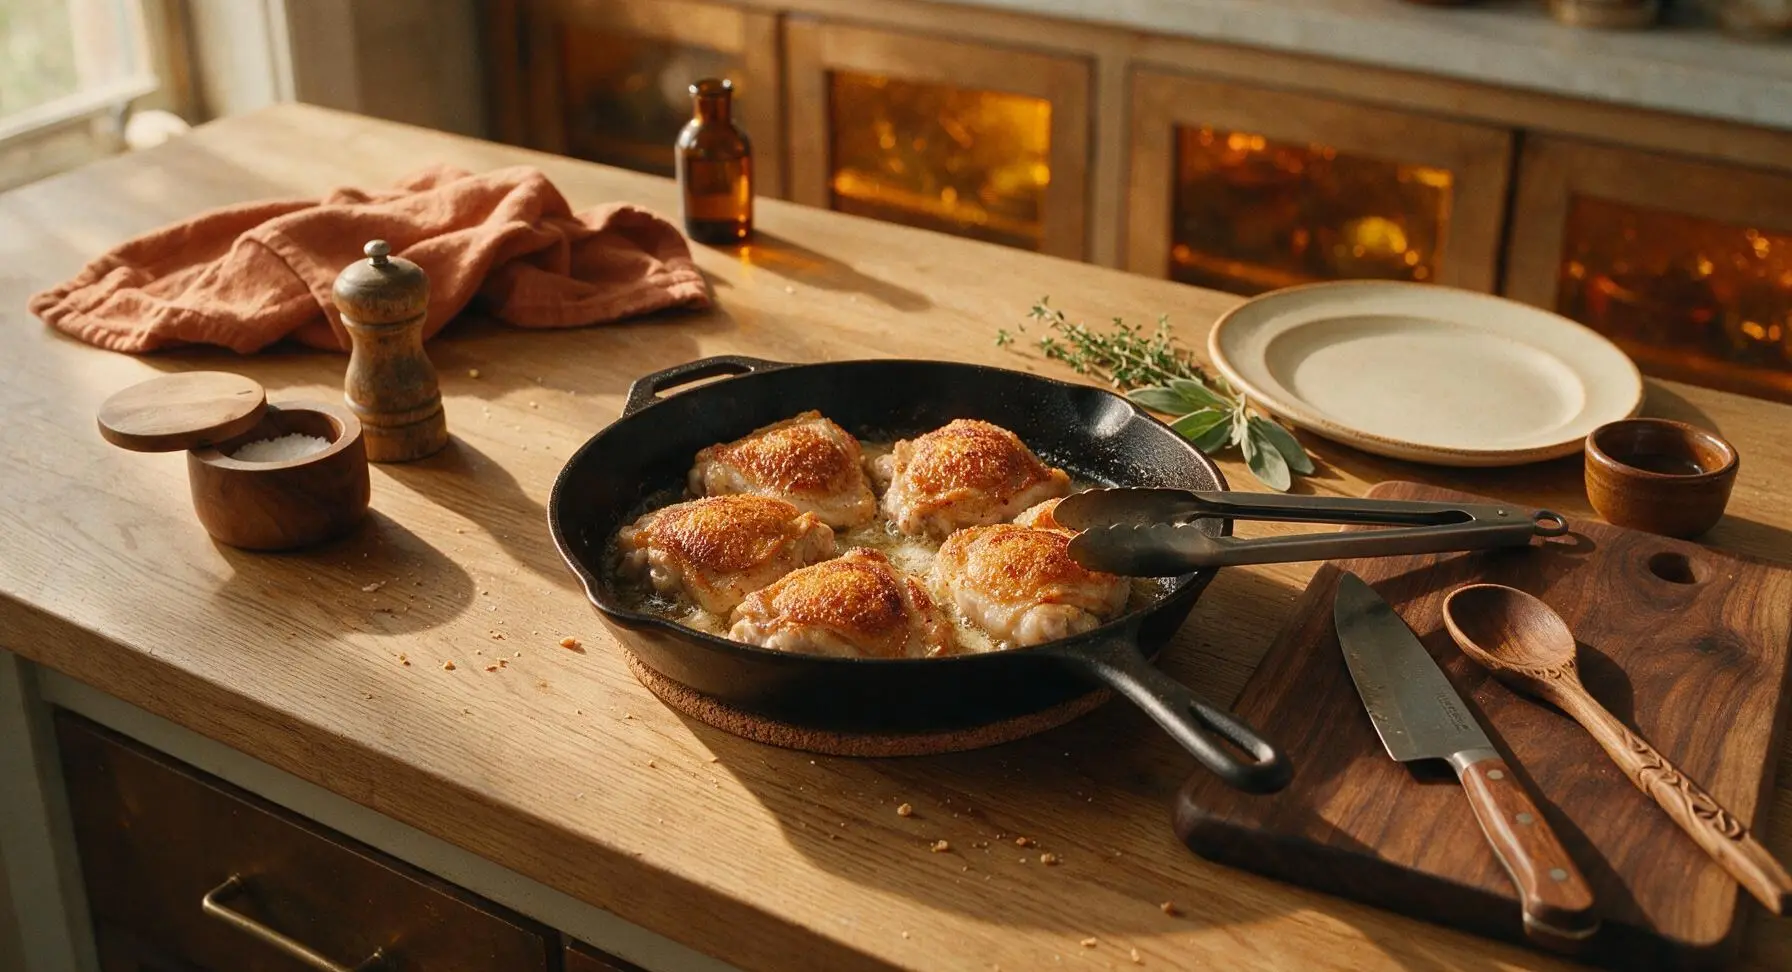
Return the baking dish to the preheated oven, and bake uncovered for 30 minutes. Do not flip or disturb the chicken during this time. When the 30 minutes elapse, the chicken skin touching the dish will be deep golden brown, and the flour coating will have set into a crisp, buttery crust.
Step 5
step5:Bake First Side Until Golden
6

Add Onions and Gravy

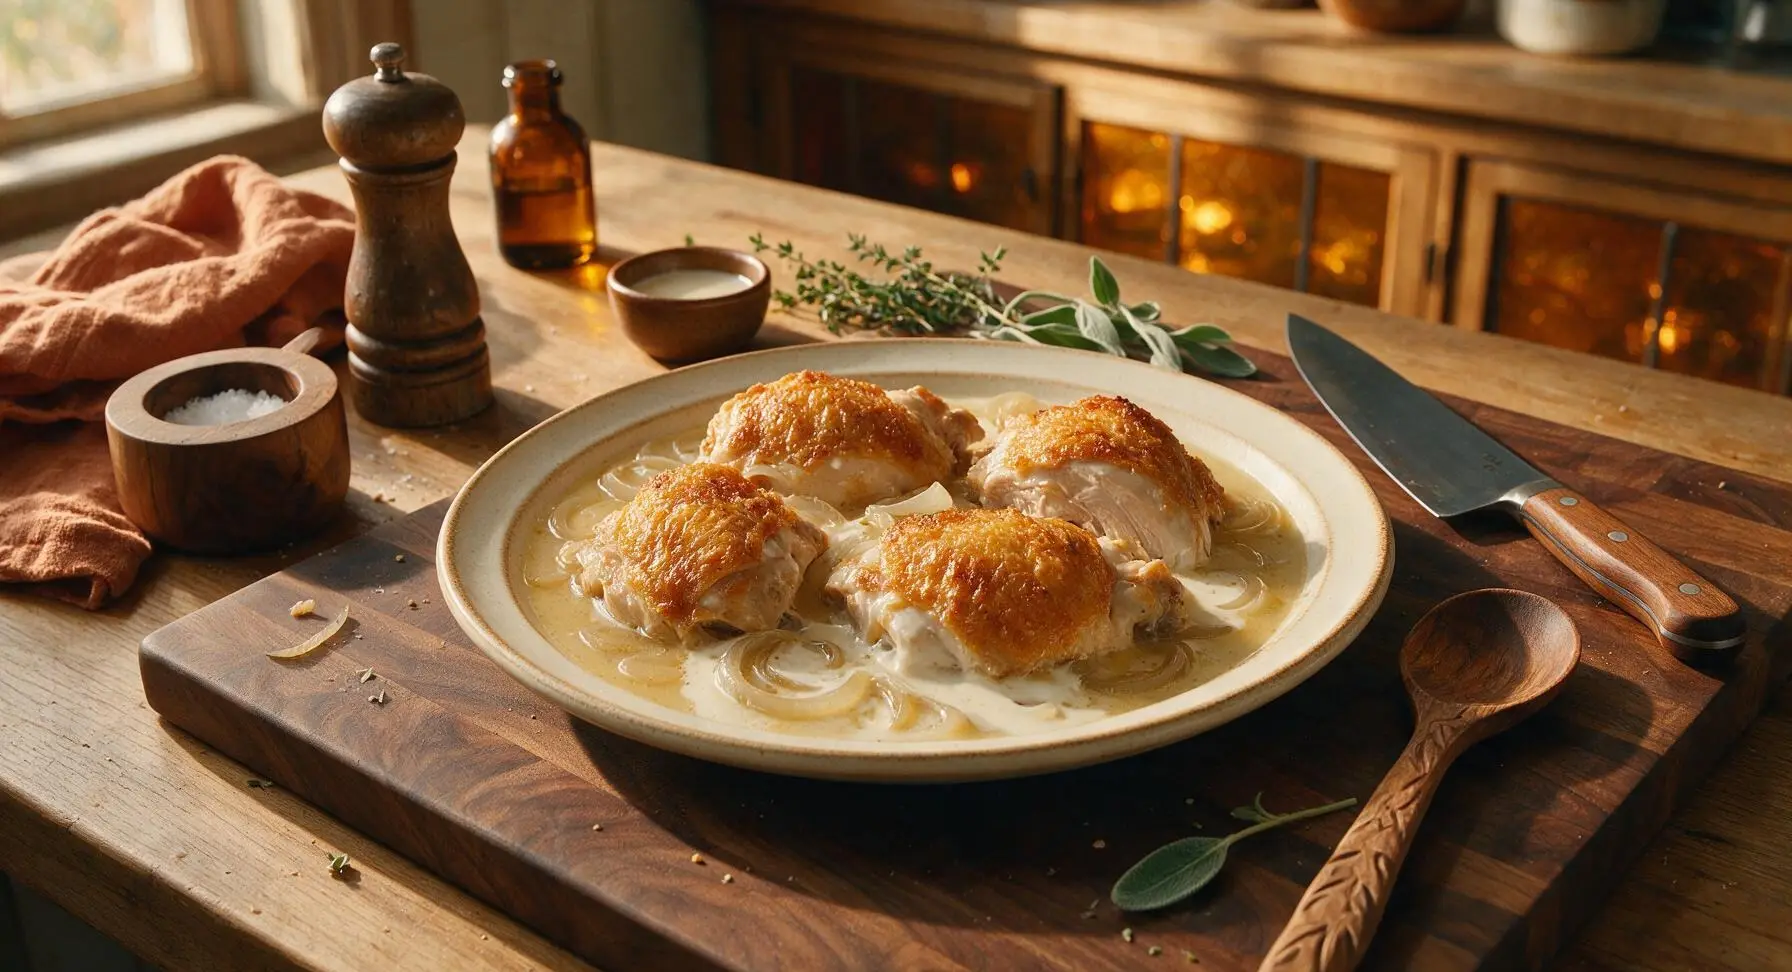
Use the tongs to flip all chicken pieces so they are skin-side up, taking care not to tear the crisp crust. Scatter the thinly sliced yellow onion evenly around the chicken pieces in the butter. Whisk the reserved 1 tablespoon of seasoned flour into the chicken broth until completely smooth, then pour the broth mixture and heavy cream over and around the chicken, keeping liquid below the top of the chicken skin to avoid soggy crust. Sprinkle the remaining 1/2 teaspoon kosher salt over the chicken tops.
Step 6
step6:Add Onions and Gravy
Step 6
step6:Add Onions and Gravy
7

Bake Until Tender

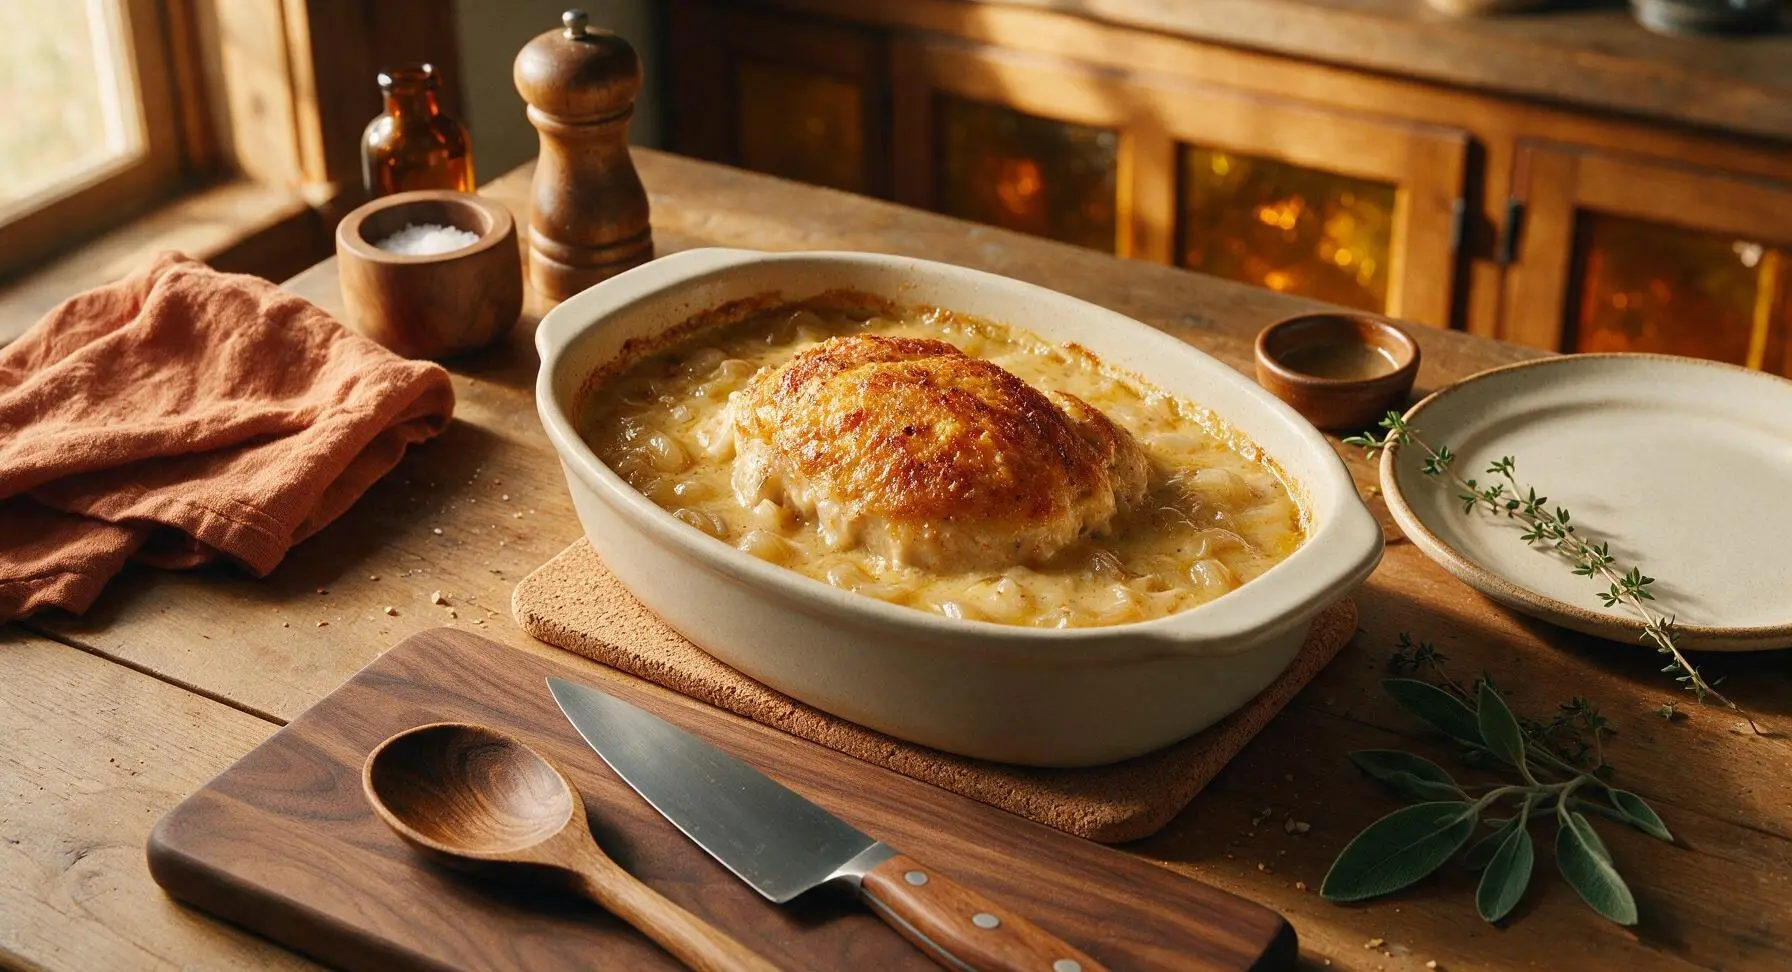
Return the baking dish to the oven, and bake uncovered for an additional 40-45 minutes, until the chicken reaches an internal temperature of 165°F (74°C) measured at the thickest part away from bone. The gravy will be bubbling and thickened, and the exposed chicken skin will be deep golden and crisp. Remove from the oven to the trivet and let rest for 5 minutes.
Step 7
step7:Bake Until Tender
8

Plate and Garnish

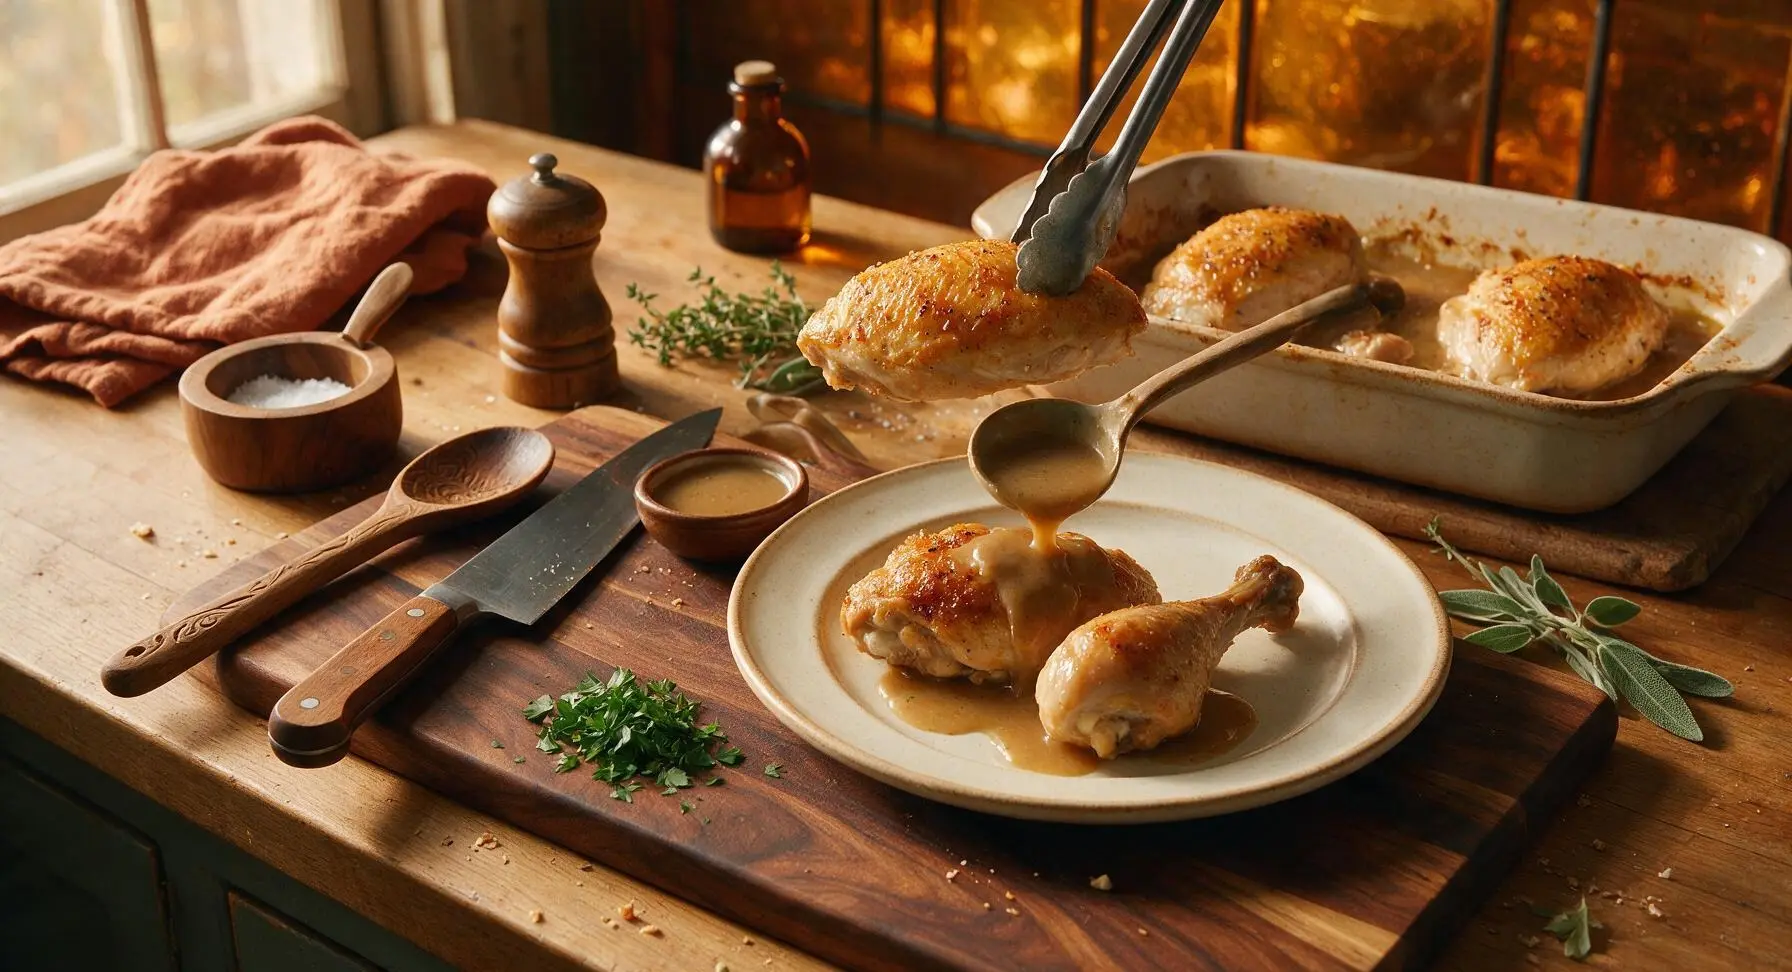
Use the tongs to transfer chicken pieces to the matte off-white dinner plate, spoon a generous amount of thick gravy and cooked onions over the top of the chicken, and sprinkle with freshly chopped flat-leaf parsley for a bright, fresh garnish. Serve warm.
Step 8
step8:Plate and Garnish

Tips

1.Pat chicken completely dry before dredging: excess surface moisture will make the flour coating gummy and prevent a crisp crust from forming, instead of creating the light, golden, buttery skin this recipe is known for.
2.Keep liquid below the chicken skin line when adding gravy: pouring broth or cream directly over the crisped skin will make it turn soggy during the second bake, rather than staying crunchy and golden.
3.Don’t skip the 5-minute rest after baking: this short pause lets the chicken juices redistribute into the meat instead of running out onto the plate when cut, and allows the gravy to thicken to the perfect coating consistency.


✨ You May Also Like

Main Course
🍜 United Kingdom

A showstopping classic of tender seared beef, savory mushroom duxelles, and crisp prosciutto wrapped in flaky golden puff pastry, baked to juicy perfection.

⏱️ 2 hours 1Main Course ★ 4.7
Main Course
🍜 India

Tender charred marinated chicken simmered in a rich, spiced creamy tomato sauce, this iconic Anglo-Indian curry pairs perfectly with basmati rice or warm naan.

⏱️ 50 minuteMain Course ★ 4.6
Main Course
🍜 Thailand

Classic tangy, sweet, and savory Thai stir-fried rice noodles with shrimp, tofu, and crunchy garnishes, balancing all five core Thai flavor profiles.

⏱️ 30 minuteMain Course ★ 4.5
Main Course
🍜 United Kingdom

Crispy golden beer-battered cod and fluffy double-fried chips, served with tangy tartar sauce and malt vinegar: the timeless, beloved British pub comfort classic.

⏱️ 45 minuteMain Course ★ 4.7
Main Course
🍜 Mexico

Smoky, chile-marinated pork tacos with caramelized pineapple, fresh cilantro, and lime: a beloved classic Mexican street food perfect for casual summer gatherings.

⏱️ 1 hour 45Main Course ★ 4.8
Main Course
🍜 United States

Crunchy Fritos corn chips layered with savory beef chili and melted cheddar, topped with cool, zesty fixings for a beloved, cozy Tex-Mex comfort food.

⏱️ 35 minuteMain Course ★ 4.8

amish chicken:Frequently Asked Questions

1.Do I have to use bone-in, skin-on chicken pieces for this recipe, or can I use boneless, skinless cuts? ▾
Bone-in, skin-on cuts are traditional and highly recommended here—they stay juicier through baking, render delicious fat to build the creamy onion gravy, and crisp up to that perfect golden top. If you use boneless, skinless cuts, reduce bake time by 10–12 minutes, brush pieces with melted butter before coating, and expect a less rich final dish.
2.How do I make sure the chicken skin gets crispy instead of soggy when baking? ▾
Pat the chicken completely dry with paper towels before coating it in the seasoned flour—that step is non-negotiable for crispness. Arrange pieces skin-side up in your baking dish without overcrowding, leave small gaps between pieces for air circulation, and skip covering the dish for the first 40 minutes to avoid steam-softened skin.
3.What kind of baking dish works best for this Amish baked chicken? ▾
A heavy 9x13-inch glass or ceramic baking dish is ideal, as it distributes heat evenly to prevent hot spots that burn gravy or undercook chicken. Skip thin, flimsy metal sheet pans for this recipe, since the creamy onion gravy needs to simmer gently around the chicken without scorching on the pan bottom.
4.Can I adjust the seasoning if I don’t like spicy food, since the recipe uses paprika? ▾
Absolutely! The sweet paprika and garlic powder in the seasoning blend are mild, aromatic, and not spicy at all—they add warm, deep color and savoriness without any heat. If you only have hot paprika on hand, cut that amount in half to keep the flavor gentle and family-friendly, which aligns with classic Amish cooking.
5.How do I know when the chicken is fully cooked and safe to eat? ▾
Use an instant-read thermometer inserted into the thickest part of each piece, away from bone, to check doneness. Thighs and drumsticks should reach 175°F for tender, pull-apart texture, while breast halves should hit 165°F to stay juicy. Without a thermometer, pierce the thickest part—juices should run clear with no pink tint.
6.Can I prep this chicken ahead of time for a potluck or family gathering? ▾
You can coat the chicken pieces in the seasoned flour and arrange them in your baking dish, covered, up to 12 hours ahead in the fridge. Wait to mix and pour the creamy onion gravy over top until right before you bake it, otherwise the flour coating will get mushy and you won’t get that crisp, golden top layer.
7.How do I make the signature creamy onion gravy for this recipe? ▾
After pulling the fully baked chicken from the dish, scrape all the browned, flavorful bits, rendered chicken fat, and soft cooked onion from the pan bottom into the remaining cooking liquid. Stir in a splash of half-and-half, a thin flour-and-water slurry if you need thicker consistency, simmer 2–3 minutes until smooth, and season lightly to taste.
8.Can I use a gluten-free flour blend instead of all-purpose flour for the coating? ▾
Absolutely, a 1:1 gluten-free all-purpose flour blend works perfectly for both the chicken coating and to thicken the gravy. Just make sure your blend includes xanthan gum to help the coating stick to the chicken and create a smooth, non-gritty gravy, and double-check seasonings for hidden gluten additives.
9.How much kosher salt should I use, since different brands vary so much in saltiness? ▾
For the standard seasoning mix, start with 1 teaspoon of Diamond Crystal kosher salt (the most common home cook brand) per 3 pounds of chicken. If you use denser Morton’s kosher salt, cut that amount in half, since its smaller grains are saltier by volume. Taste the gravy before serving and add a pinch more if it tastes flat.
10.What traditional sides pair best with this classic Amish baked chicken? ▾
Stick to hearty, simple comfort food sides that match the dish’s cozy, unfussy vibe. Buttery mashed potatoes, buttered egg noodles, steamed green beans, sweet corn, or soft Amish-style dinner rolls are all perfect picks—they soak up that creamy onion gravy beautifully and make for a filling, crowd-pleasing meal.
11.Why did my flour coating slide off the chicken while it was baking? ▾
That usually happens if the chicken was too wet when you coated it, or if you poured gravy directly over the top of the chicken pieces before baking. Make sure to pat chicken totally dry before dredging, arrange coated pieces in the dish first, and pour gravy around the base, not over the top, to keep the coating intact.
12.What oven temperature should I use to get juicy chicken without burnt gravy? ▾
Bake at 350°F, the classic low-and-slow Amish baking temperature, for 50–55 minutes total. This temp is hot enough to crisp the skin and cook chicken evenly, but gentle enough that the creamy onion gravy simmers slowly instead of scorching. Crank it to 375°F for the last 5 minutes if you want extra-crispy skin.
13.How do I store leftovers, and how long will they keep in the fridge? ▾
Let leftover chicken and gravy cool to room temperature within 2 hours of baking, then transfer to an airtight container and store in the fridge for up to 4 days. To reheat, place pieces in a covered baking dish at 325°F for 15–20 minutes until warmed through, which keeps chicken juicy far better than microwaving.
14.Can I scale this recipe up for a large crowd, like a church supper or family reunion? ▾
Absolutely—this recipe is designed for gatherings, and scales really easily. Just multiply the ingredients based on how much chicken you need, use multiple baking dishes so you don’t overcrowd pieces, and add 5–10 minutes of extra bake time if cooking multiple pans, rotating them halfway through for even cooking.

Comments (20)

2 days ago

OMG this baked chicken was an absolute game changer for our Sunday family dinner! The skin was so crispy, the meat was juicy all the way through, even the breast pieces which I always manage to dry out. My 3 kids went back for seconds, and my husband asked if we could add this to our weekly rotation. 10/10, so easy too!

1 day ago

Wait did you use all purpose flour for the coating, or did you swap in something else? I’m making this for our church potluck next weekend and don’t want to mess it up!

20 hours ago

So thrilled your family loved it, Mia! Quick note for Pam too - regular all purpose flour works perfectly for that classic, crisp, non-greasy coating, and it holds up great if you’re transporting it for a potluck!

1 week ago

I was skeptical a baked chicken could beat my grilled version, but wow, this seasoning blend is insane. I used bone-in thighs like the recipe said, tossed in that simple flour and spice mix, and it came out perfect. Took this to my buddy’s cookout last weekend and people were asking for the recipe left and right.

6 days ago

Love hearing that, Joe! Bone-in thighs are such a forgiving, flavorful cut for this recipe - perfect for cookouts where you need something that feeds a crowd.

3 days ago

Super easy recipe that’s perfect for my weekly meal prep! I made a big batch on Sunday, portioned it out with roasted veggies and mashed potatoes, and it reheated like a dream all week. Didn’t even get soggy, which is my biggest pet peeve with baked chicken meal prep. Will make again for sure.

2 hours ago

Has anyone tried making this with a gluten free flour blend? I have celiac and would love to make this for my grandma’s birthday dinner next week, it looks so cozy and nostalgic!

1 hour ago

I used Cup4Cup gluten free all purpose flour last time I made this and it turned out exactly the same! No weird texture or aftertaste at all, my whole family didn’t even notice the difference.

yesterday

Uh oh, I think I messed up? I followed the recipe exactly but my chicken skin came out really soggy, not crispy at all. Did I crowd the pan too much? I used a 9x13 dish and stuffed 8 pieces in there because I was cooking for my roommates.

20 hours ago

Oh that’s almost certainly the crowding issue! I made that mistake my first time too. Leave a little space between each piece so the hot air can circulate, and maybe bump the oven temp up 25 degrees for the last 10 minutes if your oven runs cool.

18 hours ago

Harry is totally right! Crowding the pan traps steam instead of letting the skin crisp up. If you’re making 8 pieces, split them between two baking sheets next time and you’ll get that perfect shatteringly crisp skin every time.

2 weeks ago

This tastes exactly like the Amish baked chicken my grandma used to make when we’d visit her farm in Pennsylvania as kids! The simple seasoning, no fancy ingredients, just pure comfort food. I served it with buttered noodles and green beans and it felt like a hug on a plate. SO good.

3 days ago

Made this for our office potluck yesterday and the whole pan was gone in 10 minutes. People were literally scraping the crumbs off the baking sheet! So easy to throw together the night before too, I just prepped the seasoned chicken in the fridge and popped it in the oven when I got to work. 10/10.

2 days ago

That’s such a smart prep trick, Tyler! Prepping the chicken the night before lets the seasoning sink in even more, so it ends up even more flavorful. So glad it was a hit at the potluck!

30 minutes ago

Wait how do you get the seasoning to stick to the chicken? I tried making this last night and half the flour spice mix slid off the skin while it was baking, so it was pretty bland. Did I forget to pat the chicken dry first? I was in a rush getting the kids to soccer practice so I might have skipped that step.

20 minutes ago

Patting the chicken totally dry is non-negotiable for this! I keep paper towels right by my sink so I remember to do it before I toss it in the seasoning. I also dip each piece in a tiny bit of melted butter before the flour mix, helps it stick so much better.

10 minutes ago

Sarah’s tip about melted butter is fantastic, and yes - patting the chicken dry is key! Any excess moisture on the skin will make the coating slide right off and keep it from crisping, so take that extra 2 minutes next time and it’ll turn out perfect.

1 week ago

I’ve been cooking for 40+ years and I still come back to simple, no-fuss recipes like this. People overcomplicate chicken with 20 different spices and fancy glazes, but this classic blend of paprika, garlic, salt, and pepper is all you need. Cooked low and slow so it’s fall-off-the-bone tender, absolutely perfect.

6 days ago

Couldn’t agree more, Ron! The best classic recipes don’t need a mile-long ingredient list to be absolutely delicious. So glad this one lived up to your standards!

5 days ago

Made this after a long day of hiking last weekend, threw it in the oven when we got home and took a quick shower while it cooked. Came out to the whole cabin smelling amazing, served it with some coleslaw and cornbread we picked up on the drive up. Zero effort, maximum coziness. Will be a regular on our cabin trip menu from now on.

yesterday

I have the pickiest 7 year old on the planet who refuses to eat any chicken that isn’t dinosaur-shaped nuggets, and he ate TWO whole drumsticks of this last night!!! I almost fell out of my chair. The flavor is mild but so tasty, not spicy at all, perfect for little kid palates.

12 hours ago

Oh my gosh that’s such a win! My twins are the exact same way, I’m making this tomorrow night now that I know it passes the picky kid test. Fingers crossed I get the same reaction!

2 weeks ago

I run a little diner in rural Ohio and I tested this recipe for our weekly comfort food special last week. We sold out by 6pm both days we ran it! Customers were saying it was the best baked chicken they’d had in years. I’m adding it to our permanent menu, no joke.

1 week ago

Wait which diner is this??? I drive through Ohio a few times a year for work and I will 100% make a detour to try this! Your review just sold me on making it at home too, but I’d love to try the diner version.

1 week ago

Wow, that’s the highest compliment we could get, Sam! Nothing makes us happier than hearing a home recipe works well in a small diner setting, that’s exactly what classic comfort food is all about. Hope it stays a customer favorite for years to come!

2 days ago

This is my new go-to weeknight dinner! It’s so easy to throw together, no weird specialty ingredients I have to run to three different grocery stores to find, and the cook time is totally hands off so I can help my kid with homework while it bakes. Served it with roasted broccoli and mac and cheese last night, zero complaints.

2 hours ago

Has anyone tried adapting this for the air fryer? I don’t love heating up my whole oven in the summer when it’s 90 degrees out, but this chicken looks too good to wait until fall to make.

1 hour ago

Great question, Max! You can absolutely make this in the air fryer - cook at 375F for 25-30 minutes, flipping halfway through, until the internal temp hits 165F. It gets extra crispy that way, perfect for hot summer days when you don’t want to run the oven!

5 days ago

I’ve been making Amish baked chicken for our church suppers for 30 years, and I have to say this recipe is even better than my old one! The little touch of paprika in the seasoning gives it such a nice warm flavor without being overpowering. I brought 12 pieces last Sunday and came home with an empty dish.

4 days ago

Do you cover the pan with foil while it bakes? I’ve been tasked with bringing the main dish to our next supper and I’m so nervous I’ll mess it up for everyone!

3 days ago

Great question! For this recipe, you don’t cover it with foil - that lets the skin get nice and crispy. If you notice the top getting too dark before the chicken is cooked through, you can tent a little foil over the top for the last 15 minutes. It’s totally forgiving, you’ve got this!

1 week ago

I made this for a neighbor who just had a new baby last week, and she texted me two days later saying it was the best meal train meal they’d gotten the whole time. It travels really well, reheats perfectly, and is just plain comforting, which is exactly what people need when they’re adjusting to a new baby.

5 days ago

Wait that was YOU??? I’m the neighbor! I’ve been searching for this recipe ever since, my husband has been begging me to make it again. This is the best surprise ever, thank you again for bringing it over!

3 days ago

This recipe is so budget friendly! I grabbed a whole family pack of chicken pieces for under $8, already had all the spices and flour in my pantry, and it fed me and my two roommates for two nights. No fancy expensive ingredients, just good hearty food that doesn’t break the bank. Obsessed.

yesterday

I tried making this for a date night last week and accidentally used smoked paprika instead of regular, and I thought I ruined it! Turns out it was amazing, the smoky flavor paired so well with the garlic and the juicy chicken. My date thought I was a total cooking genius, little does he know I messed up the ingredient measurement. 😂

18 hours ago

Oh I do that all the time! Half my favorite recipe hacks came from accidentally using the wrong ingredient. I bet the smoked paprika version is incredible, I’m going to try that next time I make this.

12 hours ago

That’s our favorite kind of cooking win, Emma! We’re big fans of smoked paprika around here too, so that swap sounds absolutely delicious. So glad your date night was a hit, even with the happy accident!

2 weeks ago

Made this for our multigenerational Sunday supper last weekend, and my 92 year old grandpa said it tasted just like the chicken his mom used to make when he was growing up on an Amish farm in Indiana. I almost cried, that’s the best review I could ever get for a recipe. Thank you so much for sharing this!

13 days ago

Clara, this comment made our whole day! Getting to help people make those special family food memories is exactly why we share these classic recipes. Say hi to your grandpa for us, we’re so honored this recipe got his seal of approval.

5 minutes ago

The leftovers from this make the BEST chicken salad the next day! I chopped up the leftover chicken, mixed it with a little mayo, celery, onion, and a pinch of dill, and had amazing chicken salad sandwiches for lunch all week. Don’t sleep on the leftovers, they’re just as good as the fresh baked version!



