
anchovy broth
intro
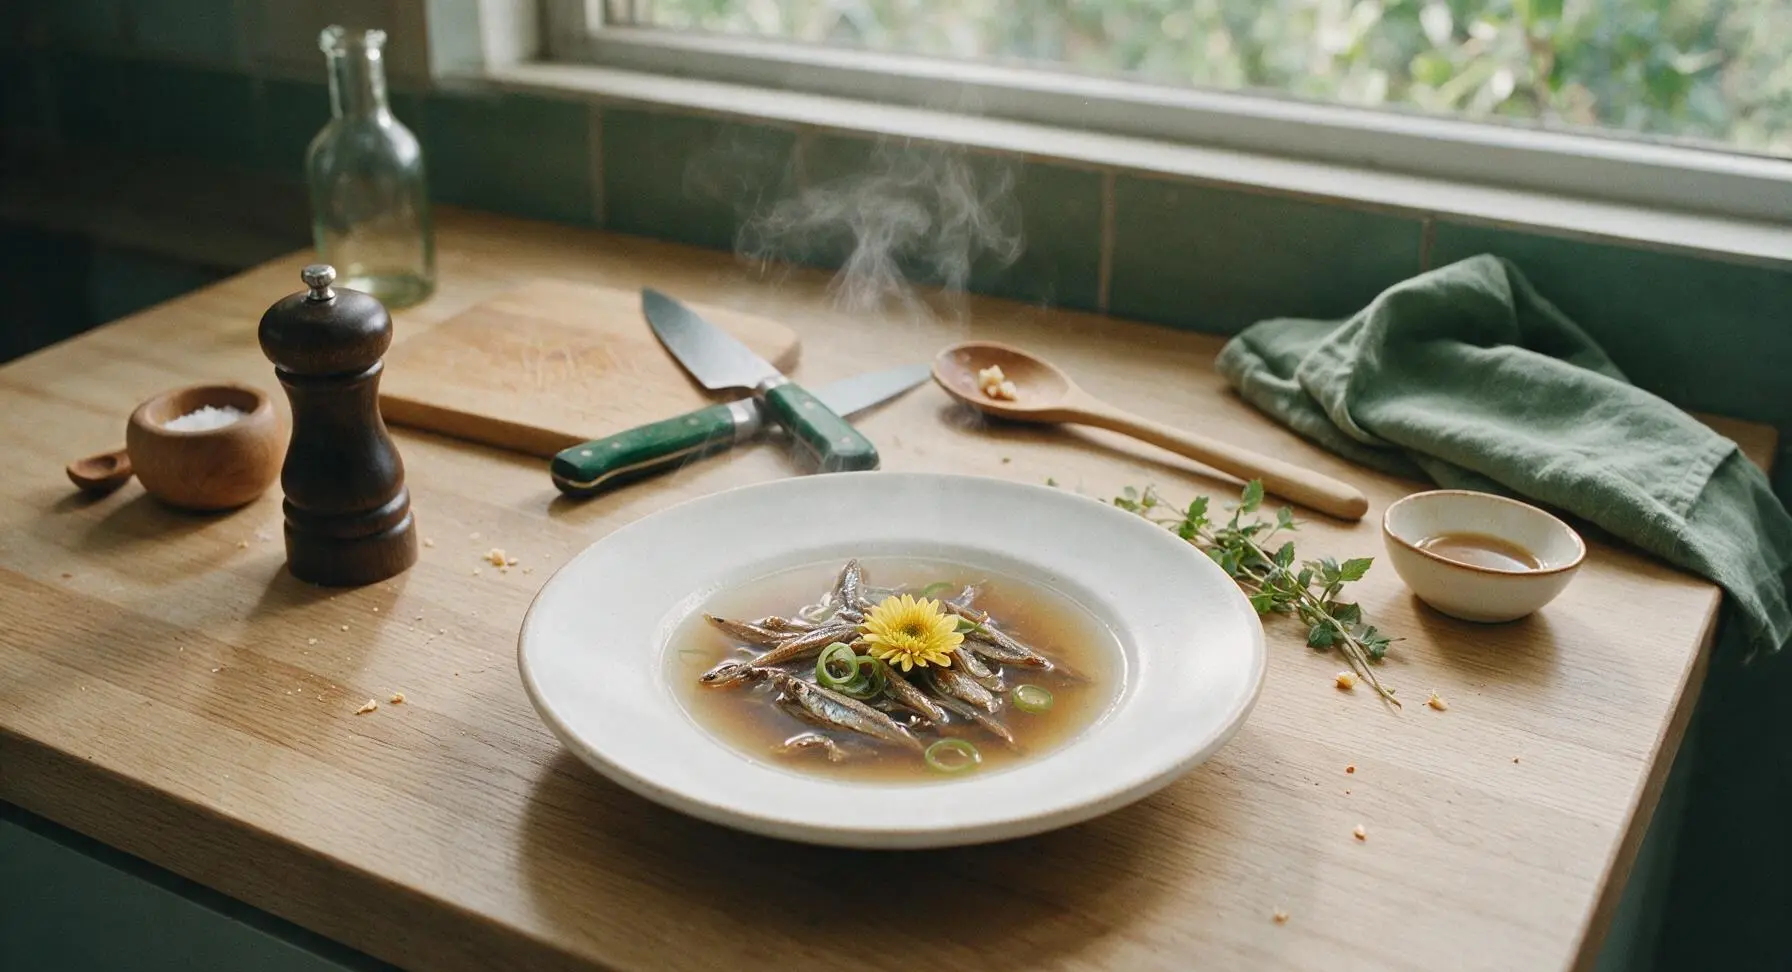
This light, umami-packed dried anchovy broth is the versatile, quick-to-make backbone of countless Korean and Japanese home dishes, from noodle soups to savory stews.
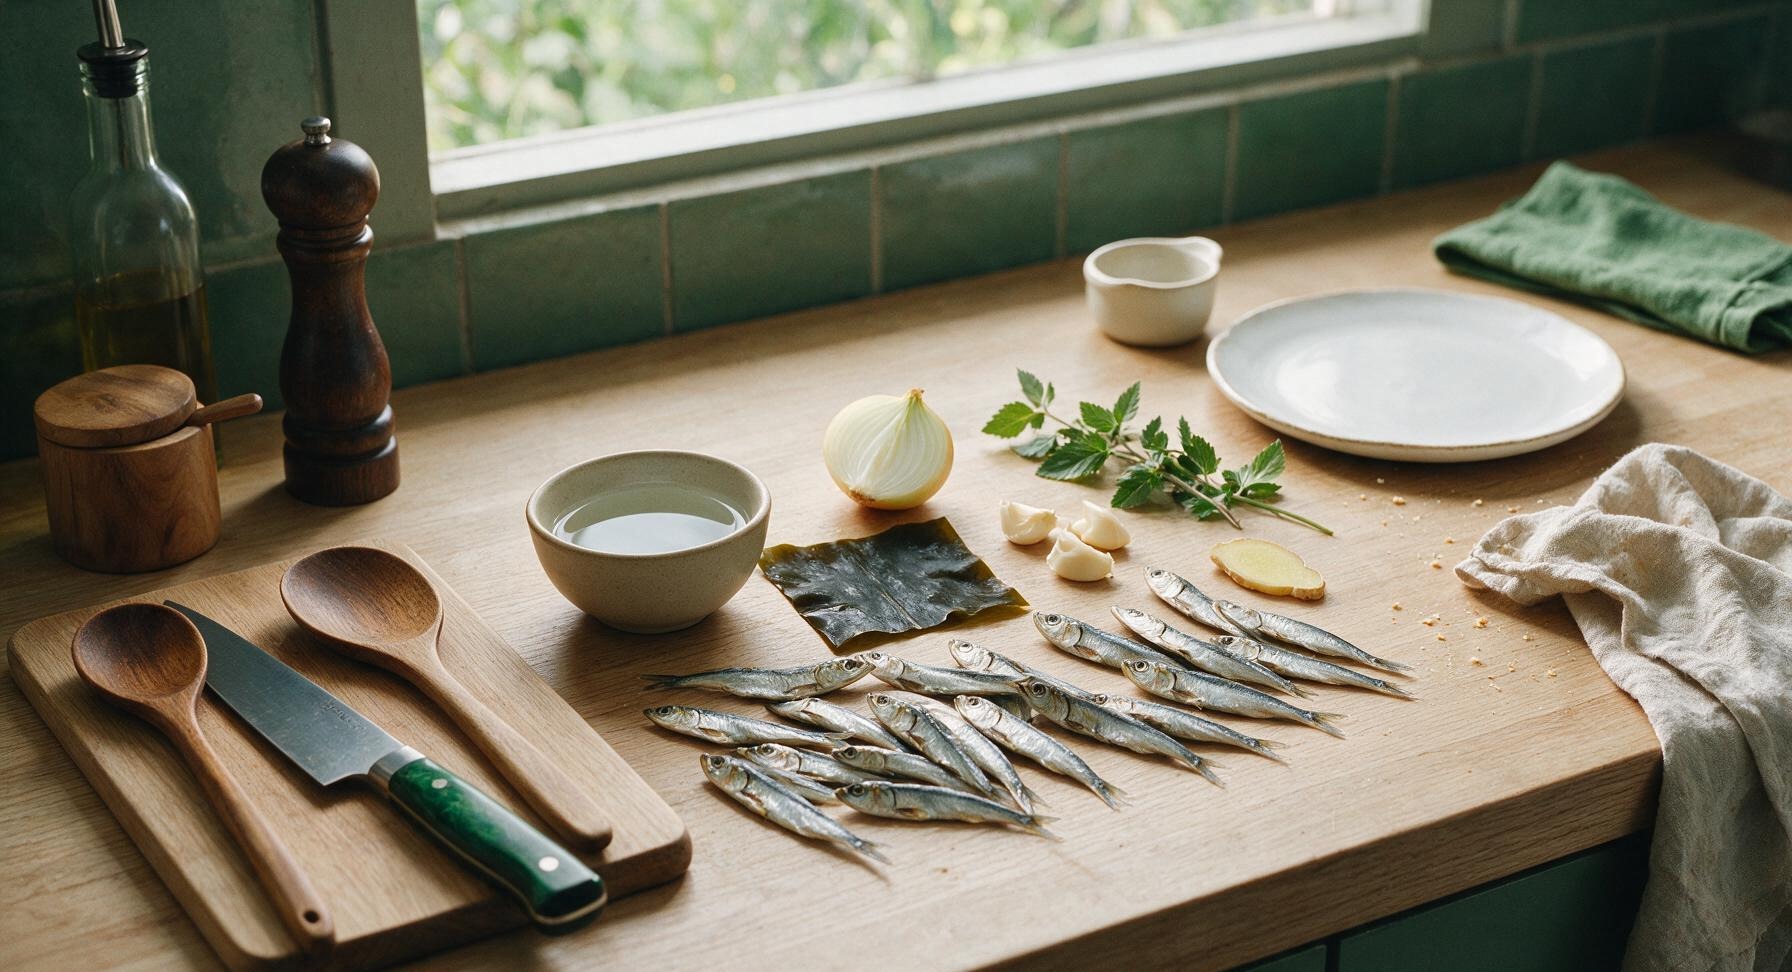
Ingredients
Steps
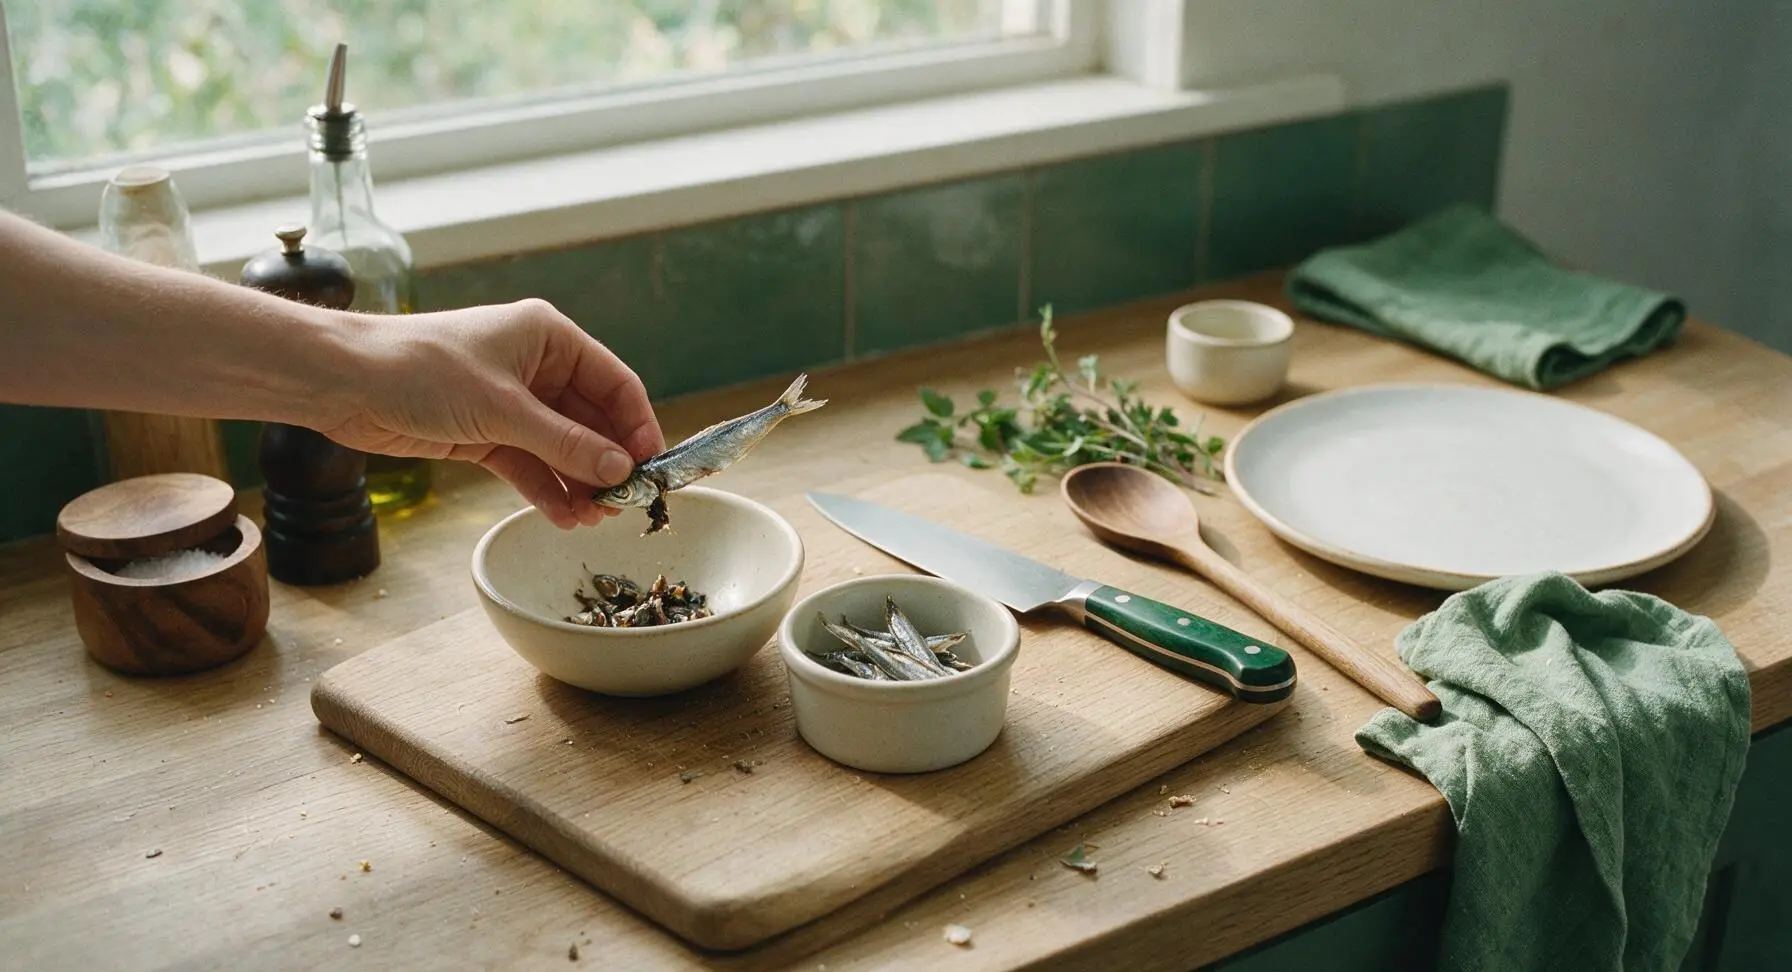
Clean dried anchovies
Place the small bamboo cutting board at the center of the counter. Working one anchovy at a time, use the stainless steel paring knife to twist off and remove the head, then split the body open to pull out the dark, bitter internal gut sac. Drop cleaned anchovy bodies into the small matte off-white ramekin, and discard heads and guts into the cream scrap bowl. Removing these parts eliminates bitter, overly fishy notes that would ruin the broth’s clean flavor.
Prep kombu and aromatics
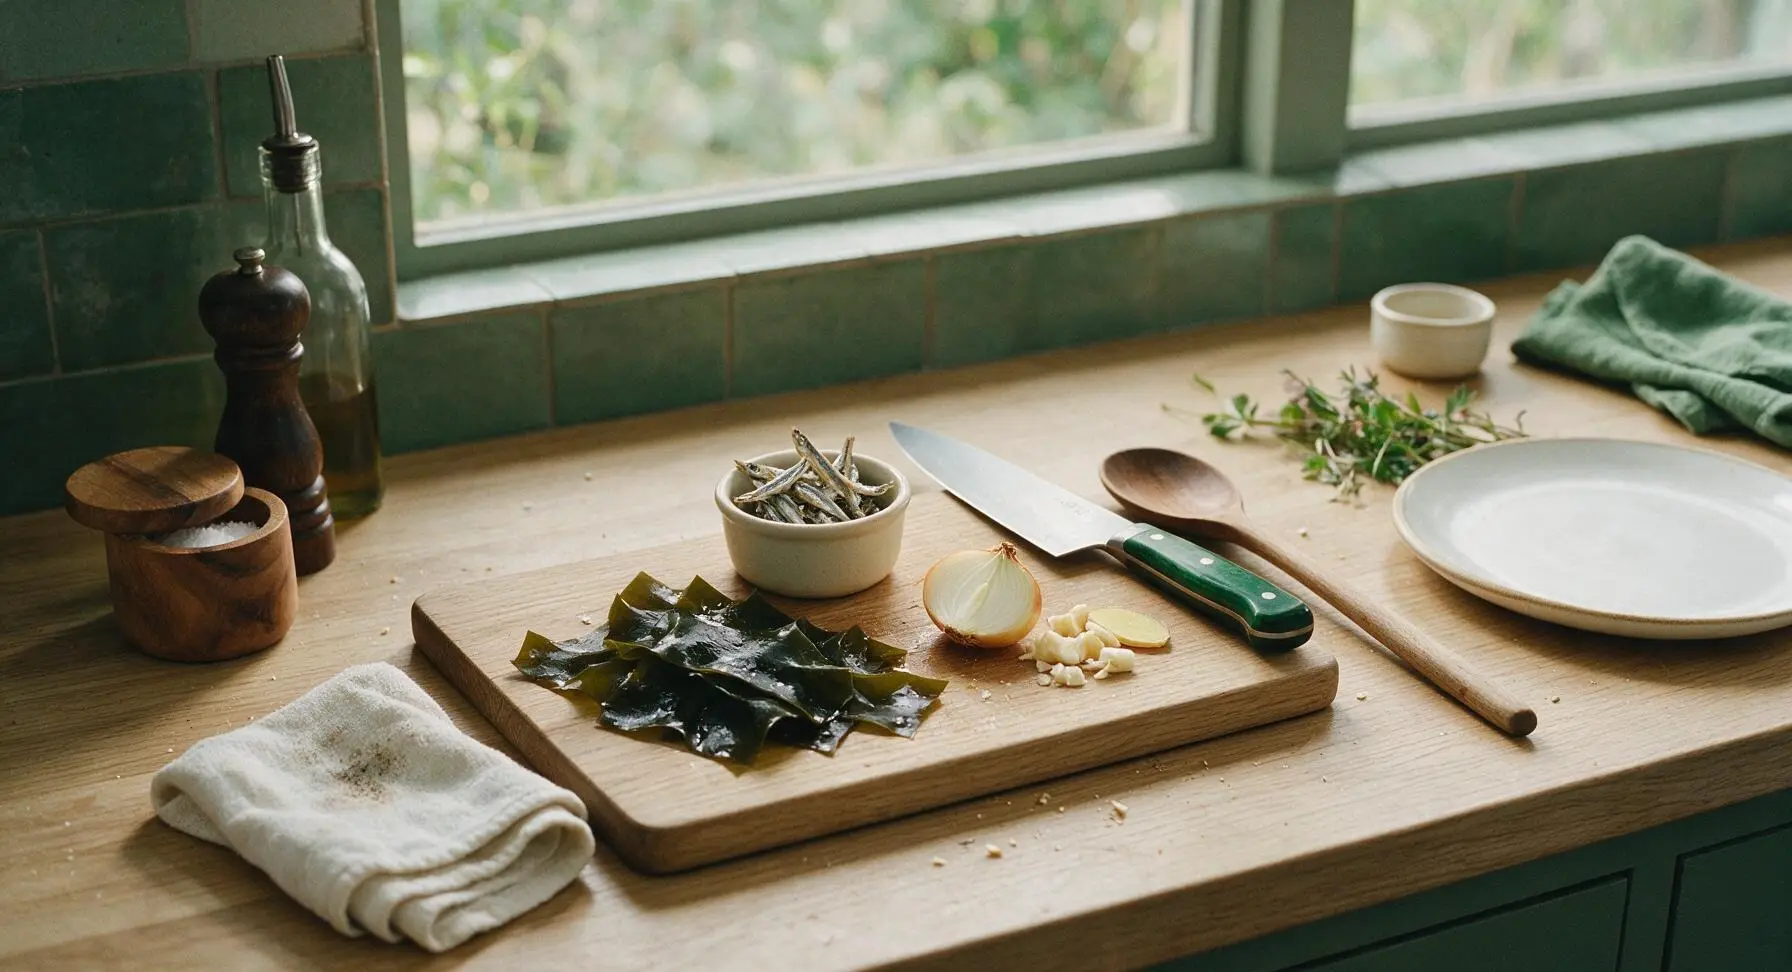
Gently wipe the surface of the dried kombu with a dry corner of the folded cotton towel to brush off any loose surface dust; do not wipe away the white powdery mannitol coating, which is concentrated umami. Arrange the wiped kombu, halved onion, crushed garlic, and optional ginger slice on the edge of the cutting board. Do not cut the kombu into small pieces, as this releases bitter, slimy alginate compounds into the broth during cooking.
Add ingredients to pot
Set the 3-quart stainless steel stock pot on the counter in front of the induction burner. Pour all 4 cups of cold filtered water from the glass carafe into the pot, then add the cleaned anchovies, kombu, onion, garlic, and ginger. Press ingredients gently with the wooden chopsticks to ensure all are fully submerged; do not stir aggressively, as this can cloud the final broth. Let ingredients soak in cold water for 10 minutes to gently draw out umami flavors before heating.
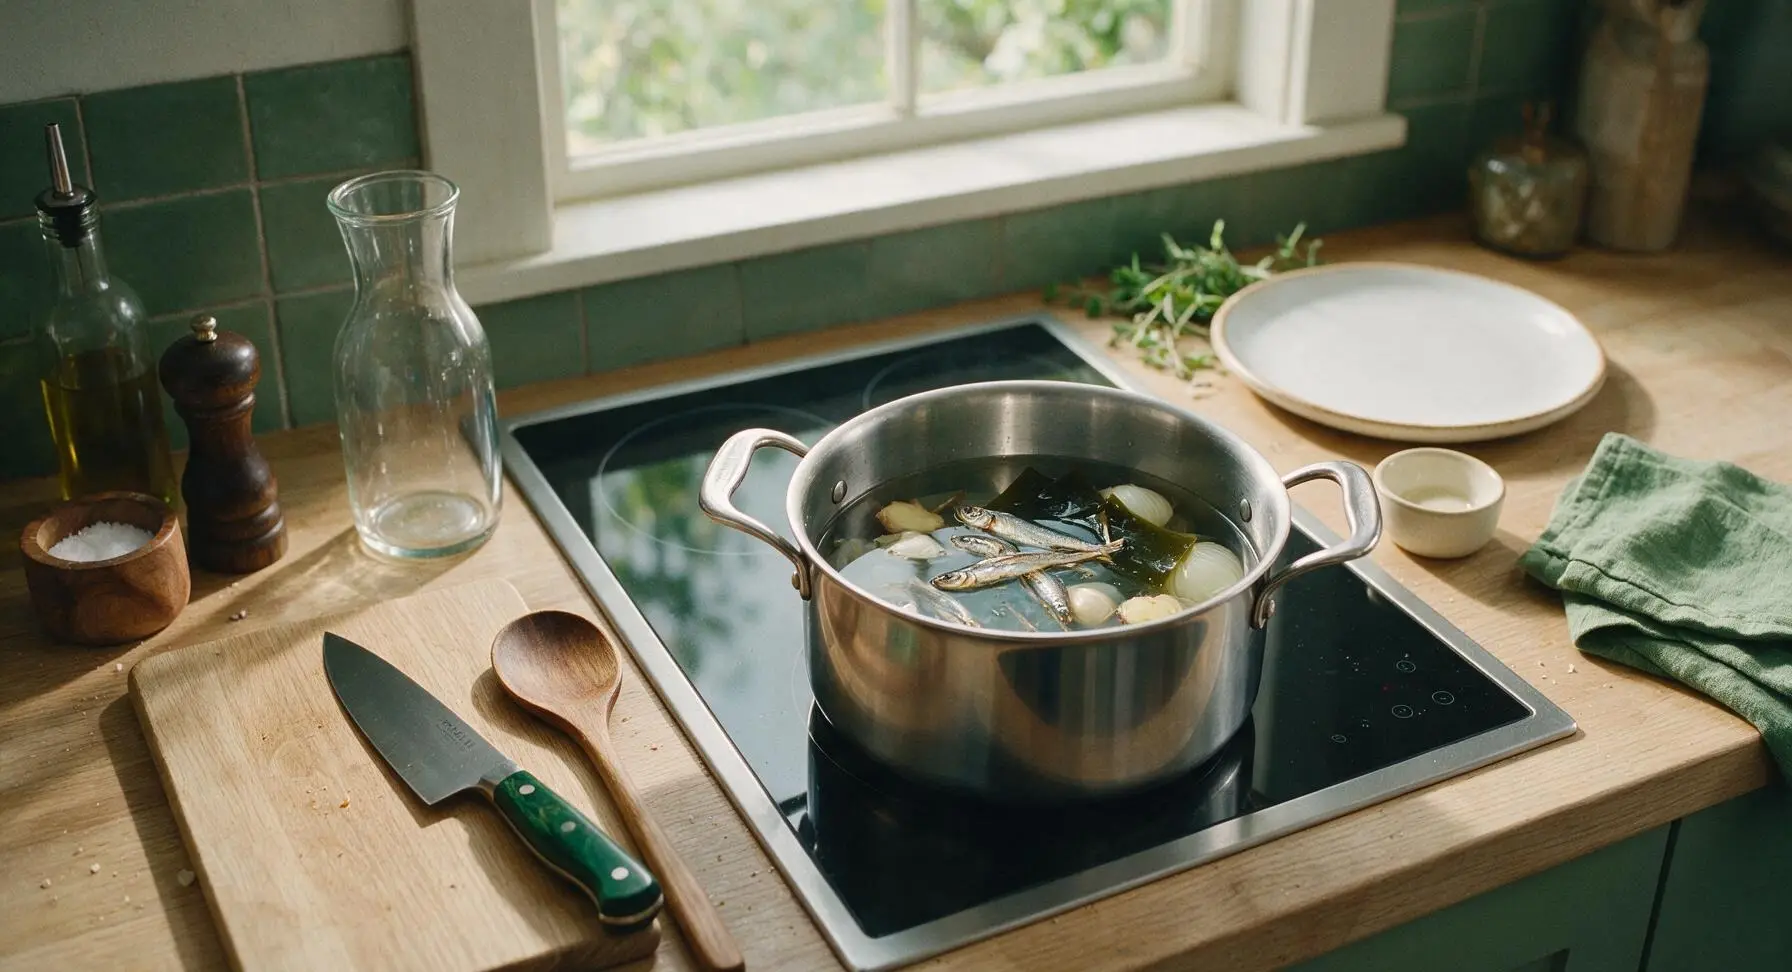
Heat to gentle simmer
Transfer the stock pot onto the induction burner, and set heat to medium-low. Slowly bring the water to a gentle, edge-only simmer (180°F / 82°C) over 8-10 minutes. Watch closely: do not allow the water to reach a rolling boil, as high heat agitates anchovy bones and kombu to release bitter compounds and cloud the broth. The correct simmer will show only tiny pinprick bubbles breaking around the pot edges, with no large, turbulent bubbles.
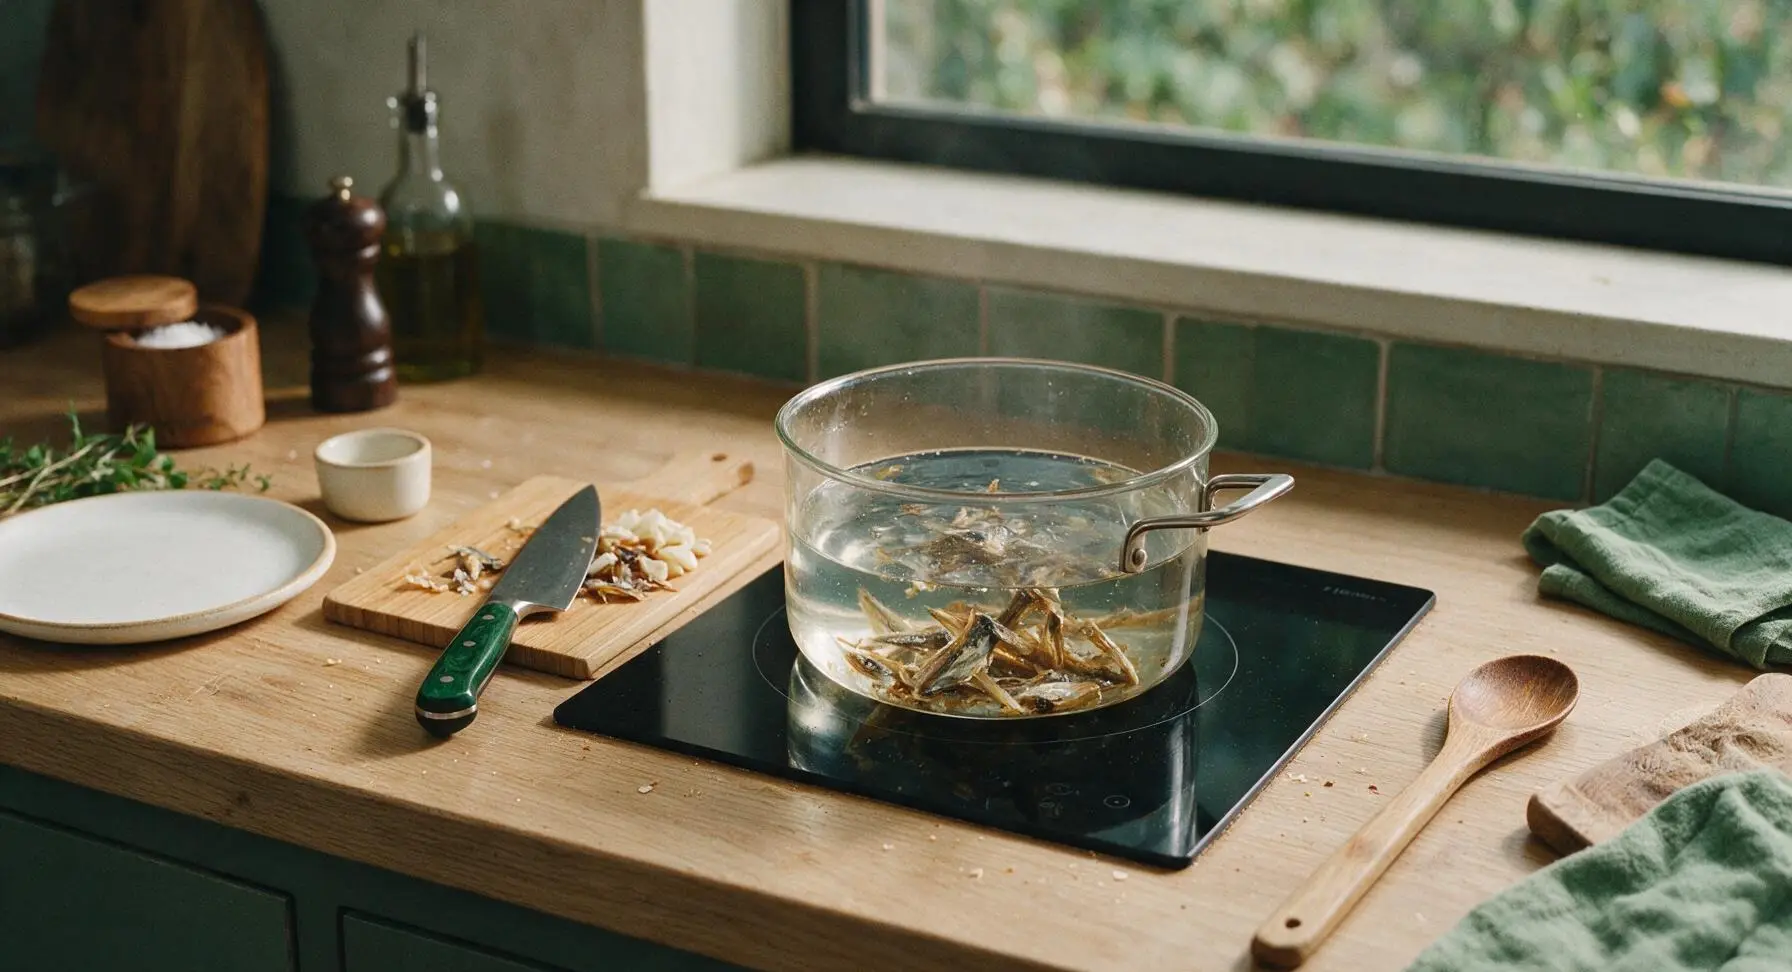
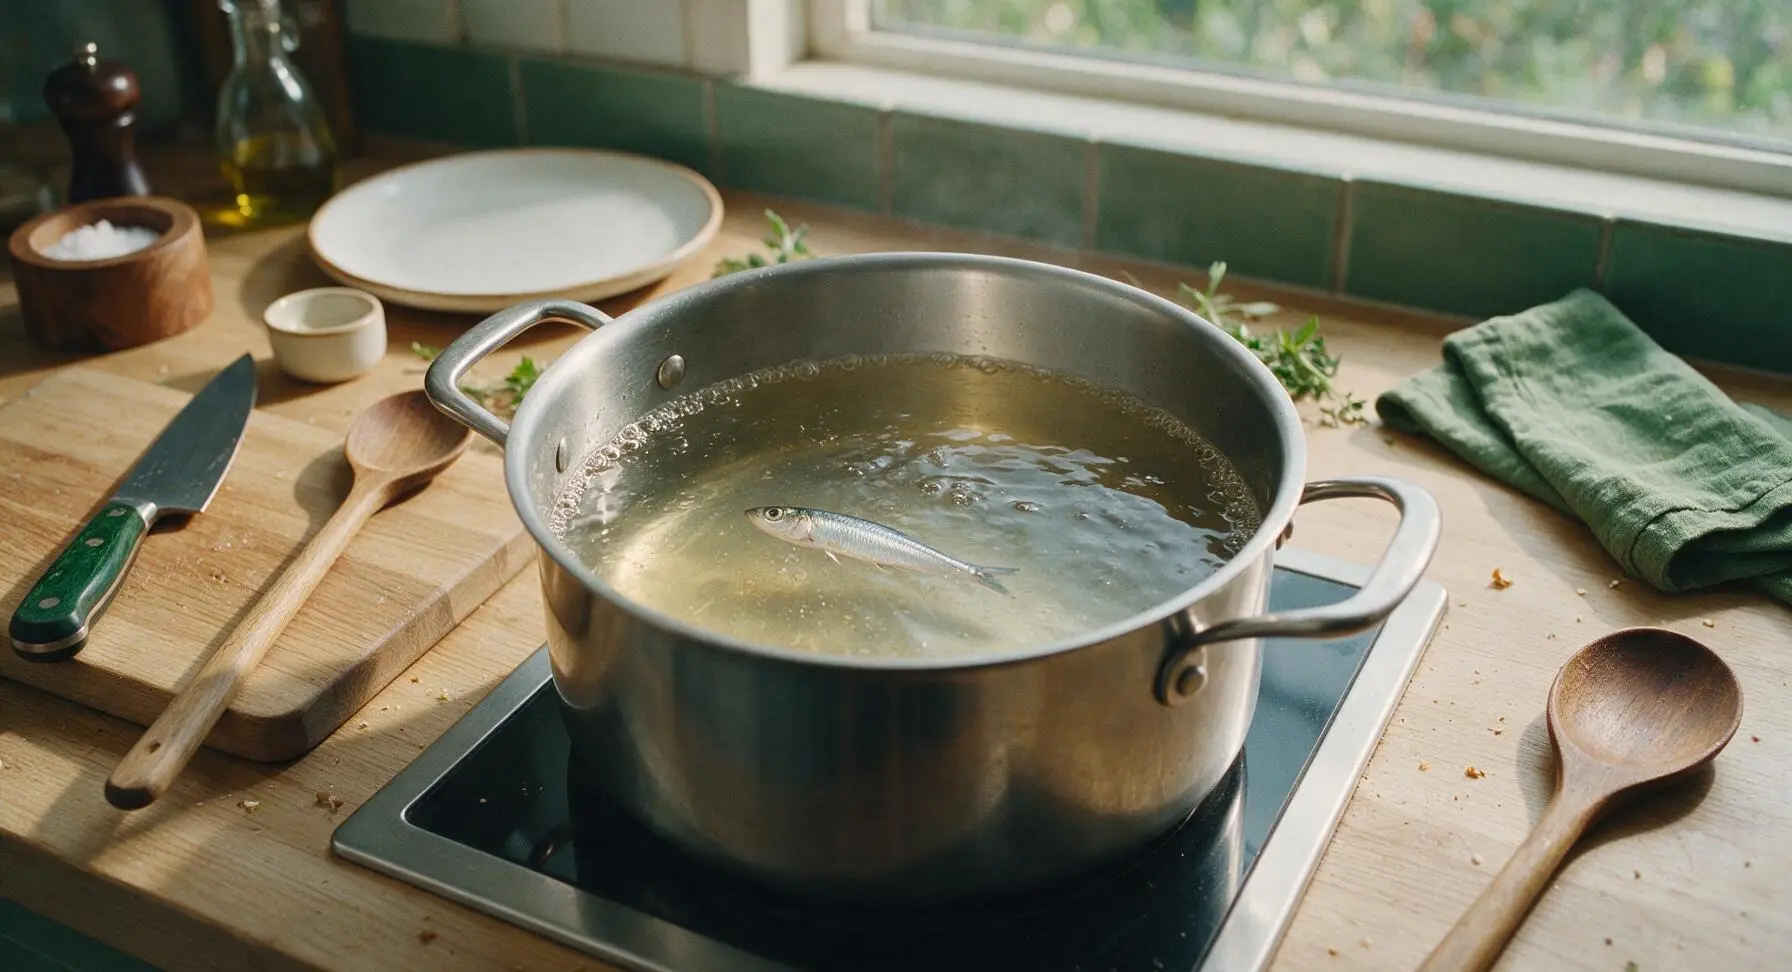
Remove kombu, simmer slowly
Once the gentle edge simmer is reached, use the wooden cooking chopsticks to lift the kombu piece out of the pot, and set it on the corner of the cutting board (it can be reused for a second weaker broth, or pickled for a side dish). Continue to simmer the remaining anchovies and aromatics for exactly 10 minutes, adjusting heat as needed to maintain the soft, non-boiling simmer. If a boil starts, add 2 tablespoons of cold water immediately to lower the temperature.
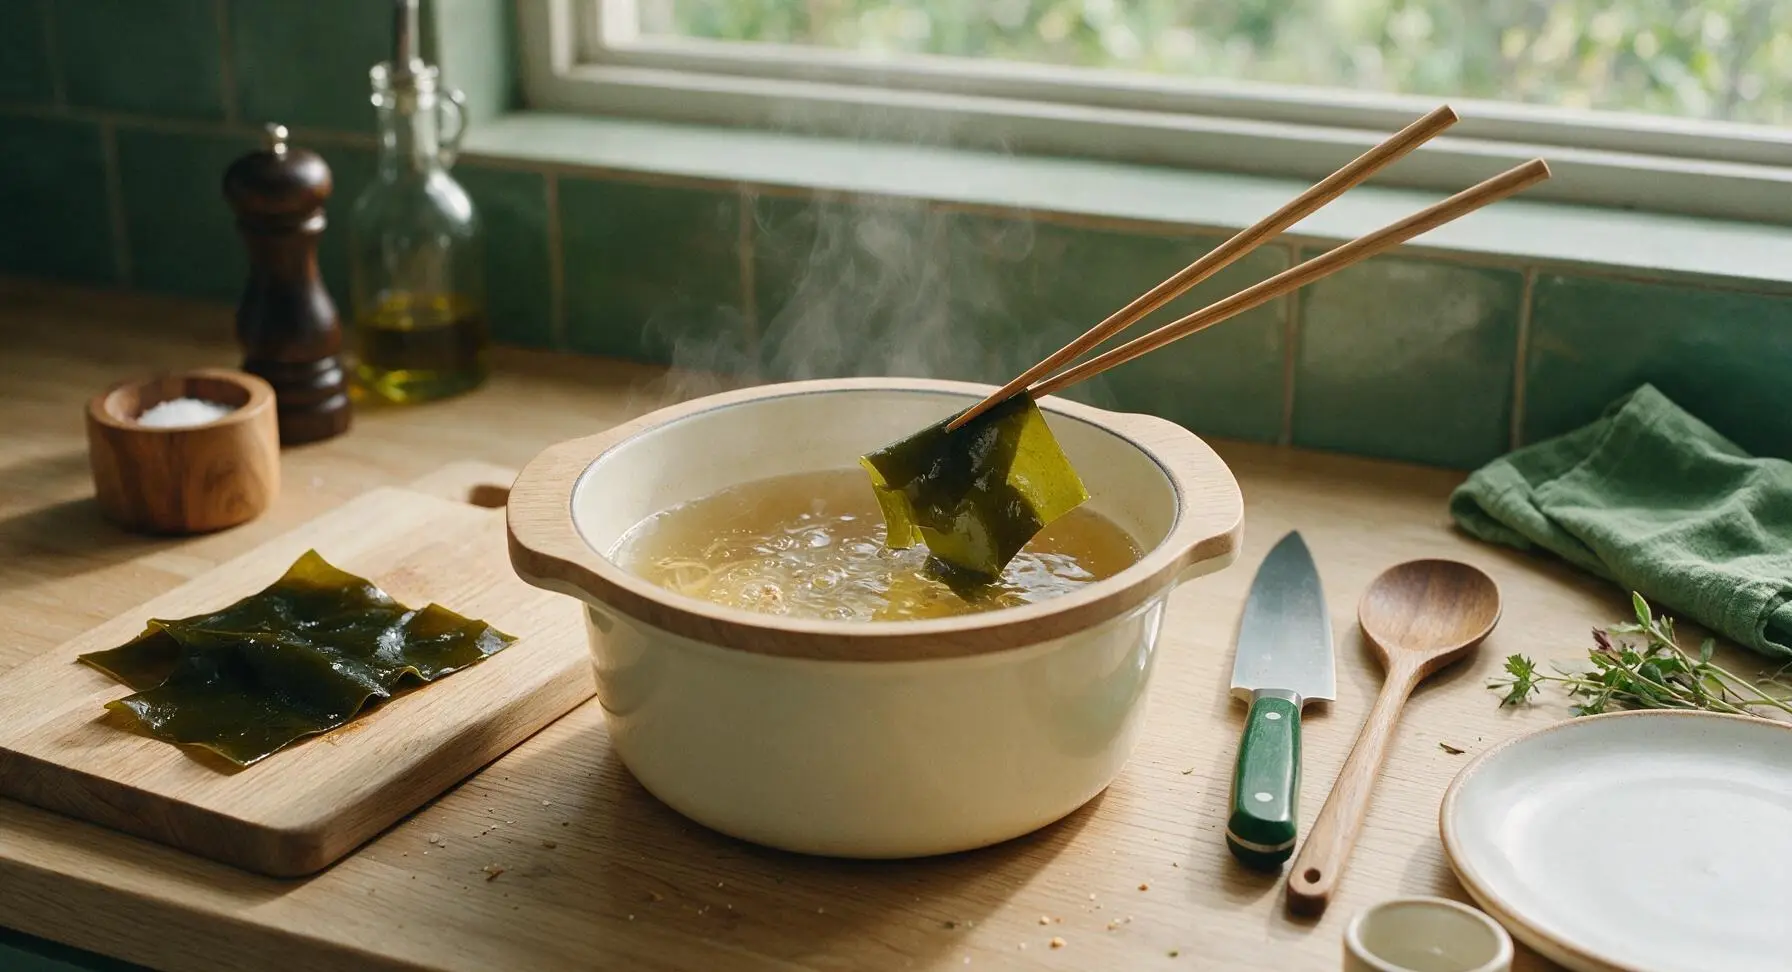
Strain out solid ingredients
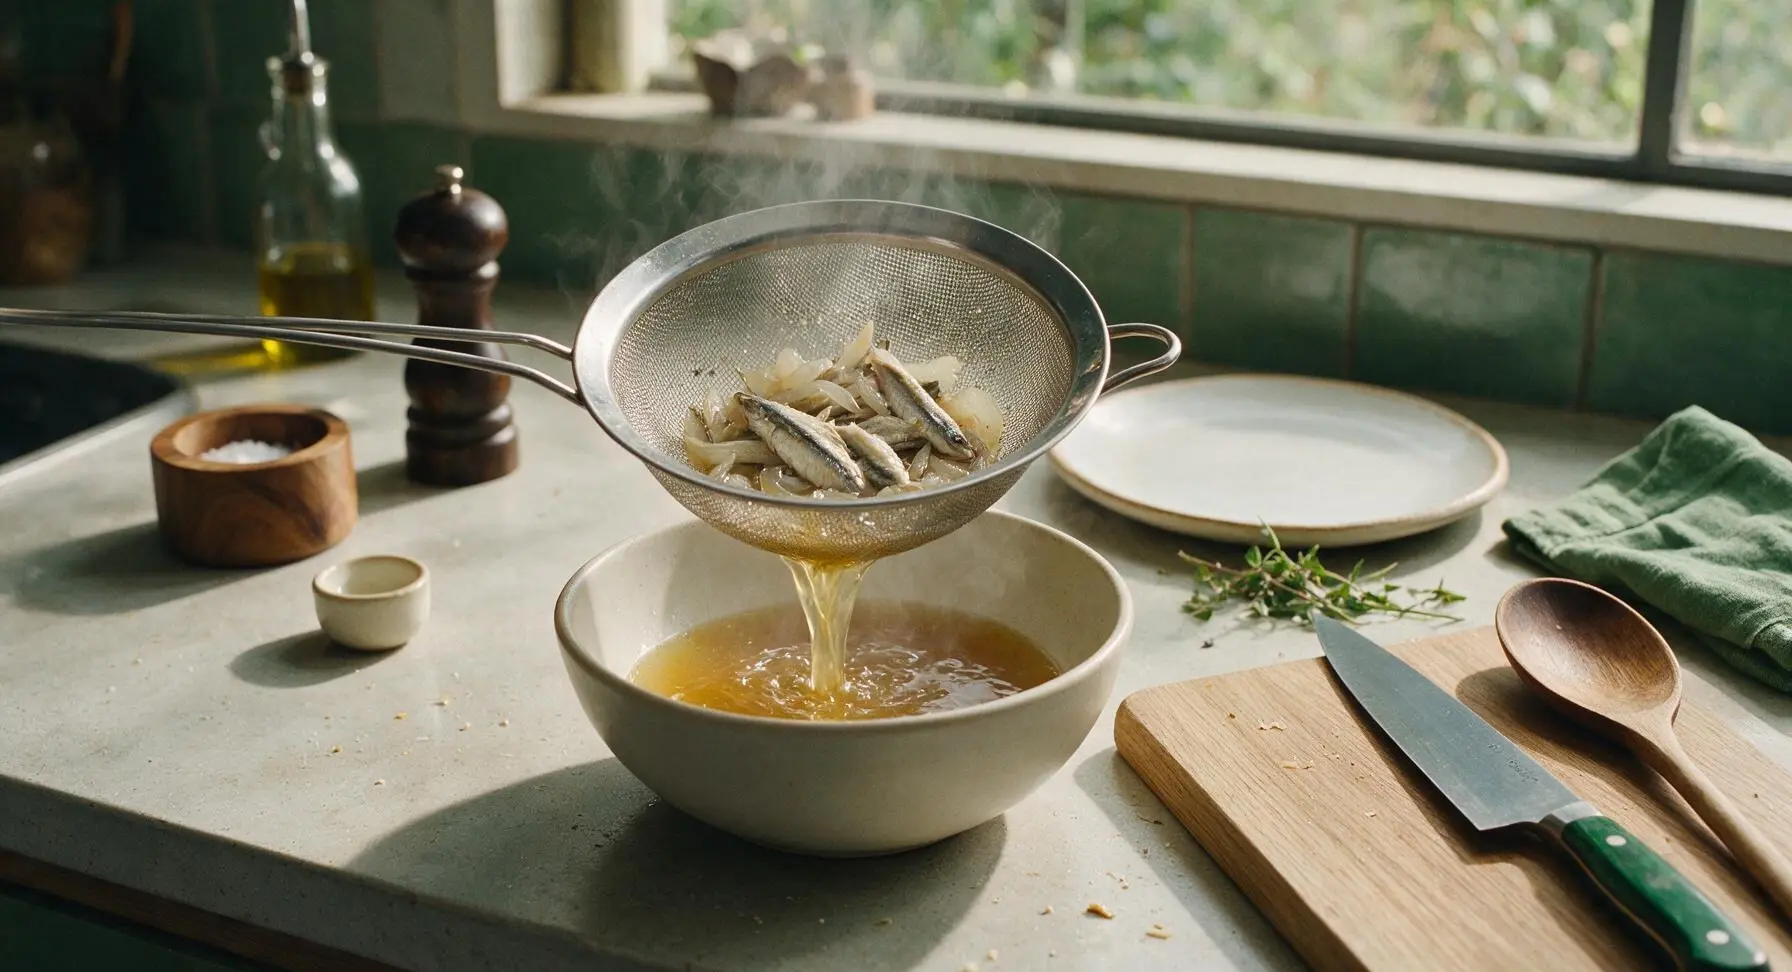
After 10 minutes of simmering, turn off the induction burner. Pull the fine-mesh stainless steel strainer from the wooden utensil caddy, and hold it over the matte off-white ceramic soup bowl positioned center counter. Slowly pour the hot broth through the strainer, catching all anchovies, onion, garlic, and ginger in the mesh. Do not press on the trapped solids, as squeezing will force bitter, cloudy sediment into the clear broth.
Rest broth before use
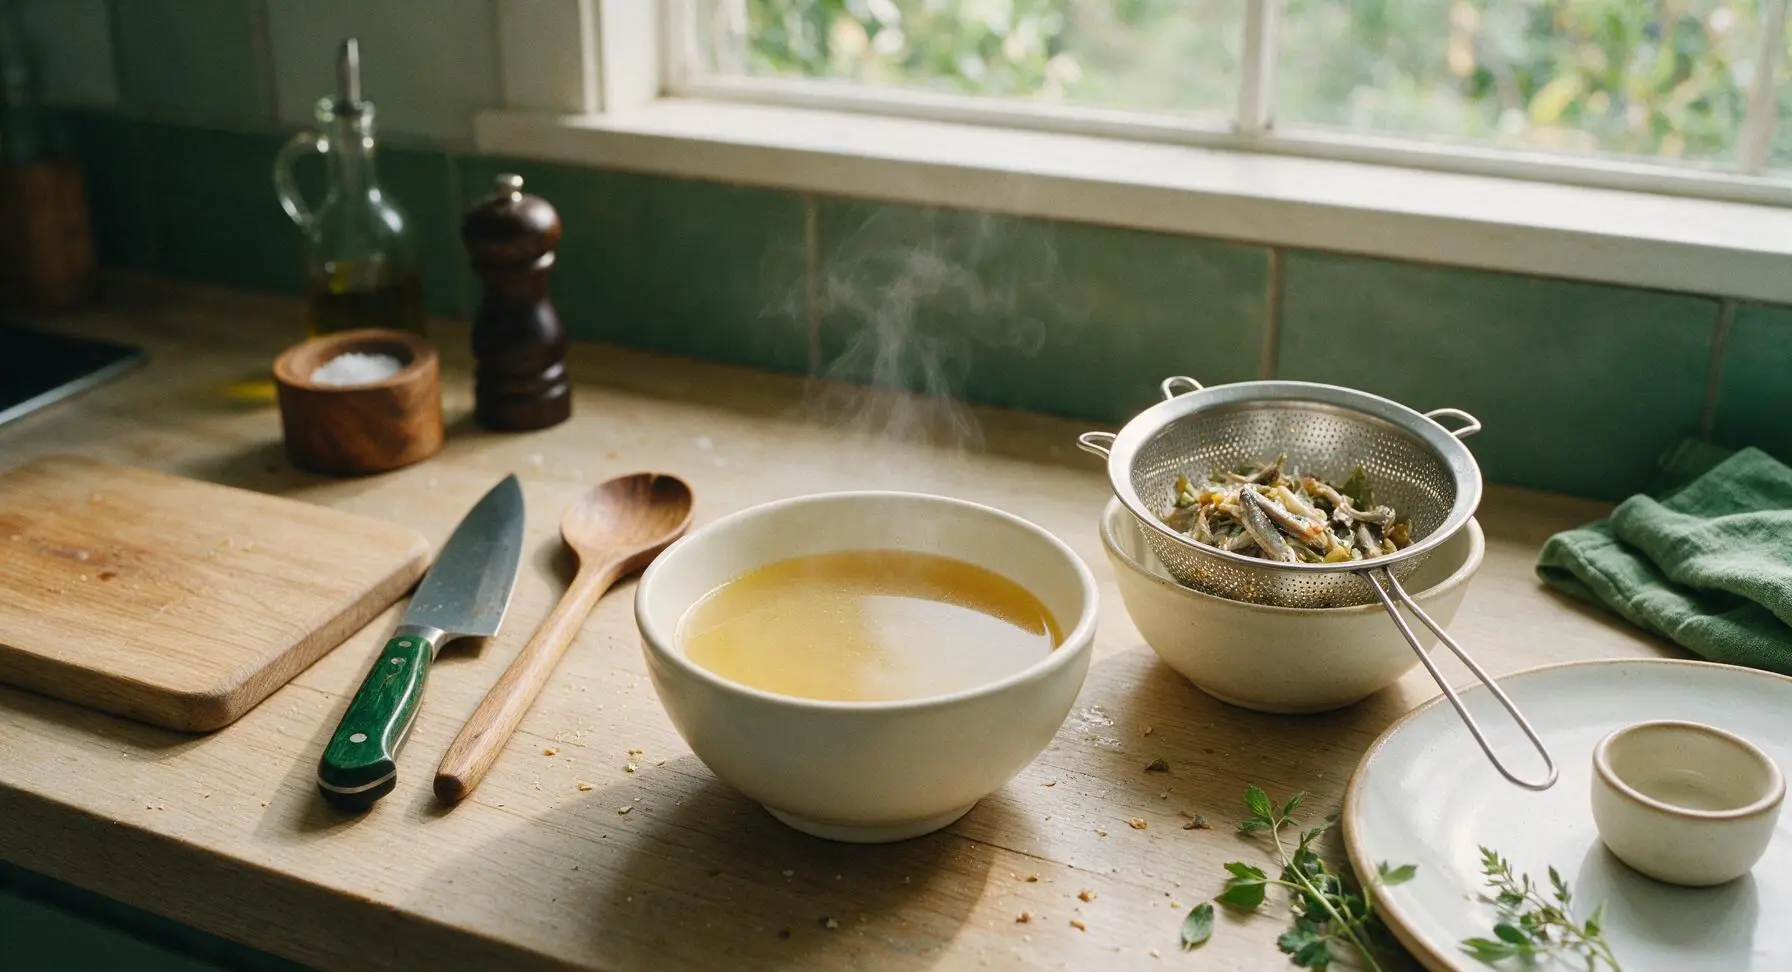
Let the strained broth sit undisturbed for 2 minutes to allow any fine remaining sediment to settle to the bottom of the bowl. Skim any tiny surface bubbles with a corner of paper towel if desired for a perfectly clear finish. Use immediately for noodle soups, jjigae, miso soup, or poaching, or cool completely and store in an airtight container for up to 3 days in the fridge, or 3 months in the freezer.
Tips
2.Always remove anchovy heads and dark internal gut sacs: these parts hold concentrated bitter, overly fishy flavors that will overpower the broth’s balanced umami, even with short cooking times.
3.For a deeper, nuttier broth perfect for hearty winter stews, toast cleaned anchovies in a dry pot for 1 minute over low heat before adding cold water; this will darken the broth slightly and add a warm, roasted depth.





OMG this broth is SO good! I used it as a base for my homemade udon soup last night for family dinner and everyone went back for seconds. Total game changer for my weeknight meals, no more sad store-bought broth!
Quick question – do I *have* to remove the heads and innards of the anchovies? I’m short on time for meal prep this week and wondering if I can skip that step without ruining the whole batch.
My kids were so weirded out when they saw me dumping dried anchovies into a pot lmao, but once I used this broth to make tteokbokki they begged me to make a double batch next weekend. 10/10, so easy even someone who burns toast can pull this off!
Solid, straightforward recipe. I’ve been making anchovy broth for years but I always over-simmered it and made it too briny – the 15 minute simmer time here is exactly right. Used it for a miso soup potluck last weekend and everyone asked for the recipe.
Ugh I messed up my first batch because I used salted anchovies instead of the unsalted dried ones and it was so salty it was basically undrinkable 😭 Don’t make my mistake, guys!
Game changer! I portioned this broth into ice cube trays after it cooled and froze them so I can pop a few out whenever I need a quick flavor base for stir fries, soups, even rice. Cook time is so short it’s totally worth making a big batch on Sunday for meal prep.
I don’t have any dried kelp on hand right now – can I still make this broth without it? Will it taste super plain?
My grandma used to make anchovy broth all the time when I was a kid and this recipe tastes exactly like hers. I got a little emotional when I took the first sip ngl. 20 minute cook time is perfect for my lazy weeknights too, no fuss at all.
SO good! I was worried it would be overpoweringly fishy but it’s just rich, savory, and the perfect umami base. Used it for my kimchi jjigae last night and my roommate said it was the best batch I’ve ever made.
Tried this for the first time yesterday and added a handful of dried shrimp to the pot along with the anchovies because I had them lying around. 10/10, extra umami punch, will be doing that every time now.
Super easy recipe, perfect for someone like me who’s totally new to making Korean food at home. I was so intimidated by making my own broth but this was foolproof. Only thing I did wrong was boil it too hard at first, but I turned it down to a simmer like the recipe said and it turned out great.
Made this for a potluck with my neighbors last weekend and everyone was shocked how much flavor was in the broth! I used it to make a big pot of doenjang jjigae and it was gone in 15 minutes flat. Will be making this monthly from now on.
Is there a good substitute for dried anchovies? I have a shellfish allergy but I really want to make that deep umami broth for my noodle soups.
OMG I can’t believe how cheap this is to make! A whole big pot of broth for like $2 worth of ingredients, way better than paying $5 for a quart of store-bought broth that’s full of preservatives. Already added dried anchovies to my regular grocery list.
Rookie mistake alert! I left the pot simmering and got distracted playing video games so it cooked down way more than it should have, but I just added a little extra water and it still tasted bomb. 10/10 forgiving recipe for us chaotic cooks.
I’ve been using this broth for everything lately – poaching eggs, cooking rice, even as a base for my homemade salad dressing? Don’t knock it till you try it, the umami is unreal. Who knew dried anchovies could be so versatile!