
Anisette Toast
intro
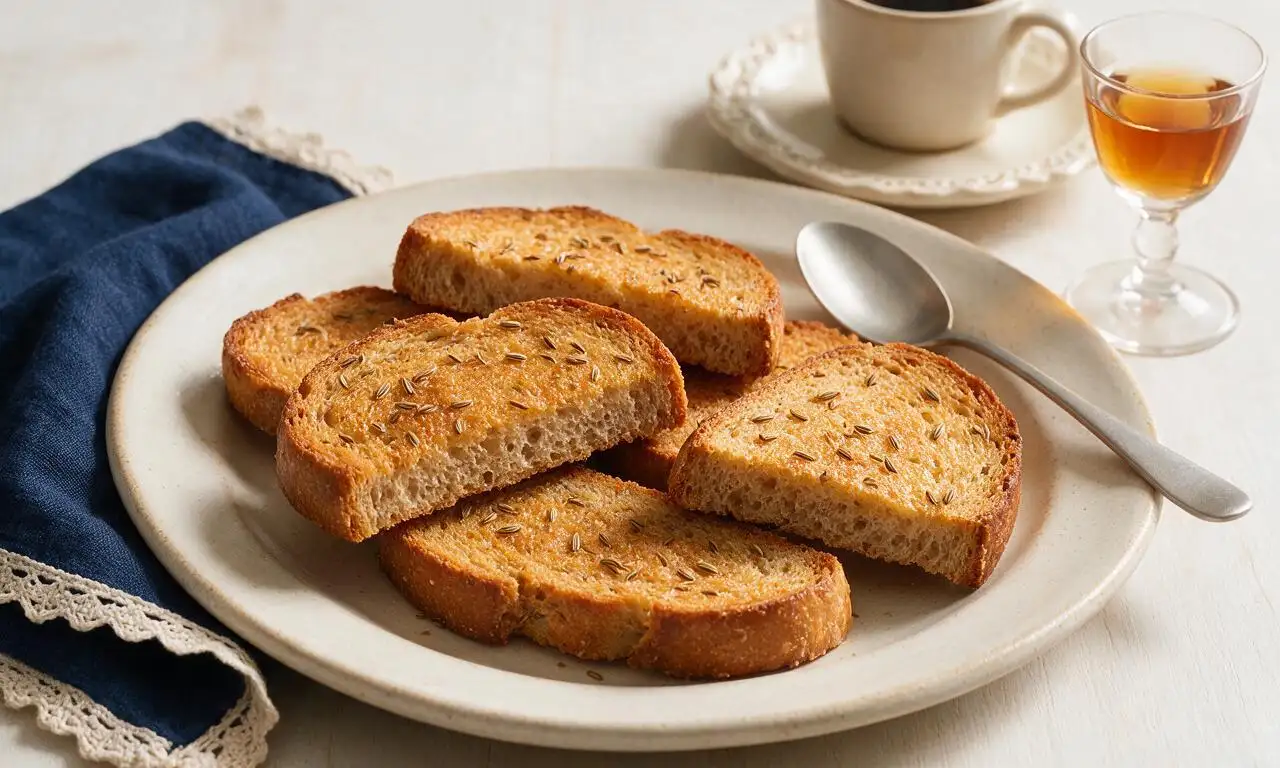
Crisp, twice-baked sweet toasts infused with warm anisette liqueur and anise seed, perfect for dipping in coffee or dessert wine, with a delicate aromatic licorice note.
Ingredients
Steps
Prep oven and bakeware
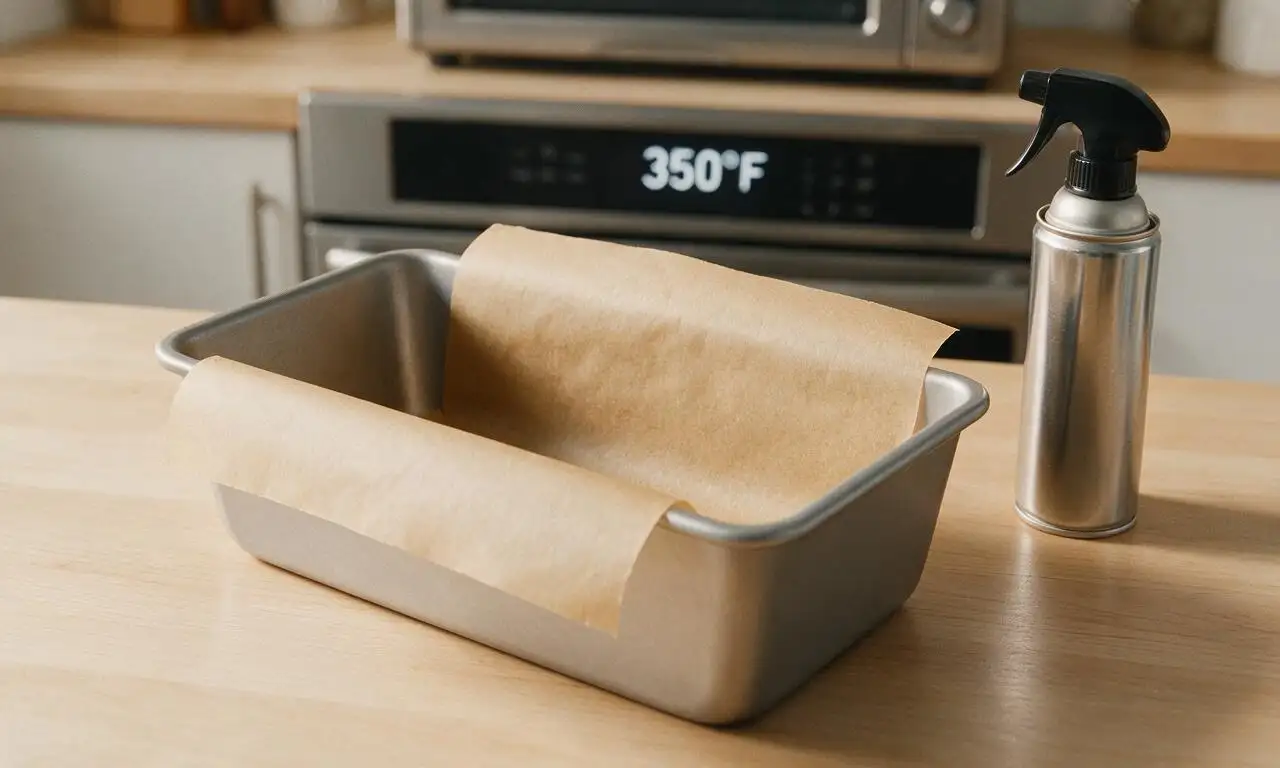
Adjust an oven rack to the middle position, then preheat the oven to 350°F (175°C). Line a 9x5 inch (23x13cm) metal loaf pan with parchment paper, leaving 2-inch (5cm) overhang on the two long sides for easy loaf removal later. Lightly coat any exposed pan edges with nonstick cooking spray.
Whisk dry ingredients
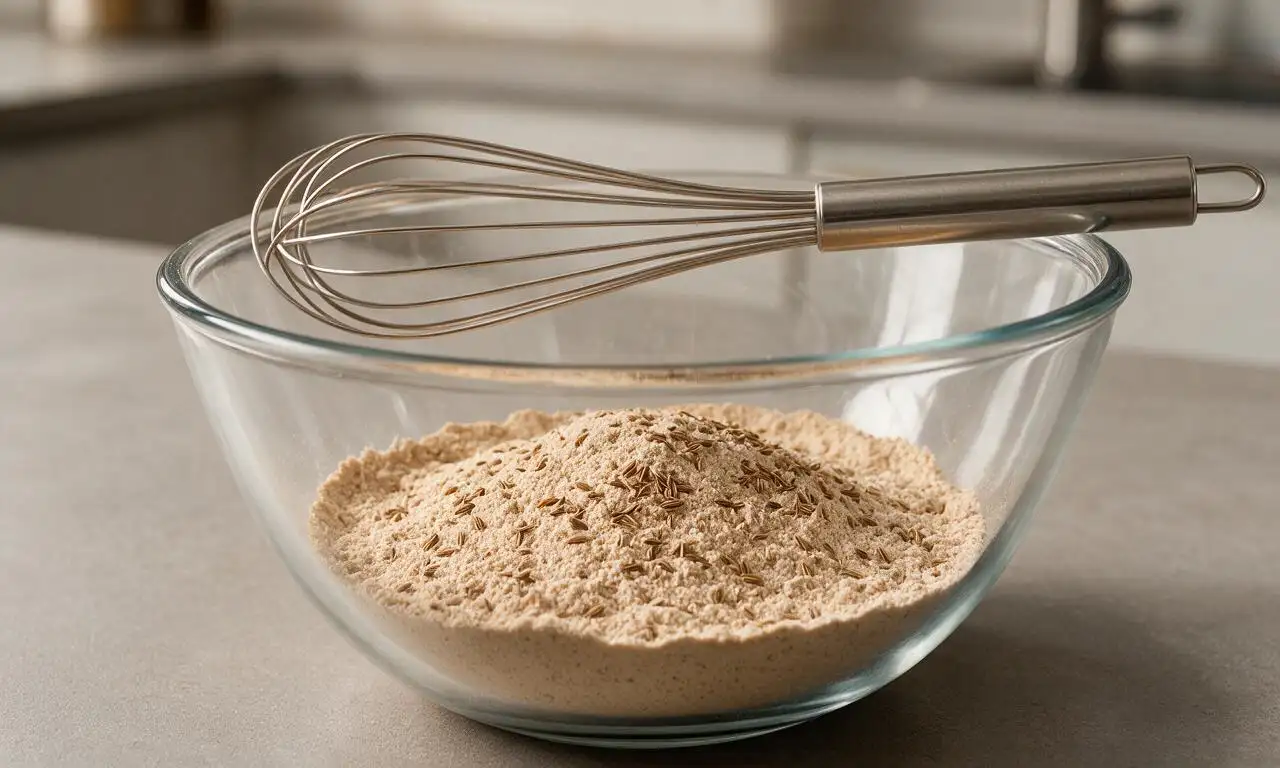
In a medium glass mixing bowl, combine 2 cups (240g) all-purpose flour, 1 ½ teaspoons baking powder, ¼ teaspoon fine sea salt, and 1 teaspoon lightly crushed whole anise seeds. Whisk for 30 seconds until fully blended, with no visible clumps of baking powder left in the mixture.
Mix wet batter base
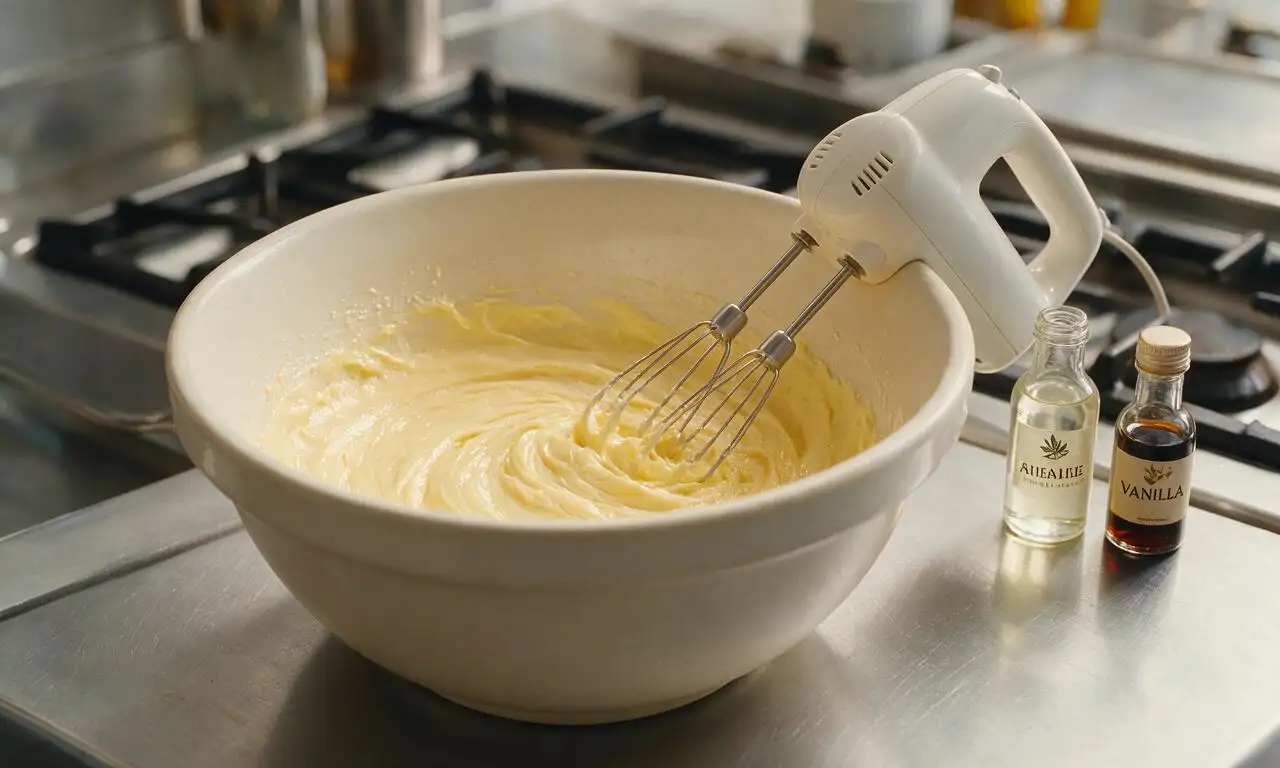
In a large mixing bowl, beat 3 room-temperature large eggs with ¾ cup (150g) granulated sugar on medium speed with an electric mixer for 2 minutes (3 minutes if whisking by hand) until the mixture is pale lemon-yellow, thickened, and leaves a slow-falling ribbon when the beaters are lifted. Stir in 6 tablespoons (85g) cooled melted butter, 3 tablespoons (45ml) anisette liqueur, and 1 teaspoon vanilla extract until fully incorporated.
Bake the initial loaf
Fold the dry ingredient mixture into the wet batter using a rubber spatula, mixing just until no dry flour streaks remain; do not overmix to avoid tough toasts. Scrape the thick batter evenly into the prepared loaf pan, smoothing the top flat with the spatula. Bake for 25 to 28 minutes, until the loaf top is golden domed, and a toothpick inserted into the center comes out with 2 to 3 moist crumbs attached. Let the loaf cool completely in the pan on a wire rack for 20 minutes.
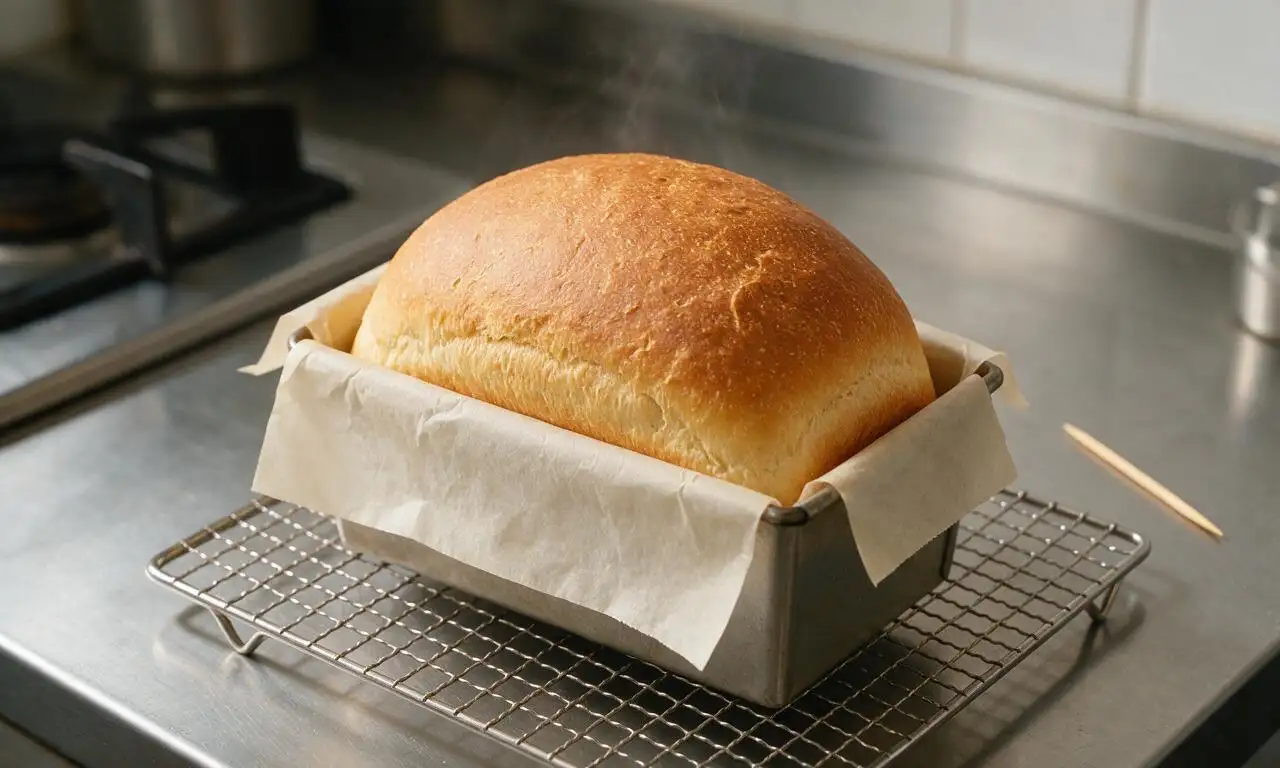
Slice cooled loaf evenly
Lift the fully cooled loaf out of the pan using the parchment paper overhang, and transfer it to a wooden cutting board. Use a sharp serrated bread knife to cut the loaf into uniform ½-inch (1.25cm) thick straight slices, keeping cuts even to ensure consistent toasting. Reserve crumbly end pieces for snacking if desired.
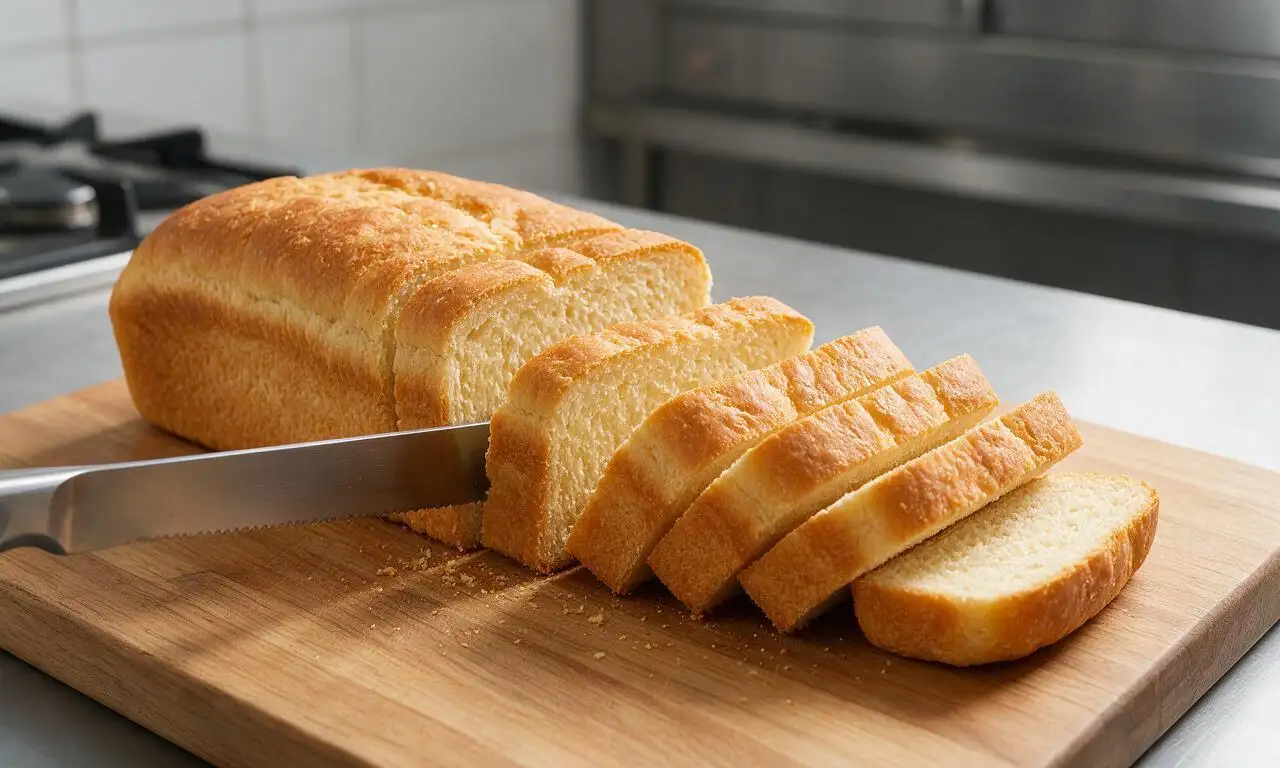
Toast slices until crisp
Arrange the cut slices in a single, non-overlapping layer on two parchment-lined rimmed baking sheets. Return the sheets to the 350°F (175°C) oven, baking for 10 minutes, then use metal tongs to flip each slice carefully. Bake for an additional 8 to 10 minutes, until both sides are light golden, dry, and crisp at the edges. Watch closely during the final 3 minutes of baking to prevent burnt edges.
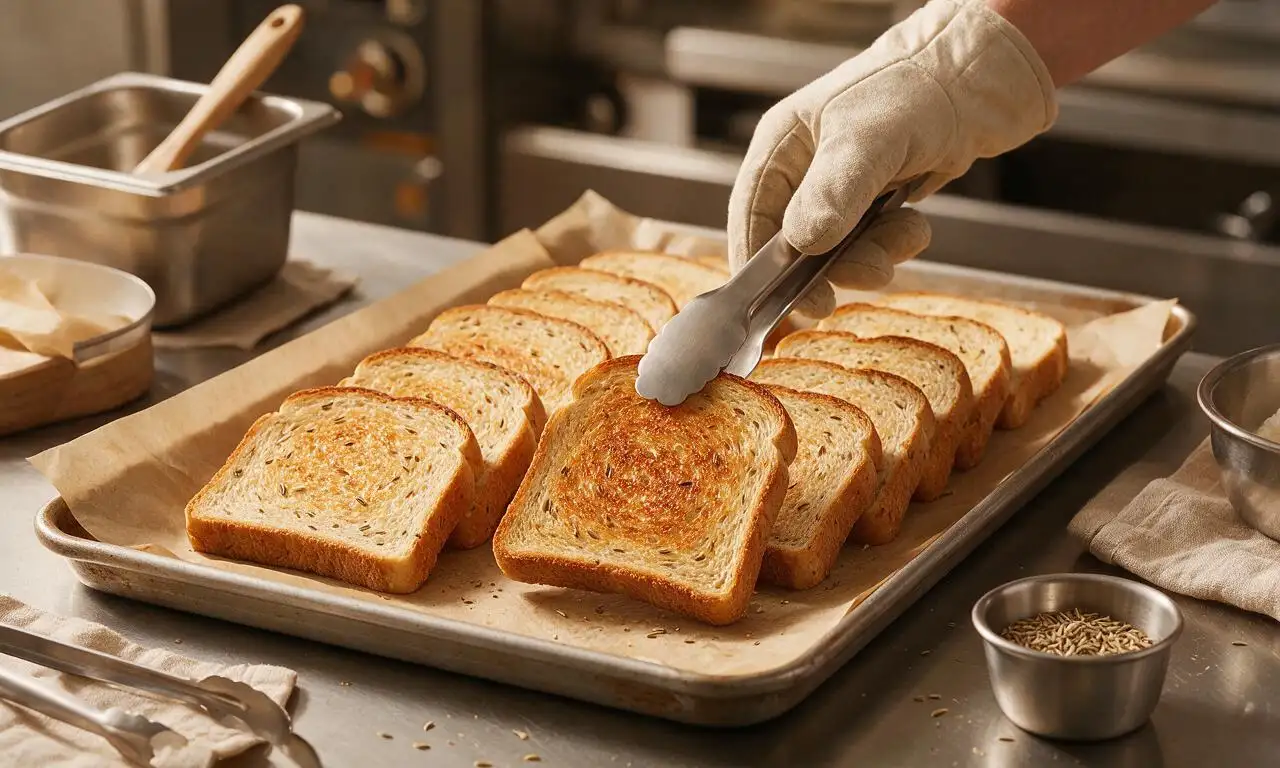
Cool and store toasts
Remove the baking sheets from the oven, and transfer the hot anisette toasts directly to a wire rack to cool completely for 15 minutes; the toasts will crisp further as they reach room temperature. Once fully cooled, store the toasts in an airtight container at room temperature for up to 2 weeks.
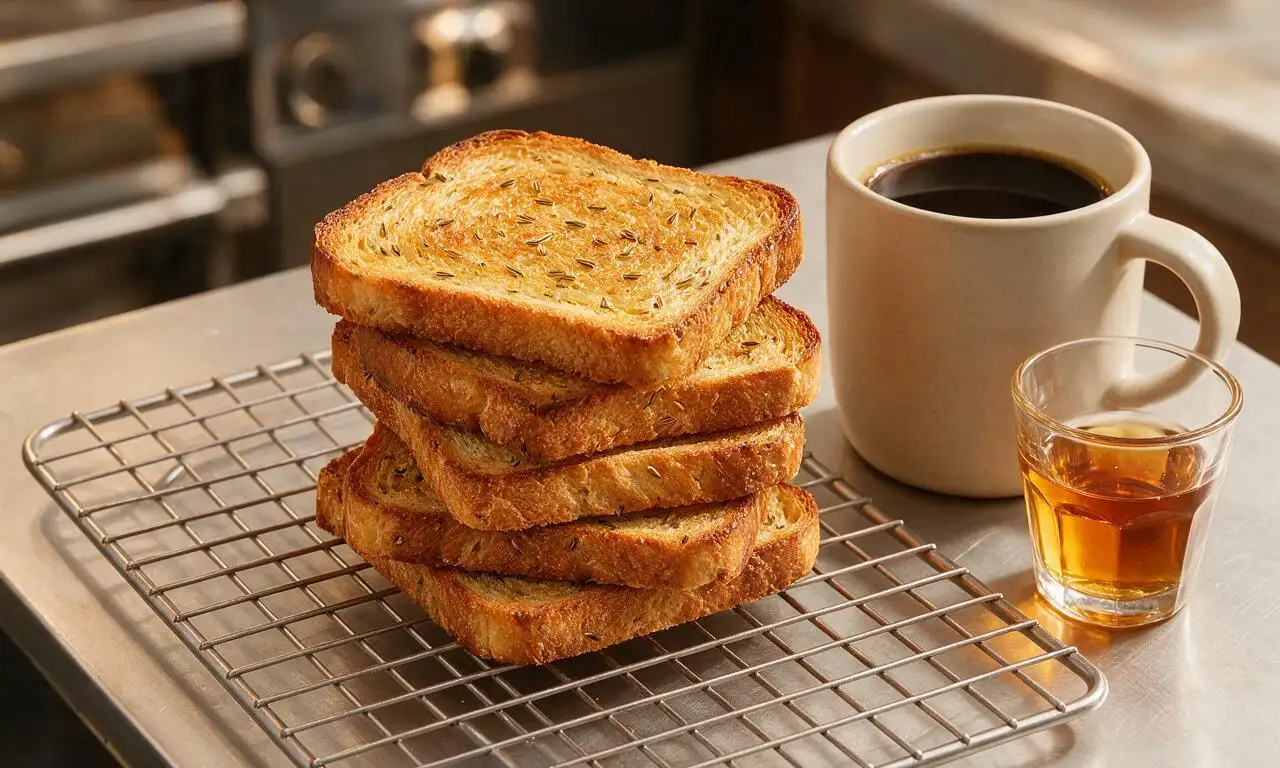
Tips
2.For a more pronounced anise flavor, add an extra 1 tablespoon (15ml) of anisette liqueur to the wet batter, or increase crushed anise seeds to 1.5 teaspoons in the dry mix.
3.For a festive holiday treat, dip one end of fully cooled toasts in melted dark or white chocolate, sprinkle with extra anise seeds, and let set at room temperature for 30 minutes before serving.






OMG this anisette toast is SO good! I made it for our Sunday family brunch and everyone went back for seconds, even my picky 7 year old! The anise flavor is perfectly balanced, not overpowering at all. I will 100% be making this again for our next potluck at work.
Game changer! I’ve been buying store-bought anisette toast for years to dip in my morning coffee and this homemade version blows every brand out of the water. Cook time was totally manageable even for a guy who barely cooks, and it came out perfectly crispy just how I like it.
This tastes exactly like the anisette toast my Italian grandma used to make when I was a kid! I was worried it would be too complicated but the easy difficulty rating was no lie – it came together with zero stress. Brought a tin of it to my church bake sale and every last piece sold out in 20 minutes.
Meal prep win! I made a double batch on Sunday and it’s held up perfectly all week for quick breakfasts paired with fruit and a latte. I did add a tiny extra splash of anisette because I love that licorice flavor, and it turned out chef’s kiss.
Whoa, this is so much better than I expected! I made it last minute for a girls’ night in and we ate almost the whole batch while we watched movies. Perfect little sweet snack that’s not too heavy. 10/10.
Brought this to our neighborhood block party potluck this past weekend and so many neighbors stopped by to ask for the recipe! It travels so well, no sogginess even after sitting out for a couple hours. I sprinkled a little extra sugar on top before baking for a tiny crunch, highly recommend that hack.
Pretty solid recipe. I messed up the first bake a little because I forgot to set a timer, so the edges were a touch darker than I wanted, but even then it tasted great. Next time I’ll set two timers to make sure I get it right. Flavor is spot on.
My kids loved it! They kept asking for “the crunchy cookie toast” all week after I made it. I cut the pieces a little smaller so they could hold them easier for after-school snacks, and it worked perfectly. Even my husband who hates licorice flavor said he liked it because the anise was so mild.
Wow, 90 minutes total cook time is way shorter than I thought homemade anisette toast would take! I’ve avoided making it for years because I thought it was an all-day project, but this was so straightforward. The double bake method is easy to follow even if you’ve never made biscotti-style toast before.
I made these to give out as little holiday gifts last December, packaged in cute cellophane bags with ribbon, and all my friends and family raved about them. They keep for so long! I’m making another batch this weekend for my cousin’s bridal shower favors. So versatile!
Good, but I wish there was a little guidance on how thin to slice the loaves before the second bake. I cut mine a little too thick and they were more soft than crispy. Still tasted great, just not the texture I was going for. Will slice thinner next time.
I’m a total beginner baker and I was so nervous to make this, but it was so easy! My first ever homemade baked good that didn’t burn or come out lumpy, I’m so proud of myself. It tastes amazing too, my roommates are obsessed.
SO good. I had this at a friend’s house a few months ago and begged her for the recipe, turns out she used this exact one! It’s perfectly sweet with that warm anise kick, ideal for dipping in coffee or hot cocoa on cold winter mornings. I’m already planning to make it for Christmas morning.
Great recipe! I added a little lemon zest to the dough like my nonna used to do and it paired so nicely with the anise flavor. The base recipe is super solid, it’s really easy to tweak to match your own family’s preferences without ruining the texture.
Made this for my grandson’s high school graduation party and it was a huge hit with all the teens, which shocked me! I thought the anise flavor would be too “old person” for them but they kept coming back for more. So easy to make for a big crowd too, I just made three batches and it fed everyone no problem.