
Apple cider vinegar drink fermentation
intro
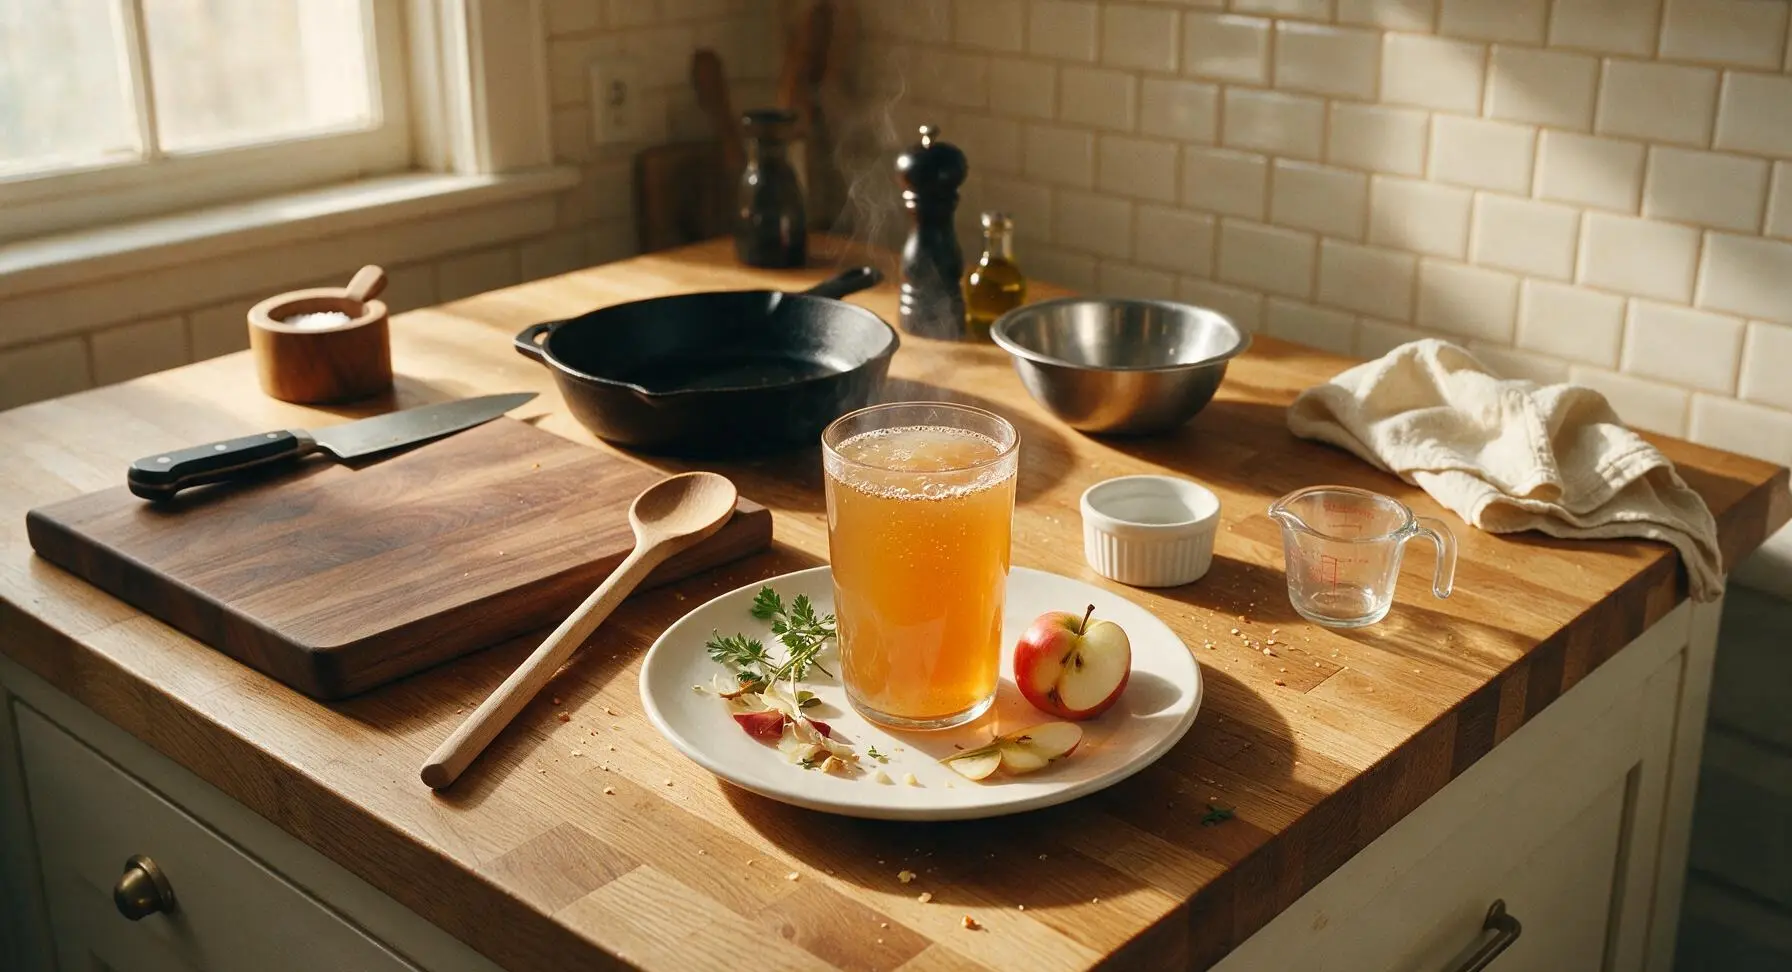
Tangy, lightly bubbly probiotic fermented apple cider vinegar drink, bright with fresh autumn apple notes, perfect for sipping chilled to cut through rich holiday meal flavors.
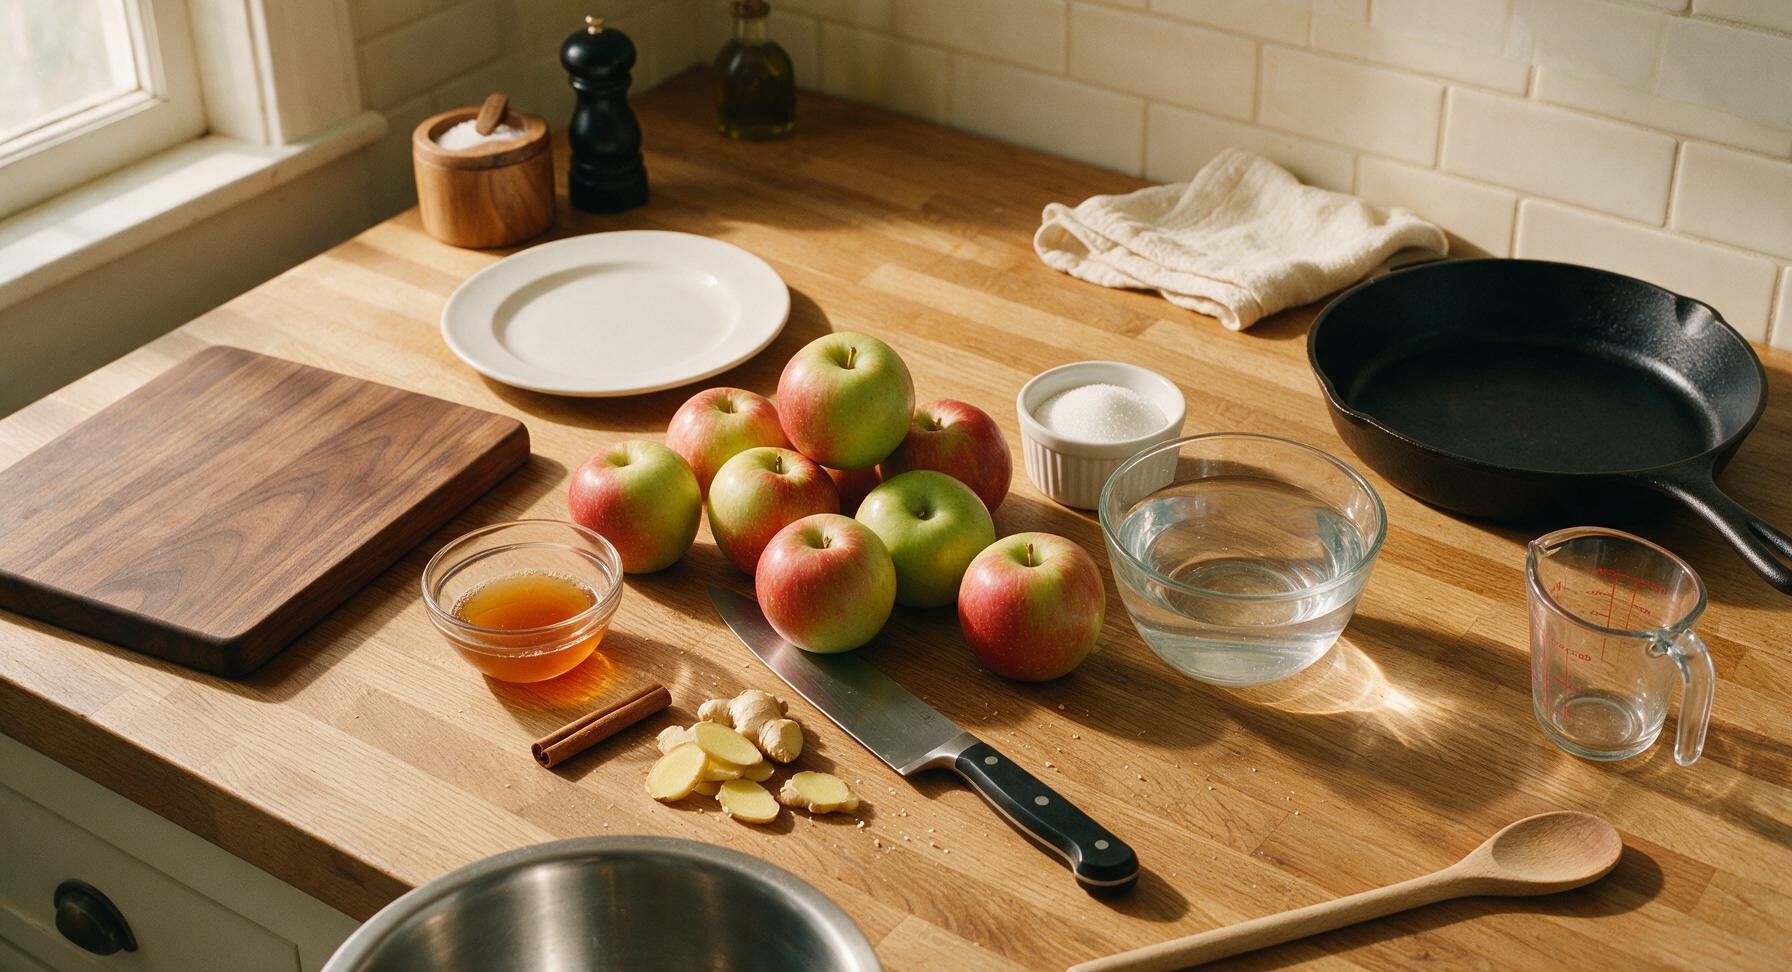
Ingredients
Steps
Prep Fresh Apples
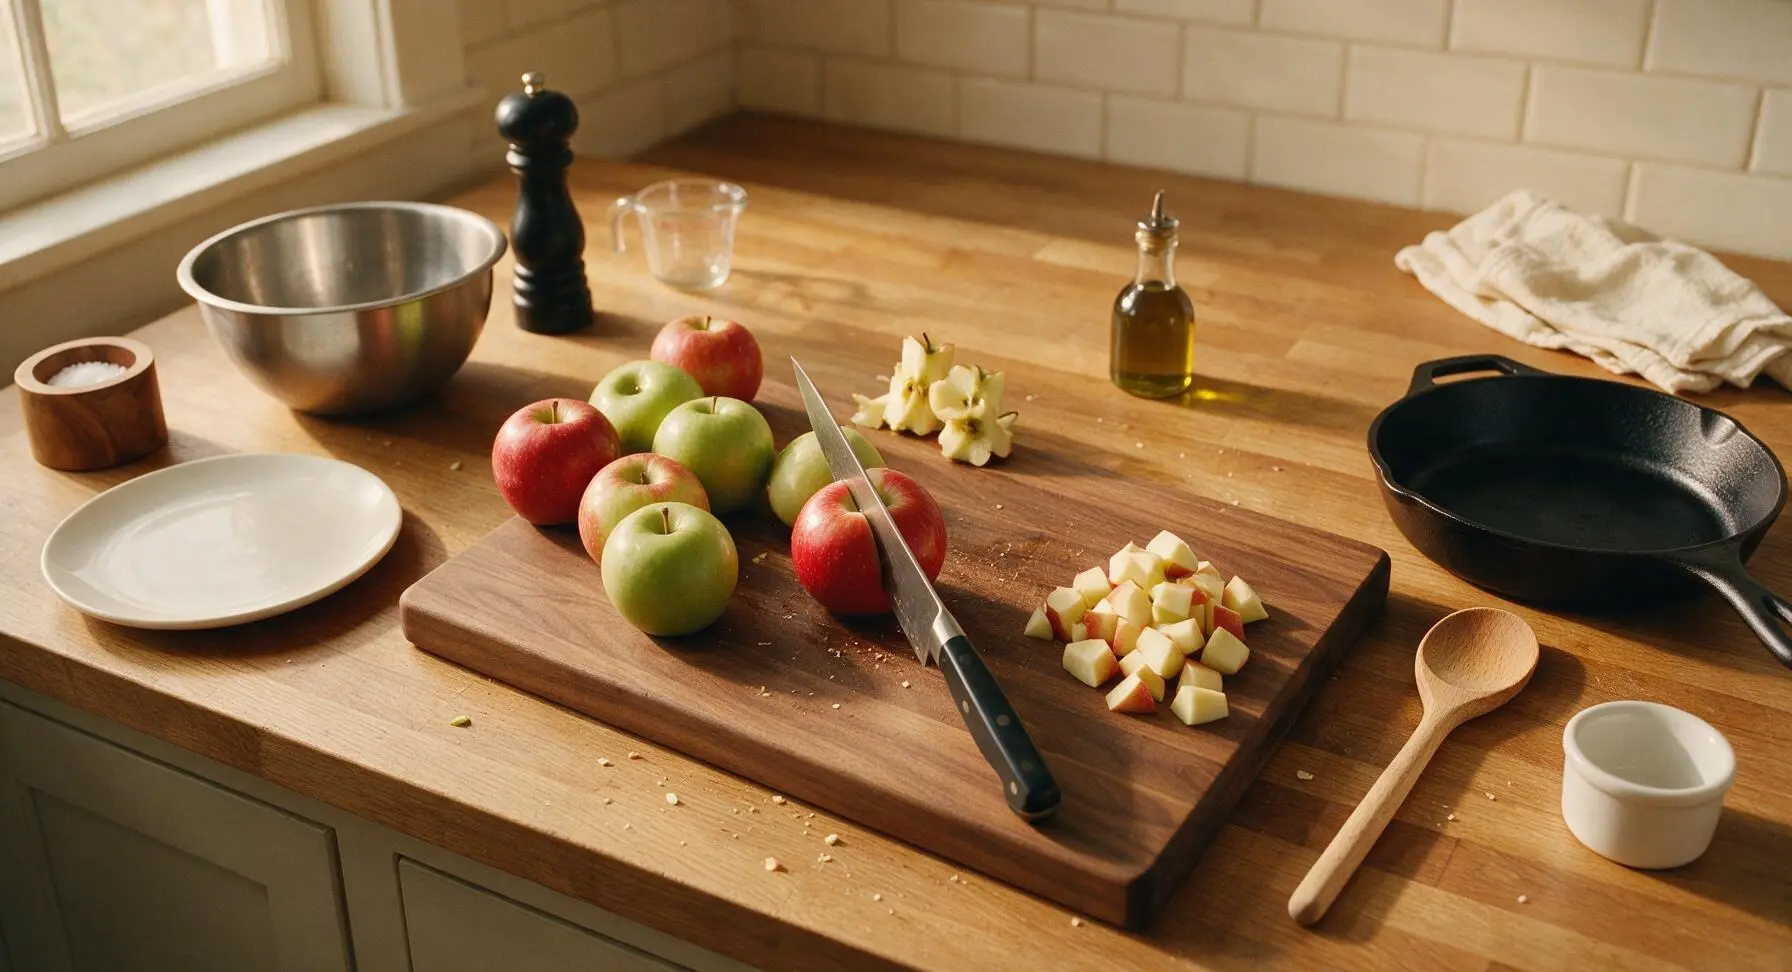
Wash 1kg of mixed apples thoroughly under cool running water; do not peel, as natural yeast on apple skins supports healthy fermentation. Use the 8-inch chef knife on the acacia wood cutting board to chop apples into uniform 2cm chunks, discarding only the core and seeds. Leave skins fully intact to maximize flavor and support culture activity.
Add Apples to Jar
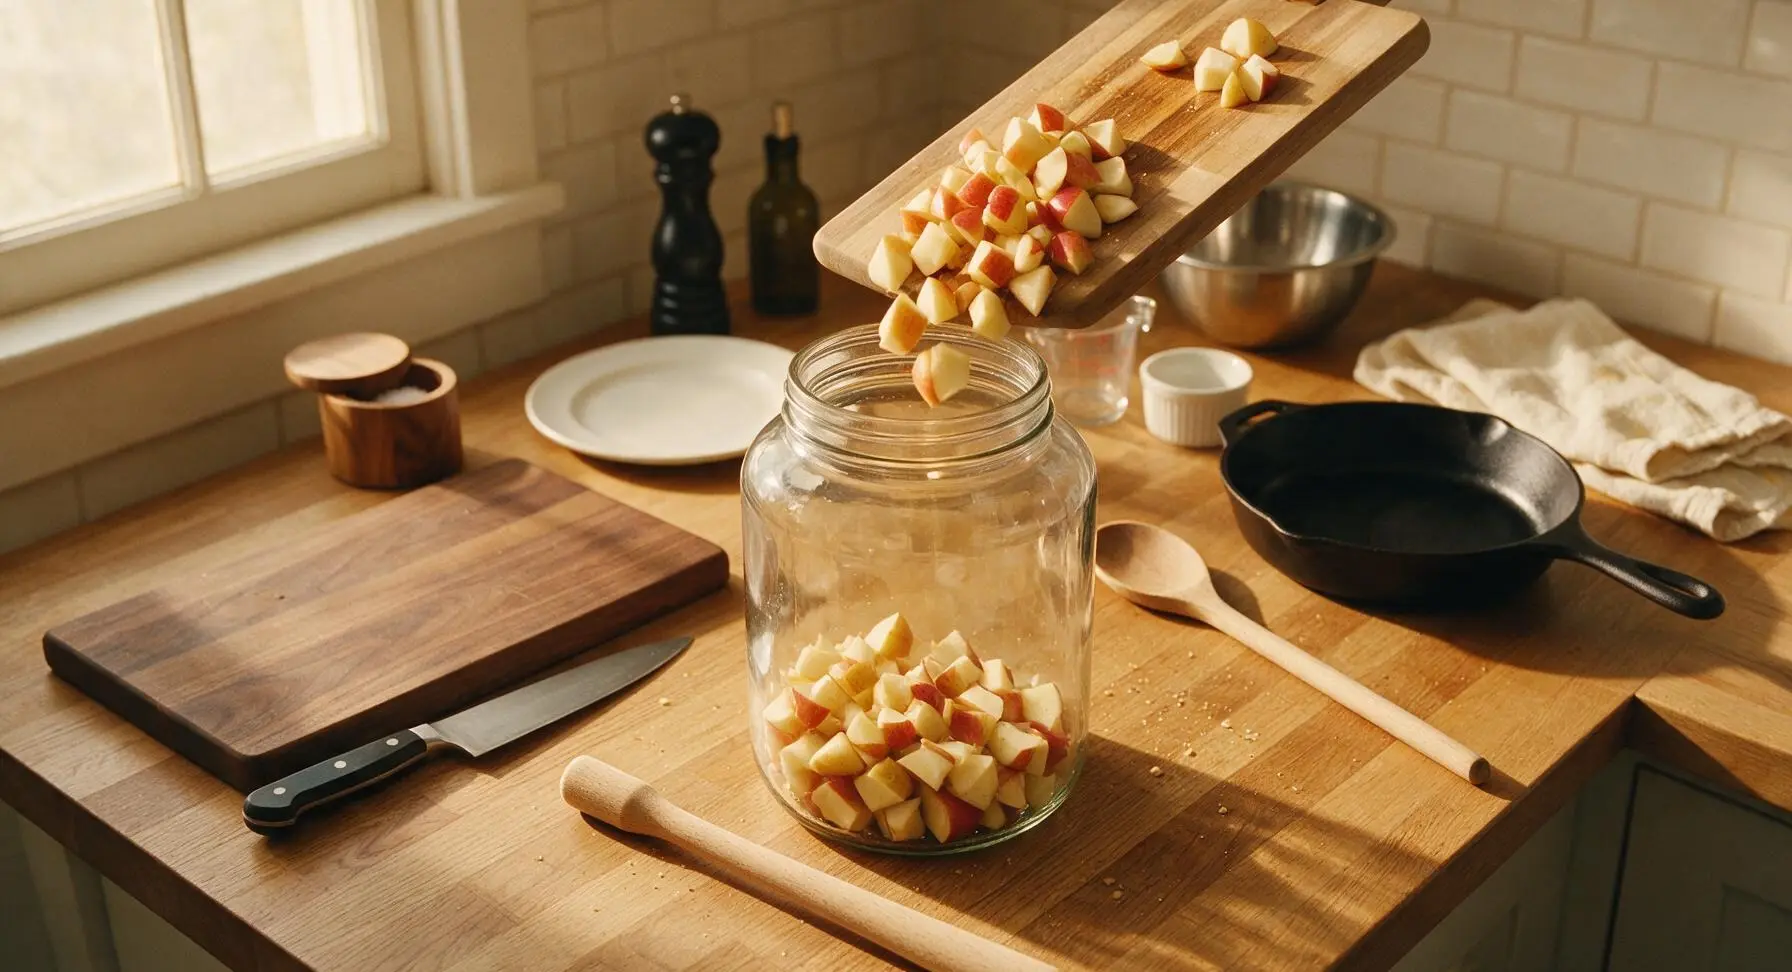
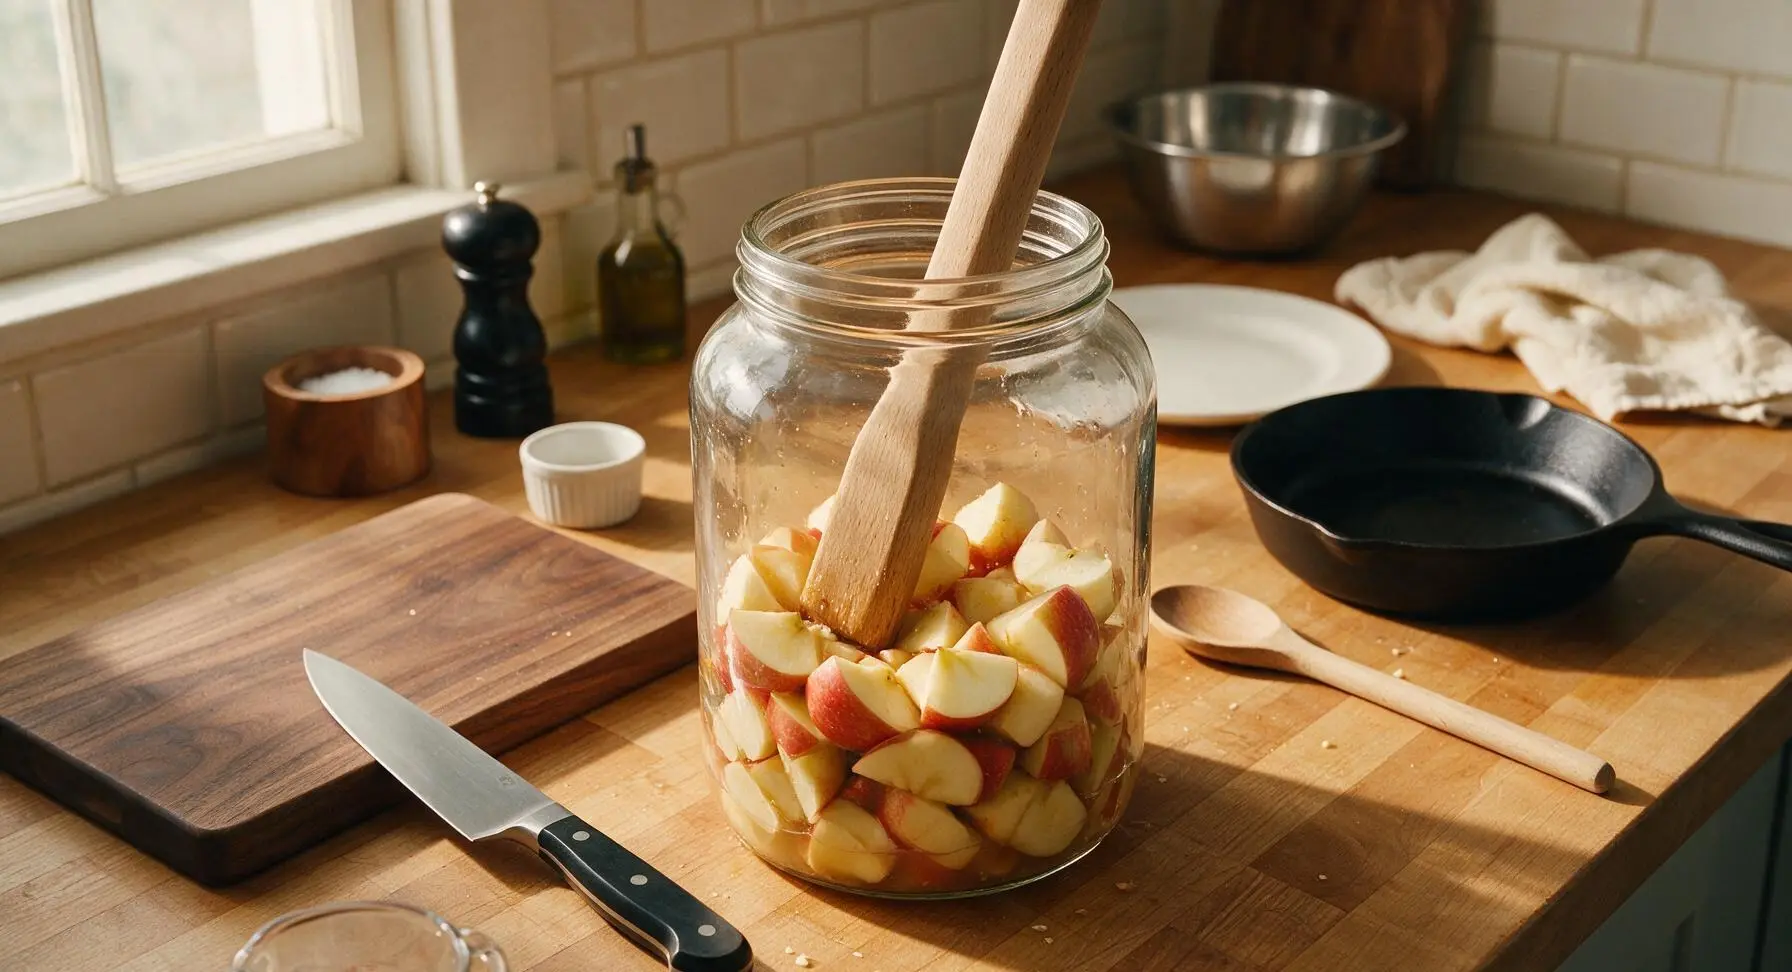
Transfer all chopped apple chunks (plus optional sliced ginger and cinnamon stick, if using) into the clean 3L wide-mouth glass fermentation jar. Use the long beech wood muddler to gently press the apples down to release a small amount of fresh juice, taking care not to mash fruit completely into pulp.
Mix Sugar Brine
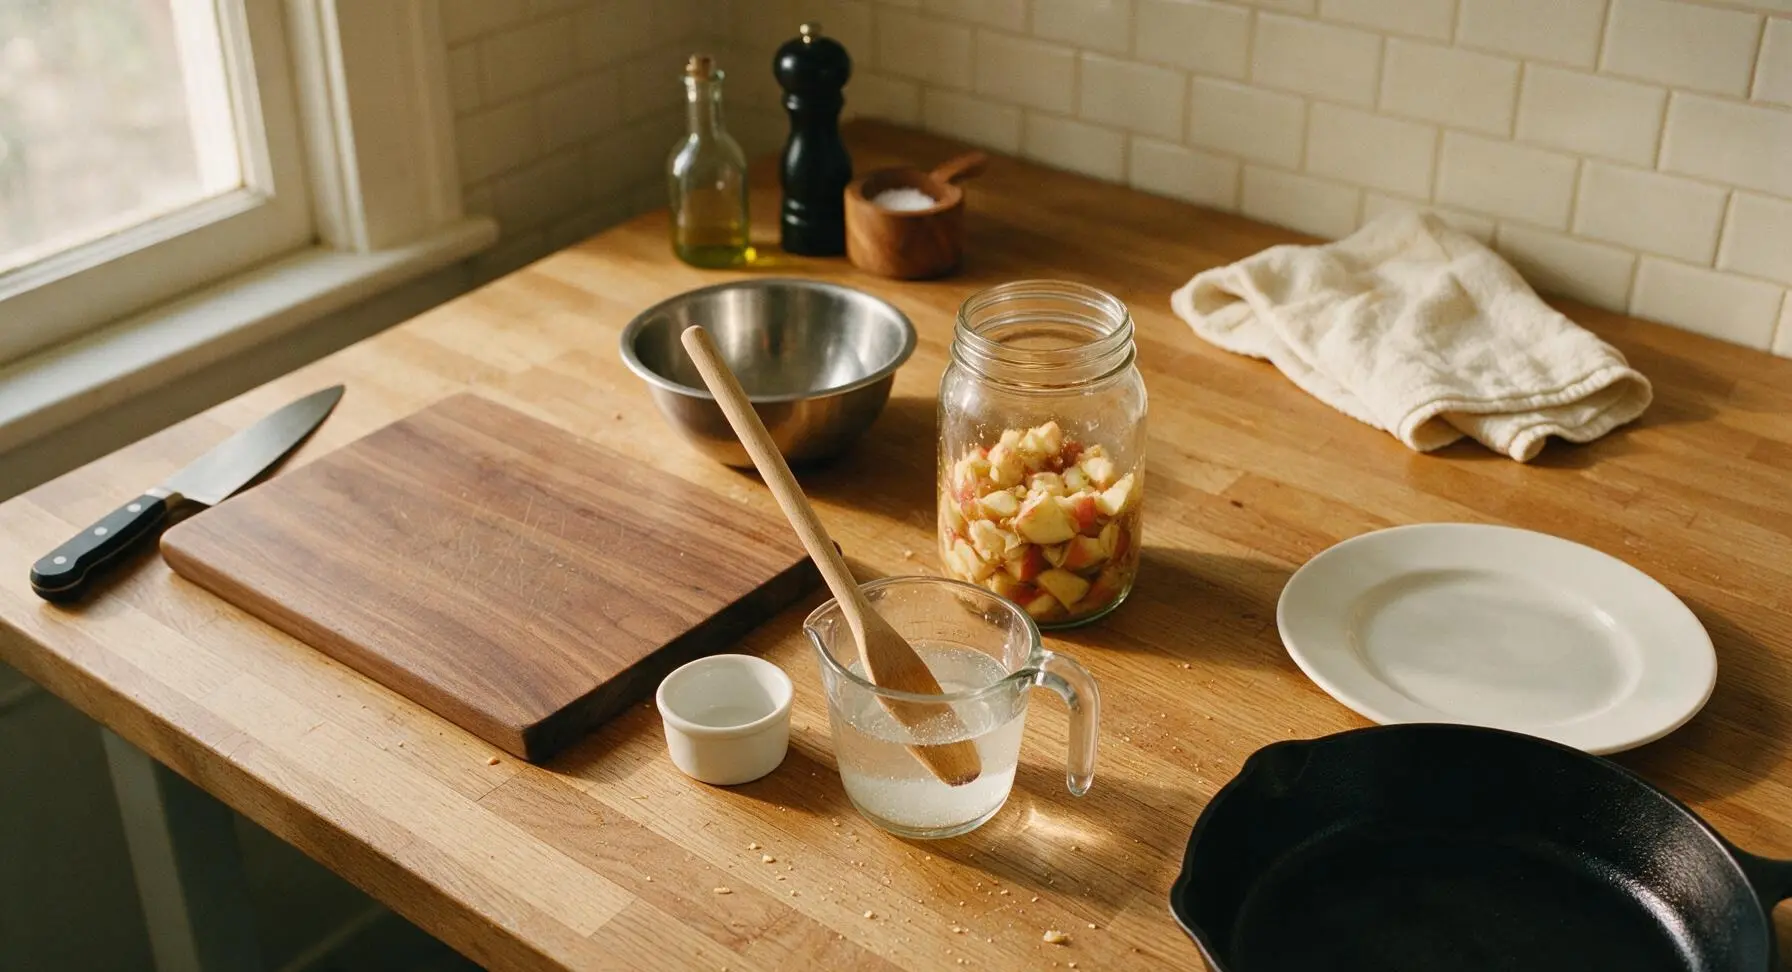
Pour the 100g of granulated sugar from the glass ramekin into the 1L glass measuring cup holding 2L of non-chlorinated filtered water. Stir vigorously until all sugar is fully dissolved, with no visible granules settling at the bottom of the cup. Never use chlorinated tap water, as it will kill the beneficial bacteria and yeast required for fermentation.
Add Brine and Starter
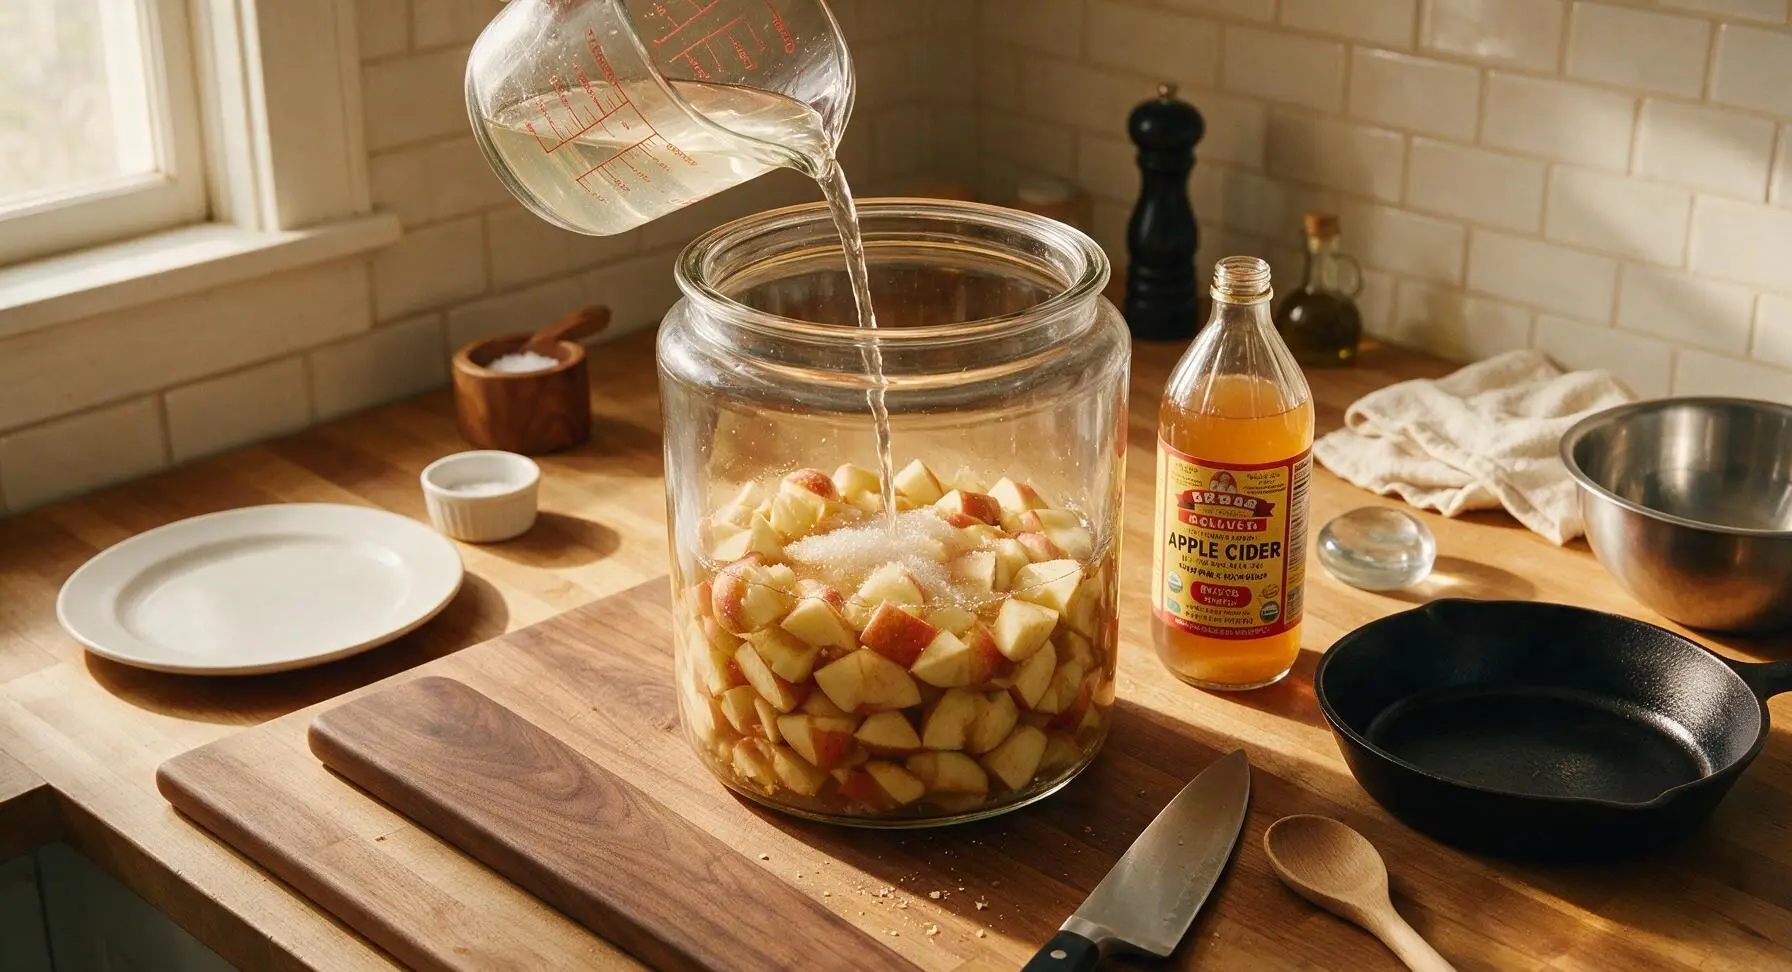
Pour the fully dissolved sugar water over the apples in the fermentation jar, ensuring all apple chunks will be fully submerged; leave 5cm of headspace at the jar top to prevent overflow during active fermentation. Pour the 120ml of raw apple cider vinegar (with mother) into the jar, and stir gently once with the muddler to distribute. Set the glass fermentation weight on top of the fruit to keep all apples under the brine, as exposed fruit will develop mold.
Cover for First Ferment
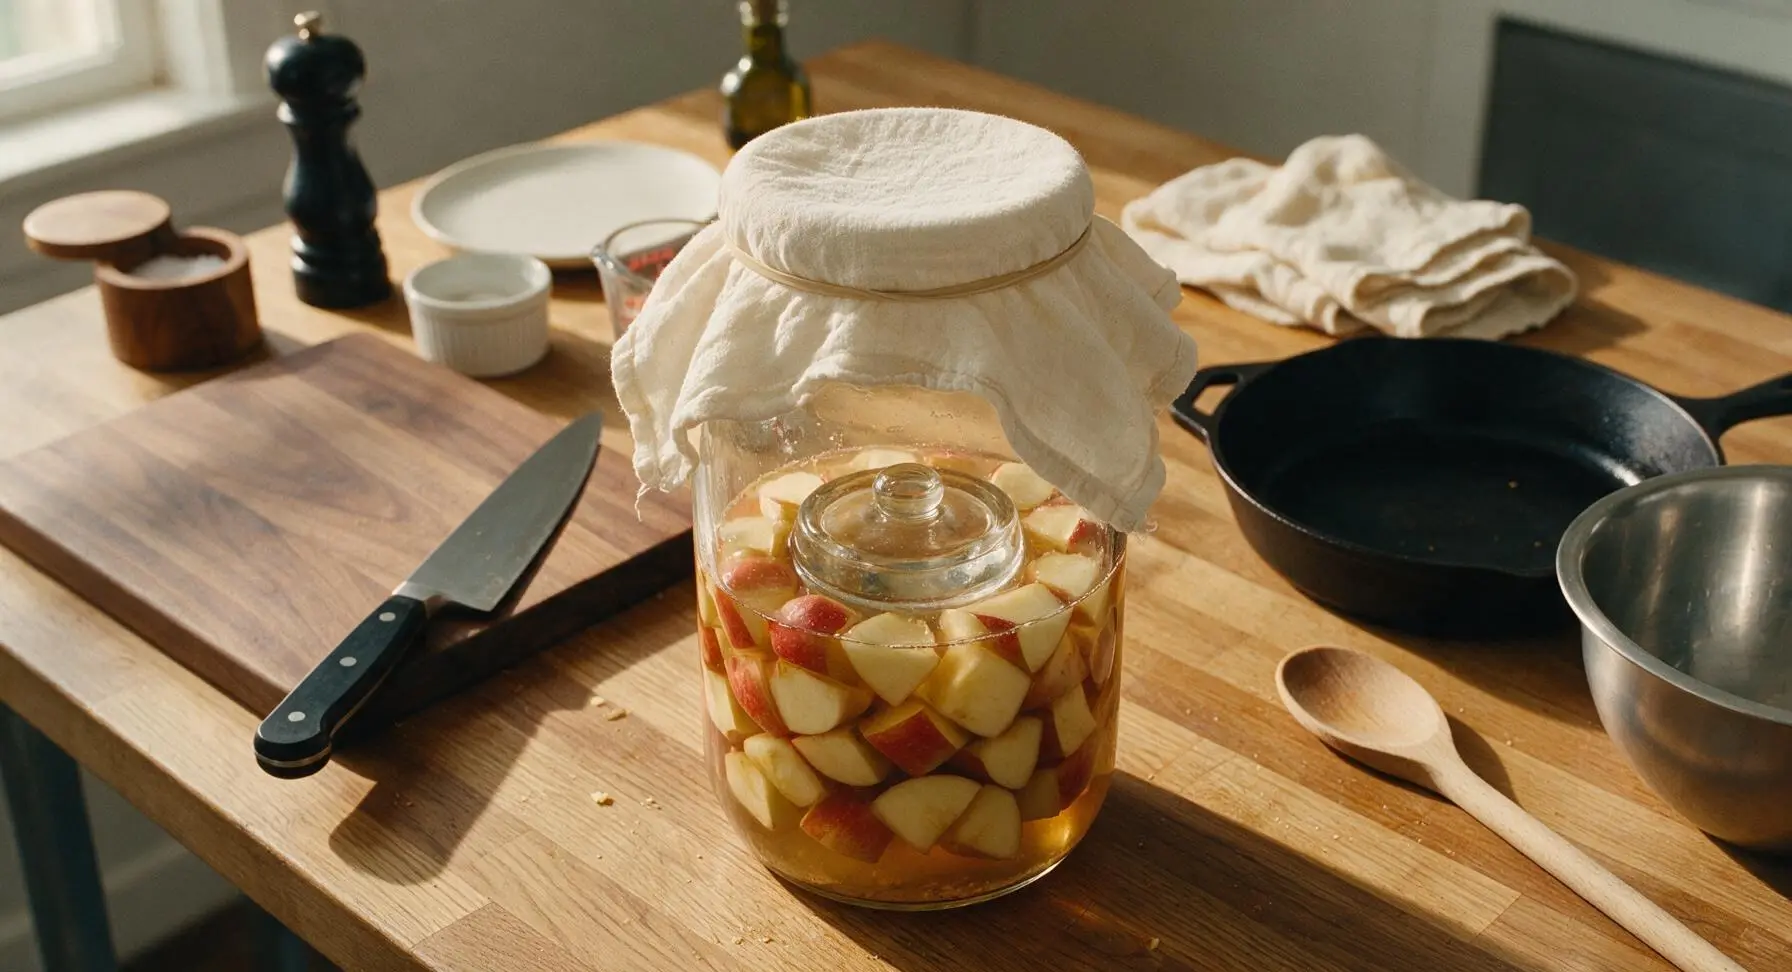
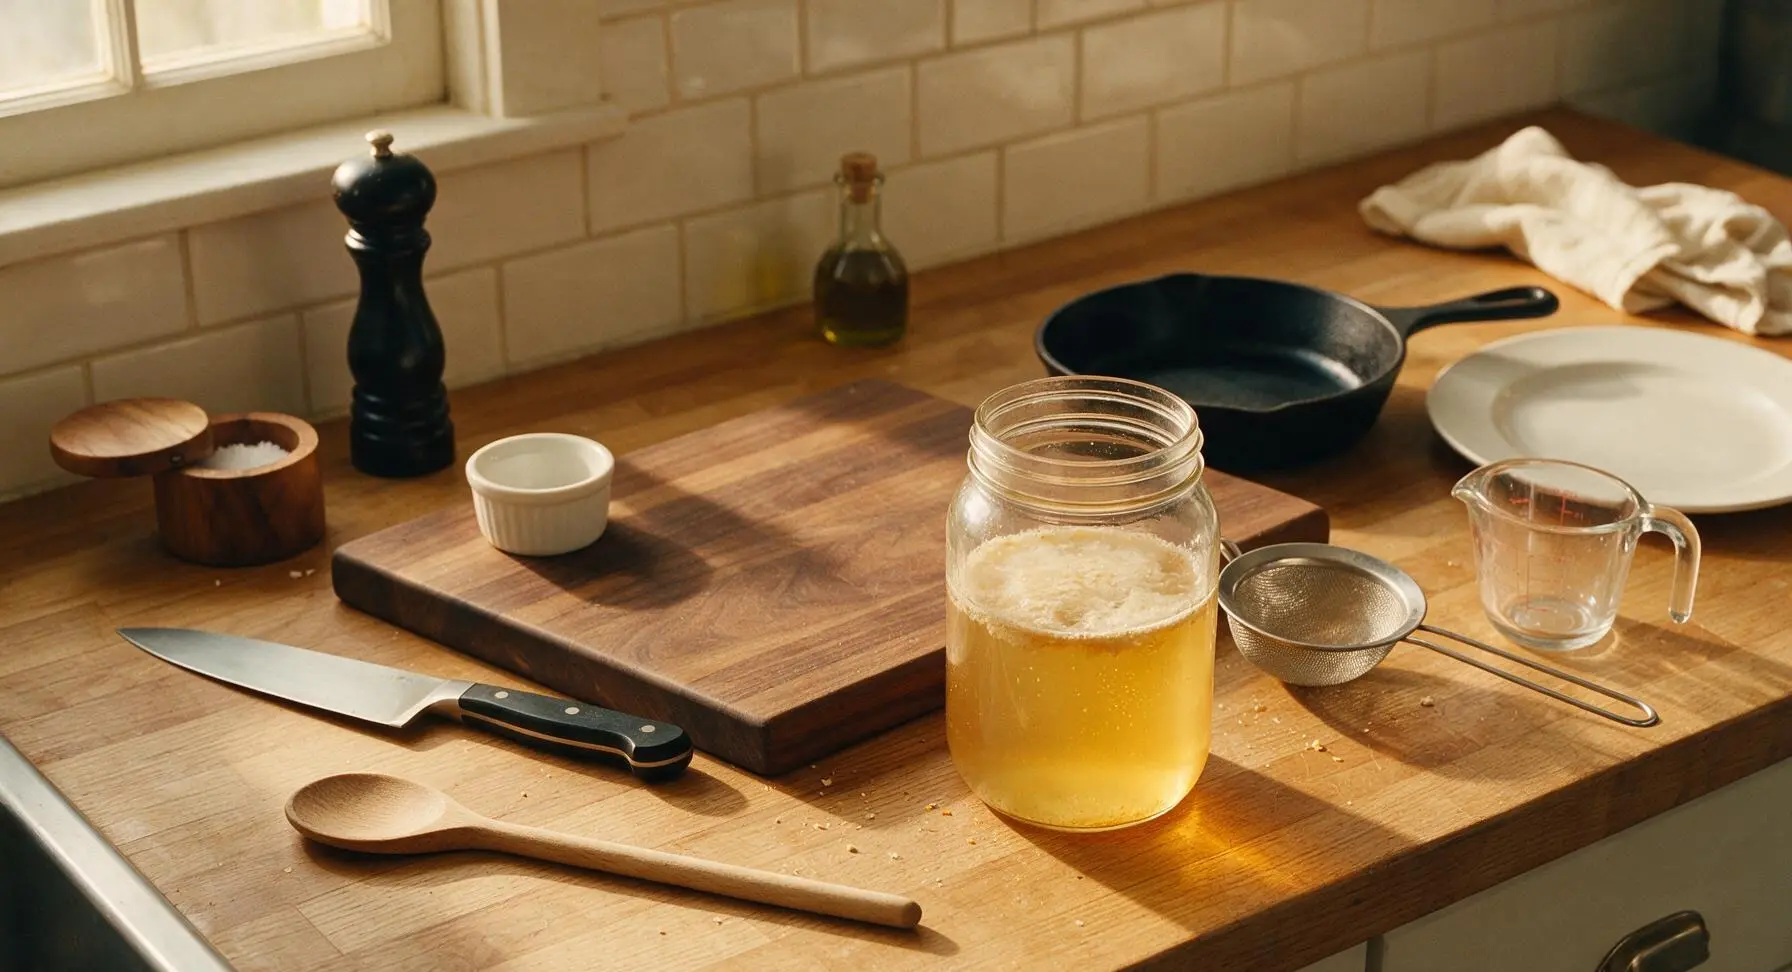
Double-check that the glass weight holds all apple chunks below the brine surface. Cover the jar opening with a double layer of clean, breathable cotton cloth, secured tightly with a rubber band to block fruit flies and dust. Store the jar in a dark, consistently warm spot (20-24C / 68-75F) away from direct sunlight for 2 weeks. Check the jar every 2 days: small rising bubbles after 2-3 days signal active, healthy fermentation. Skim any thin, harmless white kahm yeast from the surface if it appears; discard the batch immediately if fuzzy black, green, or pink mold grows.
Strain Fermented Liquid
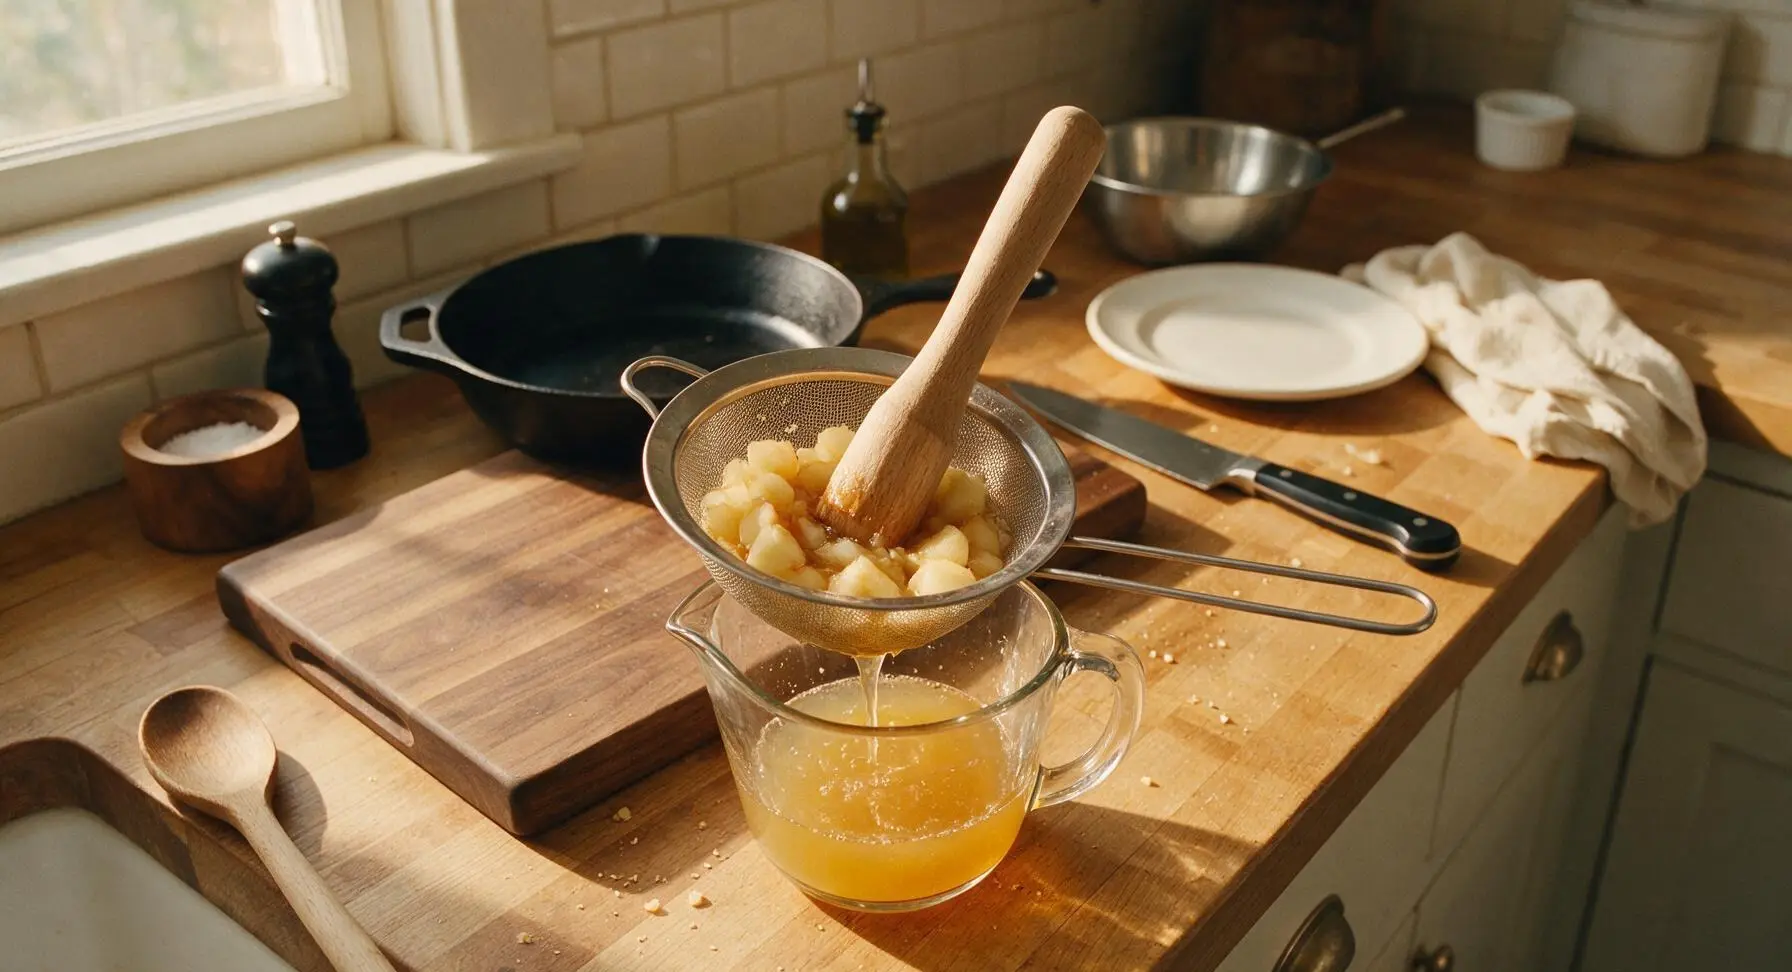
After 2 weeks of first fermentation, remove the cloth cover and fermentation weight from the jar. Set the fine-mesh stainless steel strainer over the glass measuring cup, and pour the full jar contents through the strainer to separate liquid from apple solids. Press gently on the solids with the muddler to extract all trapped flavorful liquid, then compost the spent apple chunks.
Bottle for Carbonation
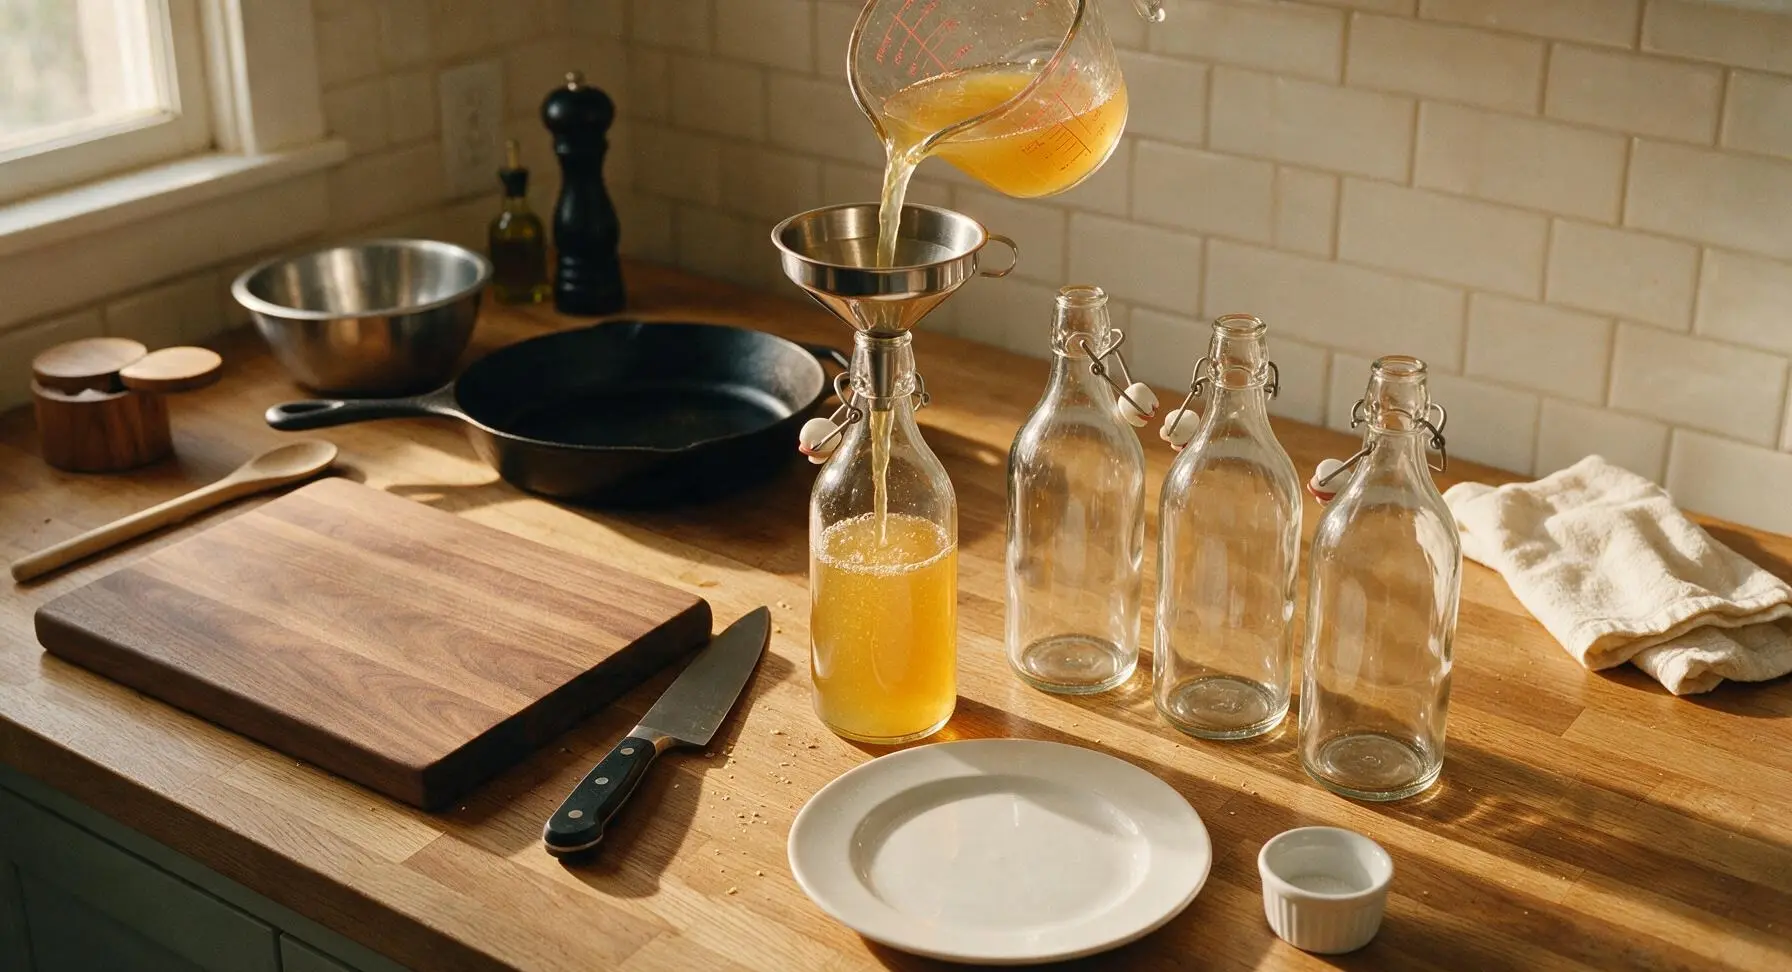
Set the small stainless steel funnel into the opening of each clean, dry 500ml swing-top glass bottle. Pour the strained fermented liquid evenly between the 4 bottles, leaving 3cm of headspace in each to allow for carbonation buildup. Seal the swing-top clasps tightly to create a fully airtight seal.
Condition and Chill
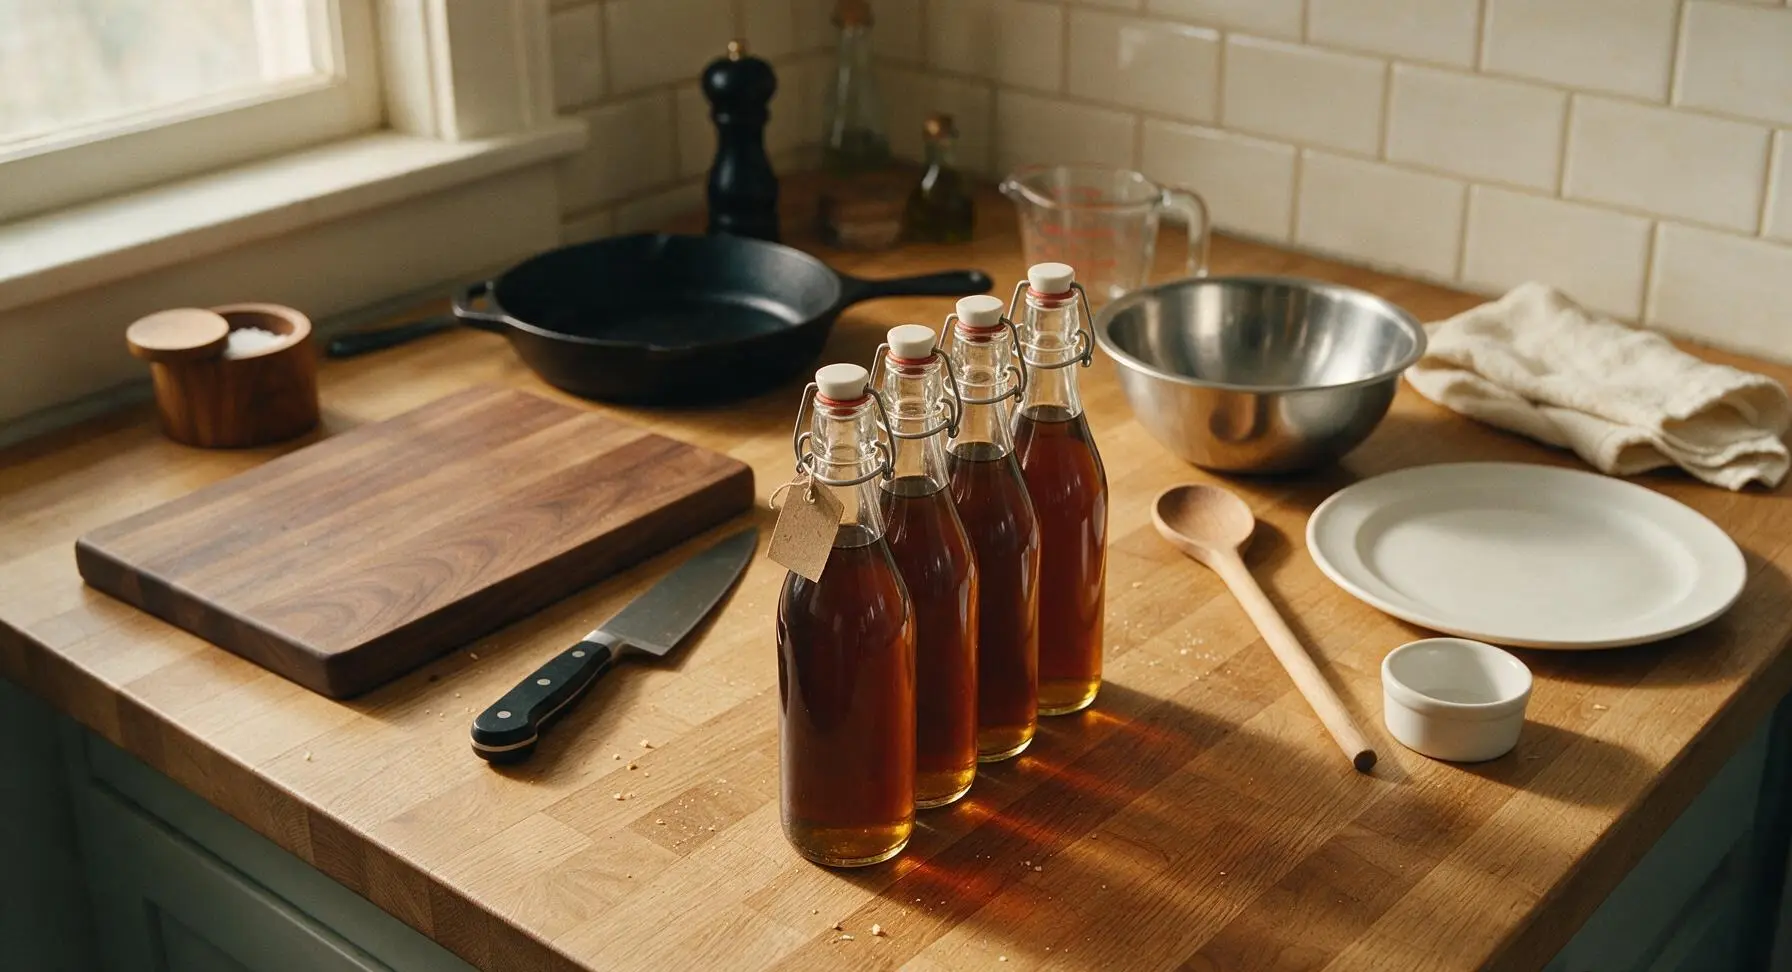
Store the sealed swing-top bottles in the same dark, 20-24C spot for 1 additional week to build natural light carbonation. After 1 week, move bottles to the refrigerator to slow fermentation and stop excess carbonation buildup (this prevents over-pressurization). Chill for a minimum of 4 hours before serving; the finished drink will keep refrigerated for up to 1 month.
Tips
2.Burp swing-top bottles once daily during the second fermentation: Open each clasp briefly to release excess pressure, then re-seal immediately. This prevents dangerous pressure buildup that can cause bottles to crack or spray fermented liquid across your kitchen when opened, especially if your storage spot is warmer than 24C.
3.Avoid adding extra sugar at the start: The 100g measurement is calibrated to feed fermentation cultures without leaving excess residual sugar in the finished drink. Extra sugar leads to overly sweet, overly carbonated drink that carries a high risk of bottle breakage during conditioning.






OMG y’all, I just bottled my first batch of this last night and it is SO good! I was so intimidated by fermenting stuff at first but the steps were so straightforward, even my 10 year old helped me stir the apple scraps every day. I mixed a splash with sparkling water and a little honey at dinner last night and my kids loved it — way better than the sugary soda they usually beg for! Total game changer for our weekday meal prep routines.
Made this to bring to our neighborhood potluck last weekend, I mixed it up with some fresh ginger and cinnamon sticks during the ferment and people were going back for refills all afternoon. Only heads up is don’t panic if you see that cloudy SCOBY forming on top — I almost threw my first batch out thinking it was mold! It’s totally normal, I promise. Ended up giving a couple small jars away to neighbors who asked for the recipe.
Super easy recipe, but I’m a little confused — mine is already smelling like vinegar at 2 weeks, do I have to wait the full 3 weeks before straining it? I used apples from my backyard orchard so maybe they had more natural yeast on the skins?
I’ve been buying expensive raw ACV with the mother from the grocery store for years, and this homemade version tastes identical for a fraction of the cost. I keep a big jar in my fridge now to mix into morning wellness shots, salad dressings, and even marinades for chicken for our Sunday family dinners. 10/10, will be making this on rotation forever.
Wait, hold up — do you need any special equipment for this? I don’t have a fancy fermentation crock or airlock or anything, just regular mason jars and cheesecloth. Will that work, or am I gonna end up with a moldy mess?
Game changer for my post-workout drinks! I’ve been adding 2 tbsp of this ACV to a bottle of water with a squeeze of lemon and a pinch of salt, and it’s helped so much with my energy levels during long runs. Only thing is my first batch fermented a little slower because my kitchen is pretty cold this time of year — took almost 4 weeks total, but it was worth the wait.