
Apple Crisp
intro
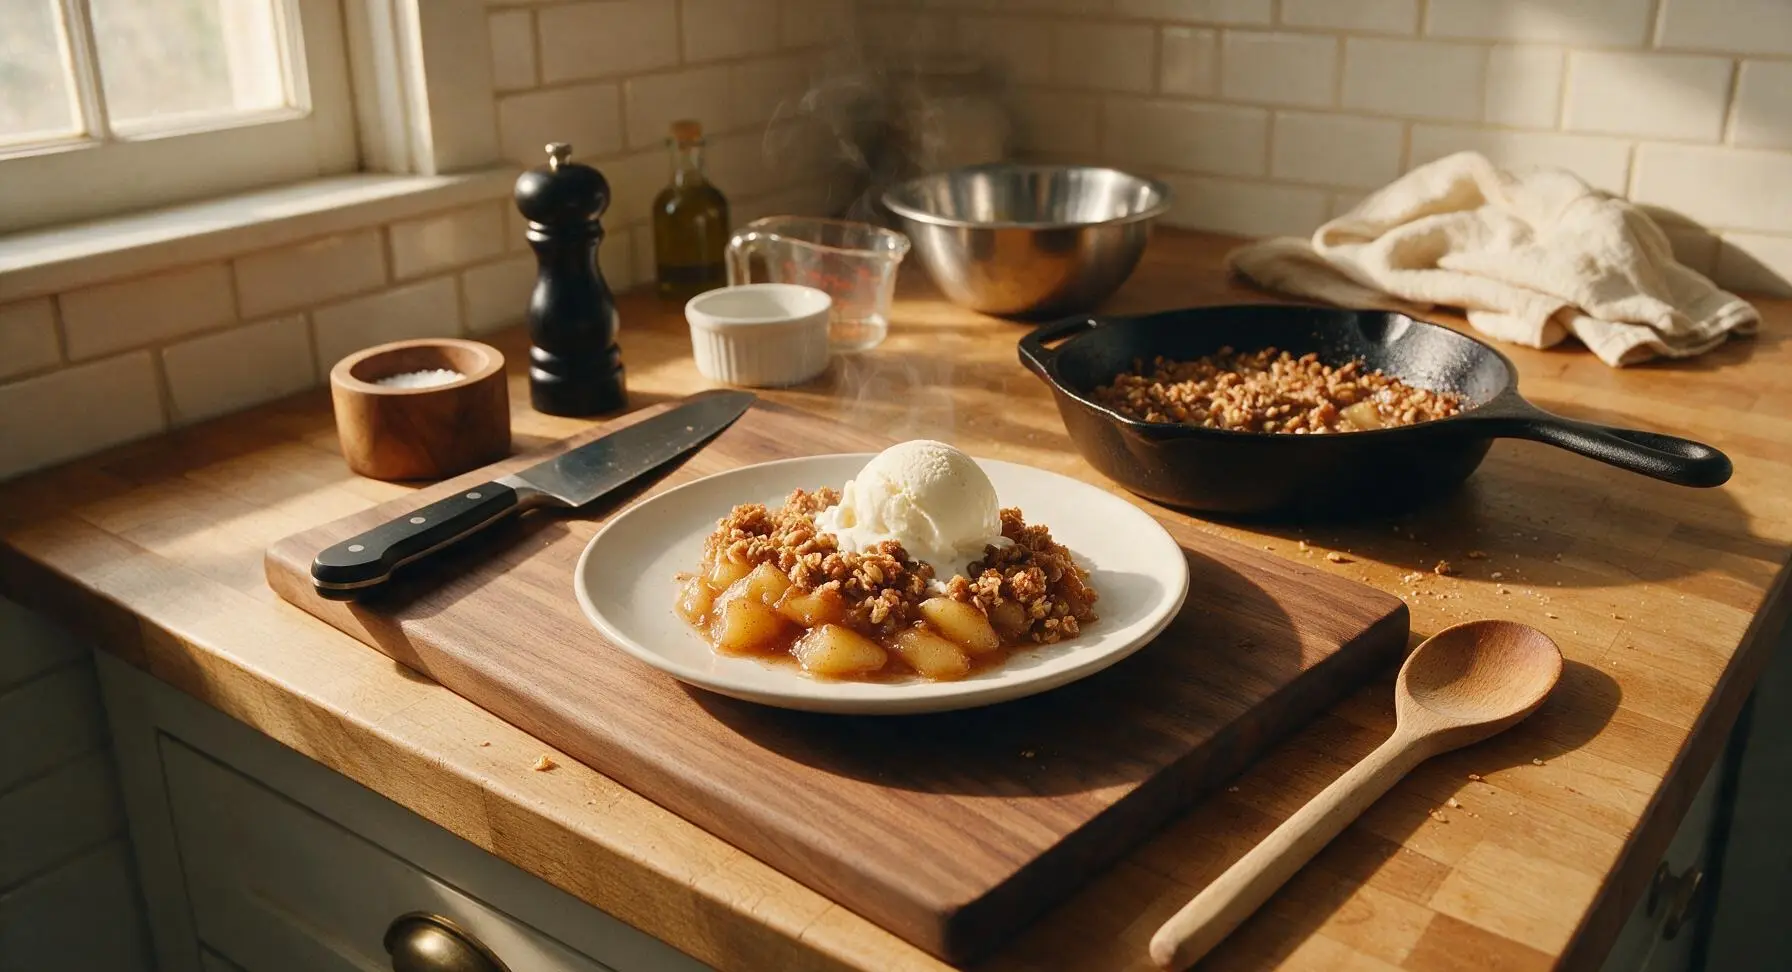
Warm, spiced tender apples baked under a crunchy buttery oat topping, served with melting vanilla ice cream for a cozy, nostalgic fall dessert.
Ingredients
Steps
Preheat Oven and Peel Apples
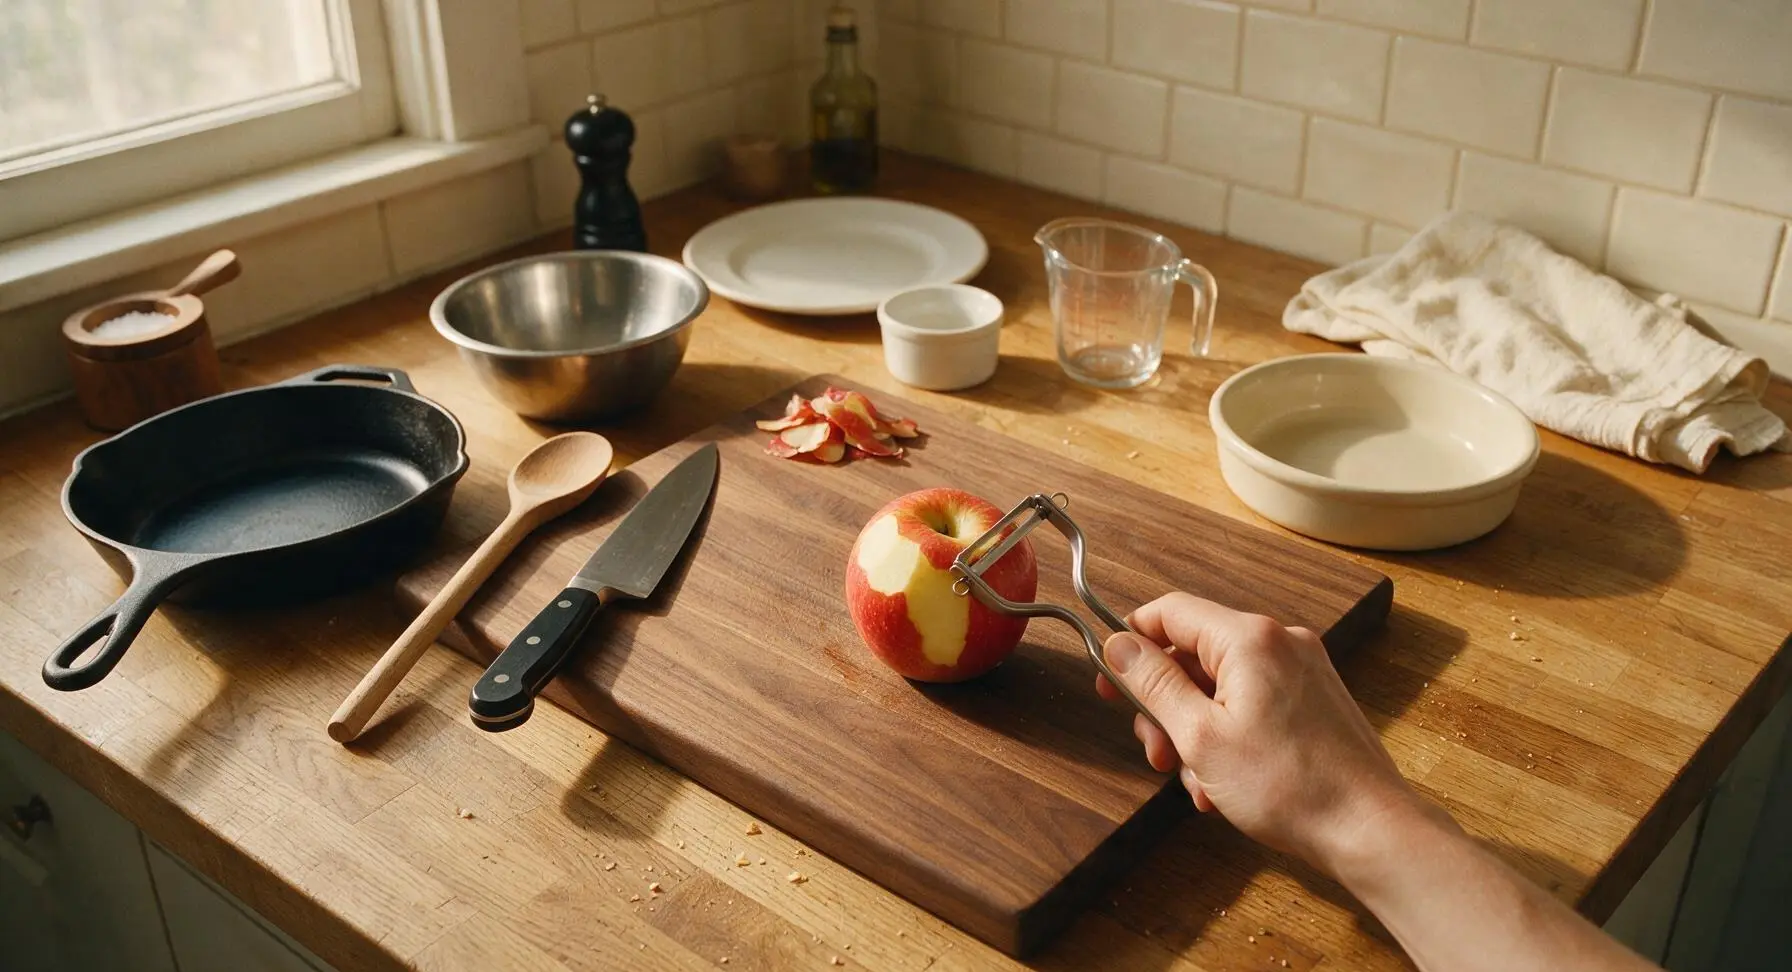
Adjust your oven rack to the middle position and preheat to 375°F (190°C). Set the 9-inch cream ceramic baking dish on the right side of your work zone. Working over the large acacia wood cutting board, use the Y-shaped stainless steel vegetable peeler to remove all skin from the 6 Honeycrisp apples, discarding any bruised or blemished flesh as you go. Collect peels in a small pile at the corner of the cutting board for easy cleanup.
Core and Slice Apples
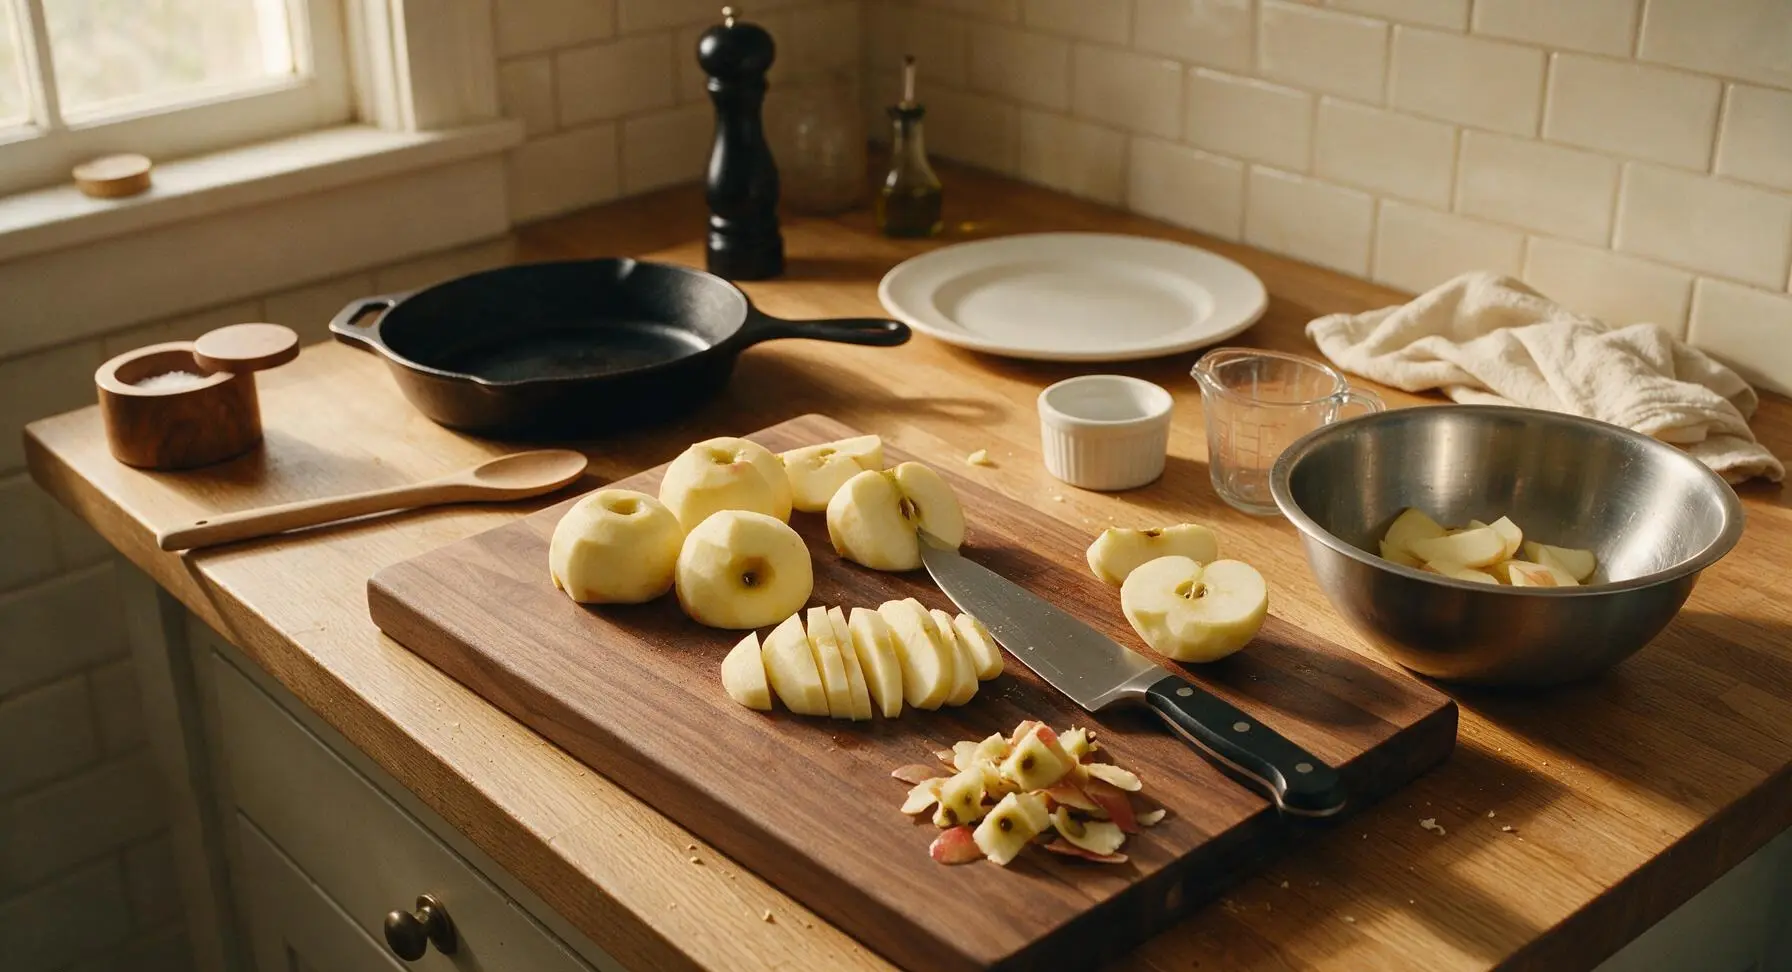
Use the 8-inch chef knife to cut each peeled apple into quarters. Remove the tough core and seeds from each quarter, then slice quarters into uniform 1/4-inch thick wedges. Transfer sliced wedges to the medium brushed stainless steel mixing bowl as you work. Even slice thickness ensures all apples cook to the same tender texture, with no undercooked firm chunks.
Toss Spiced Apple Filling
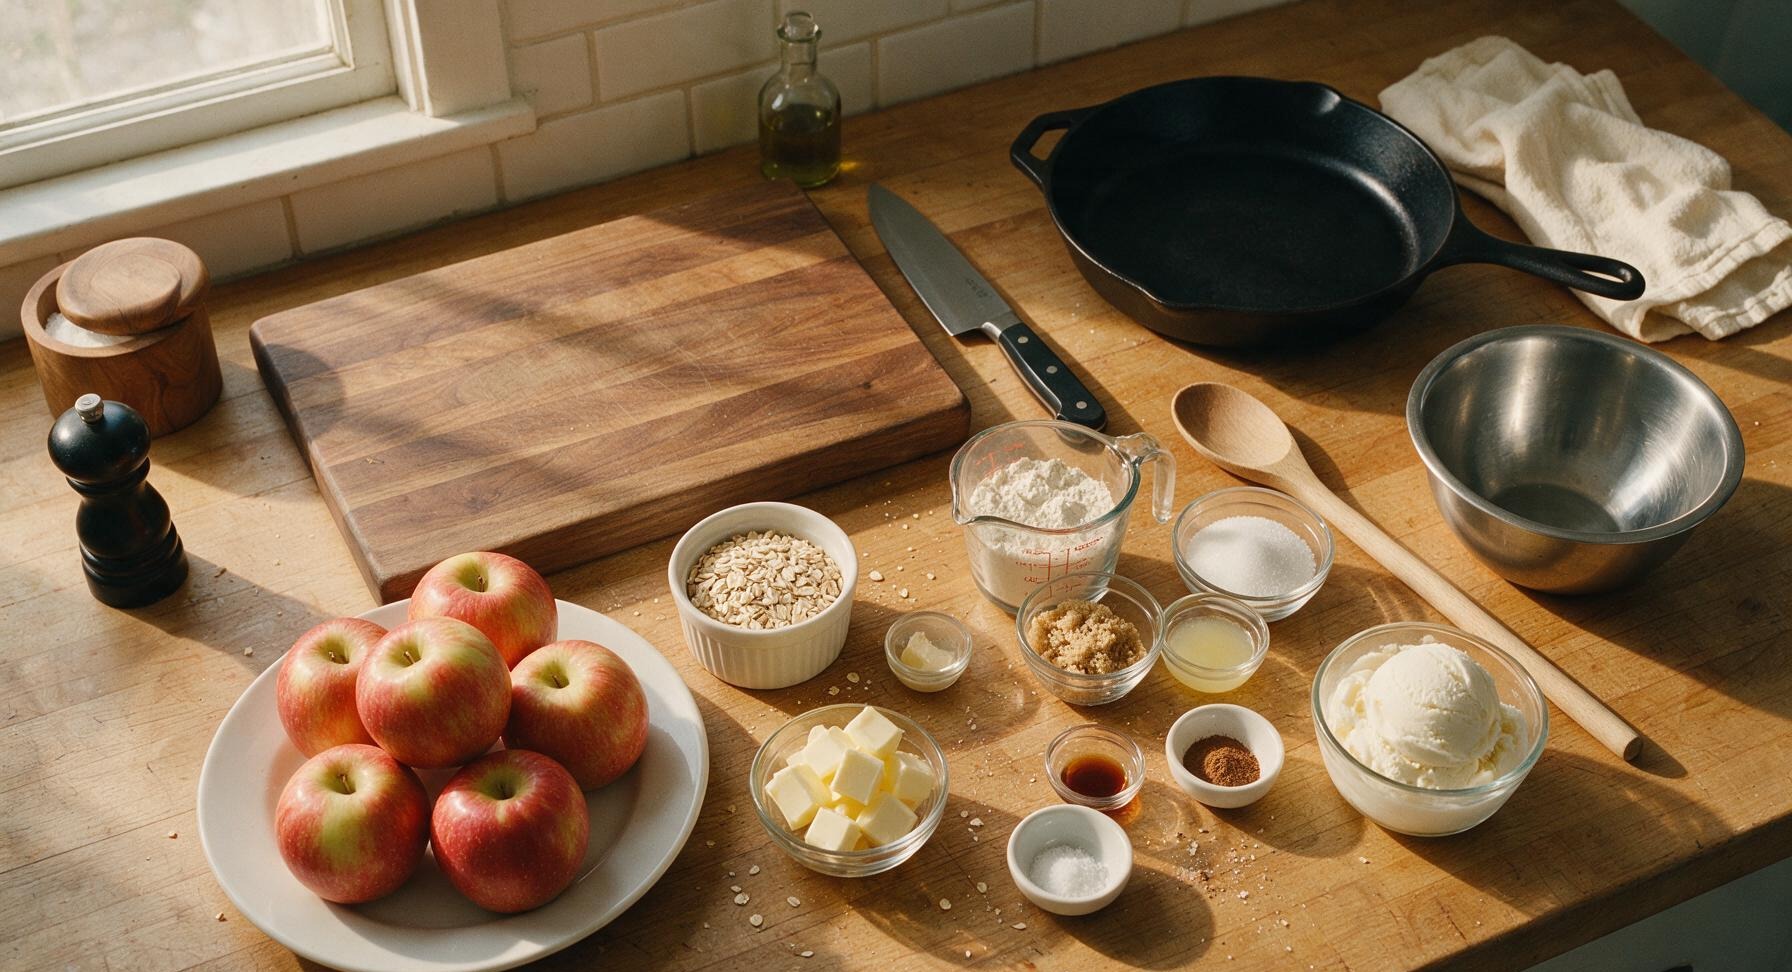
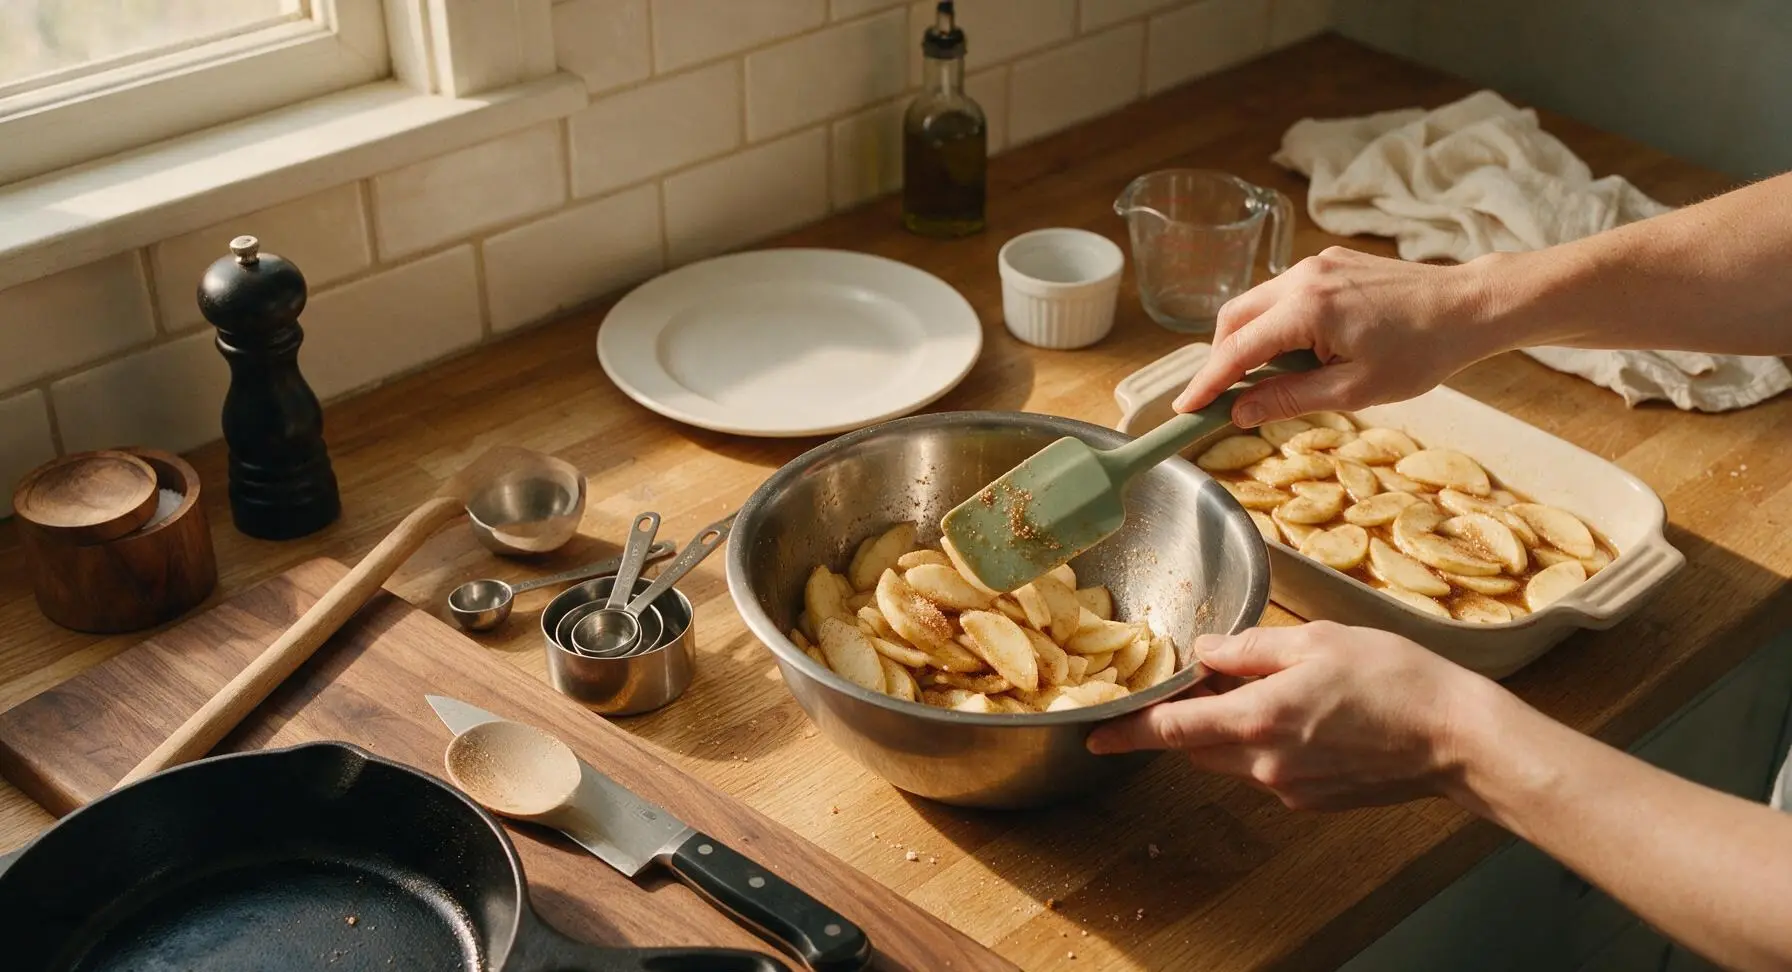
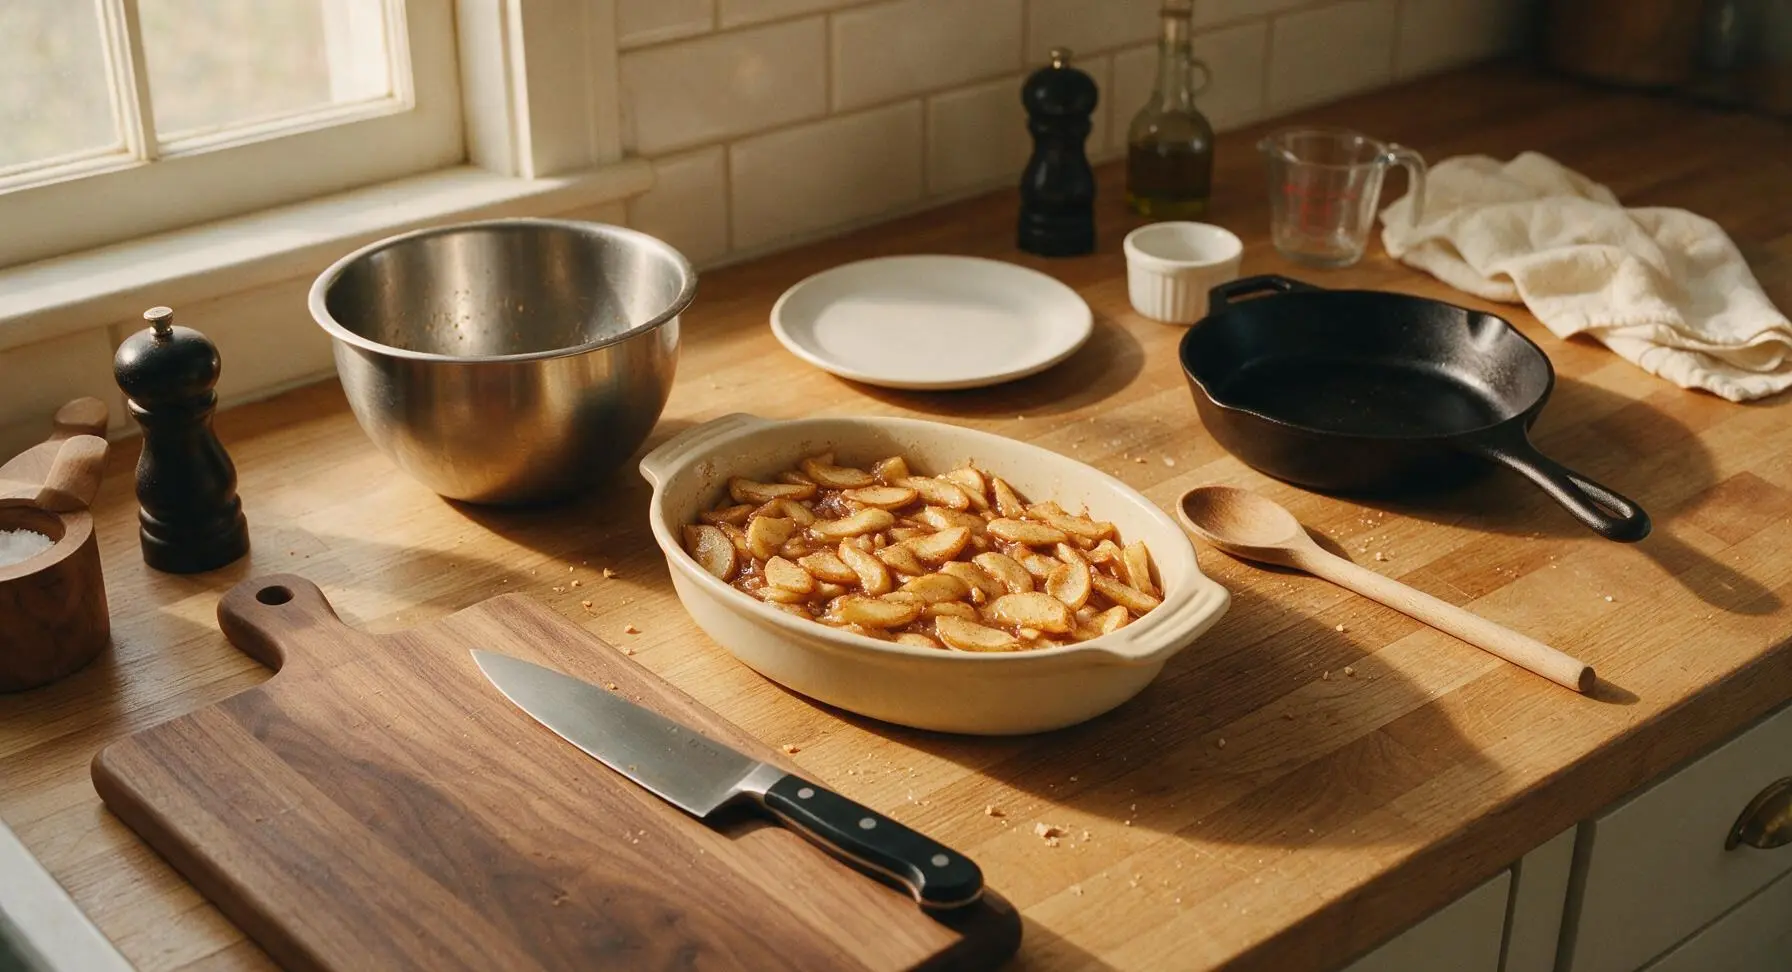
To the medium bowl of sliced apples, add 1/4 cup granulated sugar, 2 tablespoons all-purpose flour, 1 teaspoon ground cinnamon, 1/8 teaspoon ground nutmeg, 1 tablespoon fresh lemon juice, 1 teaspoon pure vanilla extract, and 1/8 teaspoon fine sea salt. Use the matte sage green silicone spatula to gently toss all ingredients until apple slices are evenly coated, with no dry flour clumps left at the bottom of the bowl. Pour the coated apples and all accumulated spiced syrup into the ceramic baking dish, spreading into a flat, even layer.
Mix Buttery Oat Topping
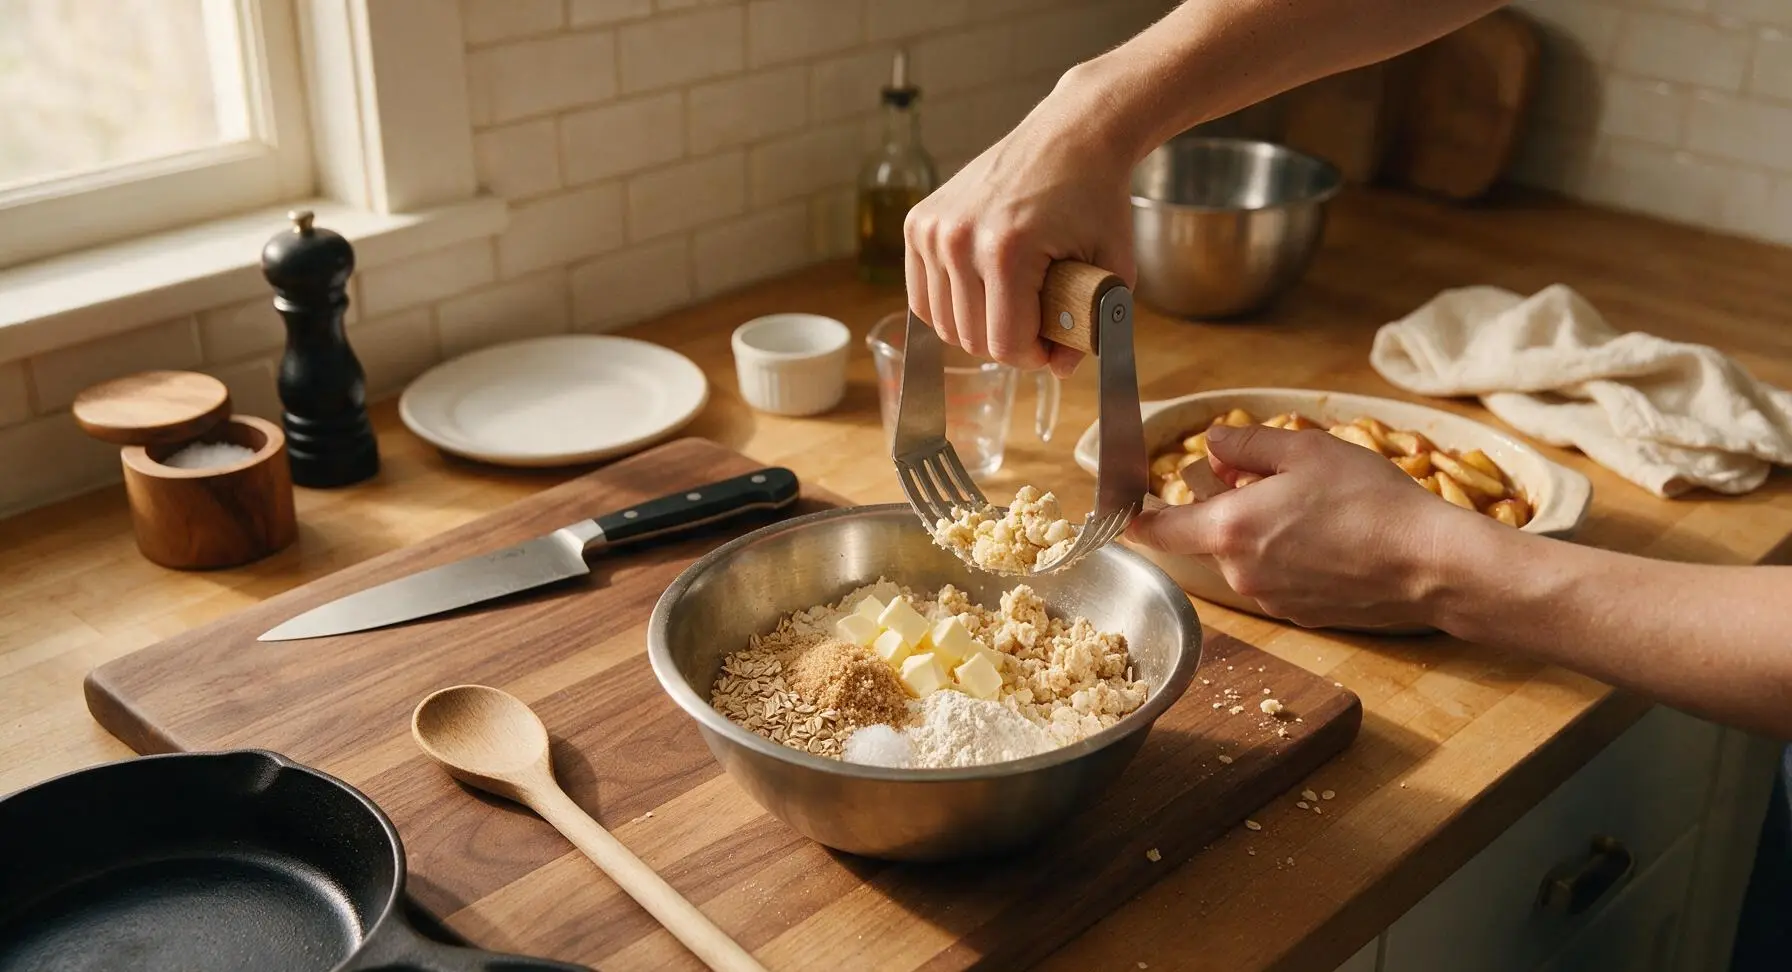
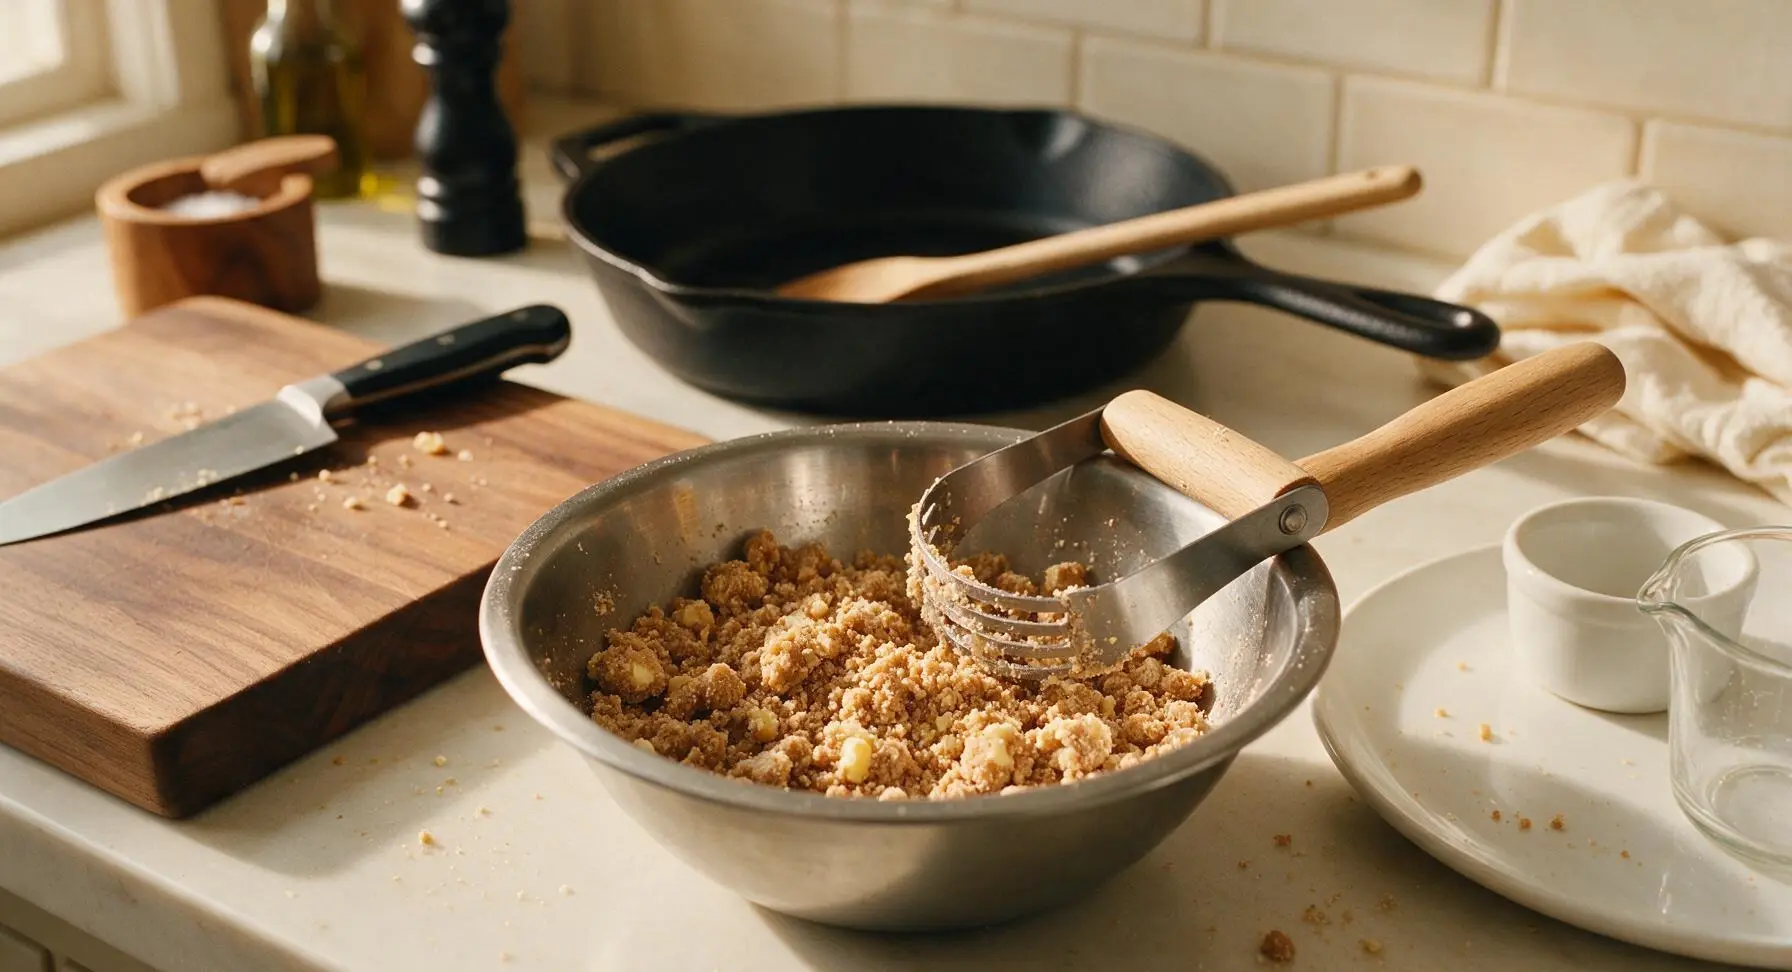
In the small brushed stainless steel mixing bowl, combine 1 cup old-fashioned rolled oats, 1/2 cup packed light brown sugar, the remaining 1/2 cup plus 2 tablespoons all-purpose flour, and the remaining 1/8 teaspoon fine sea salt; stir briefly to combine dry ingredients. Add the 1/2 cup cold, 1cm-cubed unsalted butter. Use the stainless steel pastry blender to cut butter into the dry ingredients, pressing and twisting until the mixture forms coarse, uneven crumbs with pea-sized butter pieces and some larger walnut-sized clumps. Do not overmix into a smooth paste—crumbly, uneven texture creates the signature crisp top.
Top Apples and Bake
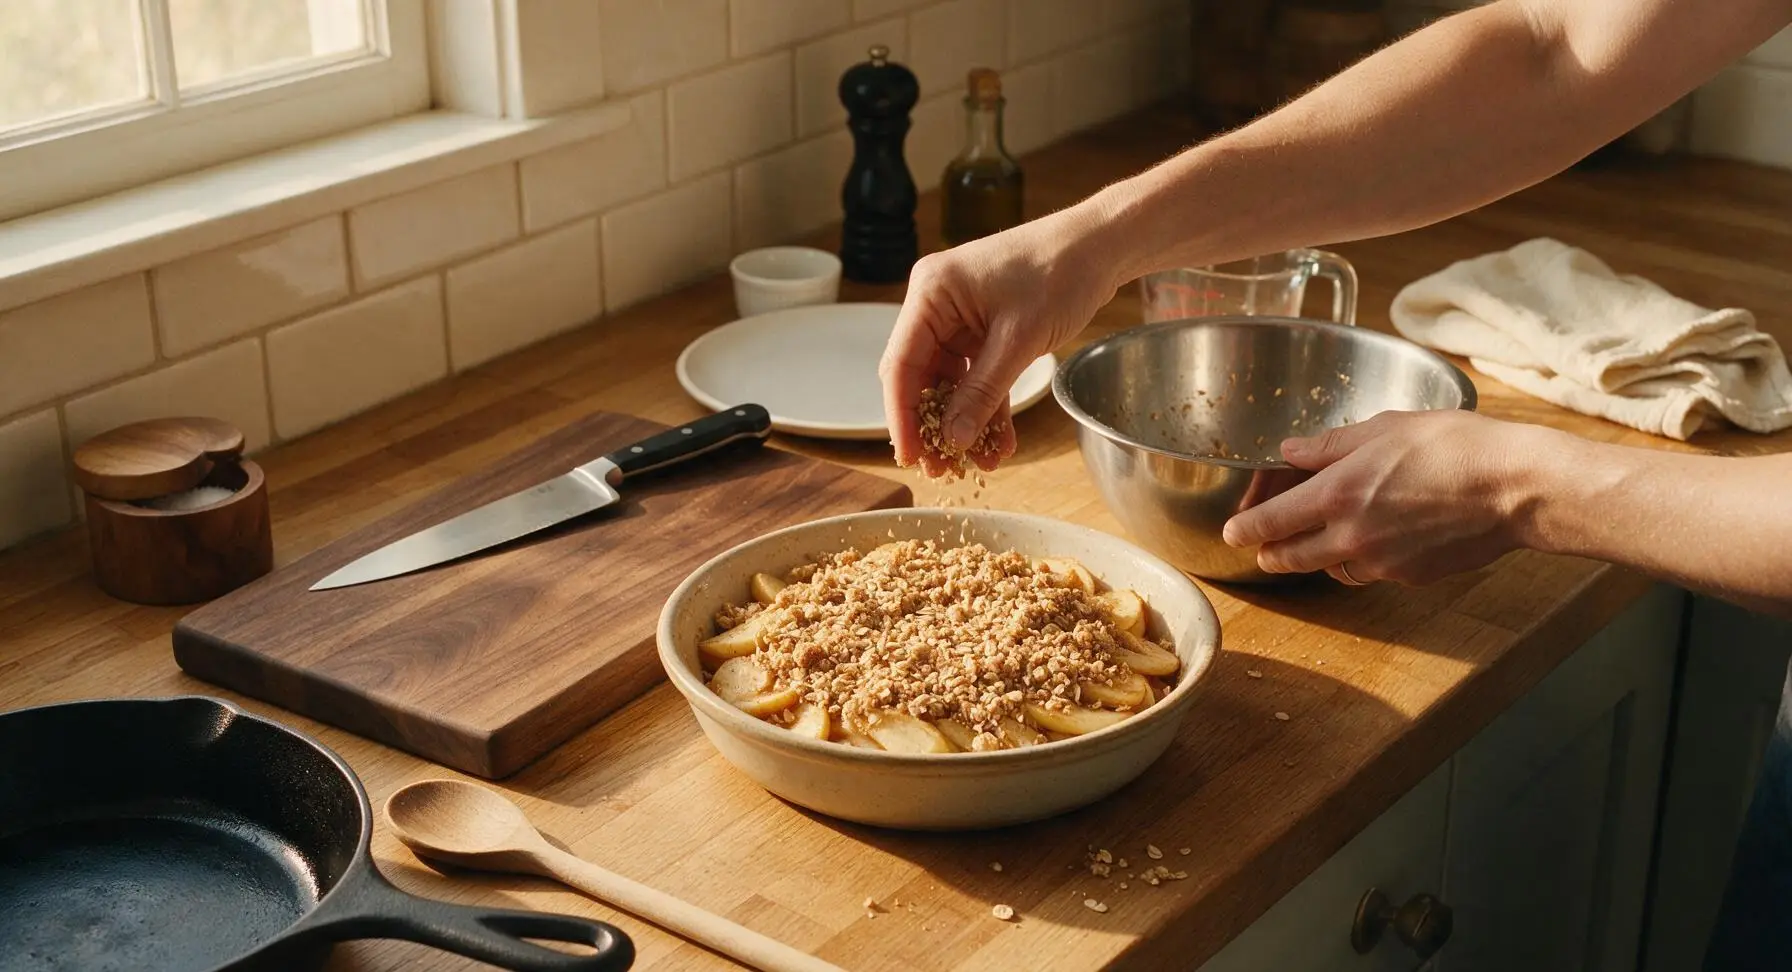
Sprinkle the crumb topping evenly over the apple layer in the baking dish, covering all exposed apple slices, and pat very gently into a loose, even layer (do not press firmly, as this will make the topping dense instead of crisp). Place the baking dish on the middle oven rack and bake for 40 to 45 minutes, until the topping is deep golden brown and apple filling bubbles actively around the dish edges. If the topping darkens too quickly before apples are tender, tent loosely with aluminum foil after 30 minutes of baking.
Cool Crisp Briefly
Using oven mitts, carefully remove the baked crisp from the oven and set it on the maple counter to cool for 10 to 15 minutes before serving. This short rest allows the apple filling to set slightly so it does not run excessively when scooped, and the topping will crisp further as it cools from piping hot to warm serving temperature.
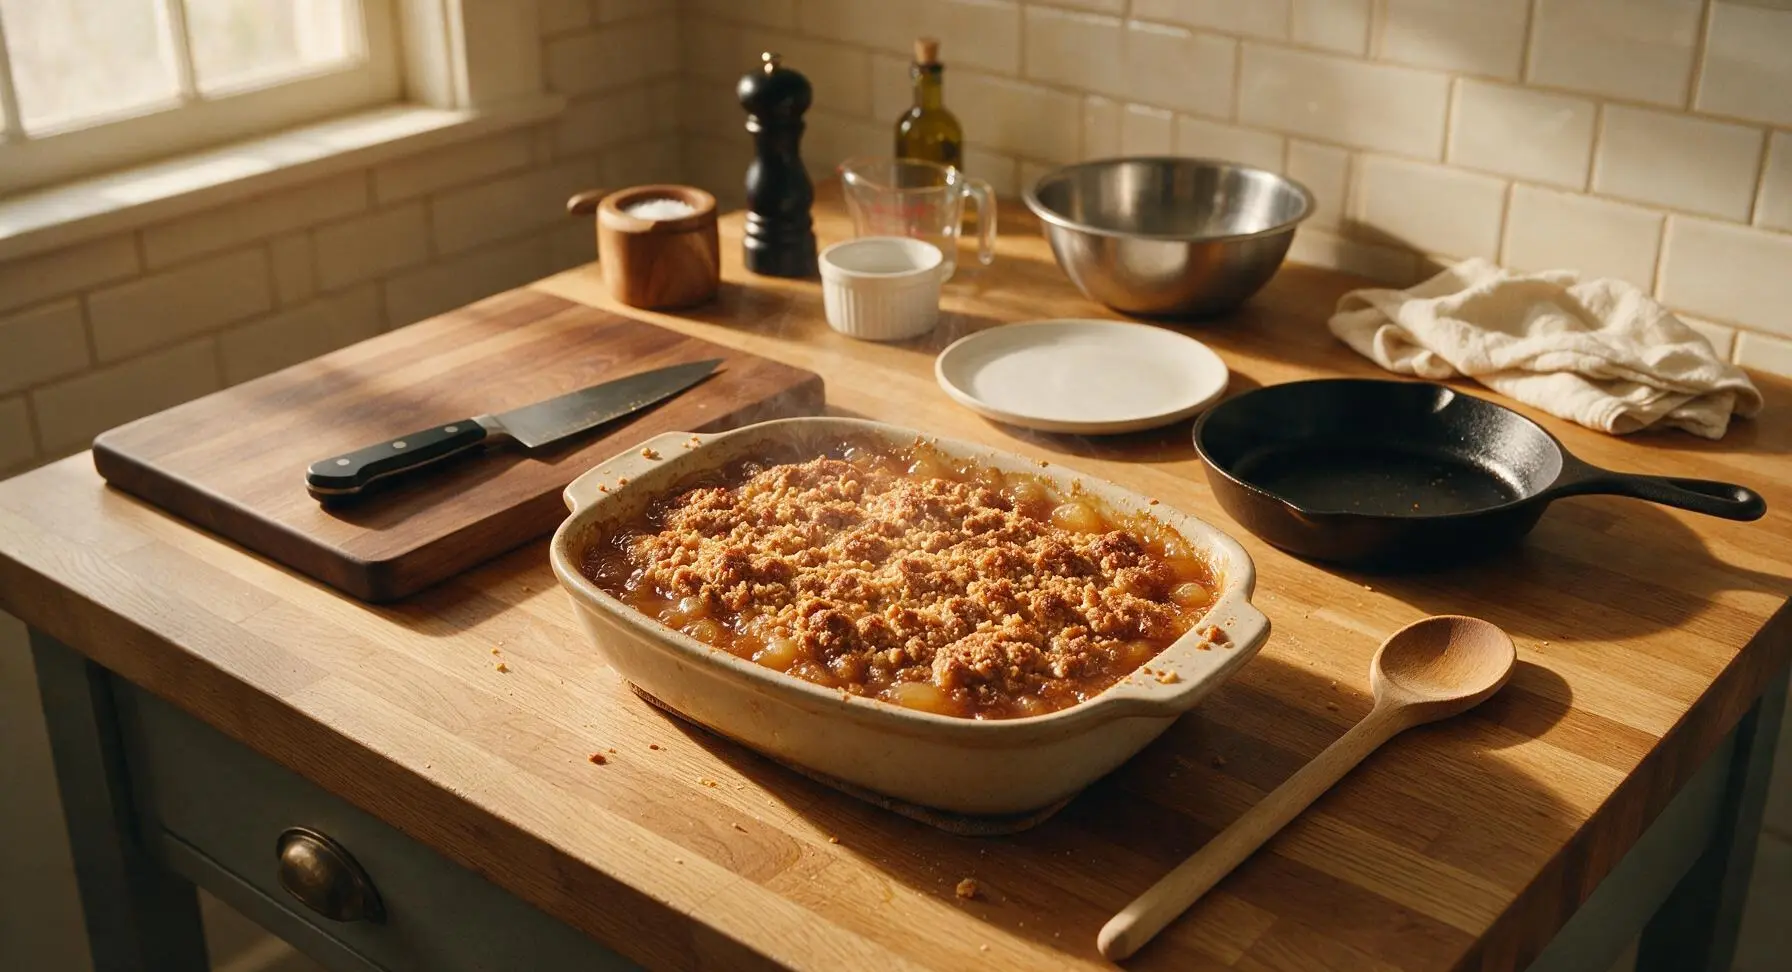
Plate and Serve Warm
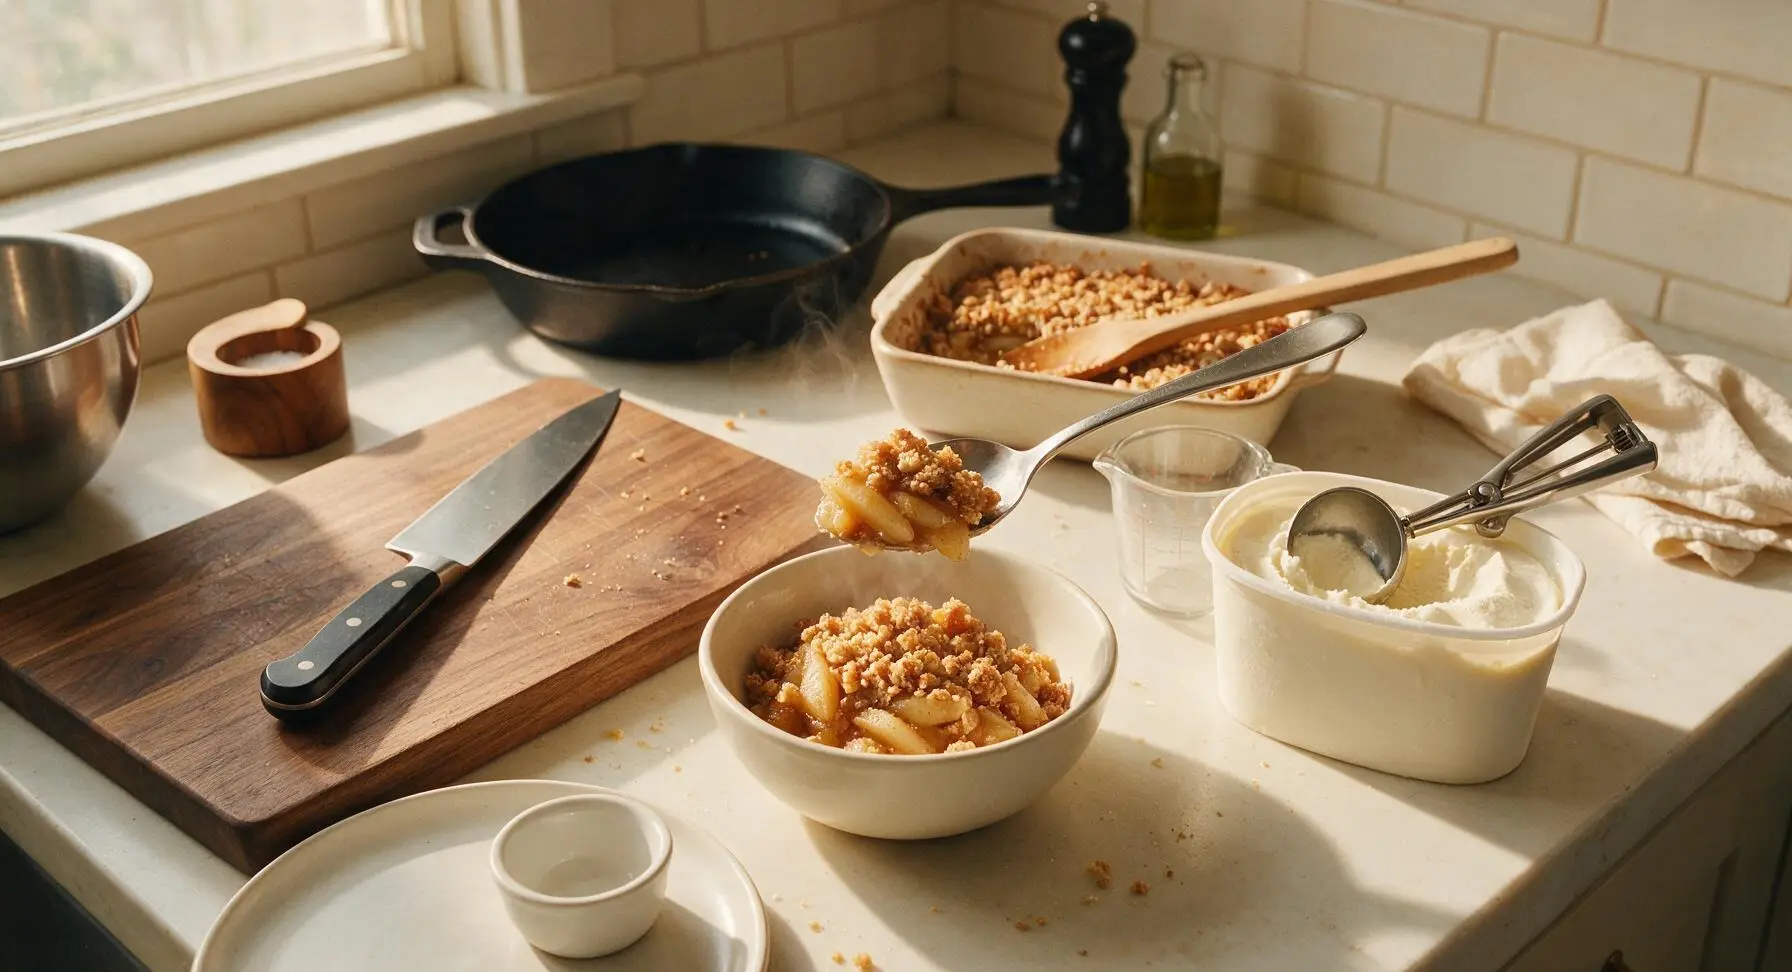
Use a large spoon to scoop generous portions of the warm apple crisp into the cream white ceramic dessert bowls. Use the polished stainless steel spring-loaded ice cream scoop to add one rounded scoop of vanilla ice cream to the top of each serving. Serve immediately, while the crisp is warm and the ice cream is soft and slightly melted into the crumb topping.
Tips
2.Do not overwork the topping mixture: Stop cutting in butter once you have uneven, pea-sized crumbs and some larger clumps; overmixing will create a smooth paste that bakes into a hard, cookie-like layer instead of a delicate, crisp texture.
3.Let the baked crisp rest 10–15 minutes before serving: The apple filling is very thin and runny straight out of the oven, and this short rest allows natural pectin in the cooked apples to set, creating a perfect scoopable texture instead of filling that runs across the plate.






OMG this classic apple crisp is SO good! I made it for last night’s family dinner and both my picky 7 and 9 year old asked for seconds, then begged me to pack the leftovers in their lunch today. I used Honeycrisp apples like I usually do for baking, and the crumble topping was perfectly crispy, not soggy at all. Total game changer for quick weeknight desserts!
Brought this to my neighborhood block party potluck this past weekend and people were scraping the pan clean! I added a tiny dash of cardamom to the topping like my grandma used to and it paired so well with the vanilla bean ice cream I served on top. 10/10, so easy to throw together even when I’m running late to an event.
First time ever making any kind of baked apple dessert and this was so forgiving! I was worried I’d mess up the topping ratios but it came out perfectly golden and crunchy. The only thing I did wrong was forget to add the salt – oops! – but it still tasted amazing. Will be making this every weekend this fall for sure.
Wait, is it normal for the topping to get a little darker around the edges at 45 minutes? Mine looked almost burnt on the corners but the middle was perfect, and it tasted incredible, I was just worried I overcooked it. Next time I’ll probably cover the edges with foil for the last 10 minutes!
Super straightforward recipe, took me almost no prep time after work last night. Cooked it right at 45 minutes like the recipe said and the apples were perfectly tender, not mushy at all. Served it with a scoop of salted caramel ice cream and my roommate said it’s better than the apple crisp his mom makes – don’t tell her I said that lmao
I swapped the butter for cold vegan butter and used gluten-free all purpose flour in the topping, and it turned out incredible! My non-vegan boyfriend didn’t even notice a difference, he ate half the pan in one sitting. Thank you for such a flexible base recipe!
I’ve been making apple crisp for over 50 years and I have to say, this topping ratio is spot on. So many recipes skimp on the crumble and you end up with mostly apples, but this one has the perfect 50/50 balance of fruit to crispy topping. I added a handful of chopped walnuts to mine for extra crunch, just like I always do.
Made this in my tiny dorm oven with a bag of discounted apples I got from the campus grocery store and it came out insane! I didn’t have any fancy measuring cups so I just eyeballed all the topping ingredients and it still worked out. Perfect cheap, cozy meal prep snack for late night study sessions.
Made this for our post-day-hike snack last weekend when we had friends up to our cabin. We warmed it up over the campfire grate in a cast iron pan after baking it at home, and it hit so good after 6 miles of hiking. Will be adding this to our regular camping trip rotation!
Meal prepped this on Sunday and ate it for dessert all week long, it held up so well in the fridge! I just warmed individual portions up for 30 seconds in the microwave and it tasted just as good as the night I baked it. 10/10 for easy make-ahead desserts.
This was good, but I wish there was a little more cinnamon in the spice mix! I ended up adding an extra teaspoon after tasting the apple mixture, and next time I’ll probably add a little nutmeg too. Still a solid base recipe, just needs a little more spice for my taste.
My whole family went crazy for this! I served it at our Sunday football watch party and even my brother who hates all fruit desserts went back for a second serving. The crumble is buttery and perfectly sweet, I’ll never use another apple crisp recipe again. SO good!