
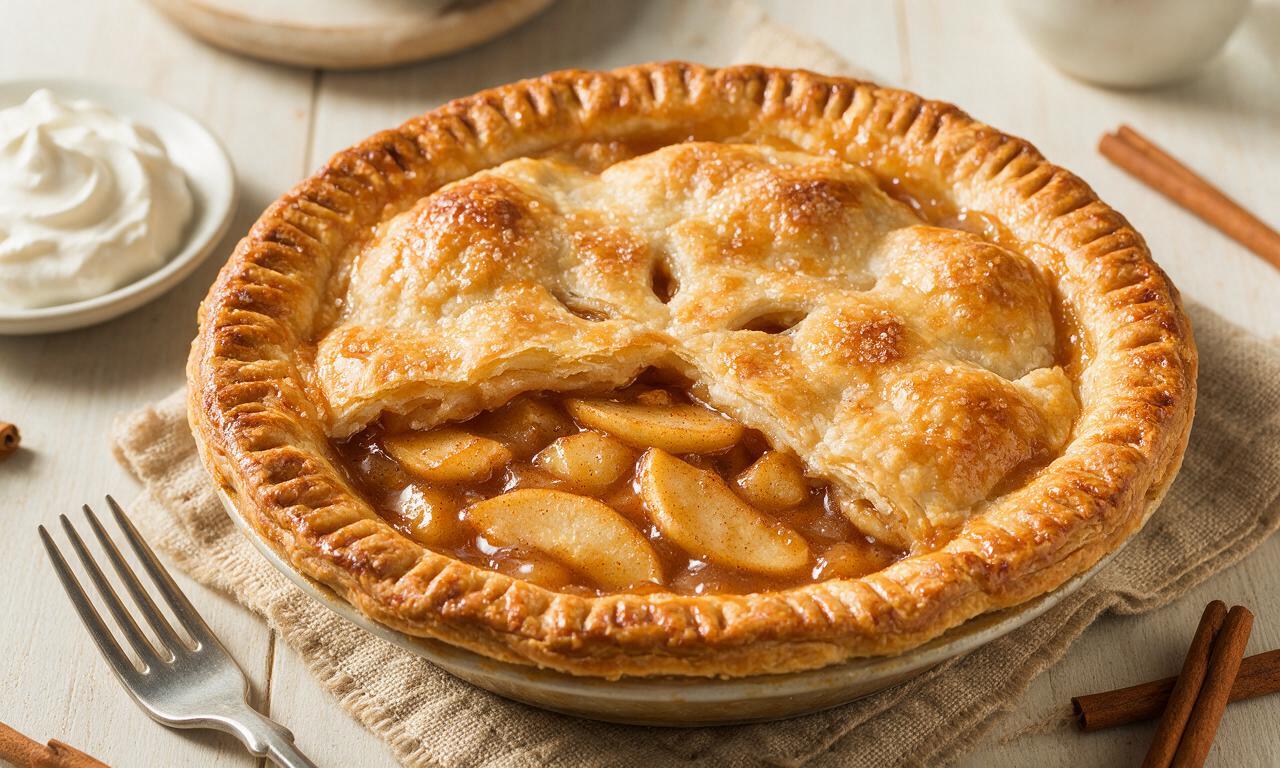
Apple Pie

Apple Pie
⏱️ cook time 1 hour 30 minutes
🍽️ servings 8
⚡ Difficulty medium

intro

Warm, spiced apple filling tucked into a flaky buttery double crust—this timeless, comforting dessert is a beloved fall gathering staple.

Ingredients

Granny Smith apples 6 medium (900g, peeled, cored, sliced 1/4-inch thick)
All-purpose flour 3 1/2 cups (420g)
Unsalted butter 1 cup (226g, cold, cut into 1/2-inch cubes, divided)
Granulated sugar 3/4 cup + 1 teaspoon (155g, divided)
Packed light brown sugar 1/4 cup (50g)
Ground cinnamon 1 1/2 teaspoons
Ground nutmeg 1/4 teaspoon
Fine sea salt 1 teaspoon
Ice water 6-8 tablespoons (90-120ml)
Fresh lemon juice 1 tablespoon (15ml)
Cornstarch 2 tablespoons (16g)
Large egg 1 whole (beaten with 1 tablespoon water for egg wash)

Steps

1

Prepare flaky pie crust

In a large mixing bowl, combine 3 1/2 cups all-purpose flour and 1 teaspoon fine sea salt. Add 14 tablespoons (198g) of the cold cubed unsalted butter, use a pastry cutter to work the butter into the flour until the mixture forms coarse, pea-sized crumbs. Drizzle in 6-8 tablespoons ice water, 1 tablespoon at a time, mixing gently until the dough just clumps together when squeezed. Split the dough into two equal 300g disks, wrap tightly in plastic wrap, and chill in the refrigerator for 30 minutes to relax the gluten.
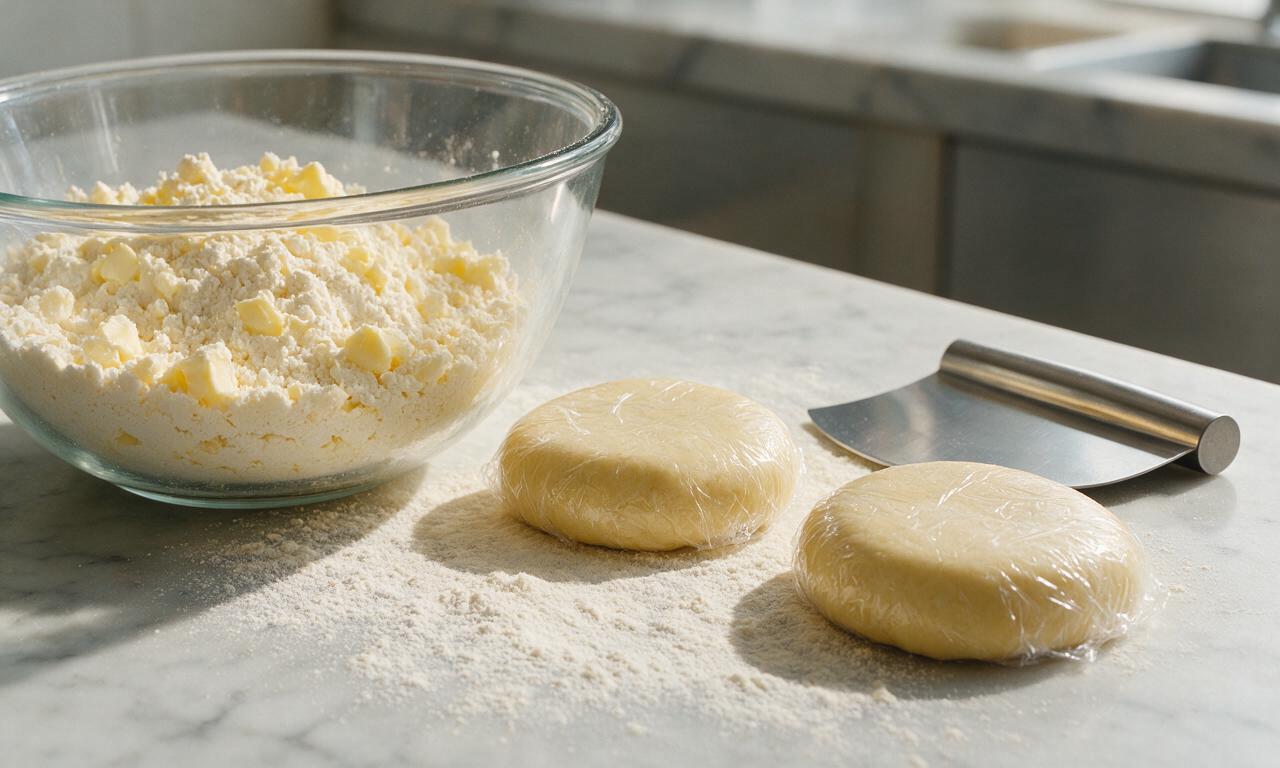
Step 1
step1:Prepare flaky pie crust
2

Toss spiced apple filling

While the dough chills, add the 1/4-inch thick sliced Granny Smith apples to a large bowl, toss with 1 tablespoon fresh lemon juice to prevent browning. Add 3/4 cup granulated sugar, 1/4 cup packed light brown sugar, 1 1/2 teaspoons ground cinnamon, 1/4 teaspoon ground nutmeg, and 2 tablespoons cornstarch. Toss thoroughly until every apple slice is evenly coated, then let the mixture rest for 10 minutes at room temperature to release natural fruit juices.
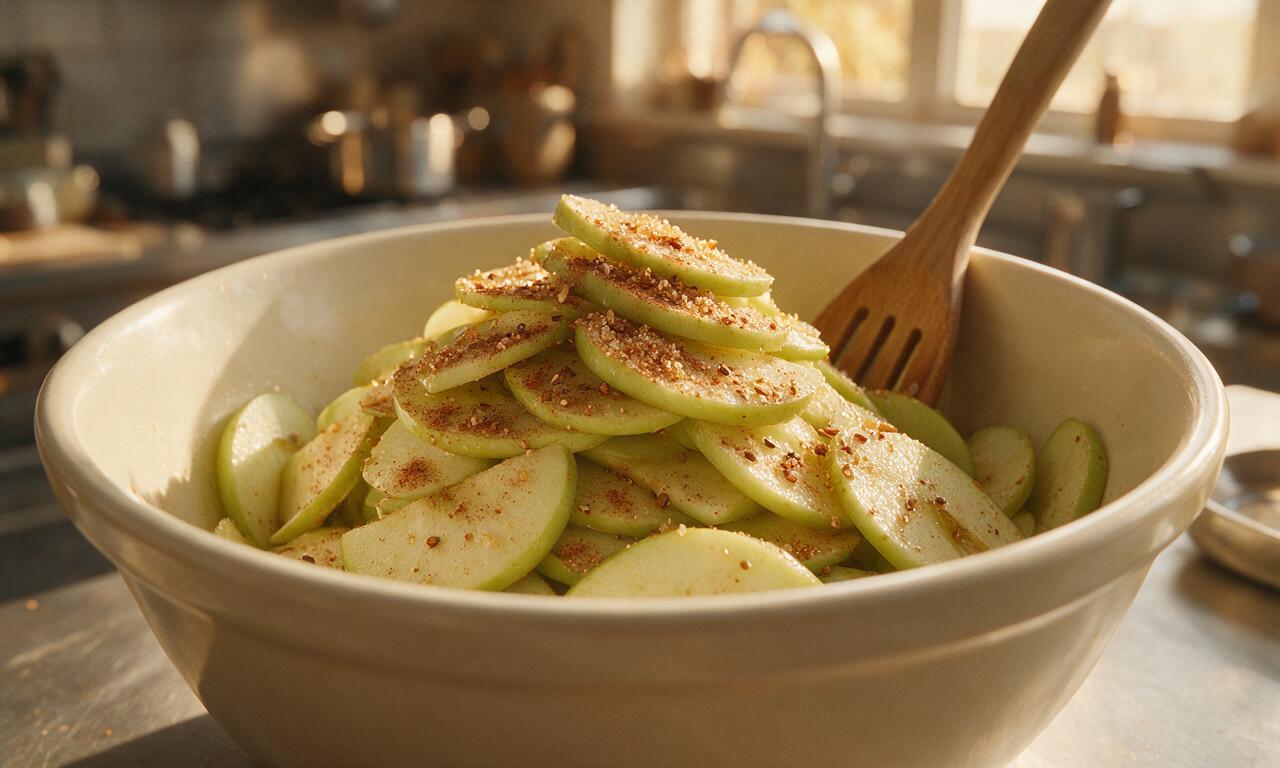
Step 2
step2:Toss spiced apple filling
3

Roll and line pie dish

Remove one chilled dough disk from the refrigerator and let it sit at room temperature for 5 minutes to soften slightly, to prevent cracking while rolling. Roll the dough on a lightly floured work surface to a 12-inch circle, 1/8-inch thick. Gently lay the rolled dough into a 9-inch standard glass pie dish, press it firmly against the bottom and up the sides, then trim excess dough to leave a 1-inch overhang around the dish rim. Return the lined dish to the refrigerator to chill for 10 minutes while the oven preheats to 200°C (400°F).
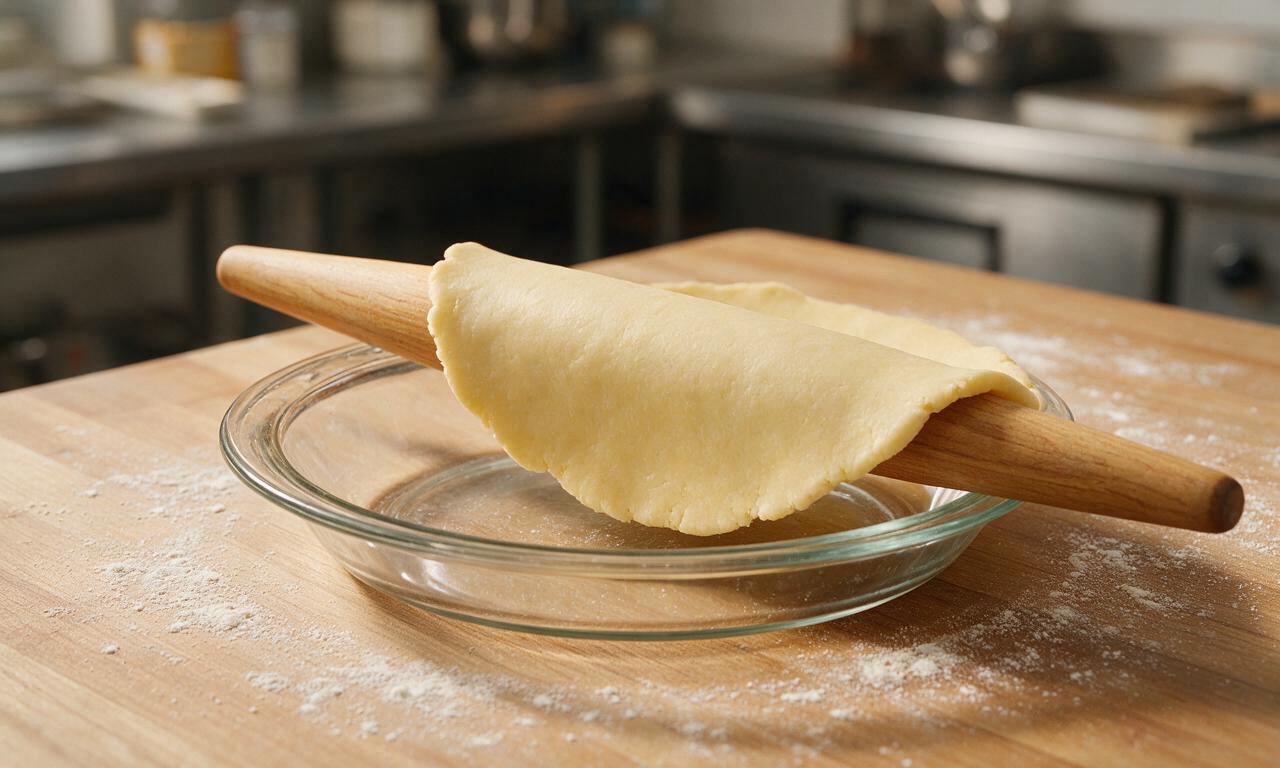
Step 3
step3:Roll and line pie dish
4

Assemble the filled pie

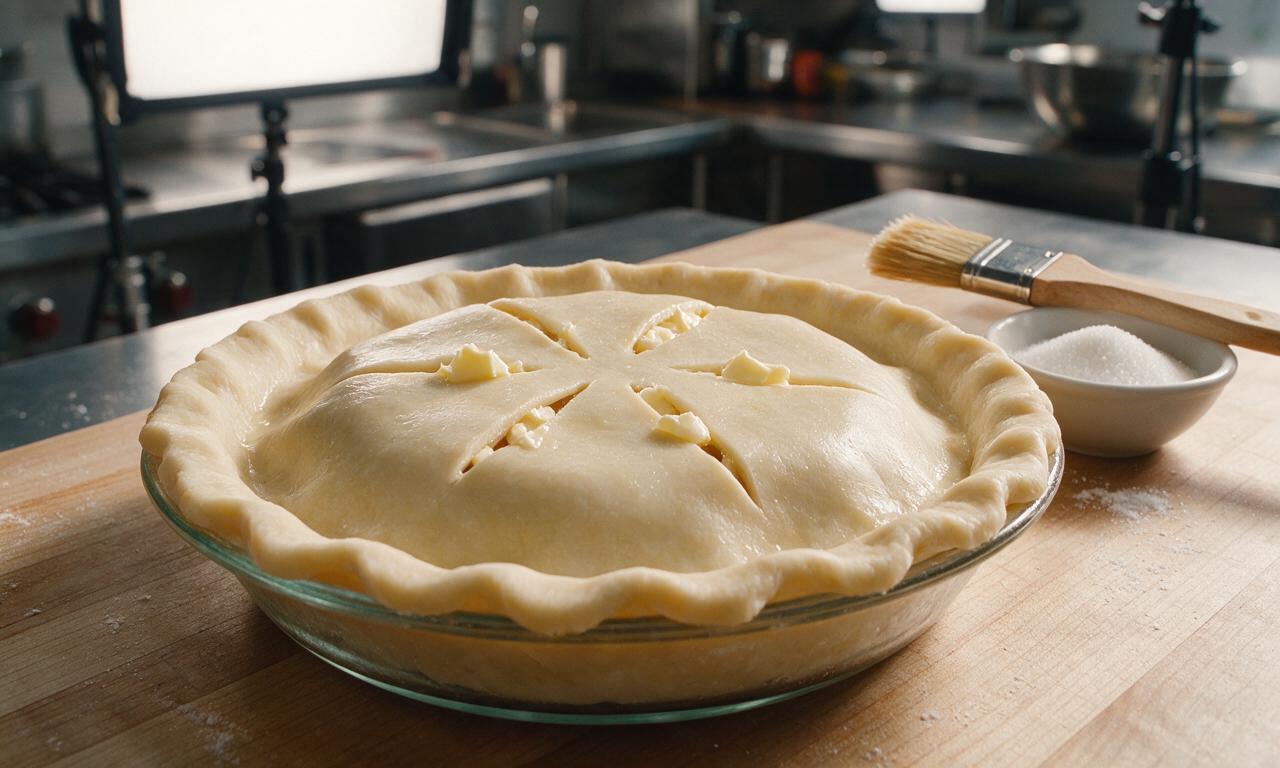
Remove the chilled lined pie dish from the fridge, pour in the rested apple filling and all accumulated spiced juices, spreading the slices into an even layer. Dot the top of the filling with the remaining 2 tablespoons (28g) of cold cubed butter. Roll the second dough disk to an 11-inch circle, 1/8-inch thick, and drape it over the top of the filling. Trim the top crust overhang to match the bottom crust, fold the edges together, and crimp tightly to seal. Cut 4 evenly spaced 2-inch slits in the top crust to allow steam to escape during baking.
Step 4
step4:Assemble the filled pie
5

Bake to golden perfection

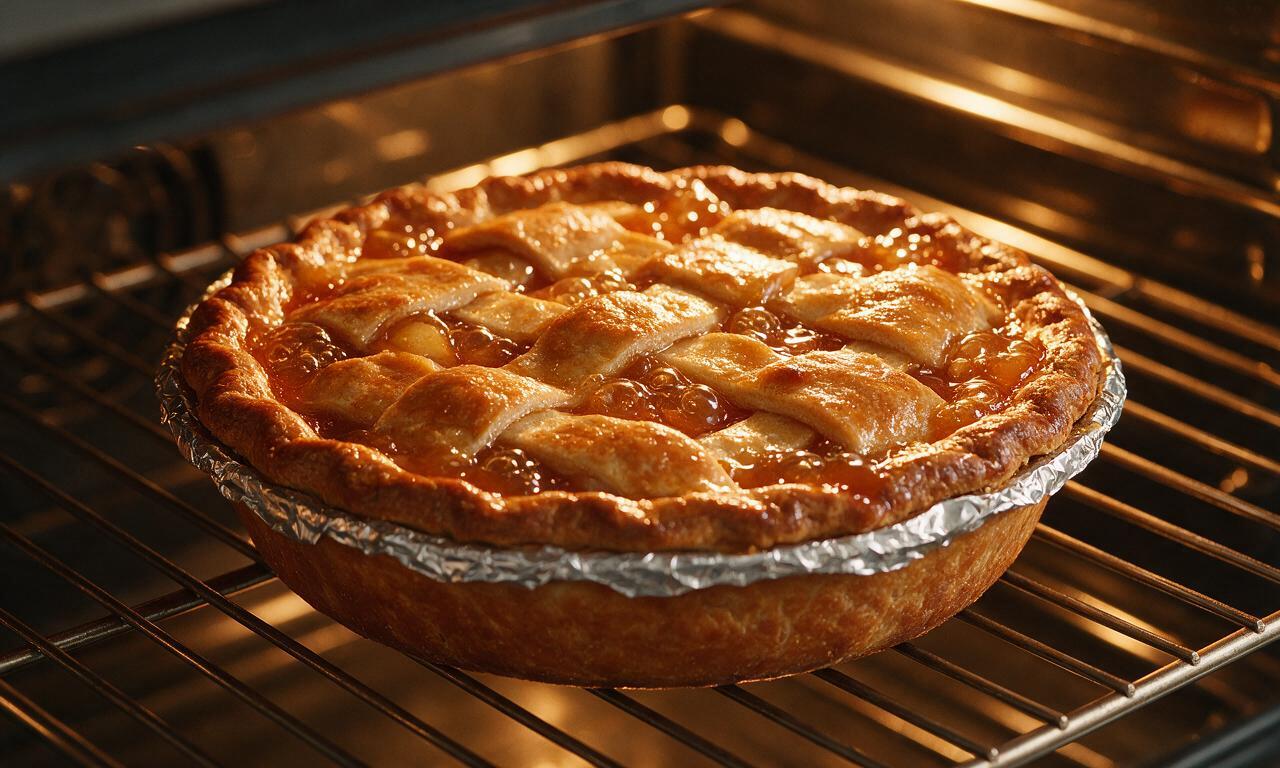
Brush the entire top crust and crimped edges with the beaten egg wash, then sprinkle with the remaining 1 teaspoon granulated sugar for a crisp, shiny top. Place the pie on a parchment-lined baking sheet (to catch drips) on the middle rack of the preheated 200°C (400°F) oven. Bake for 25 minutes, then reduce the oven temperature to 175°C (350°F), wrap the crust edges in a strip of aluminum foil to prevent over-browning, and bake for an additional 30-35 minutes until the filling is actively bubbling through the top slits and the crust is a deep, even golden brown.
Step 5
step5:Bake to golden perfection
6

Cool fully before serving

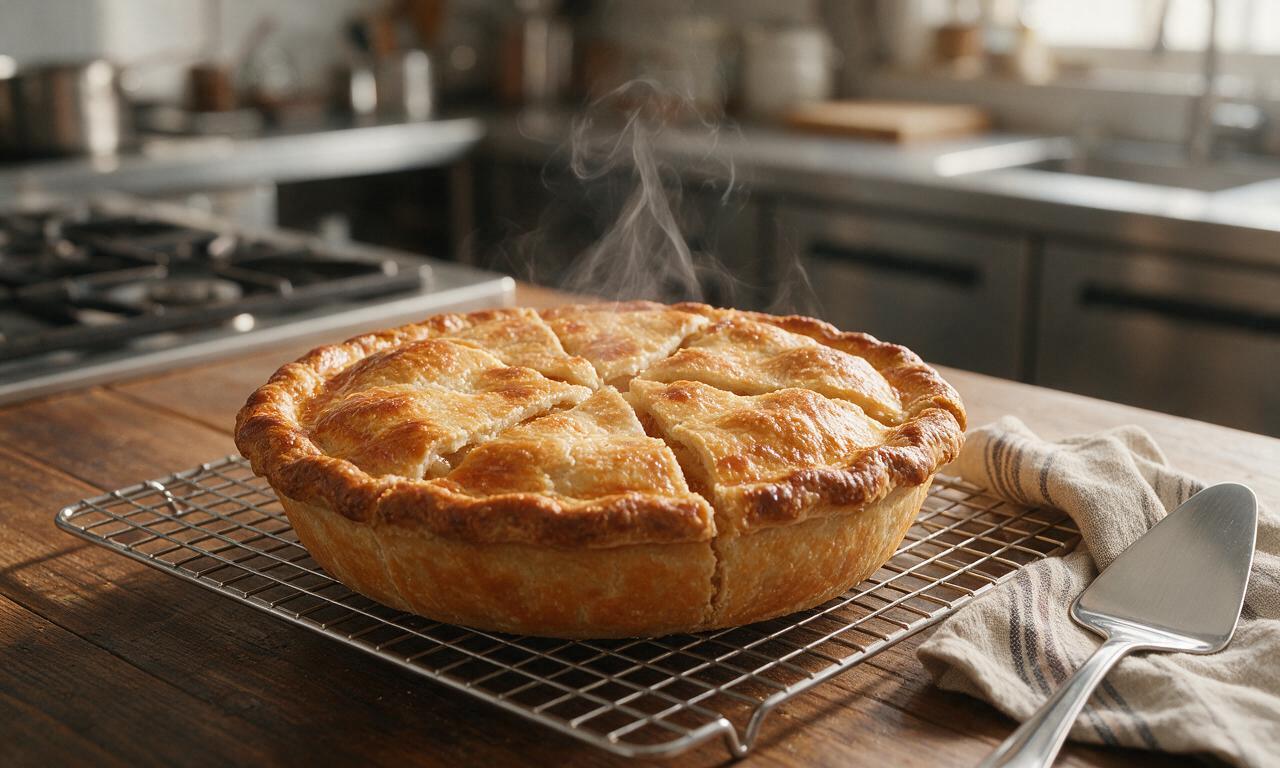
Remove the baked pie from the oven, transfer it to a wire cooling rack, and let it cool completely at room temperature for a minimum of 2 hours before slicing. This resting time allows the hot, loose filling to set firmly, so slices hold their clean shape instead of running.
Step 6
step6:Cool fully before serving

Tips

1.Use fully ice-cold butter and ice water when making pie crust; the cold butter melts slowly in the oven, creating steam that forms the signature flaky, layered crust texture.
2.Never skip the full 2-hour cooling period; slicing the pie while hot will result in a runny, loose filling that spills out of the crust instead of holding a clean slice shape.
3.For a more complex apple flavor, swap 2 of the Granny Smith apples for sweeter Honeycrisp or Fuji apples to balance the tartness with natural, honeyed sweetness.


✨ You May Also Like

Desserts & Baking
🍜 Italy

Creamy, coffee-kissed classic Northern Italian no-bake dessert, with layers of rum-spiked mascarpone cream, soft ladyfingers, and a rich cocoa dusting.

⏱️ 4 hours 3Desserts & Baking ★ 4.8
Desserts & Baking
🍜 France

Flaky, shatteringly crisp, buttery French croissants with golden exteriors and soft, airy layered interiors, perfect for pairing with coffee for a special morning treat.

⏱️ 12 hours Desserts & Baking ★ 4.7
Desserts & Baking
🍜 United States

Warm, spiced baked apples topped with a fluffy golden biscuit crust, this cozy dessert pairs perfectly with vanilla ice cream for cool-weather comfort.

⏱️ 55 minuteDesserts & Baking ★ 4.7
Desserts & Baking
🍜 United States

A star-spangled classic American blueberry pie with buttery flaky crust and bright sweet-tart filling, perfect for summer patriotic gatherings.

⏱️ 1 hour 25Desserts & Baking ★ 4.8
Desserts & Baking
🍜 United States

A beloved no-bake regional Maine candy with a chewy coconut-potato center coated in rich dark chocolate, a New England holiday staple since the 1870s.

⏱️ 2 hours 3Desserts & Baking ★ 4.9
Desserts & Baking
🍜 France

Luxuriously creamy, floral frozen custard made with aromatic Tahitian vanilla beans, boasting a smooth, rich texture that melts slowly on the tongue.

⏱️ 3 hours 3Desserts & Baking ★ 4.6

Apple Pie:Frequently Asked Questions

1.Why does this recipe call for Granny Smith apples specifically instead of other varieties?
Granny Smith apples have the ideal tart-sweet balance and firm, crisp texture that holds up perfectly to long baking times without turning mushy. Softer, sweeter apples like Red Delicious break down into applesauce-like pulp as they cook. For extra depth, you can swap 1/3 of the Granny Smiths for Honeycrisp, but keep most fruit tart and firm for structure.
2.How do I prevent my bottom pie crust from turning out soggy?
Start by blind baking the bottom crust for 10 minutes at 375°F, lined with parchment and weighted down with pie weights or dried beans, before adding filling. Brush the warm pre-baked crust with a thin layer of beaten egg white to create a moisture barrier, and bake the pie on a preheated baking sheet to crisp the crust from the bottom up.
3.Do I really need to use both granulated sugar and packed light brown sugar for the filling?
Yes, the two sugars work together to create a perfectly balanced classic flavor. Granulated sugar adds clean, bright sweetness that lets the apple flavor shine, while light brown sugar brings subtle caramel and molasses notes that pair beautifully with warm baking spices. Skipping either leaves the filling tasting flat and one-note.
4.What’s the secret to getting a super flaky double crust?
The number one rule is to keep your unsalted butter ice-cold when cutting it into your all-purpose flour—aim for pea-sized butter chunks that melt in the oven to create light, crisp layers. Avoid overworking the dough, which develops tough gluten, and chill the fully assembled pie for 30 minutes before baking to prevent crust slumping.
5.How thick should I slice the apples for the most consistent filling?
Aim for uniform 1/4-inch thick slices for the best, most even bake. Slices that are too thick will stay crunchy and undercooked in the center of the pie, while paper-thin slices will break down into mushy pulp as they cook. Peeling apples is optional, but most classic pie fans prefer the smoother texture of peeled fruit.
6.Can I make this pie ahead of time for a fall gathering?
Absolutely! You can wrap the fully assembled, unbaked pie tightly and freeze it for up to 3 months, then bake it straight from frozen (add 15 to 20 minutes to the total bake time) for a fresh, warm dessert. If baked ahead, store it covered at room temperature for up to 2 days, and rewarm slices in the oven before serving.
7.Why does my apple filling turn out runny and watery after baking?
Watery filling usually comes from tossing the apples and sugar without the measured all-purpose flour, or cutting the bake time too short. Apples release lots of moisture as they cook; the flour binds that moisture into a silky, cohesive filling as the pie bubbles. Always let the baked pie rest a full 2 hours to let the filling set fully.
8.Do I have to cut vent slits in the top crust, or are they just decorative?
Those slits are absolutely functional, not just pretty! As the pie bakes, steam builds up inside the double crust from cooking apples and melting butter. Without vents to release that steam, pressure will crack the top crust, push filling out the edges, and trap moisture that leaves the crust soggy. Four to five 2-inch slits work perfectly.
9.Can I use salted butter instead of unsalted butter for the crust?
You can, but you’ll have far more control over the final flavor if you stick to unsalted butter. Salted butter varies widely in salt content across brands, which can make your crust overly salty or throw off the sweet-spiced balance of the filling. If you only have salted butter on hand, cut any added salt in the crust recipe by half.
10.What spices work best for a classic apple pie flavor?
The traditional, well-balanced spice blend is 1 teaspoon ground cinnamon, 1/4 teaspoon ground nutmeg, and a tiny pinch of allspice to complement the apples and brown sugar. Skip heavy, overpowering spices like clove or large amounts of cardamom for a classic version—you want bright apple flavor to be the star, with spices as a supporting note.
11.How do I get that perfect shiny, golden-brown top crust?
Right before baking, brush the top crust with a thin wash of 1 whole egg beaten with 1 tablespoon of heavy cream, then sprinkle with a pinch of coarse granulated sugar. Skip milk-only washes, as they don’t brown as deeply, and avoid getting excess wash on the crimped edges, which can burn before the rest of the pie finishes baking.
12.Is it okay to use store-bought pie crust instead of homemade?
It absolutely is, and it’s a fantastic time-saver for busy fall get-togethers! Look for a refrigerated all-butter crust for the closest flavor and flaky texture to homemade. Be sure to still blind bake the bottom crust, cut vents in the top, and chill the assembled pie before baking to avoid a soggy, slumpy final result.
13.How do I tell when the pie is fully done baking, instead of just guessing?
Don’t rely only on crust color! The pie is done when the top crust is deep golden brown, you see thick, slow-bubbling filling oozing out of the vent slits (not thin, watery juice), and an instant-read thermometer inserted through a vent reads 200°F. That bubbling means the flour thickener has fully activated to set the filling.
14.Why does my pie crust shrink away from the pan edges when it bakes?
Crust shrinkage almost always stems from two common mistakes: overworking the dough so tight gluten contracts as it bakes, or skipping the post-assembly chill time. When rolling out crust, handle it as little as possible, press it firmly into the pan without stretching it, and chill the whole pie for 30 minutes to let gluten relax before baking.
15.Can I add extra mix-ins to the filling without ruining the classic flavor?
Small, complementary add-ins work beautifully without overpowering that traditional apple pie taste! Try tossing in 1/2 cup fresh cranberries for a bright tart pop, 1/3 cup chopped toasted walnuts for crunch, or a splash of apple cider vinegar to brighten the sweet flavor. Skip heavy mix-ins like soft caramel candies, which make filling overly sweet and runny.

Comments (7)

2 weeks ago

Taste was great, but this took me way longer than the listed 1 hour 30 minutes? I’m not a super experienced baker, so maybe that’s on me, but I spent almost 2 and a half hours total between prepping the crust, peeling all the apples, and baking. Felt pretty medium difficulty like it said, just don’t go into it thinking it’s a quick weeknight dessert!

1 week ago

Oh same! I peeled and sliced all my apples the night before to cut down on day-of work, that shaved almost 40 minutes off my total time when I made it last month!

5 days ago

Great tip from Jess! Prepping the apples ahead is such a smart time-saver. For new bakers, I always recommend setting aside a little extra time your first go-round – once you get the hang of the crust steps, it goes way faster the second time you make it!

1 week ago

Game changer!!! I’ve been scared to make homemade pie crust for years because I always thought it was too hard, but this recipe broke it down so simply even I could pull it off. The cinnamon and nutmeg balance is SO good, I didn’t even need to add extra ice cream on top (though obviously I did anyway 😂)

3 days ago

Took this to my neighborhood potluck over the weekend and it got so many compliments! Only reason I’m not giving 5 stars is I felt the filling was a little runny when I pulled it out, even after letting it cool the full time. Flavor was on point though, everyone was asking for the recipe.

2 days ago

Thanks for the honest feedback, Jake! Runny filling usually happens if the apples are extra juicy – next time try tossing them with an extra tablespoon of flour or letting them sit in a colander for 15 minutes before piling them into the crust, that’ll soak up that extra moisture. Glad it was still a hit at the potluck!

2 days ago

I prepped the crust and filling ahead of time for our Thanksgiving test run this week, and it assembled so easily on baking day! Super doable for meal prep if you split the steps over a couple days, which is a lifesaver when you’re making a dozen dishes for a holiday. Will absolutely be making this again for the actual dinner.

yesterday

Wait how long did you keep the crust in the fridge prepped? I want to make mine 3 days ahead this year to save time!

yesterday

OMG this apple pie was the star of our extended family dinner last weekend! I used a mix of Honeycrisp and Granny Smith apples like the recipe suggested, and the crust was so flaky everyone went back for seconds. My kids loved it so much they asked if we can have it every weekend this fall. 10/10 no notes!

2 hours ago

Wait did you chill the crust for the full 2 hours like the recipe says? I’m making this for a potluck next week and don’t want to mess that part up!

30 minutes ago

So glad your family loved it, Molly! That mix of Honeycrisp and Granny Smith is my go-to for the perfect sweet-tart balance. Quick note for anyone prepping: chilling the crust is totally worth it for that ultra-flaky texture, but if you’re short on time 45 minutes in the fridge works in a pinch!

2 hours ago

Just pulled this out of the oven an hour ago and my whole house smells like fall heaven! The crimped crust edge came out perfect on my first try, I was so proud I sent a pic to my whole family group chat. Definitely my new go-to apple pie recipe, no more store-bought for me!

30 minutes ago

Love that! A perfect crimped crust is such a win, especially on the first try. Thanks so much for giving the recipe a go, and I hope your family loves every bite!

just now

SO good! I added a handful of chopped candied pecans to the top crust before baking for a little extra crunch, and it was chef’s kiss. Perfect balance of tart and sweet, not too much sugar, which is exactly what I look for in an apple pie. Will be bringing this to my book club next week!



