
Apple Pie Bars
intro
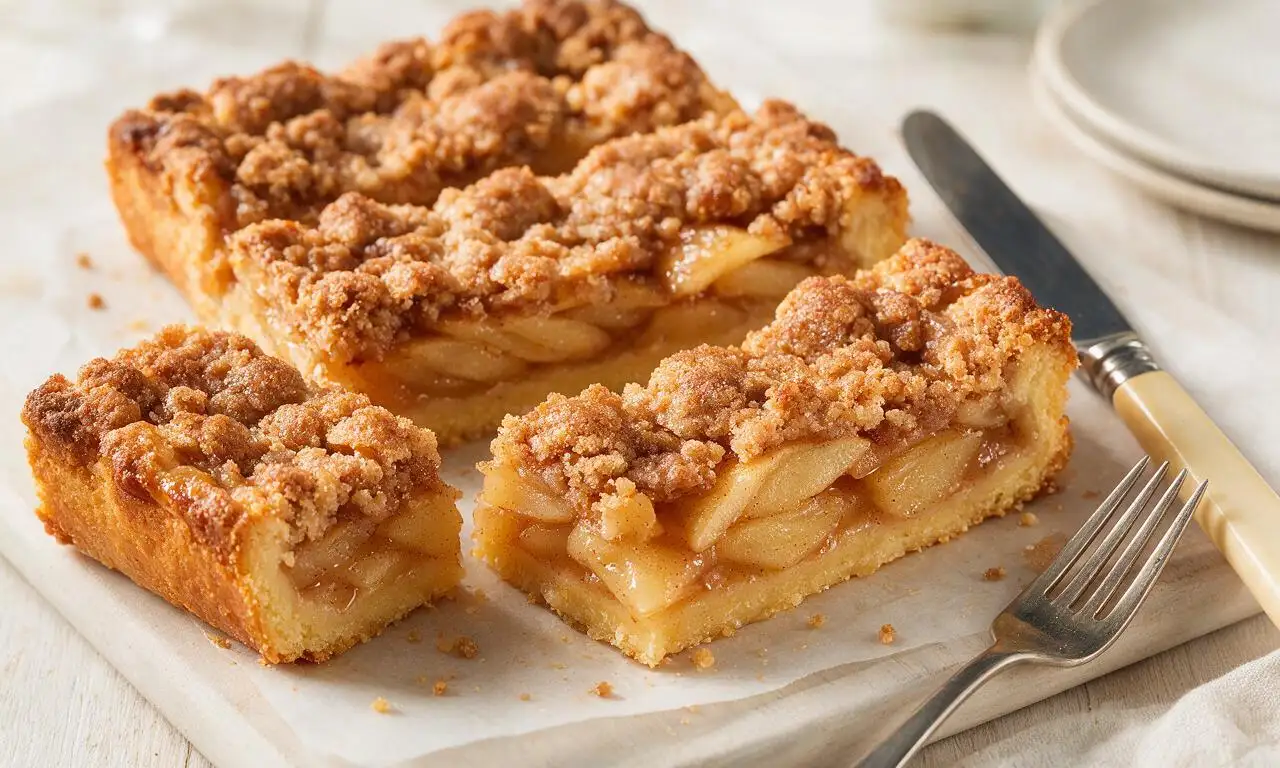
Buttery shortbread crust, tender cinnamon-spiced apples, and crumbly brown sugar streusel come together in these portable, hand-held bars – an easier, shareable twist on classic American apple pie.
Ingredients
Steps
Prep oven and pan
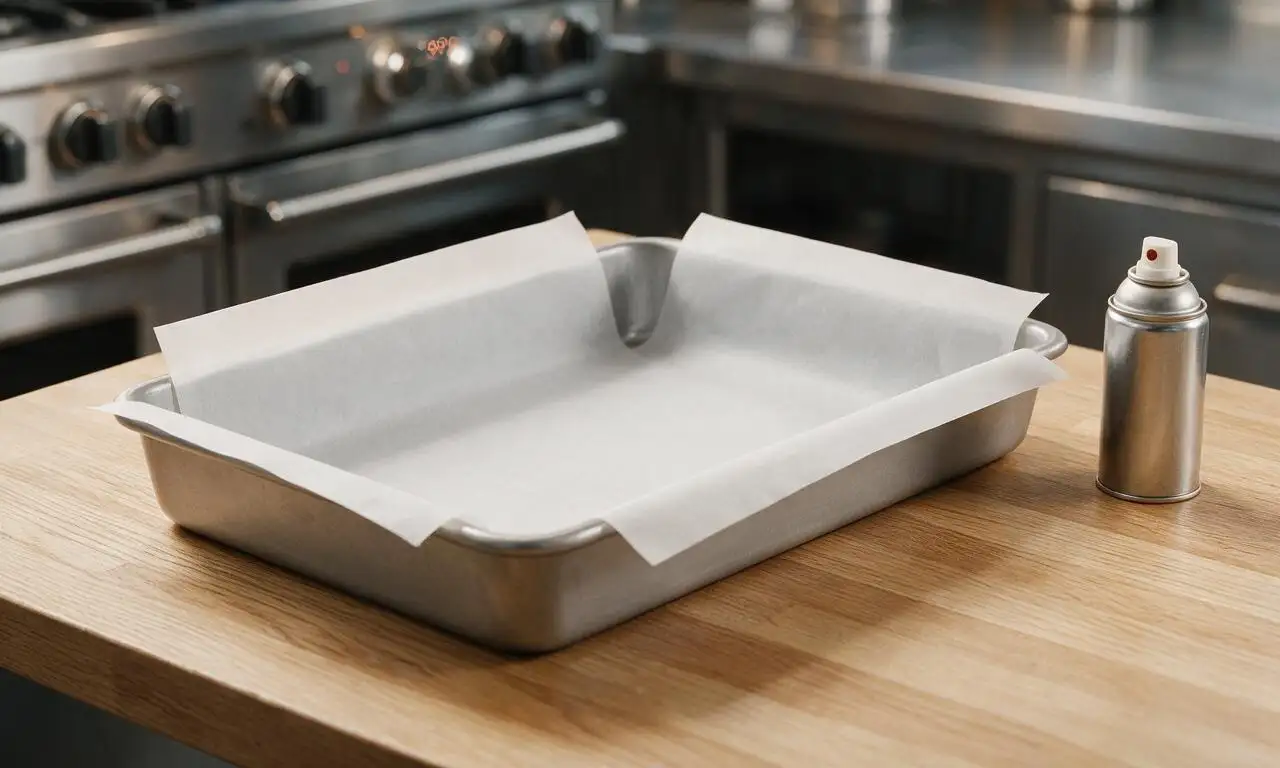
Preheat your oven to 175°C (350°F). Line a 9x13 inch (23x33cm) metal baking pan with parchment paper, leaving 2-inch overhang on the two long sides to easily lift finished bars out later; lightly coat any exposed pan sides with nonstick cooking spray.
Mix shortbread crust
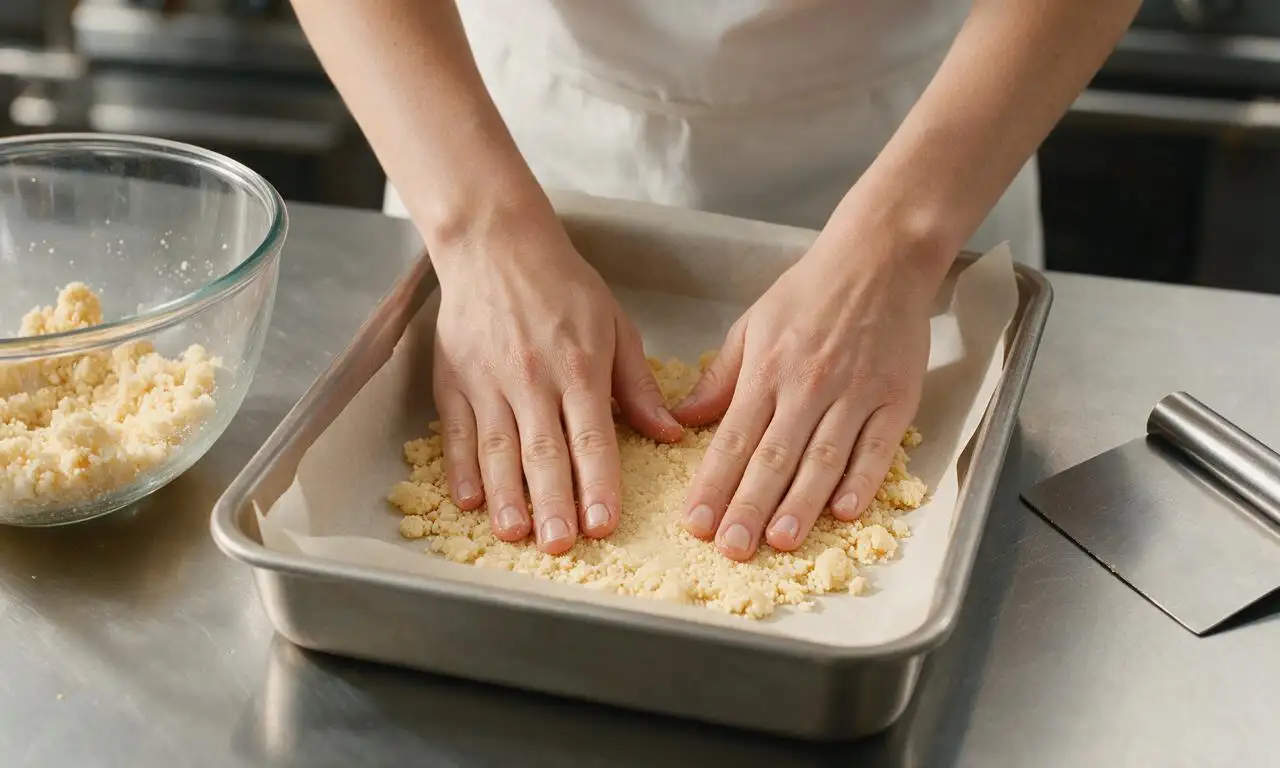
In a large mixing bowl, combine 2 ½ cups (315g) all-purpose flour, ½ cup (100g) granulated sugar, ½ teaspoon (2.5g) kosher salt, and 1 teaspoon (5ml) vanilla extract. Add 170g cold cubed unsalted butter, and use your fingertips or a pastry cutter to cut the butter into dry ingredients until the mixture forms coarse, damp crumbs that hold together when squeezed firmly. Pour crumbs evenly into the prepared pan, and press firmly into a flat, compact layer across the entire pan bottom.
Toss apple filling
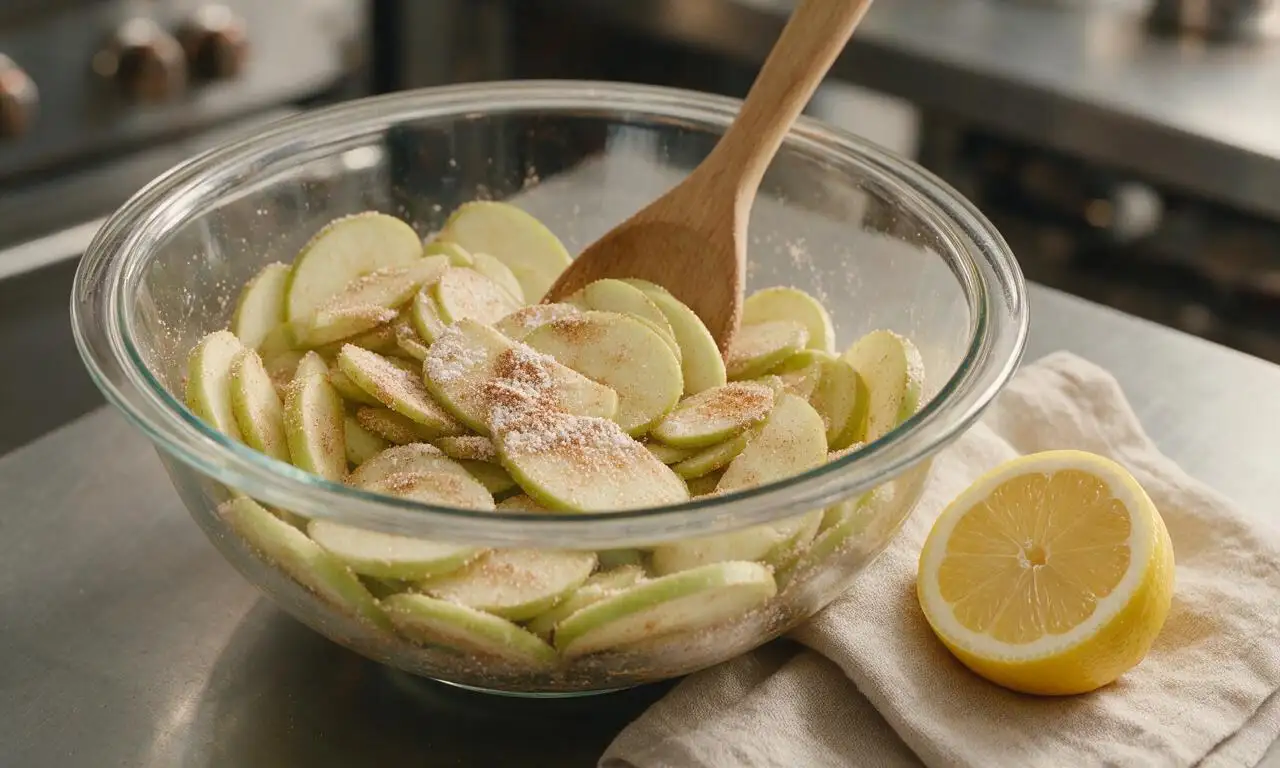
In a separate medium bowl, add the sliced 680g Granny Smith apples, ¼ cup (50g) granulated sugar, 2 tablespoons (16g) cornstarch, 1 teaspoon (2.5g) ground cinnamon, ¼ teaspoon (0.5g) ground nutmeg, ¼ teaspoon (1.25g) kosher salt, and 1 tablespoon (15ml) fresh lemon juice. Toss thoroughly until every apple slice is evenly coated with the sugar-spice mixture, with no dry cornstarch pockets left at the bottom of the bowl.
Mix streusel topping
In a small bowl, combine the remaining ¾ cup (95g) all-purpose flour, ¾ cup (150g) packed light brown sugar, remaining 1 teaspoon (2.5g) ground cinnamon, and remaining ¼ teaspoon (1.25g) kosher salt. Add the remaining 56g cold cubed unsalted butter, and cut the butter into the dry mix until it forms pea-sized, clumpy crumbs; do not overmix into a smooth dough, as this will create a hard topping instead of a crumbly streusel.
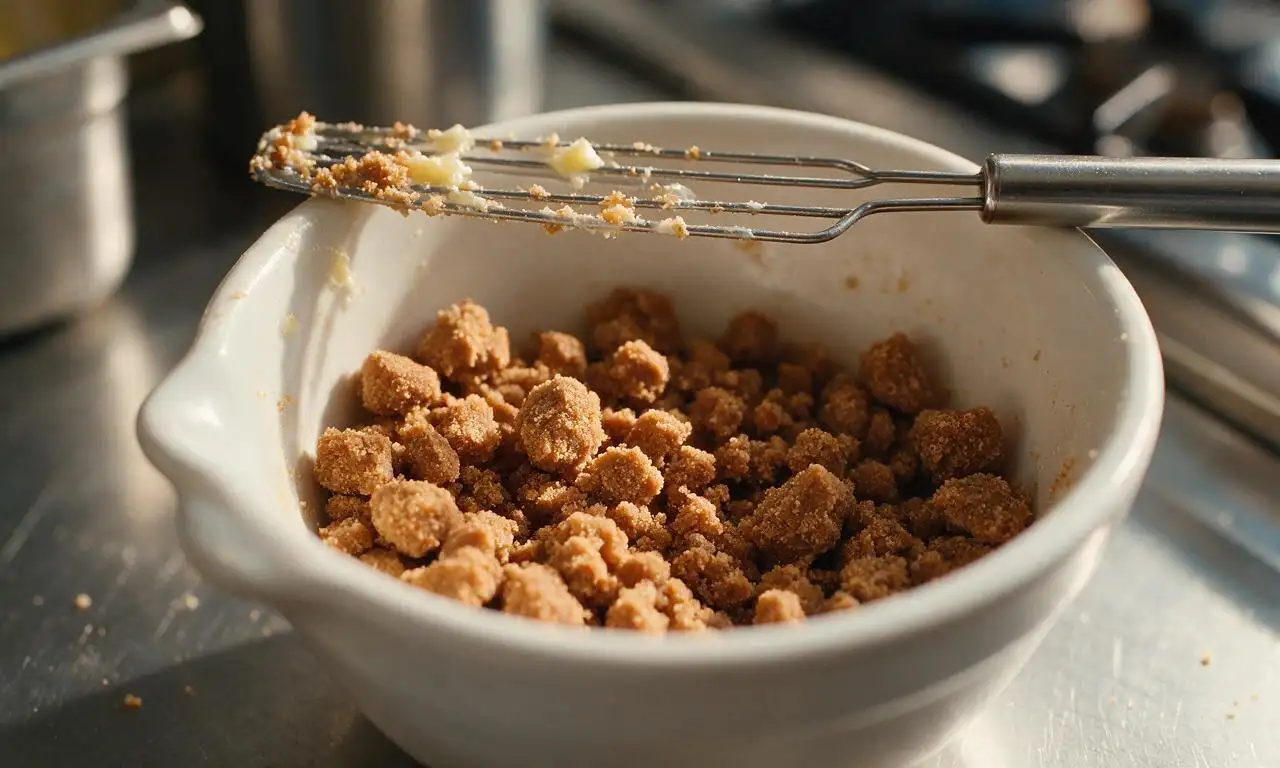
Assemble and bake bars
Arrange the coated apple slices in an even, single overlapping layer over the pressed shortbread crust, pouring any remaining spiced juice from the apple bowl over the top. Sprinkle the streusel topping evenly over the apples, covering all exposed fruit. Bake on the middle oven rack for 40 to 45 minutes, until the streusel is deep golden brown and the apple filling is actively bubbling around the pan edges.
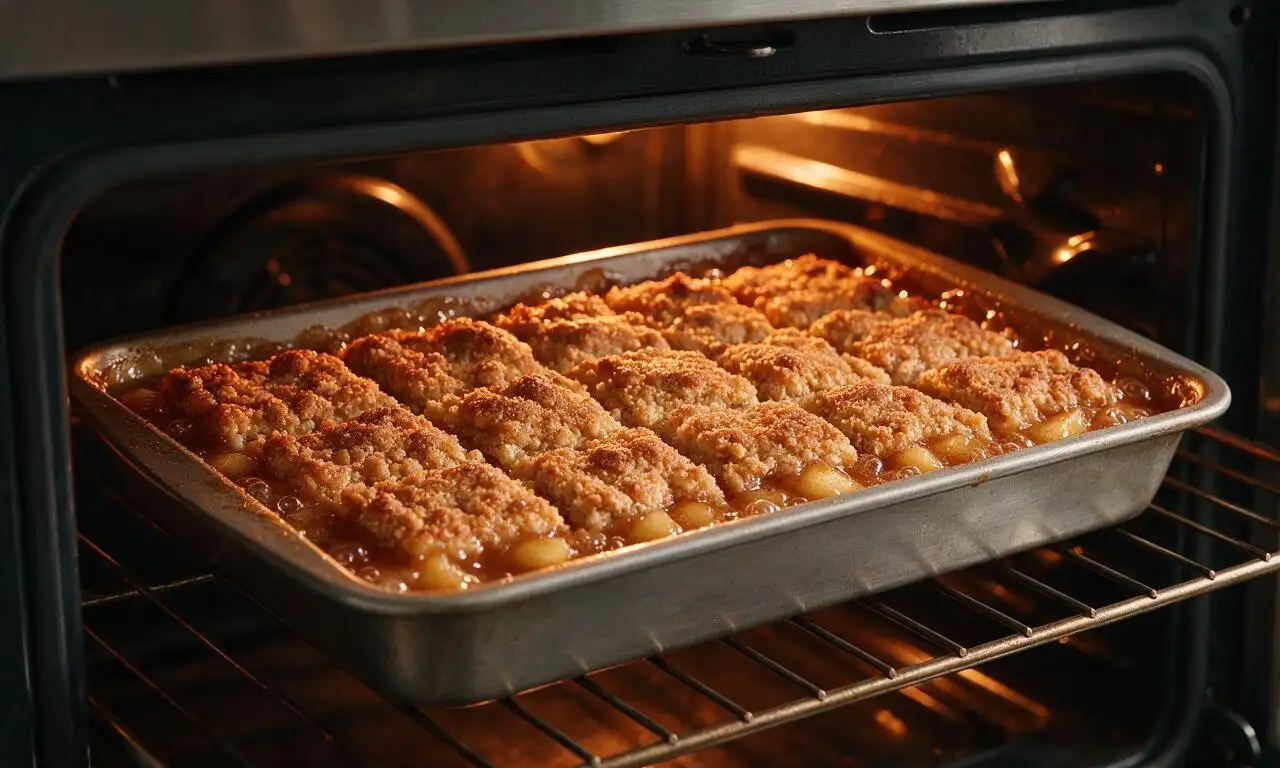
Cool and slice bars
Remove the pan from the oven and let bars cool completely in the pan on a wire rack for 2 full hours at room temperature (or 1 hour in the refrigerator) to let the apple filling set fully. Use the parchment paper overhang to lift the entire uncut slab of bars out of the pan, then cut into 12 equal rectangular bars with a sharp knife.
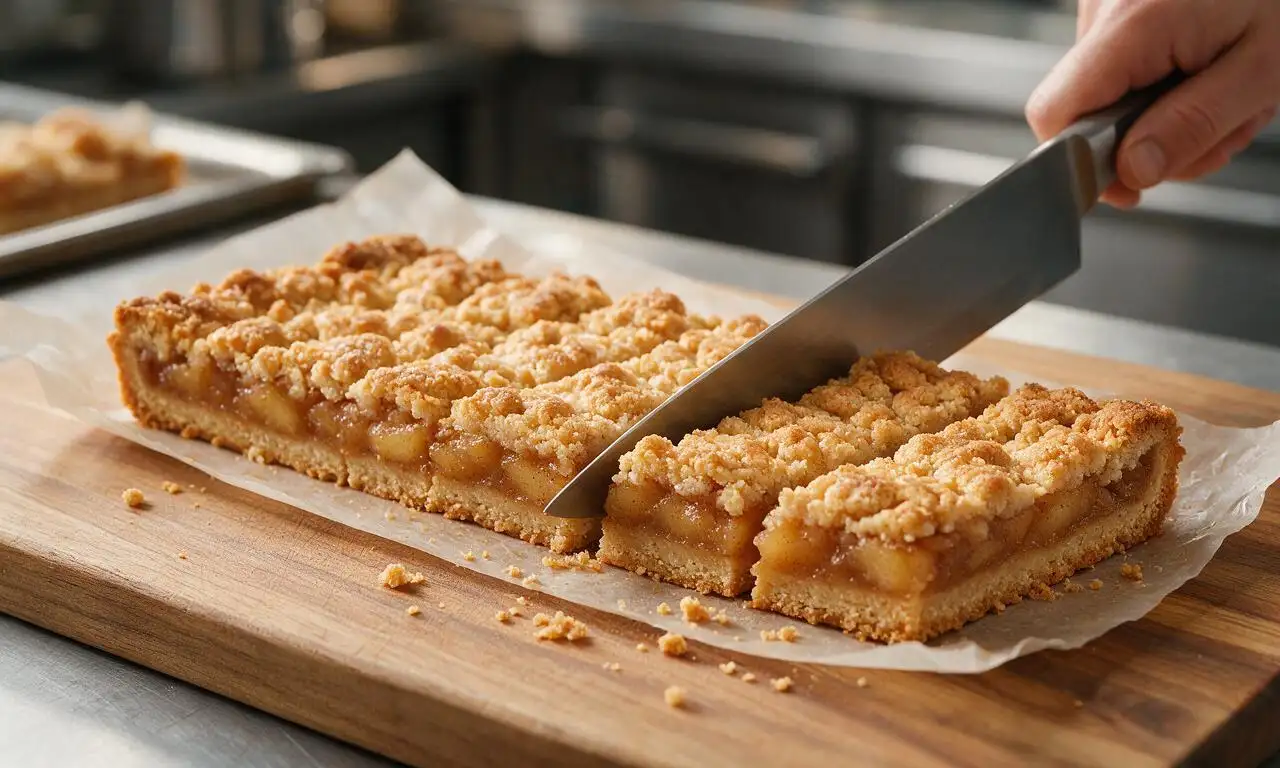
Tips
2.Do not skip the full cooling and setting time: cutting bars while warm will cause the spiced apple filling to run out, leading to messy, soggy slices that do not hold their shape.
3.For added texture and nutty flavor, stir ¼ cup (30g) of toasted, chopped pecans or walnuts into the streusel mixture before sprinkling it over the apple layer, if desired.






OMG these apple pie bars are a total game changer! I brought them to my kid’s soccer team potluck last weekend and every single last bar was gone before the first half even ended. The shortbread crust is buttery perfection, not too sweet, and the apple filling has exactly the right amount of cinnamon. So much easier than making a whole pie too! 10/10 will make again for Thanksgiving this year.
Super easy recipe even for someone who burns toast 90% of the time! I made these in my dorm kitchen last night for my floor’s fall hangout and everyone was asking for the recipe. Only thing I did differently was add a tiny drizzle of caramel on top after they cooled, chef’s kiss.
Made these for our Sunday family dinner and my picky 7 year old asked for seconds before he even finished his first helping! I love that they hold their shape so well, no messy slices falling apart like regular pie. Cook time was exactly an hour like the recipe said, no guesswork at all.
These are perfect for trail snacks! I cut them into extra thick squares, wrapped them individually in parchment, and brought them on our fall hike in the Rockies last weekend. They held up great in my pack, not too sticky, gave us the perfect sugar boost halfway up the trail. Only knock is I wish I made a double batch, my hiking buddies stole half of mine!
I have made these three times in the last two weeks, no joke. First for work potluck, then for my book club, then for my neighbor’s housewarming. People go absolutely feral for these. The crumb top is *chef’s kiss* – I added a handful of chopped pecans to it the last time and it was insane.
Wait, has anyone tried making these with a 1:1 gluten free flour blend? I’m gluten intolerant and these look so good I’m literally drooling looking at the photos. Would the crust hold up the same?
I was so nervous to make these because I’ve never baked anything with fresh fruit before, but they came out perfect on the first try! My roommate said they taste like they came from a fancy bakery. So easy to follow, the steps were super straightforward even for a total newbie.
It’s officially spooky season and these bars are the perfect fall treat! I added a tiny pinch of nutmeg and a dash of allspice to the apple filling to make it extra cozy, paired with a warm pumpkin spice latte and I’m in heaven. 10/10, will be making these every week until Christmas.
These are perfect for weekly meal prep! I cut them into squares, stored them in individual containers, and grabbed one every morning for breakfast on my way to work this week. They’re sweet enough to feel like a treat but not so sugary that I crash at 10am. Obsessed.
I’ve been baking apple pies for 40 years and I have to say, these bars might be my new favorite way to make the classic flavor. Way less fussy than crimping a pie crust, easier to serve, and the ratio of crust to filling to crumb top is absolutely perfect. My wife said they’re better than my famous pie, which is high praise.
Made these for a Halloween party over the weekend and I even drizzled a little orange colored icing on top in little spiderweb patterns to match the theme. Everyone was raving about how cute and tasty they were, multiple people asked for the recipe before they left. Will definitely be a repeat for future holiday parties!
Wait, is the optional glaze really necessary? I’m not a huge fan of super sweet desserts, so I was thinking of skipping it. Would the bars still taste good without it?
Honey, these apple pie bars are so good I could cry. I brought them to my church potluck last Sunday and even Ms. Ethel, who wins every bake sale we have, asked me for the recipe. That’s when you know you’ve got a winner. I used a mix of Granny Smith and Fuji apples like my mama taught me and it was perfect.
Had one of these warm with a scoop of vanilla bean ice cream on top last night and I swear I saw stars. The warm cinnamon apple with the cold creamy ice cream? Unbeatable combo. 10/10, no notes.
Finally an easy apple dessert that doesn’t require peeling a million apples and rolling out pie dough! This took me 15 minutes of prep total, popped it in the oven, and done. Perfect for when I don’t feel like putting in a ton of effort but still want a homemade treat.
I made these with my 2nd grade class for our fall party today and the kids went crazy for them. They loved helping mix the crumb topping and layer the apples, and every single kid cleaned their plate. Even the kids who say they hate fruit ate all of theirs!
I was skeptical because I usually stick to high protein, low sugar snacks, but my girlfriend made these and I ended up eating three bars in one sitting. Worth every single calorie, honestly. So flavorful, the crust is perfect, not too cloyingly sweet. Might even make them myself for my next cheat meal.
I run a little farmers market booth on weekends and I tested these out last Saturday. I sold out in 45 minutes! I had customers coming back looking for them before I even packed up. I’m adding these to my permanent menu for sure, they’re a huge hit.
I swapped the butter for dairy free butter to accommodate my son’s dairy allergy and they came out absolutely perfect! You couldn’t even tell the difference, the crust was still buttery and delicious. So happy we can enjoy this treat as a family without worrying about allergies.