
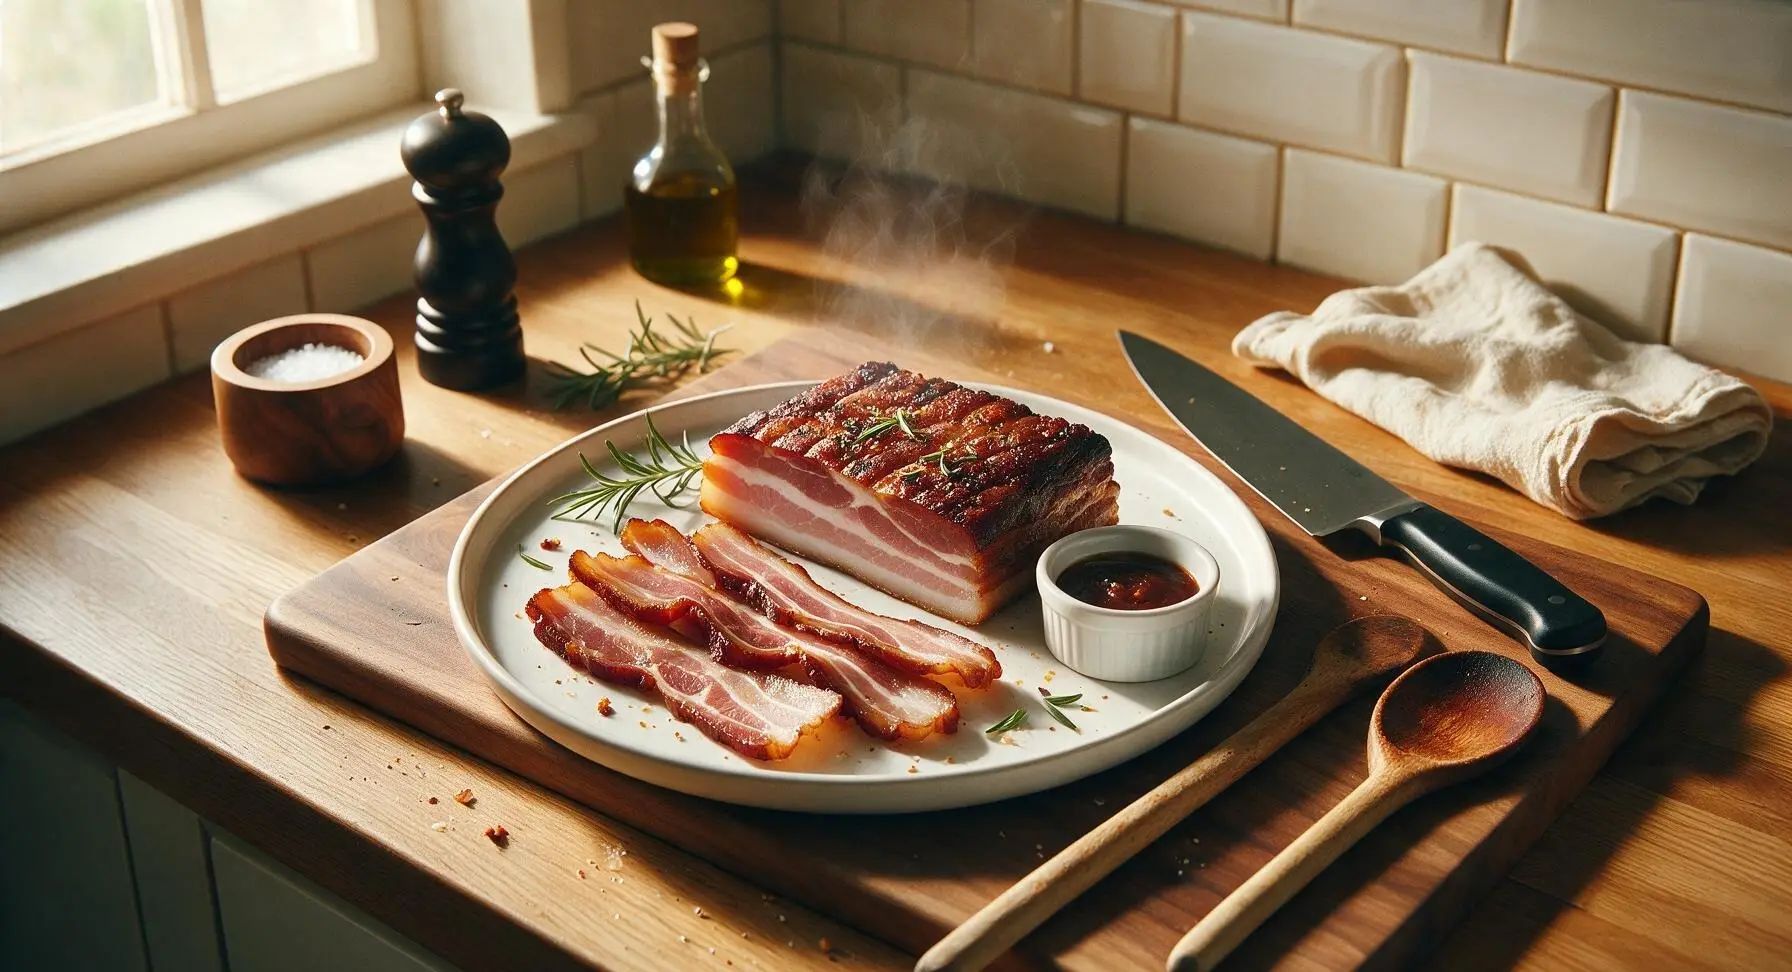
bacon cure recipe

title 1
bacon cure recipe
⏱️ cook time 2 hours 30 minutes
🍽️ servings 12
⚡ Difficulty medium

intro

This classic dry-cured homemade bacon boasts rich, balanced salty-sweet flavor, perfect marbling, and a deep smoky note that far outshines store-bought slices, ideal for breakfast and beyond.

Ingredients
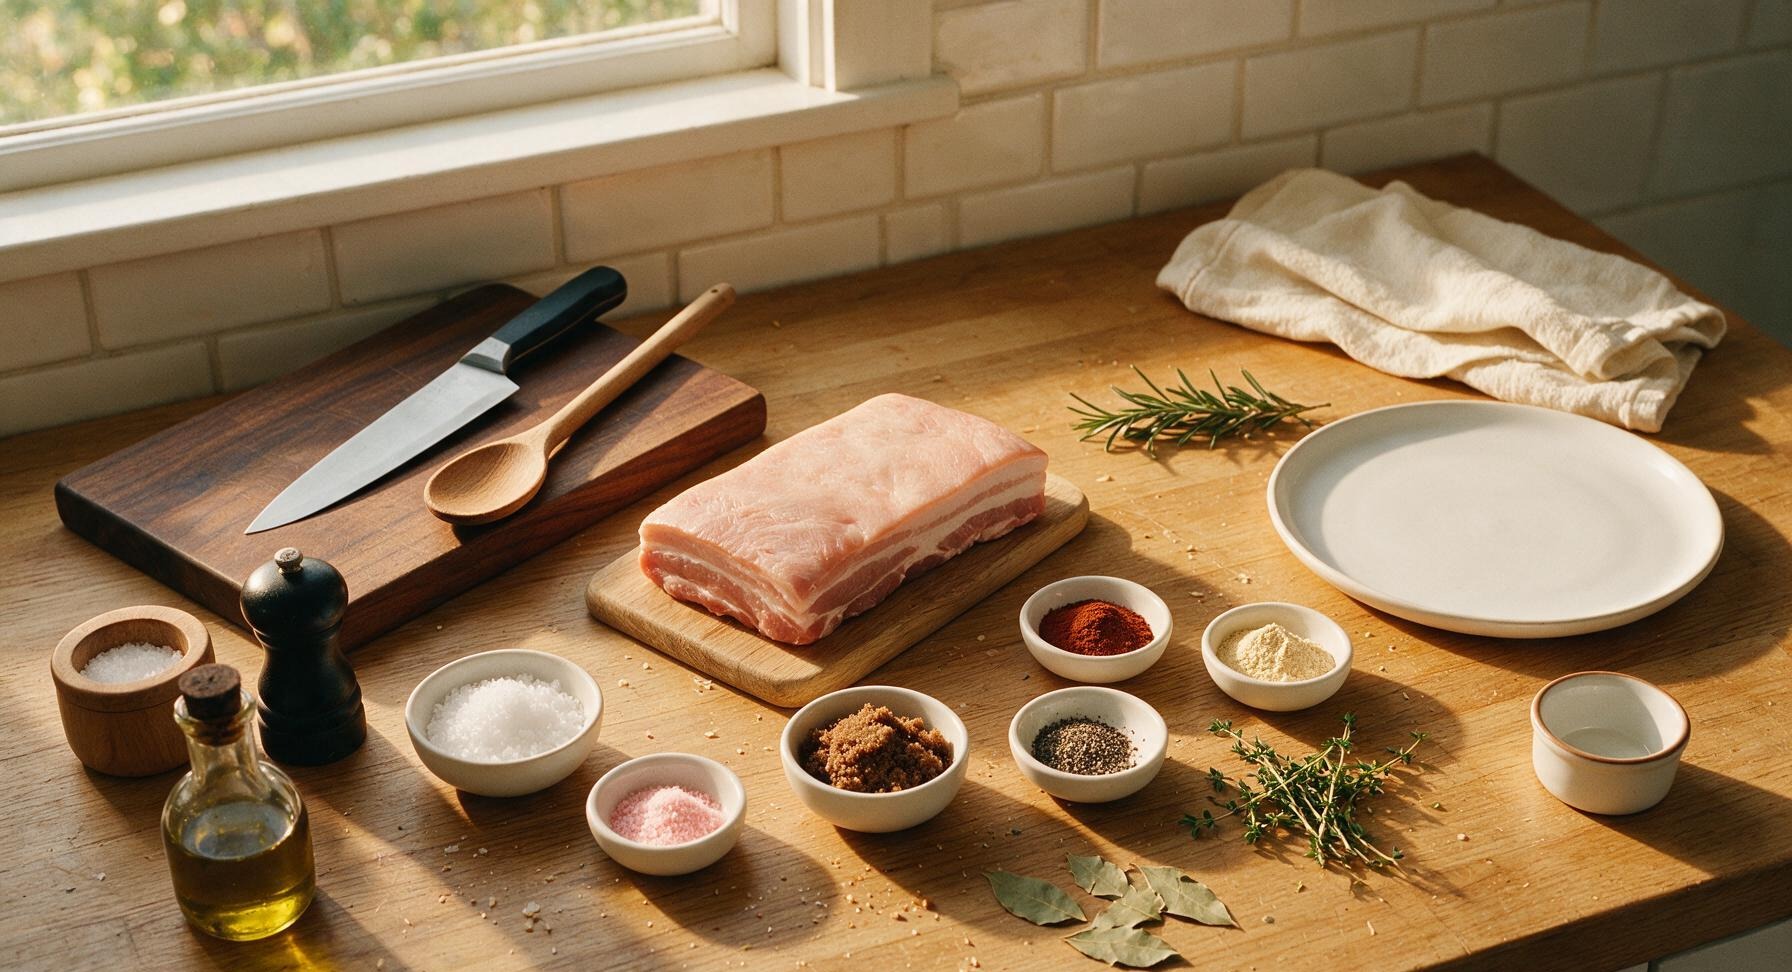
Skinless pork belly 1.5kg (3.3lb)
Kosher salt 45g (3 tbsp)
Pink curing salt #1 (Prague powder #1) 2.5g (1/2 tsp)
Dark brown sugar 30g (2 tbsp, packed)
Coarsely ground black pepper 10g (2 tbsp)
Smoked paprika 5g (1 tsp)
Garlic powder 3g (1 tsp)
Fresh thyme sprigs 5 sprigs
Dried bay leaves 3, crumbled

Steps

1

Trim the Pork Belly

Place the 1.5kg skinless pork belly on the center maple cutting board. Use the boning knife to trim any ragged, uneven edges from the slab, and trim the fat cap to a uniform 1cm thickness, removing any hard, lumpy fat deposits. The finished slab should be a neat, even rectangle with no loose pieces of meat or fat. Pat the entire surface dry with a corner of the linen towel.
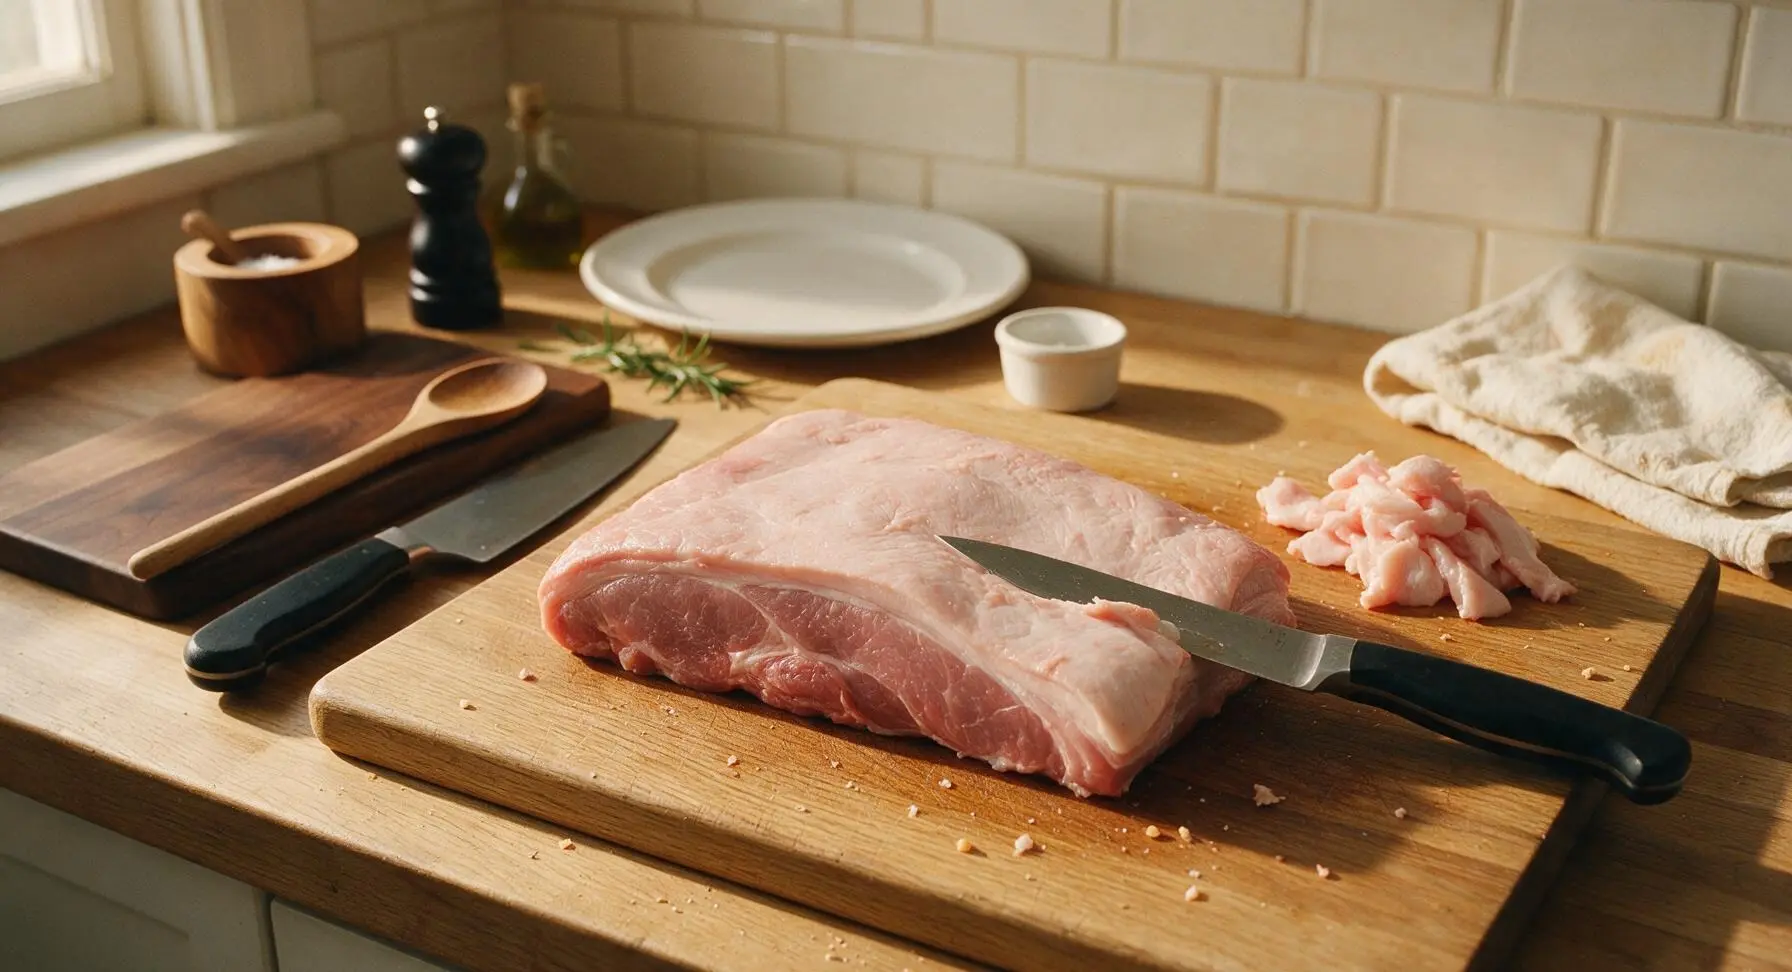
Step 1
step1:Trim the Pork Belly
2

Mix Dry Cure Ingredients

In the smallest clear glass mixing bowl, combine 45g kosher salt, 2.5g pink curing salt #1, 30g packed dark brown sugar, 10g coarse black pepper, 5g smoked paprika, 3g garlic powder, and crumbled bay leaves. Stir thoroughly with the smallest measuring spoon until all ingredients are evenly combined, with no clumps of brown sugar remaining. The mixture will be a deep, speckled brown with visible flecks of black pepper and red paprika.
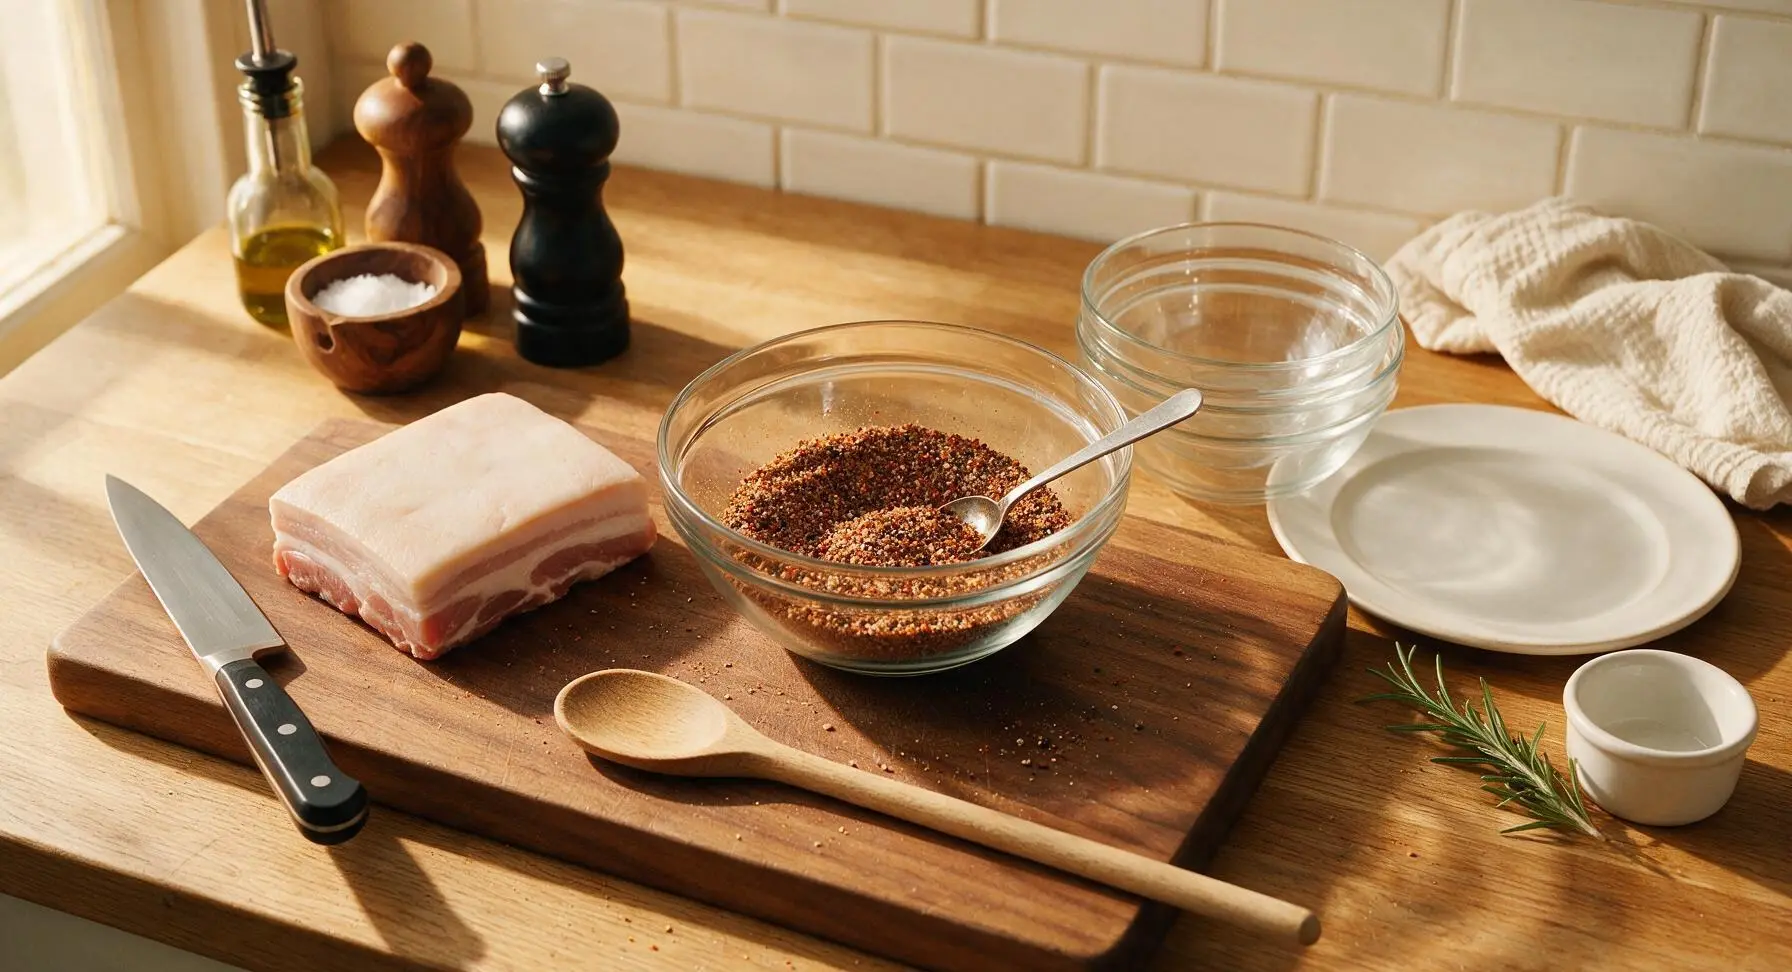
Step 2
step2:Mix Dry Cure Ingredients
3

Coat Pork in Cure

Sprinkle half of the dry cure mixture evenly over the top (fat side) of the pork belly, rubbing it firmly into the surface with clean hands to ensure full adhesion. Flip the slab over, and sprinkle the remaining cure evenly over the meat side, again rubbing firmly into every crevice and edge. Tuck the fresh thyme sprigs against the meat surface. No bare patches of pork should be visible once coated.
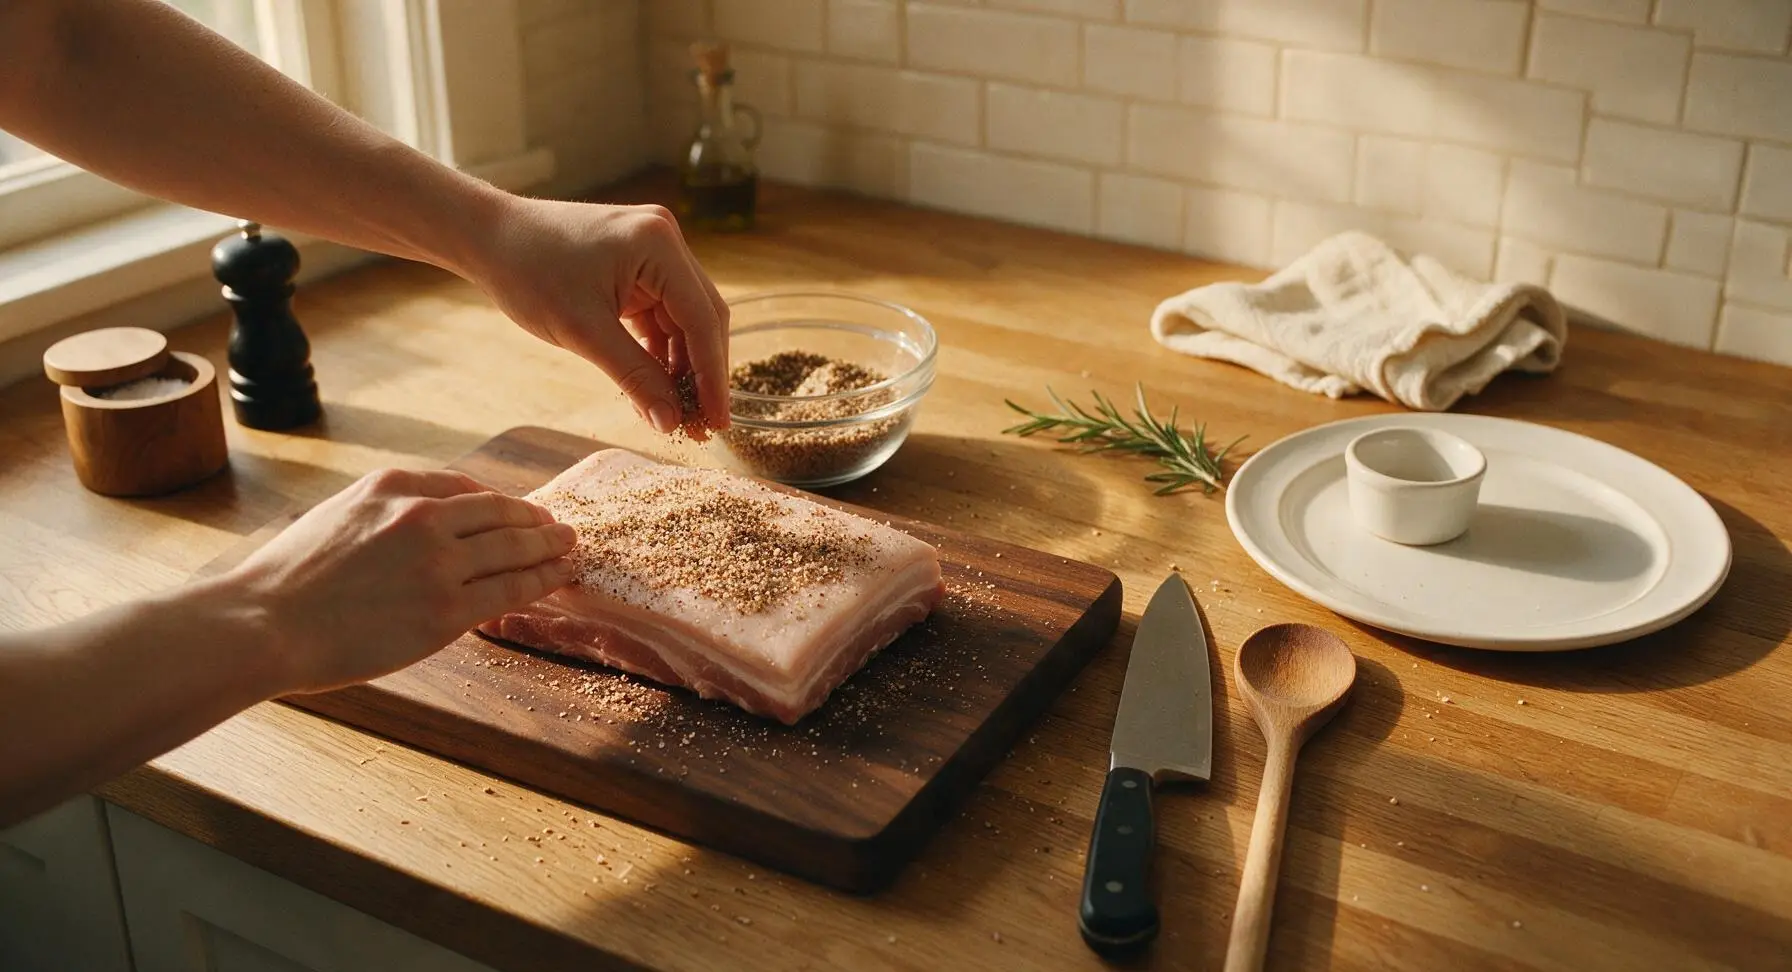
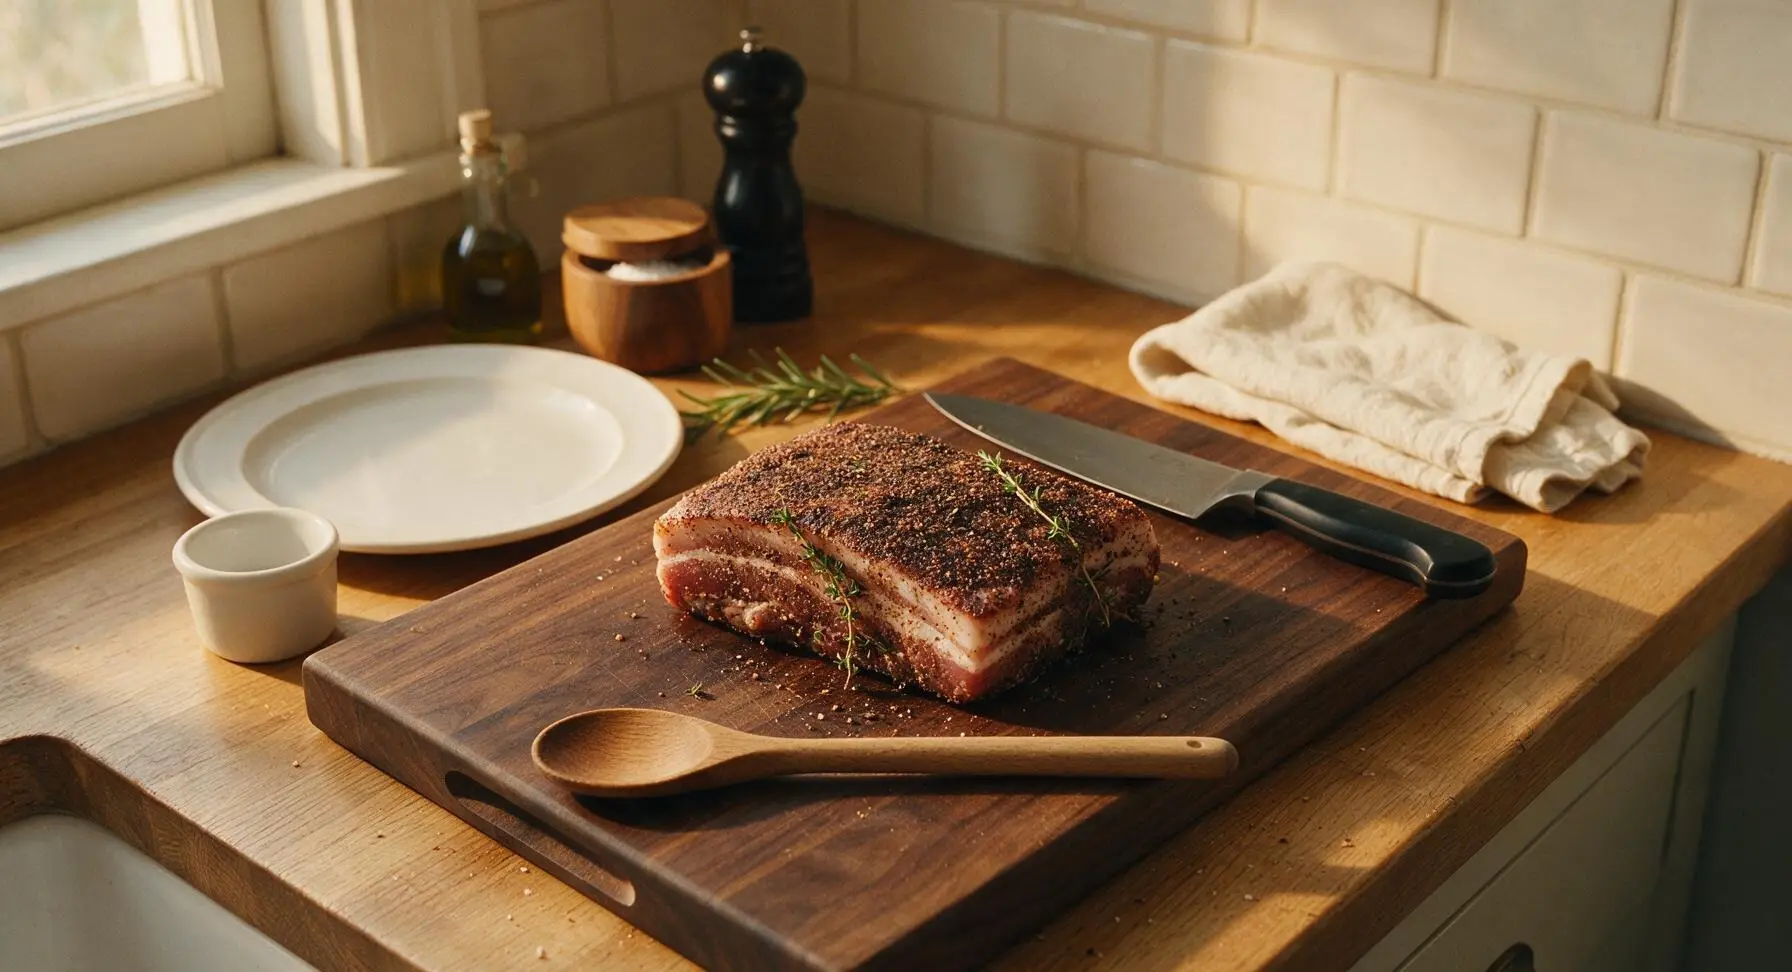
Step 3
step3:Coat Pork in Cure
Step 3
step3:Coat Pork in Cure
4

Pack for Refrigerator Cure

Transfer the fully coated pork belly, fat side up, into the clear glass curing container, placing it flat in a single layer. Scrape any remaining cure from the cutting board into the container on top of the pork. Seal the container tightly with its frosted plastic lid. Place the container on the lowest shelf of your refrigerator (to prevent cross-contamination) to cure for 7 full days, flipping the pork belly every 2 days to redistribute the liquid that will leach out of the meat.
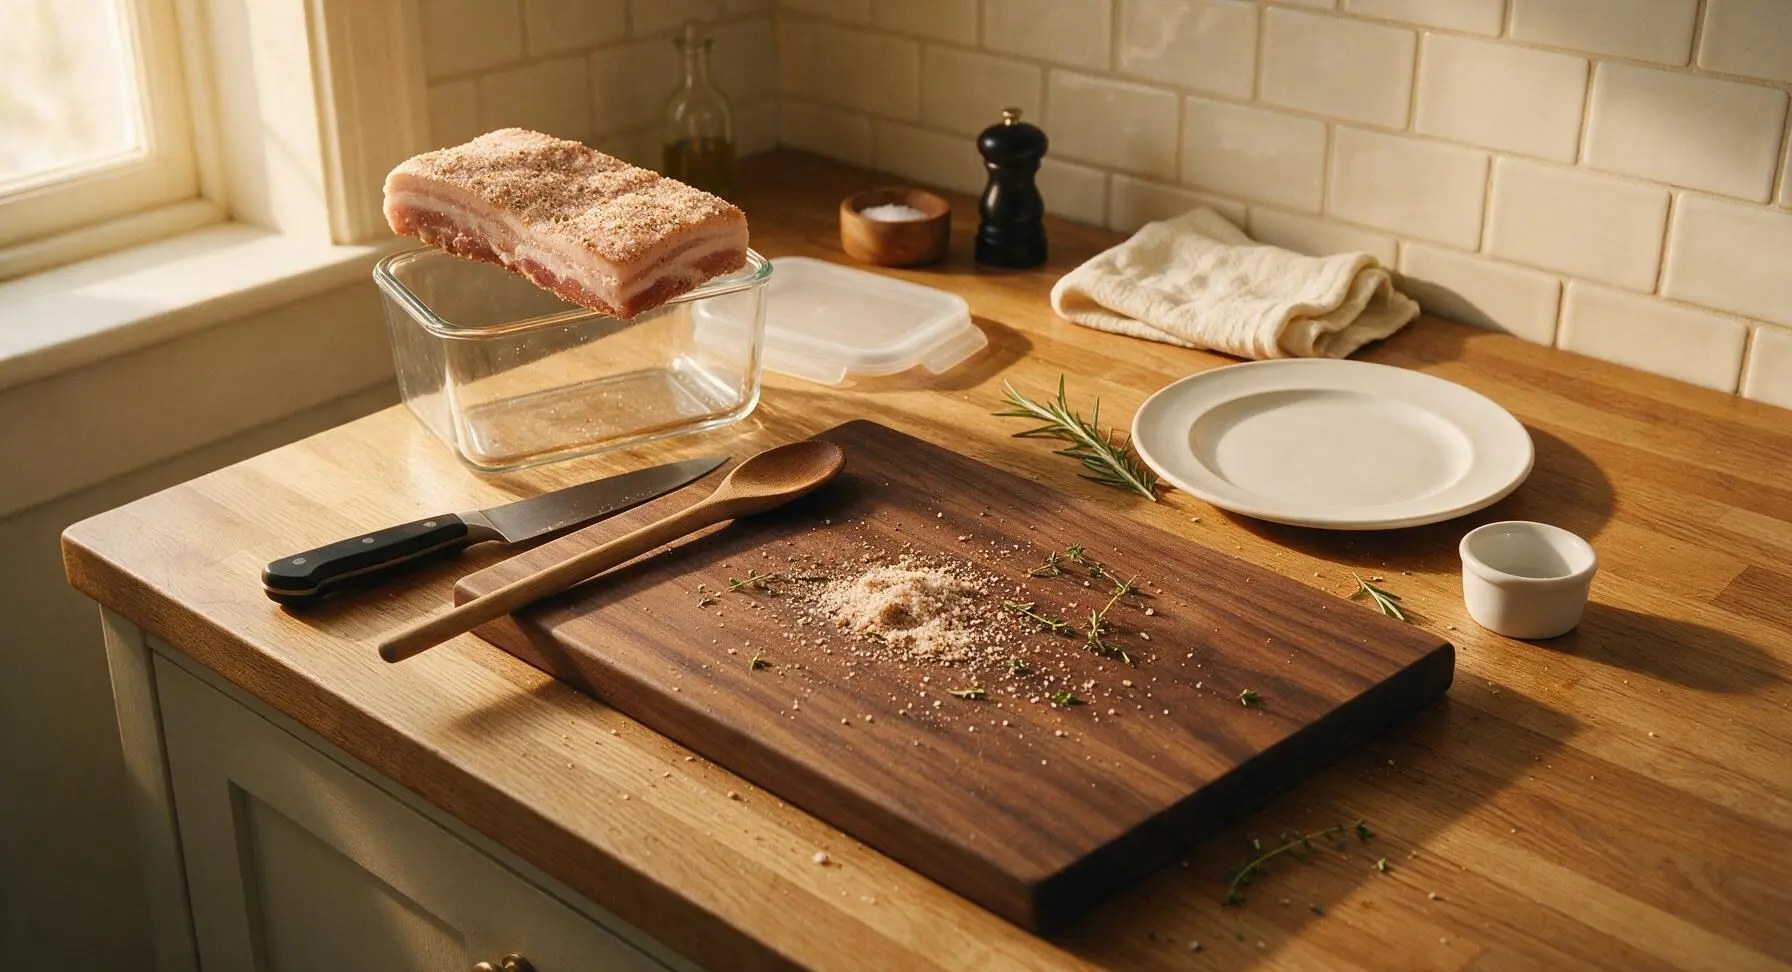
Step 4
step4:Pack for Refrigerator Cure
5

Rinse and Dry Bacon

After 7 days of curing, remove the pork belly from the refrigerator. It will feel firm to the touch, and the surface will be darker in color. Rinse the entire slab thoroughly under cold running water to wash off all remaining cure and spices. Pat completely dry with the linen towel, then place the slab on the stainless steel wire rack set inside the rimmed aluminum baking sheet (pulled from under-counter storage). Return the uncovered tray to the refrigerator for 12-24 hours, until the entire surface of the pork feels dry and slightly tacky to the touch—this pellicle helps smoke adhere evenly.
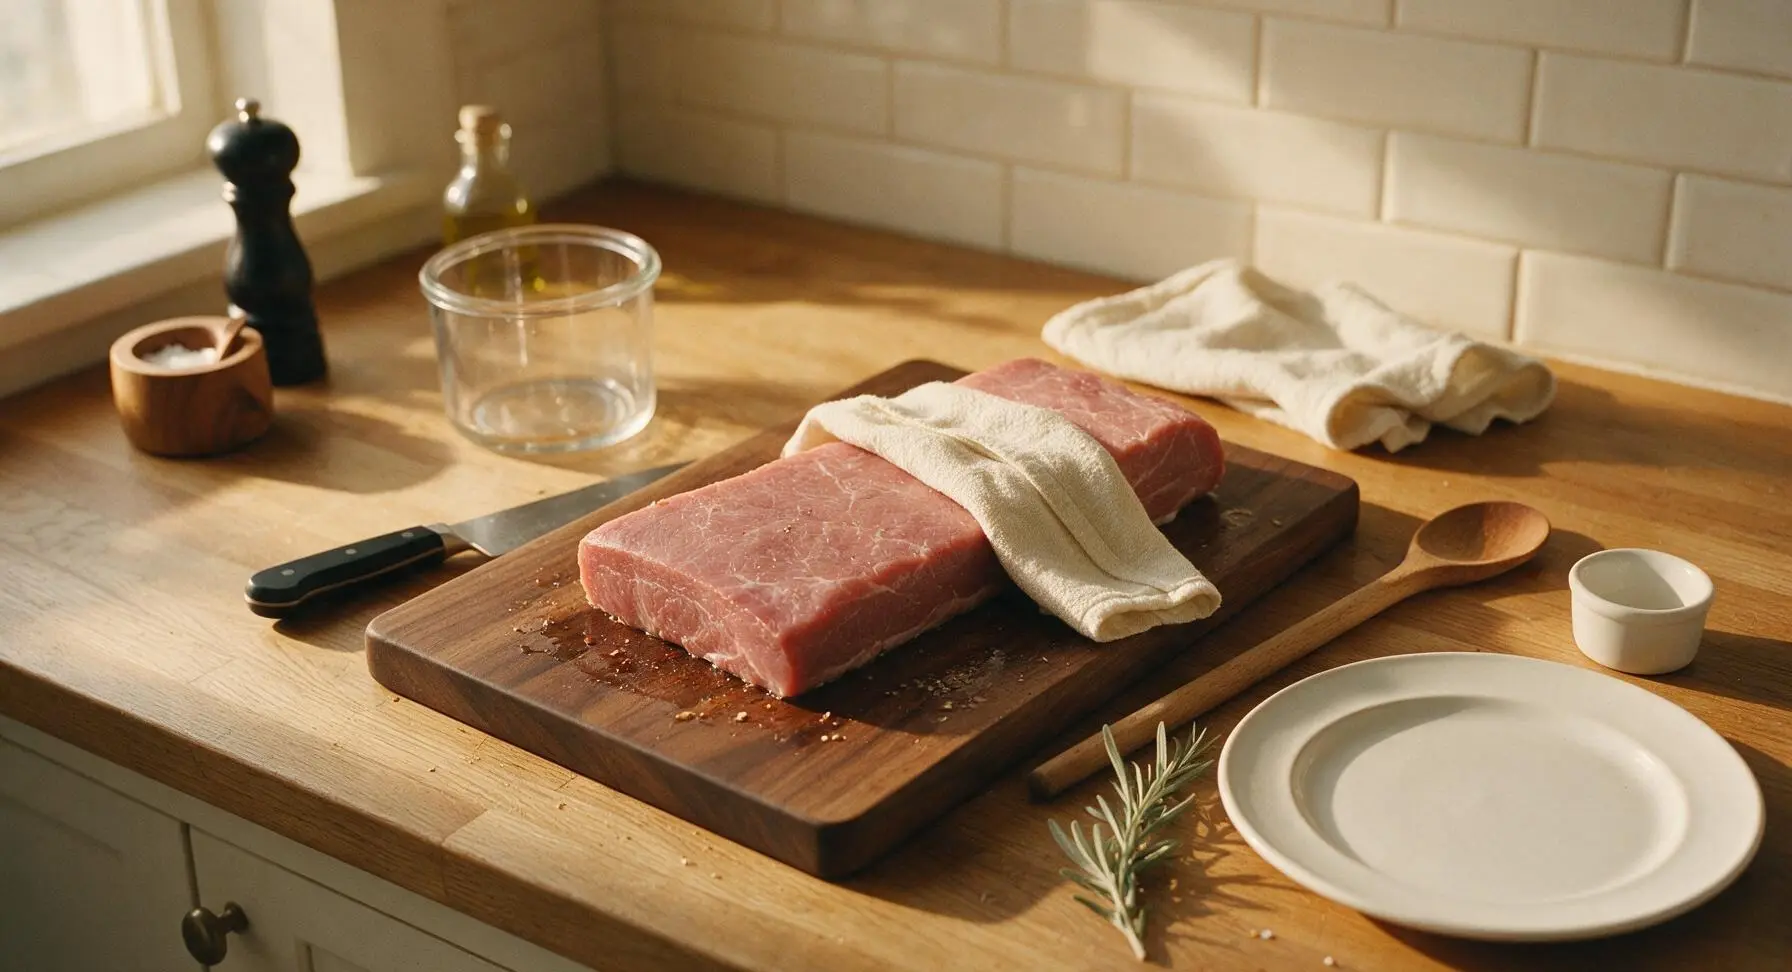
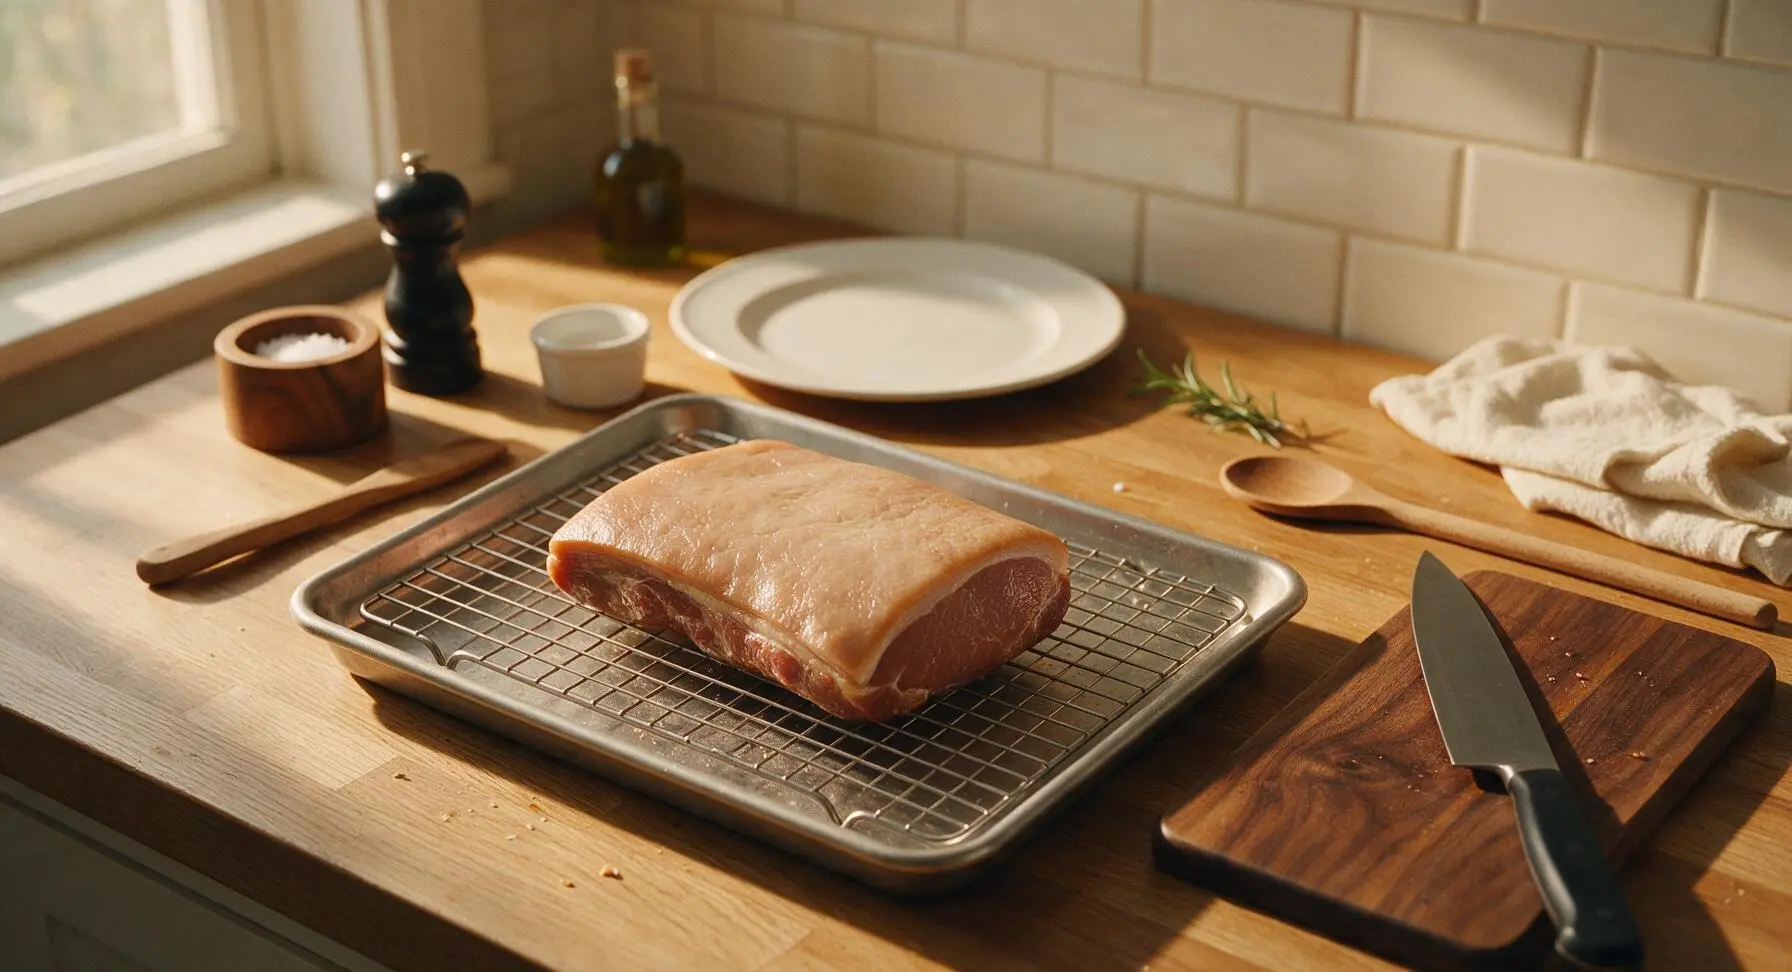
Step 5
step5:Rinse and Dry Bacon
Step 5
step5:Rinse and Dry Bacon
6

Slow Cook to Temperature

Preheat your oven (or smoker, for extra smoky flavor) to 95°C (200°F). Place the baking sheet with the racked pork belly directly in the oven/smoker. Cook for 2 to 2.5 hours, using the instant-read thermometer (pulled from drawer storage) to check that the thickest part of the slab reaches 65°C (150°F). The bacon will be a deep, rich reddish-brown on the surface, with firm fat that is not fully rendered. If using a smoker, add applewood or hickory chips for the first hour of cooking for classic smoke flavor.
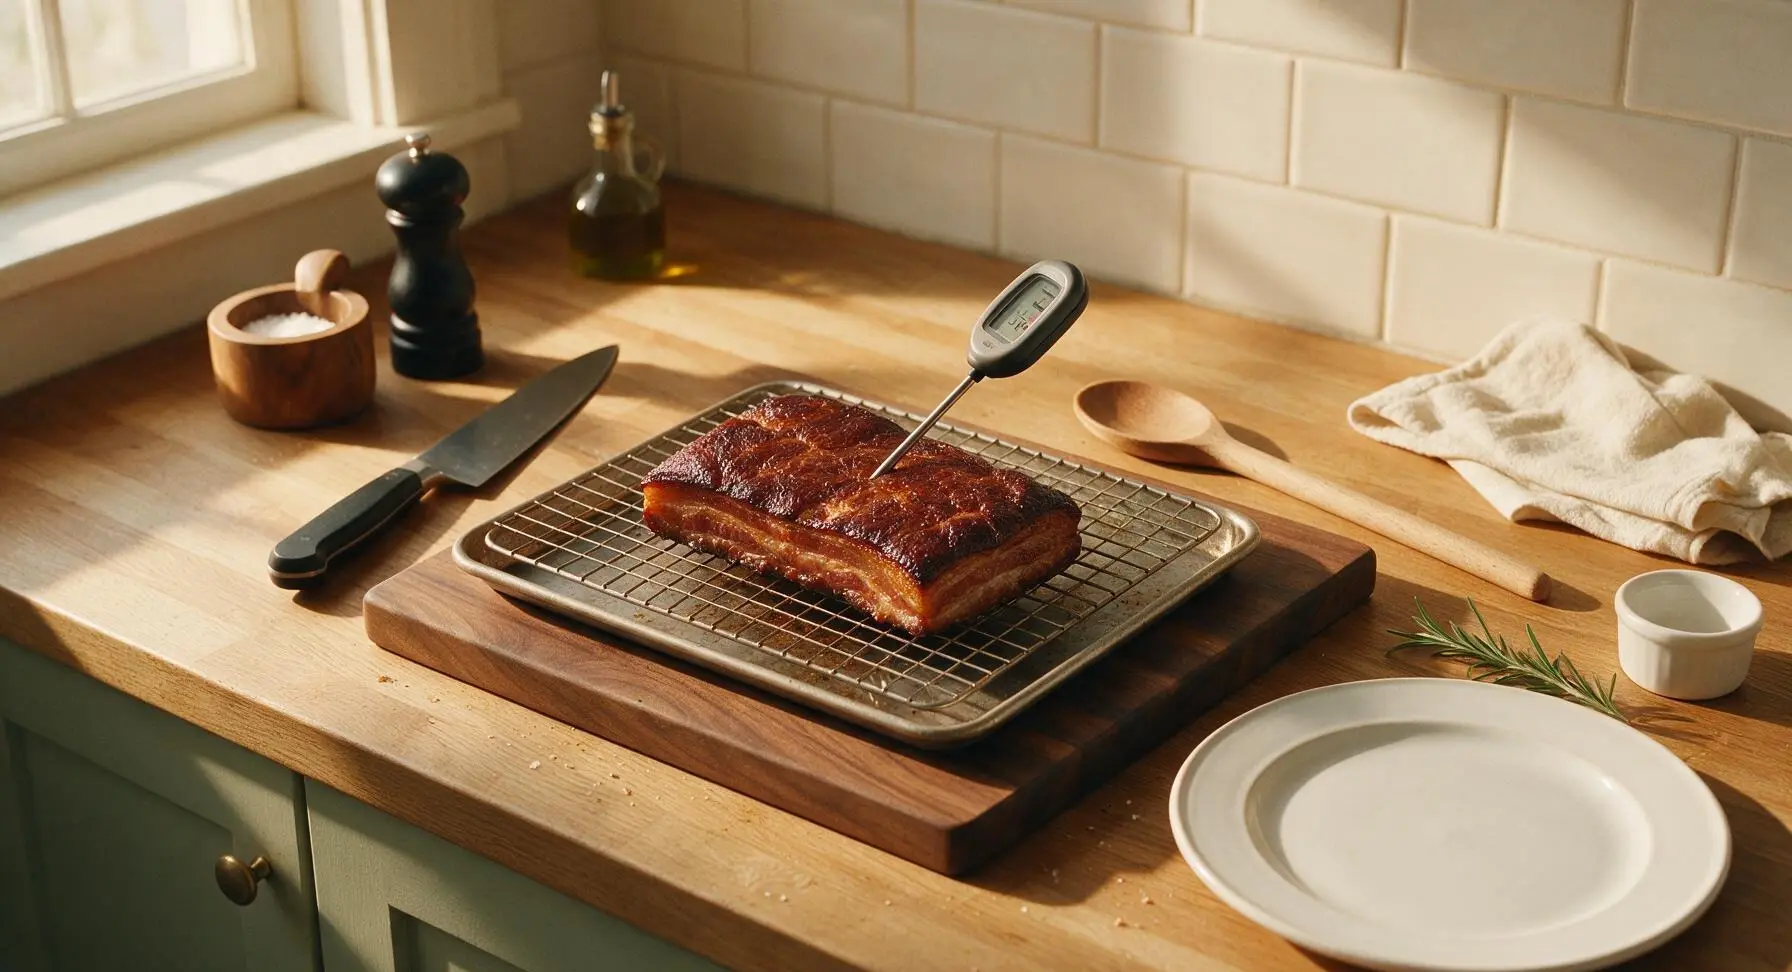
Step 6
step6:Slow Cook to Temperature
7

Chill and Slice Bacon

Remove the cooked bacon slab from the rack and let it cool completely to room temperature (about 1 hour), then wrap tightly in parchment paper and chill in the refrigerator for at least 4 hours, or overnight, until completely firm. Chilling is critical for clean, thin slices. Place the chilled slab back on the maple cutting board, and use the boning knife to cut slices to your preferred thickness; 3mm to 6mm (1/8 to 1/4 inch) is standard.
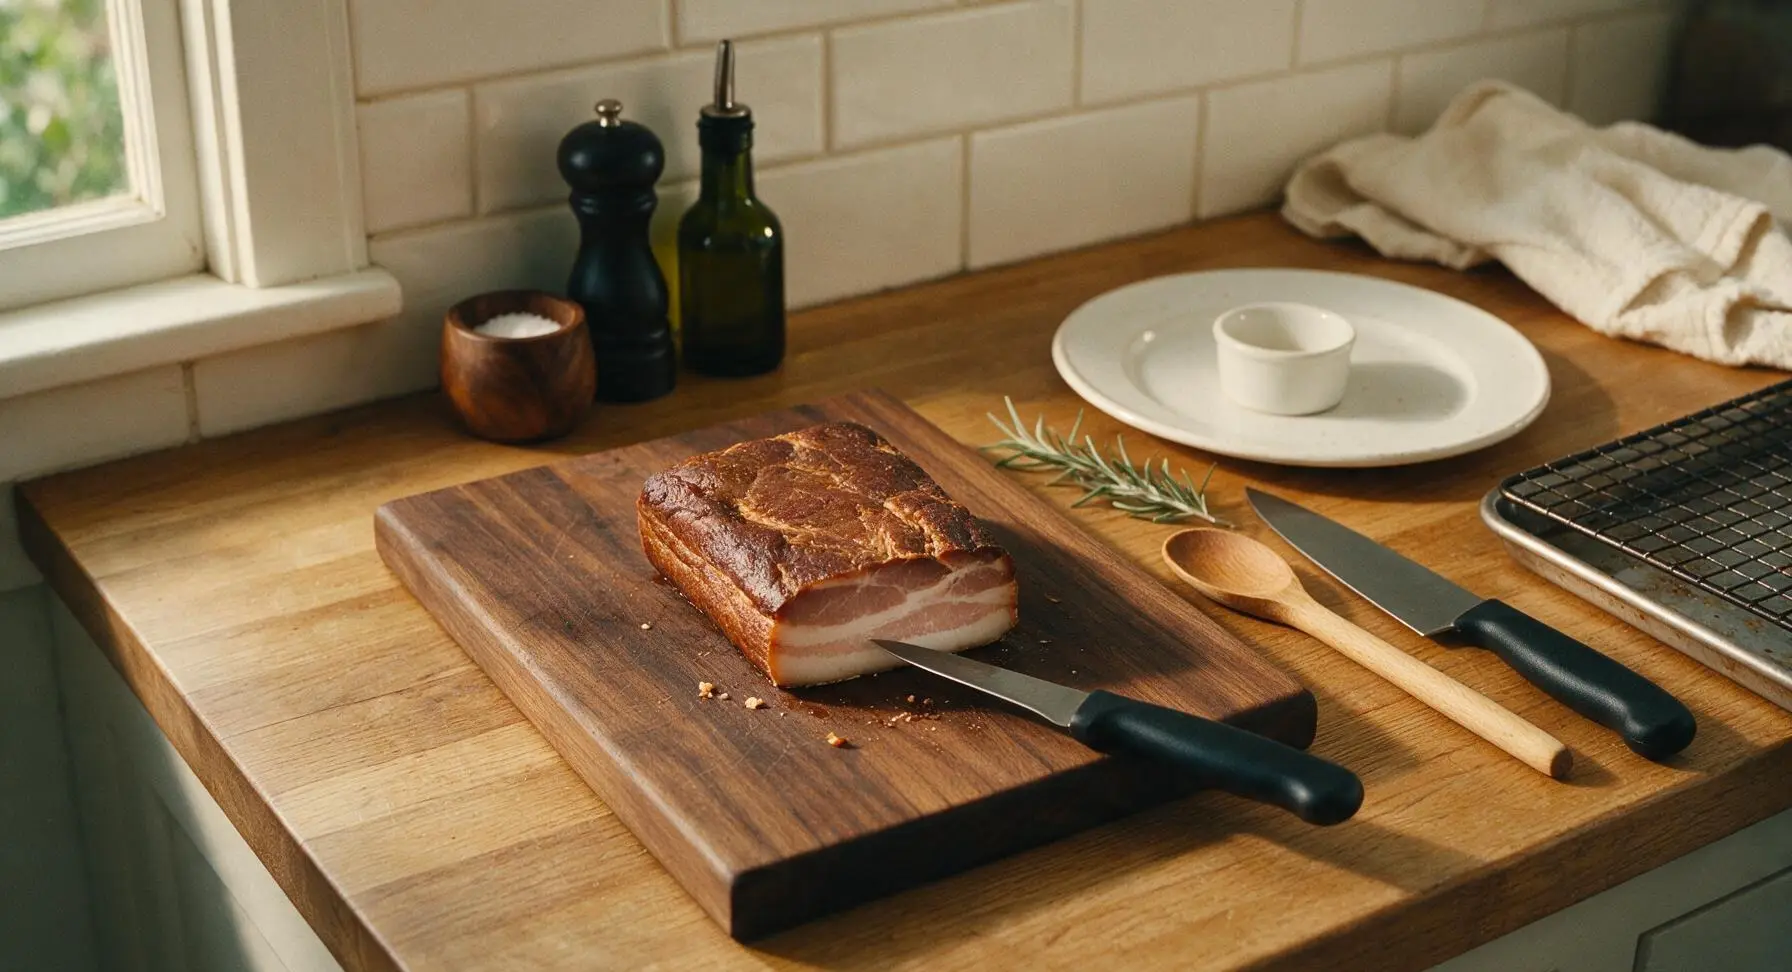
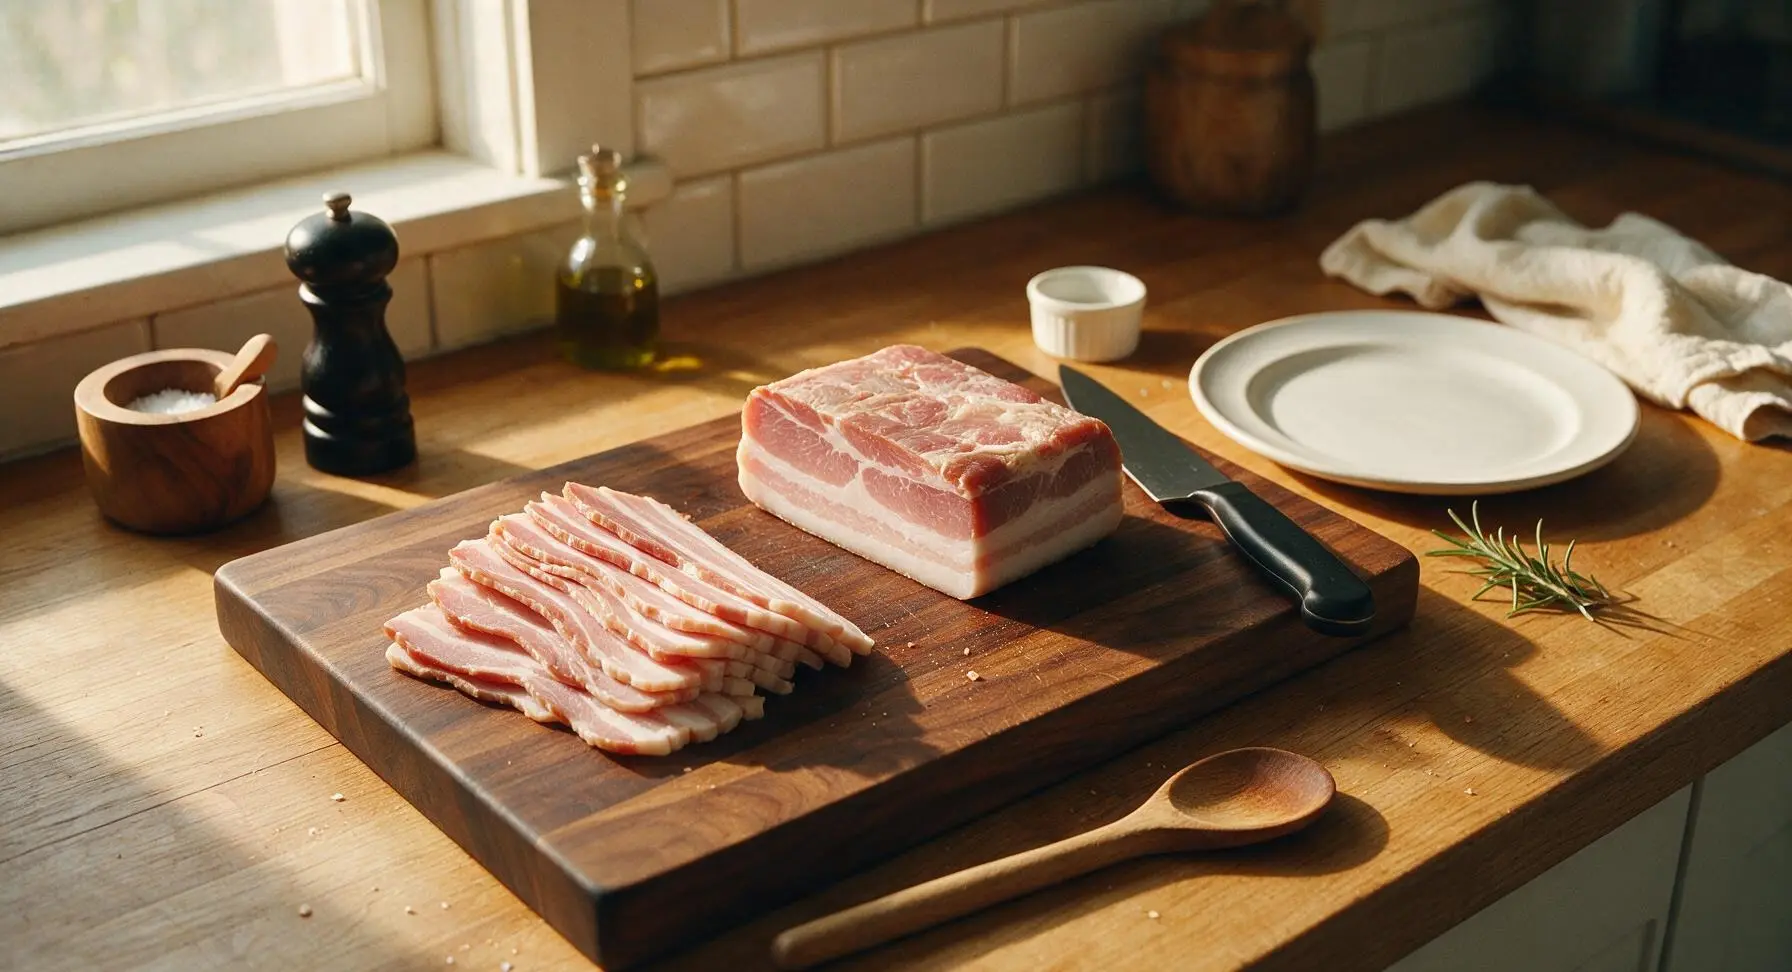
Step 7
step7:Chill and Slice Bacon
Step 7
step7:Chill and Slice Bacon

Tips

1.Do not skip or overmeasure pink curing salt #1: it prevents dangerous botulism growth during the multi-day cold cure, creates bacon’s signature pink color, and adds the characteristic cured flavor. Stick to the 1/2 tsp measurement for this batch size—overuse can cause adverse health effects.
2.Don’t rush the post-rinse drying step: leaving the cured pork uncovered on a rack in the fridge for 12-24 hours forms a tacky surface layer called a pellicle, which helps smoke adhere evenly and prevents the bacon from developing a tough, rubbery skin during slow cooking.
3.Always fully chill the cooked bacon slab for 4+ hours before slicing: warm bacon is soft and will tear, leading to ragged, uneven slices that cook inconsistently when fried. For paper-thin deli-style slices, pop the chilled slab in the freezer for 30 minutes before slicing for ultra-clean cuts.


✨ You May Also Like

Breakfast
🍜 United States

Crisp-edged, fluffy lard griddle cakes are a nostalgic homestyle staple, with rich savoriness from rendered lard, perfect topped with maple syrup or savory gravy.

⏱️ 25 minuteBreakfast ★ 4.8
Breakfast
🍜 United States

Flaky, buttery homemade buttermilk biscuits smothered in creamy, peppery pork sausage gravy: a beloved, hearty Southern American comfort food classic.

⏱️ 35 minuteBreakfast ★ 4.8
Breakfast
🍜 United States

Golden, custardy brioche stuffed with sweet cream cheese and fresh berries, pan-fried to crisp perfection. An indulgent, cozy breakfast perfect for slow weekend mornings.

⏱️ 30 minuteBreakfast ★ 4.7
Breakfast
🍜 United States

Flaky, buttery Southern-style biscuits stuffed with savory salty country ham, a portable, satisfying classic perfect for casual on-the-go meals.

⏱️ 25 minuteBreakfast ★ 4.8
Breakfast
🍜 United States

Iconic puffy baked pancake popularized in Seattle, with crisp golden edges and soft custardy center, served warm with classic sweet toppings.

⏱️ 35 minuteBreakfast ★ 4.6
Breakfast
🍜 United States

Fluffy, golden pancakes studded with juicy peak-summer mixed berries, drizzled with maple syrup for a bright, comforting, crowd-pleasing family breakfast.

⏱️ 25 minuteBreakfast ★ 4.7

bacon cure recipe:Frequently Asked Questions

1.Why do I need pink curing salt #1 to make this bacon, and can I skip it? ▾
Pink curing salt #1 (Prague powder #1) is non-negotiable for safe dry-cured bacon. It prevents dangerous botulism and harmful bacteria growth during the long, cool curing process, preserves the signature bright pink bacon color, and blocks stale, off flavors from spoilage. Never skip it, and always measure it exactly as directed to avoid overuse.
2.What cut of pork belly works best for this dry-cure recipe? ▾
Look for a 3 to 5 pound skinless, evenly thick pork belly slab with consistent, fine marbling of fat and lean throughout. Avoid overly fatty slabs with huge chunks of pure white fat, or ultra-lean bellies that will turn tough and dry after curing and cooking. A 1.5 to 2 inch uniform thickness makes curing much more even.
3.Can I use regular table salt instead of kosher salt for the dry cure? ▾
Skip regular table salt here, as its super fine grain means it measures much denser than kosher salt, leading to overly salty bacon if you swap it 1:1. If you only have table salt, use half the called-for volume of kosher salt, but stick to coarse kosher salt for the most predictable, evenly salty, non-bitter cure every time.
4.How long do I need to leave the dry cure on the pork belly before it’s ready? ▾
Plan for a full 7 to 10 days of curing time in the fridge, flipping the belly every other day to redistribute the cure that draws out moisture. You’ll know it’s ready when the entire slab feels firm to the touch all over, with no soft, squishy raw spots left in the thickest sections of the meat.
5.Do I have to rinse the cure off the pork belly before smoking or cooking it? ▾
Yes, always rinse all excess dry cure off the surface of the belly with cool water after curing ends, then pat it completely dry with paper towels. If you leave cure residue on the surface, your finished bacon will be unpleasantly salty and have a gritty texture on the outside of every slice, even after cooking.
6.I don’t have a smoker—can I still make this dry-cure bacon at home? ▾
Absolutely! If you don’t have a smoker, you can add a deep smoky note by mixing 1 to 2 teaspoons of food-grade hickory or applewood smoke powder into your dry cure mix, then slow-roast the cured belly at 200°F until it hits 150°F internal temp. It won’t be identical to wood-smoked bacon, but it will still taste far better than store-bought.
7.Why does the recipe call for dark brown sugar instead of light brown sugar? ▾
Dark brown sugar has a higher molasses content than light brown sugar, which adds a deeper, richer, slightly caramelized sweet note that balances the salty, peppery, smoky flavors of the cure perfectly. If you only have light brown sugar on hand, swap it 1:1 and add a teaspoon of molasses to match that deep, rounded sweetness.
8.What internal temperature do I need to cook the cured bacon to for food safety? ▾
Once curing is complete, cook your bacon (whether smoking or slow-roasting) until the thickest part of the slab hits an internal temperature of 150°F, measured with an instant-read thermometer. This temperature ensures any potentially harmful pathogens are destroyed, while still keeping the fat tender and not over-rendered into tough, dry meat.
9.How should I store finished homemade dry-cure bacon? ▾
Once your cooked bacon slab is fully cooled, wrap it tightly in plastic wrap or vacuum-seal it, and store it in the fridge for up to 2 weeks. For longer storage, cut the slab into 1 to 2 pound portions, wrap tightly, and freeze for up to 3 months, slicing off only what you need as you cook to keep it fresh.
10.Can I add other seasonings to the basic dry cure mix? ▾
Definitely! The base cure of salt, curing salt, brown sugar, and black pepper is a classic blank canvas. Feel free to add extras like crushed red pepper, smoked paprika, garlic powder, dried thyme, or maple powder to match your flavor preferences, just keep added seasonings under 2 tablespoons per 5 pounds of belly to avoid throwing off cure balance.
11.My bacon turned out way too salty—what did I do wrong? ▾
Overly salty bacon usually comes from one of three missteps: you left the cure on the belly for too long, used a finer-grain salt than kosher salt without adjusting measurements, or forgot to rinse excess cure off the surface before cooking. Next time, stick to the 7-10 day cure window, measure salt carefully, and rinse thoroughly for balanced flavor.
12.Do I need to leave the skin on the pork belly for this recipe? ▾
This recipe is written for skinless pork belly for a reason: the tough skin blocks the cure from penetrating evenly into the top layer of fat, leading to uneven flavor and a chewy, unpleasantly tough outer layer. If you only have skin-on belly, carefully slice the skin off in one smooth sheet with a sharp boning knife before applying the cure.
13.How thick should I slice the finished bacon for the best texture? ▾
For classic breakfast bacon, slice the fully chilled slab into 1/8-inch thick slices, which crisp up perfectly without burning too quickly. If you prefer thicker, meatier bacon for sandwiches or chopping into recipes, you can slice it up to 1/4-inch thick—just note thicker slices will take a minute or two longer to cook evenly in the pan.
14.Why do I see liquid pooling in the bag with the pork belly while it cures? ▾
That liquid is totally normal! The salt and sugar in the cure draw moisture out of the pork belly via osmosis as it cures, creating a concentrated brine that helps the cure penetrate evenly. Just flip the bag every other day to make sure that brine coats every surface of the belly, and don’t drain it off until the curing period is complete.
15.Can I use this dry-cure method to make bacon with other types of meat? ▾
While this cure ratio is calibrated specifically for pork belly, you can adapt it for other fatty cuts like pork loin for Canadian-style bacon, or even wild game belly. Just keep the pink curing salt #1 ratio consistent (1 teaspoon per 5 pounds of meat) to maintain food safety, and adjust cure time to match the thickness of whichever cut you use.
16.Is it normal for my cured pork belly to feel firmer than it did when I started? ▾
That firm texture is exactly what you’re looking for! As the cure draws moisture out of the belly and salt penetrates the meat, the soft, squishy texture of fresh pork belly transforms into a denser, shape-holding slab. If sections still feel soft and squishy after 10 days, give it 1 to 2 more days in the cure to finish evenly.
17.Do I have to cure the pork belly in a sealed zip-top bag, or can I set it on a tray in the fridge? ▾
Sealing the belly in a heavy-duty zip-top bag or vacuum-seal bag is the easiest, least messy method, as it catches all drawn-out brine and keeps fridge odors from seeping into the meat. If you use a tray, set the belly on a wire rack over the tray for air flow and flip daily, but note it may cure slightly faster from extra air exposure.

Comments (11)

2 days ago

OMG, this dry-cure bacon is a total game changer! I’ve been buying store-bought thick cut for years and never realized how much better homemade could be. The flavor is so deep and smoky, not overly salty like the grocery store stuff. My kids devoured half the batch before I even finished cooking it for our Sunday breakfast! Will absolutely be making this monthly from now on.

yesterday

Dude same! My family went crazy for it too, I added a little extra black pepper to the cure and it popped so hard. Never going back to store bought!

yesterday

So glad your family loved it, Jake! The extra black pepper tweak sounds fantastic—feel free to adjust the cure spices to match your taste, it’s super forgiving!

3 days ago

This turned out really tasty! I was a little intimidated by the curing process at first since I’ve never done any dry curing before, but the instructions were super straightforward. Only thing is I think I left it in the cure a touch too long so it was a little saltier than I prefer, but that was totally my bad. Sliced it up thick for BLTs last night and my husband raved about it.

2 days ago

So glad you gave it a shot, Sarah! If you found it too salty next time you can either cut the cure time by 12 hours or give the belly a quick 30 minute cold water soak before smoking to pull out excess salt. Works like a charm!

1 week ago

Absolute meal prep WIN! I made a big batch on Sunday, sliced it up, and portioned it out for the week. It’s perfect for breakfast scrambles, topping salads, even crumbling on top of mac and cheese for weeknight dinners. Way cheaper per pound than the artisanal bacon at my local grocery store too, so I’m saving money and eating better. Can’t beat that.

5 days ago

Oh this is such a good call! I never thought to portion it for the week, I usually just eat half in one sitting oops. Gonna try that when I make my next batch!

5 days ago

Great idea portioning it out, Mike! It freezes really well too if you end up with a bigger batch than you can eat in a week—just separate slices with parchment paper so they don’t stick together.

yesterday

SO good! I brought this to our neighborhood block party potluck last weekend and people were asking me for the recipe all night. I used a little maple syrup in the cure like one of the commenters suggested and it had the perfect sweet-savory balance. 10/10, no notes.

5 days ago

Wow, I’ve smoked brisket and ribs for years but never tried making my own bacon until now. This recipe gave me perfect results on my first go! I smoked it over hickory at 200 degrees like the recipe said until it hit 150 internal, and it came out with that perfect chewy, smoky texture I’ve been chasing from store bought artisanal brands. Saved me a trip to the fancy butcher shop!

3 days ago

That hickory smoke choice is chef’s kiss, Tony! So stoked the recipe worked out for your first bacon run—nothing beats that first bite of homemade bacon you smoked yourself.

2 weeks ago

Taste was incredible, but I ran into a little trouble when it came to slicing. I don’t have a meat slicer at home so I tried using my sharpest chef’s knife, but I couldn’t get slices nearly as thin as I wanted. Ended up with super thick cut bacon, which was still good, but I wish I’d known how tricky slicing is without special equipment. Any tips?

2 weeks ago

Pop the bacon in the freezer for 45 minutes before you slice it! It firms up just enough that you can get super even, thin slices with a regular knife, no fancy slicer needed. Total game changer.

2 weeks ago

Great tip from @HomeCookPro, Hank! Chilling the belly until it’s firm (but not rock solid) makes hand-slicing so much easier. I do that even when I’m using my slicer sometimes for extra clean cuts!

30 minutes ago

First time making any kind of cured meat and I was so nervous I’d mess it up, but this was so much easier than I thought! I made a small test batch to start and it turned out amazing. I’m already planning to make a bigger batch for my apartment Friendsgiving next month. My roommates are already begging me to make more.

1 week ago

This is the third homemade bacon recipe I’ve tried and it’s by far the best. The ratio of salt to sugar to pink salt is perfect, no weird metallic aftertaste like I got from the last recipe I used. I added a pinch of cayenne to the cure for a tiny kick and it was perfect for breakfast sliders when we had family in town last weekend.

5 days ago

The cayenne addition sounds insane, I’m definitely stealing that for my next batch! I’ve been looking for a way to add a little heat without it being overpowered by the smoke.

2 weeks ago

Really solid recipe! I did find that the 2 hour 30 minute cook time was a little long for my smoker, which runs a touch hot even when I calibrate it. Mine hit the target internal temp at right around 2 hours, so I pulled it early and it turned out great. Flavor was on point, though, I’ll definitely be using this as my go-to base recipe going forward.

1 week ago

Same here! My offset smoker always runs 10-15 degrees hot, so I started checking temp at the 1.5 hour mark just to be safe. Nothing worse than overcooked, crumbly bacon.

1 week ago

Great call pulling it when it hit temp, Carlos! Cook times are always a guideline since every oven and smoker runs a little different, internal temp is always the most accurate way to tell when it’s done. Happy to hear the flavor worked for you!

5 minutes ago

Just pulled my first batch out of the smoker and let it rest, had a crispy end piece while it was still warm and I’m literally never buying store bacon again. It’s so rich and porky, not like the watery, weirdly flavored stuff from the supermarket. My 7 year old said it’s “the best bacon I’ve ever had in my whole life” so that’s the highest possible endorsement if you ask me.

2 hours ago

This turned out so good on my first try! Quick question for anyone who’s made this a few times—can I use the same cure ratio for a smaller pork belly? I found a 2lb belly at my local butcher instead of the 5lb the recipe calls for, and I don’t want to over-salt it for my next batch. The 5lb batch I made last week was gone in 3 days between me and my roommates, that’s how good it was!

30 minutes ago

Great question, Greg! You can either scale the cure ingredients down to match the weight of your smaller belly (just use the same ratio of salt, sugar, and curing salt per pound) or use the full amount of cure and just pull it a day earlier—since the belly is smaller it won’t need as long to cure evenly. So stoked your first batch was such a hit with your roommates!



